Caramel and Chocolate Flan Brulee Brownie
There is not much to say on this little sweat treat.
I decided I wanted to make a slice that had layers of amazing tastes and textures, really taking the taste buds on a journey.
How I planned to do this was combining various scrumptious desserts into one delicious multi treat.
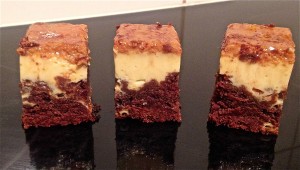
This recipe is executed by a rich chocolate brownie base, a light and fluffy vanilla flan centre and smooth melt in-your-mouth caramel with a crisp brulee top.
If I haven’t got your attending by now nothing will!
Outcome = exactly what I hoped, Caramel, Chocolate Vanilla Flan Brulee Brownie bliss.
Ingredients:
- 300g caramel (I used Nestlé Caramel top n’ fill)
- 1 tbsn extra sugar
Brownie:
- 100g dark chocolate
- 50g butter
- 70g sugar
- 70g plain flour
- 1 egg
Flan:
- 310g sweetened condensed milk
- 260ml milk
- 3 eggs
- 2 teaspoons vanilla essence
Method:
- Preheat the oven to 190c and line a 21cm square cake tin with baking paper.
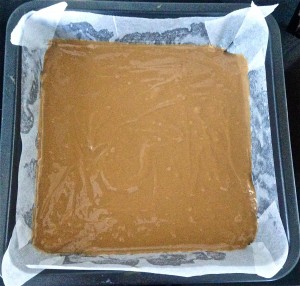
- Spread the caramel evenly in the bottom of the cake tin and place in the freezer for at least 15 minutes.
- Combine the chocolate and butter into a microwave safe container and microwave on medium for 1 minute. Stir. Microwave and stir every 30 seconds until the mix is silky and smooth.
- Add the sugar, eggs and flour to the chocolate mix and whisk thoroughly with a hand whisk until well combined.
- Using a spoon carefully place the mix on top the caramel without moving it. Spread to ensure even layering.
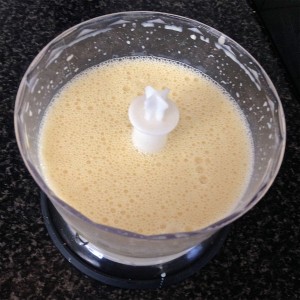
- In a food processor add in the condensed milk, milk, eggs and vanilla essence. Cover and blend ingredients until the mix is thoroughly combined together.
- Spoon milk mix over the brownie layer.
- Place the tin in the oven for 50 minutes or until a skewer inserted in the middle comes out clean.
- Let the brownie cool completely in the tin.
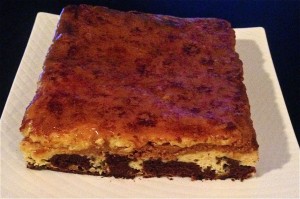
- Once the brownie has cooled flip the tin on a plate, removing the tin and baking paper. Sprinkle the extra sugar on the top of the caramel layer.
- Using a blow torch scorch the top of the slice until browned and bubbling.
- Cut and serve.
Ingredients
Step 2
Step 6
Step 11
Like this recipe? Subscribe via RSS or email to get my new entries and more scrumptious recipes with reviews.


 Follow