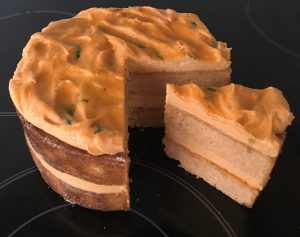
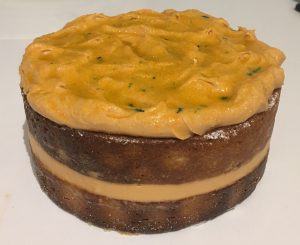
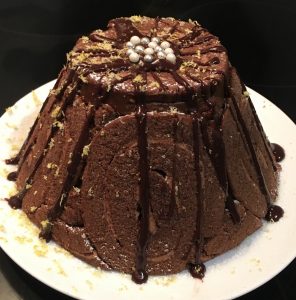
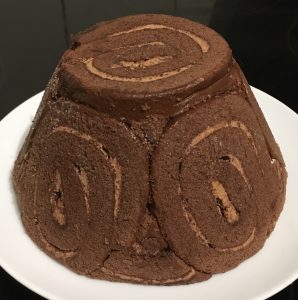
Marsala and Coffee Ice-Cream Ricotta Cheese Cake
Inspired by the outer layer of trifle varieties and flavour combo of delicious Tiramisu, this experiment is one that resulted in a cake that I could just not stop eating.
My all-time favorite sweet treat (as I have mentioned multiple times) is Tiramisu. I wanted to make a version of this dessert that would keep over a generous period of time so I could enjoy the treat multiple times, oppose to the traditional dessert that really does need to be eaten within a few days of creation.
Thus, making an ice-cream cake made sense. It would keep for weeks (in the freezer), not days. Lastly, as the traditional Tiramisu is not exactly light on the hips I did opt for low fat ricotta and down-weighted the cream volume.
This cake is easy, tasty, quick, with no baking required, and as I mentioned above addictive!
Ingredients:
- 400g chocolate swizz roll
- 100ml Marsala
- 300g ricotta cheese
- 200ml sweetened condensed milk
- 300ml thickened cream
- 2 tsn vanilla extract
- 2 tbsn coffee granules
- 2 tsn cocoa powder
- 35g chocolate covered coffee beans
Method:
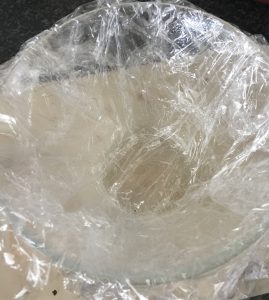
- Spray a 1.5-liter pudding tin or bowl with oil spray, following line the sprayed tin with 2 layers of overlapping plastic wrap.
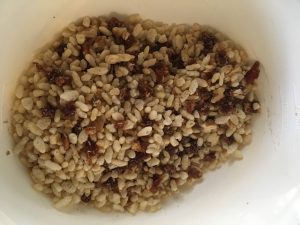
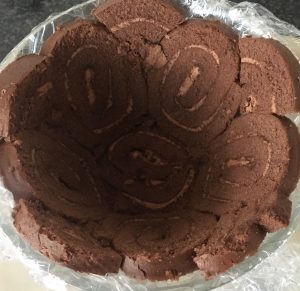
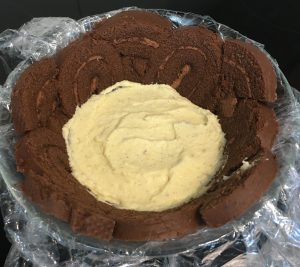
- Cut the swizz roll into 1cm thick slices and place on the bottom and slides of the tin, squashing slightly with fingertips to ensure no gaps.
- Using a spoon drizzle 40ml of the Marsala over the swizz roll on the bottom and the sides, evenly covering each piece.
- In a food processor blitz the cheese and condensed milk until smooth.
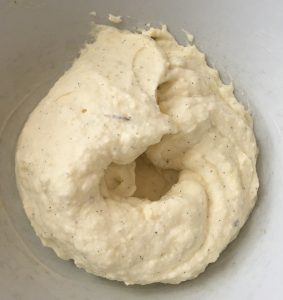
- Whisk the cheese mix and 300ml cream with electric beaters in a bowl until peaks start to form (do not over beat or the cream will split).
- Spoon half the mix into another bowl and leave aside for later use to make the coffee chocolate layer.
- With your original bowl of mix add the vanilla, and remaining 60ml of Marsala, fold until well combined.
- Spoon the vanilla & Marsala mix into the bowl on top of the swizz roll and level with the back of a spoon.
- Place the tin in the freezer for 30 minutes to firm.
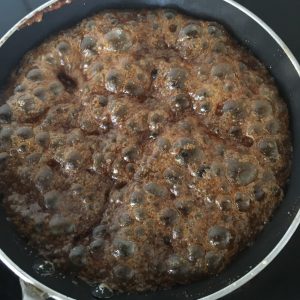
- Meanwhile make the coffee mix by placing 15ml of boiling water into a small bowl with the coffee granules, stir until combined, set aside to cool completely before pouring into the remaining bowl of mix.
- Add the cocoa powder to the coffee mix and beat on low with electric beaters until just combined.
- Chop up the coffee beans until finely diced and fold into the mix until combined.
- Spoon the coffee mix over the top of the vanilla and Marsala mix and level with the back of a spoon.
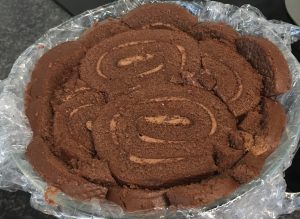
- Using the remaining swizz roll slices place on the top of the mix to completely cover the top with no gaps.
- Pull the plastic wrap tightly and fold to cover the top of the cake completely, then push down the top of the cake with the bottom of a plate.
- Freeze for 4 hours until firm (with the plate as a height on top).
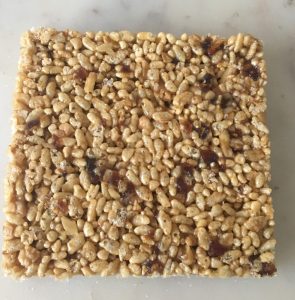
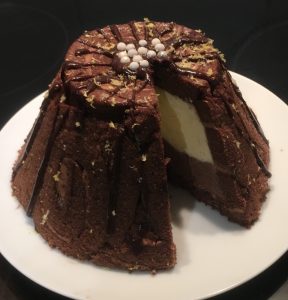
- When ready to serve the cake you will need to take the cake out of the freezer 30 mins before. Uncover the plastic wrap on the top and invert (flip) the cake onto a plate.
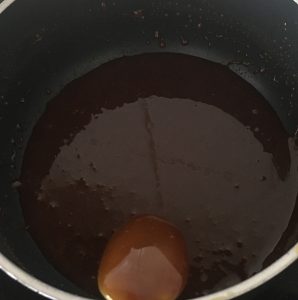
- Remove the plastic wrap completely and top with a drizzle of chocolate ganache (if you desire).
- Cut into slices and enjoy!
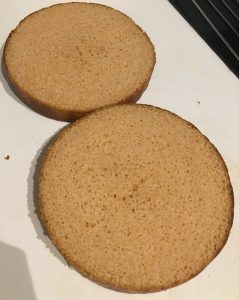
- Step 1
- Step 2
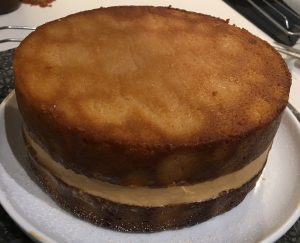
- Step 7
- Step 8
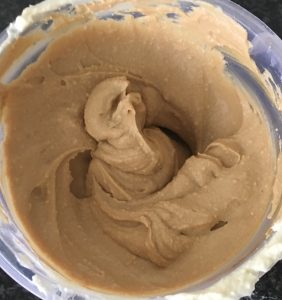
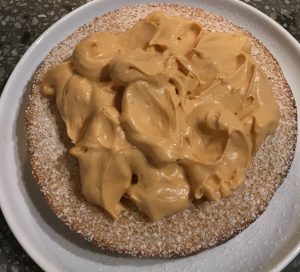
- Step 11
- Step 14
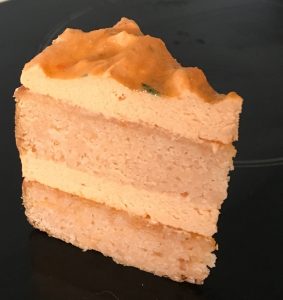
- Step 18
Like this recipe? Subscribe via RSS or email to get my new entries and more scrumptious recipes with reviews
 Follow