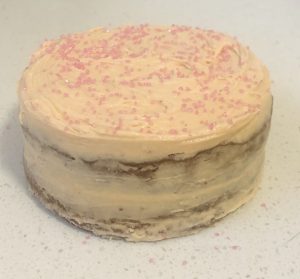
Thyme Orange and Poached Pear Cake

Pear is such a difficult ingredient to profile in a recipe, not only due to the subtlety of the flavour but also the limited flavour combos that compliments the ingredient (instead of overpowering).
I wanted to make a recipe that would be unique in flavour whist bringing out the pears earthiness. To maximise the flavour, I poached the pears in syrup, used pears pieces in the filling and used the fruit grated in the batter for extra cake depth.
Orange, spices and thyme were used as the flavour combo with the pear and for an extra flavour and custard powder was used in the icing for a twist.
The result – a very tasty, unique cake recipe.
Ingredients:
Cake:
- 170g butter
- 140g caster sugar
- 300g cake flour
- 2 tsn dried thyme
- 1 tbsn orange zest
- 1 tsn vanilla essence
- 2 tbsn orange juice
- 300g pear, grated
- 6 eggs
- Pinch, cream of tartar
- Pinch, salt
- 40g caster sugar, extra
Syrup:
- ½ tsn vanilla essence
- 1 tsn mixed spices
- 1 cup brown sugar
- 2 pears, peeled
Icing:
- 215g butter
- 100g icing sugar
- 90g custard powder
Method:
- Pre-heat the oven to 175c degrees and line a 30cm cake tin with baking paper.
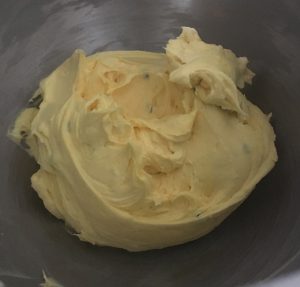
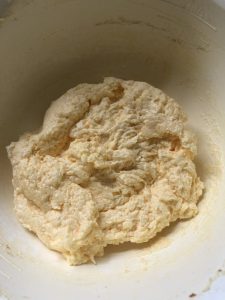
- Using electric beaters whisk the sugar and butter for 2 minutes or until light and creamy.
- Add the egg yolks to the butter mix, beat.
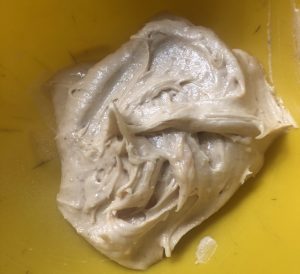
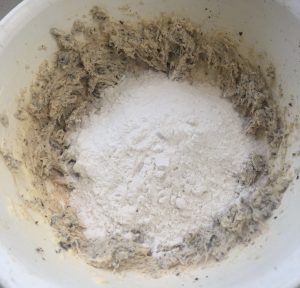
- Add the flour, thyme, zest, essence, juice and pear to the butter mix.
- Beat until the mix is creamy and fluffy.
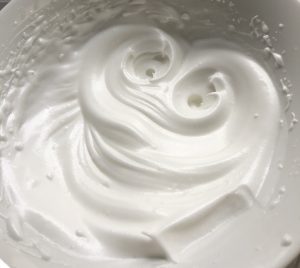
- In another bowl beat the eggwhites until soft peaks form.
- Add the salt, tartar and extra sugar to the eggwhites and beat until well combine.
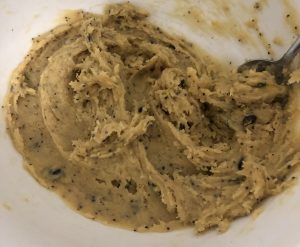
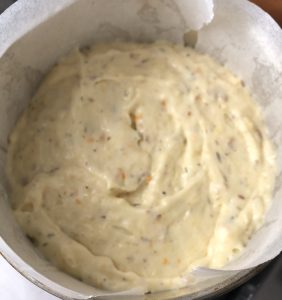
- Fold a quarter of the eggwhite mix into the batter to loosen the batter up.
- Fold the remaining eggwhites into the mix.
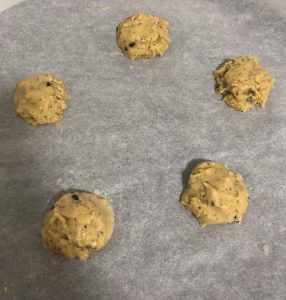
- Pour the batter into the cake tin and bake in the oven for 40 minutes or until a skewer inserted into the middle of the cake comes out clean.
- Leave the cake in the tin for 10 minutes to cool, then place on a cooling rack until cold.
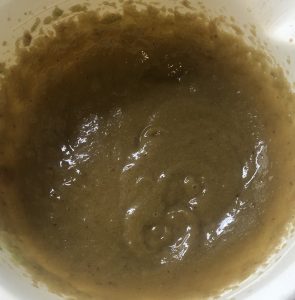
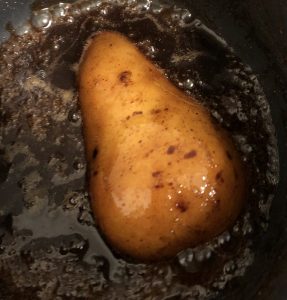
- Meanwhile, place the vanilla, spices, sugar and 1 cup water into a saucepan on medium heat until sugar has dissolved.
- Bring to the boil then reduce to a low simmer.
- Cut the pears in half vertically and place into the saucepan for 20 minutes, flipping the pears every 5 minutes.
- Remove the pears placing on a plate and leave the syrup in the pan to cool.
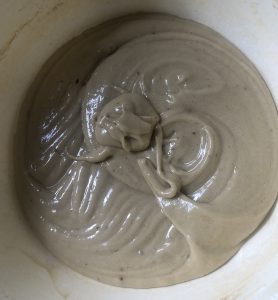
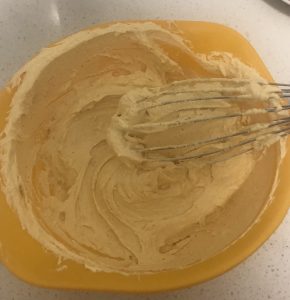
- To make the icing beat the butter, powder and icing sugar with electric beaters until creamy and smooth.
- Add the cooled syrup to the icing mix and beat until well combine.
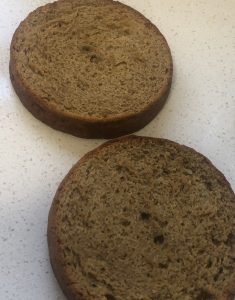
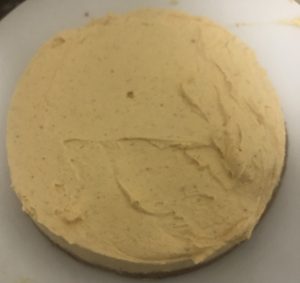
- Cut the cooled cake in half horizontally.
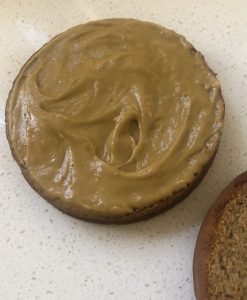
- Place 1 cake half on a plate and spread with 1/3rd of the icing.
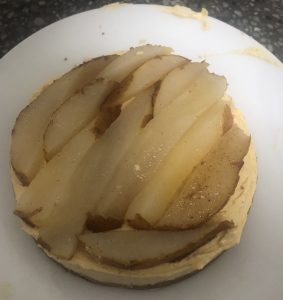
- Cut 1 and 1/2 of the pears into slices and place them ontop of the icing on the 1st cake layer.
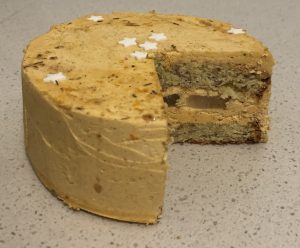
- Place the 2nd cake half on top of the pears then spread the remainder of the icing on the sides and top of the cake.
- Top with the remaining pear for decoration and enjoy!
Step 3
Step 7
Step 10
Step 13
Step 17
Step 19
Step 20
 Follow