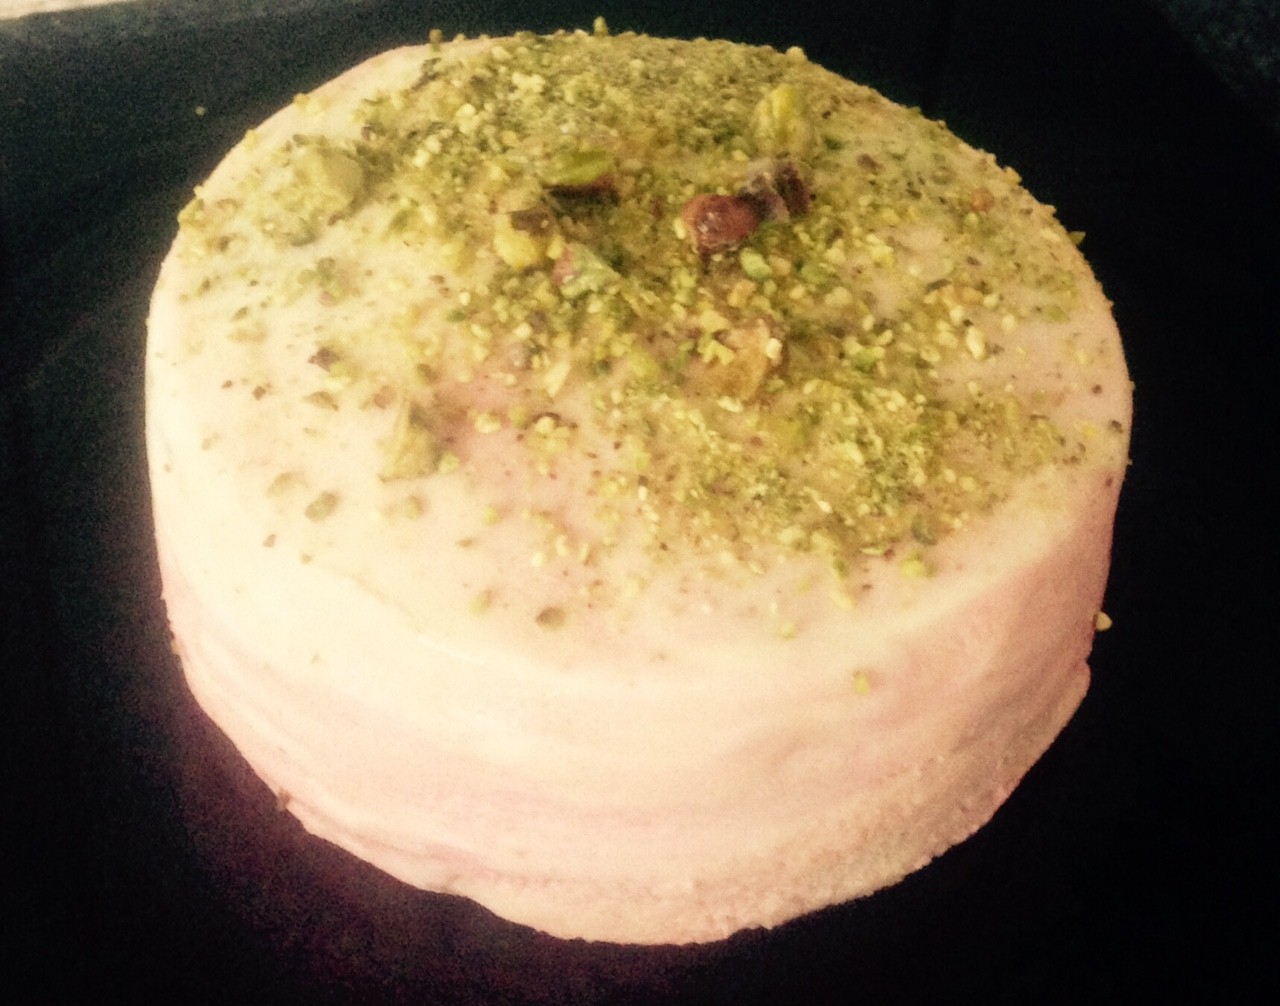
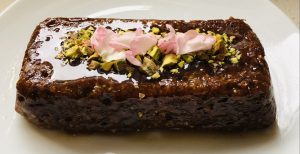
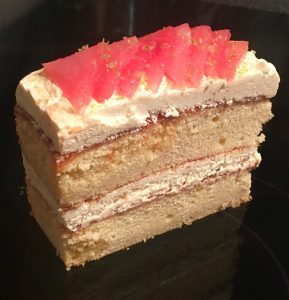
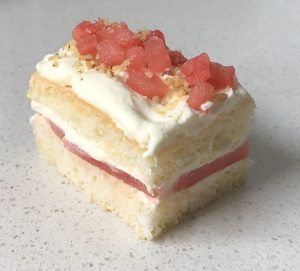
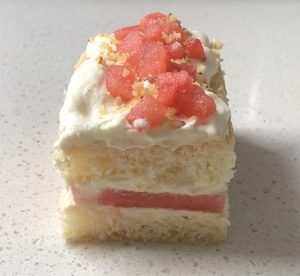
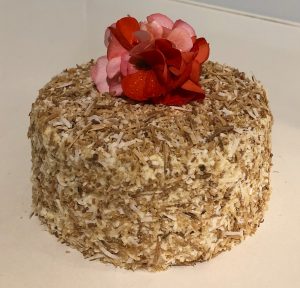
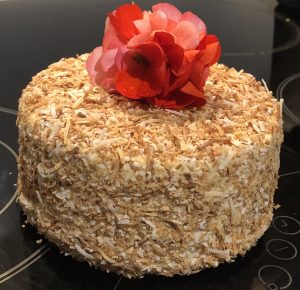
Rose Raspberry and Pistachio Cake
-
Ok so maybe not the most unusual flavours but this combo of sweet, sour, smoothness, crunch and softness is high satisfying with many texture sensations.
The lemon, raspberry and Greek yogurt tang dull down the potential for a floral overpower, delivering on a beautiful rose undertone.
A delicious and delicate fruity, floral and zesty cake.
Ingredients:
- 260g butter
- 280g sugar
- 2 tsn lemon zest
- 4 eggs
- ½ tsn rosewater essence
- 200g pistachios
- 160g self-raising flour
- 80g flour
- 20g Greek yoghurt
Icing:
- 120g butter
- 250g icing sugar
- 1 tsn rosewater essence
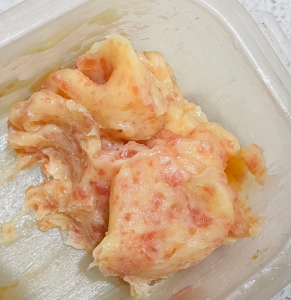
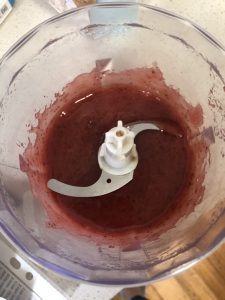
- 120g raspberries
Method:
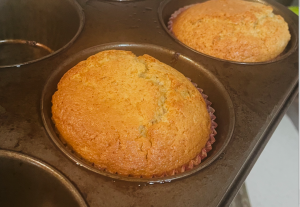
- Pre-heat the oven to 170c degrees and line a cake tin with baking paper.
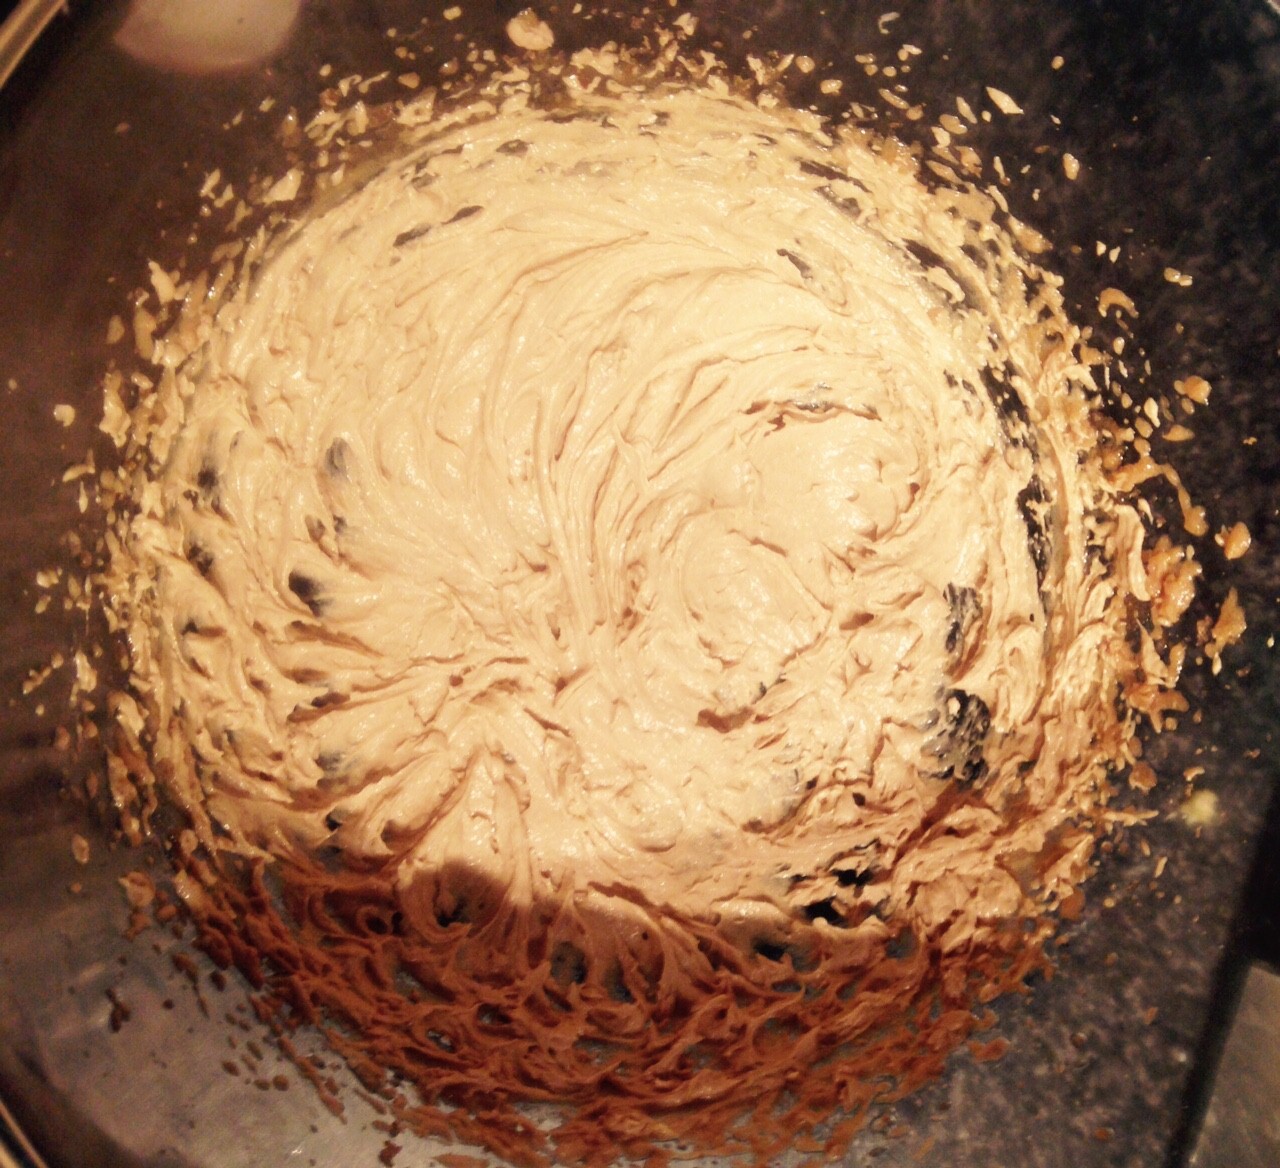
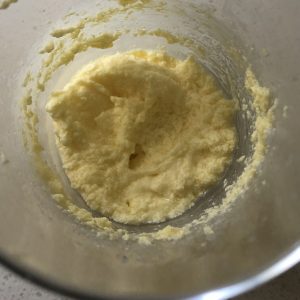
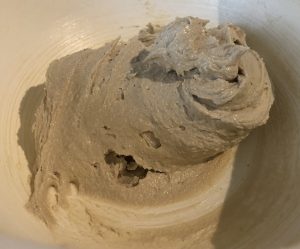
- Cream the butter and the sugar with electric beaters until light and fluffy.
- Beat in the zest for 1 minute.
- Add the eggs, one at a time beating in between each addition.
- Add the rosewater essence and beat until combine.
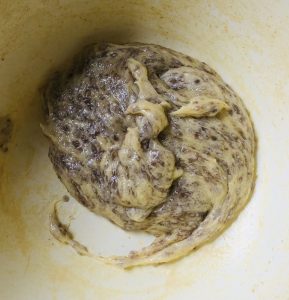
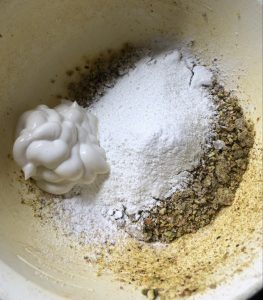
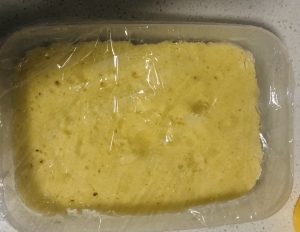
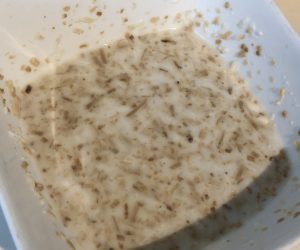
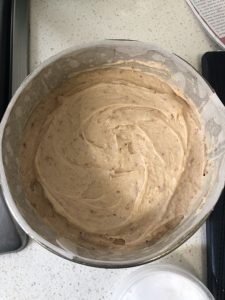
- Place the pistachio kernels in a food processor and blitz until the mix resembles fine breadcrumbs.
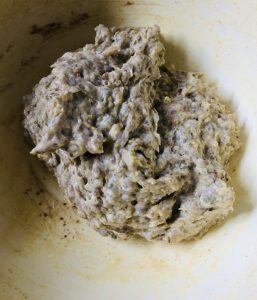
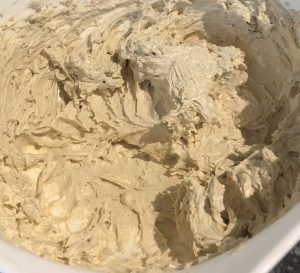
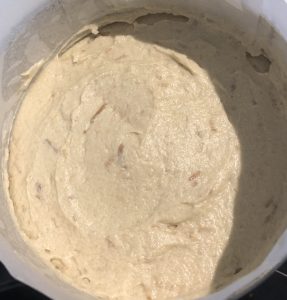
- Place 160g of the blitzed pistachio in the mix along with the flours and yoghurt. Fold until combine.
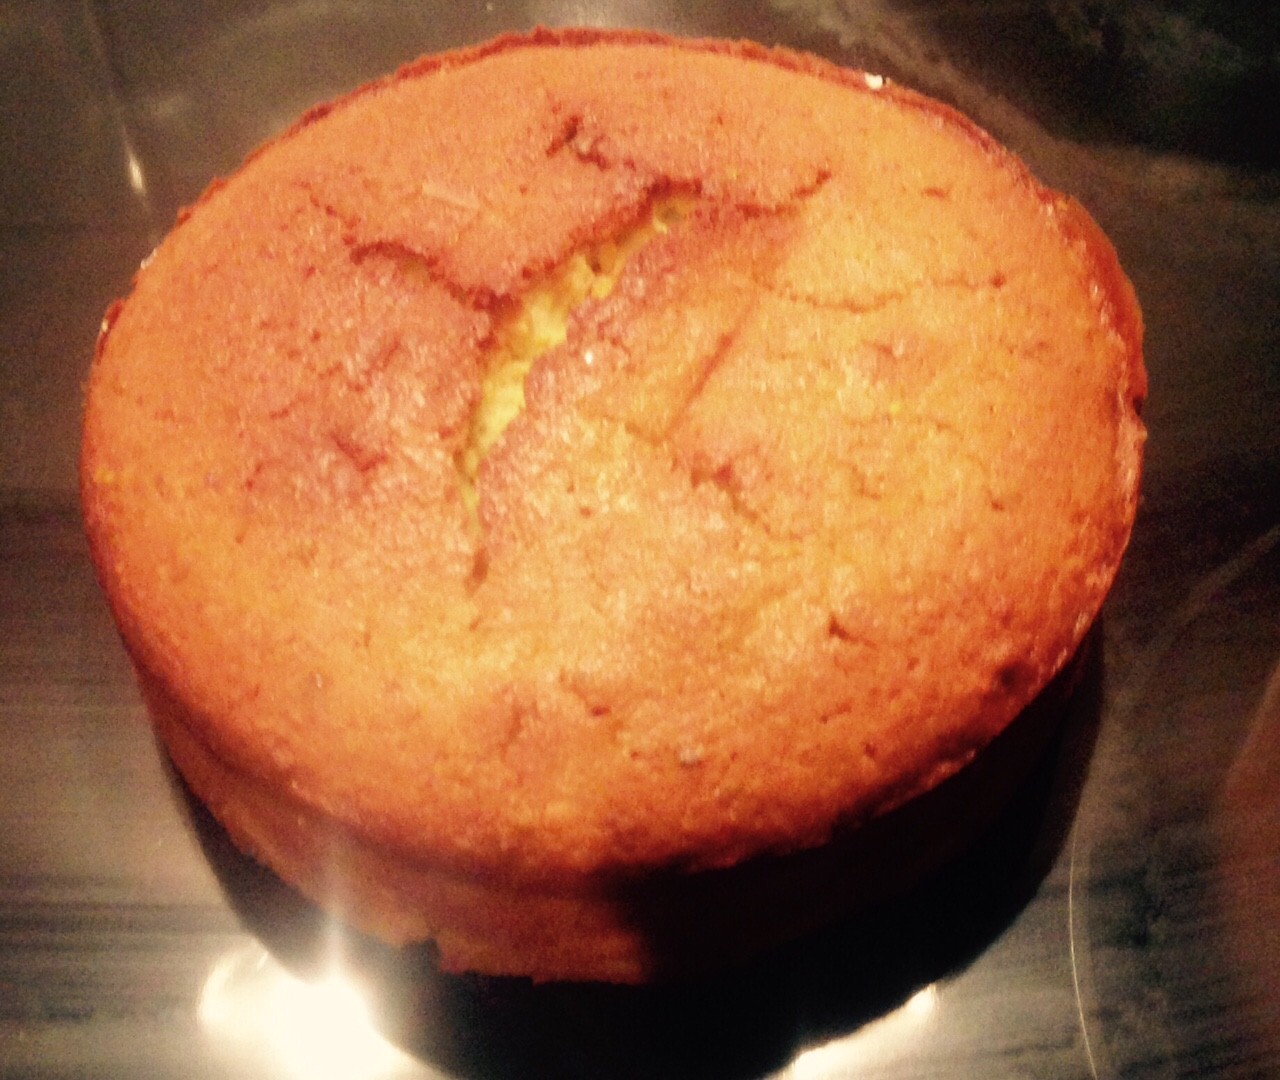
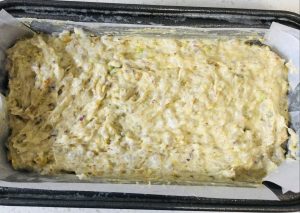
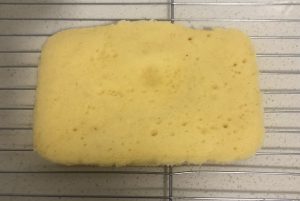
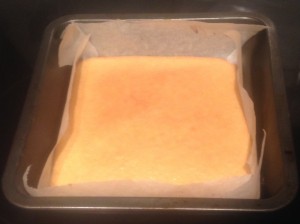
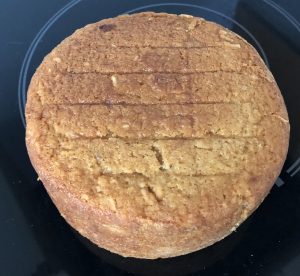
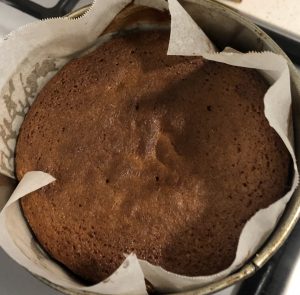
- Pour the mix into the cake tin and bake for 1 hour or until a skew inserted into the middle of the cake comes out clean.
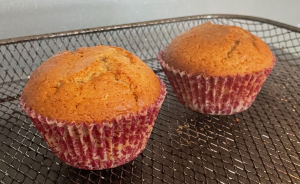
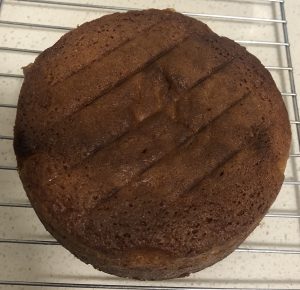
- Leave in the tin for 5 minutes then invert the cake onto a cooling rack.
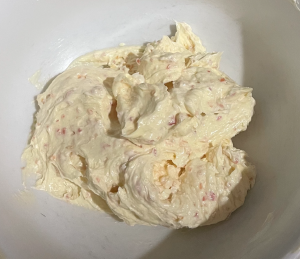
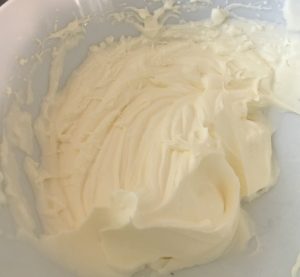
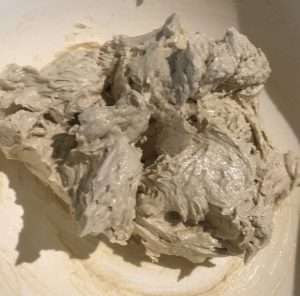
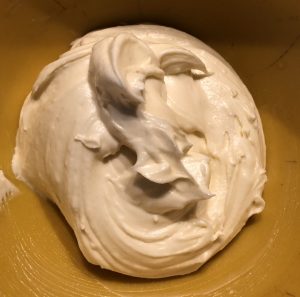
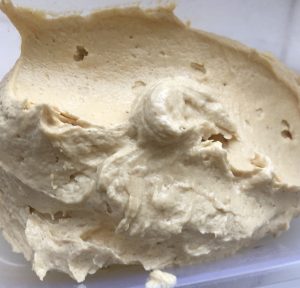
- To make the icing beat the butter, icing sugar and essence until light and fluffy.
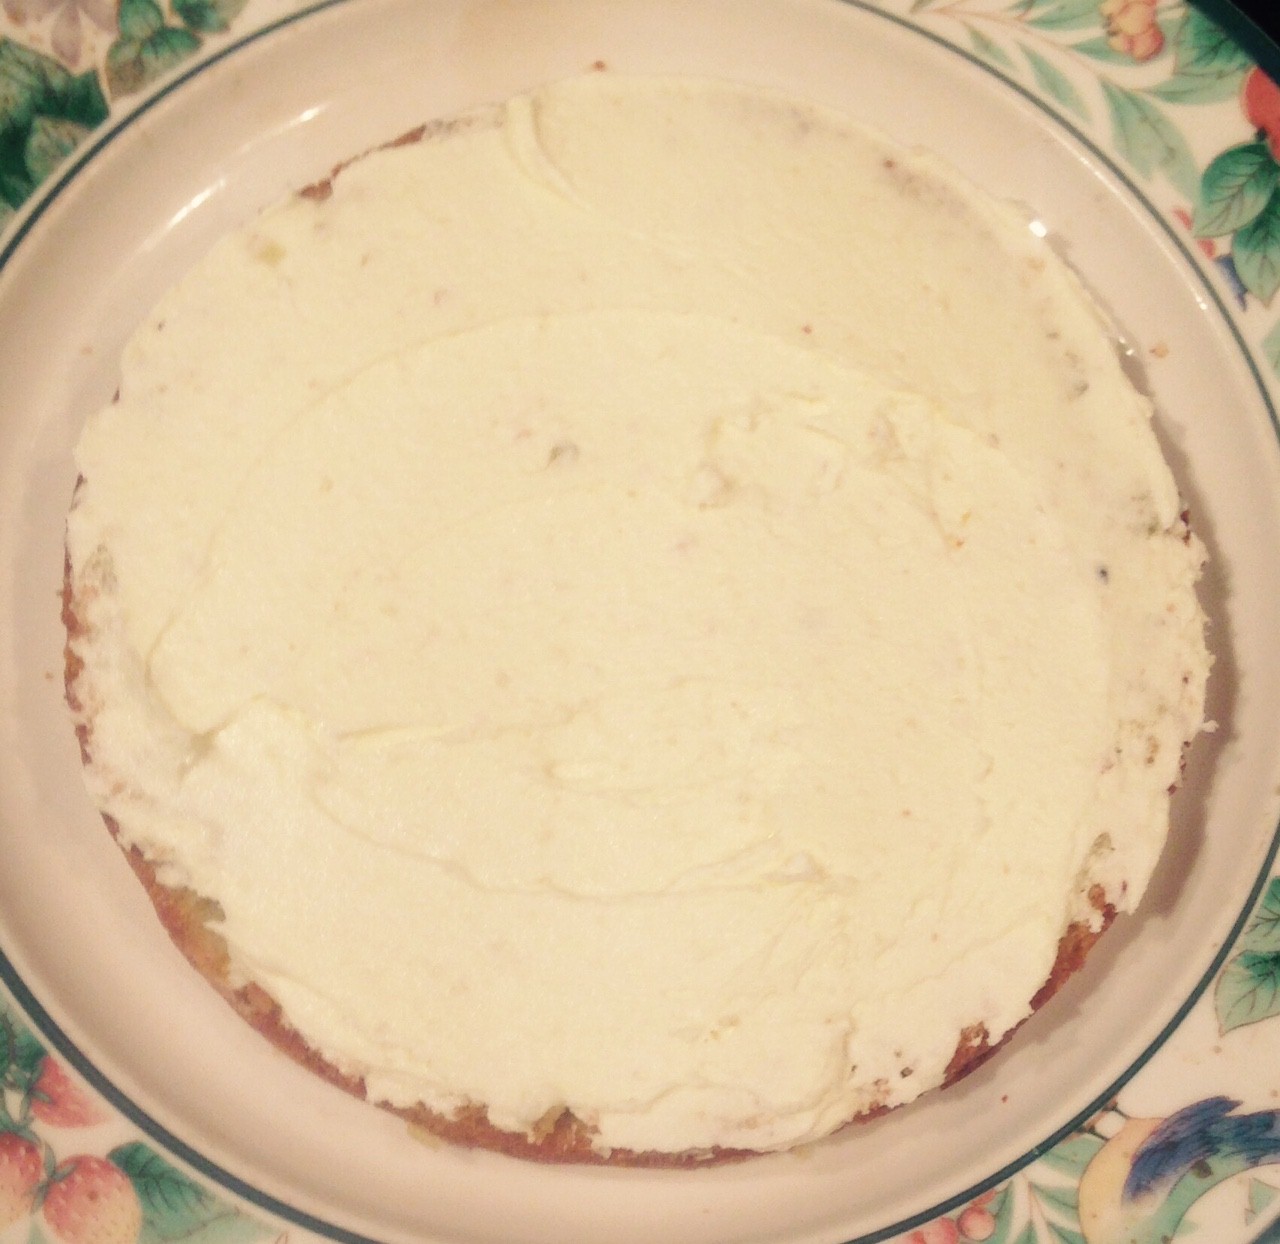
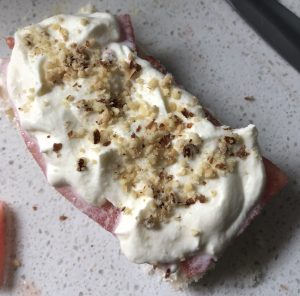
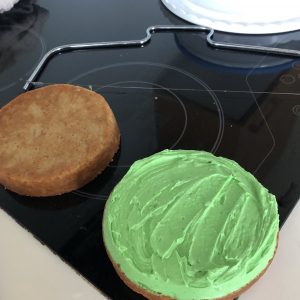
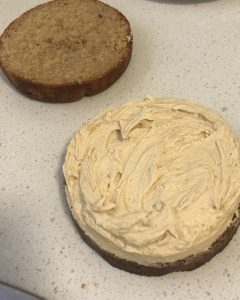
- To assemble the cake cut the cake in half horizontally.
- Spread 1/3 of the icing onto the top of both cut cake sides.
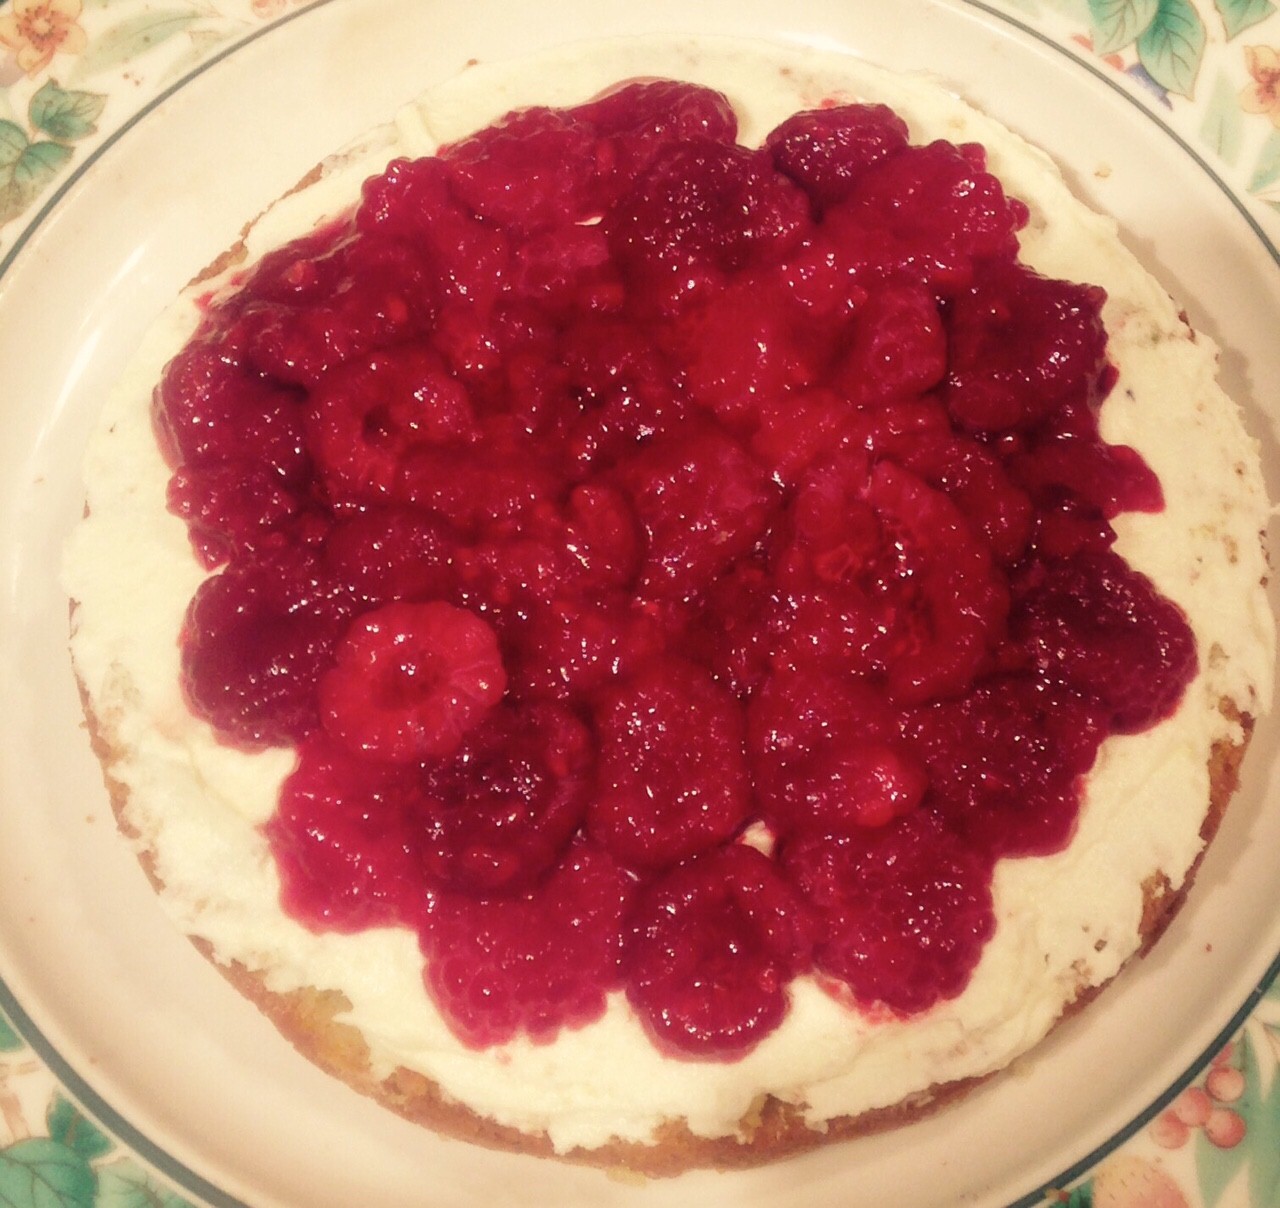
- Place the bottom cake on a plate, icing side up. Place the raspberries onto of the icing.
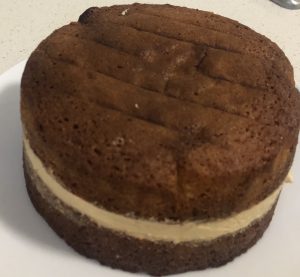
- Sandwich the cake layers together with the top layer icing side down.
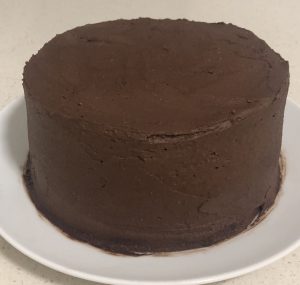
- Using the remaining icing to spread the top and sides of the cake.
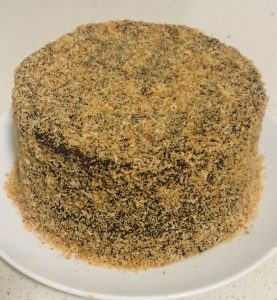
- Sprinkle the remaining 40g of pistachio over the top of the cake and enjoy.
Note:
- If the berries are frozen place them on paper towel to thaw and soak up the liquid before layering on the cake.
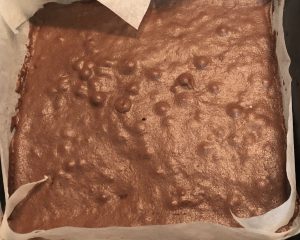
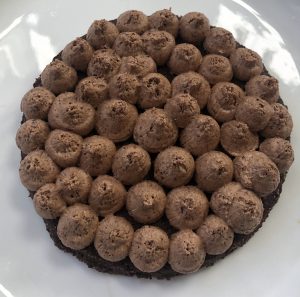
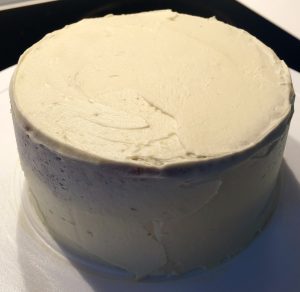
Step
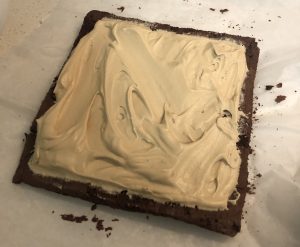
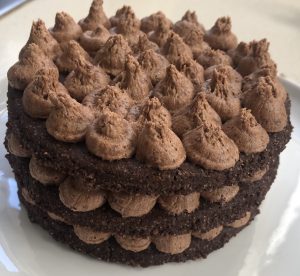
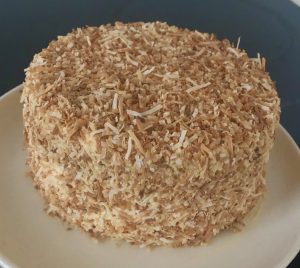
Step
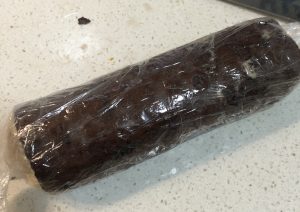
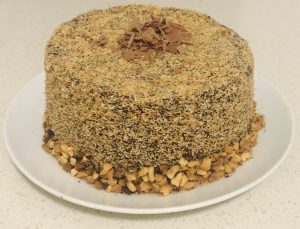
Step
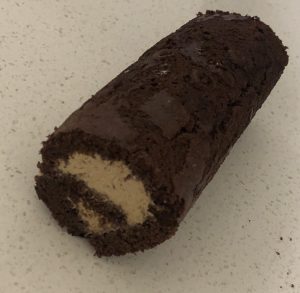
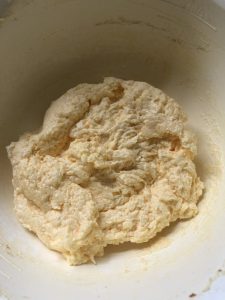
Step
Like this recipe? Subscribe via RSS or email to get my new entries and more scrumptious recipes with reviews.
 Follow


