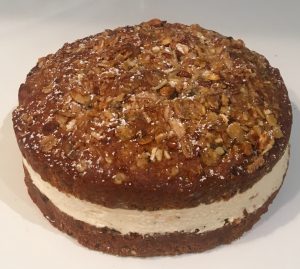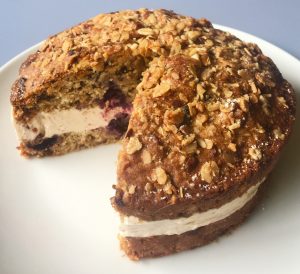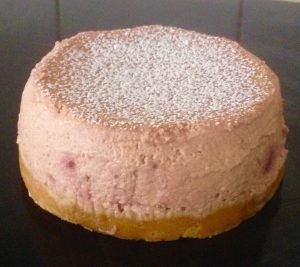
Taking inspiration from Middle Eastern flavours as well as my Baklava Cake and my Hazelnut Cake with Spiced Syrup this recipe takes their tastes and textures but with a ‘new age’ twist.
Gluten free and egg free this recipe uses ingredients usually found in ‘alternative’ style recipes.
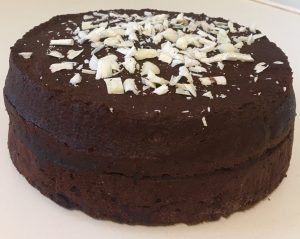
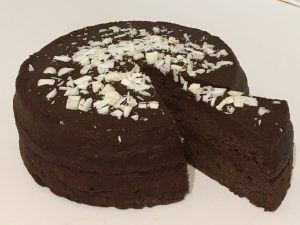
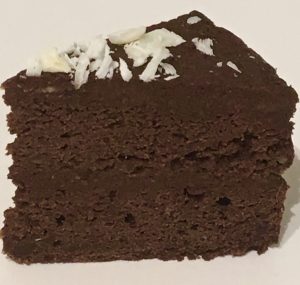
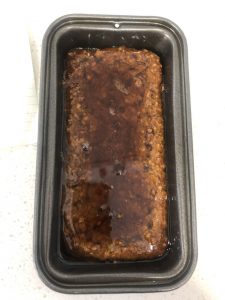
The texture the chia seeds produces, the silkiness of the syrup along with the rose, pistachio, cinnamon, honey and pomegranate flour profiles makes this a delectable treat.
Ingredients:
Slice:
- 4 tbsn chai seeds
- 8 tbsn water
- 160g shelled pistachios
- 120g butter
- 100g sugar
- 80g cornflour
- 1 tsn salt
- 1 tsn cinnamon
- 1 tsn baking powder
- 200g vanilla yoghurt
Syrup:
- 180ml water
- 120g honey
- 100g sugar
- 1 tbsn pomegranate molasses
- 1 tsn cinnamon
- 1 tsn rosewater essence
Method:
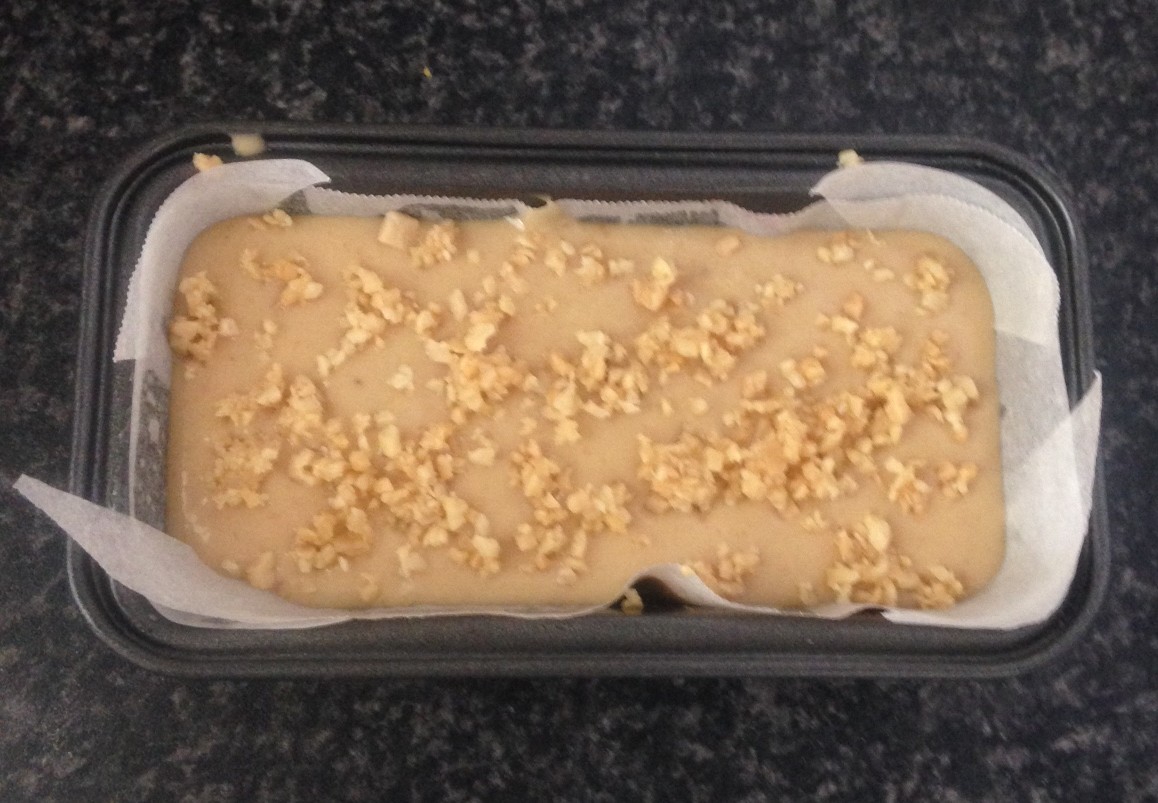
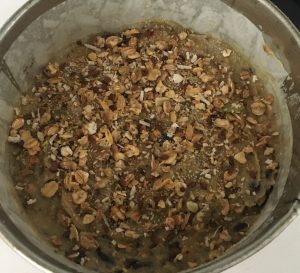
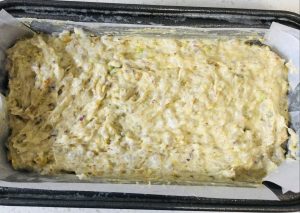
- Preheat the oven to 180c and line a 20cm cake tin with baking paper.
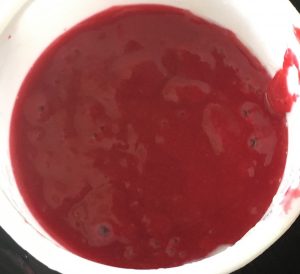
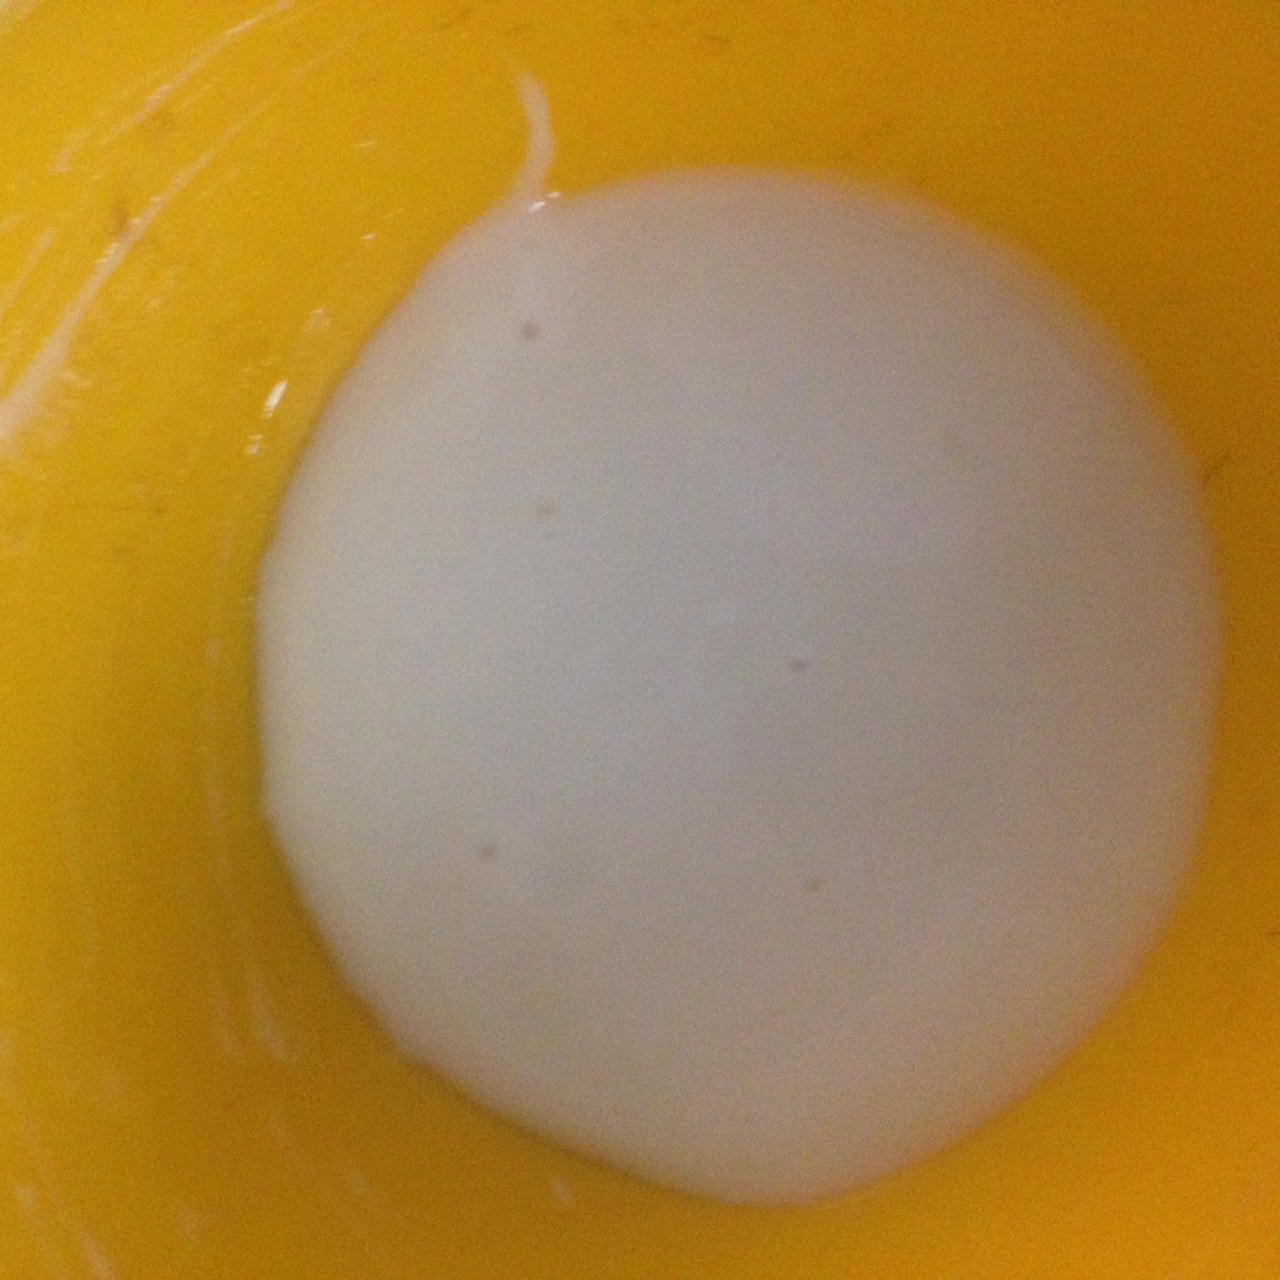
- Ground the chia seeds and mix with the 8 tbsn water, leave aside until the water is absorbed.
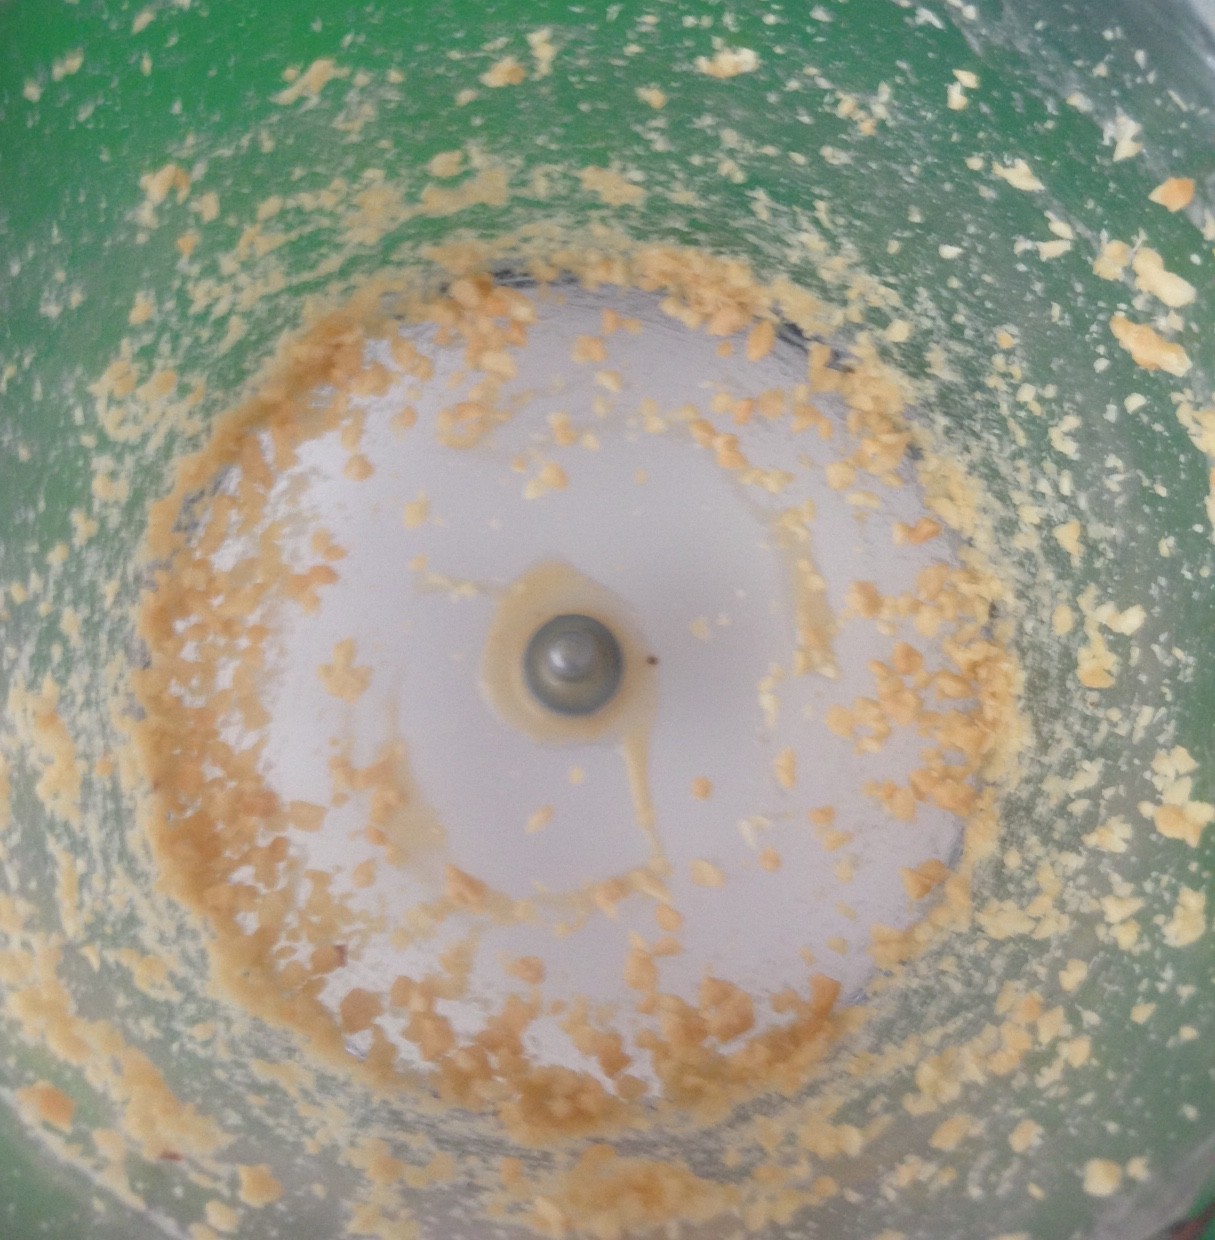
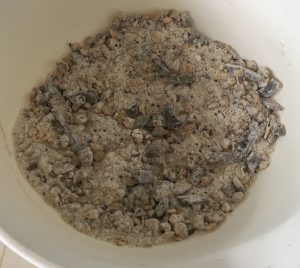
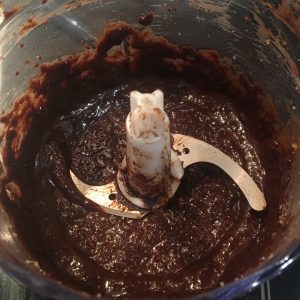
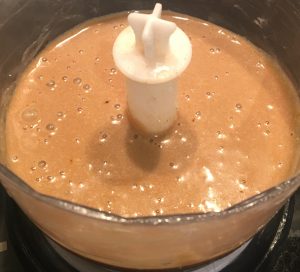
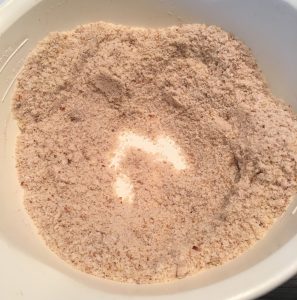
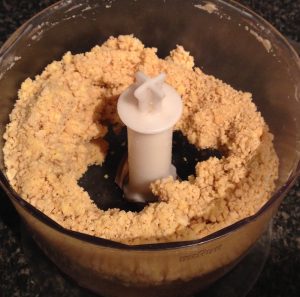
- Place the shelled pistachios into a food processor and blitz until the mix resembles a sand-like texture (think almond meal).
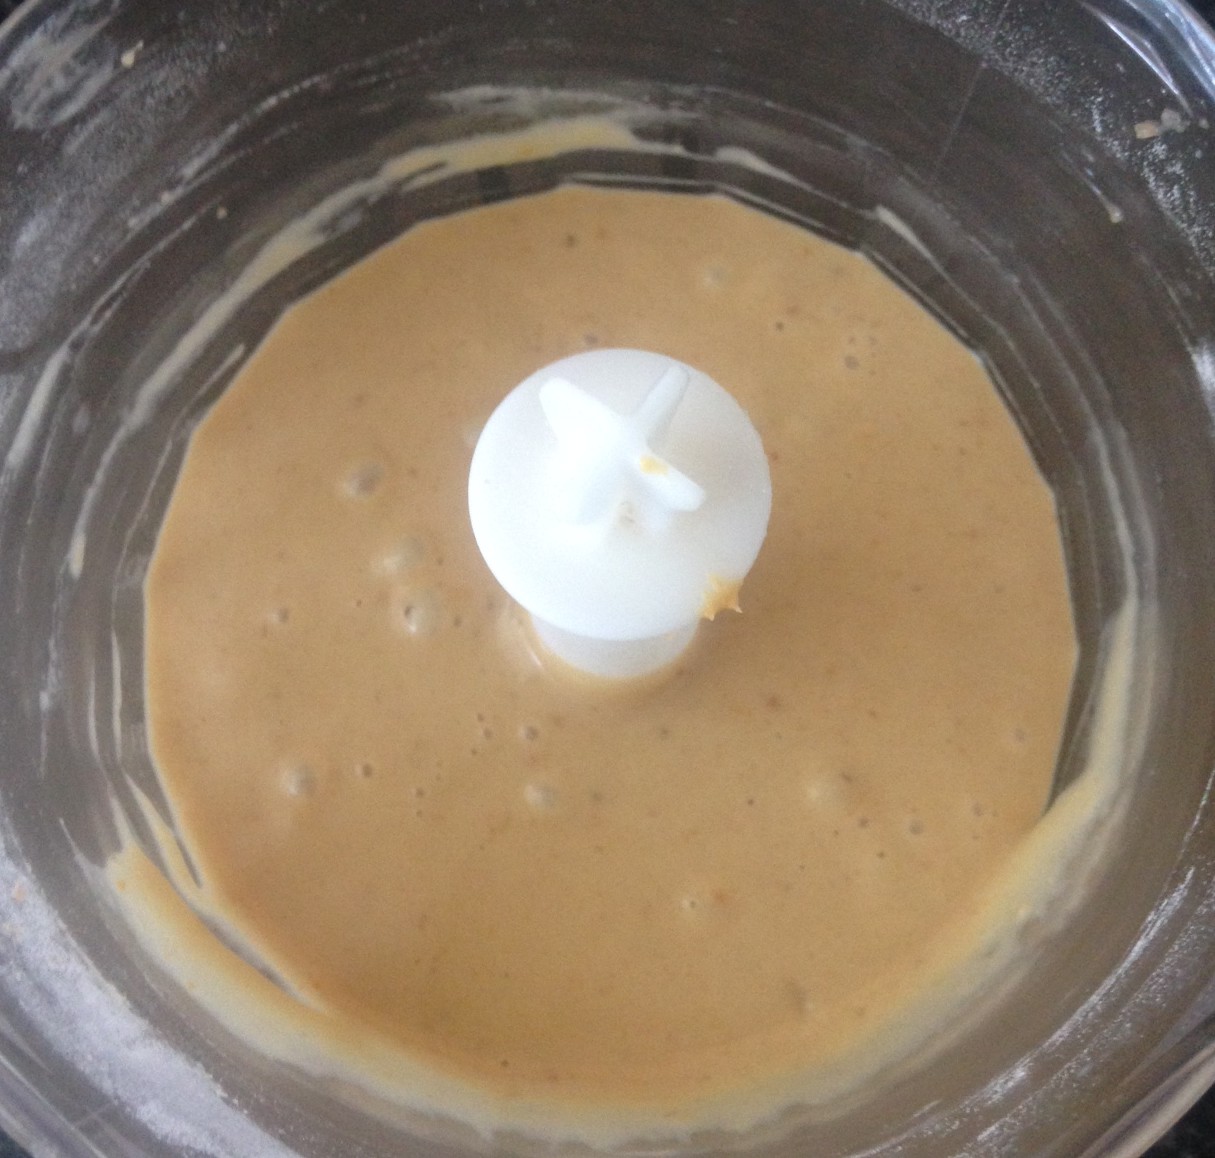
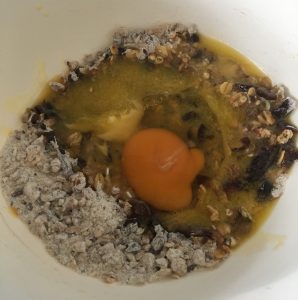
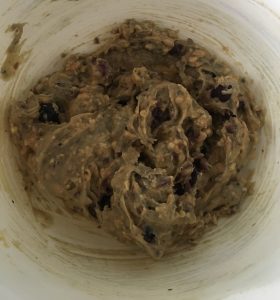
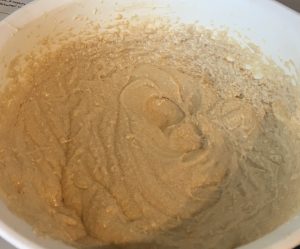
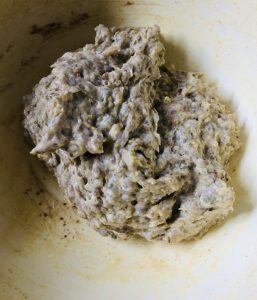
- Beat butter and sugar with electric beaters until pale and fluffy.
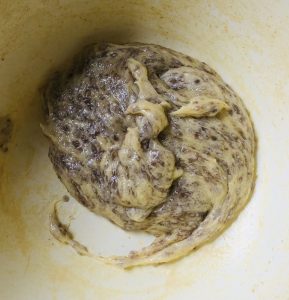
- Add the chia mix and beat until combine.
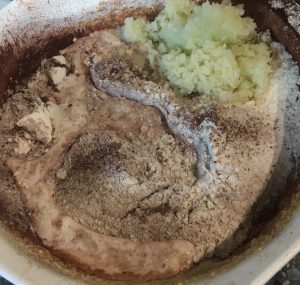
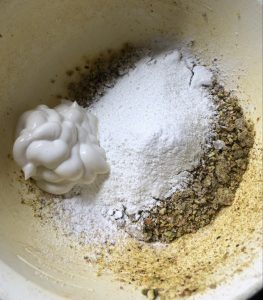
- Sift in the corn flour, cinnamon, salt and baking powder.
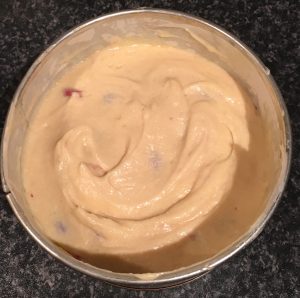
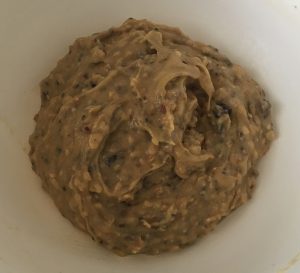
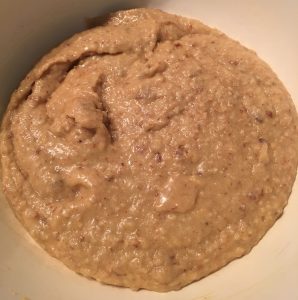
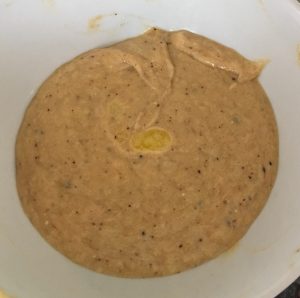
- Add pistachio meal and yoghurt and stir to combine.
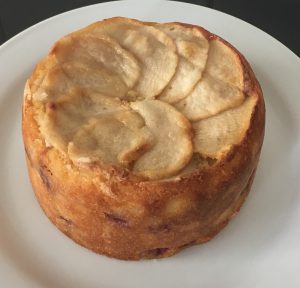
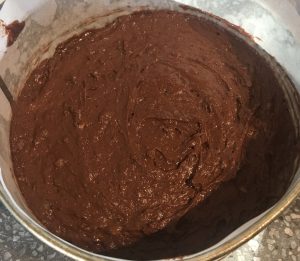
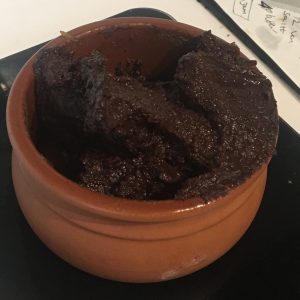
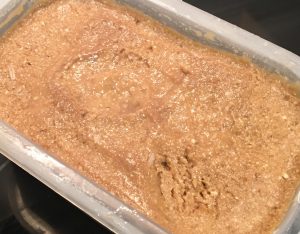
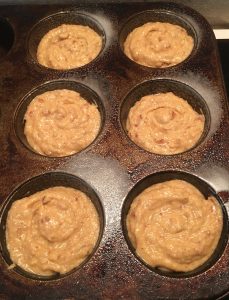
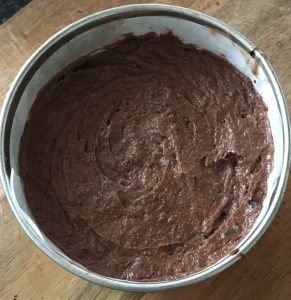
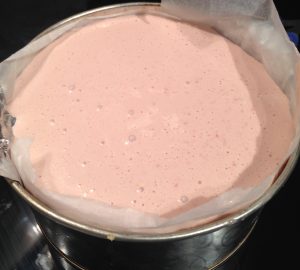
- Pour the batter into the tin and bake for 45 minutes or until a skewer inserted in the center comes out clean.
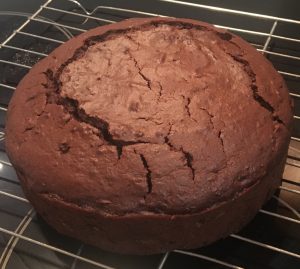
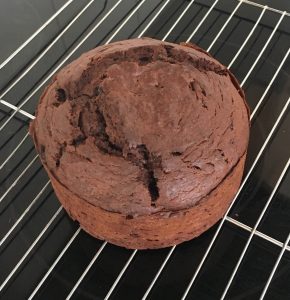
- Leave the cake in the tin to cool.
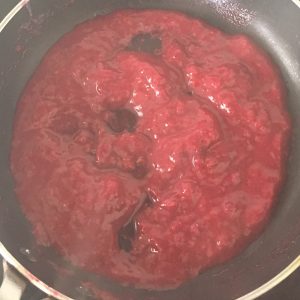
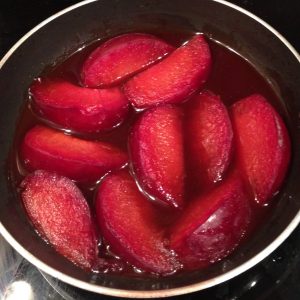
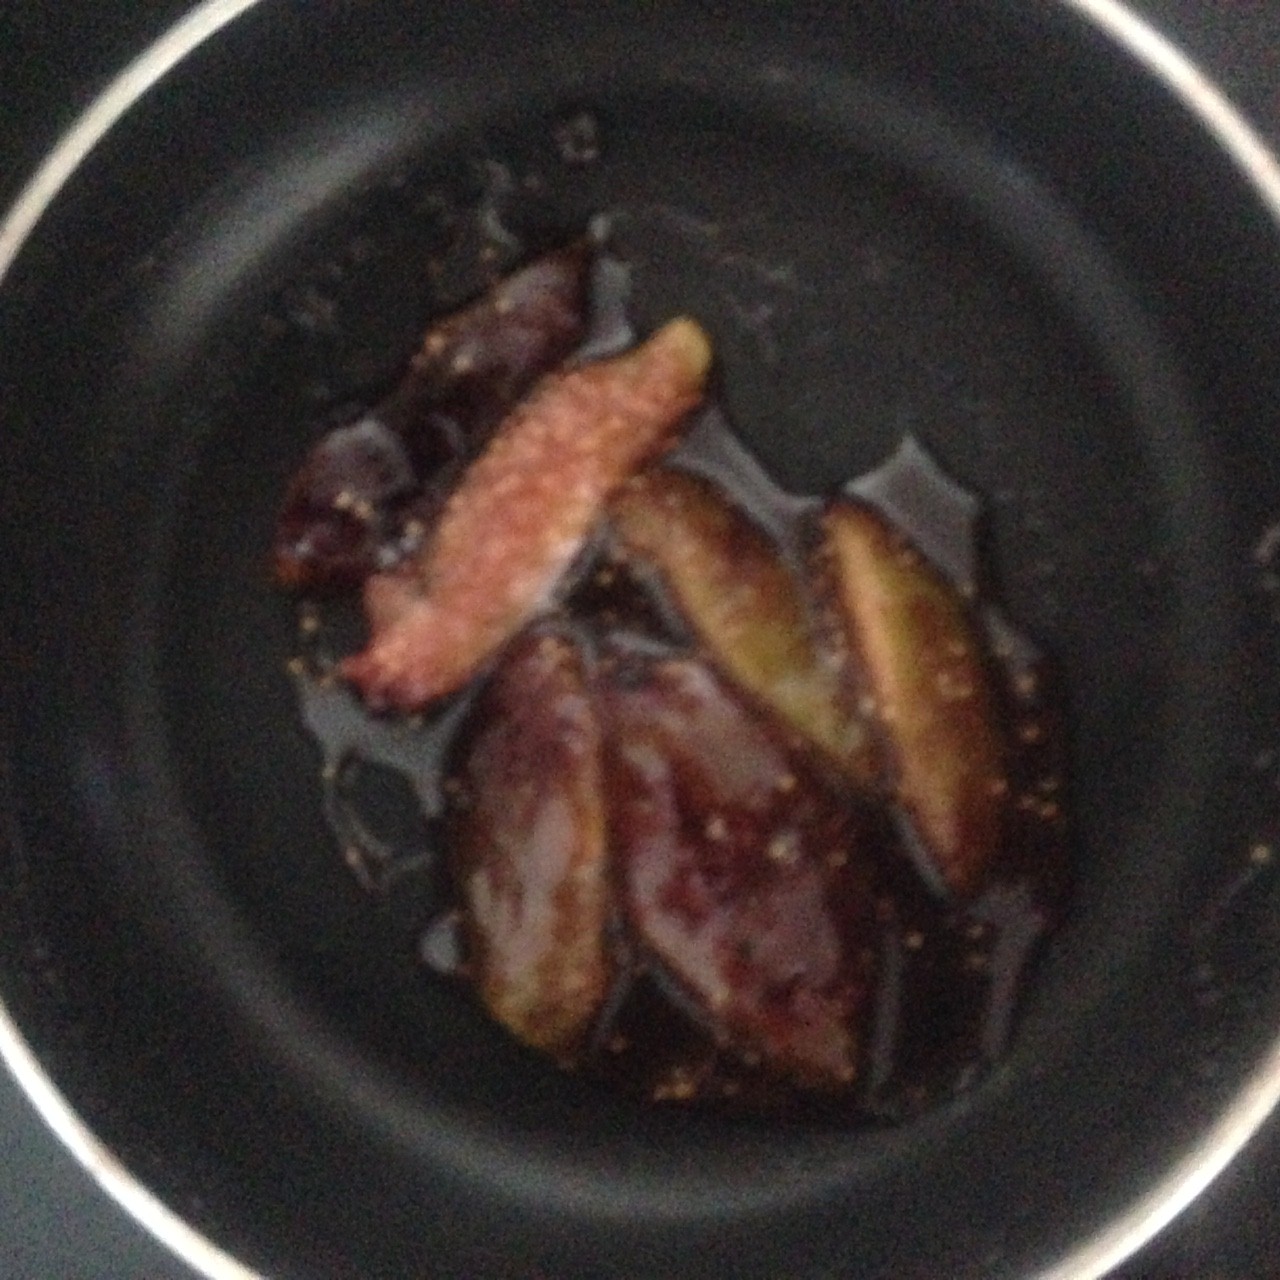
- To make the syrup add the water, honey, sugar and pomegranate molasses into a pot.
- Put the pot on the stove on medium heat, stiring until the sugar dissolves, then bring to the boil until the syrup has thickened.
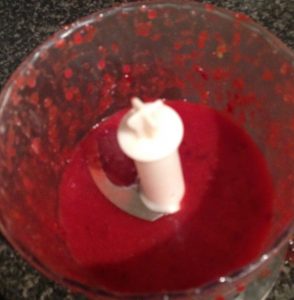
- Take the pot off the heat and whisk in the cinnamon and rosewater essence.
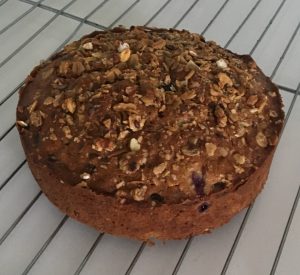
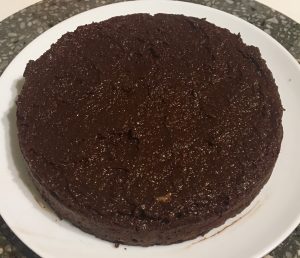
- Poke the cake with a skewer in the top multiple times and pour the syrup over the top.
- Leave the cake aside to completely cool and soak up the syrup.
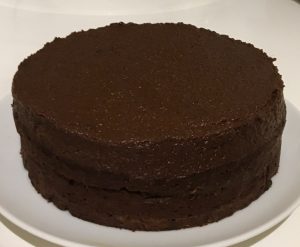
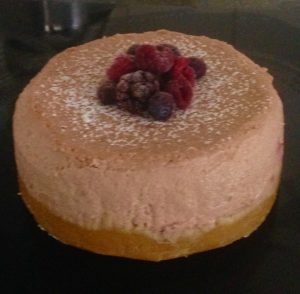
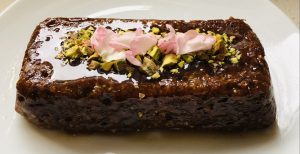
- Invert the cake onto a plate and top with the remaining syrup from the cake tin.
Notes:
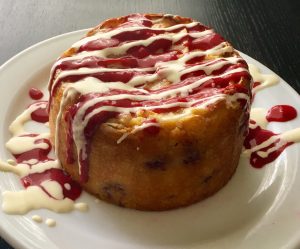
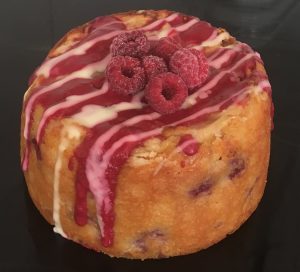
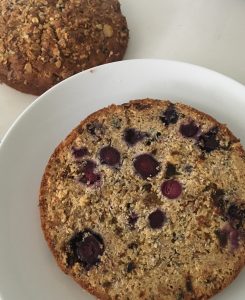
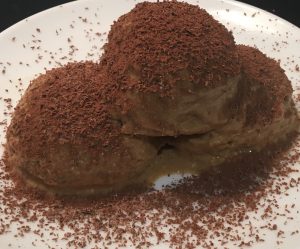
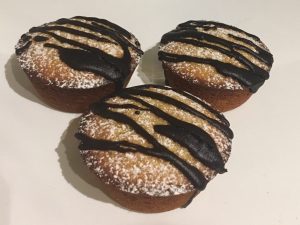
- I sprinkled with extra pistachios and rose petals.
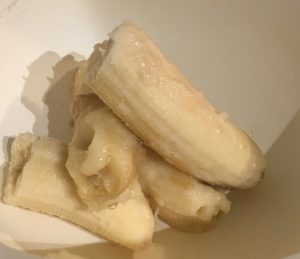
- You can replace the chia mix with 3 eggs if preferred.
- Serve with thickened cream if desired.
Step 5
Step 6
Step 7
Step 8
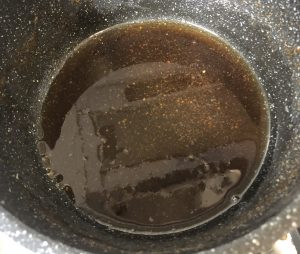
Step 12
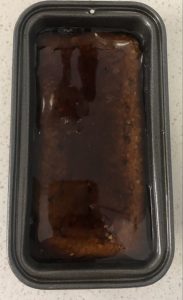
Step 14
Step 14
 Follow