Fig Lavender and Honey Mini-Tarts
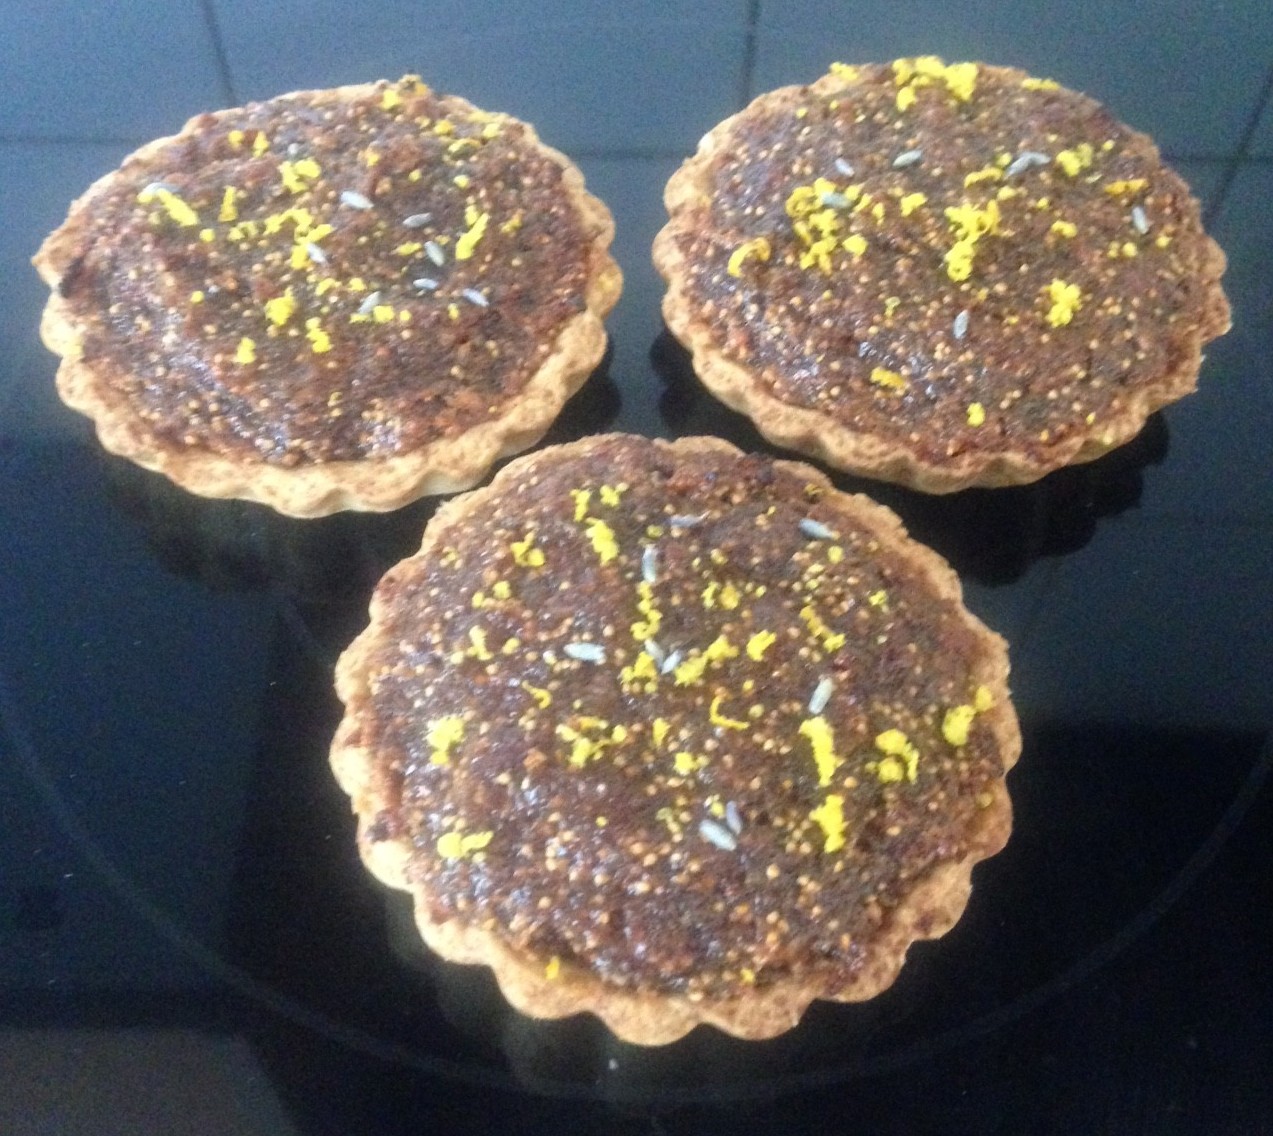
The taste of this tart is Christmas in a nutshell, but you do need to be a lover of figs that’s for sure!
After playing around with the size, flavours and quantities of a mince-pie alternative tart (I love mince pies apart from the filling aka the main part of a mince pie lol), I ended up happy with little bite sized tarts (almost canapé style).
If you like mince pies but prefer figs over sultanas this is the perfect mince pie replacement Christmas treat for you.
You never know, you may convert yourself to a new Christmas fav, others too!
Ingredients:
Pastry:
- 100g flour
- 50g butter
- 25g sugar
Filling:
- 20g honey
- ½ tsn ground lavender
- 225g dried figs
- ¼ tsn apple cider vinegar
- ½ tsn orange zest
Decoration:
- Honey
- Lavender flowers
- Orange zest
Method:
- Pre-heat the oven to 200c degrees.
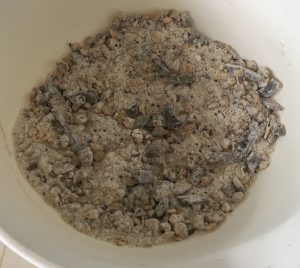
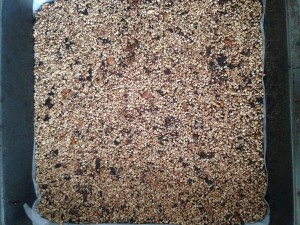
- Place the pastry ingredients into a food processor and blitz until the mix resembles fine breadcrumbs.
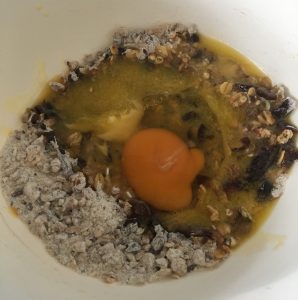
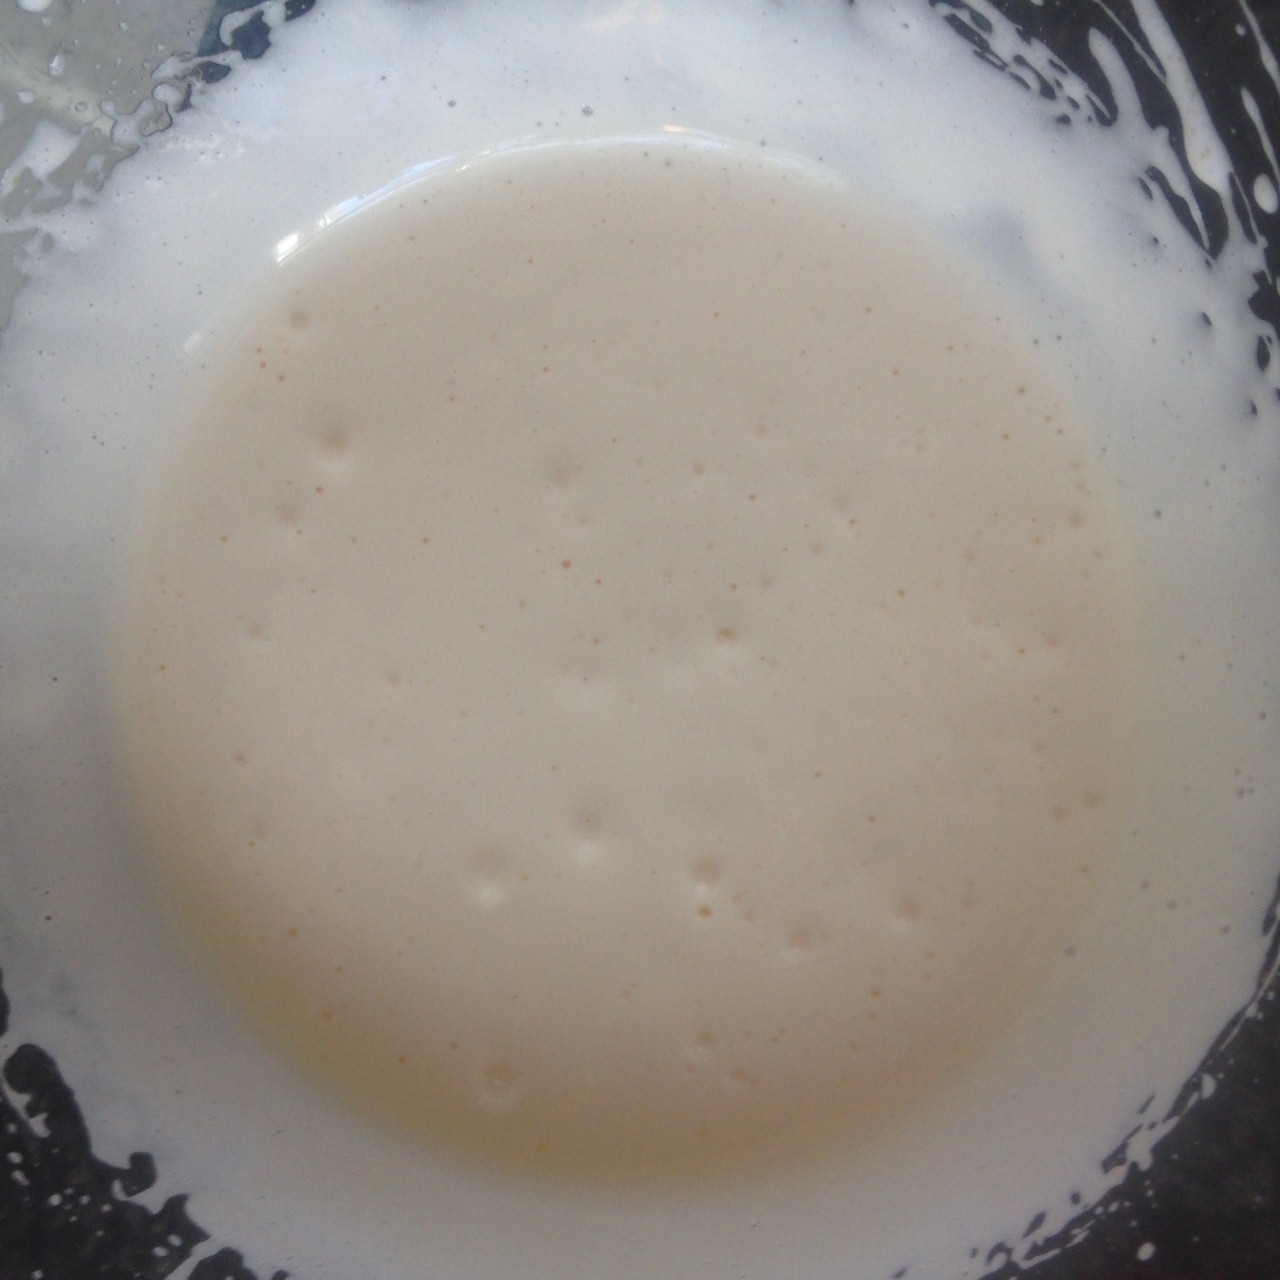
- Add 25ml of water and process until the mix resembles dough and comes away from the sides of the bowl. If this does not occur and the mix looks too dry add an extra 5ml of water and process again.
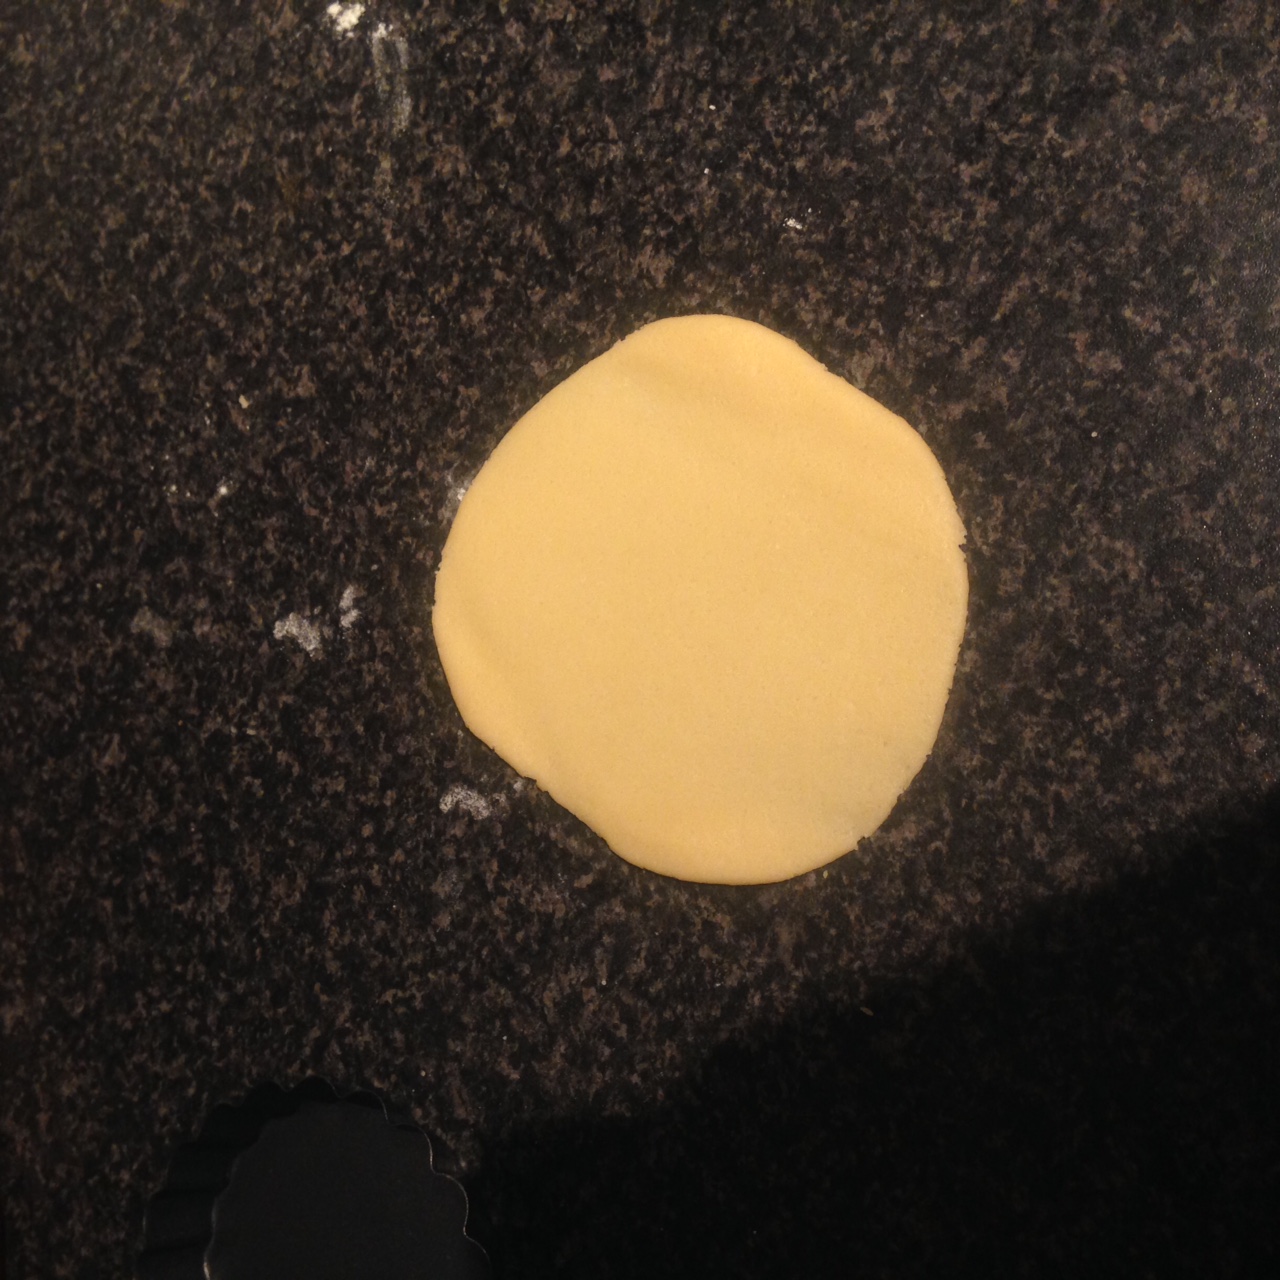
- Place the dough on a floured bench and knead the dough for a minute. Following divide the dough into 12 balls of 15g each.
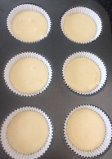
- With a rolling pin roll the balls into disks and place them into 12 mini (1 + ½ tbsn capacity) tart cases. OR as an alternative grease a small cupcake tin and place the disks in the bottom and sides of the tin cupcake holes (a 24 capacity – 33x22cm sized tin are quite common to have or find).
- Prick the pastry with a fork a few times and place the tarts in the fridge for 30 minutes.
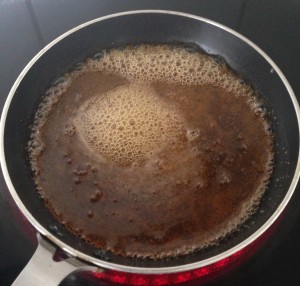
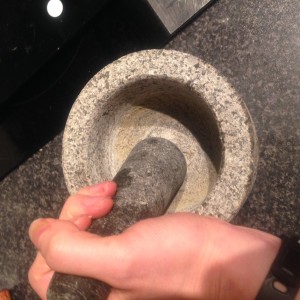
- Meanwhile make the filling by placing the lavender into a mortar and pestle and grind until the lavender is too a powder consistency.
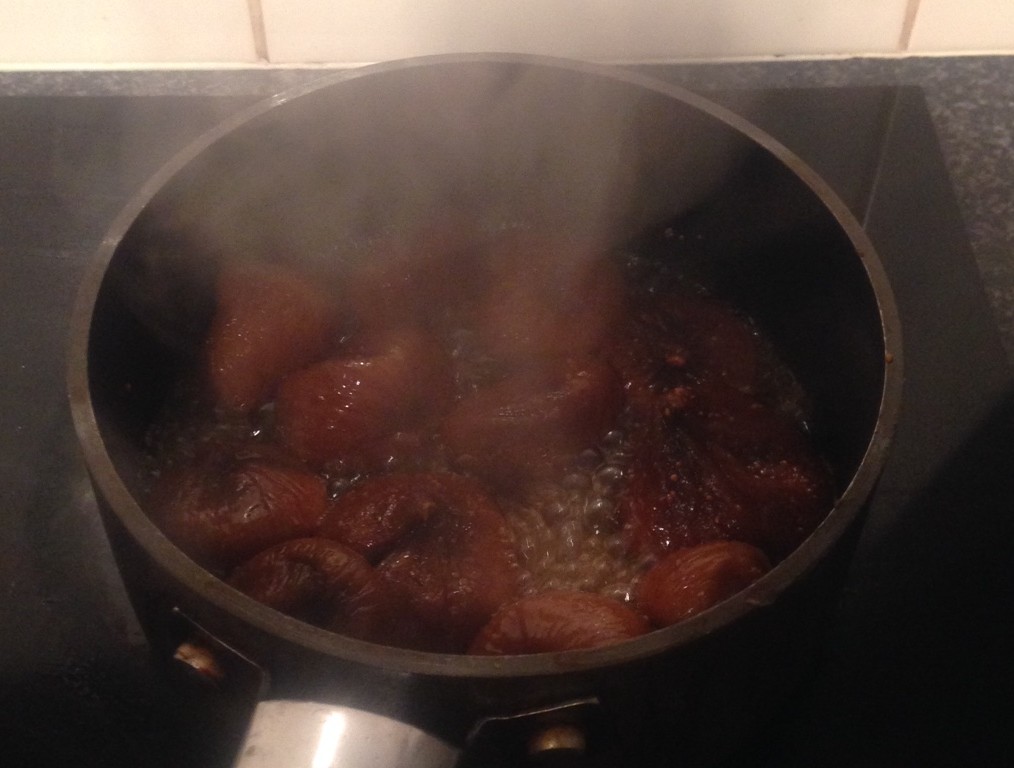
- Place the figs, 320ml of water, honey, lavender, vinegar and orange zest in a pan on a medium heat.
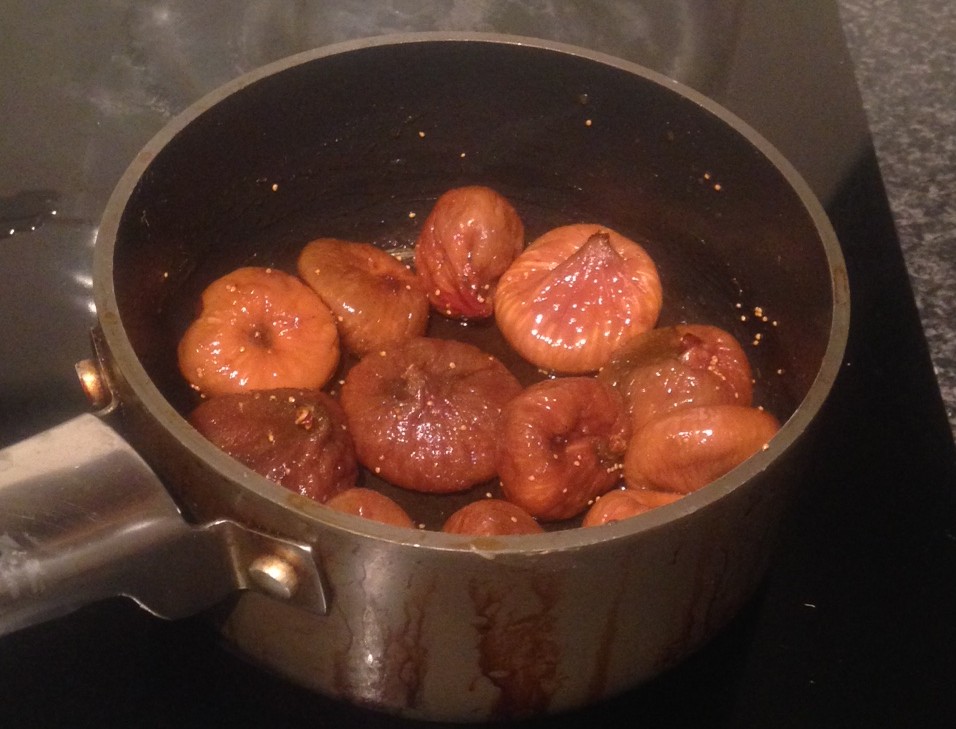
- Boil the mix for 15 minutes; stirring every few minutes until the figs are plumb and the water is to a syrupy sticky consistency.
- Place the mix into the food processor and blitz until the figs are at a paste consistency.
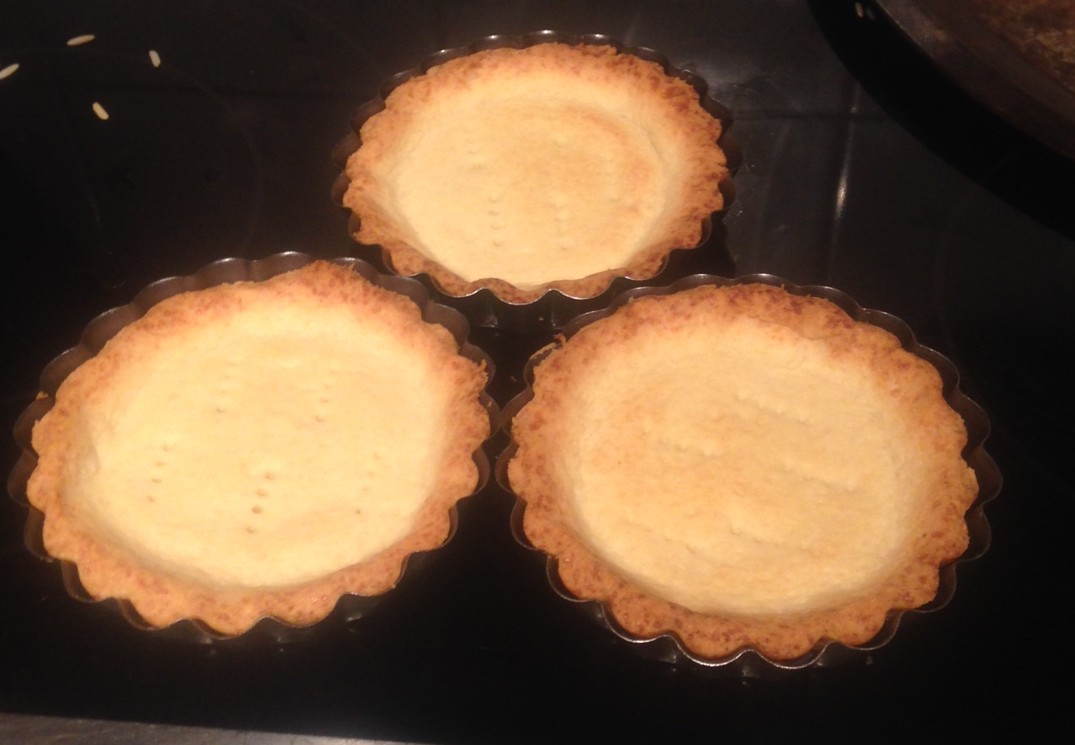
- Place baking paper in the center of each tart case followed with some rice or baking weights to weight down the rise of the pastry base while cooking.
- Place the tart shells in the oven for 10 minutes.
- Remove the baking paper and weights and bake in the oven for a further 8 minutes or until the tart shells are slightly golden brown.
- Place the fig mix into the tart shells and bake for a further 5 minutes.
- Remove the tarts from the oven and once cooled if you wish add a few lavender flowers and a little orange zest for decoration.
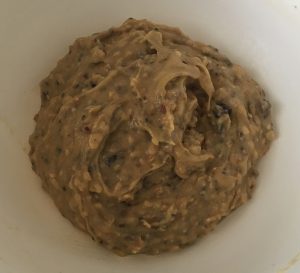
Step 5

Step 5
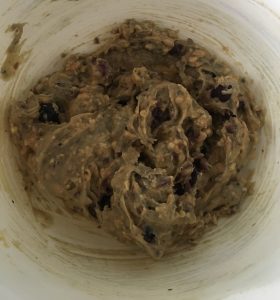
Step 7
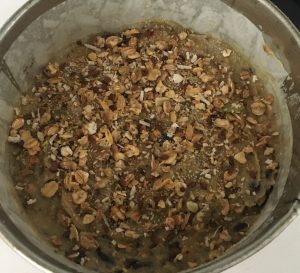
Step 8
Step 9
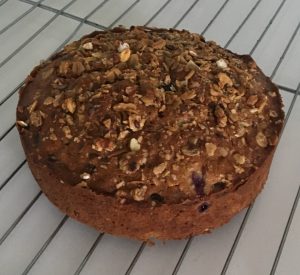
Step 13
Like this recipe? Subscribe via RSS or email to get my new entries and more scrumptious recipes with reviews.
 Follow