A far cry from traditional French crepes, these crepes are my little spin on a traditional treat with some interesting and complementary flavours.
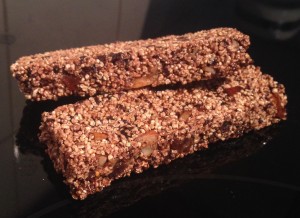
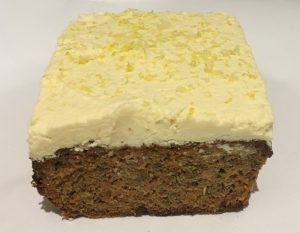
Originally this bake session was for Almond, Lime, Coconut, Honey, Cinnamon, Cardamom and Raspberry scrolls…wow looking back that’s quite the number of flavours!
The scrolls were nice but the lime, Coconut and Raspberry were by far the most flavour stealing ingredients, making the spices unneeded.
The honey gave the sweetness and almonds the textural crunch, thus played a role in the recipe…however when I redid the scrolls without the spices and changing the volumes of ingredients the scrolls were still not what I was looking for.
The next day when strolling my local shopping community, I had a crepe and as I couldn’t recall the last time I had a crepe I decided to make some myself, incorporating the previous days bake ingredients into the dessert.
The outcome is this super easy, taste-bomb crepe with unusual flavours.
Ingredients:
Crepe:
- 80ml coconut cream
- 230ml milk
- 2 tsn coconut oil
- 2 eggs
- 1 cup plain flour
- ½ tsn almond essence
- 2 tsn lime zest
Syrup:
- 120ml coconut cream
- 100ml honey
- 60ml lime juice
Extras:
- Butter
- 90g raspberries
- 2 tbsn desiccated coconut, toasted
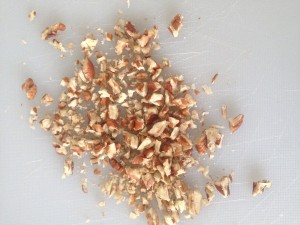
- 30g almonds, chopped
- Ice-cream, yoghurt or cream
Method:
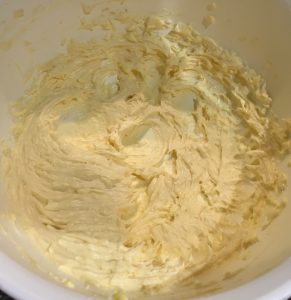
- Place all the crepe ingredients into a jug and beat with a hand whisk.
- Leave the mix covered for 30mins.
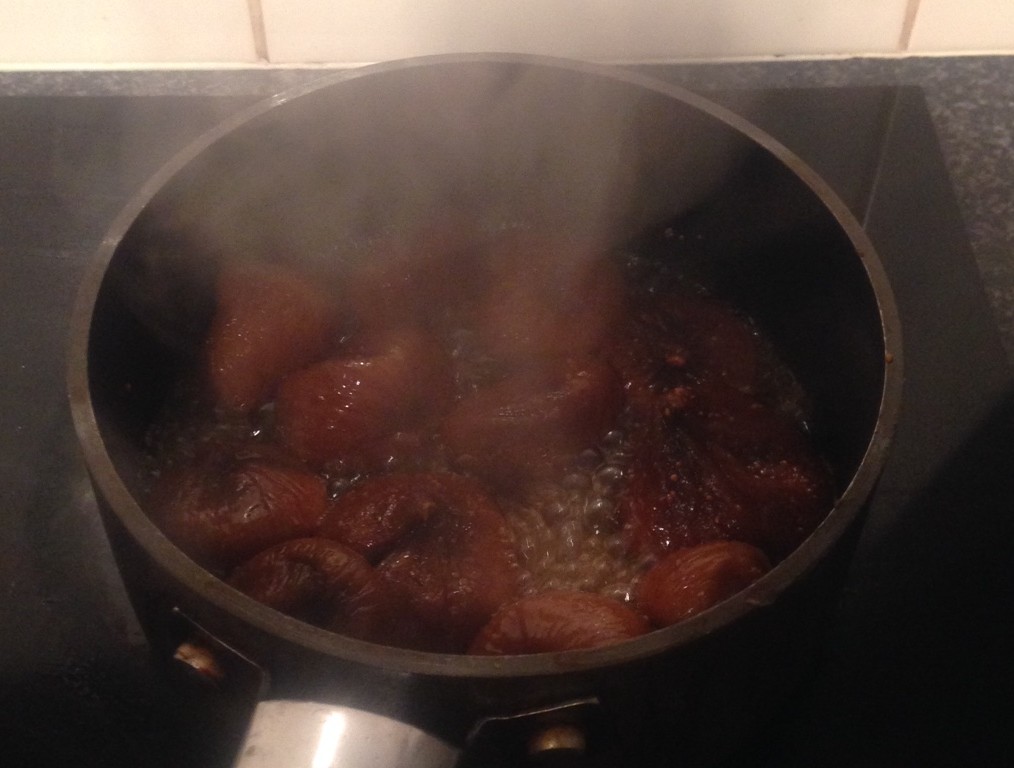
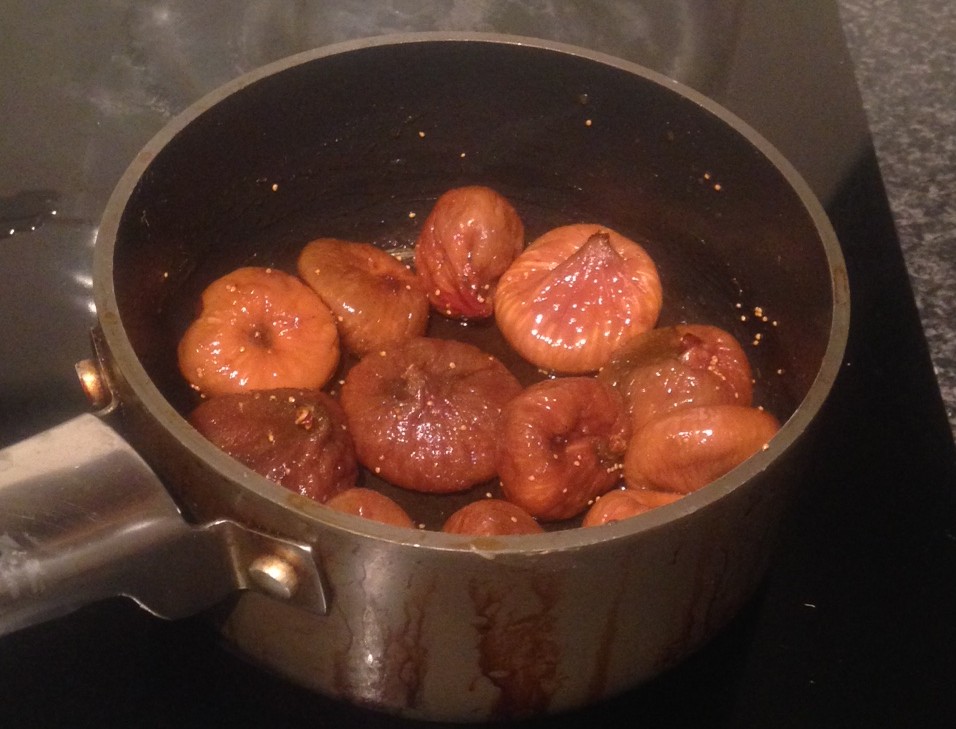
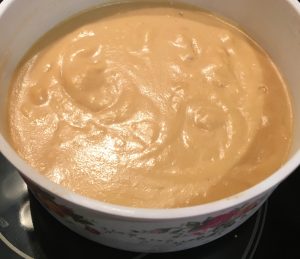
- Meanwhile make the syrup by placing the ingredients in a saucepan on medium and beat with a hand whisk.
- Allow the mix to boil to a syrupy consistency then take off the heat.
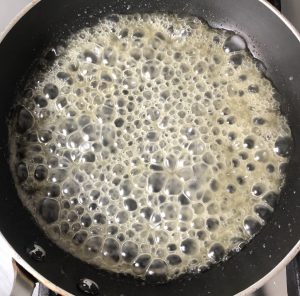
- Place a lump of butter into a 20cm saucepan on a medium heat.
- Swirl the butter over the pan to ensure full saucepan even coverage.
- Pour ¼ cup of the mix into the pan, swirling to ensure the whole saucepan base is covered.
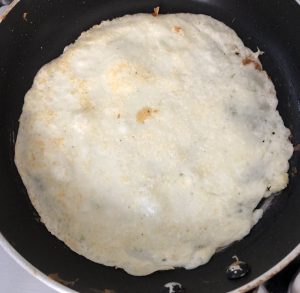
- Cook for 1 minute or until the crepe is very light and golden in colour.
- Carefully flip the crepe and cook for a further 1 minute or until lightly golden.
- Place the crepe on a plate and continue with the remaining mix.
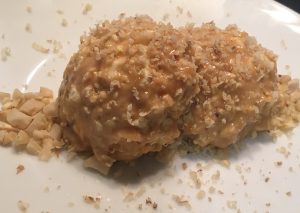
- To serve, place a crepe on a plate sprinkle some coconut and raspberries in the centre of the crepe and fold in half, repeat with all crepes.
- Top the folded crepes with chopped almonds and extra remaining raspberries and coconut.
- Lastly drizzle the crepes with the syrup and serve with a side of ice-cream or cream.

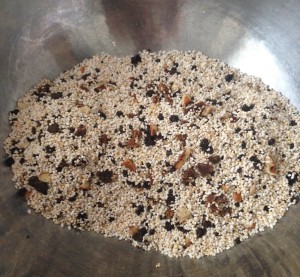
Step 2
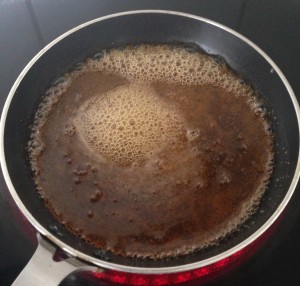
Step 4

Step 4
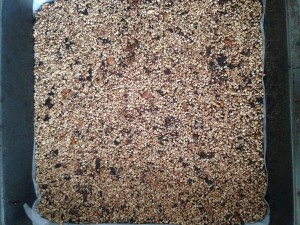
Step 8

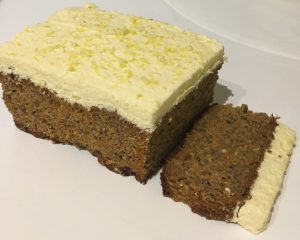
Step 10

Step 14
 Follow