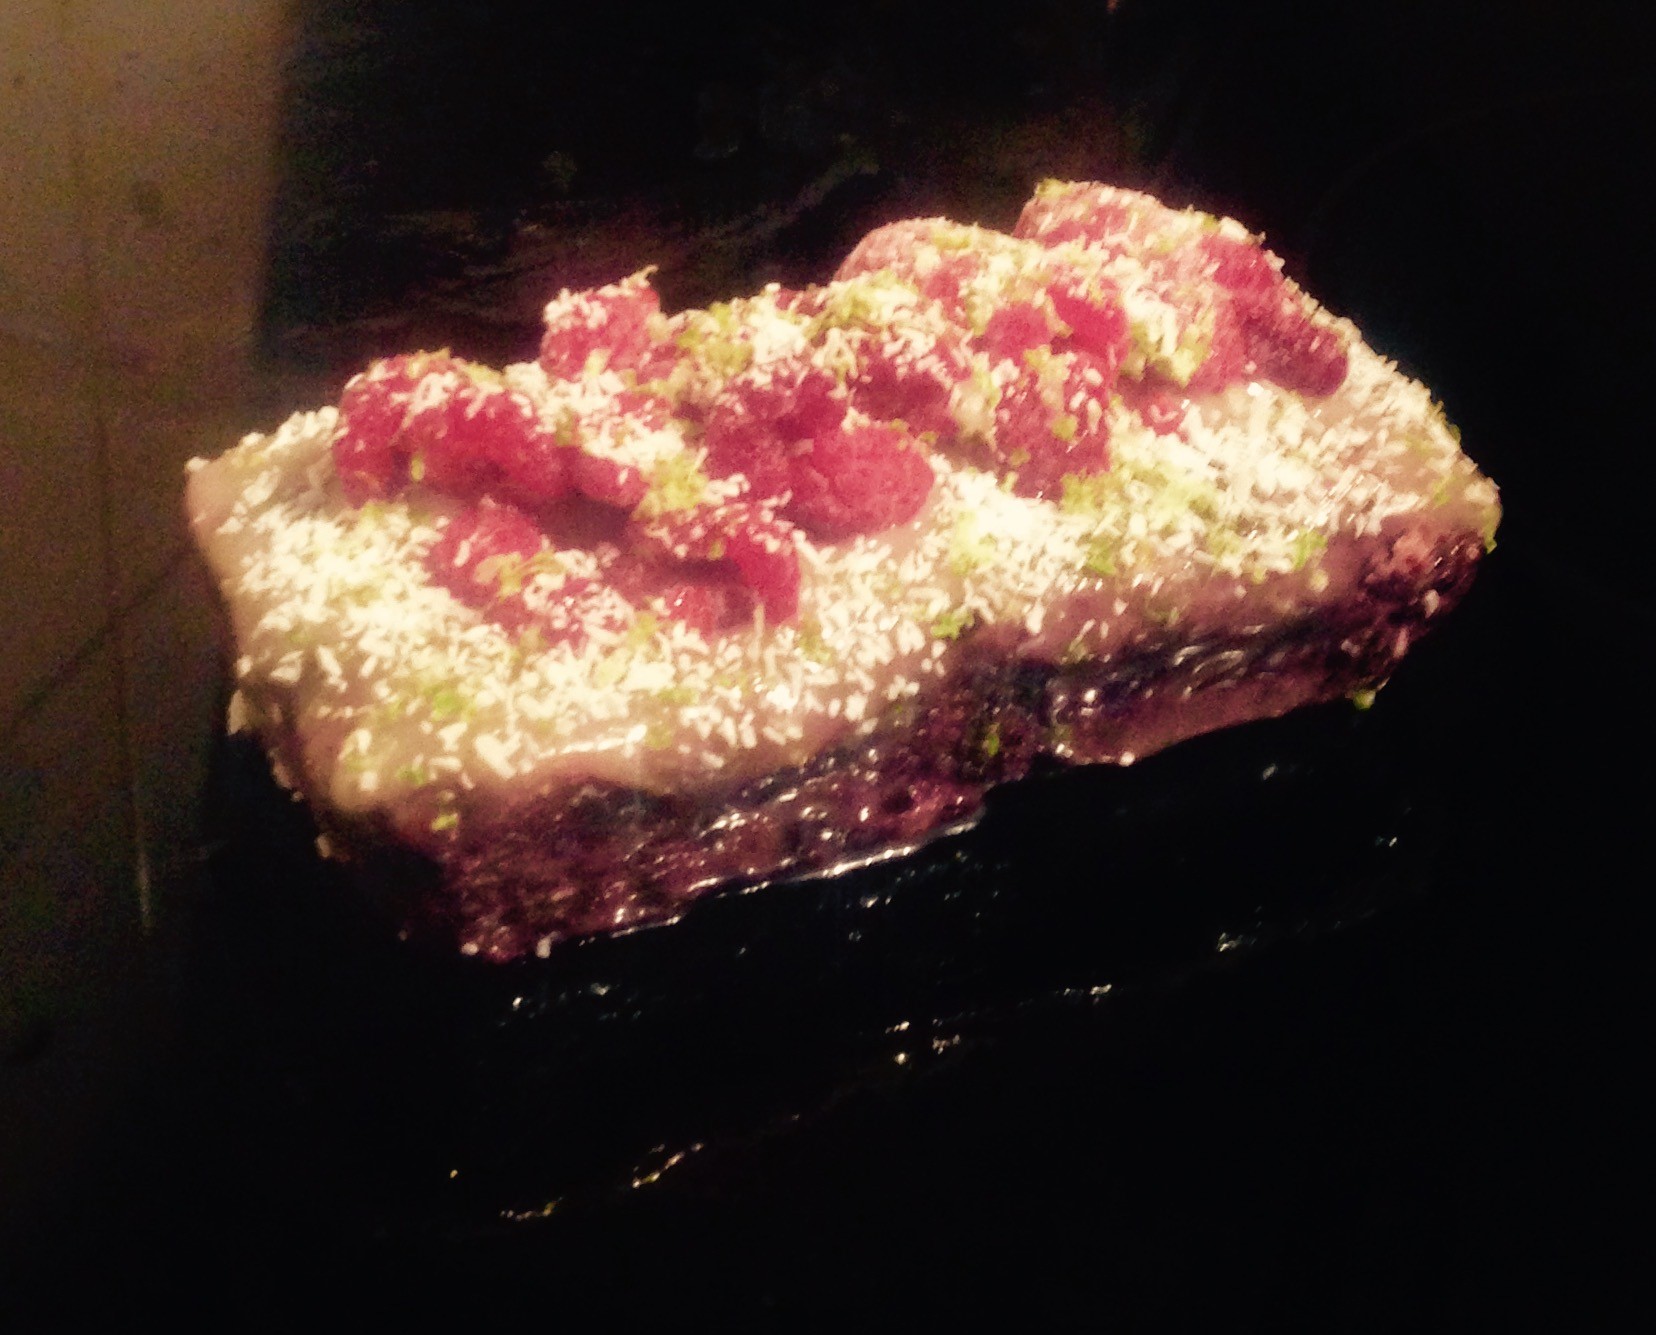
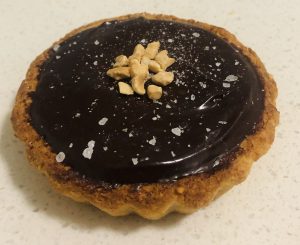
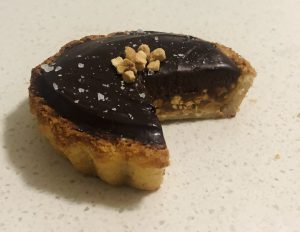
Chocolate and Peanut Rice Crust Tart
This recipe actually derived from a savoury tart recipe with a brown rice and seed base. I liked the idea of a rice base so much I adapted the recipe to suit a sweeter bake.
As the parmesan added such great richness and flavour, whilst being a great binding ingredient I left it in the sweet adaptation recipe. This then dictated what type of a sweet bake I would make as dark chocolate and parmesan go so well together (see my Parmesan Cheese Chocolate Slice recipe).
I changed the seeds from the original recipe to peanuts as peanuts had similar fat content in which the tart needed to keep it moist, while coating the proteins and starches in the egg, rice and flour. A few trials and I had the perfect base.
As peanuts were used in my base, I made this the hero ingredient along with the previously identified dark chocolate and wah-lah a peanut filled tart with chocolate ganache recipe on a rice crust tart case was born.
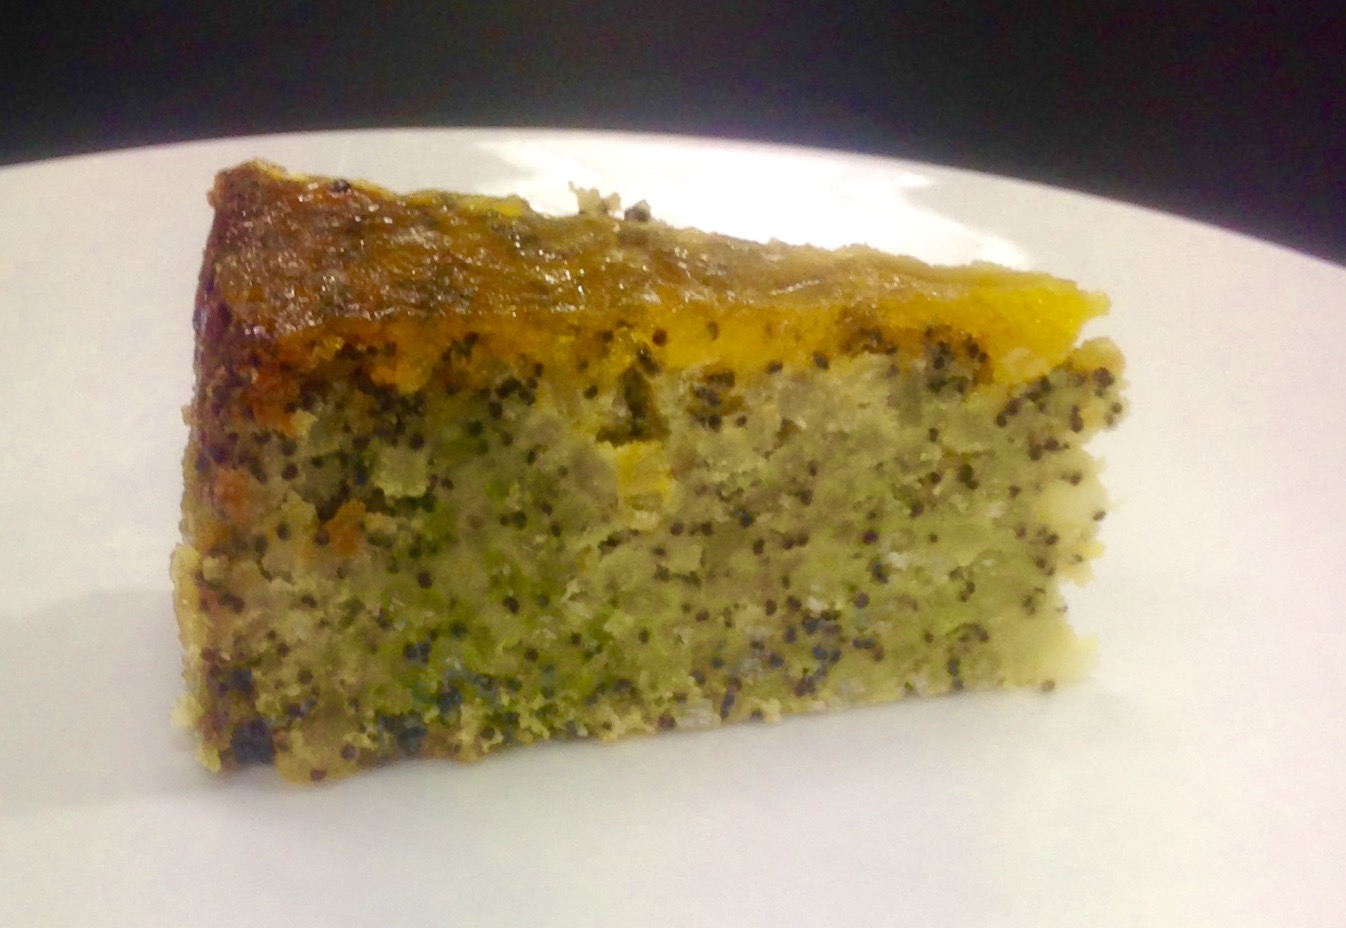
You would have no idea of rice in the base, in which is a great alternative to flour and the peanut filling with dark chocolate topping is just to die for.
This recipe exceeded my expectations and then some – decadent, delicious, unique and so so satisfying.
Ingredients:
Base:
- 500g packet ready steamed white rice
- 50g peanuts
- 40g parmesan
- 20g plain flour
- 1 egg
- 1/2 tsn salt
Filling:
- 75g peanut butter
- 180g sugar
- 60ml water
- 80g butter
- 80ml thickened cream
- 160g peanuts
Ganache:
- 165g thickened cream
- 240g dark choc
- 3 egg yolks
- 1 tbsn caster sugar
Method:
- Preheat the oven to 180c degrees and spray 8 mini tart cases with oil spray.
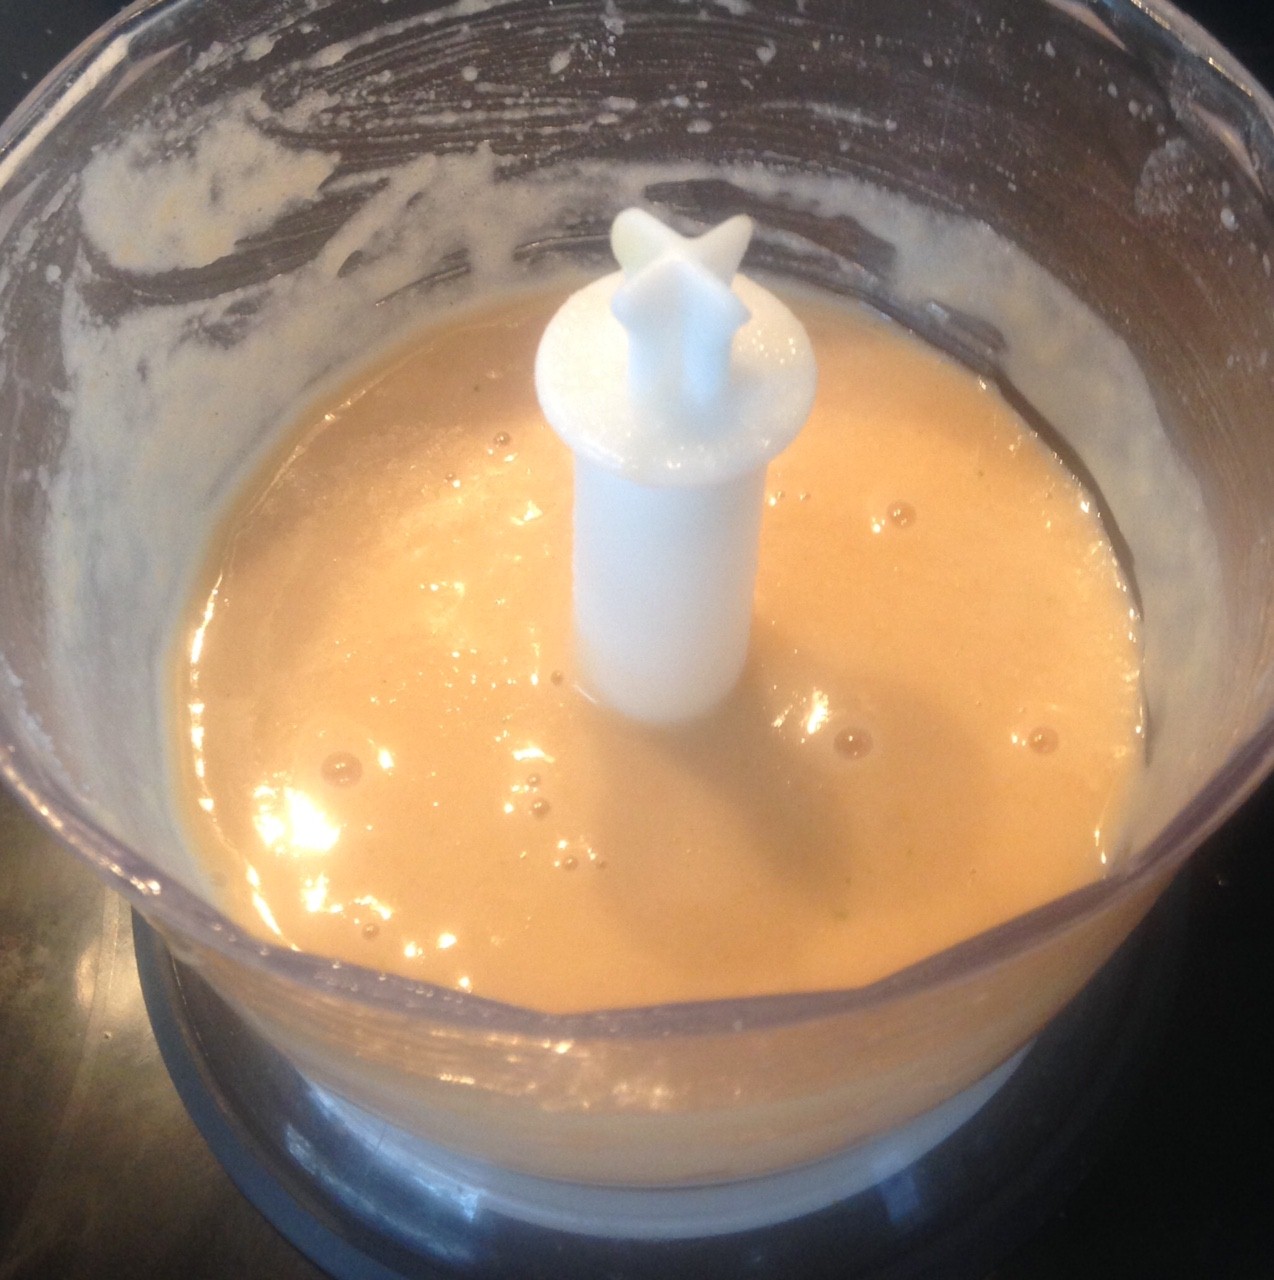
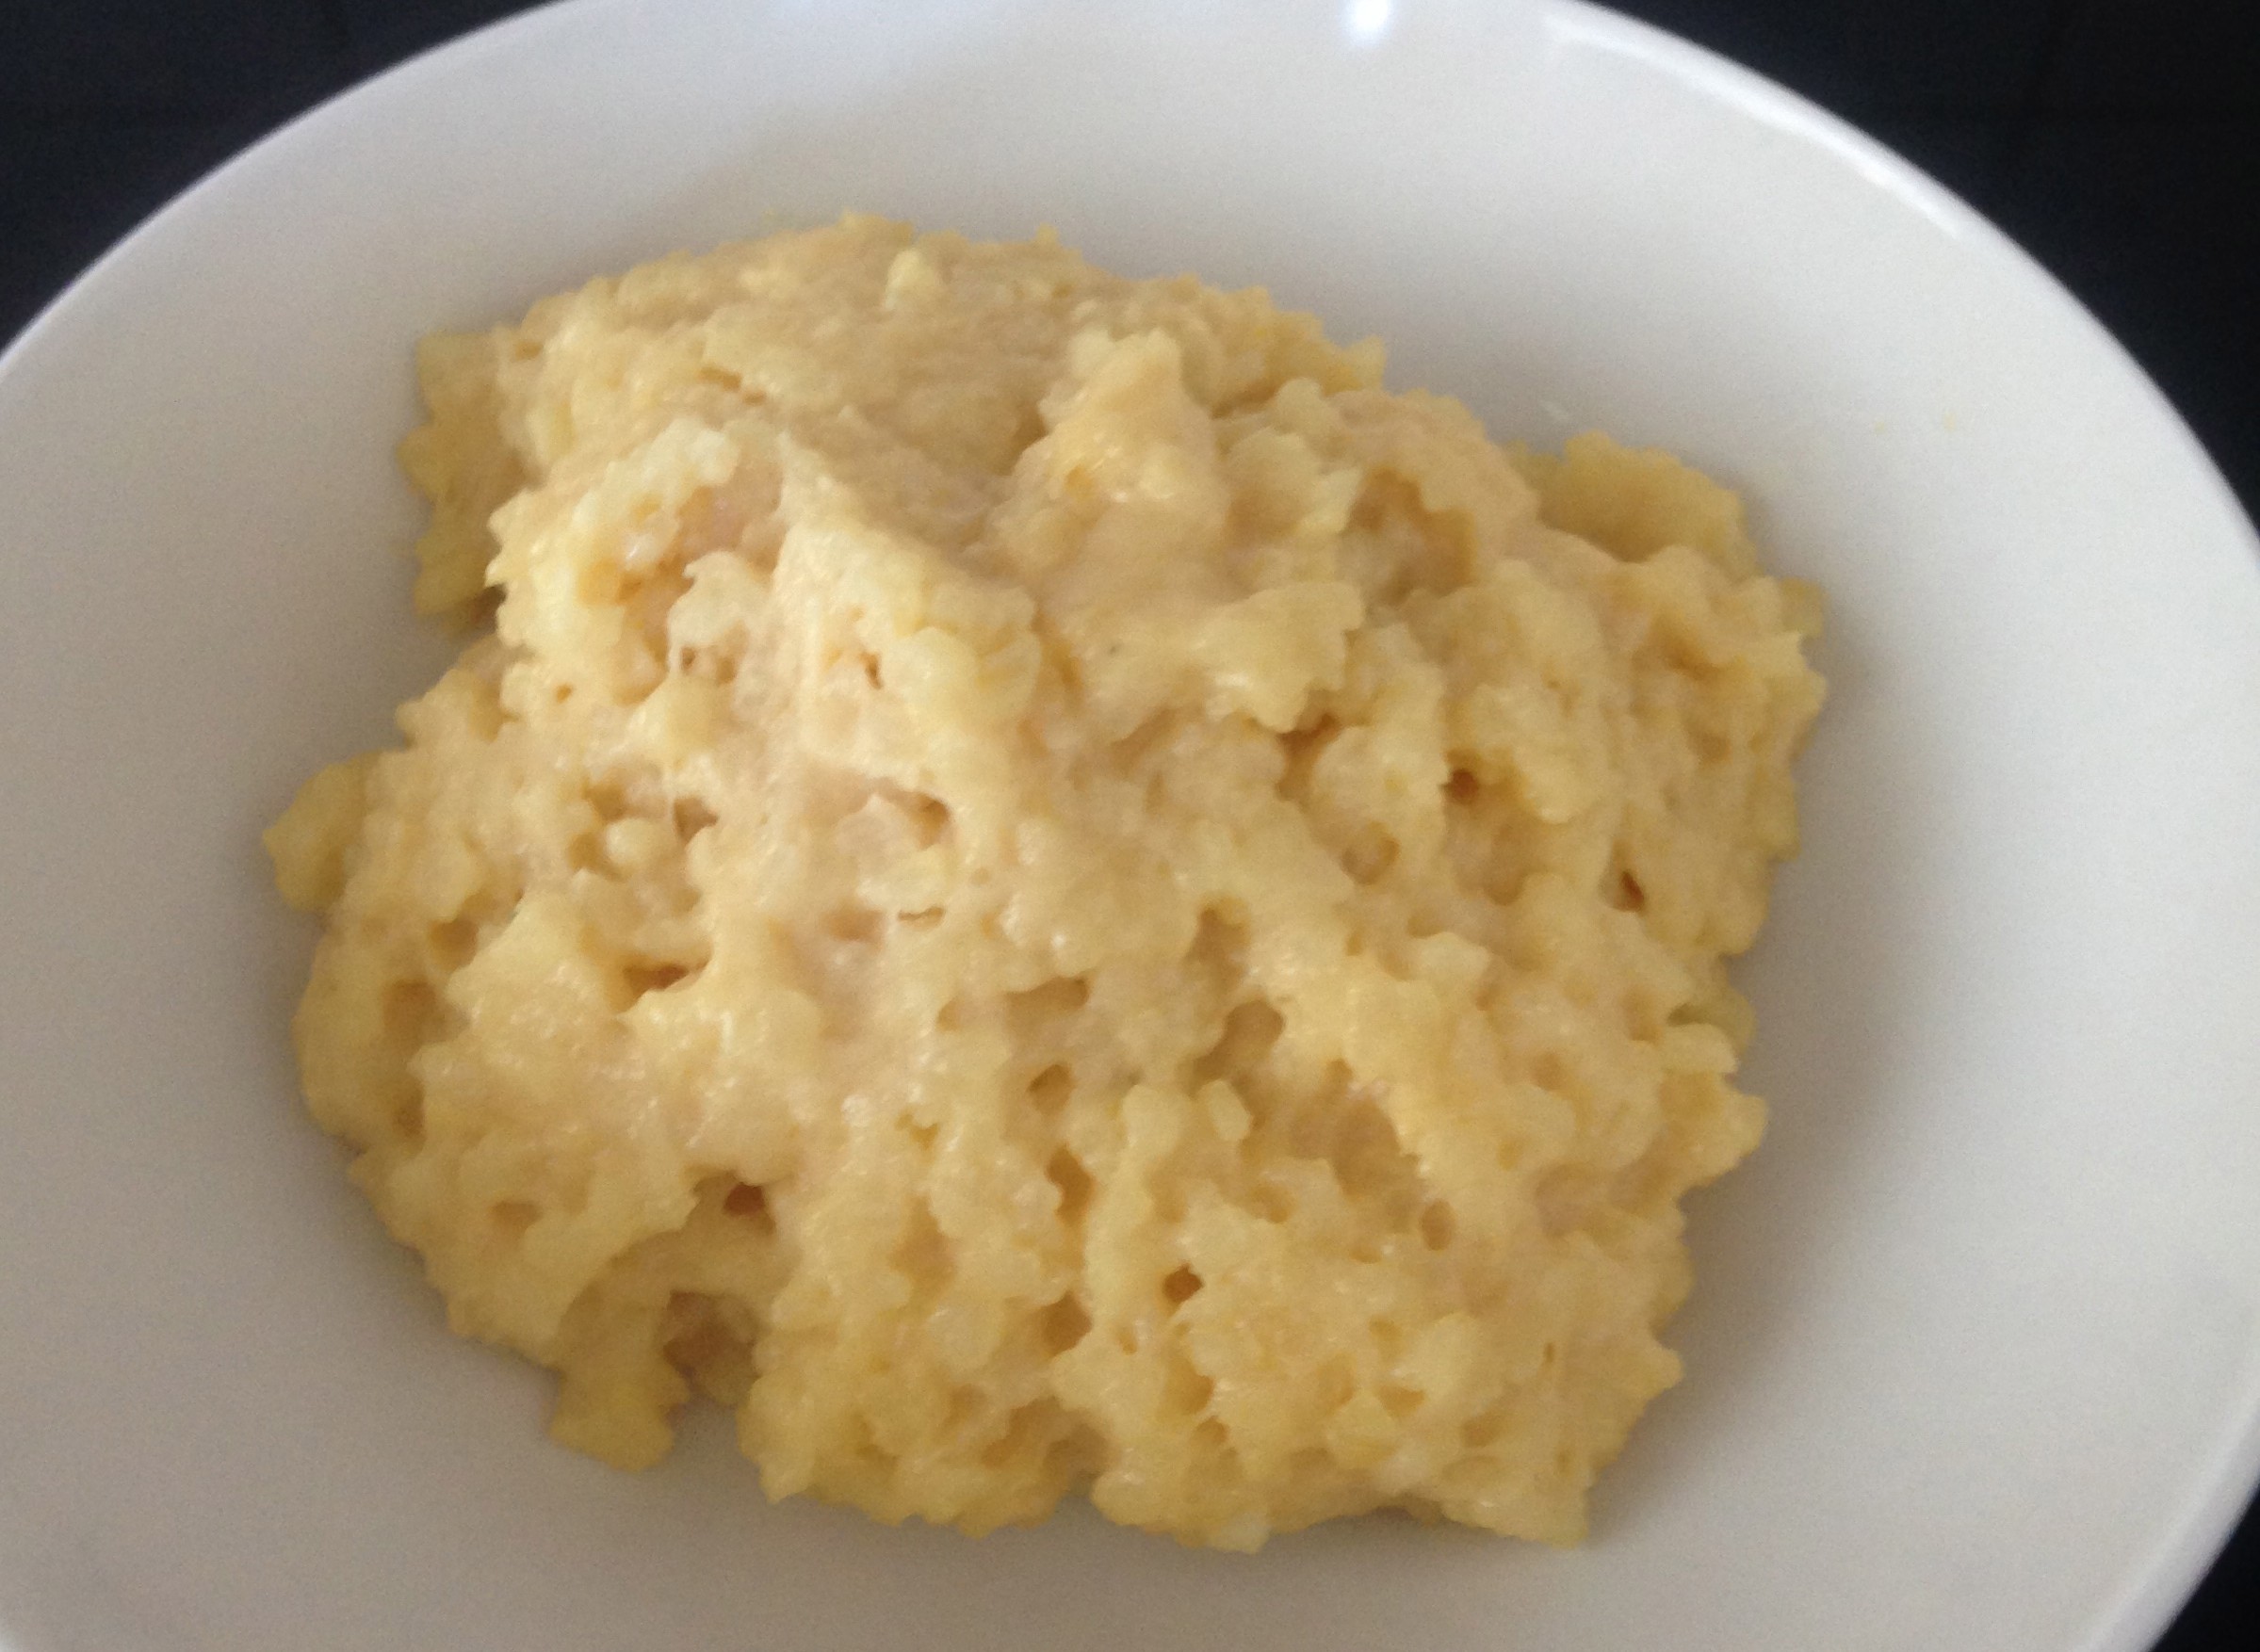
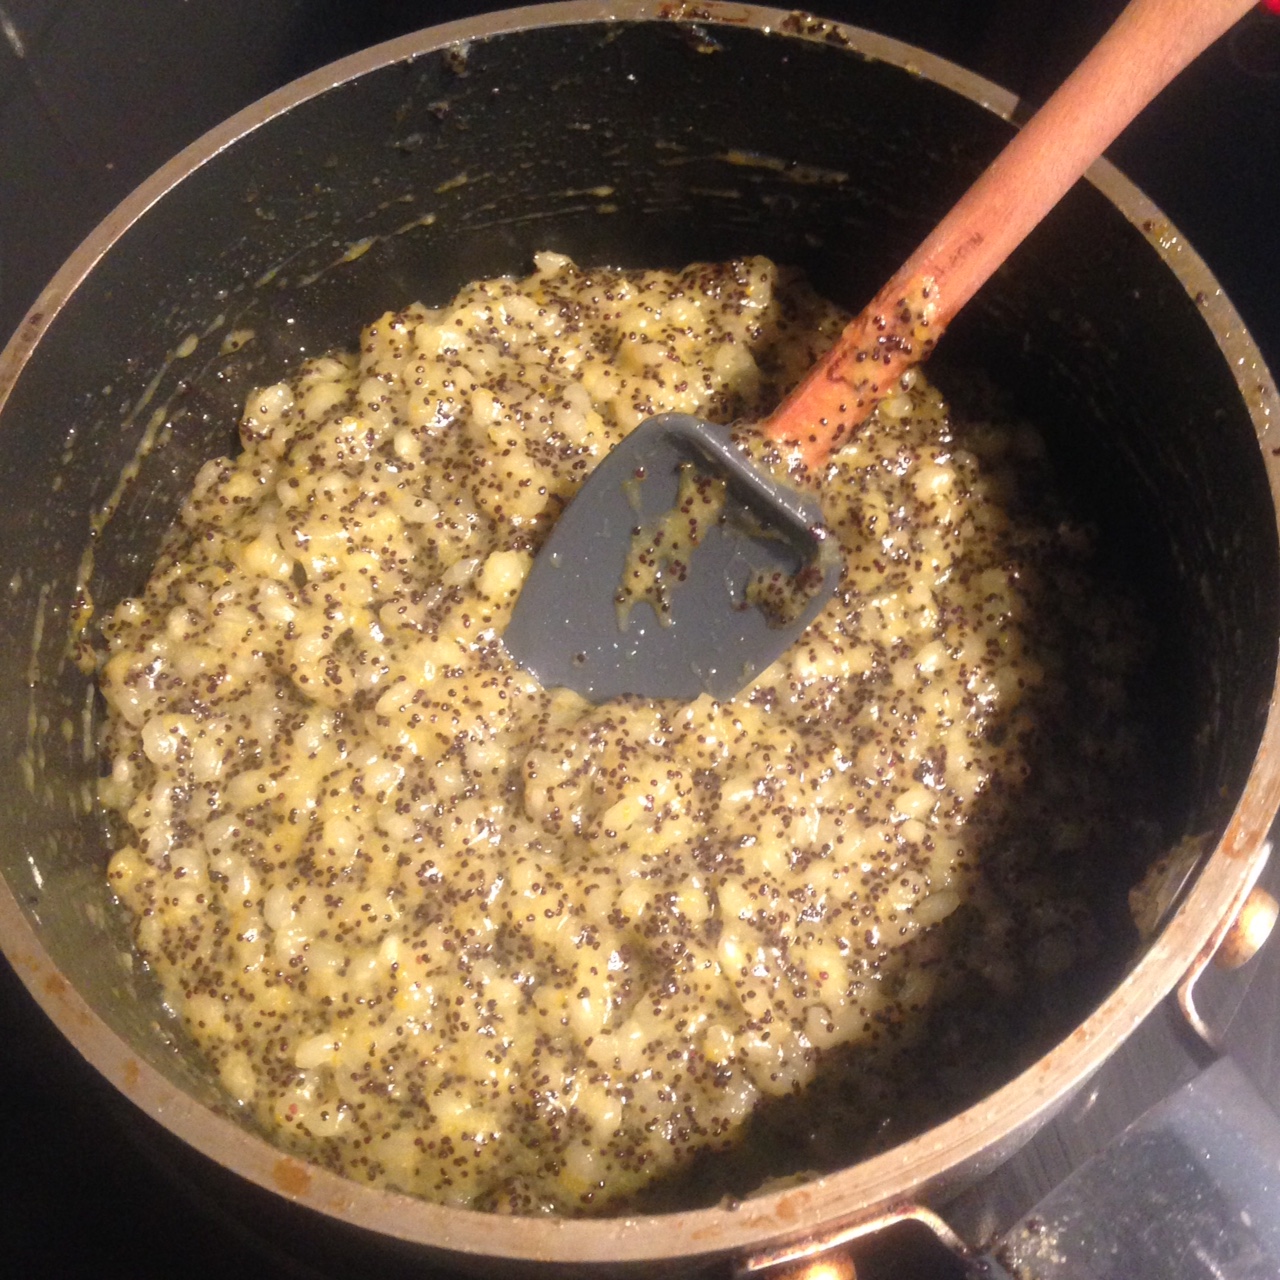
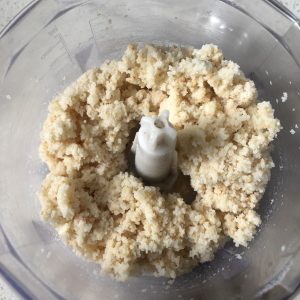
- Place the rice, peanuts, flour and parmesan into a food processor and blitz until the mix resembles bread crumbs.
- Add the egg and salt and blitz until well combined.
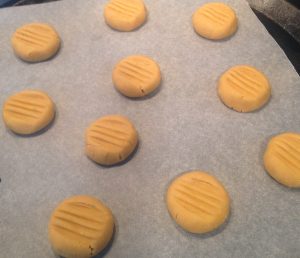
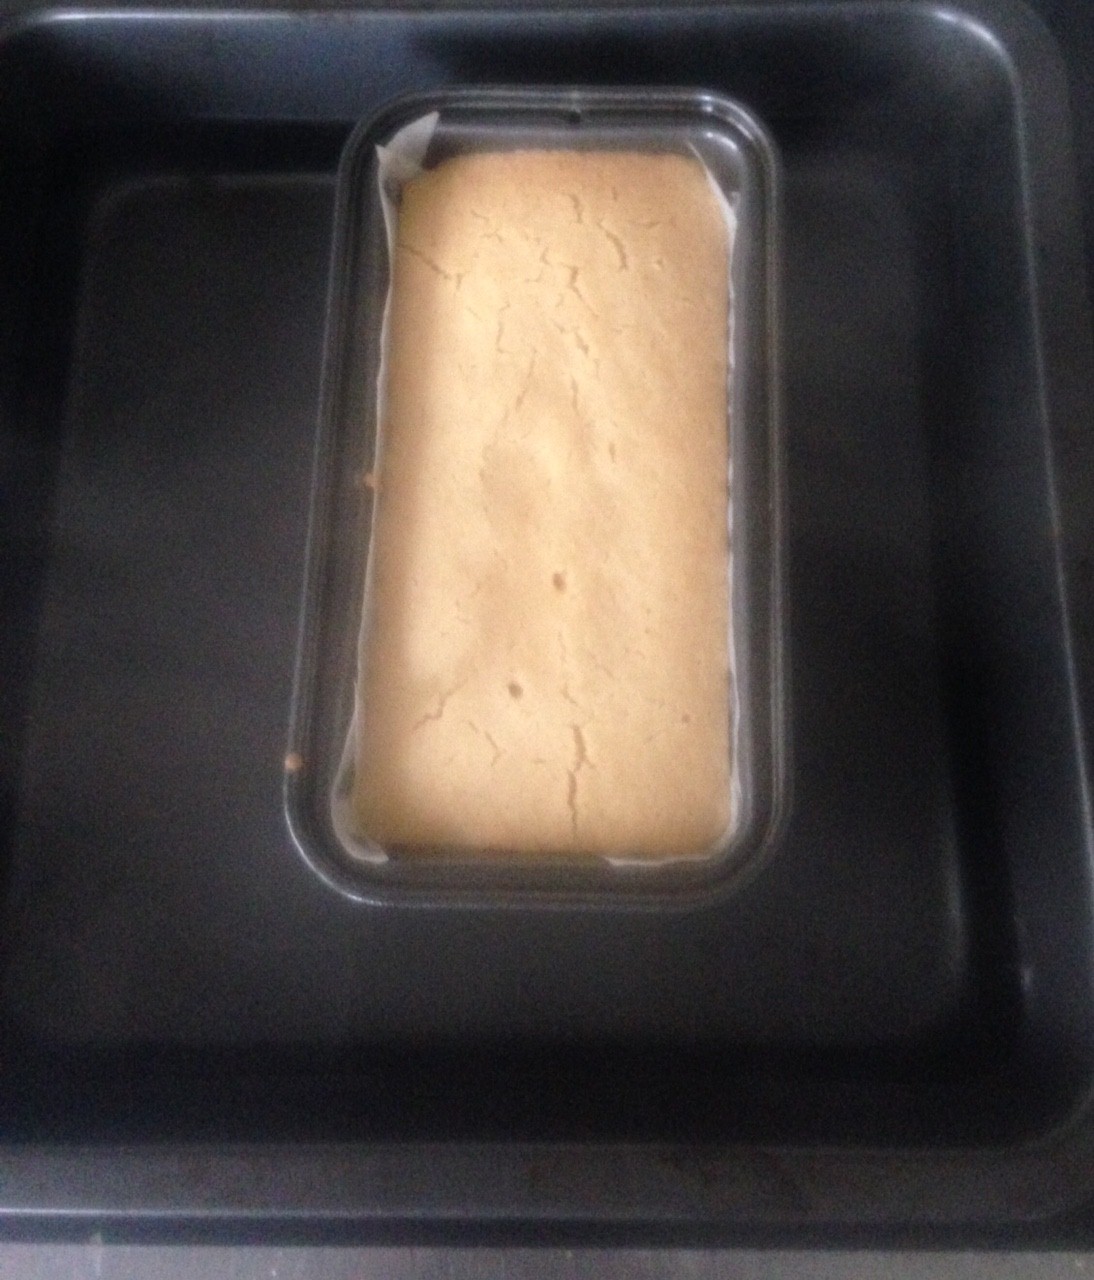
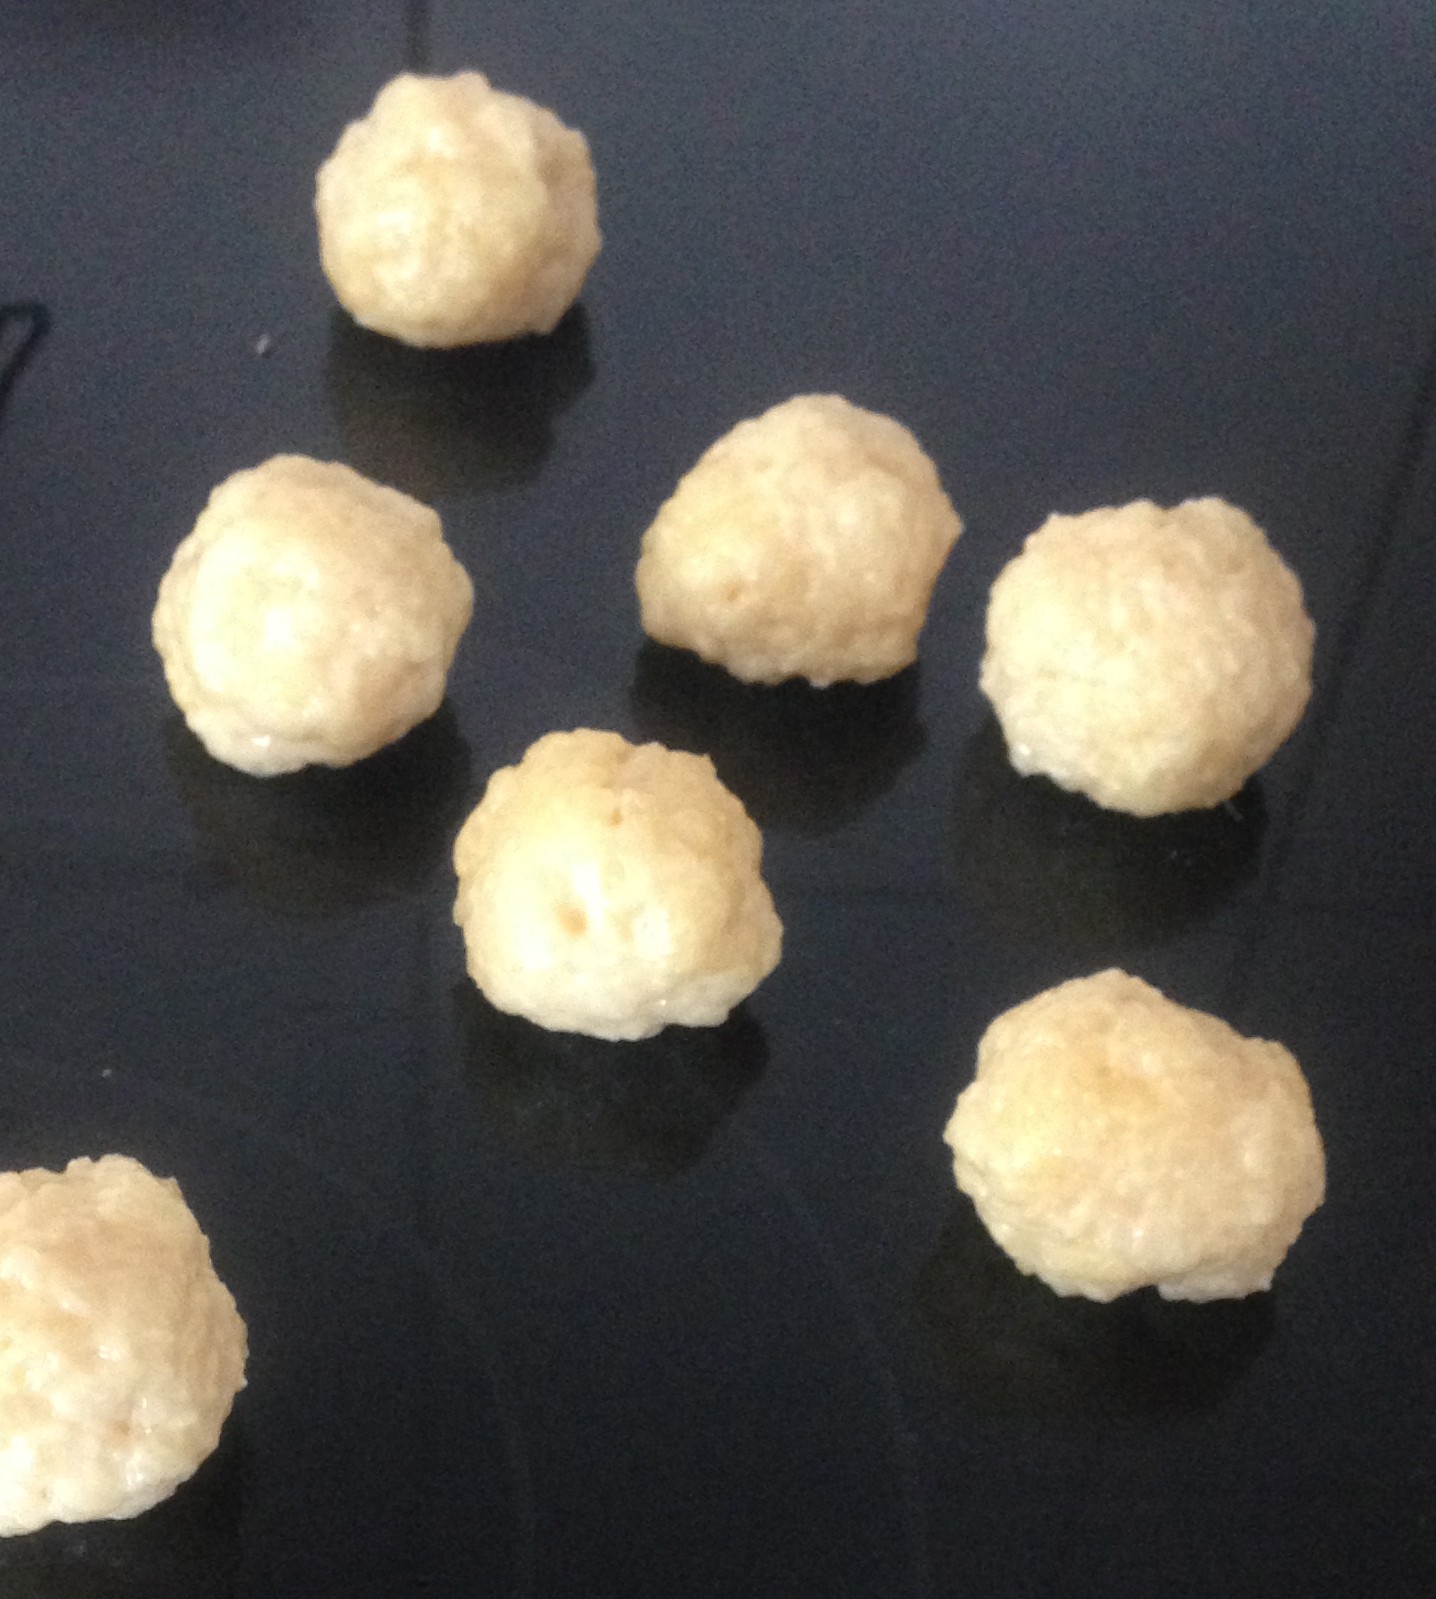
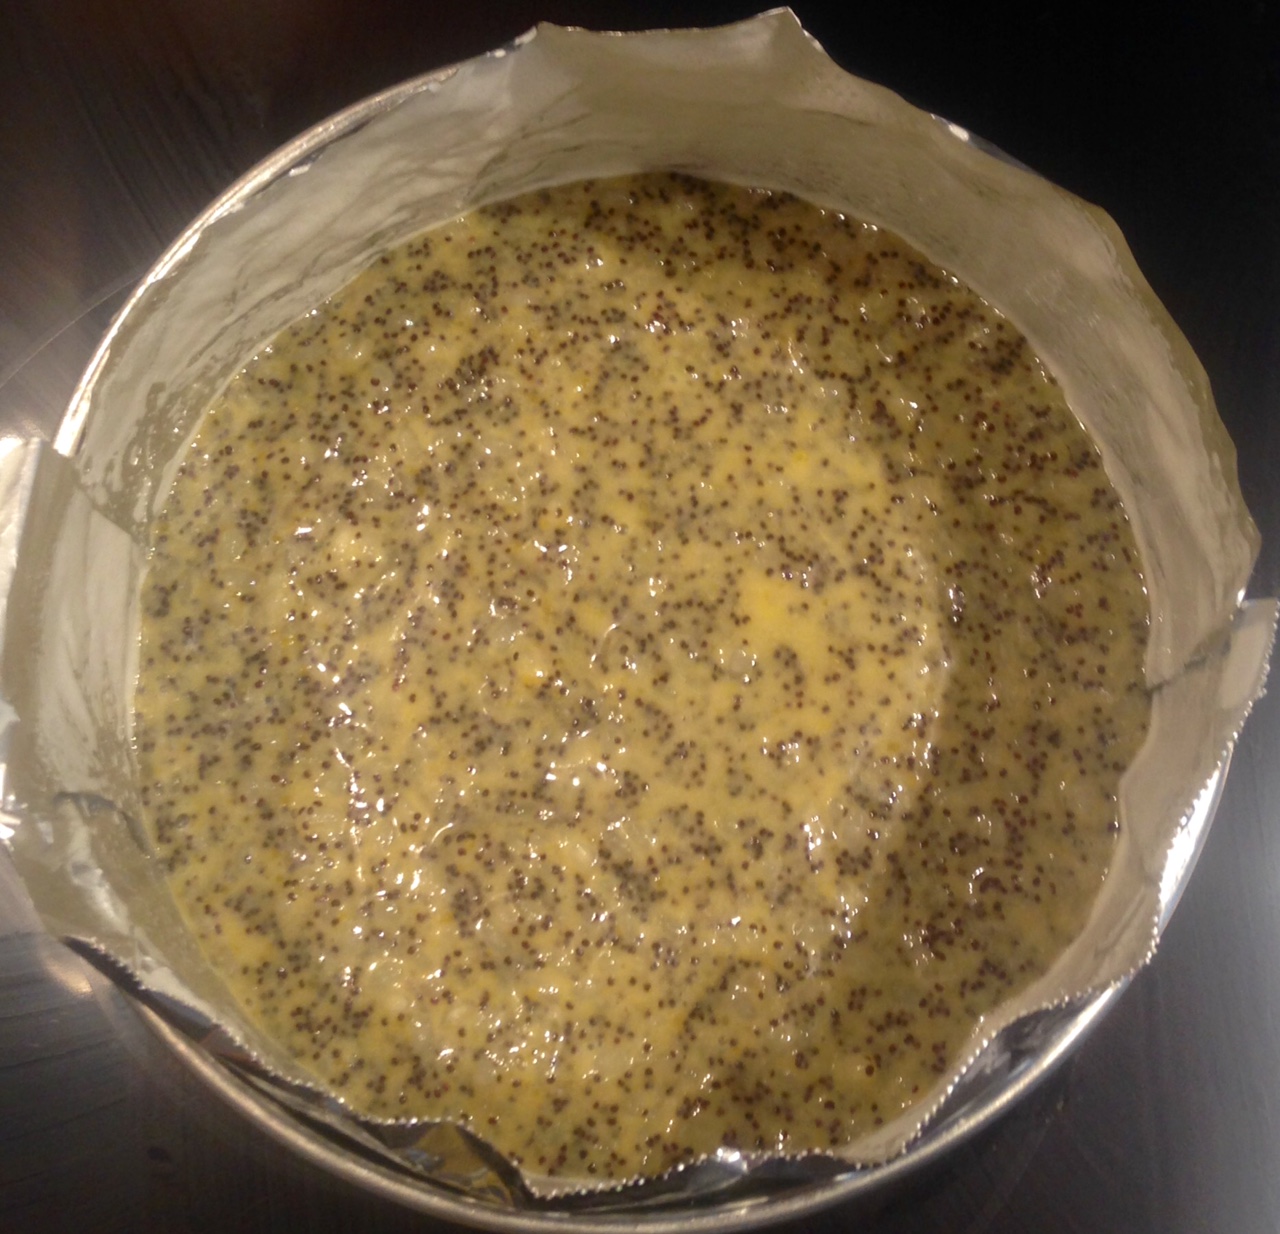
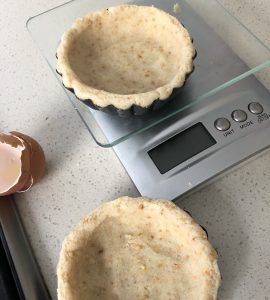
- Divide the mix into 8 balls and using wet hands push the mix into the base of the tin and up the sides of the tin to cover the tin completely and evenly.
- Prick the bases with a fork a few times and place the tart cases into the oven, baking for 20 minutes.
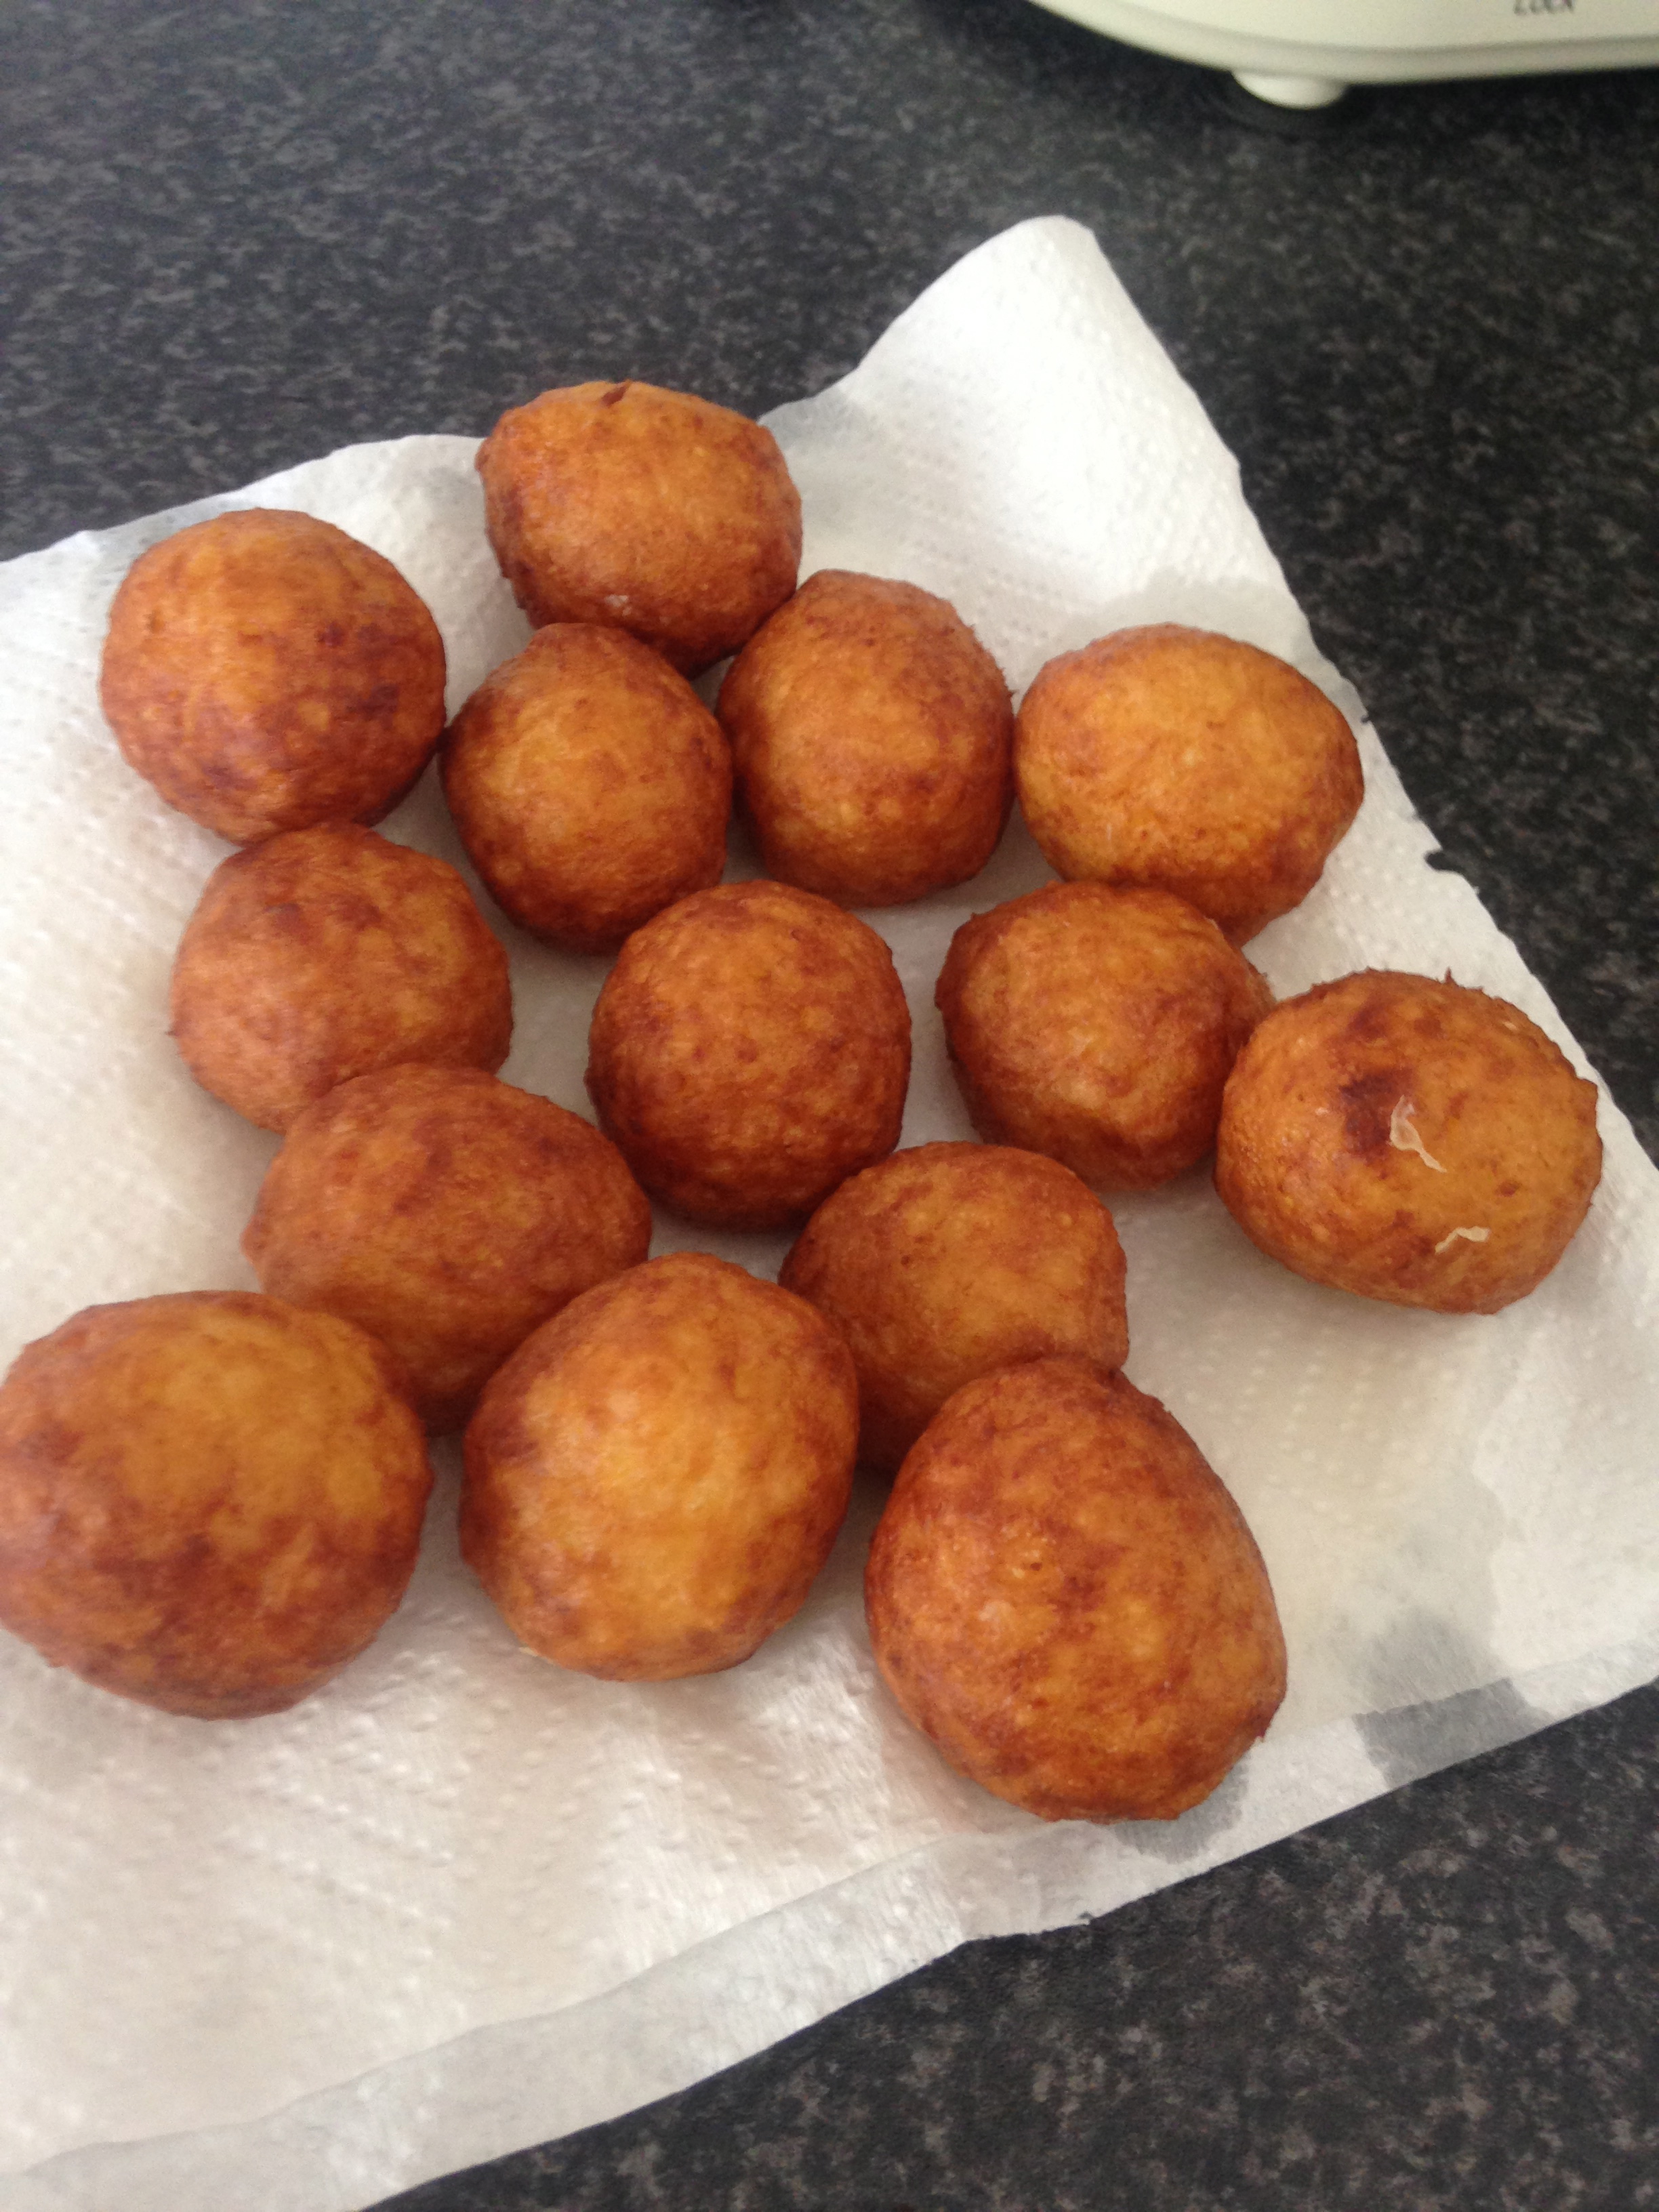
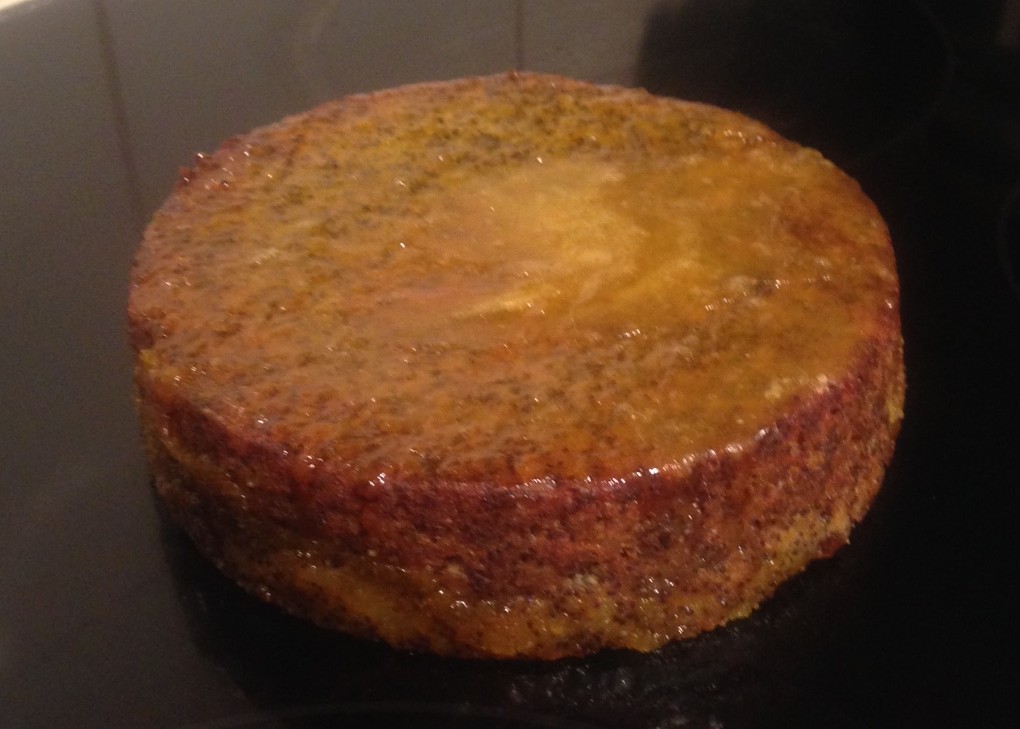
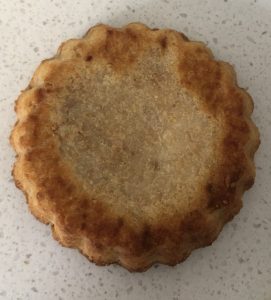
- Remove the tarts from the oven, take the tins off the tart shells and bake for a further 5 minutes base side up to ensure a crispy brown base on the tart shells.
- Set the bases aside to cool.
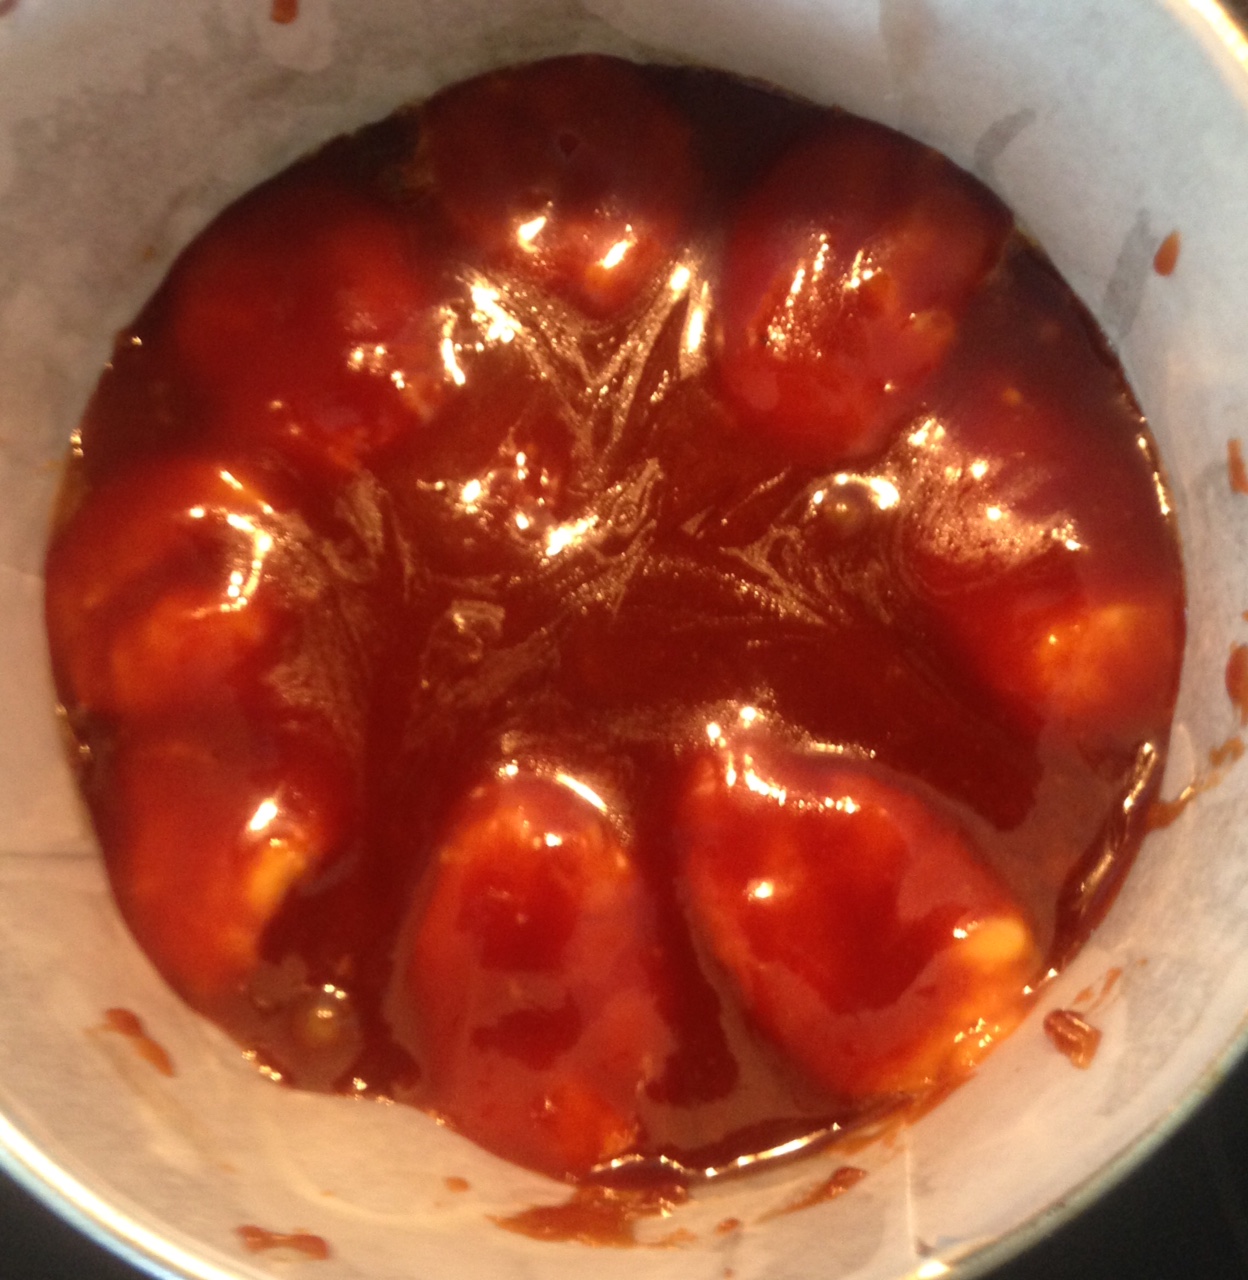
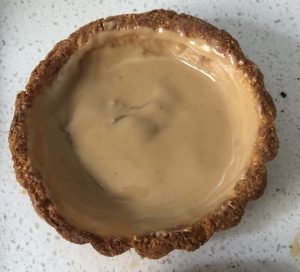
- Spoon and evenly spread the peanut butter into the base of each tart shell and place in the fridge for 15 minutes to set.
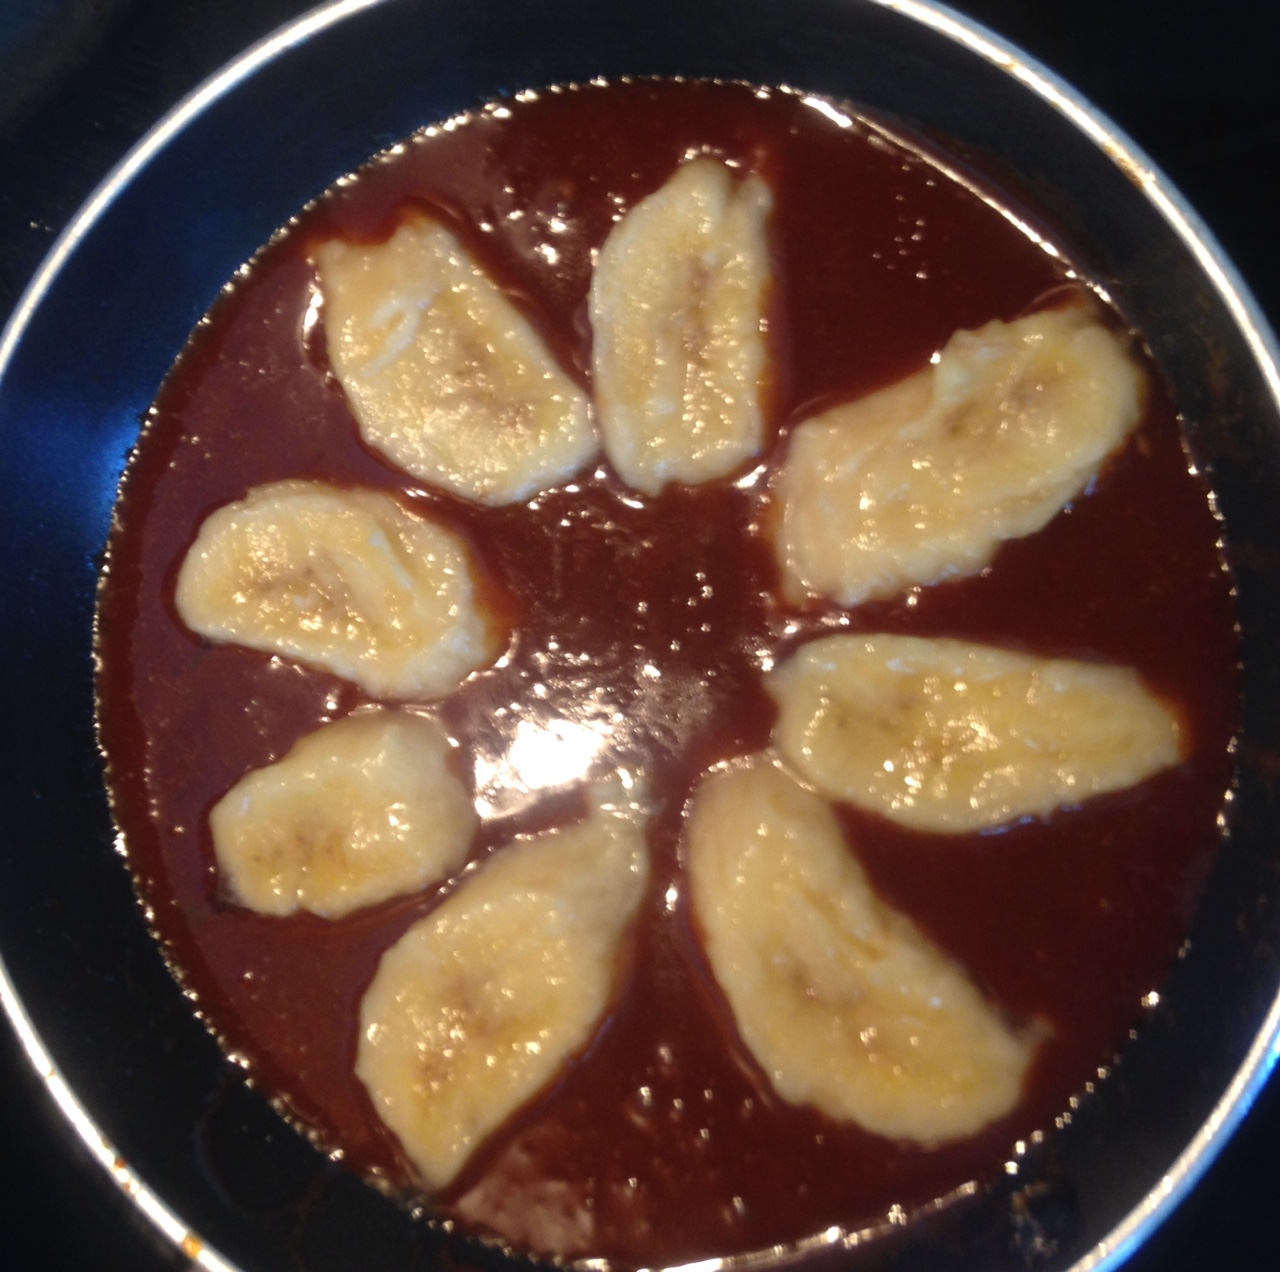
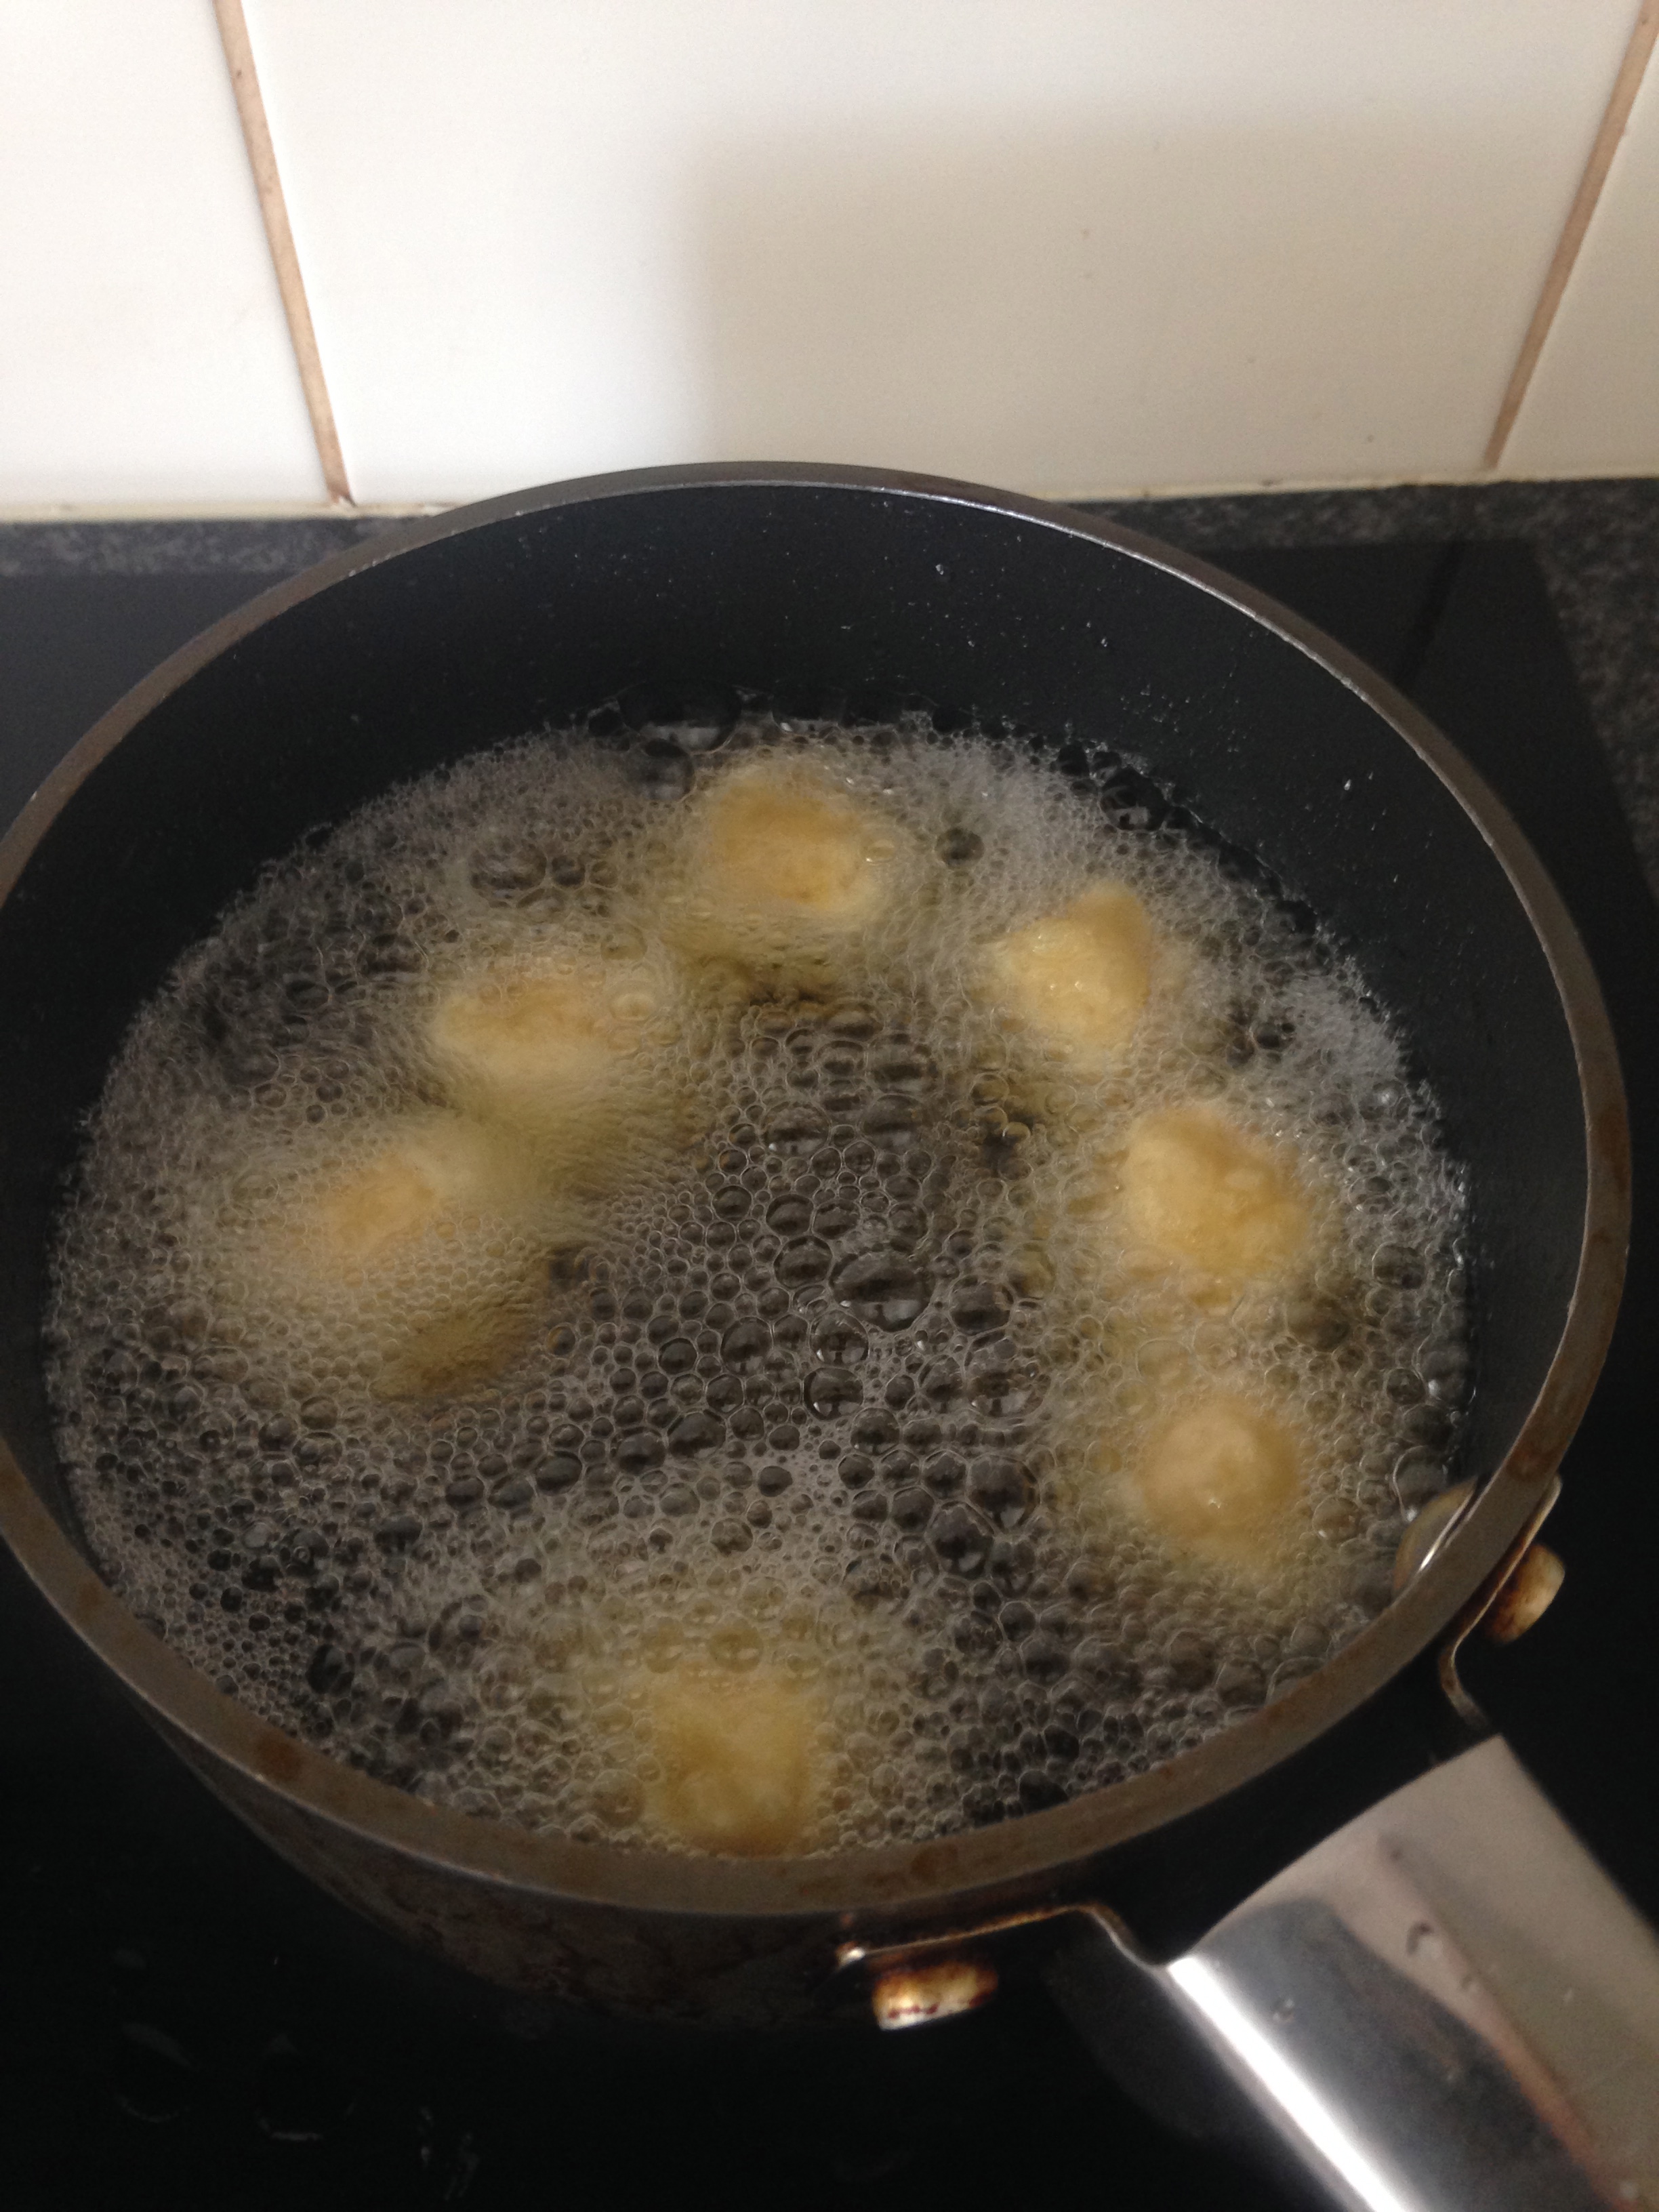
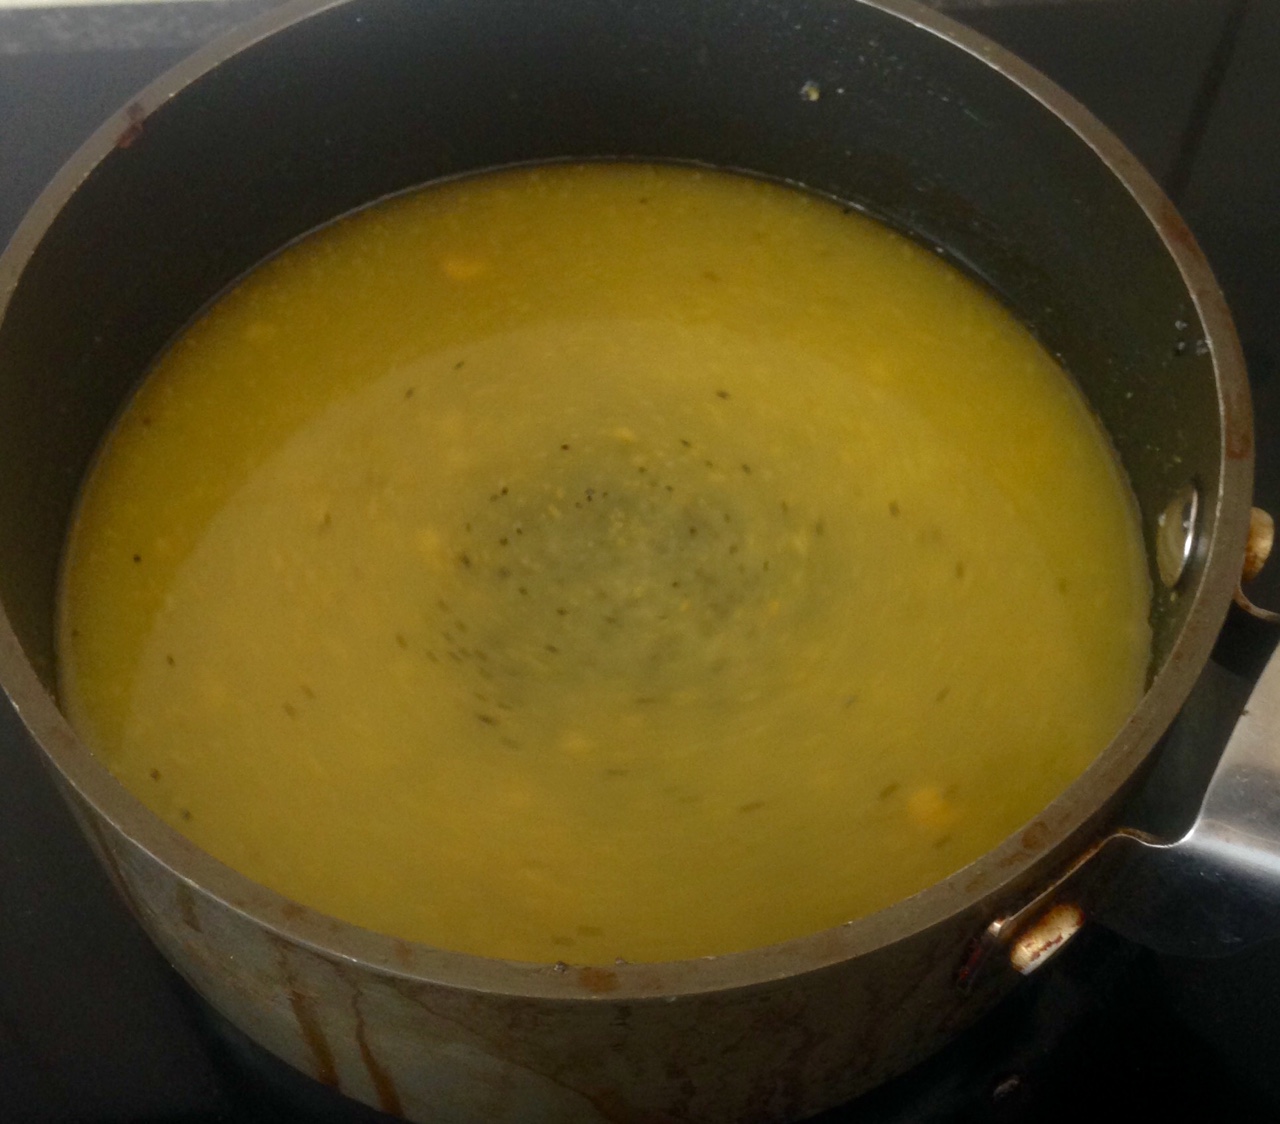
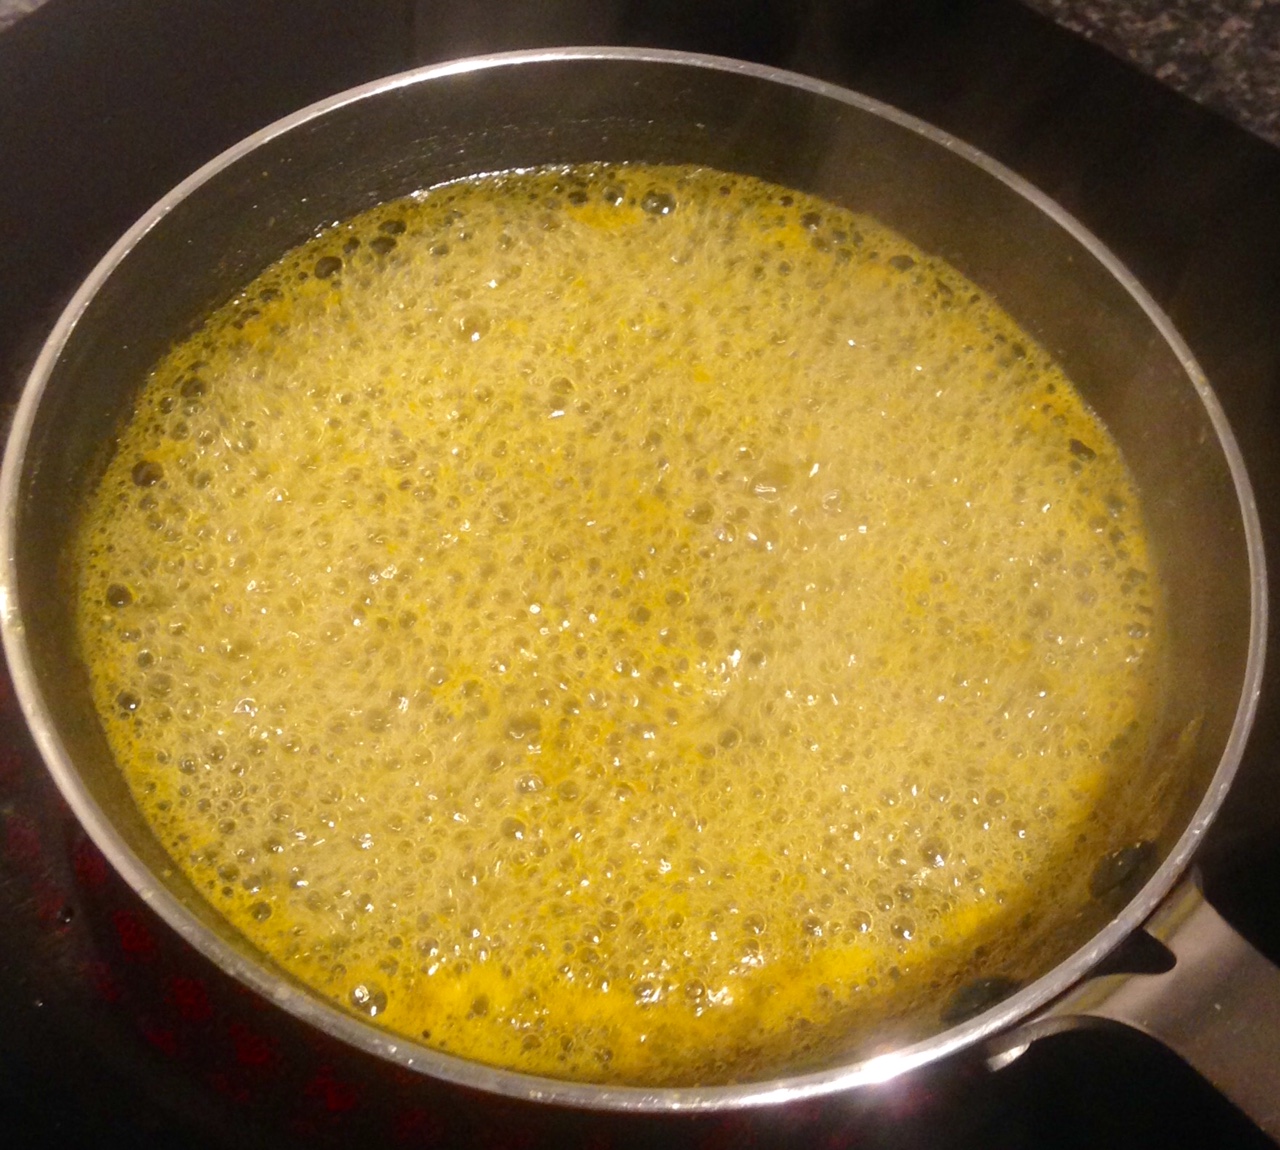
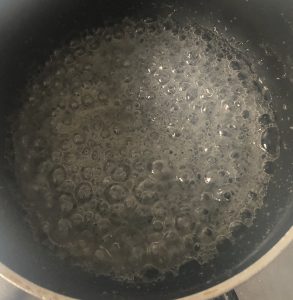
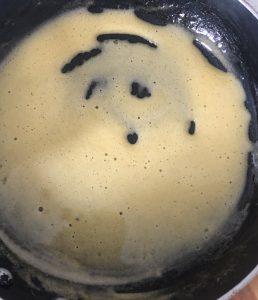
- Meanwhile place the sugar and water into a saucepan on medium heat, whisking with a hand whisk until sugar is dissolved.
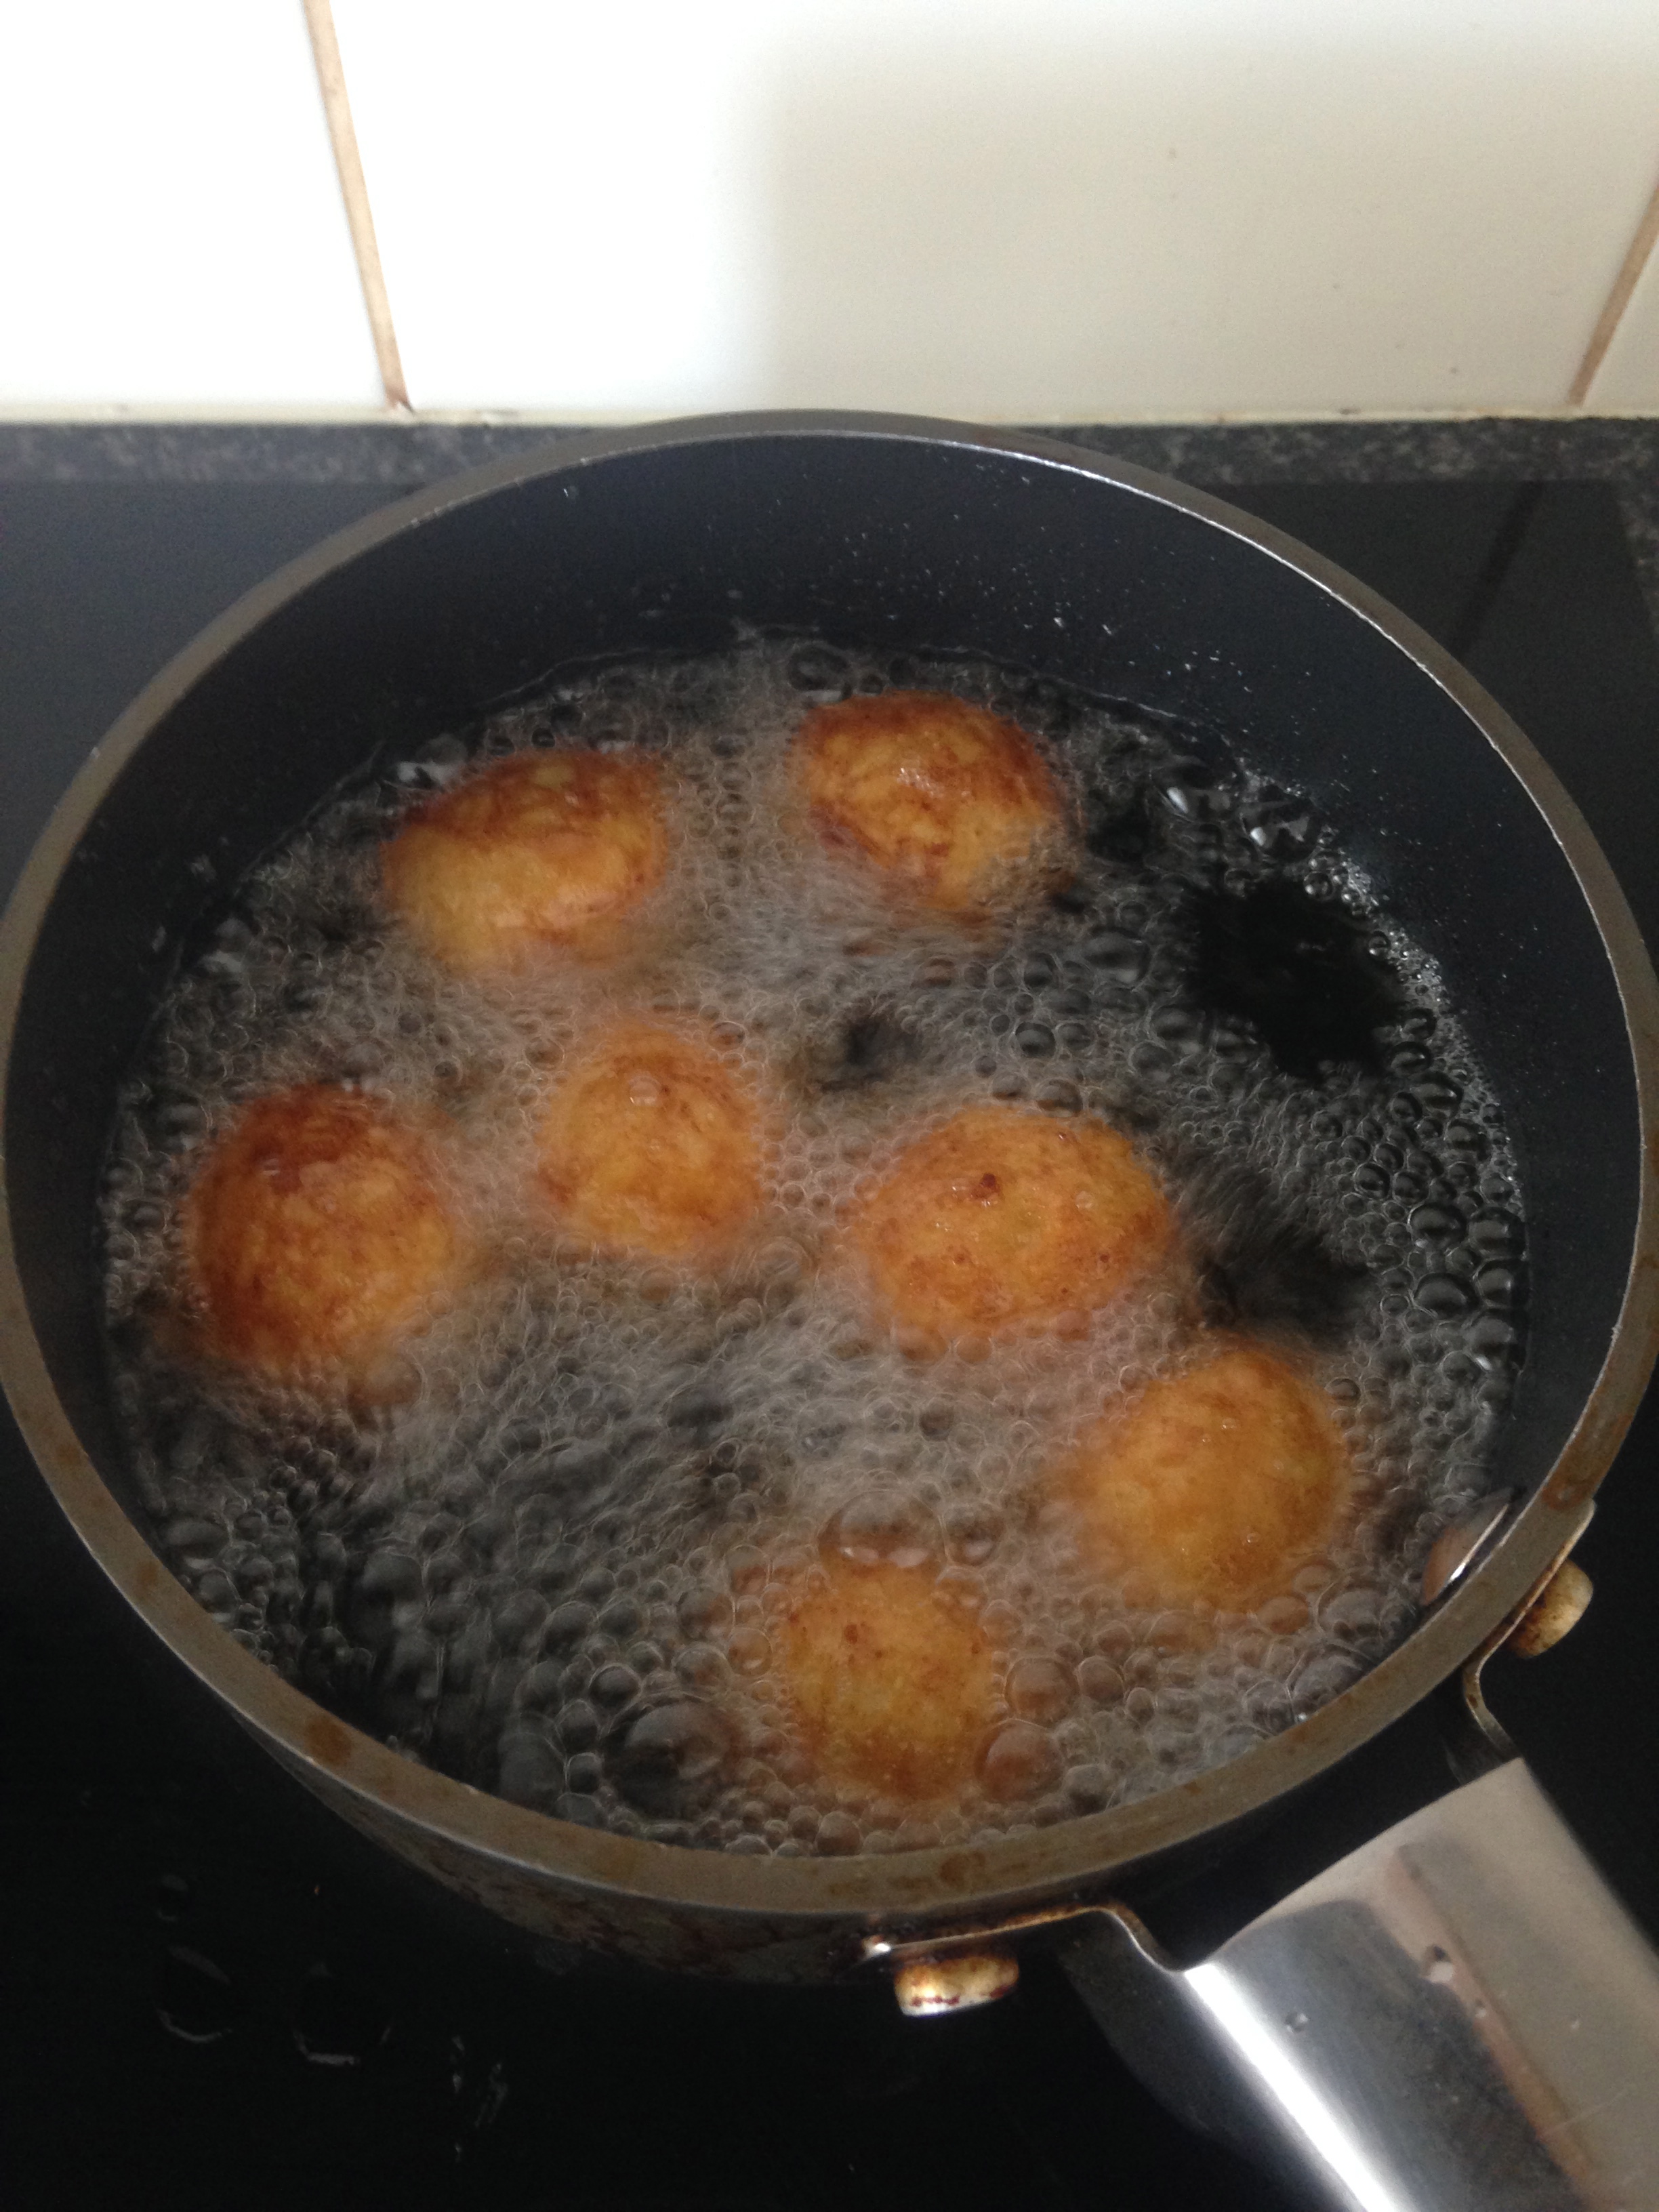
- Turn the heat to high and allow to bubble until the mix starts to caramelise.
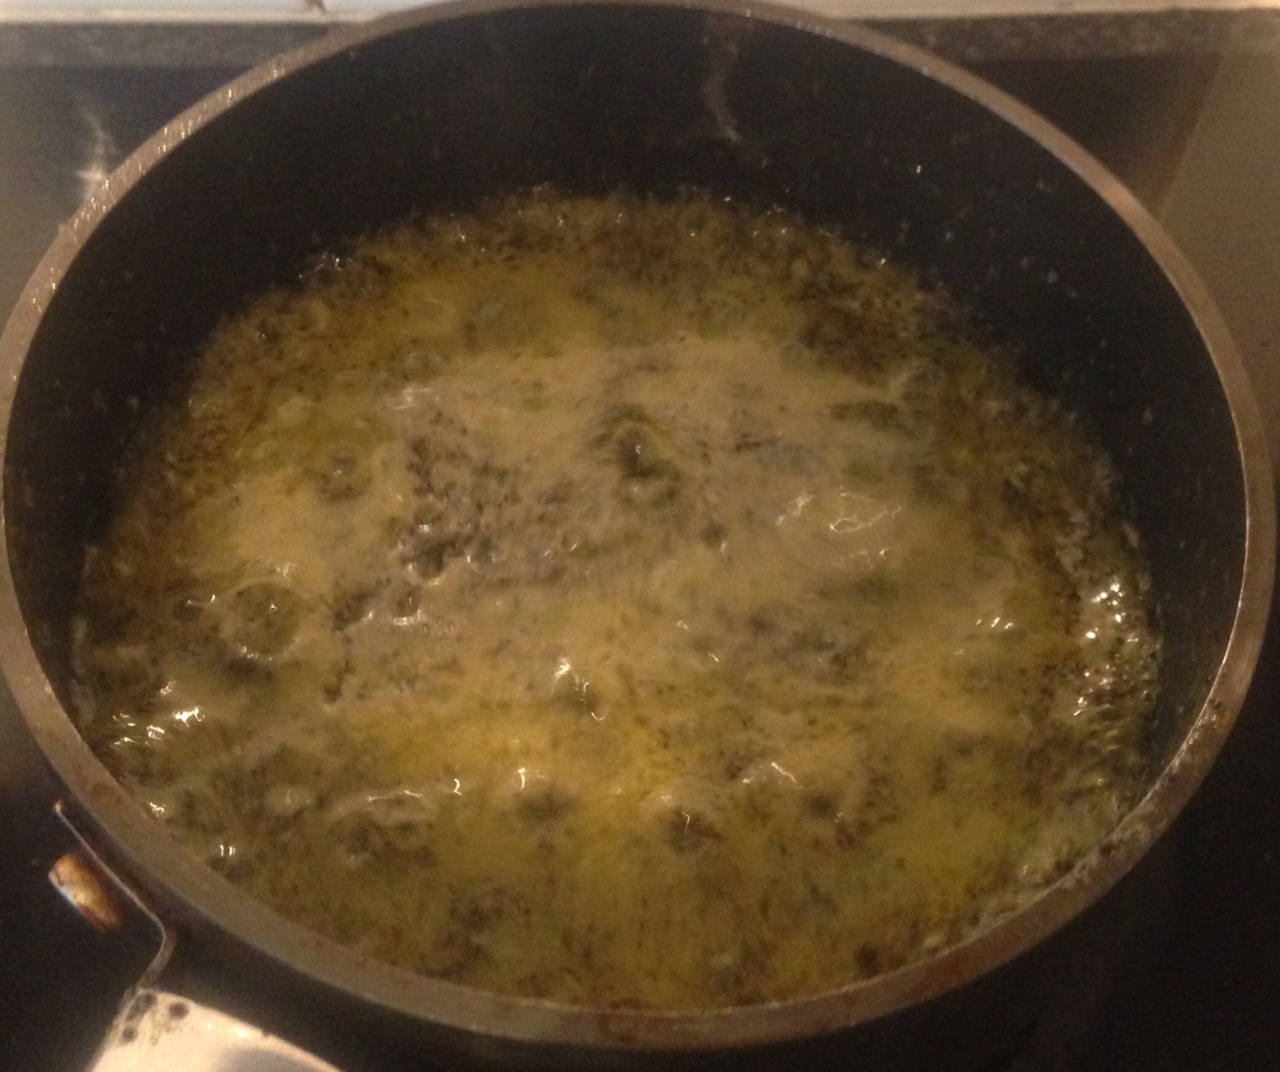
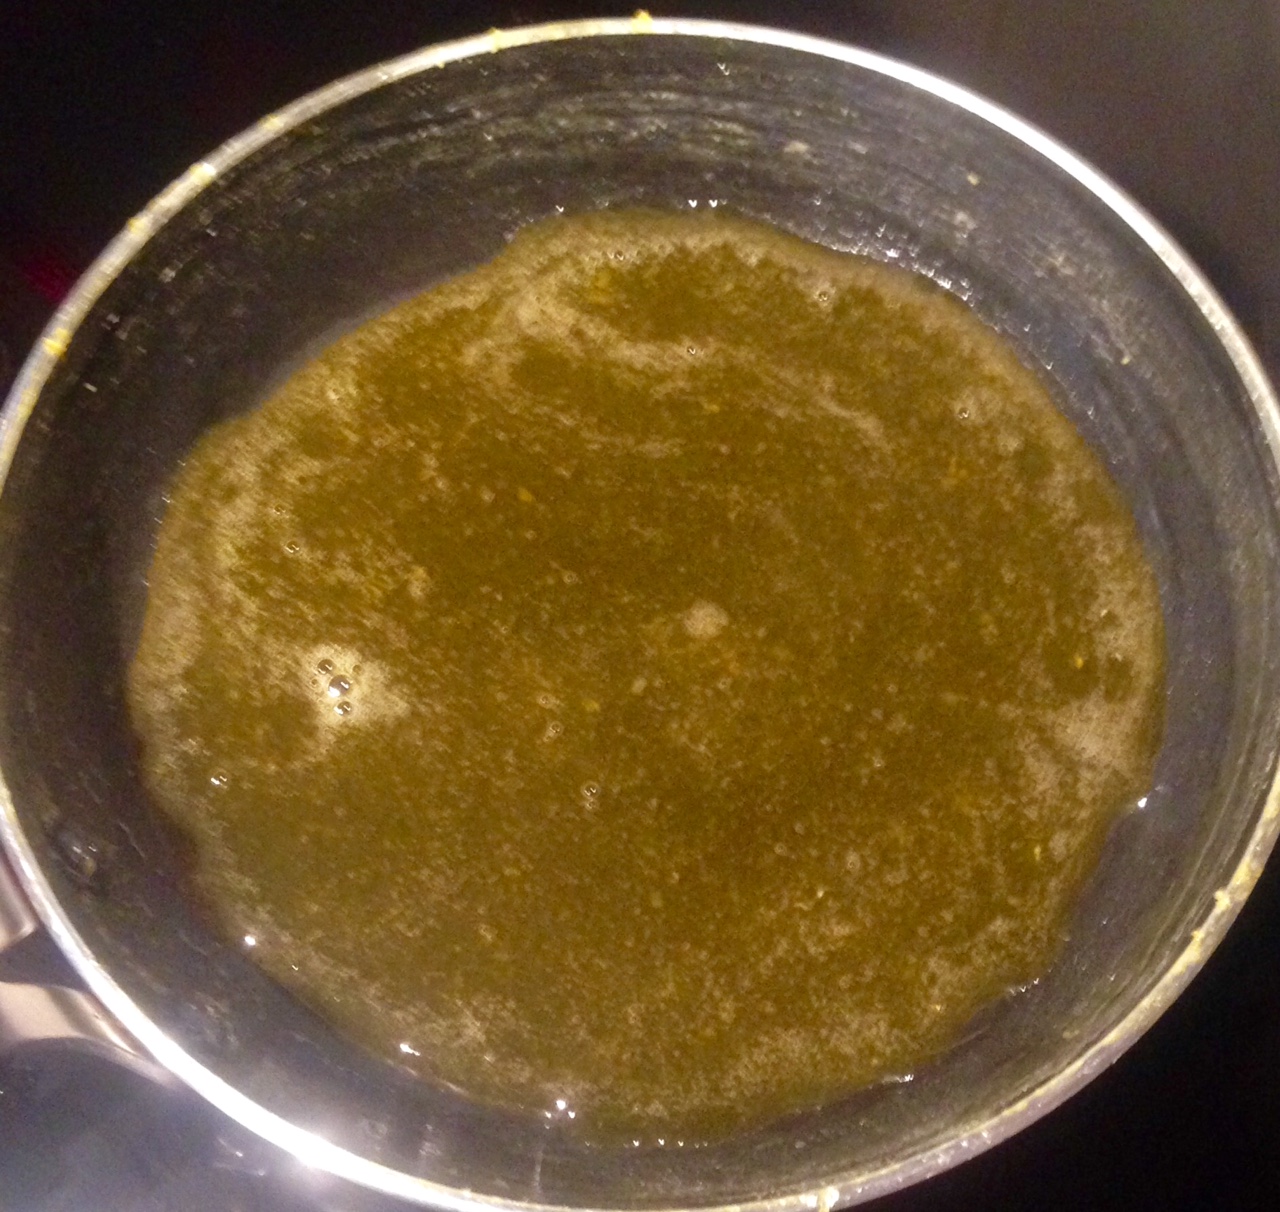
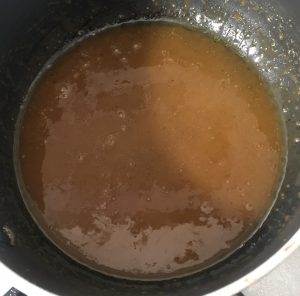
- Remove the mix off the heat and carefully add the butter, cream and salt, whisking with a hand whisk.
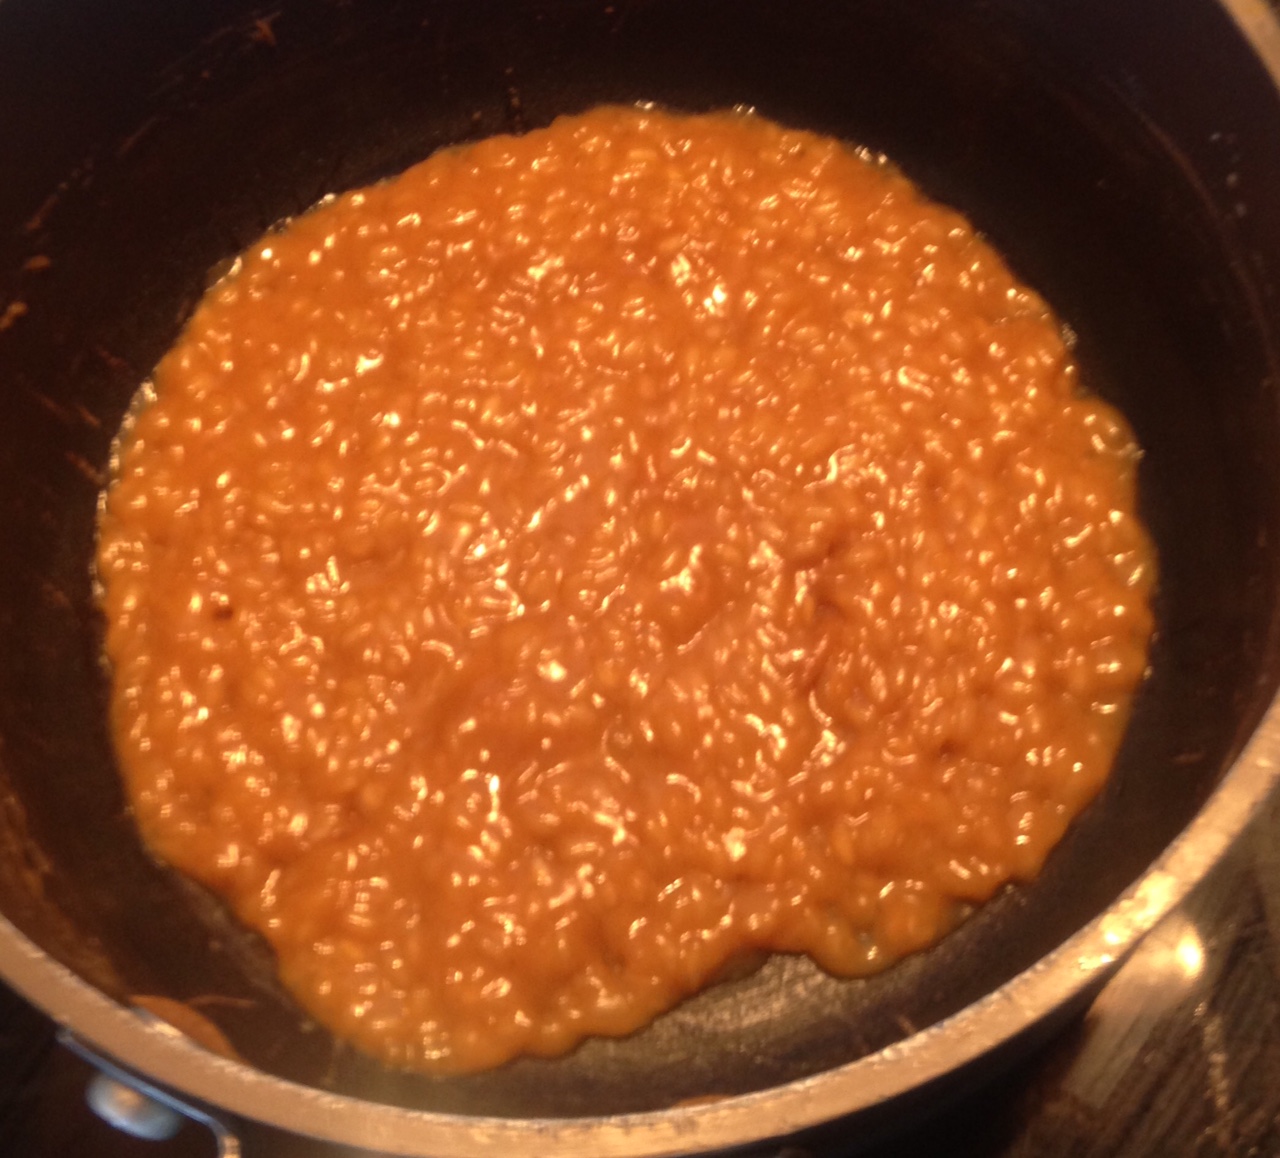
- Place the pan back on a medium heat, whisking until the mix is silky smooth.
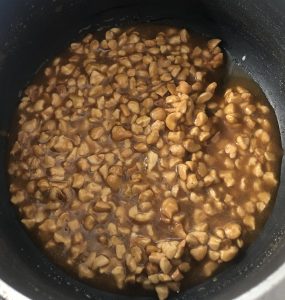
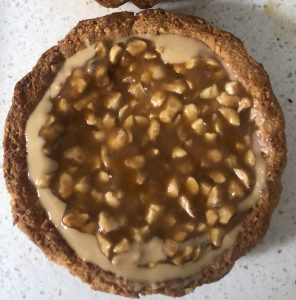
- Add the peanuts to the pan and whisk until well combined, leave aside to cool.
- Spoon the peanut caramel mix into the base of the tart shells – over the peanut butter and place the tarts back in the fridge for 30 minutes.
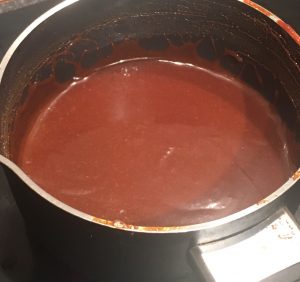
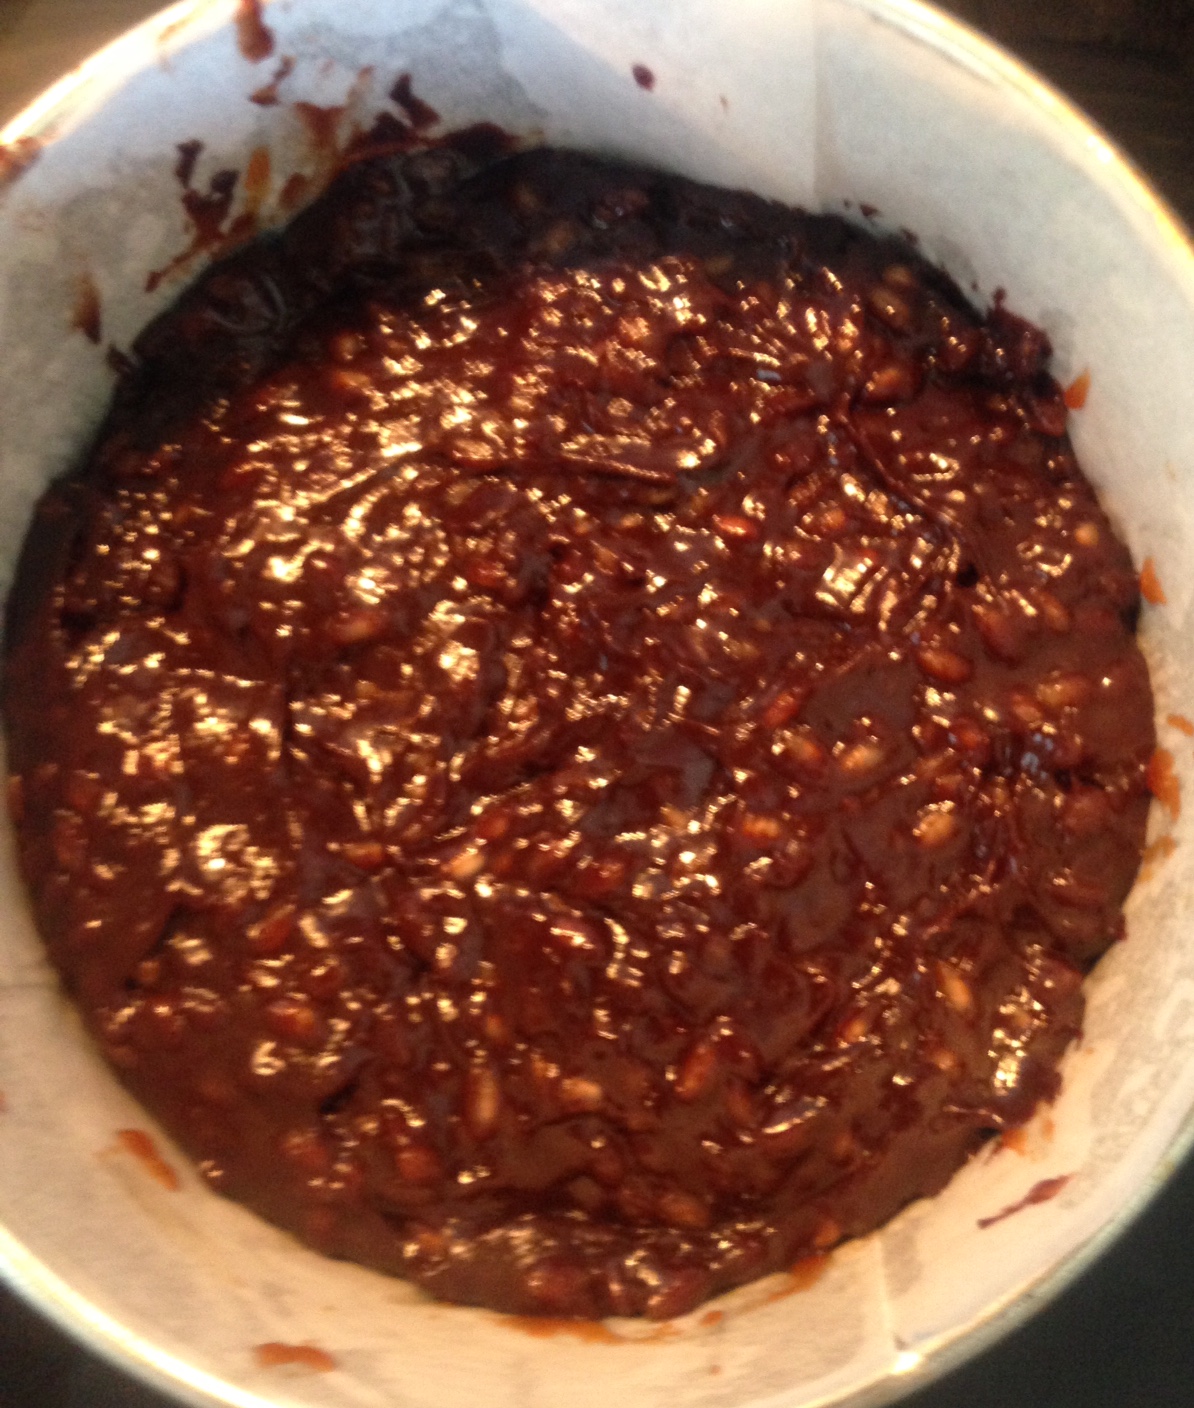
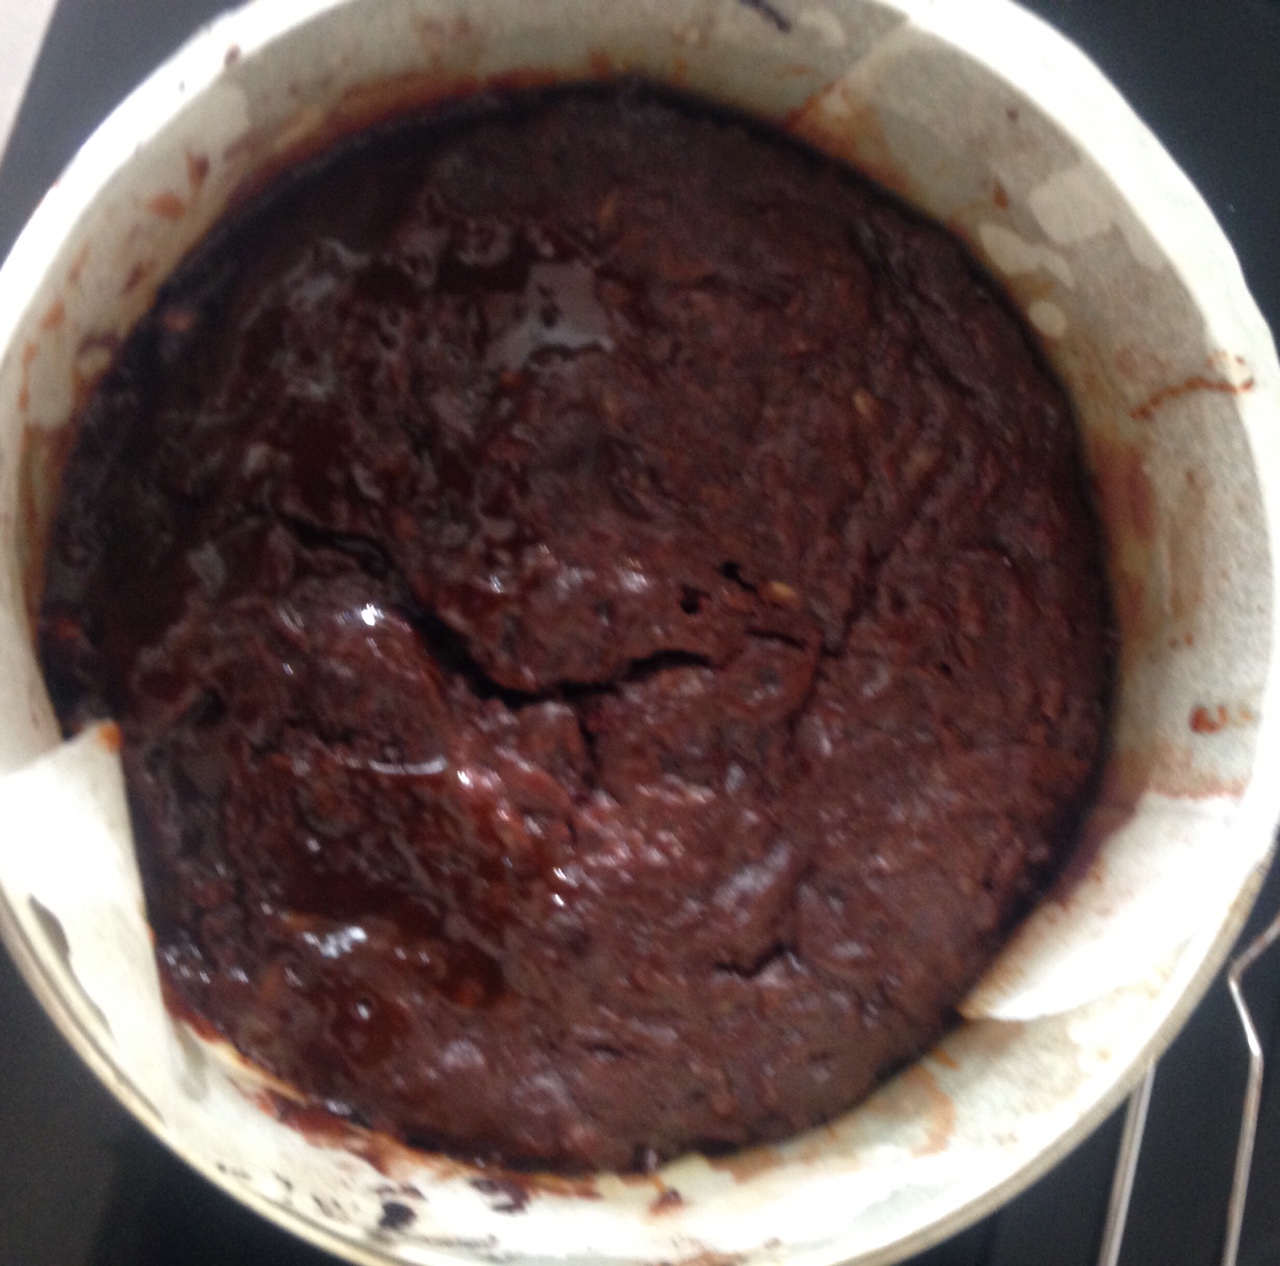
- To make the ganache place the cream and chocolate in a saucepan over a pot of simmering water and stir until well combined, silky and smooth in texture, leave aside until slightly cooled.
- Place the egg yolks and sugar in another saucepan and whisk with a hand whisk until the egg is pale and creamy – do not place directly on the heat or the yolk with scramble.
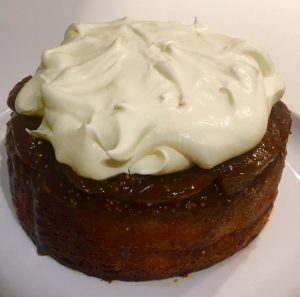
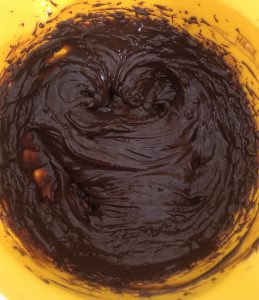
- Place the yolk mix and chocolate mix into a bowl and beat with electric beaters until cooled, thick and creamy.
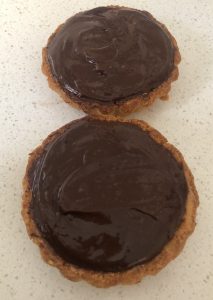
- Spoon over the top of the peanut mix and place the tarts in the fridge to completely set for 2+ hours.
Step 2
Step 4
Step 7
Step 8
Step 10
Step 14
Step 13
Step 14
Step 16
Step 17
Step 18
 Follow