Cream Cheese Nutella and Strawberry Dessert Dumplings
Dumplings would have to be one of my all-time favorite foods. I could live off vegetable pan fried dumplings for dinner every night if I needed to quite easily!
Thus after recently making dumplings for dinner that can only be described as bliss, I figured, if dumplings are that good as a savoury dish they must be a worthwhile experiment to make as a dessert.
I quite often experiment with turning a savory meal into a sweet dish, in which tends to fail more than it feats so this should be interesting to say the least.
After a range of varying filling experiments (from a ricotta white chocolate & nutella filling to a citrus chocolate berries almond & glace fruit filling), I found a superstar combo. And the end result? Surprisingly fresh strawberries with chocolate hazelnut and coffee!
Ingredients:
Dumplings:
- 125g cream cheese
- 60g Nutella
- 10g icing sugar
- 20g hazelnuts, finely chopped
- ½ tsn coffee granules
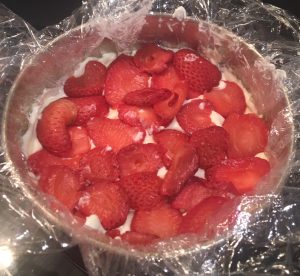
- ½ cup finely diced strawberries
- Wonton wrappers, pack of 40
Extra:
- Vegetable oil for frying
- Icing sugar to dust
- Crème fraiche or vanilla ice-cream to serve
Method:
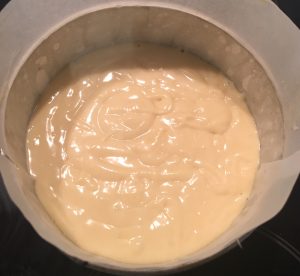
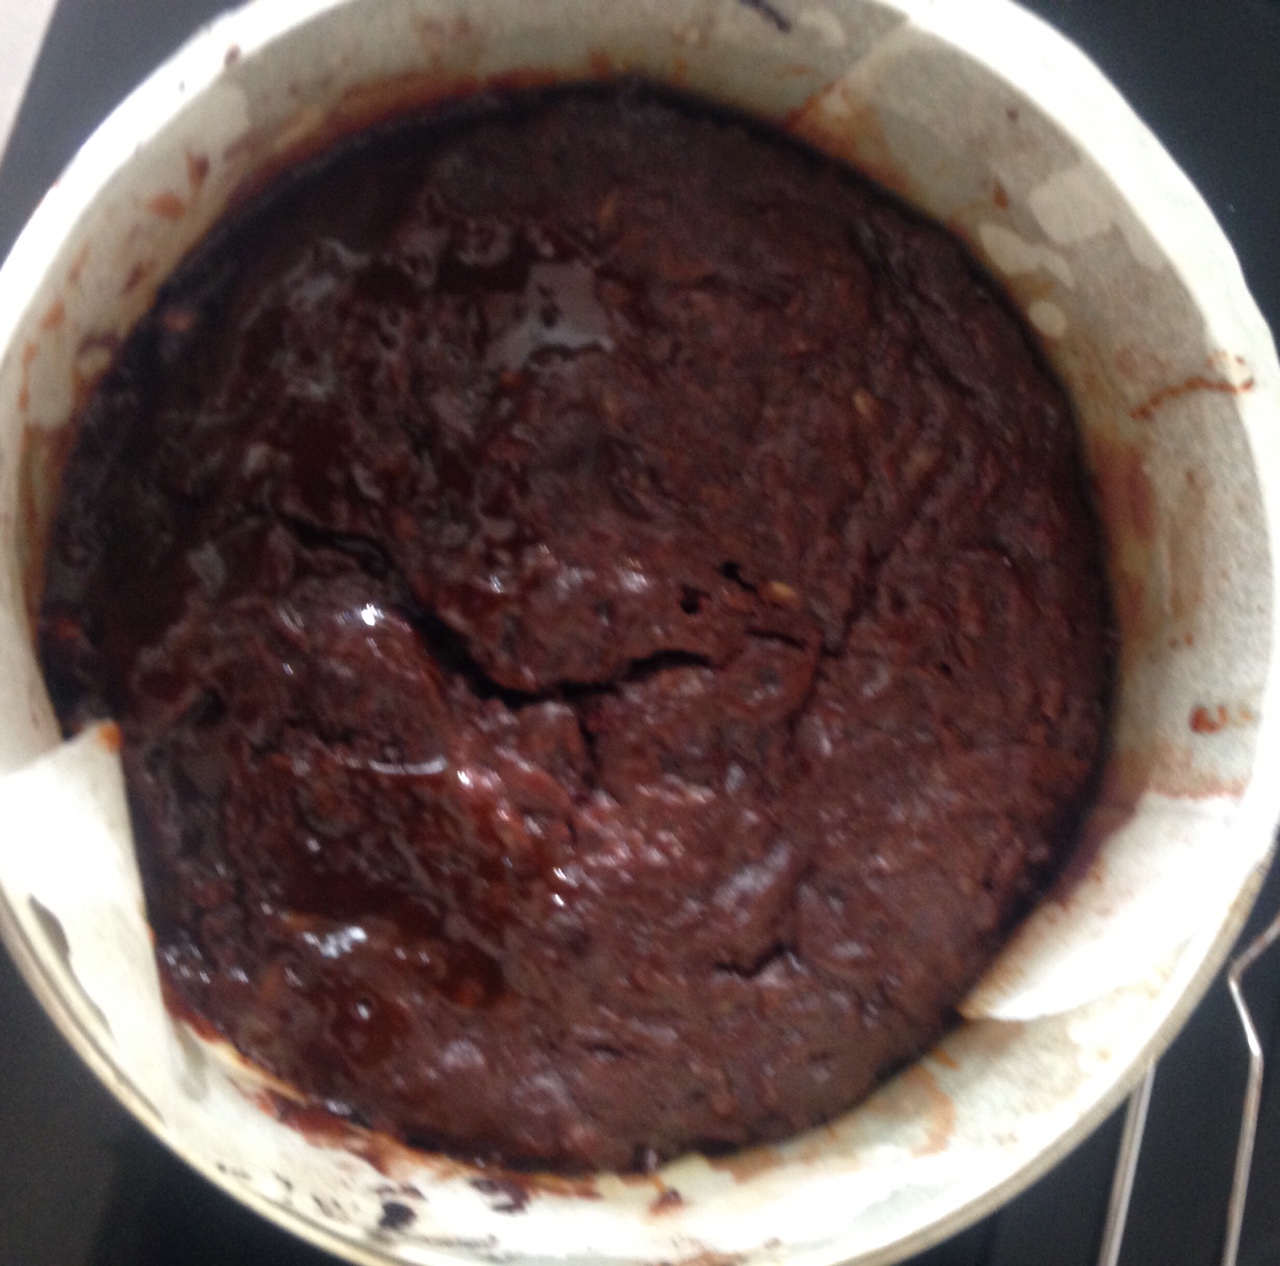
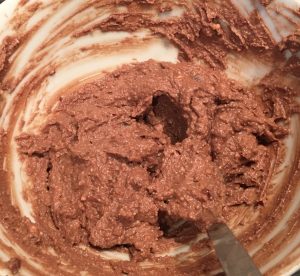
- Place the cheese, Nutella, icing sugar, hazelnuts and coffee granuals into a bowl and stir until well combined and smooth.
- Lay a wonton wrapper on a chopping board and using your index finger dip it into water then run your finger around the edges of the wrapper (alternatively you can dip a pastry brush into water and brush around the slides of the wrapper if you prefer).
- Using 2 spoons, scoop and drop 20g of mix into the center of the wrapper.
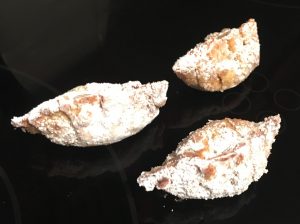
- Carefully pull one side of the wrapper over the other to make a triangle (or semi circle shape if using circle wrappers) and seal by pressing the edges together well. This is where the water is key as it sticks the pastry sides together.
- There are many ways to shape the dumplings, you can crimp the edges, fold the edges or take the 2 ends of the pastry and wrap them over each other, using water to stick them in shape.
- Continue with remaining wrappers and filling.
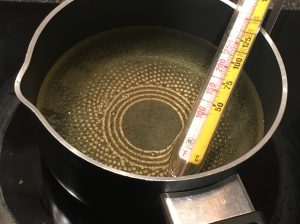
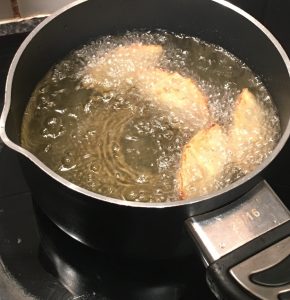
- Heat the oil in a saucepan on medium heat until you reach 175c degrees.
- Using tongs place 4-5 dumplings into the oil at once and leave to fry until golden brown.
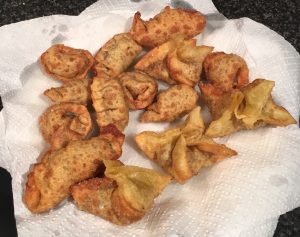
- Place cooked dumpling onto a plate lined with paper towel.
- Repeat the frying process until all dumplings are cooked.
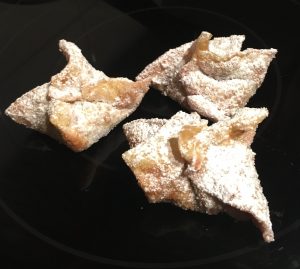
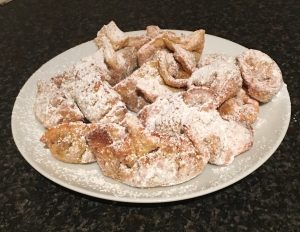
- Place dumplings on a clean plate and sieve icing sugar over the top.
- Serve with Crème fraiche poured over the top of the warm dumplings or with a generous scoop of vanilla ice-cream.
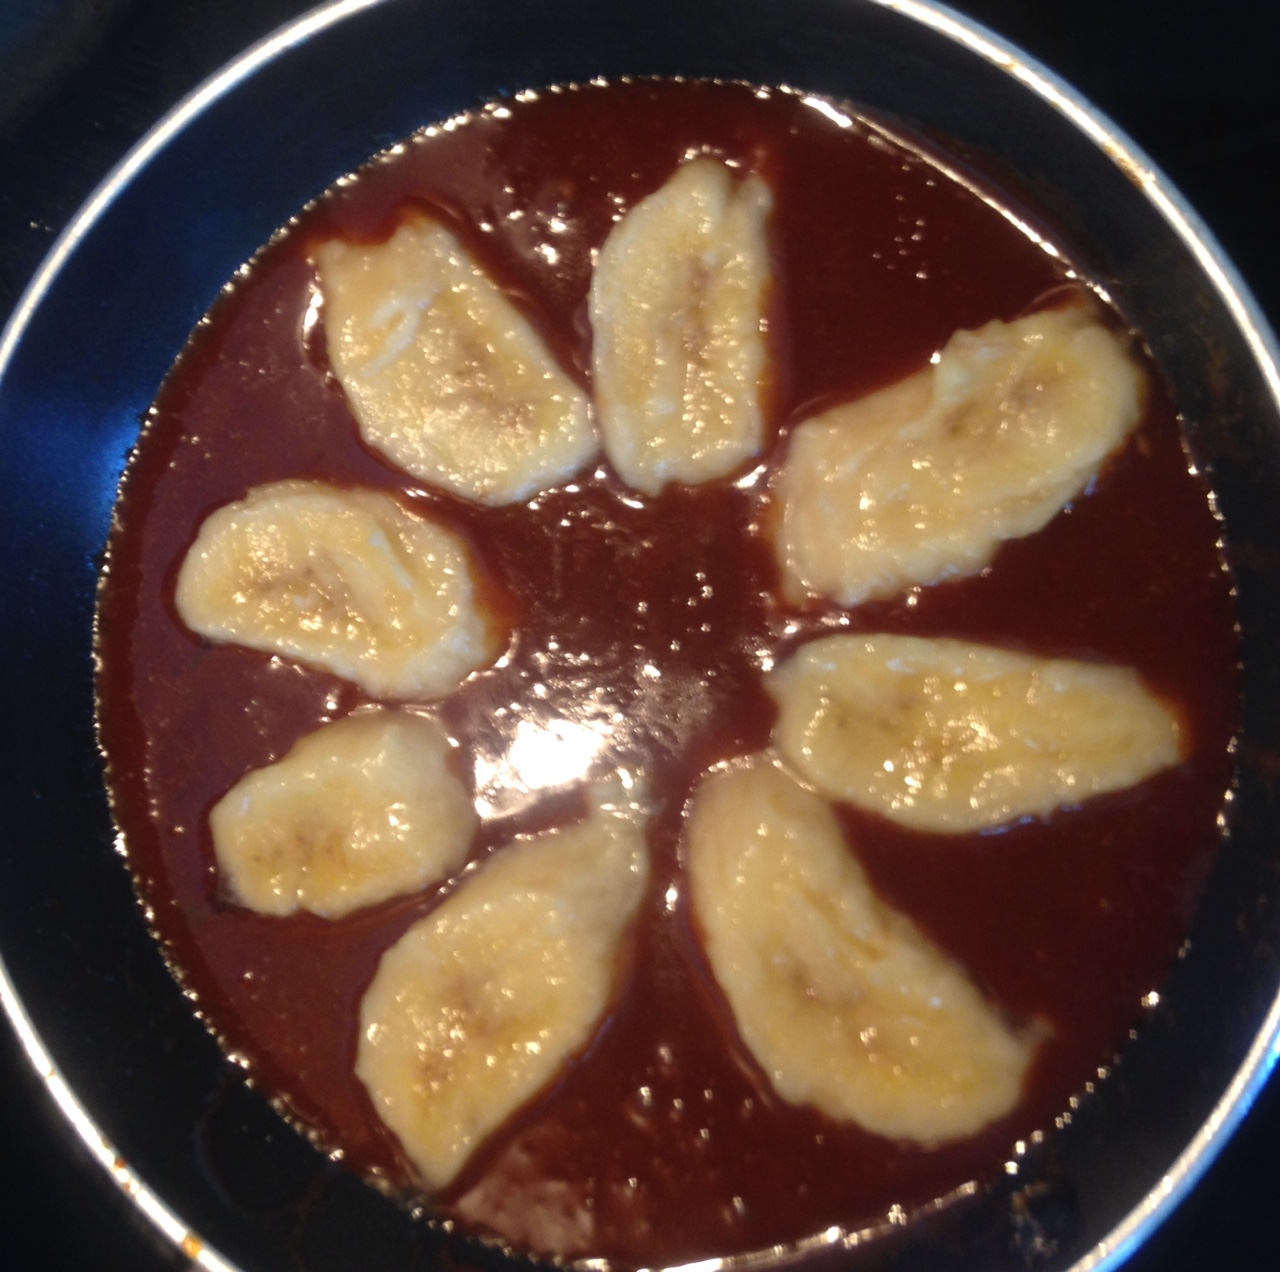
Step 1

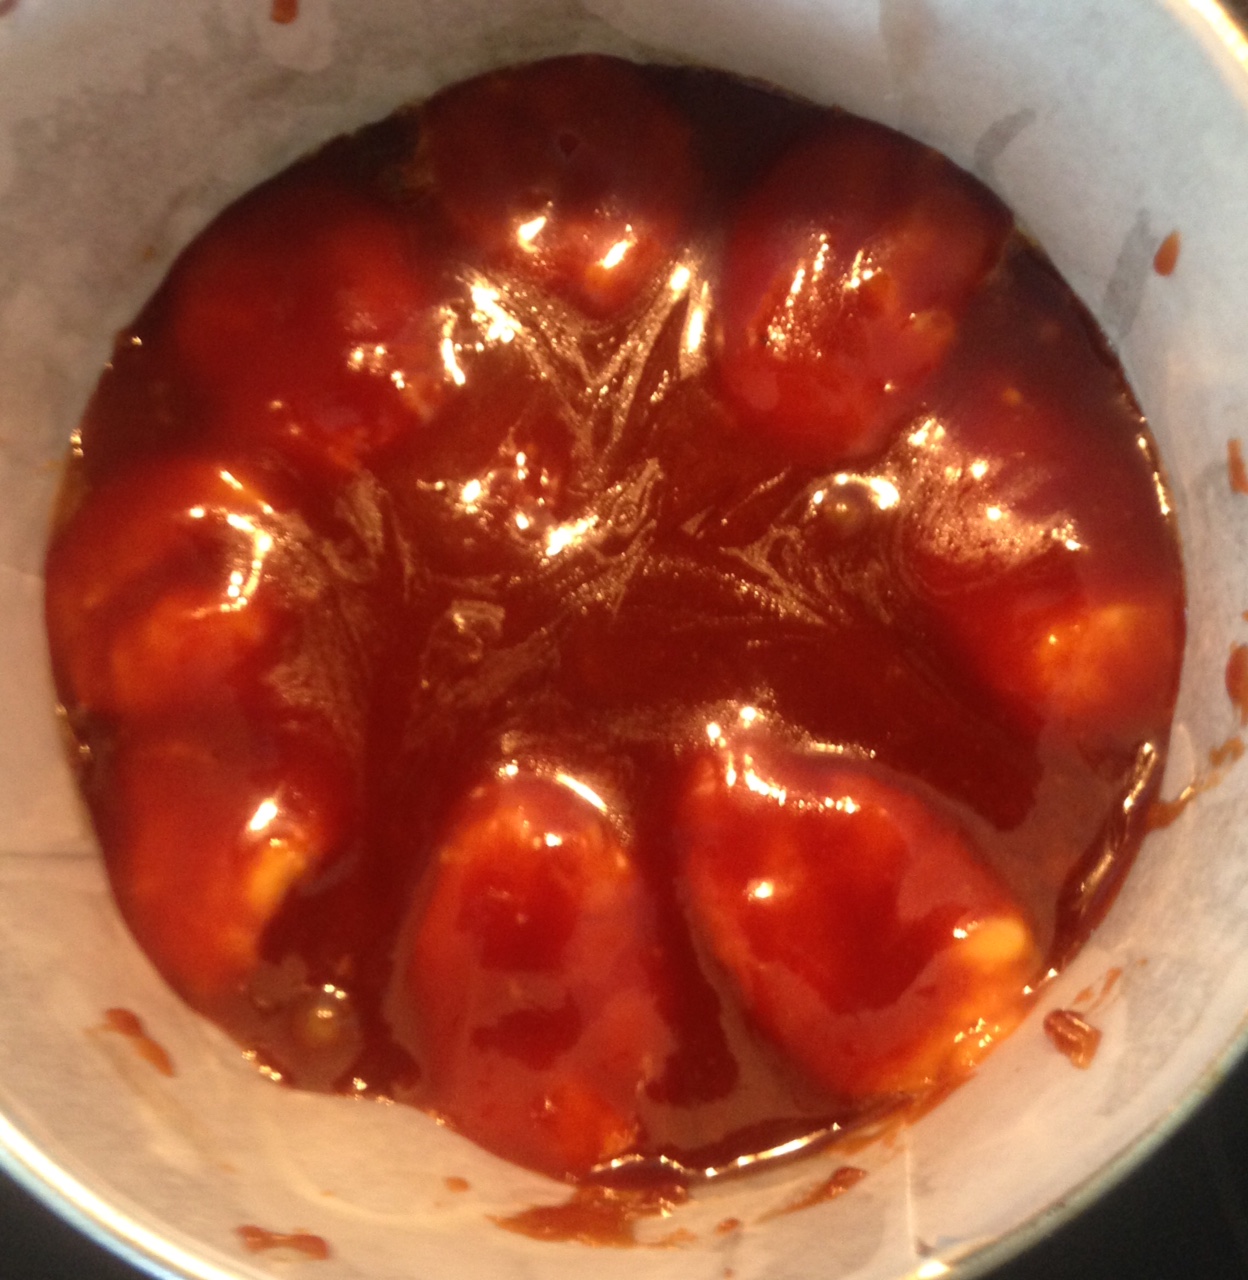
- Step 6
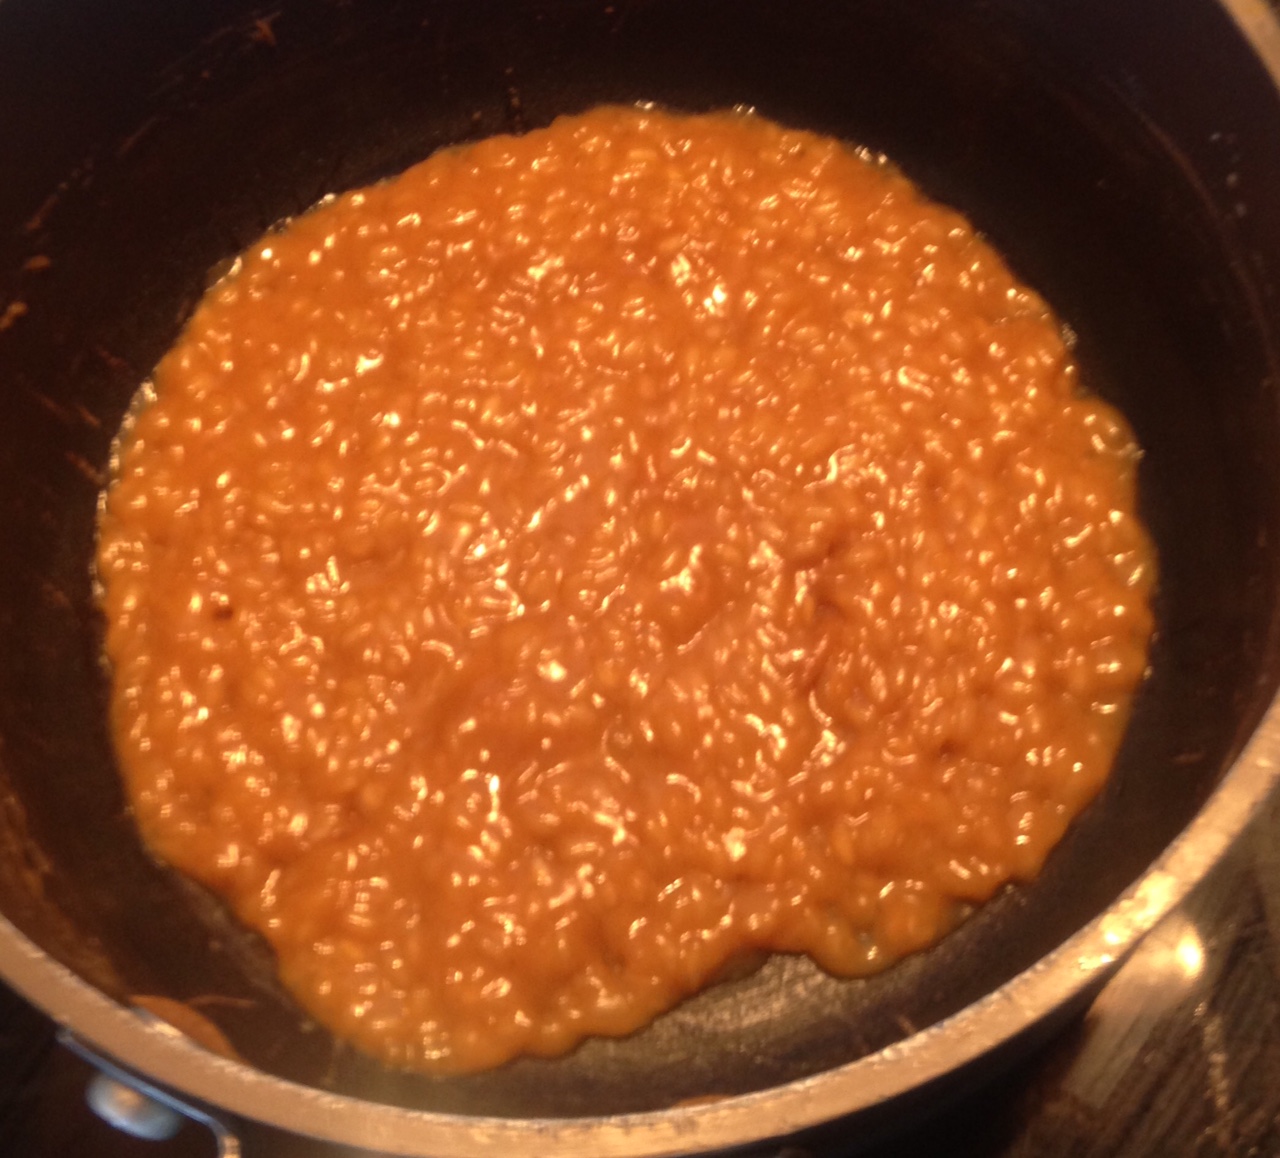
- Step 7
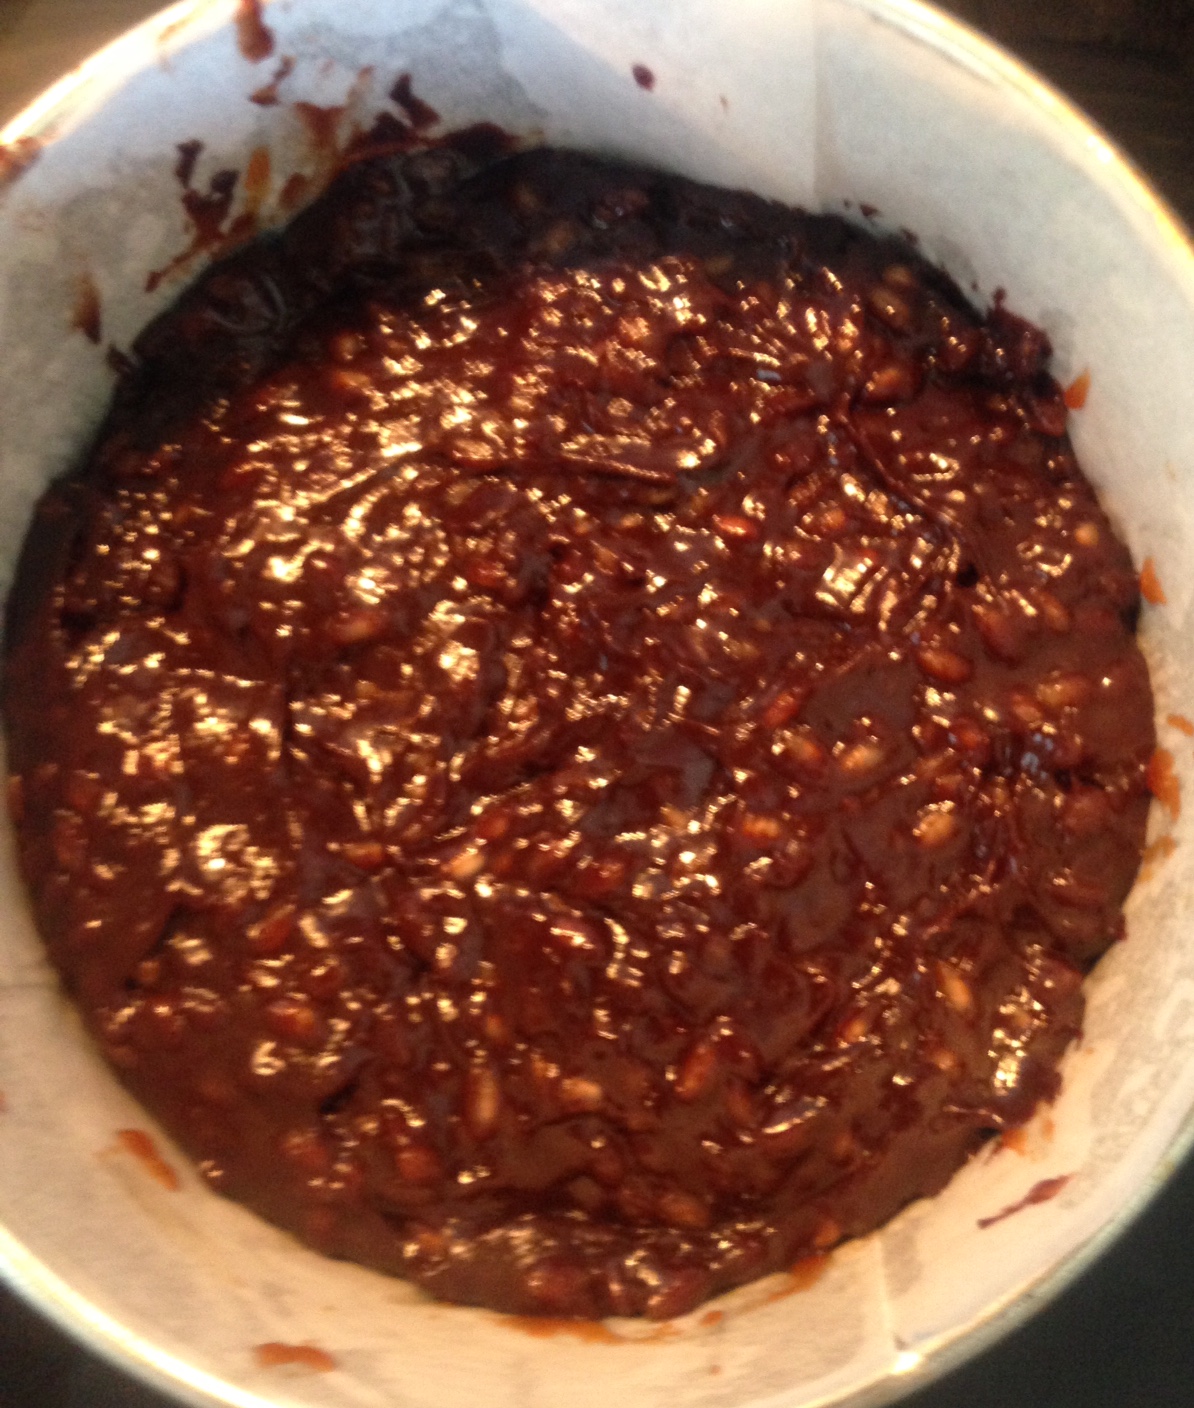
- Step 8
- Step 9
- Step 11
Like this recipe? Subscribe via RSS or email to get my new entries and more scrumptious recipes with reviews.
 Follow