After being given a big jar of jolly ranchers I decided to make a sweet treat with some of the flavours.
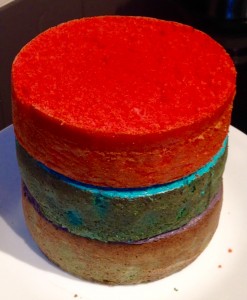
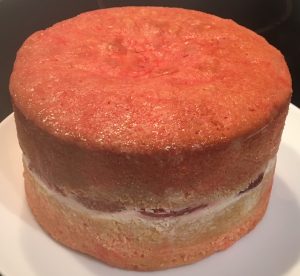
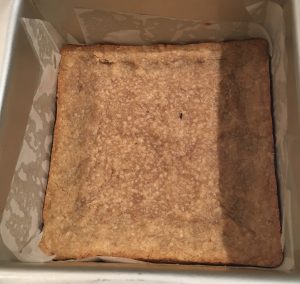
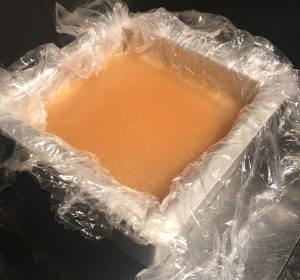
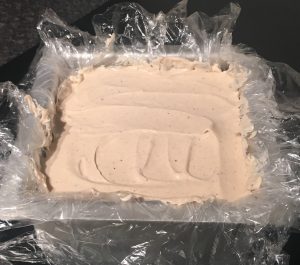
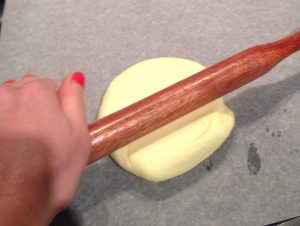
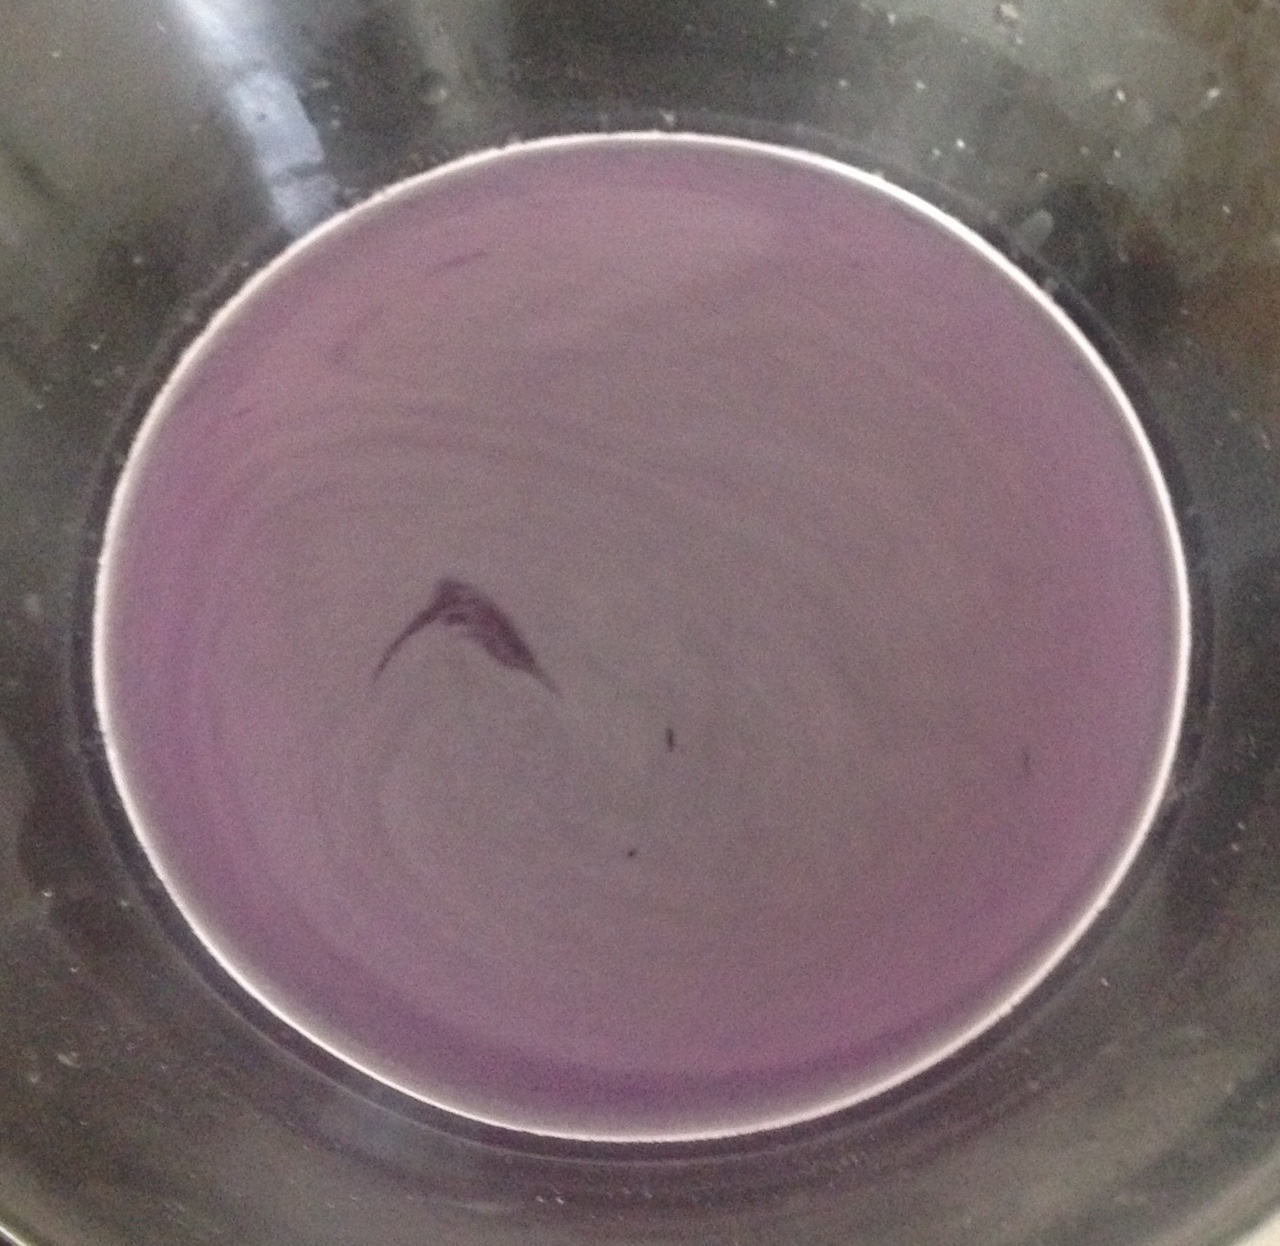
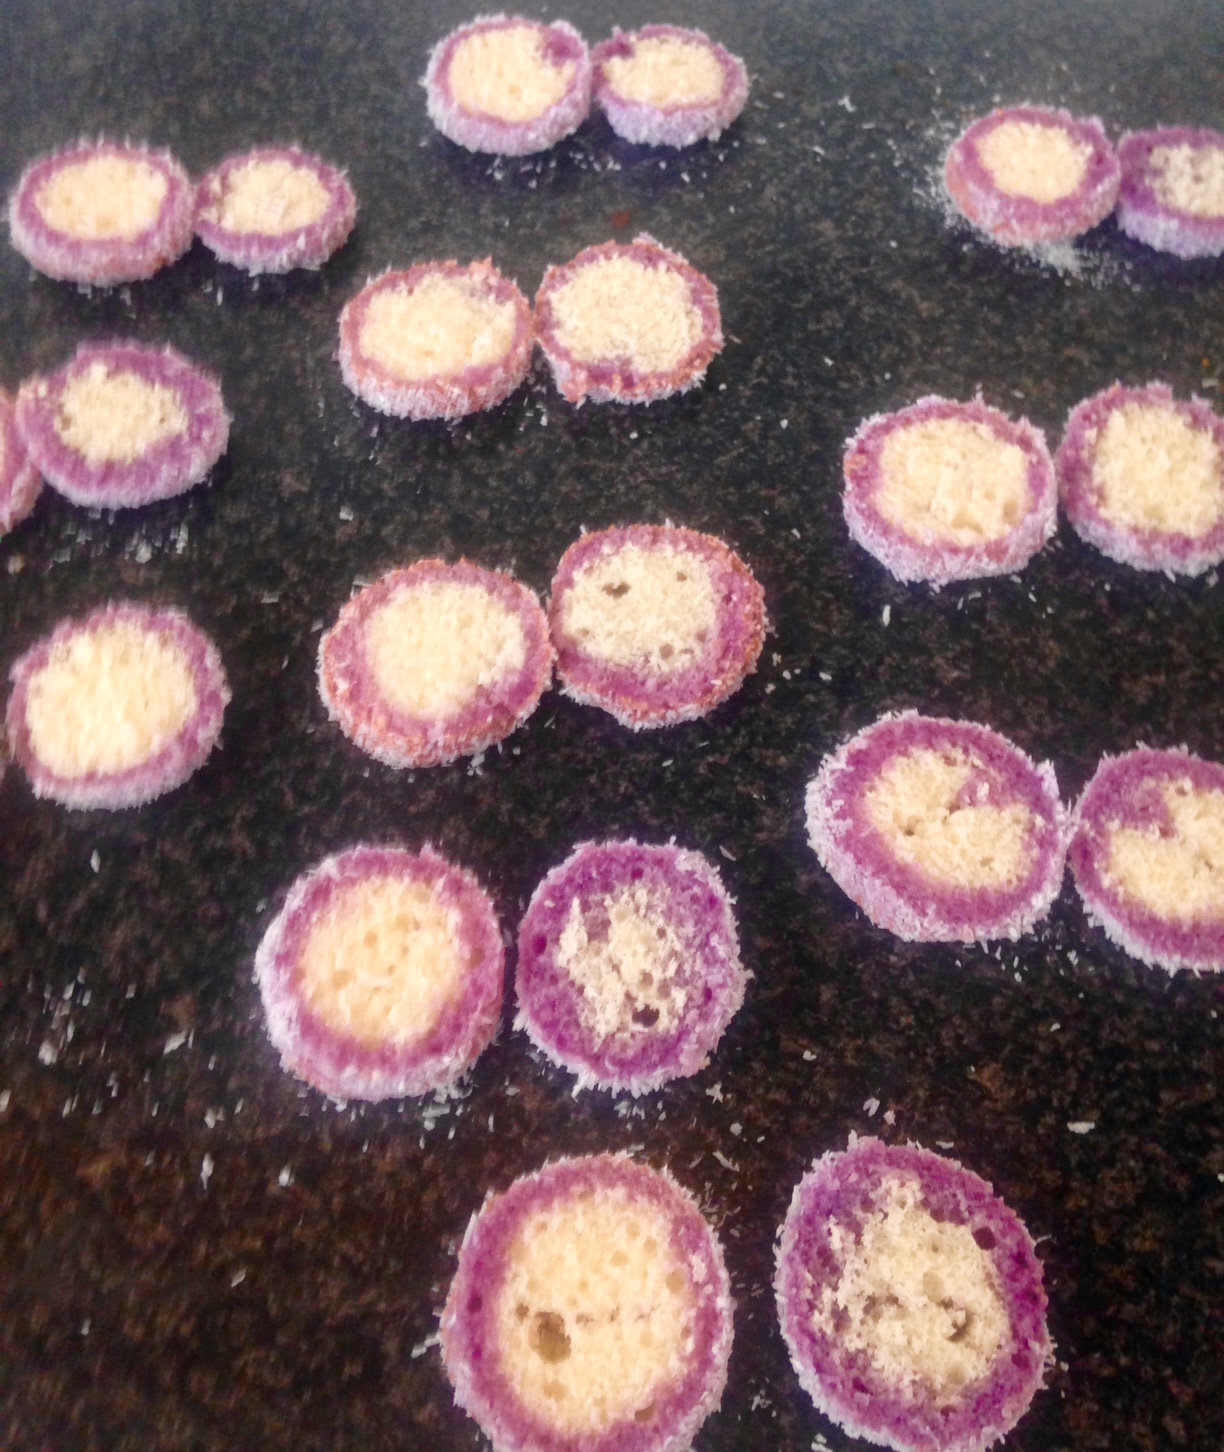
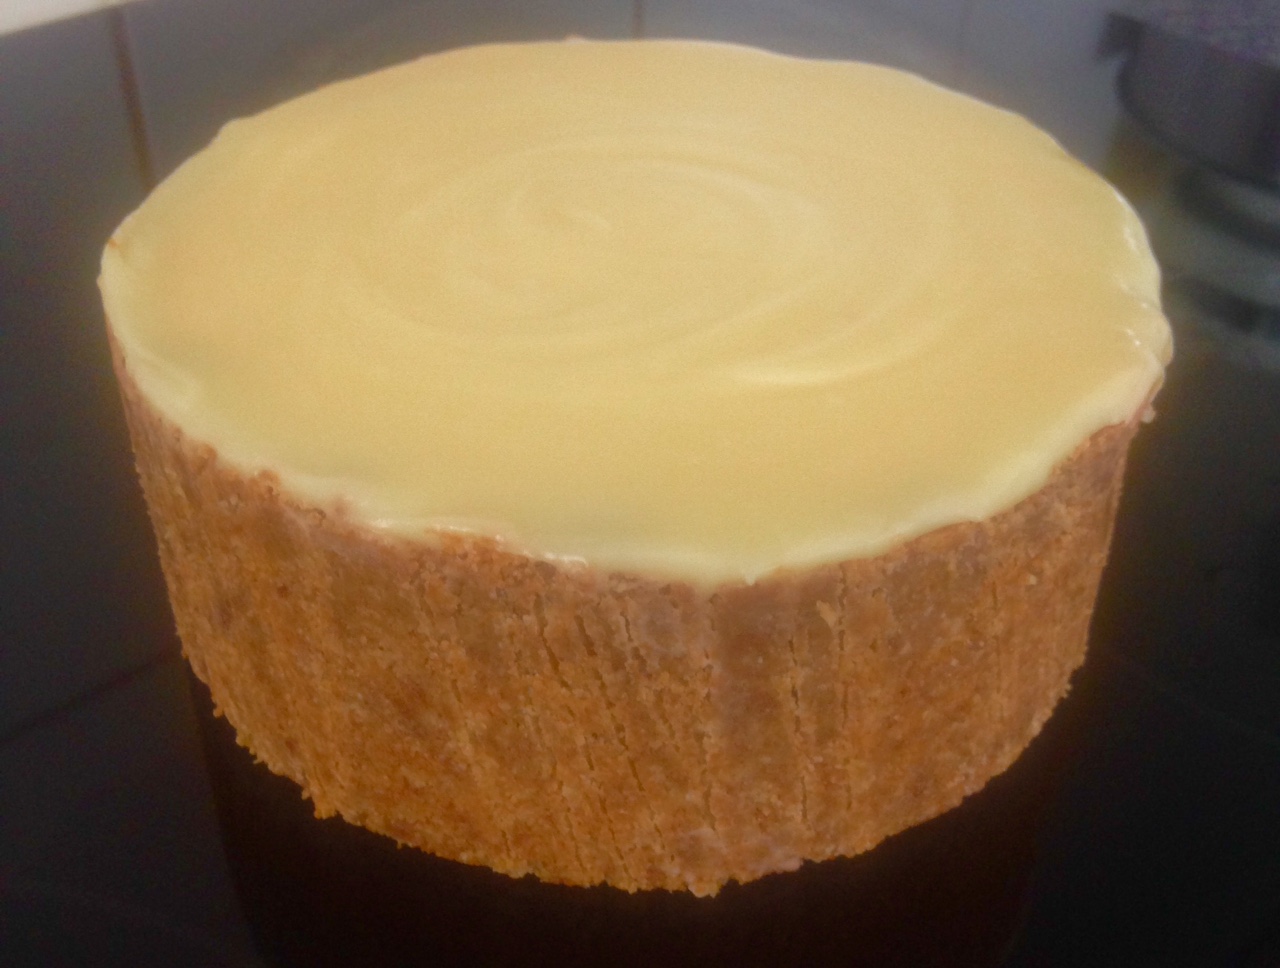
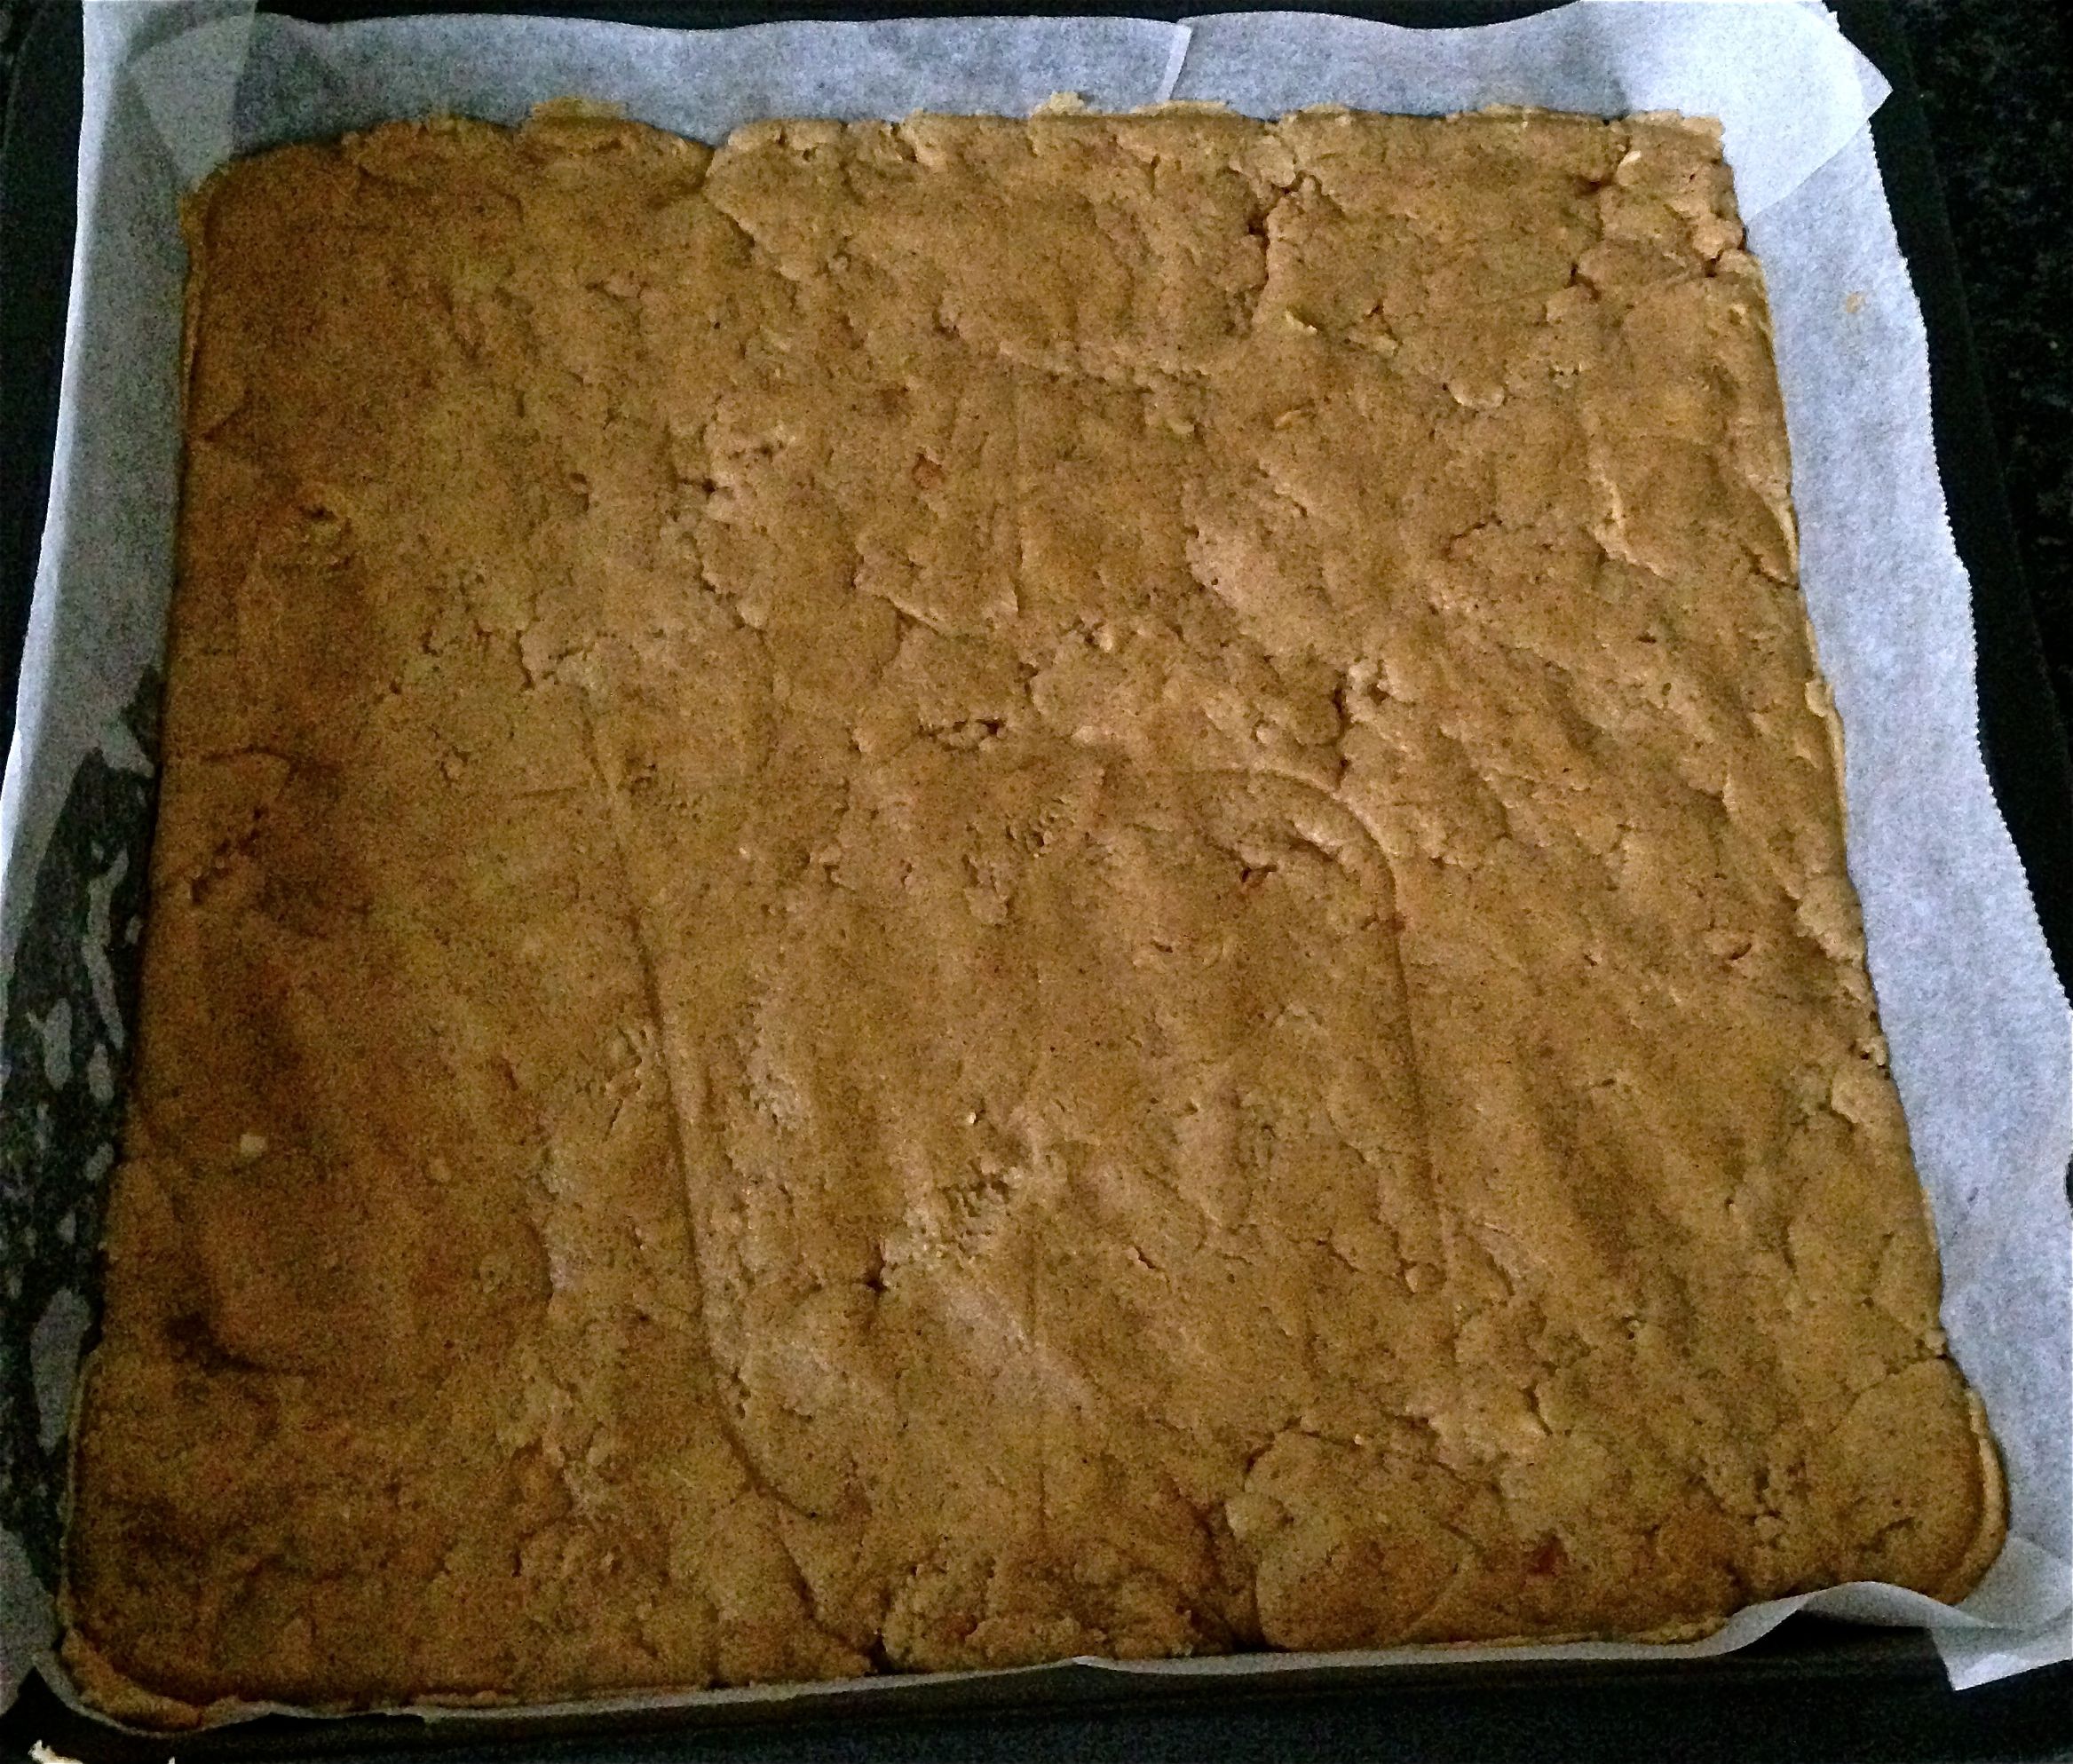
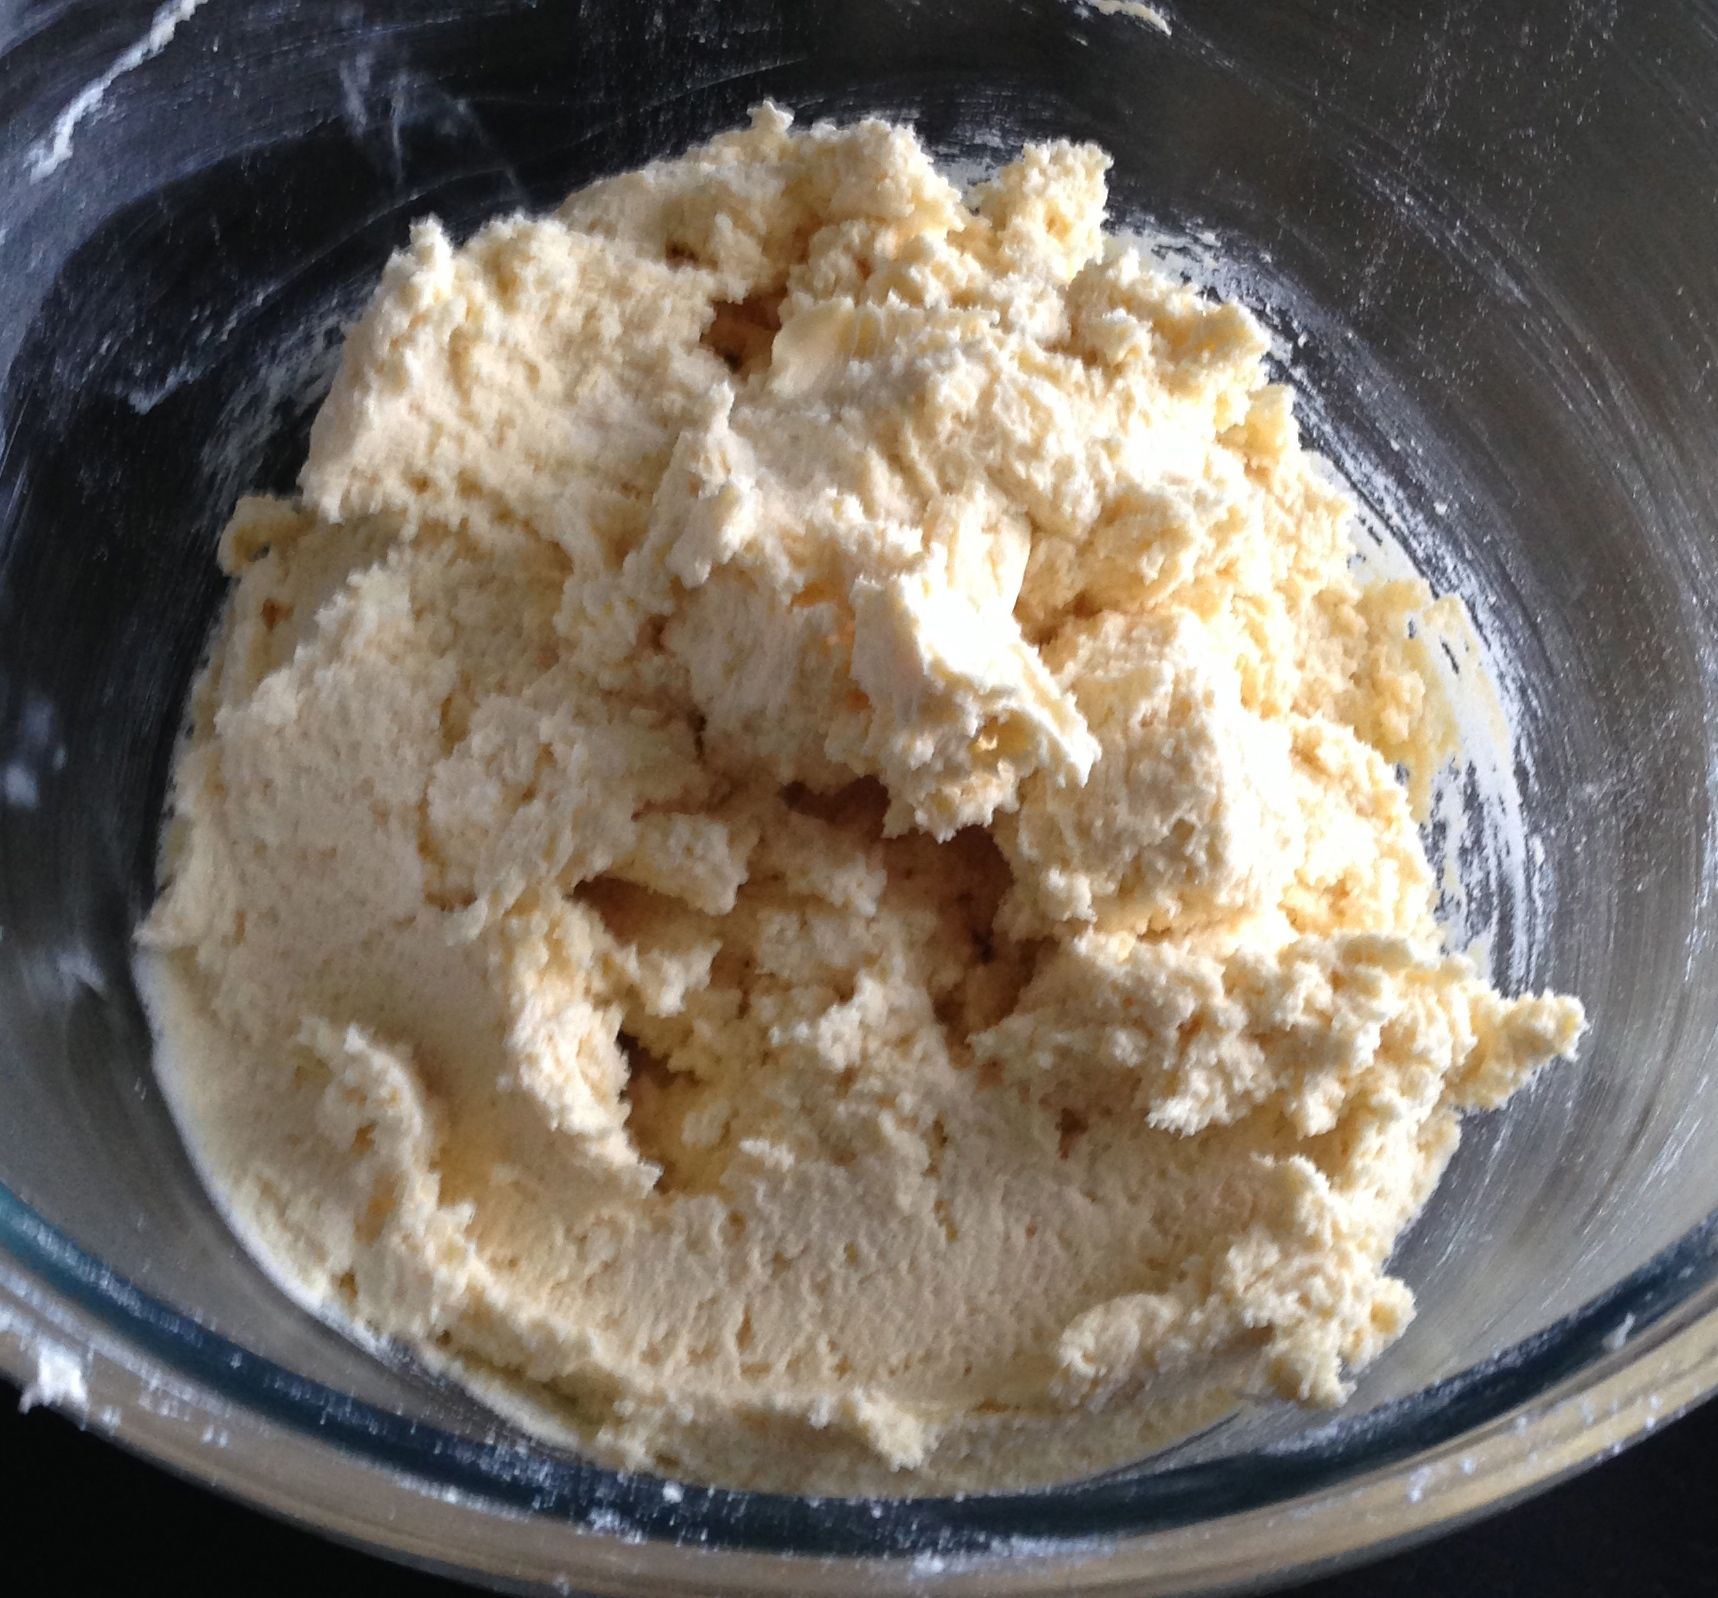
The idea was to make fudge with the grape flavoured candy. Following a basic fudged recipe as the base, I didn’t modify the volume of condensed milk enough and ended up with a almost playdough like outcome….
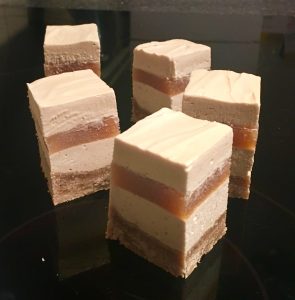
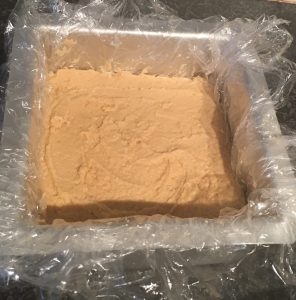
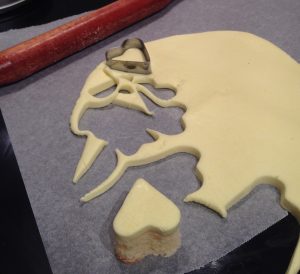
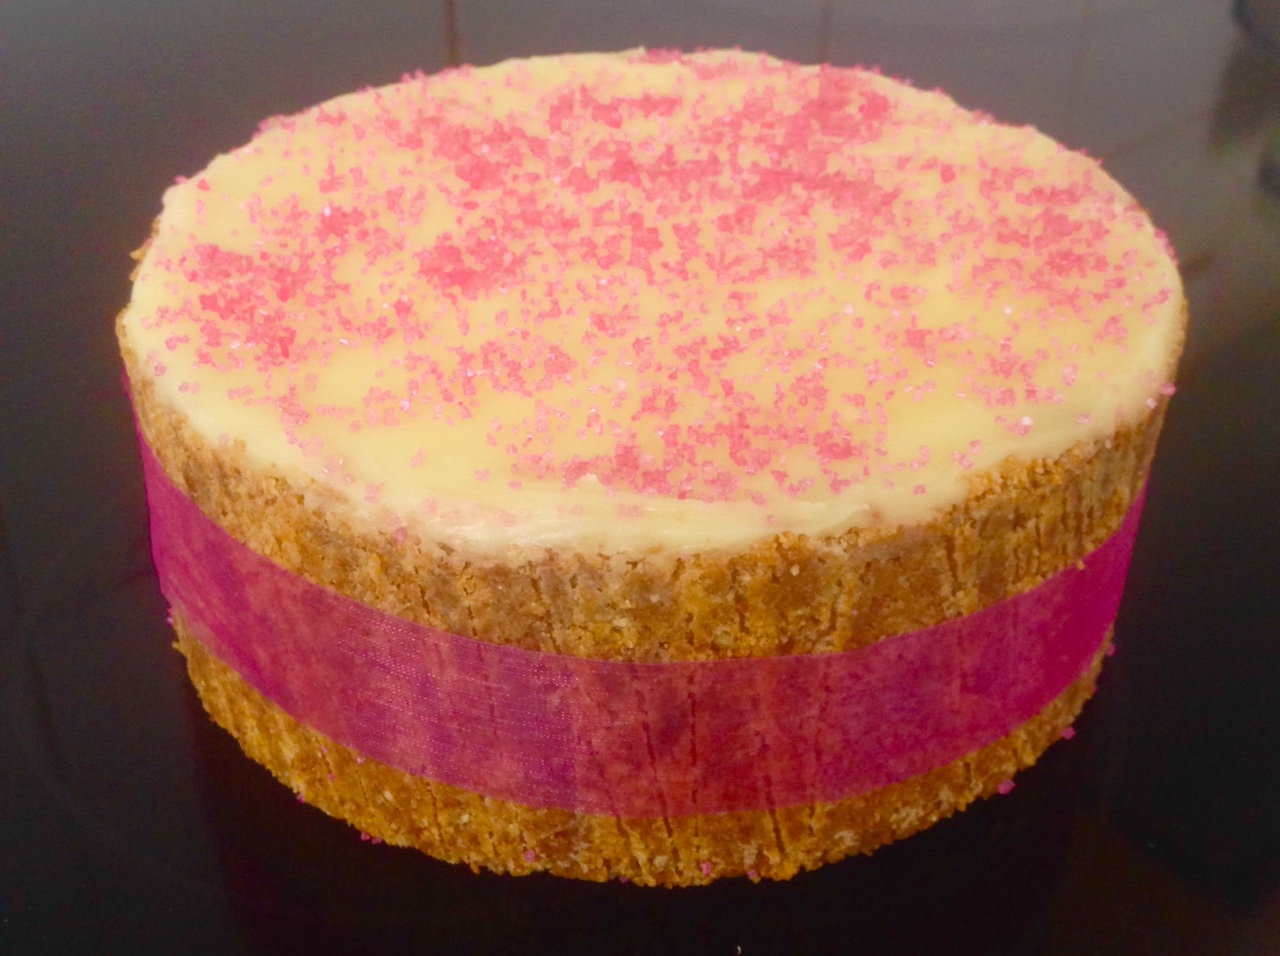
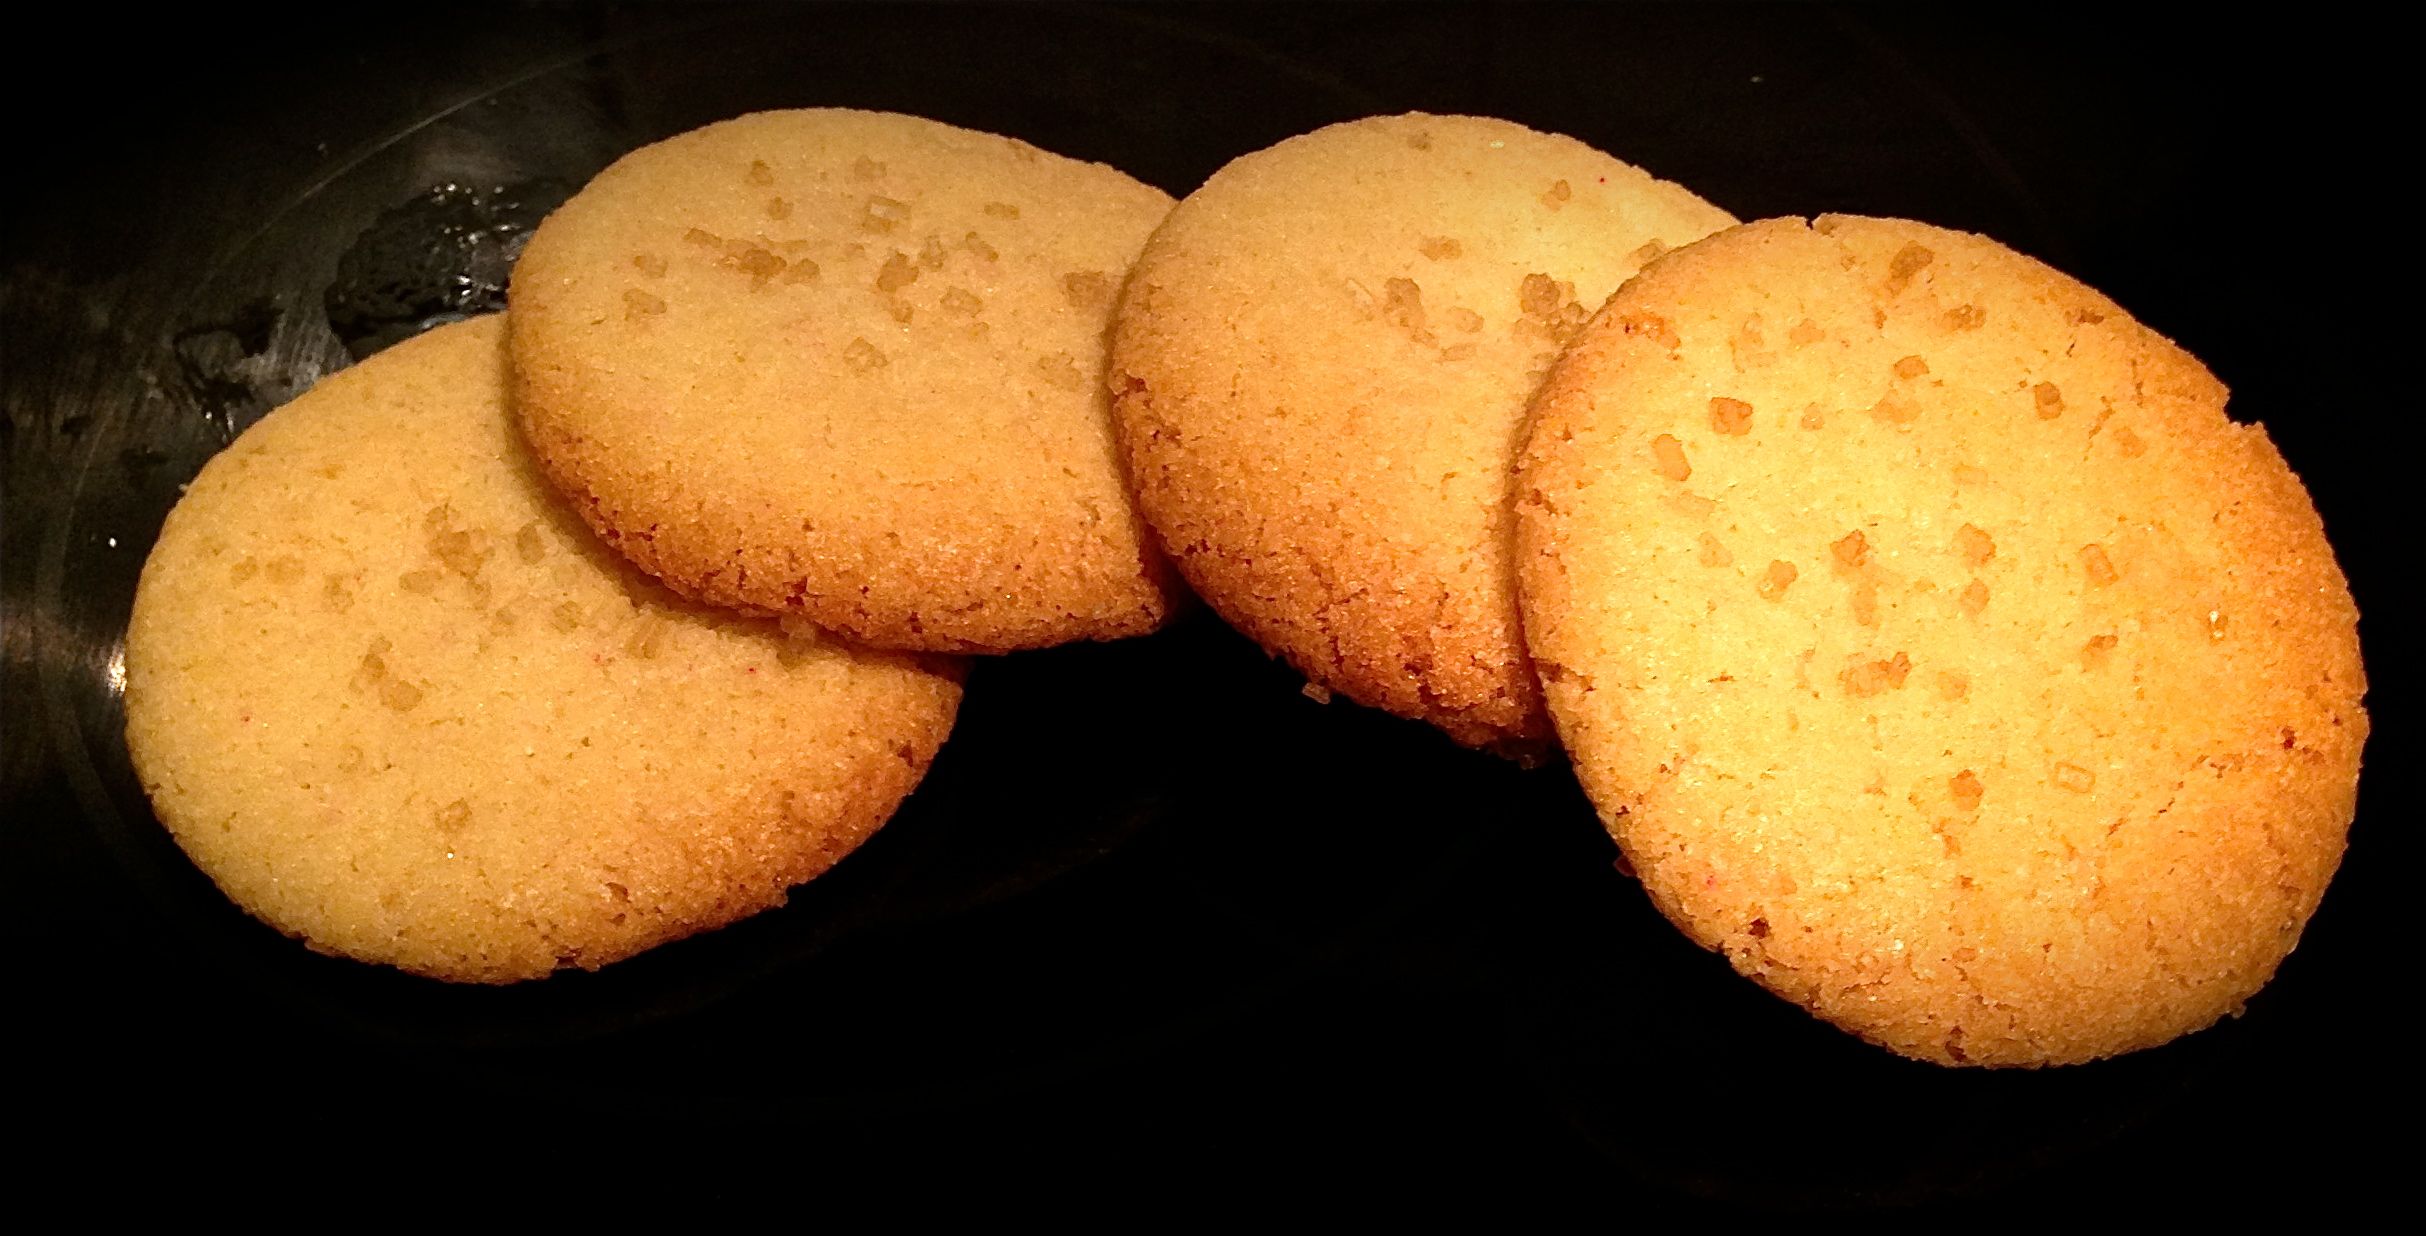
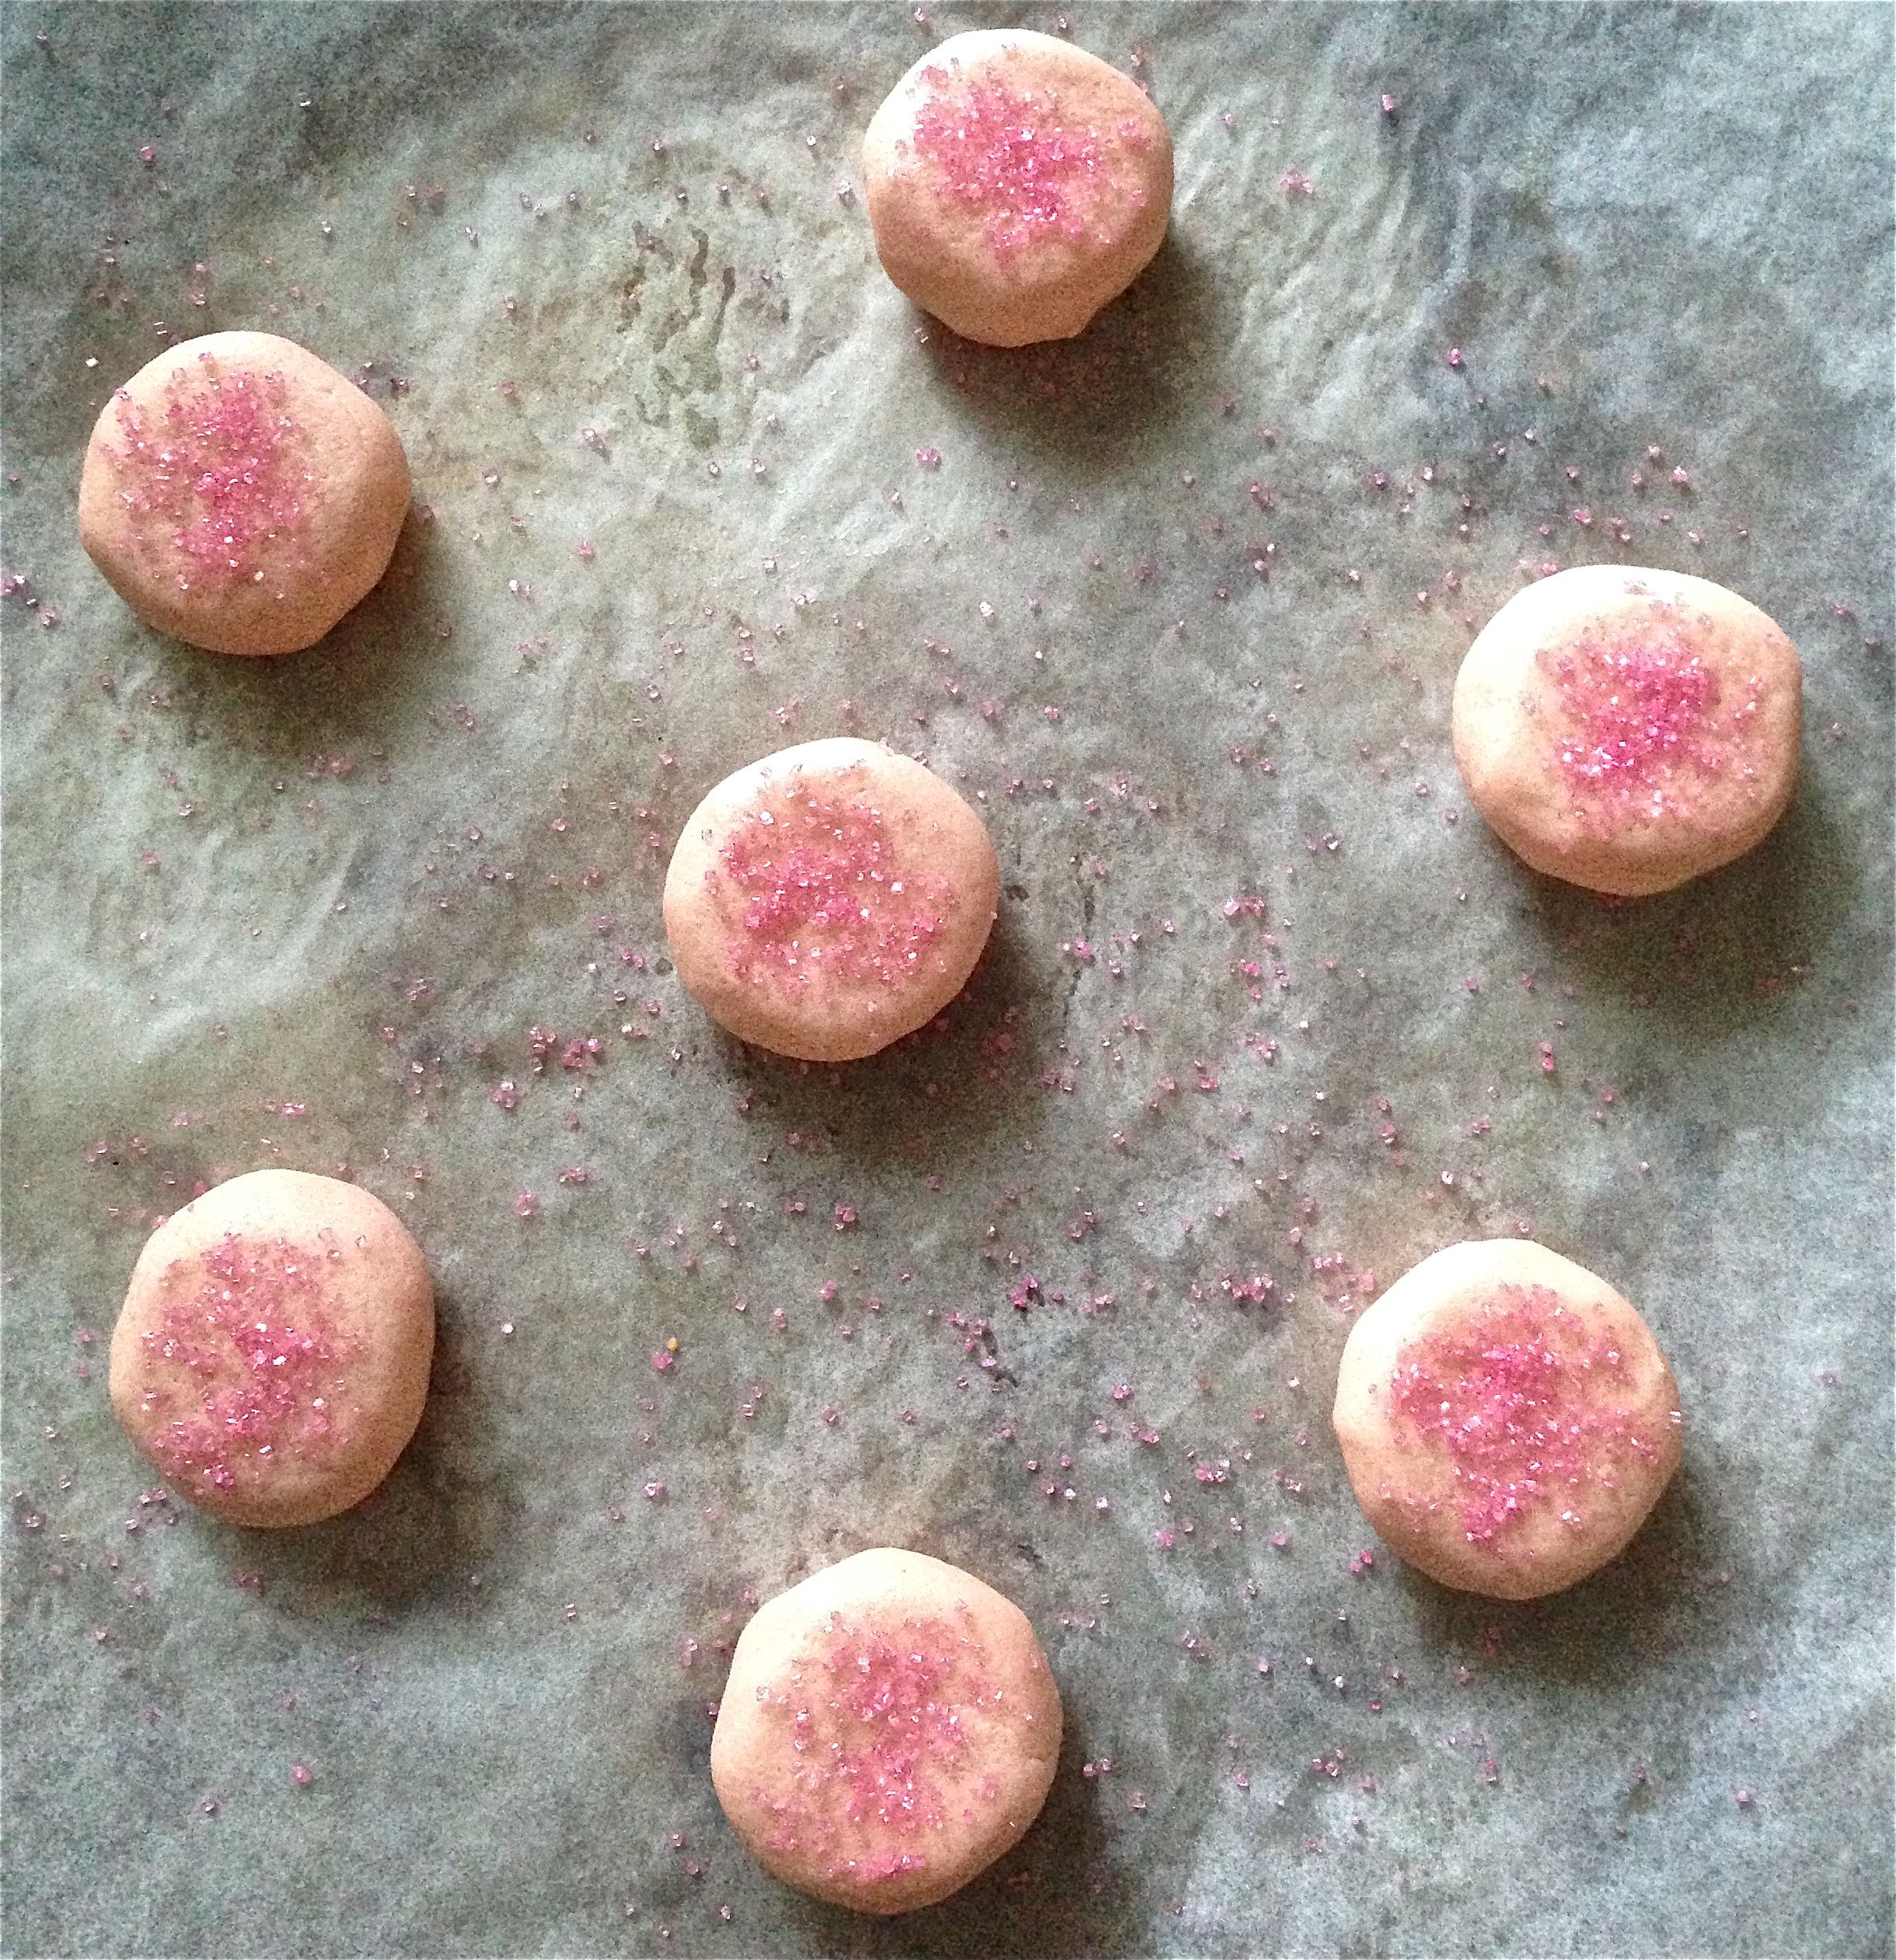
Off the back of this I altered the volume of liquid to candy ratio as well as changed up the flavour to a more unusual taste. While the recipe seemed to work in terms of texture and taste the fudge just seemed a bit boring and not really worth the effort vs. just eating a jolly rancher.
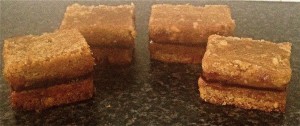
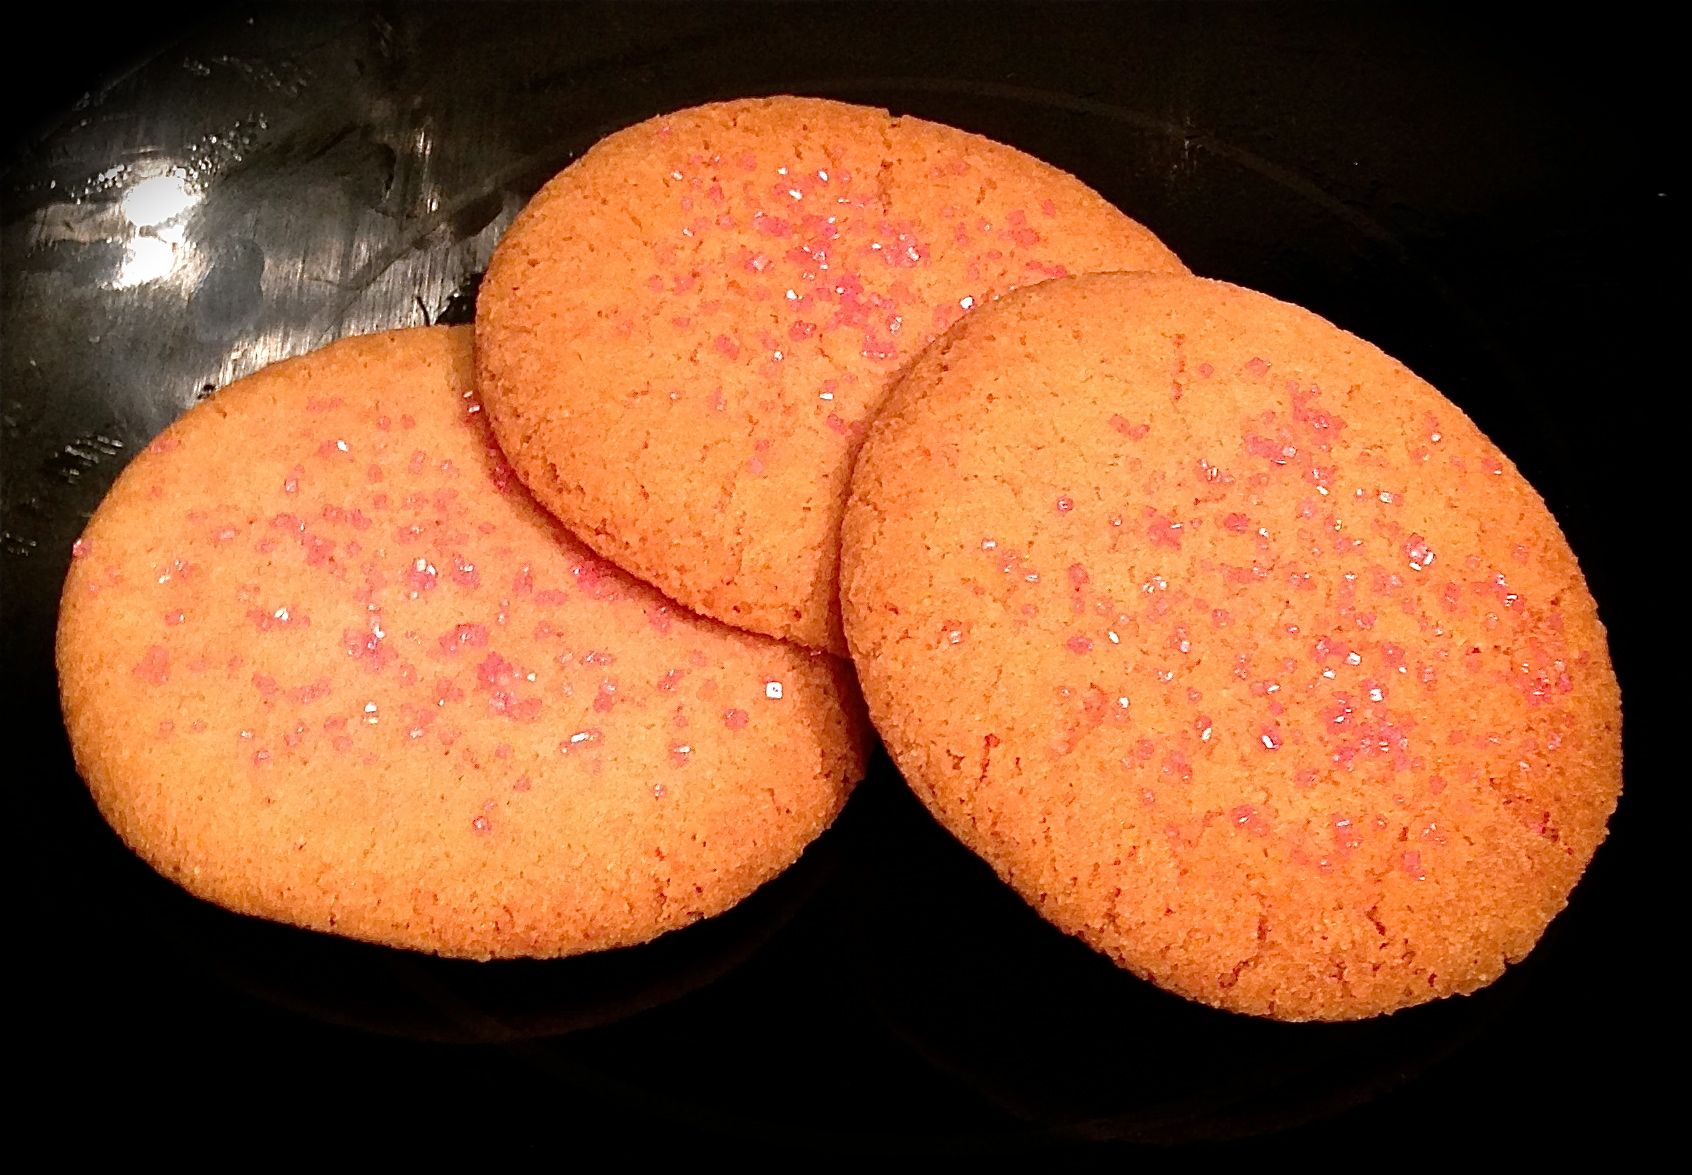
I really did love the taste of the green apple flavour rancher, particularly as apple flavour is so hard to hero (generally it’s overpowered by other flavours).
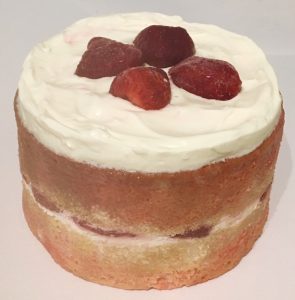
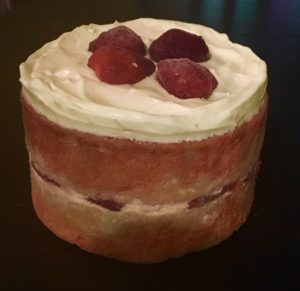
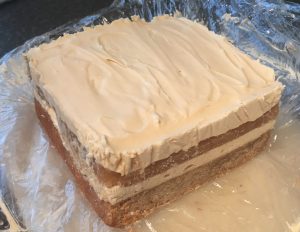
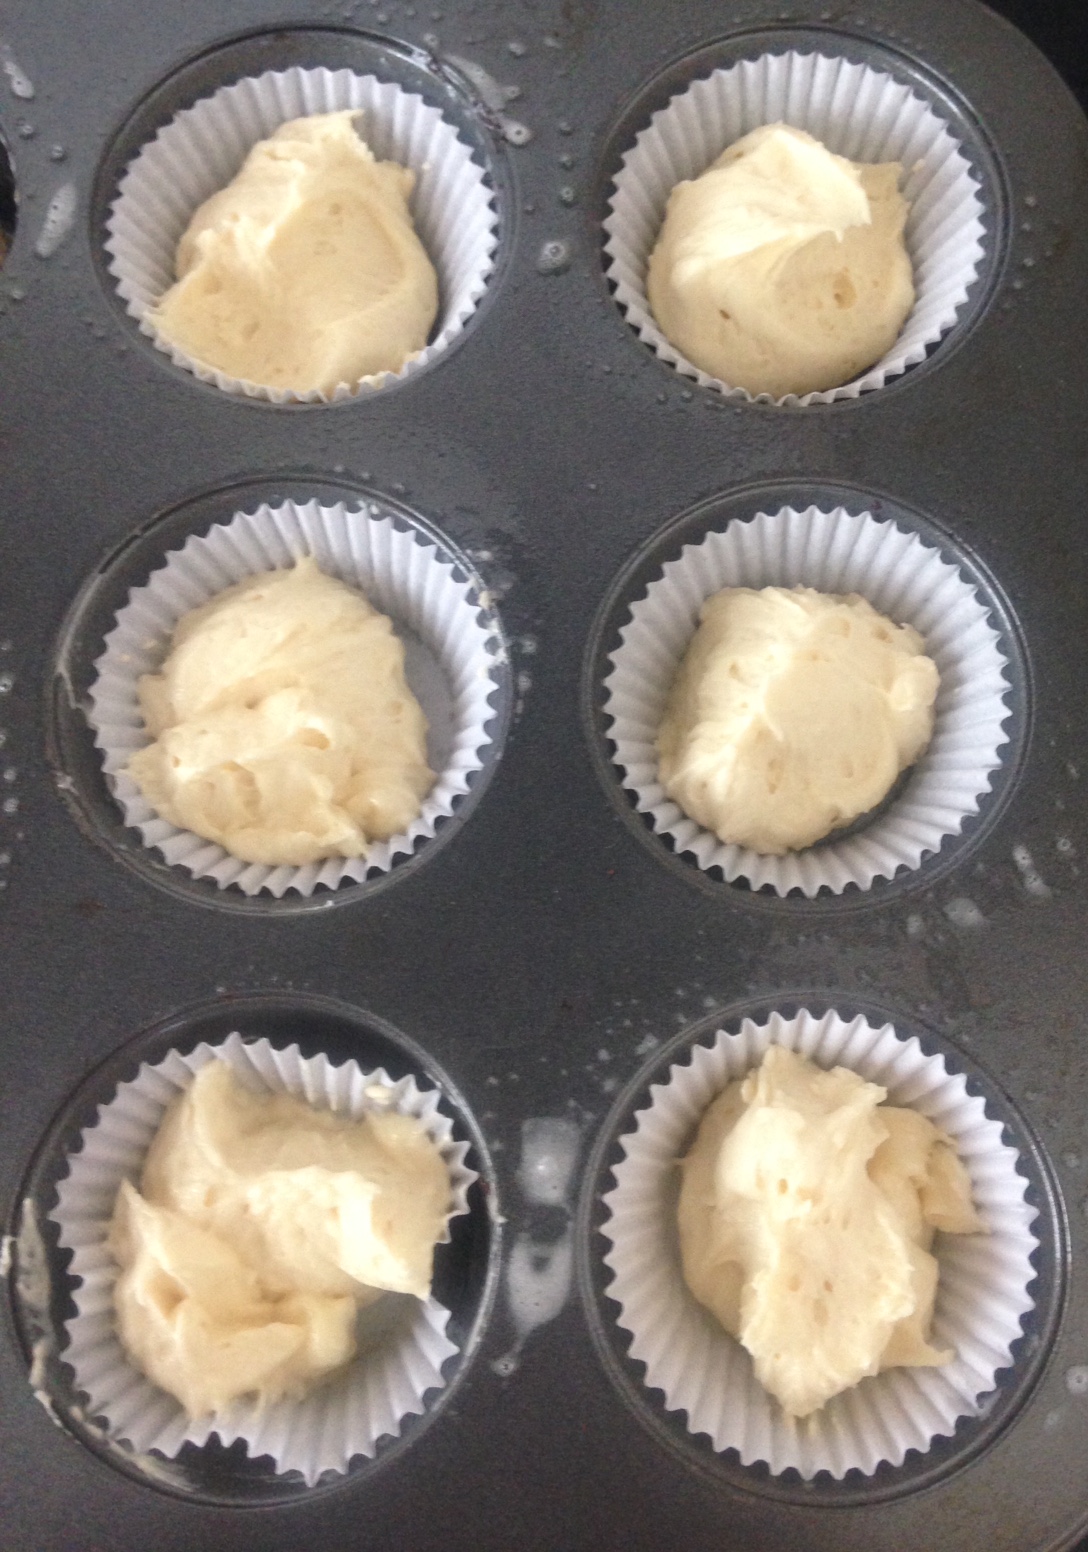
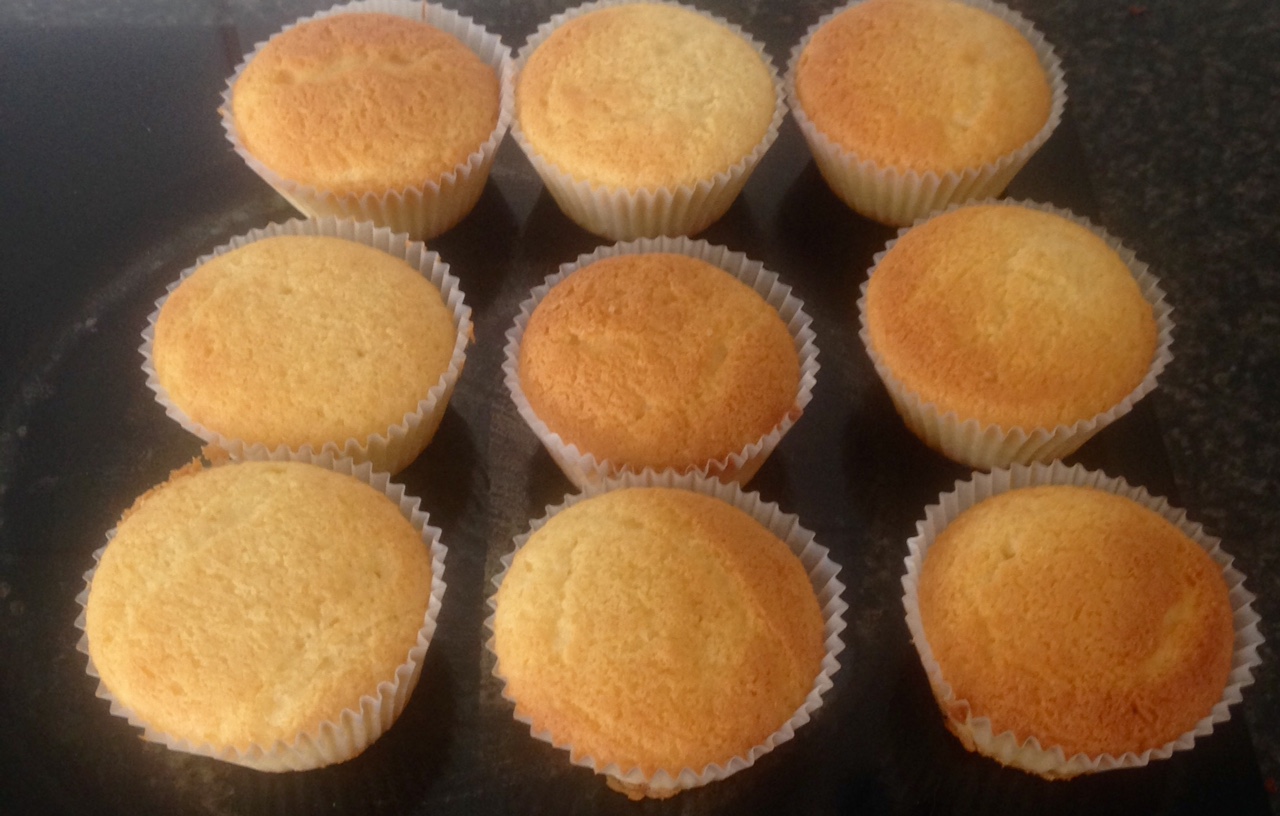
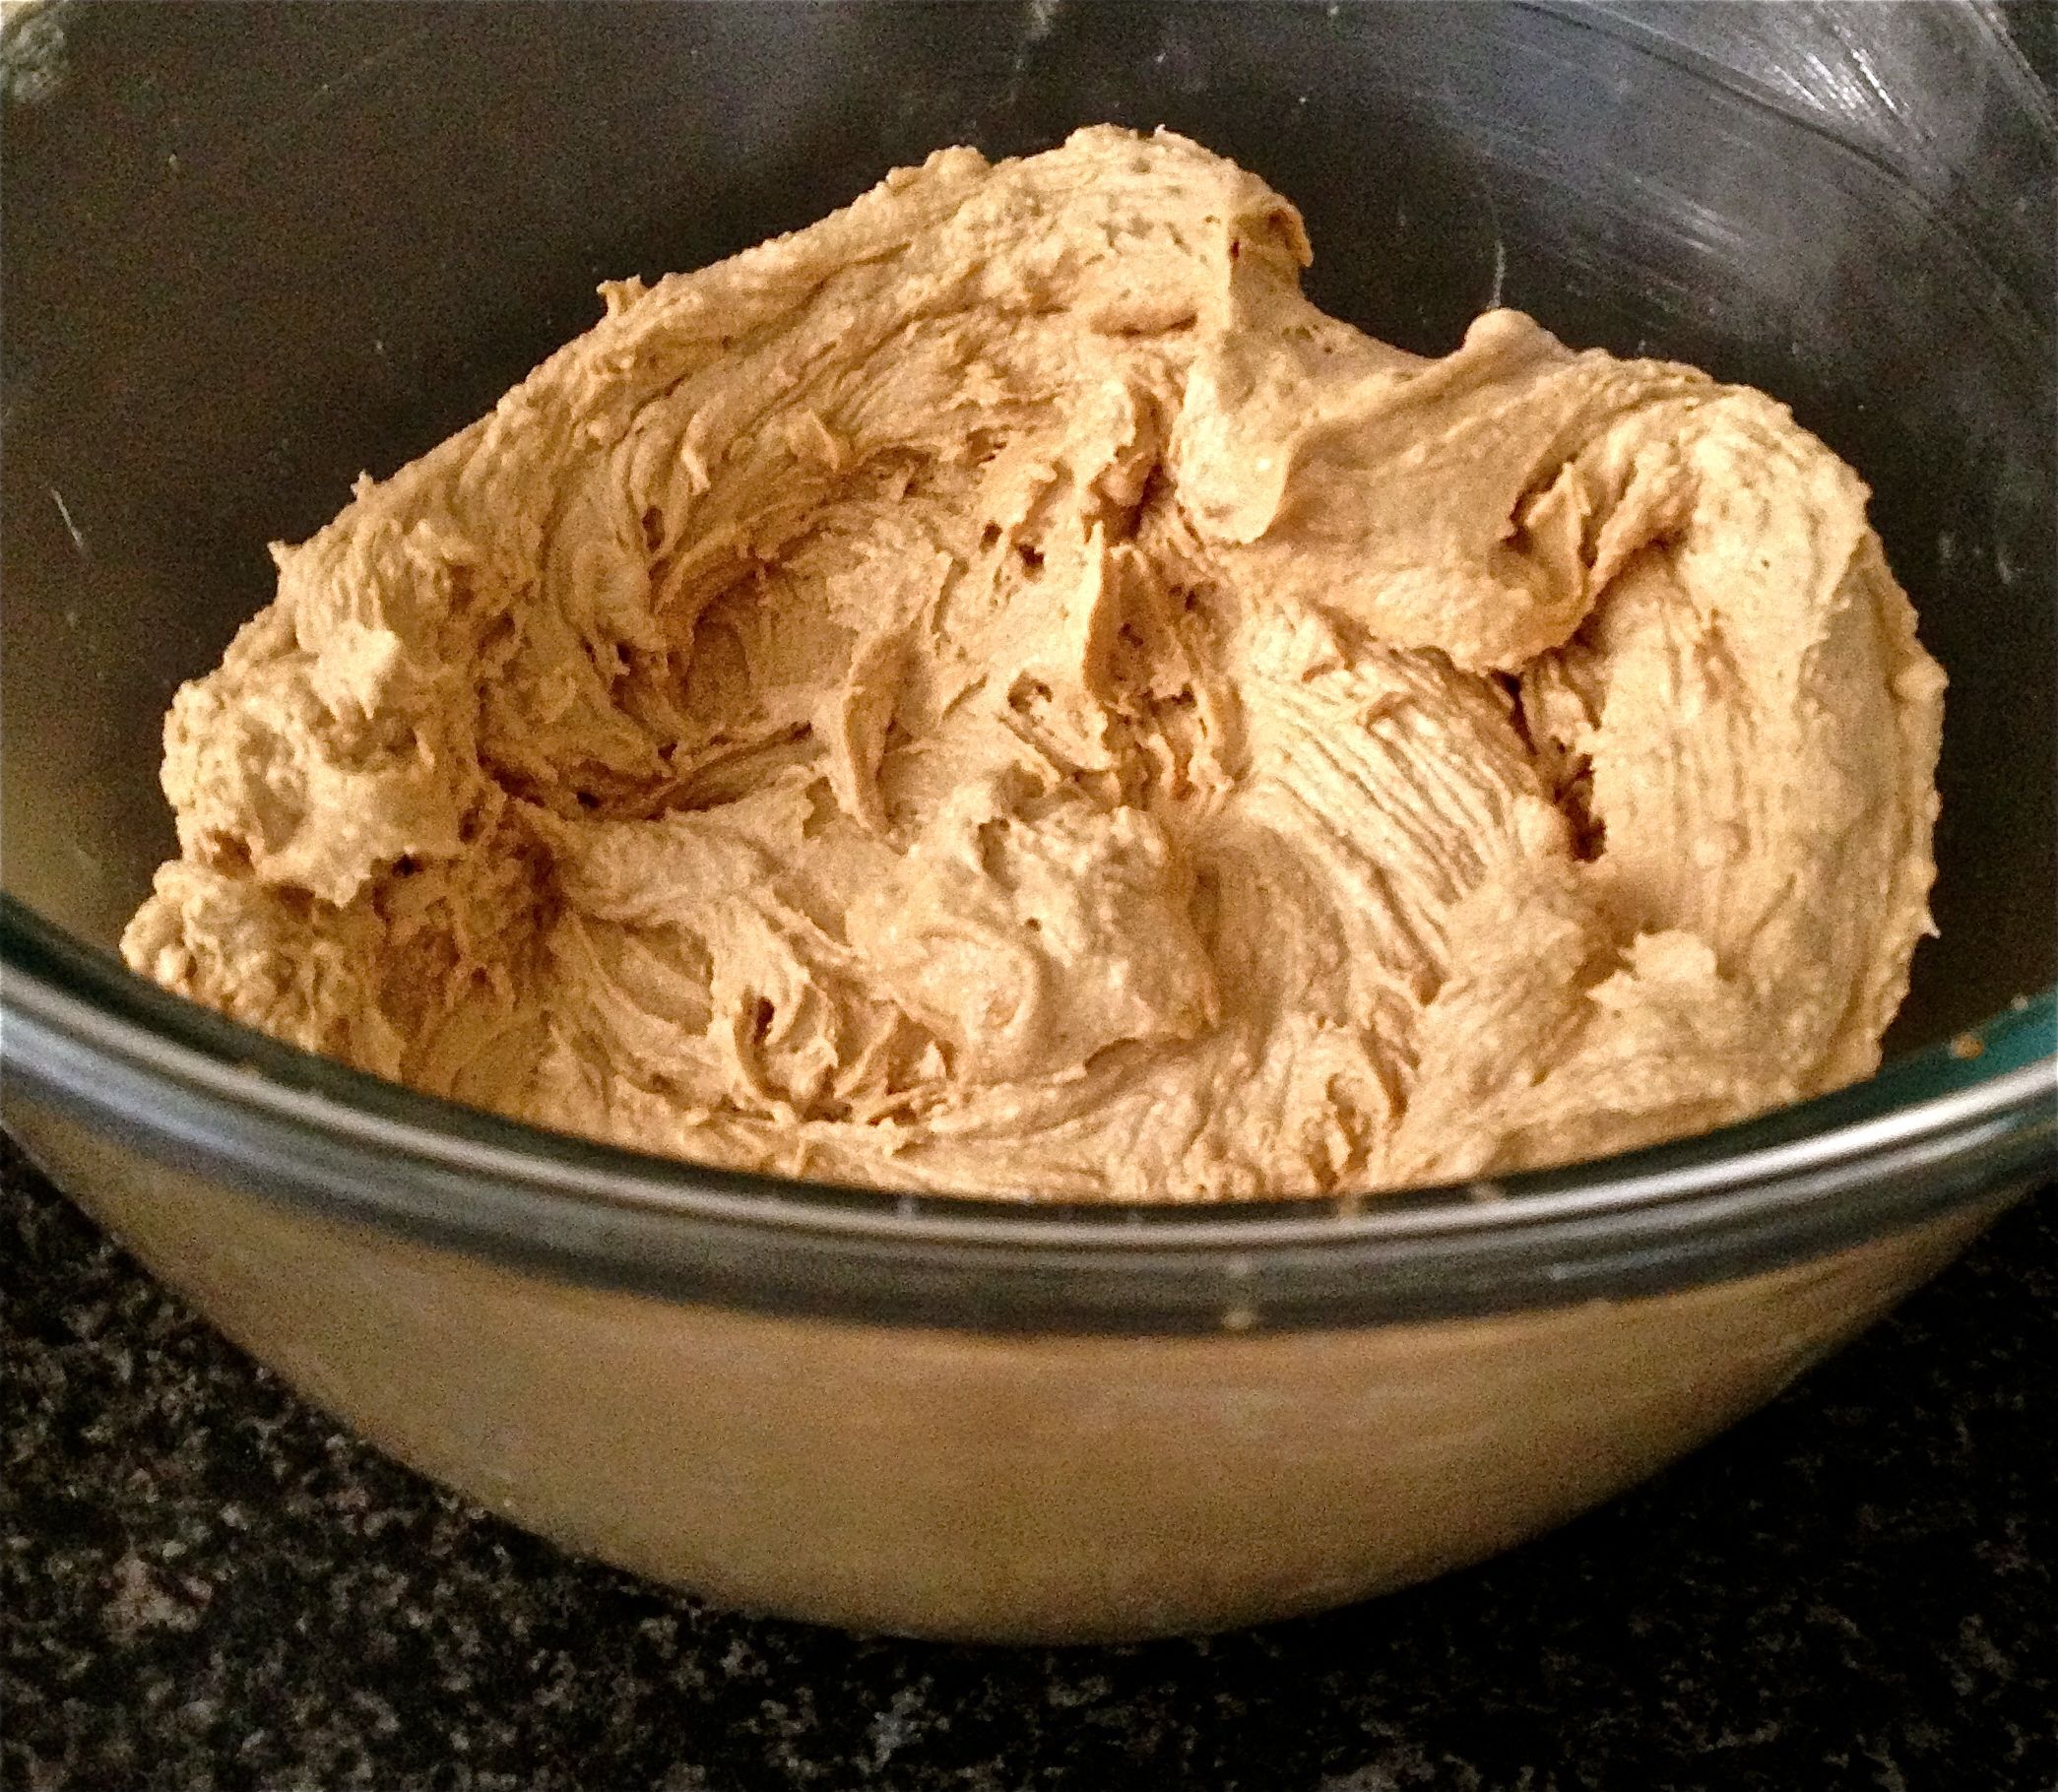
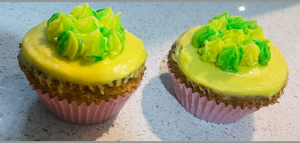
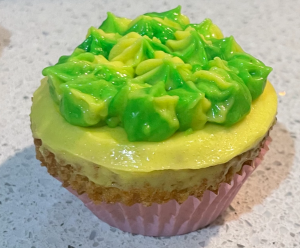
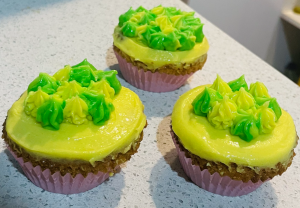
That took me back to the bake drawing board, where I took inspiration from my last experimental bake and made cupcakes. To change things up a little I opted for lemon in the frosting for a complimentary flavour combo and used jelly crystals for an additional flavour boost.
I must say, the cupcakes are moreish but the frosting is absolutely the star – just superb.
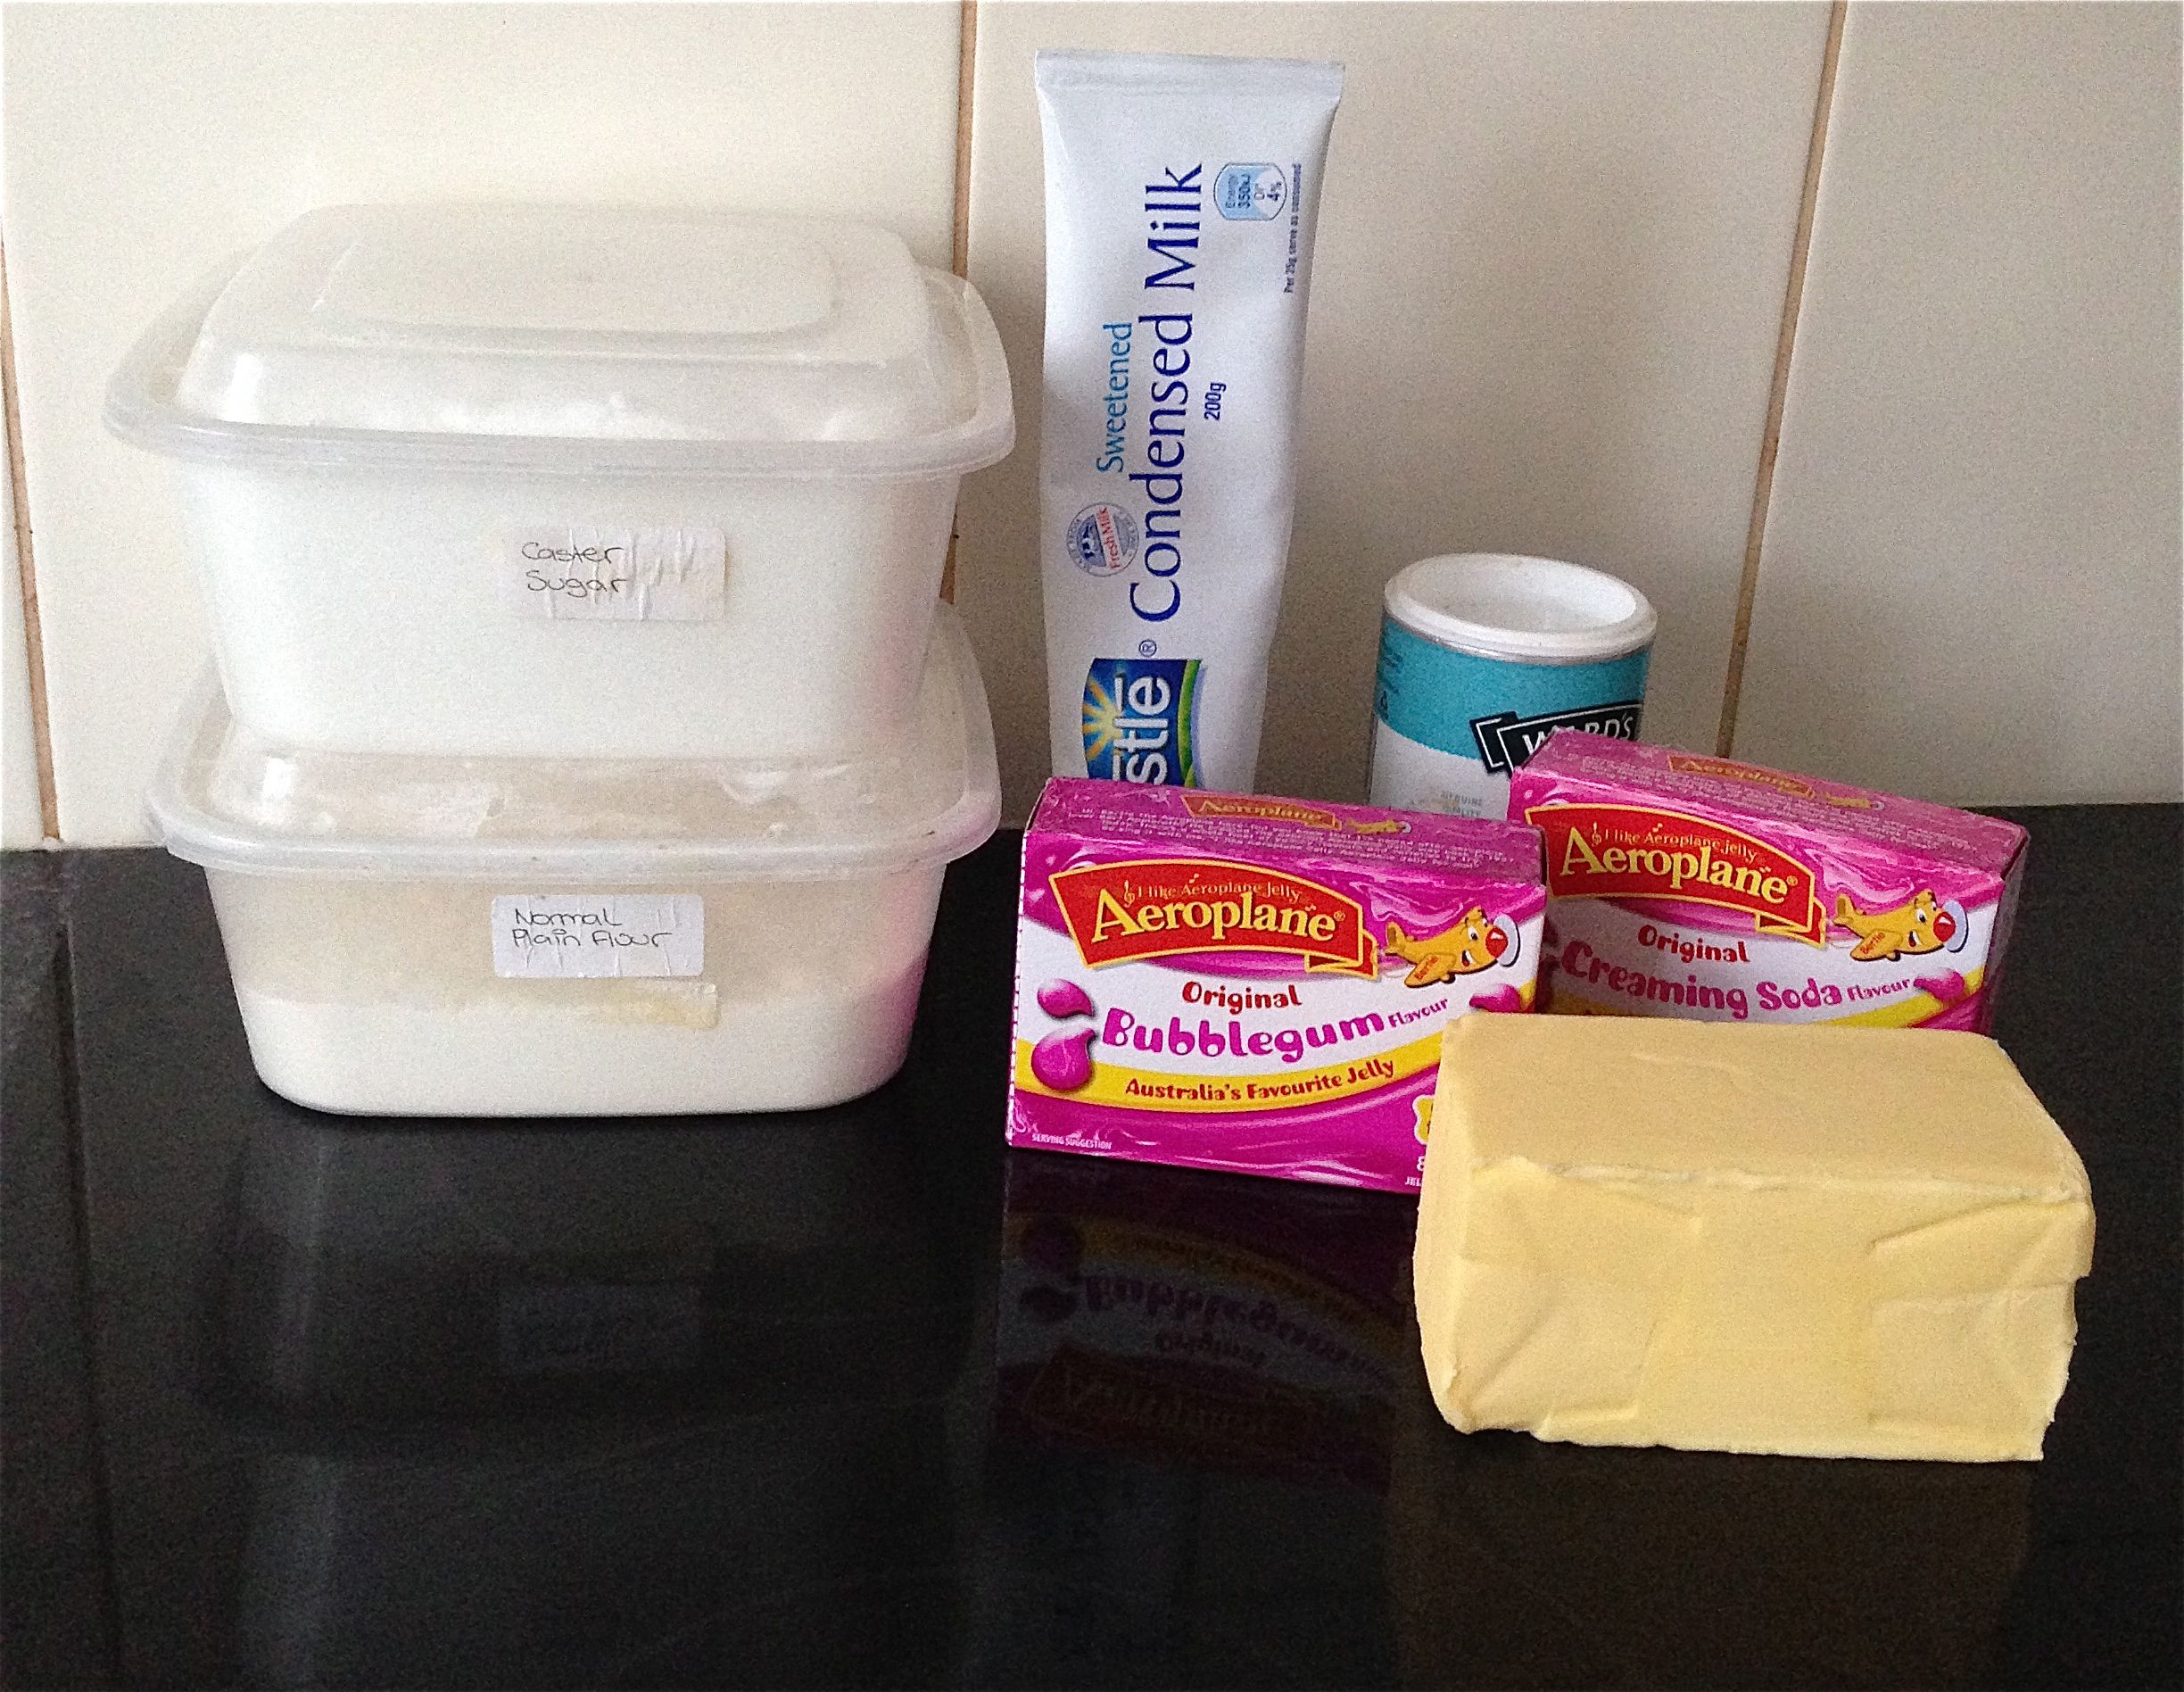
Ingredients:
Cake:
- 90g buttermilk
- 90ml oil
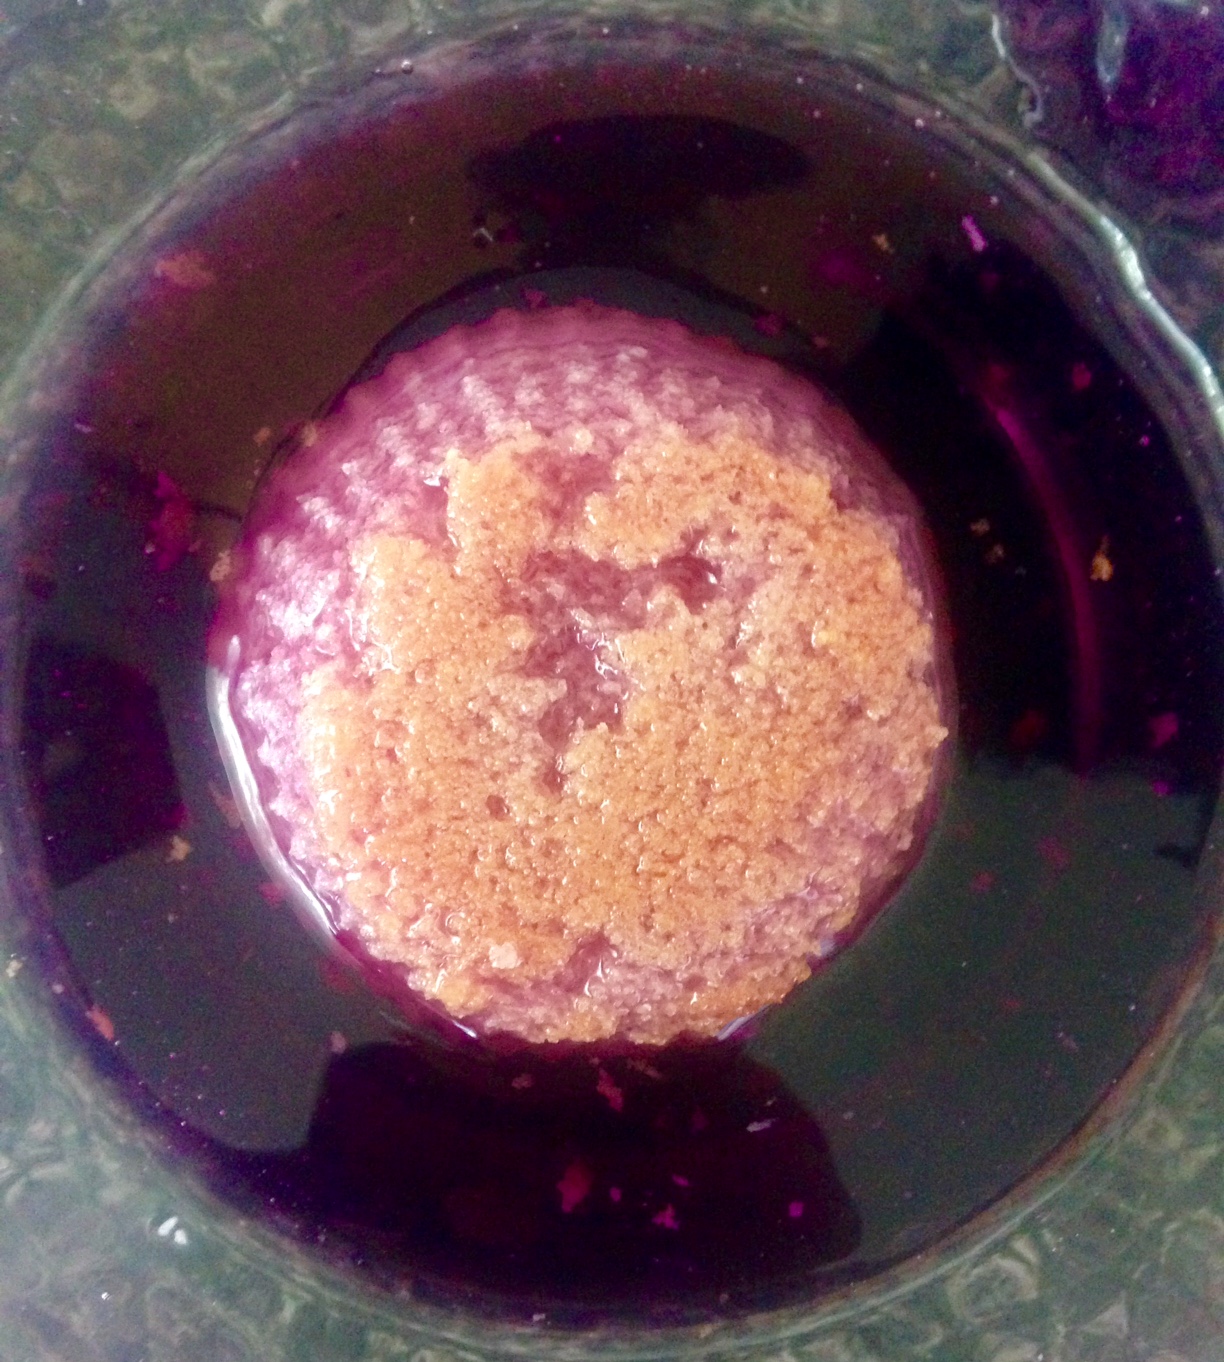
- 150g Apple Jolly Rancher candy
- 1 tsn vanilla essence
- 125g self raising flour
- 75g sugar
- 75g jelly
- 1/4 tsn salt
- 2 eggs
Frosting:
- 20ml milk
- 40g lemon jolly rancher candy
- 125g butter
- 40g icing sugar
- 25g apple flavoured jelly crystals
Method:
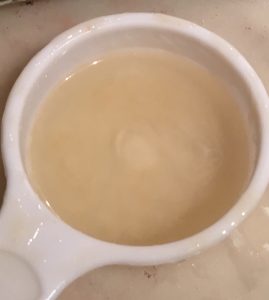
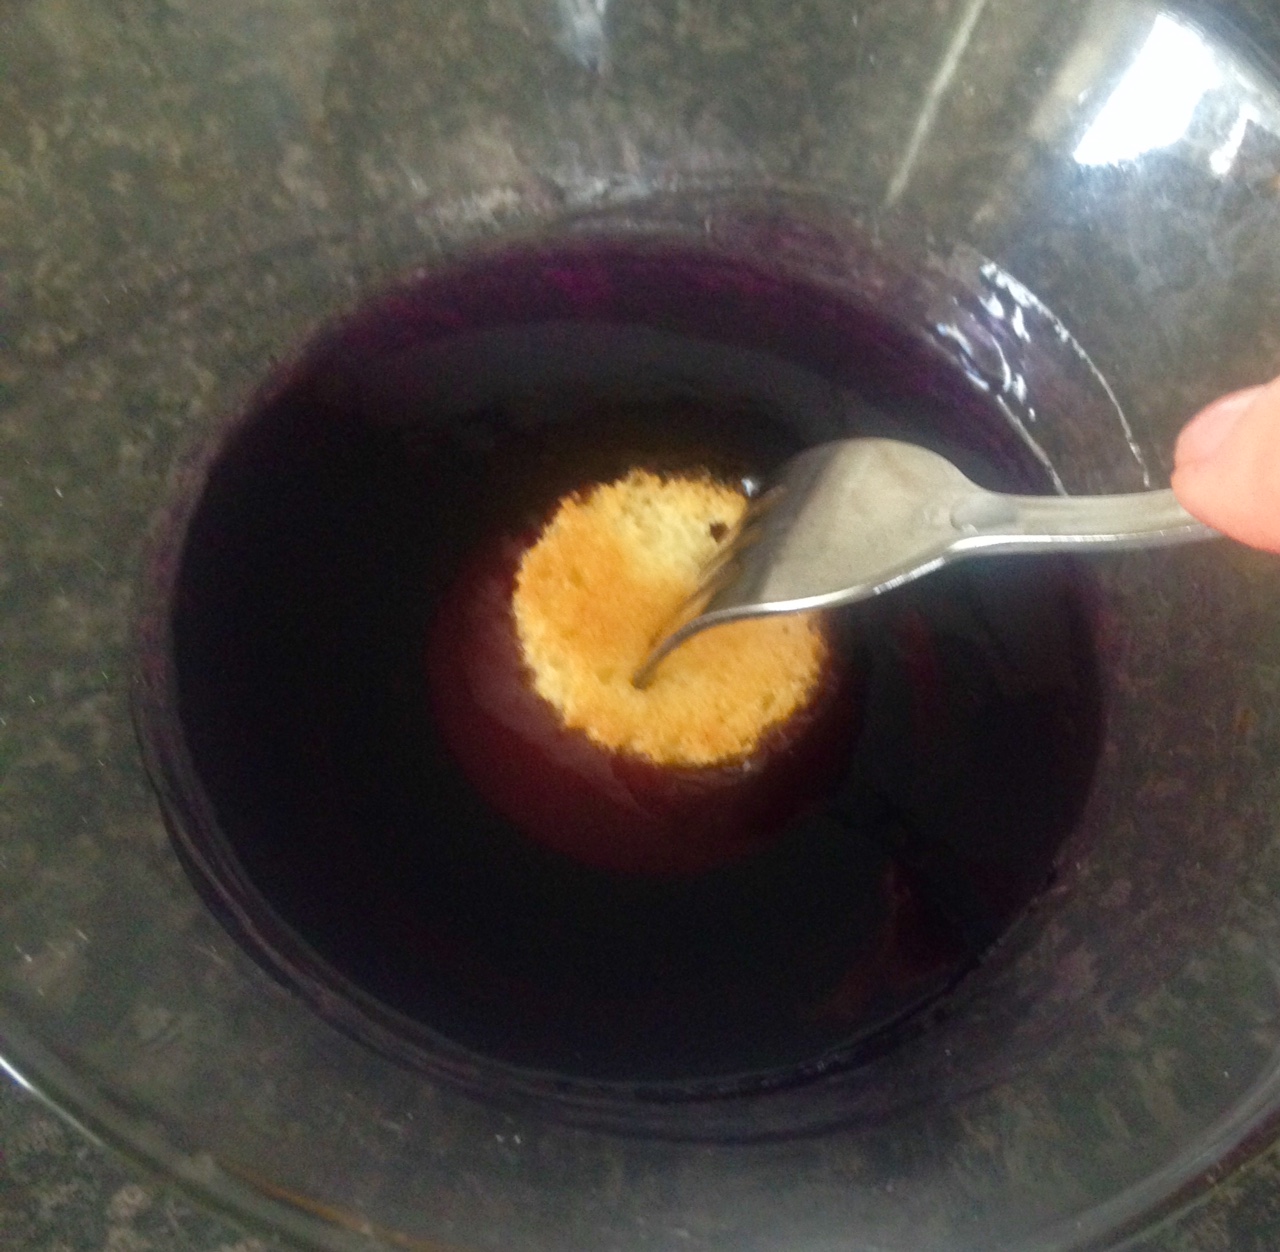
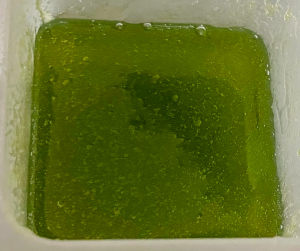
- Place the unwrapped candy and buttermilk in a bowl and microwave until bubbling.
- Stir for 1 minute, microwave until bubbling, stir etc continue until the candy have dissolved.
- Pre-heat the oven to 180c degrees and line a medium 8-capacity cupcake tin with patty pans.
- In a bowl, pour the flour, sugar, jelly crystals and salt, stir to combine.
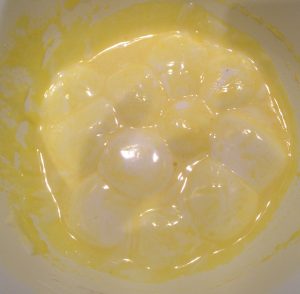
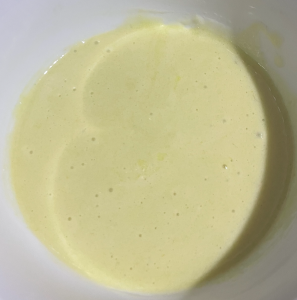
- Place the candy milk mix along with the oil and vanilla in a bowl and whisk until combined.
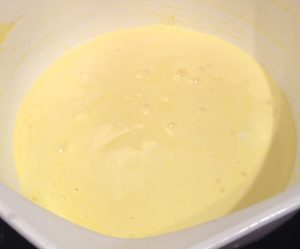
- Pour the buttermilk mix into the bowl with the flour along with the eggs.
- Beat on slow with electric beaters until just combine.
- Spoon the mix into the 8 cupcake patties in the prepared cupcake tray.
- Bake in the oven for 16 minutes or until a skewer inserted in the middle comes out clean.
- Place the cupcakes on a rack to cool.
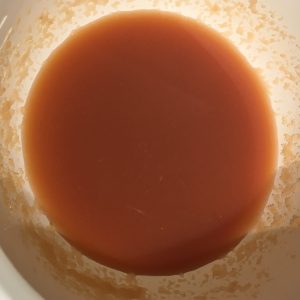
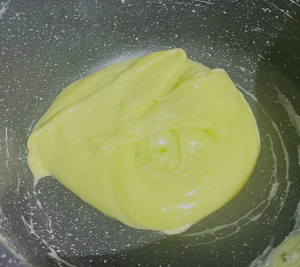
- Meanwhile, make the frosting by placing the unwrapped lemon candy and milk in a bowl and microwave until bubbling stir etc continue until the candy have dissolved.
- Stir for 1 minute, microwave until bubbling, stir, etc, continue until the candy have dissolved.
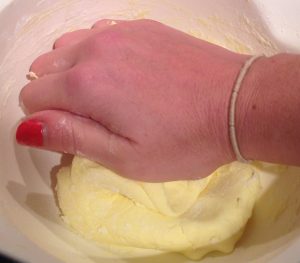
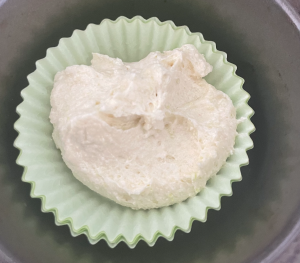
- Soften the butter in a bowl by microwaving until just soft.
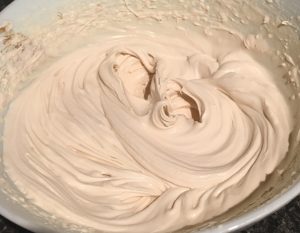
- Place all the ingredients in a bowl and using electric beaters whisk until the frosting is light and fluffy.
- Please in the fridge until set.
- Using a piping bag and star nozzle pipe the icing on the top of the cooled cupcakes.
- Enjoy!
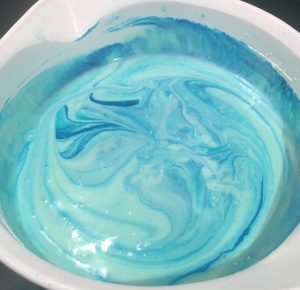
Step 2
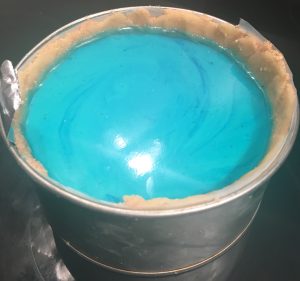
Step 6
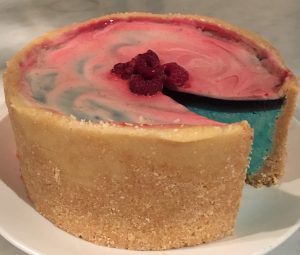
Step 8
Step 14
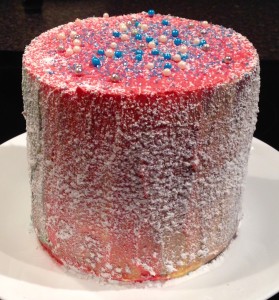
Step 16
 Follow