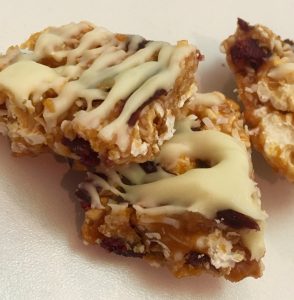
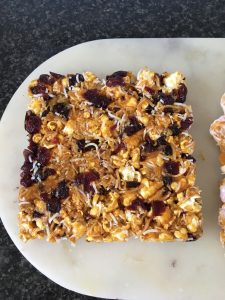
Festive Popcorn Honey Bark
This recipe was inspired by playing around with left over ingredients that I had in the cupboard from previous bakes that I wanted to turn into something. I hate wasting food and tend to buy quite a lot of ingredients in which I only use ¼ of for a recipe.
Therefore I decided to make my own version of ‘chocolate bark’, but instead of using chocolate as the base I would use caramel and instead of the usual nuts, seeds and dried fruits that go into ‘bark’, I opted for what I had in the cupboard.
I made 5 different varieties where this recipe I am posting was the star from the afternoon of experimenting.
Marshmallow, popcorn, coconut and white chocolate came close but it was the coconut, cranberry, orange, almond, popcorn and white chocolate recipe that was the tastiest.
Ingredients:
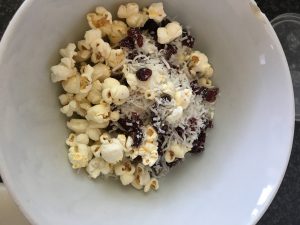
Popcorn mix:
- 40g popcorn, pre-popped and lightly salted
- 50g flaked coconut
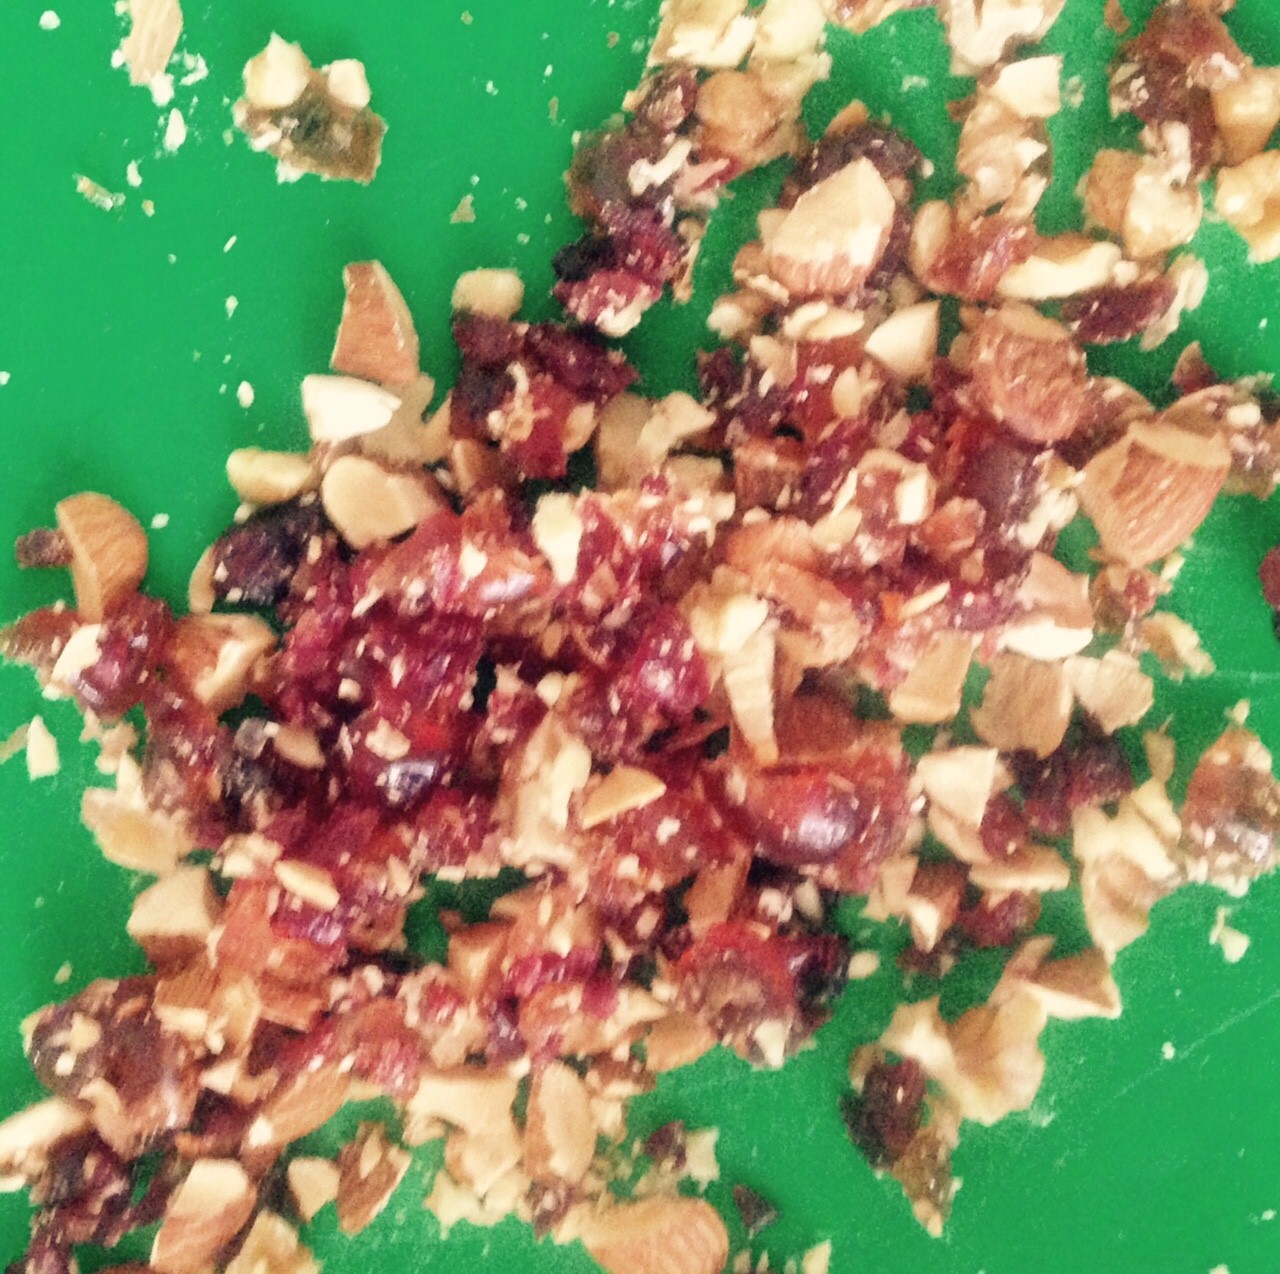
- 50g cranberries, diced
- 1 tsn orange zest
- 40g roasted almonds, finely diced
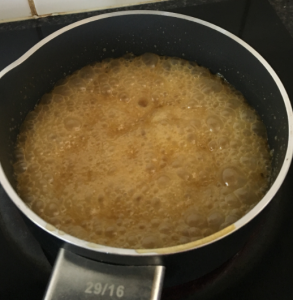
Caramel:
- 40g butter
- 120g honey
- 160g sugar
- 1 tsn bi carbonate soda
Extra:
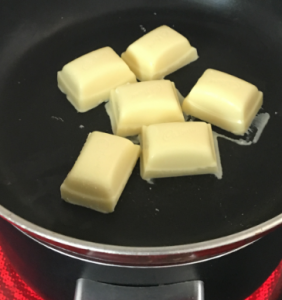
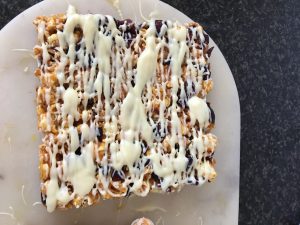
- 50g white chocolate
Method:
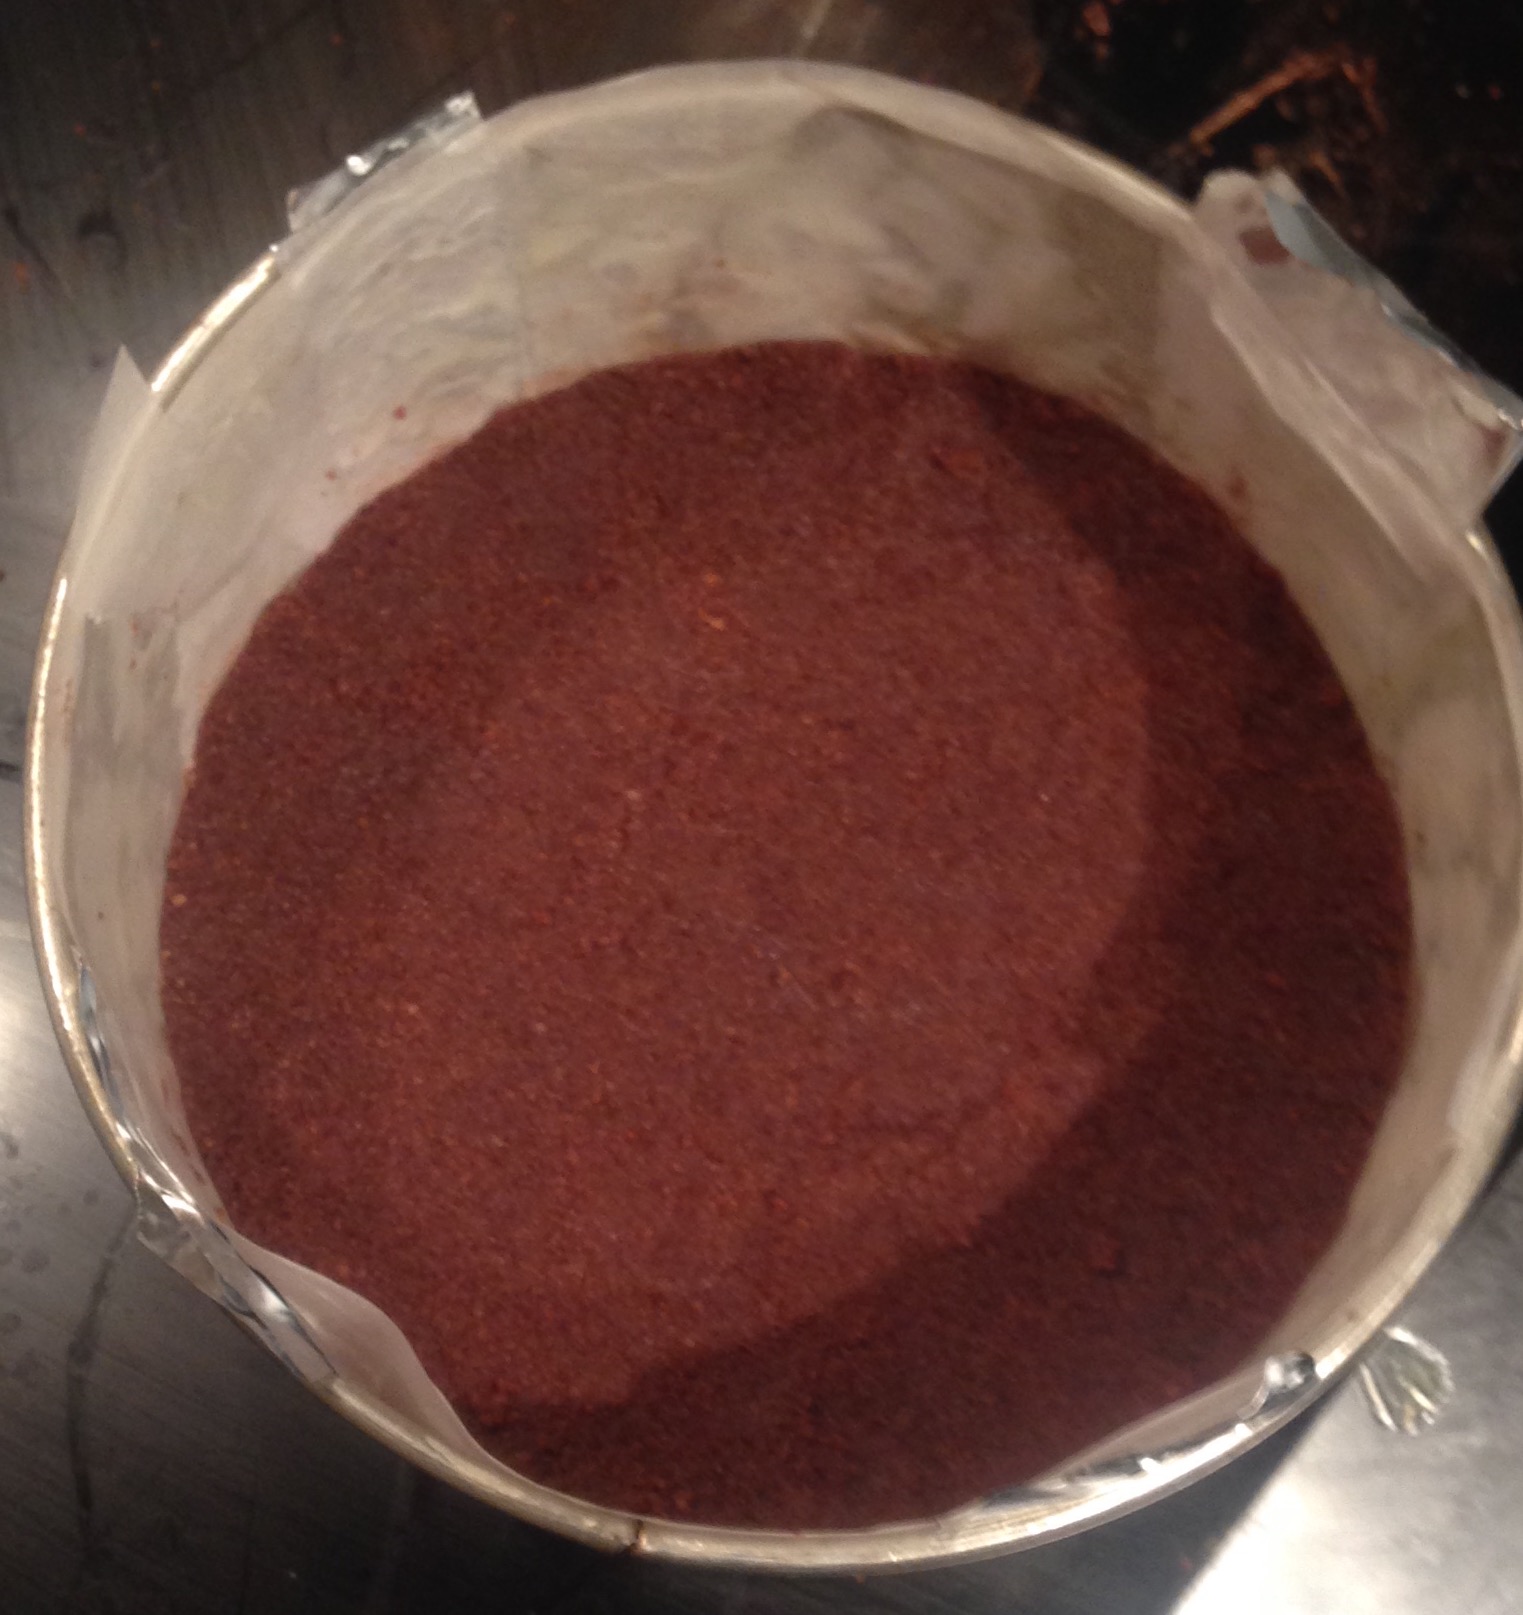
- Line a 25cmx25cm slice tin with baking paper.
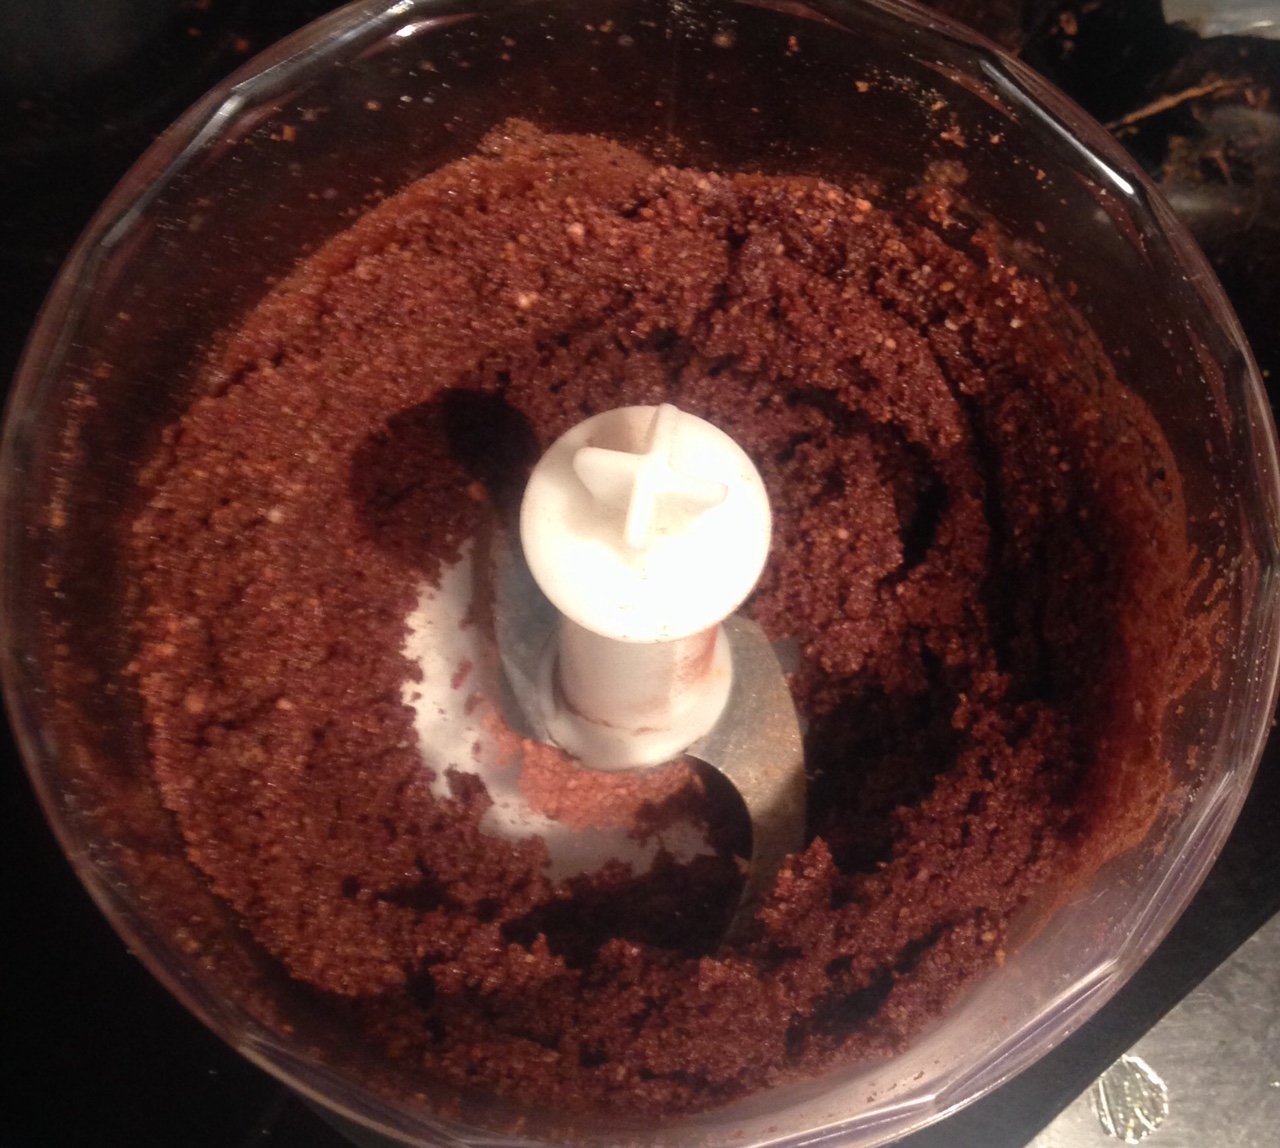
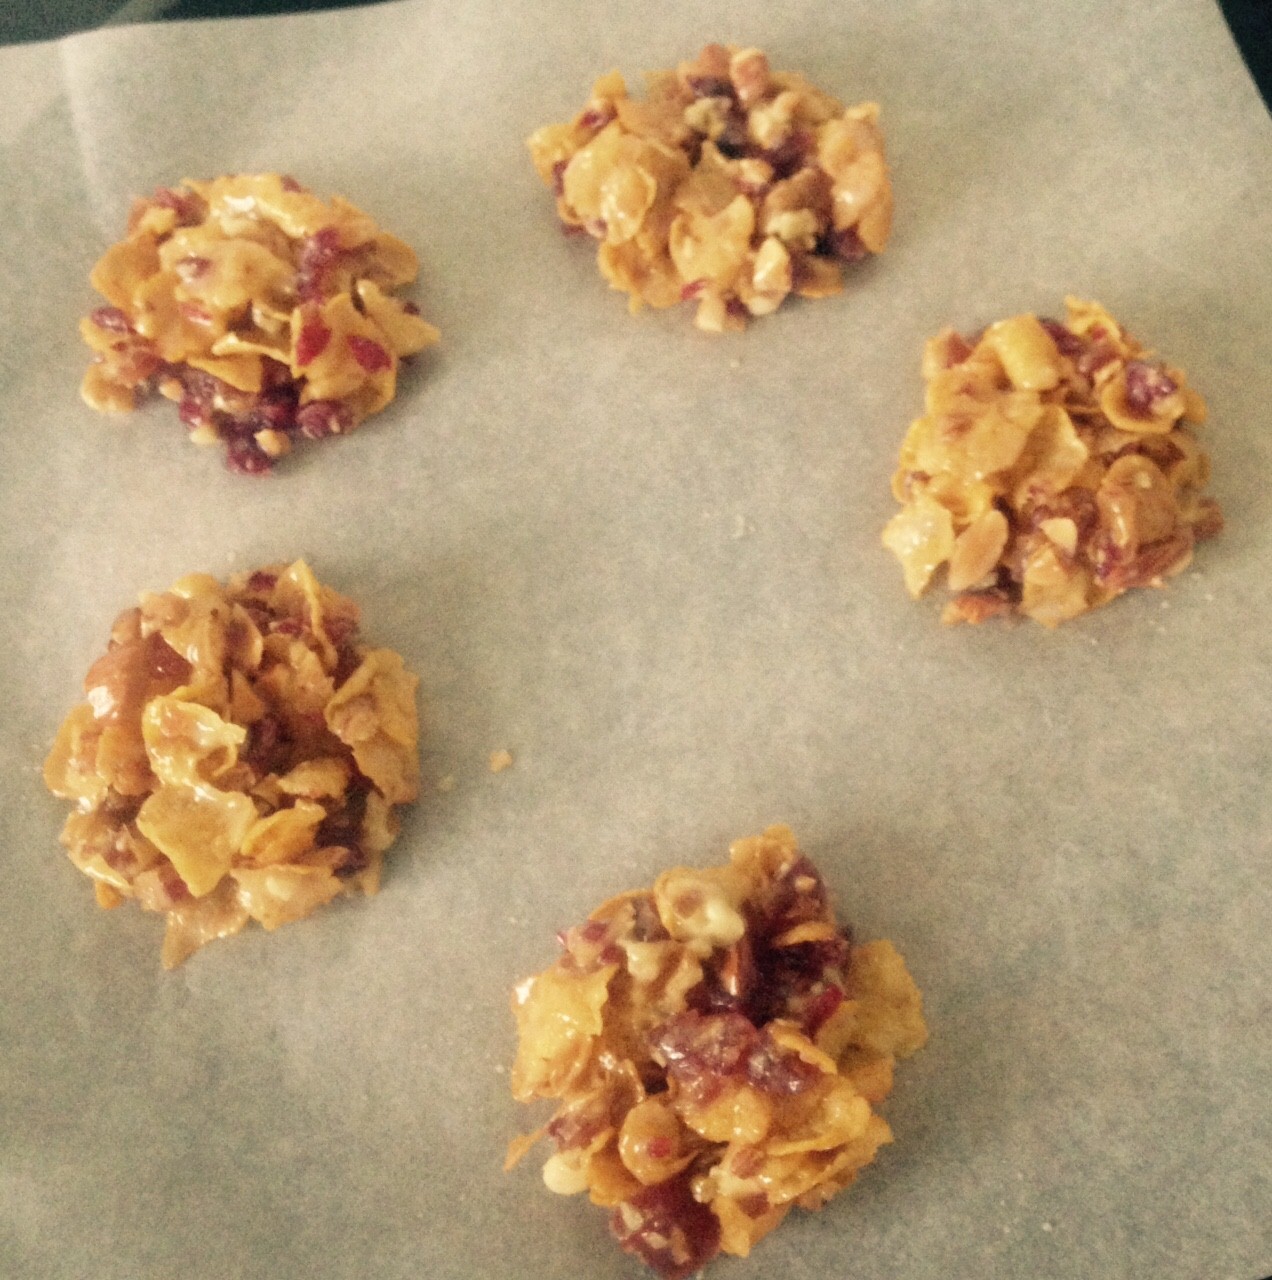
- In a bowl place the popcorn, coconut, cranberries and zest, stir to combine.
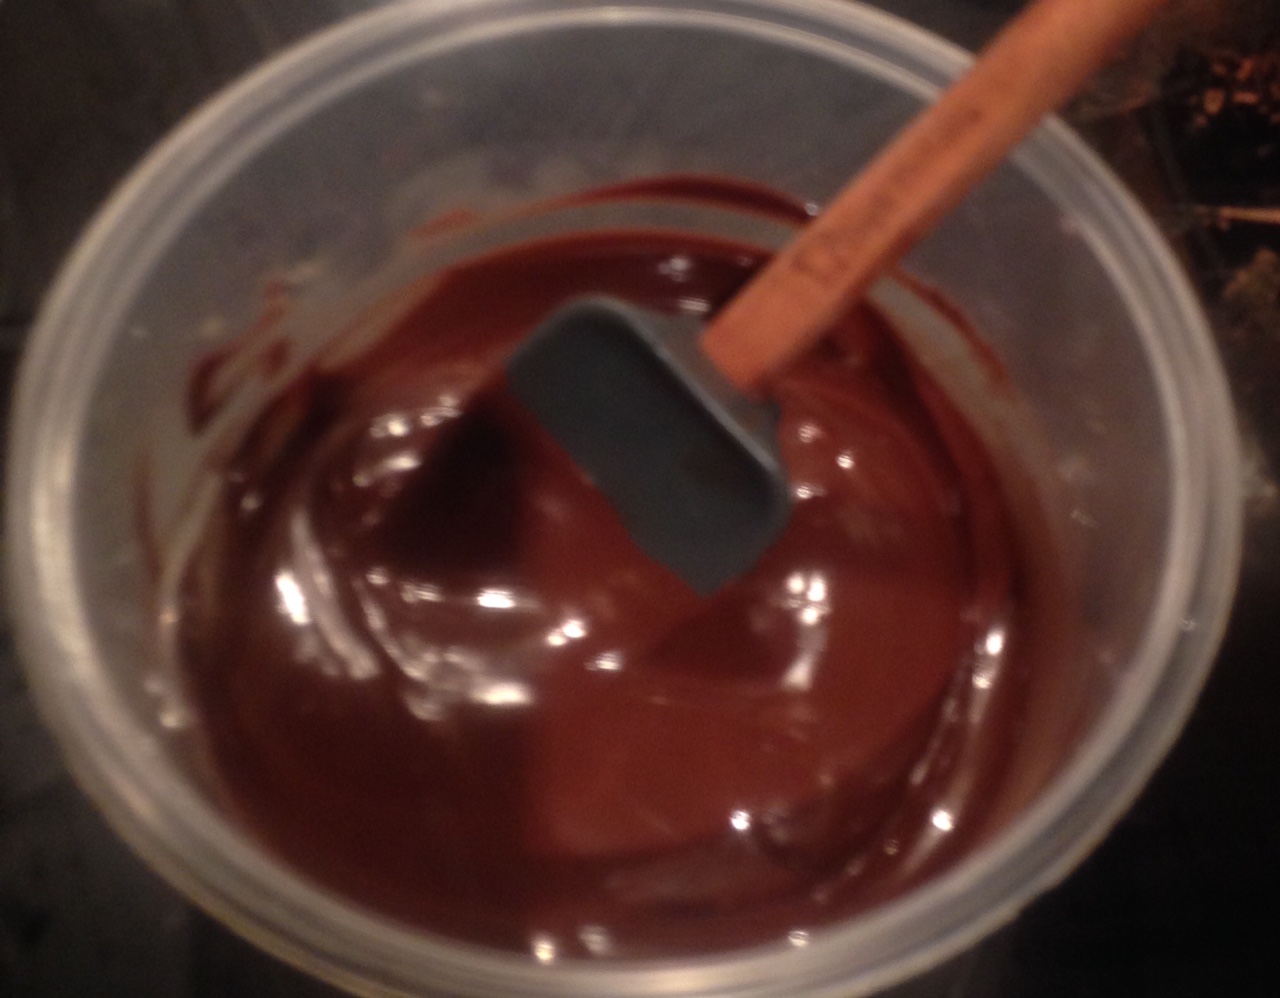
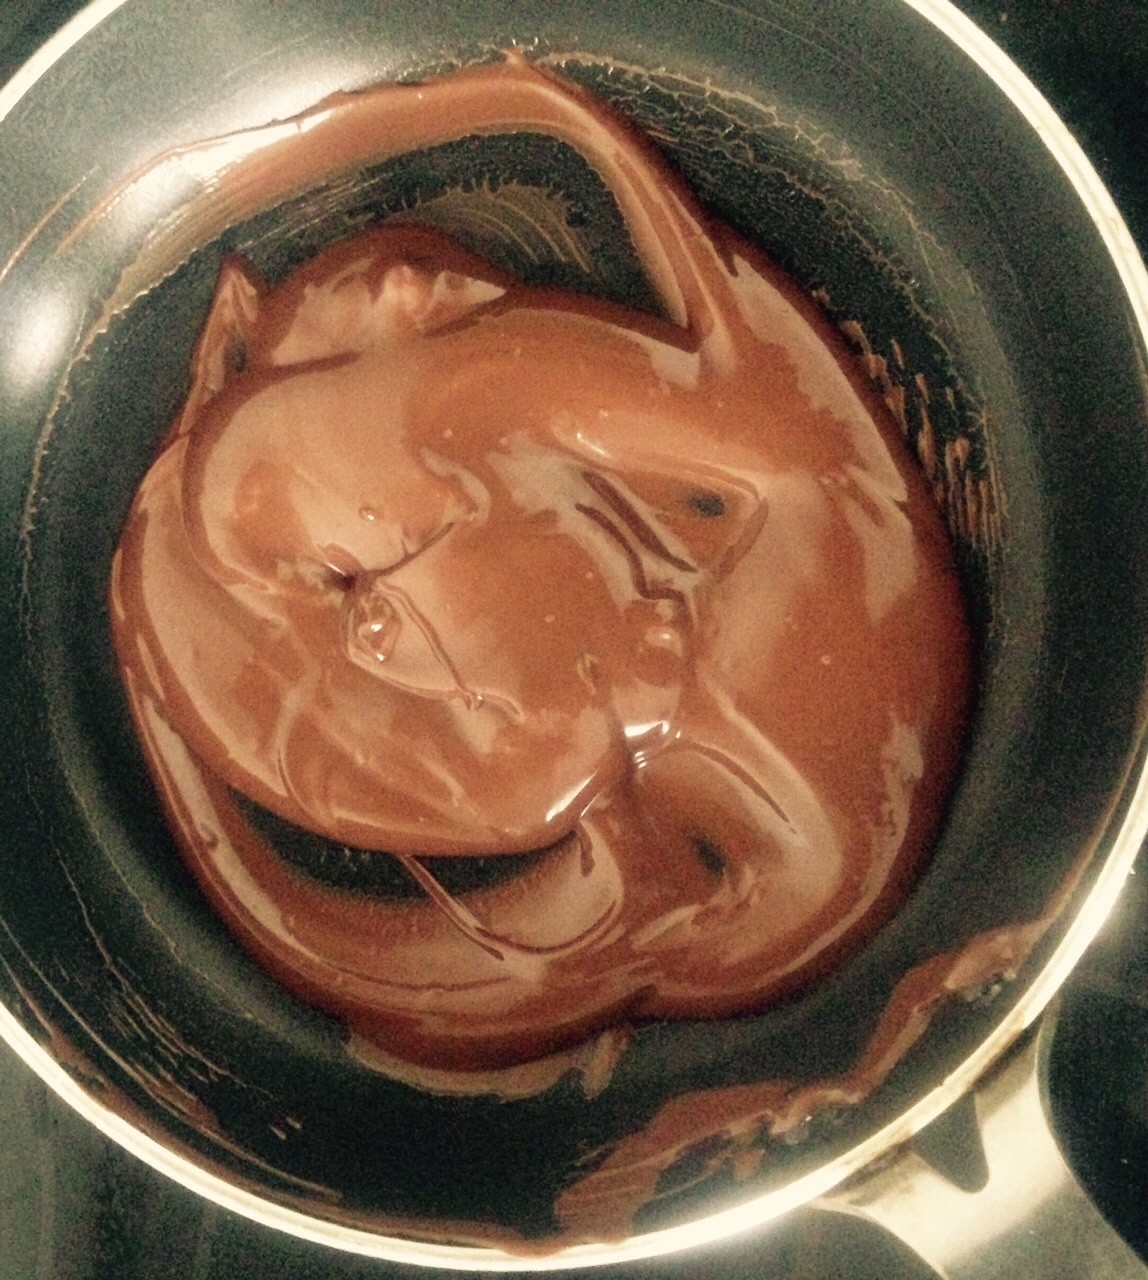
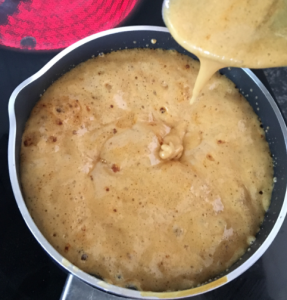
- In a saucepan place the butter, honey and sugar on a medium heat, stir until combine.
- Turn heat to high until golden and thickened. You will know the caramel is done when you stir a spoon in the mix and place it in a cup of cold water, if the caramel is hard it’s ready.
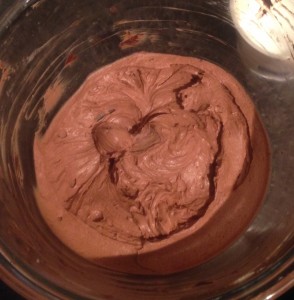
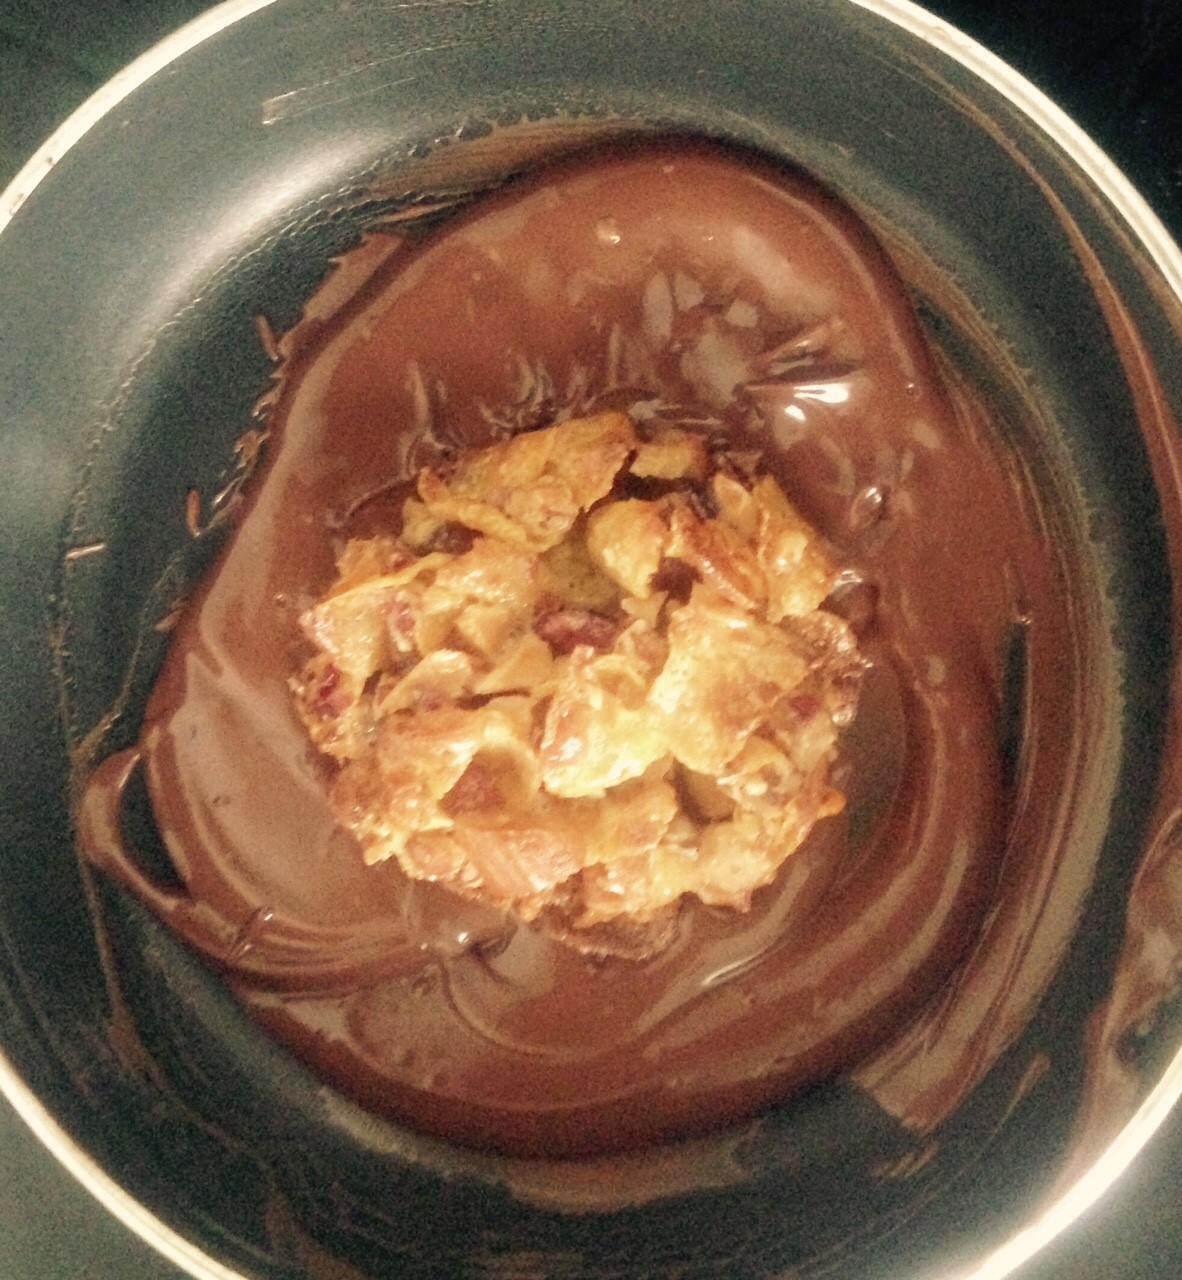
- Take off the heat and add ½ tsn of the bicarbonate soda to the mix and stir.
- Add the almonds and stir.
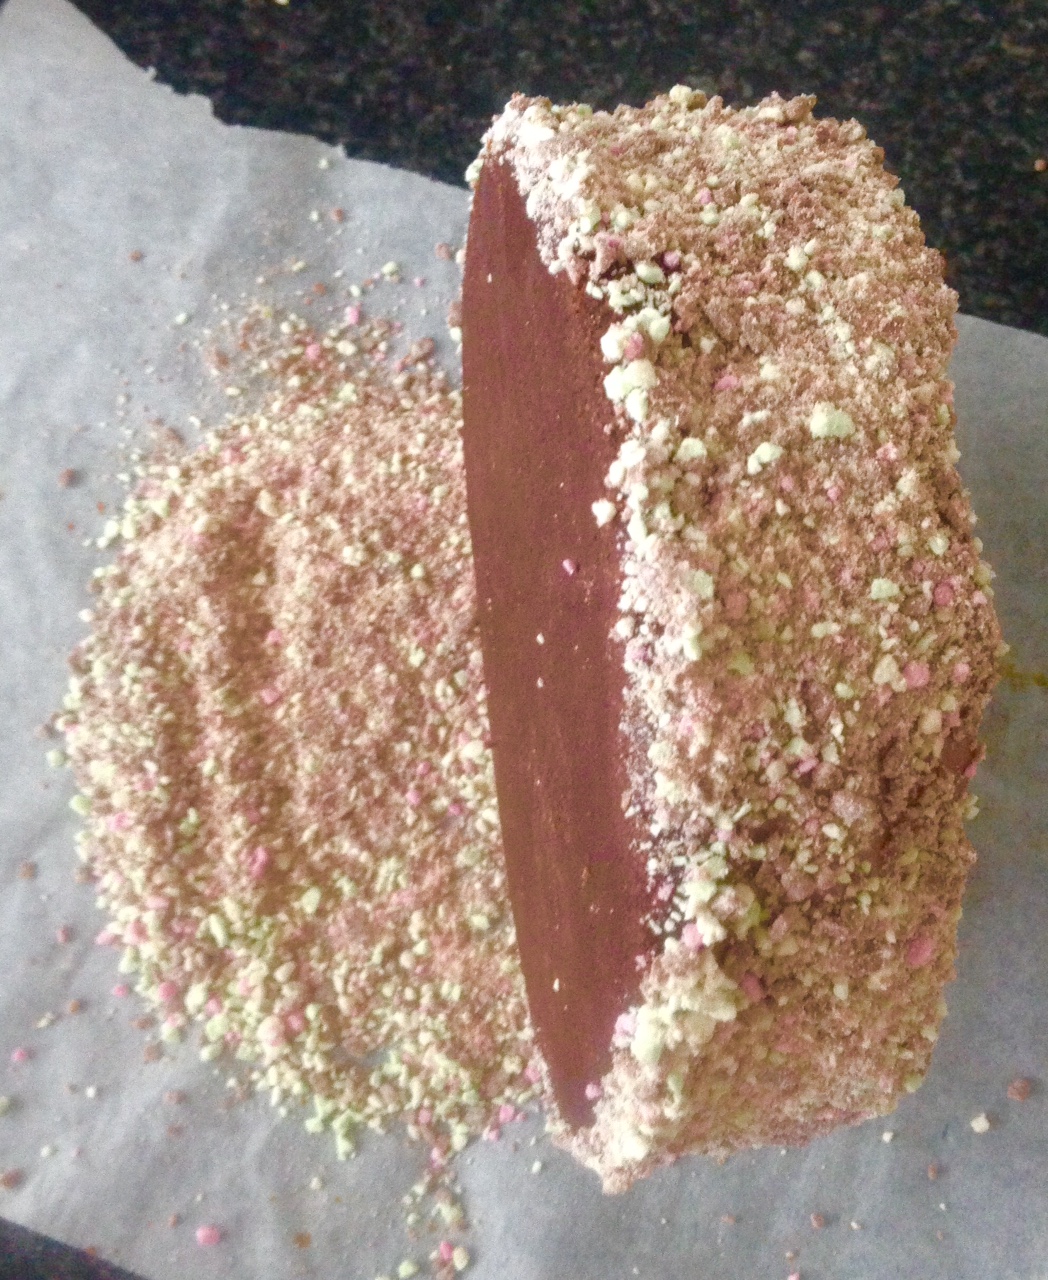
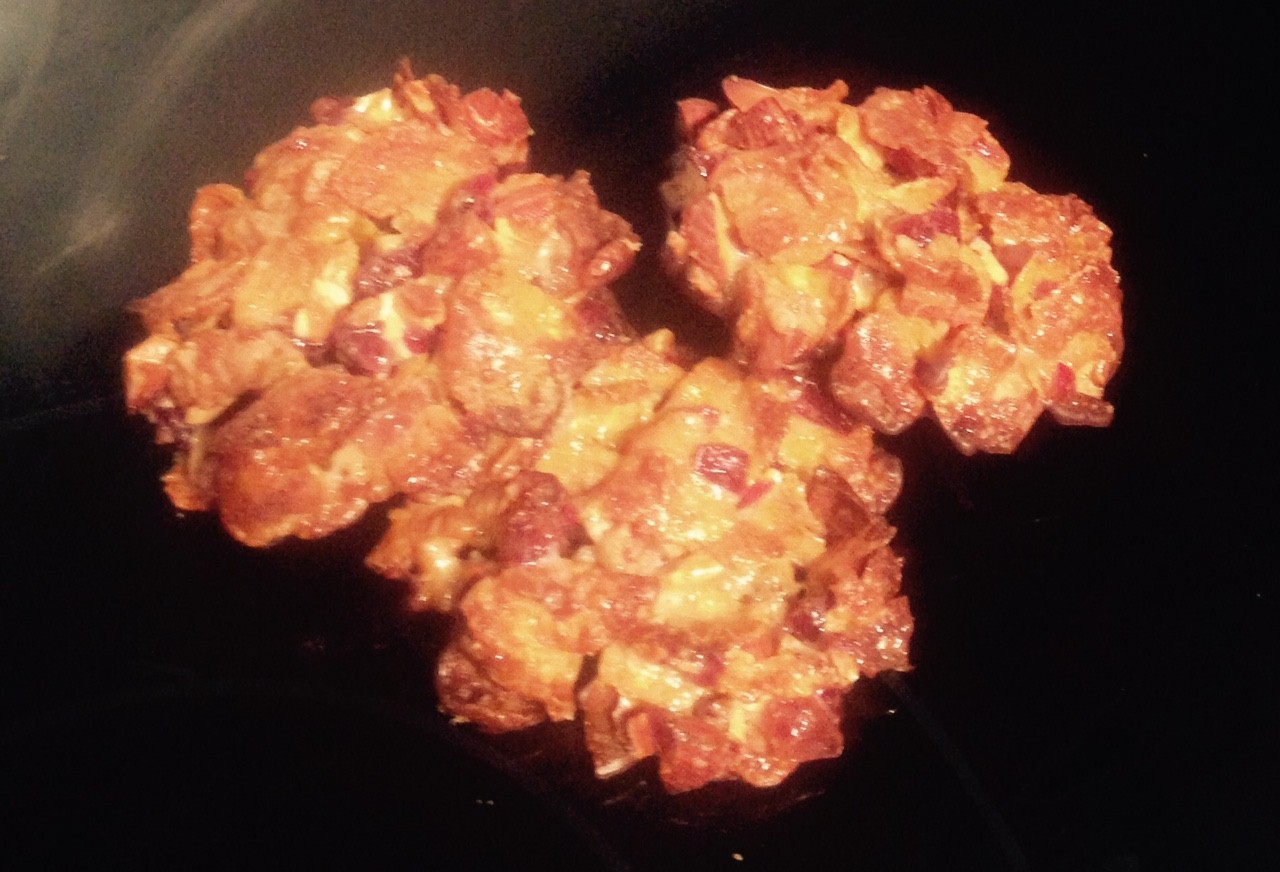
- Pour the caramel mix into the prepared tin, ensuring even distribution.
- Working quickly sprinkle the popcorn mix over the caramel as evenly as possible and flatten with palms and fingertips to ensure the mix is in the caramel.
- Place slice in the fridge to set for 15 minutes.
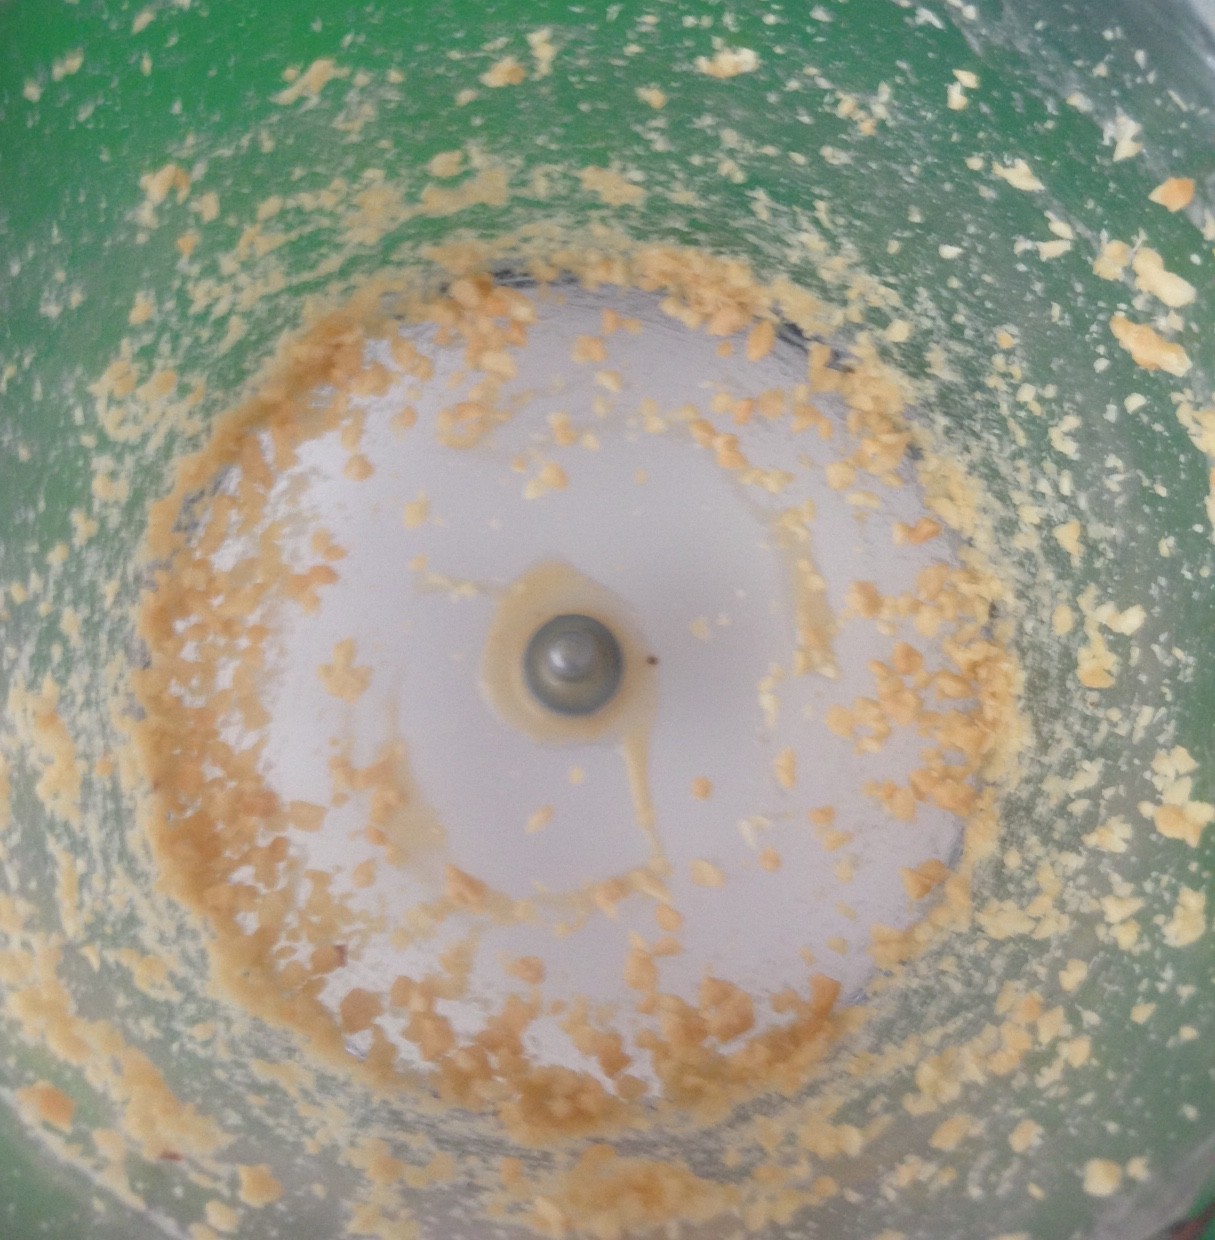
- Meanwhile place the white chocolate over a double boiler and melt the chocolate.
- Drizzle the melted white chocolate on the bark and place back in the fridge for 30 minutes or until the white chocolate is set.
- Cut the bark into slices and enjoy.
-
- Step 2
Step 4
- Step 5
-
- Step 9
- Step 10
Step 11
Like this recipe? Subscribe via RSS or email to get my new entries and more scrumptious recipes with reviews.
 Follow