Welcome to my blog centred around baking with delicious and interesting flavour combos as well as textures to uncover unusual bakegood gems. In addition, this blog discovers traditional sweet treats, opening up taste buds to different cultures and flavours from all over the world.
Unusual sweets and global treats
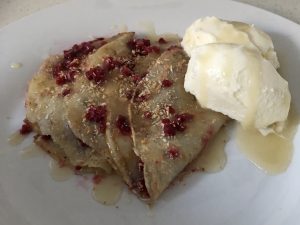
A far cry from traditional French crepes, these crepes are my little spin on a traditional treat with some interesting and complementary flavours.
Originally this bake session was for Almond, Lime, Coconut, Honey, Cinnamon, Cardamom and Raspberry scrolls…wow looking back that’s quite the number of flavours!
The scrolls were nice but the lime, Coconut and Raspberry were by far the most flavour stealing ingredients, making the spices unneeded.
The honey gave the sweetness and almonds the textural crunch, thus played a role in the recipe…however when I redid the scrolls without the spices and changing the volumes of ingredients the scrolls were still not what I was looking for.
The next day when strolling my local shopping community, I had a crepe and as I couldn’t recall the last time I had a crepe I decided to make some myself, incorporating the previous days bake ingredients into the dessert.
The outcome is this super easy, taste-bomb crepe with unusual flavours.
Ingredients:
Crepe:
- 80ml coconut cream
- 230ml milk
- 2 tsn coconut oil
- 2 eggs
- 1 cup plain flour
- ½ tsn almond essence
- 2 tsn lime zest
Syrup:
- 120ml coconut cream
- 100ml honey
- 60ml lime juice
Extras:
- Butter
- 90g raspberries
- 2 tbsn desiccated coconut, toasted
- 30g almonds, chopped
- Ice-cream, yoghurt or cream
Method:
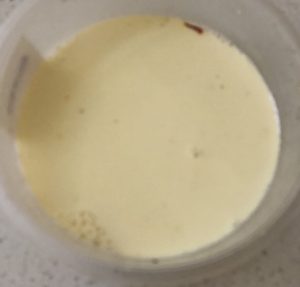
- Place all the crepe ingredients into a jug and beat with a hand whisk.
- Leave the mix covered for 30mins.
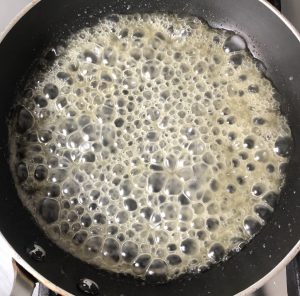
- Meanwhile make the syrup by placing the ingredients in a saucepan on medium and beat with a hand whisk.
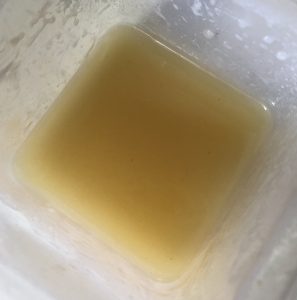
- Allow the mix to boil to a syrupy consistency then take off the heat.
- Place a lump of butter into a 20cm saucepan on a medium heat.
- Swirl the butter over the pan to ensure full saucepan even coverage.
- Pour ¼ cup of the mix into the pan, swirling to ensure the whole saucepan base is covered.
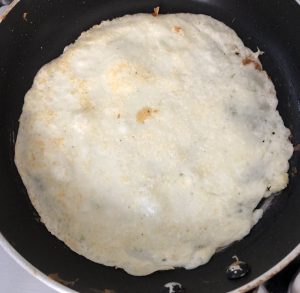
- Cook for 1 minute or until the crepe is very light and golden in colour.
- Carefully flip the crepe and cook for a further 1 minute or until lightly golden.
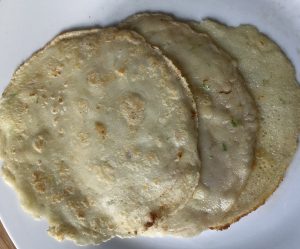
- Place the crepe on a plate and continue with the remaining mix.
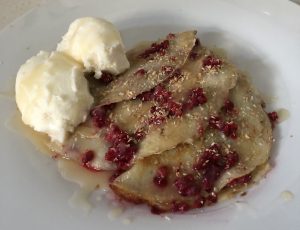
- To serve, place a crepe on a plate sprinkle some coconut and raspberries in the centre of the crepe and fold in half, repeat with all crepes.
- Top the folded crepes with chopped almonds and extra remaining raspberries and coconut.
- Lastly drizzle the crepes with the syrup and serve with a side of ice-cream or cream.
Step 2
Step 4
Step 4
Step 8
Step 10
Step 14
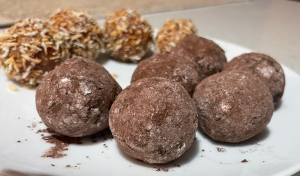
High protein, healthy good fats (yes it does contain sugar but not a large amount), these bliss balls are super rich and decadent in flavour and texture.
So simple to make with limited ingredients, these treats take a whole of 10 mins max to make.
Ingredients:
- 90g banana
- 165g hazelnut meal
- 30g cocoa powder
- 30g chia seeds
- 60g brown sugar
- ¼ tsn salt
- Cocoa powder, extra
- Icing sugar, extra
Method:
- Place the banana, hazelnut meal, chia seeds, sugar and salt into a food processor and blitz until well combine, scraping down the sides of the processor if required.
- Place the mix into a bowl and leave in the fridge to set for 1 hour.
- Remove the mix from the fridge and roll into balls of 25g each.
- Place the extra cocoa powder and icing sugar into a sieve and sprinkle in a shallow bowl, mix.
- Ball by ball, place each into the bowl, rolling to cover the mix completely.
- Place all rolled balls into the fridge and enjoy!
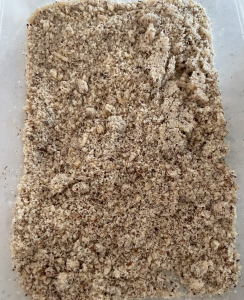
Hazelnut Meal
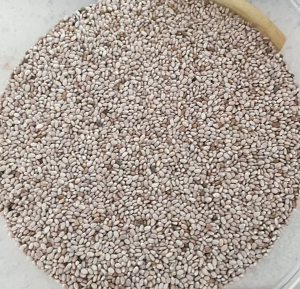
Chia Seeds
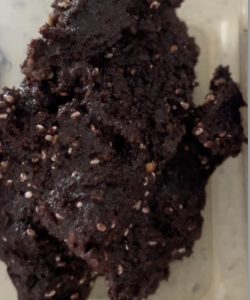
Step 2
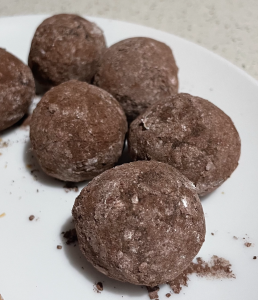
Step 6
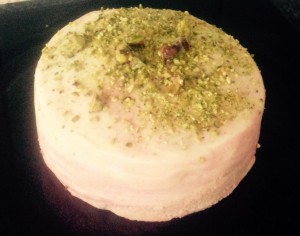
Rose Raspberry and Pistachio Cake
-
Ok so maybe not the most unusual flavours but this combo of sweet, sour, smoothness, crunch and softness is high satisfying with many texture sensations.
The lemon, raspberry and Greek yogurt tang dull down the potential for a floral overpower, delivering on a beautiful rose undertone.
A delicious and delicate fruity, floral and zesty cake.
Ingredients:
- 260g butter
- 280g sugar
- 2 tsn lemon zest
- 4 eggs
- ½ tsn rosewater essence
- 200g pistachios
- 160g self-raising flour
- 80g flour
- 20g Greek yoghurt
Icing:
- 120g butter
- 250g icing sugar
- 1 tsn rosewater essence
- 120g raspberries
Method:
- Pre-heat the oven to 170c degrees and line a cake tin with baking paper.
- Cream the butter and the sugar with electric beaters until light and fluffy.
- Beat in the zest for 1 minute.
- Add the eggs, one at a time beating in between each addition.
- Add the rosewater essence and beat until combine.
- Place the pistachio kernels in a food processor and blitz until the mix resembles fine breadcrumbs.
- Place 160g of the blitzed pistachio in the mix along with the flours and yoghurt. Fold until combine.
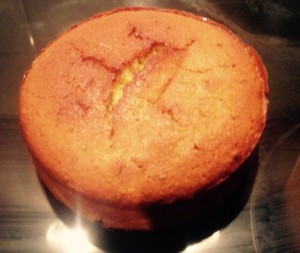
- Pour the mix into the cake tin and bake for 1 hour or until a skew inserted into the middle of the cake comes out clean.
- Leave in the tin for 5 minutes then invert the cake onto a cooling rack.
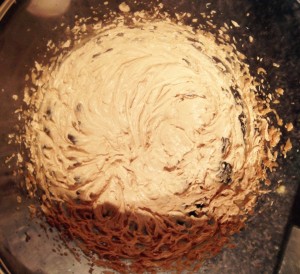
- To make the icing beat the butter, icing sugar and essence until light and fluffy.
- To assemble the cake cut the cake in half horizontally.
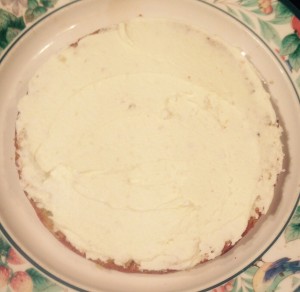
- Spread 1/3 of the icing onto the top of both cut cake sides.
- Place the bottom cake on a plate, icing side up. Place the raspberries onto of the icing.
- Sandwich the cake layers together with the top layer icing side down.
- Using the remaining icing to spread the top and sides of the cake.
- Sprinkle the remaining 40g of pistachio over the top of the cake and enjoy.
Note:
- If the berries are frozen place them on paper towel to thaw and soak up the liquid before layering on the cake.
Step
Step
Step
Step
Like this recipe? Subscribe via RSS or email to get my new entries and more scrumptious recipes with reviews.
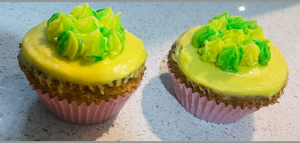
After being given a big jar of jolly ranchers I decided to make a sweet treat with some of the flavours.
The idea was to make fudge with the grape flavoured candy. Following a basic fudged recipe as the base, I didn’t modify the volume of condensed milk enough and ended up with a almost playdough like outcome….
Off the back of this I altered the volume of liquid to candy ratio as well as changed up the flavour to a more unusual taste. While the recipe seemed to work in terms of texture and taste the fudge just seemed a bit boring and not really worth the effort vs. just eating a jolly rancher.
I really did love the taste of the green apple flavour rancher, particularly as apple flavour is so hard to hero (generally it’s overpowered by other flavours).
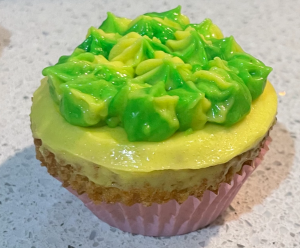
That took me back to the bake drawing board, where I took inspiration from my last experimental bake and made cupcakes. To change things up a little I opted for lemon in the frosting for a complimentary flavour combo and used jelly crystals for an additional flavour boost.
I must say, the cupcakes are moreish but the frosting is absolutely the star – just superb.
Ingredients:
Cake:
- 90g buttermilk
- 90ml oil
- 150g Apple Jolly Rancher candy
- 1 tsn vanilla essence
- 125g self raising flour
- 75g sugar
- 75g jelly
- 1/4 tsn salt
- 2 eggs
Frosting:
- 20ml milk
- 40g lemon jolly rancher candy
- 125g butter
- 40g icing sugar
- 25g apple flavoured jelly crystals
Method:
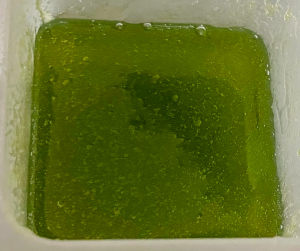
- Place the unwrapped candy and buttermilk in a bowl and microwave until bubbling.
- Stir for 1 minute, microwave until bubbling, stir etc continue until the candy have dissolved.
- Pre-heat the oven to 180c degrees and line a medium 8-capacity cupcake tin with patty pans.
- In a bowl, pour the flour, sugar, jelly crystals and salt, stir to combine.
- Place the candy milk mix along with the oil and vanilla in a bowl and whisk until combined.
- Pour the buttermilk mix into the bowl with the flour along with the eggs.
- Beat on slow with electric beaters until just combine.
- Spoon the mix into the 8 cupcake patties in the prepared cupcake tray.
- Bake in the oven for 16 minutes or until a skewer inserted in the middle comes out clean.
- Place the cupcakes on a rack to cool.
- Meanwhile, make the frosting by placing the unwrapped lemon candy and milk in a bowl and microwave until bubbling stir etc continue until the candy have dissolved.
- Stir for 1 minute, microwave until bubbling, stir, etc, continue until the candy have dissolved.
- Soften the butter in a bowl by microwaving until just soft.
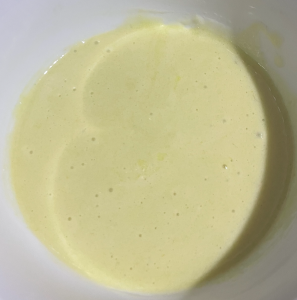
- Place all the ingredients in a bowl and using electric beaters whisk until the frosting is light and fluffy.
- Please in the fridge until set.
- Using a piping bag and star nozzle pipe the icing on the top of the cooled cupcakes.
- Enjoy!
Step 2
Step 6
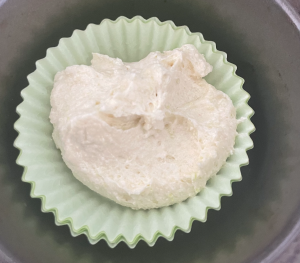
Step 8
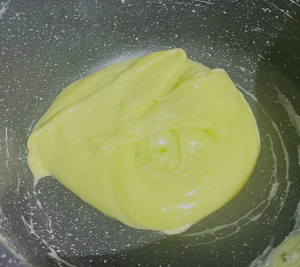
Step 14
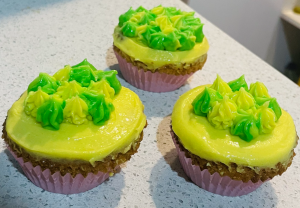
Step 16
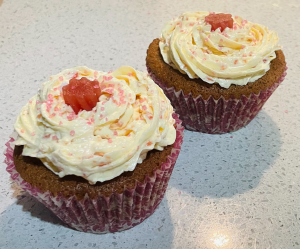
The randomness of this recipe… I was cleaning out the cupboards this weekend and noticed we had raspberry twists in which have been in the back of the cupboard for forever….
Knowing that we were not going to eat them anytime soon and being stuck in lockdown I decided to experiment with the raspberry twists much like I have in the past with musk sticks, red skin and fizzer lollies.
Taking inspiration from my white chocolate cupcake recipe I incorporated the lollies into the mix. The outcome of this however resulted in a very very dense cupcake bake that drooped in the middle.
Attempt 2 was using my never fail vanilla cupcake recipe with the lollies incorporated into the mix. This time I got great results but the bake was not as flavourful as I would have liked…
Cue adding 50% more buttermilk and 50% more raspberry twists and increasing the bake time, in which resulted in cupcake perfection.
Ingredients:
Cake:
- 200ml buttermilk
- 240g raspberry twists
- 1 1/2 tsn vanilla essence
- 160g cake flour
- 1 + 1/4 tsn baking powder
- 1/2 tsn baking soda
- 150g sugar
- 1/2 tsn salt
- 2 eggs
- 125g butter
Frosting:
- 135g butter
- 100g white chocolate
- 40g icing sugar
- 70g raspberry twists
Method:
- Cut up the raspberry twists into small, diced pieces.
- Place the buttermilk in a bowl and microwave until bubbling.
- Add the raspberry twist pieces to the buttermilk and stir for 3 minutes, leave aside to melt a further.
- Pre-heat the oven to 180c degrees and line a large 8-capacity cupcake tin with patty pans.
- In a bowl, pour the cake flour, baking powder, baking soda, sugar and salt. Stir together and whisk until well combined.
- Soften butter.
- Place the raspberry milk mix along with the butter and vanilla in a food processor and blitz until smooth.
- Pour the buttermilk mix into the bowl with the flour along with the eggs.
- Beat on slow with electric beaters until just combine.
- Spoon the mix into the 8 large size cupcake patties in the prepared cupcake tray.
- Bake in the oven for 24 minutes or until a skewer inserted in the middle comes out clean.
- Place the cupcakes on a rack to cool.
- Meanwhile, make the icing by melting the chocolate in a bowl on low in the microwave, stirring every 30 seconds until smooth.
- Cut up the raspberry twists into small, diced pieces.
- Place the raspberry into the white chocolate bowl and whisk for 2 minutes, set aside in the fridge until set.
- Melt the butter in a bowl and microwave until just soft.
- Place the chocolate mix in a food processor and blitz until smooth.
- Place the white chocolate mix in a bowl with the butter and beat with electric beaters until fluffy and pale.
- Using a piping bag and star nozzle pipe the icing on the top of the cooled cupcakes.
- Enjoy!
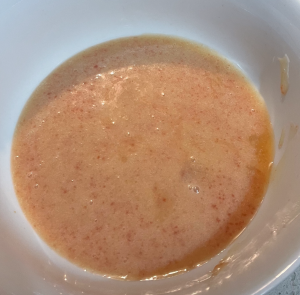
Step 9
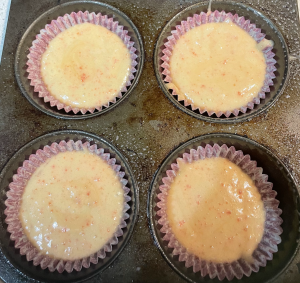
Step 10
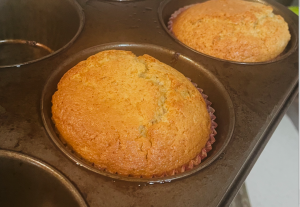
Step 11
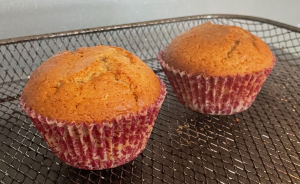
Step 12
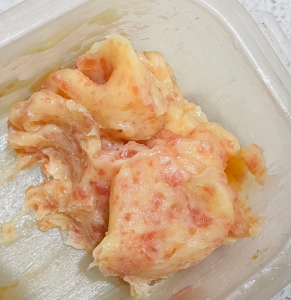
Step 15
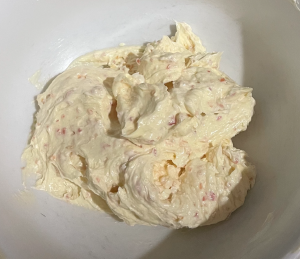
Step 18
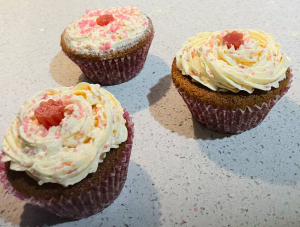
Step 19
I know chai syrup is hardly rare/unusual/peculiar, so you ask why is this recipe on this website? It may not be a unique but it took a lot of attempts to get the ingredient ratio to perfection.
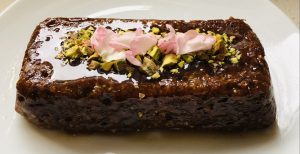
Ingredients:
- 300g water
- 150g sugar
- Pinch saffron threads
- 1 tsn vanilla essences
- 2 tsn chai powder
- 1 star anise
Method:
- Place the water, sugar, saffron, vanilla, chai powder and star anise into a medium sized saucepan.
- Bring the saucepan to the boil on high, whisking to ensure ingredients are well combined.
- Once boiled reduce the heat to a simmer.
- Take off the heat and remove the star anise from the syrup.
- Place the saucepan back on the stove on a high heat for 10 minutes or until reduced and syrupy in consistency.
- Ideal to drizzle over vanilla ice-cream or over a plain cake to turn the bland to sensational!
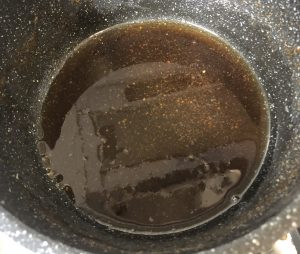
Step 3:
Summer Ricotta Turnover
This recipe came from a desire to experiment with all my favorite flavors rolled into one sweet treat. I wanted a treat that was packed full of flavors, but not only that, flavors that all complemented each other.
The influence was summer flavors, so I started jotting down all the tastes that mean summer to me.
The first thing I thought of was Pina Colada, a reminder of my pre COVID-19 Hawaii trip (hello rim, citrus, pineapple, coconut). But these flavors were nothing usual so I then added cherries, berries and chocolate = flavor mix made from heaven. Lastly, almond to give the mix a new layer and a little mint for added freshness.
Add all these ingredients infused with fresh ricotta and wrapped in puffy pastry and you have yourself a scrumptious easy to make unique treat.
Pastry:
- 1 large puff pastry sheet
- 1 tbsn sugar
Filling:
- ½ tsn almond essence
- 1 tsn rum
- 10g chocolate
- 15g desiccated coconut
- 10g dried mixed berries
- 20g glace cherries
- 125g ricotta
- 2 tsn citrus zest (even amounts of lime, lemon and orange)
- ¼ tsn ground ginger
- 40g pineapple pieces
- 1 tsn chopped mint leaves
Extra:
- 1 egg
- 30g slivered almonds
- I tbsn icing sugar
Method:
- Preheat the oven to 180c and line a baking tray with baking paper.
- Sprinkle the sugar on top of the puff pastry evenly and using a rolling pin roll the sugar into the pastry.
- Meanwhile make the filling by placing the ricotta, almond essence, rum, desiccated coconut, ginger and zest into a bowl and stir.
- Grate the chocolate and chop the mint then add.
- Dice the mixed berries, cherries and pineapple into small pieces.
- Stir mix until well combined.
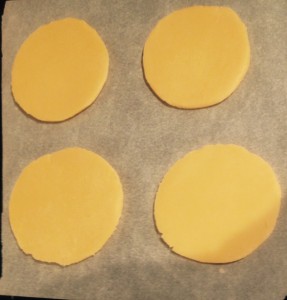
- Using a 10cm cutter cut out 4 circles in the pastry.
- Using the eggwhite brush the pastry.
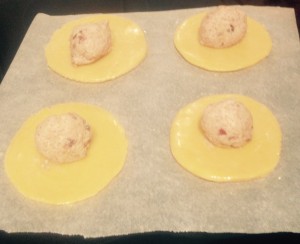
- Evenly place the ricotta filling in the center of the circles and fold to resemble a half circle shape,
- Seal by pressing a forks teeth onto the seal.
- Place on the prepared tray.
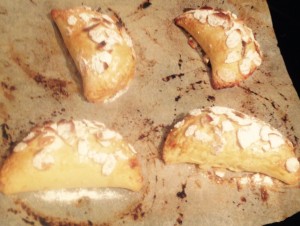
- Sprinkle the top with almonds and dust with the icing sugar.
- Bake for 15-20 mins until golden brown.
- Serve warm with a scoop of vanilla ice-cream.
Like this recipe? Subscribe via RSS or email to get my new entries and more scrumptious recipes with reviews.
Orange Peppermint and Chocolate Slice
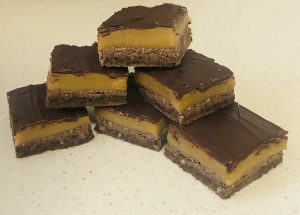
After making delicious but super easy and hardly challenging chocolate, orange and peppermint cookies I loved the flavour pairing so much I decided to take the flavour to a more layered and textural bake.
Therefore, as a follow up to see if I could replicate the same taste but in a more interesting bake format I decided to make a chocolate cake with orange filling and peppermint icing. Though the bake turned out well the peppermint was quite overpowering unlike the biscuits I had made previously therefore, that taste I was looking for was just not quite there.
Following this I felt if I made a slice that had one layer with all 3 flavours then championed the orange in the middle and topped it with the chocolate and peppermint that maybe the intenseness of the peppermint could work with and not overpower the orange.
Outcome success! It did take a few goes of peppermint and orange ratios to get it right but I think this recipe hits the flavour I was looking for on the head.
Ingredients:
Base:
- 115g plain flour
- 110g caster sugar
- 75g butter, softened
- 40g cocoa powder
- ½ egg
- 3 drops peppermint oil
- 1/2 heaped tsn orange zest
- 35g peppermint crisp bar, chopped
Filling:
- 65g butter
- 45g rice malt syrup
- 80g caster sugar
- 395g can condensed milk
- 1 + 1/2 tsn orange zest
Top:
- 80g dark choc
- 10g butter
- 4 drops peppermint oil
Method:
- Pre heat the oven to 180c degrees and line a 20 x 20cm slice tin with baking paper.
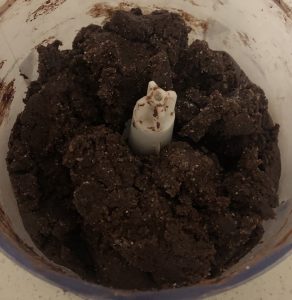
- Place the flour, sugar, butter, cocoa, egg, peppermint oil and zest base ingredients into a food processor and blitz until the mix clumps together like a dough.
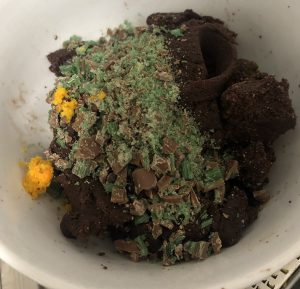
- Fold in the peppermint crisp pieces with clean hands.
- Spread the mix into the slice tin and using the back of a spoon flatten out evenly.
- Place the tin in the oven and bake for 20 minutes or until firm to touch.
- Place all the filling ingredients into a saucepan on a low heat, stirring until the mix is well combined and the sugar has dissolved.
- Turn the heat to medium and cook, stirring for 15 minutes or until the mix thickens and browns (110c degrees soft ball stage on a candy thermometer).
- Pour the mix on top of the base and place in the fridge for 2 hours to firm and set.
- Melt the chocolate, peppermint oil and butter in a bowl over a saucepan of boiling water and stir until well combine and silky smooth.
- Pour the mix over the caramel filling and spread evenly with the back of a spoon.
- Place the slice in the fridge for 3 hours to set. Once set slice and enjoy.
Steps:
Step 2
Step 3
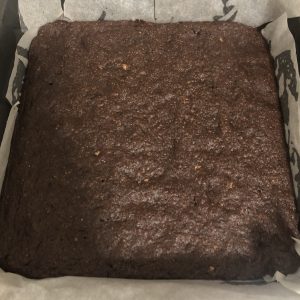
Step 5
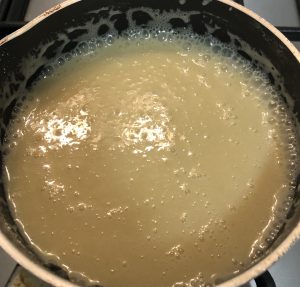
Step 6
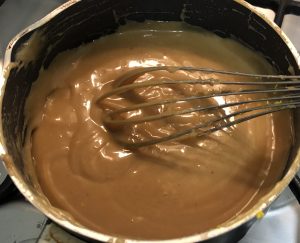
Step 7
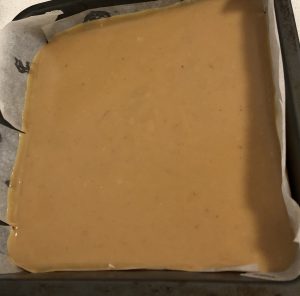
Step 8
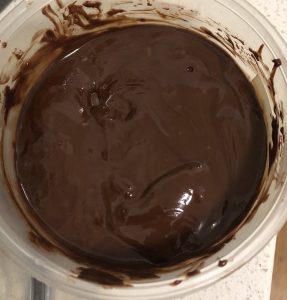
Step 9
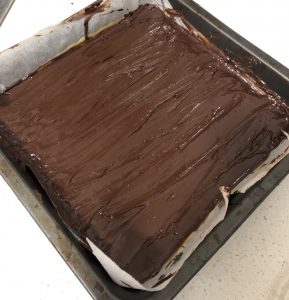
Step 10
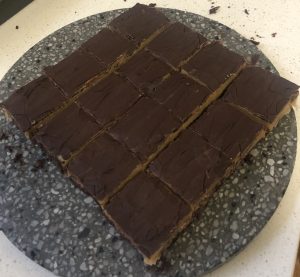
Step 11
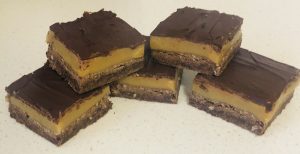
Step 11
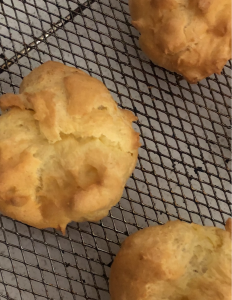
Saffron Cardamom Orange and Almond Profiteroles
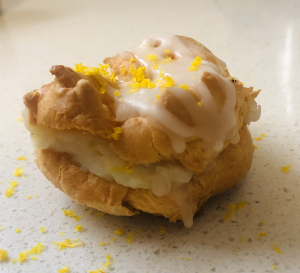
This recipe came about off the back of an Indian spiced rice pudding recipe I recently had. Obviously rice pudding and profiteroles are very very different bakes – almost polar opposites, however it was the flavour combo I was influenced by in which I incorporated into my usual profiteroles. Cardamom, orange, almond, saffron and honey are the feature flavours in this bake, in which work complimentary.
I also wanted to make my filling low in fat and super quick therefore instead of the traditional whipped cream, ice-cream or pastry cream filling I have created a skim milk honey-based custard.
Traditionally the pastries are dipped into melted chocolate, however in this instance I have make an icing for a bit of a twist and extra orange hit.
Ingredients:
Pastry:
- ½ cup flour
- ½ cup water
- 40g butter
- ¼ tsn salt
- 2 egg
Custard:
- 8 tbsp corn flour
- 200ml milk
- 4 tbsp honey
- ½ tsn ground cardamom
- 1 tsn almond essence
- 2 tsn orange zest
- 10 saffron threads
Icing:
- 160g icing sugar
- 2 tsn vanilla essence
- ½ tsn orange essence
Method:
- Preheat the oven to 200c fan forced.
- Bring the water and butter to the boil in a saucepan on the stove to a medium heat. Once at a boil add the flour and salt stirring with a wooden spoon for 5 minutes or until the mix comes away from the side of the pan.
- Take off the heat, wait 5 minutes and beat the eggs in one at a time. The mix will now resemble dough.
- Line 2 baking trays with baking paper.
- Using a piping bag with a large tip pipe 10 puffs in the size of golf balls leaving, 5 cm apart on the 2 trays.
- Place the 2 trays in the oven and bake for 10 minutes.
- Decrease the oven temperature down to 180c fan forced and bake for a further 10 minutes until the pastry is golden and all puffed up.
- Turn off the oven. With a knife cut a slit I the top of each puff and leave them in the oven to dry out for 10 minutes. Following, place on a cooling rack to cool.
- To prepare the custard place all ingredients in saucepan on the stove. Whisk well.
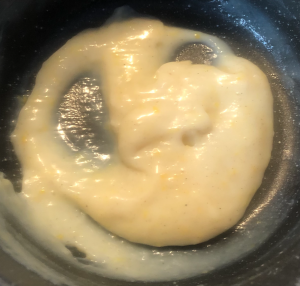
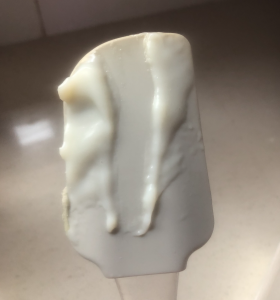
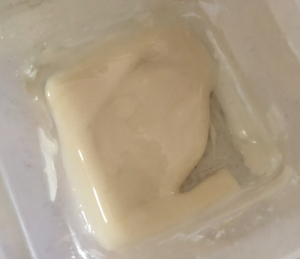
- Heat on medium, whisking until the mix is super thick and glossy. Leave to cool. The custard should be thick enough to almost hold its shape.
- With another piping bag and a medium star tip fill the profiterole with the cooled custard.
- Pipe the custard into each puff.
- Whisk the icing ingredients until thick and glossy.
- Drizzle the icing over the top of the puffs and top with extra orange zest and chopped almonds if desired.
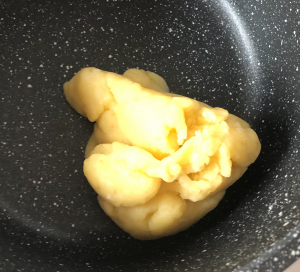
Step 2
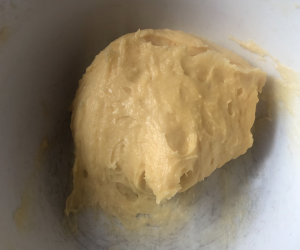
Step 3
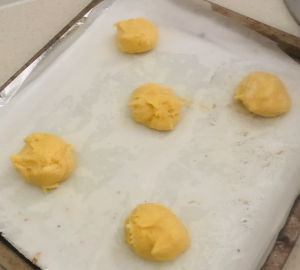
Step 6
Step 8
Step 10
Step 10
Step 13

Step 14
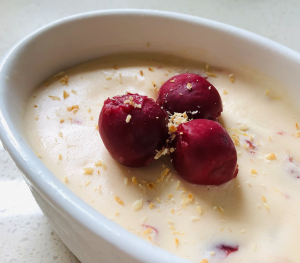
This recipe came about off the back of a cocktail and an impulse buy, A Midori and Cherry cocktail and a random melon essence purchase with no recipe to use it in.
The cocktail was super delicious but needed an acidic kick and the melon flavour of the liquor got me thinking of making a recipe with the essence I had brought.
Sometimes my recipes are as random as that.
I replaced the Midori with the essence and added lemon to balance the flavours (the sweetness without acid in the cocktail was quite overwhelming). As quite a bit of lemon was needed the recipe had to allow for a high yield of liquid, in which my head went straight to jelly, custard, ice-cream…etc. After playing around with some recipes the ice-cream was a solid winner. Super creamy, easy to make and so tasty with a lovely floral zest.
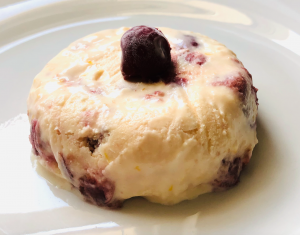
Ingredients:
- 120g caster sugar
- 80ml lemon juice
- 2 eggs
- 2 egg yolks
- 1 + ½ tsn lemon zest
- 1 + ½ tsn melon essence
- 70g cherries, seeded
- 250g cream
Method:
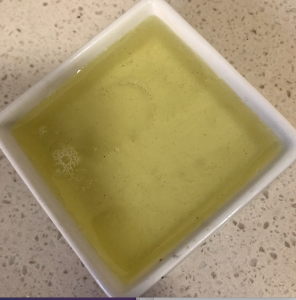
- Place half the sugar (60g) and the lemon juice into a saucepan on low/medium, stirring until the mix comes to a syrup thickness consistency. Leave aside to cool.
- Place the eggs, yolks and remaining 60g sugar into a heat proof bowl over a saucepan of simmering water.
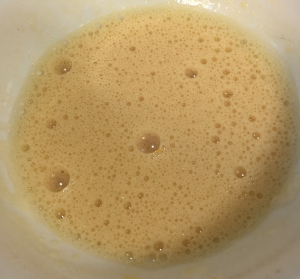
- Whisk the egg mix with a hand held whisk until the mix becomes frothy, remove off the heat.
- Using electric beaters whisk the egg mix along with the lemon zest and the melon essence until the mix is thick and creamy.
- Add the cooled syrup to the egg mix and beat through until well combine.
- Dice the cherries into small bite sized pieces.
- In a separate bowl whisk the cream with electric beaters until peaks form.
- Fold the cream and cherries through the egg mix until combine.
- Pour the mix into a 10cm x 10cm container and place in the freezer for 4 hours or overnight.
- Use an ice-cream scoop to serve and enjoy!
Step 1
Step 2
Step 5
Step 8

 Follow
