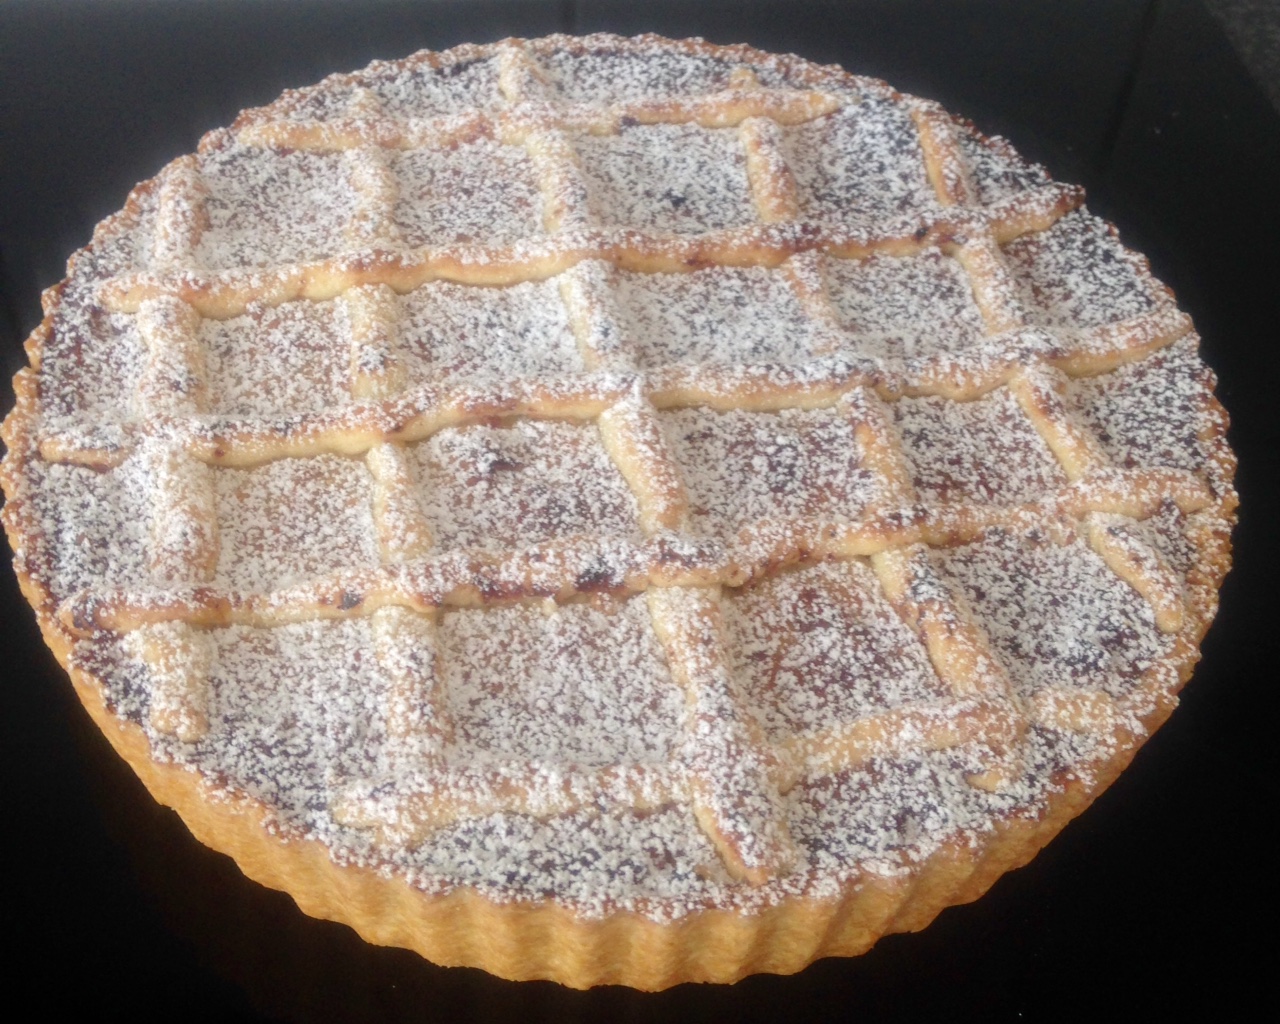
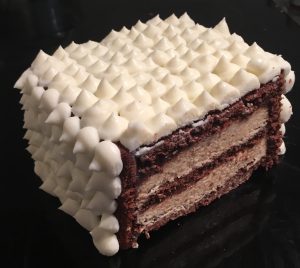
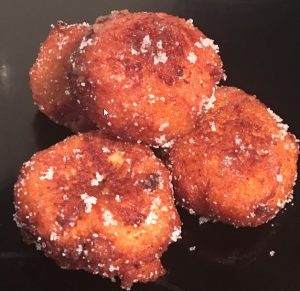
Summer Ricotta Turnover

This recipe came from a desire to experiment with all my favorite flavors rolled into one sweet treat. I wanted a treat that was packed full of flavors, but not only that, flavors that all complemented each other.
The influence was summer flavors, so I started jotting down all the tastes that mean summer to me.
The first thing I thought of was Pina Colada, a reminder of my pre COVID-19 Hawaii trip (hello rim, citrus, pineapple, coconut). But these flavors were nothing usual so I then added cherries, berries and chocolate = flavor mix made from heaven. Lastly, almond to give the mix a new layer and a little mint for added freshness.
Add all these ingredients infused with fresh ricotta and wrapped in puffy pastry and you have yourself a scrumptious easy to make unique treat.
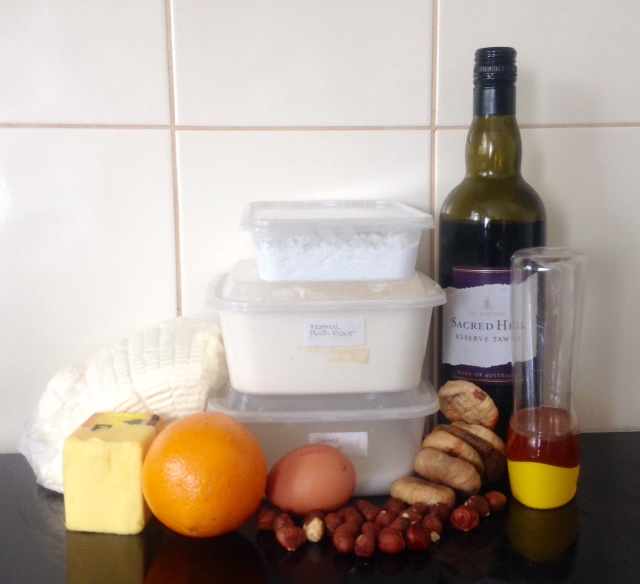
Pastry:
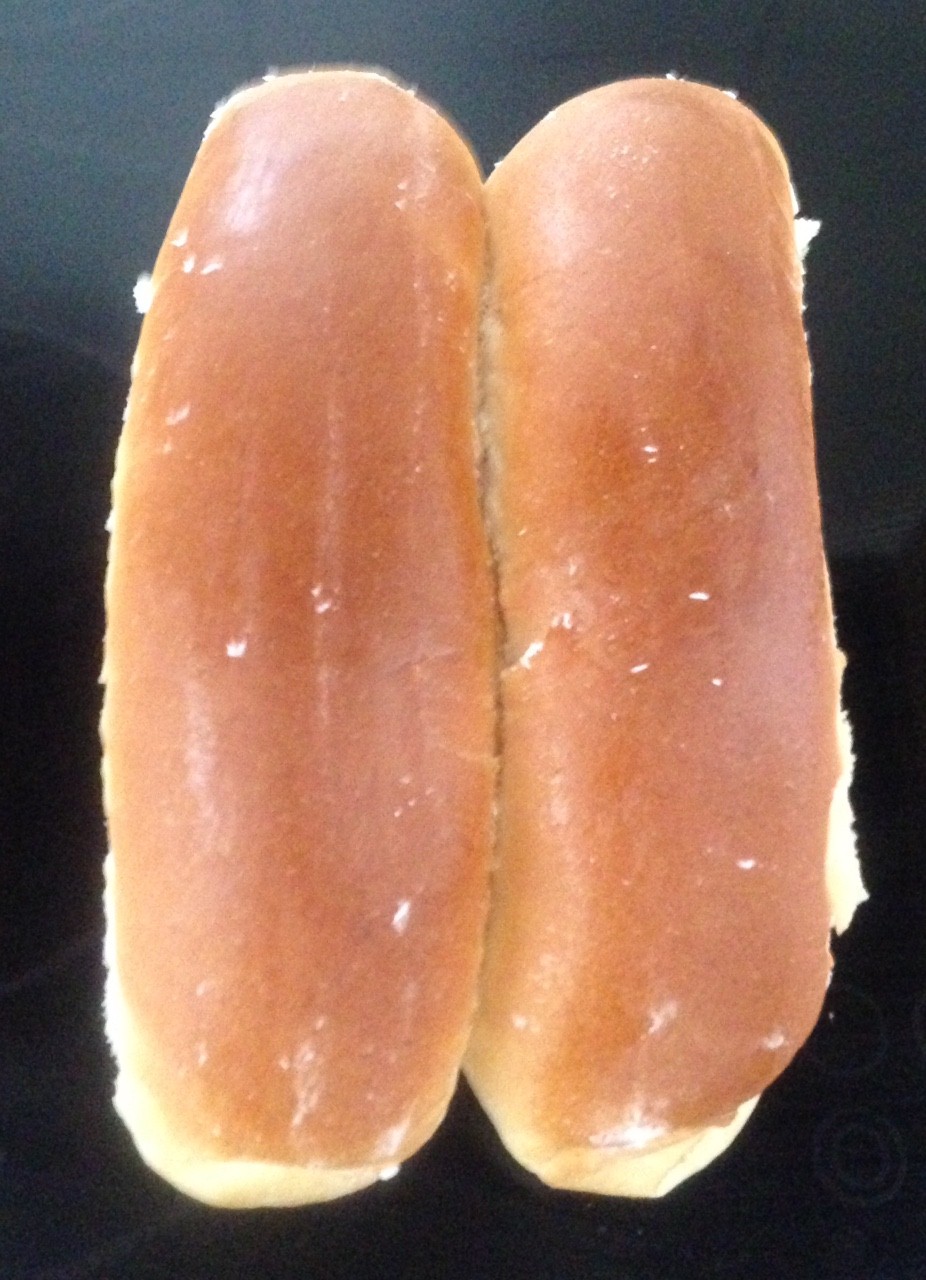
- 1 large puff pastry sheet
- 1 tbsn sugar
Filling:
- ½ tsn almond essence
- 1 tsn rum
- 10g chocolate
- 15g desiccated coconut
- 10g dried mixed berries
- 20g glace cherries
- 125g ricotta
- 2 tsn citrus zest (even amounts of lime, lemon and orange)
- ¼ tsn ground ginger
- 40g pineapple pieces
- 1 tsn chopped mint leaves
Extra:
- 1 egg
- 30g slivered almonds
- I tbsn icing sugar
Method:
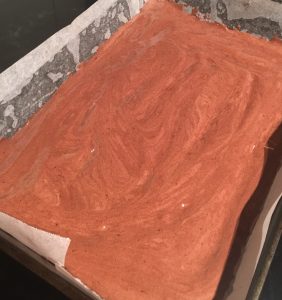
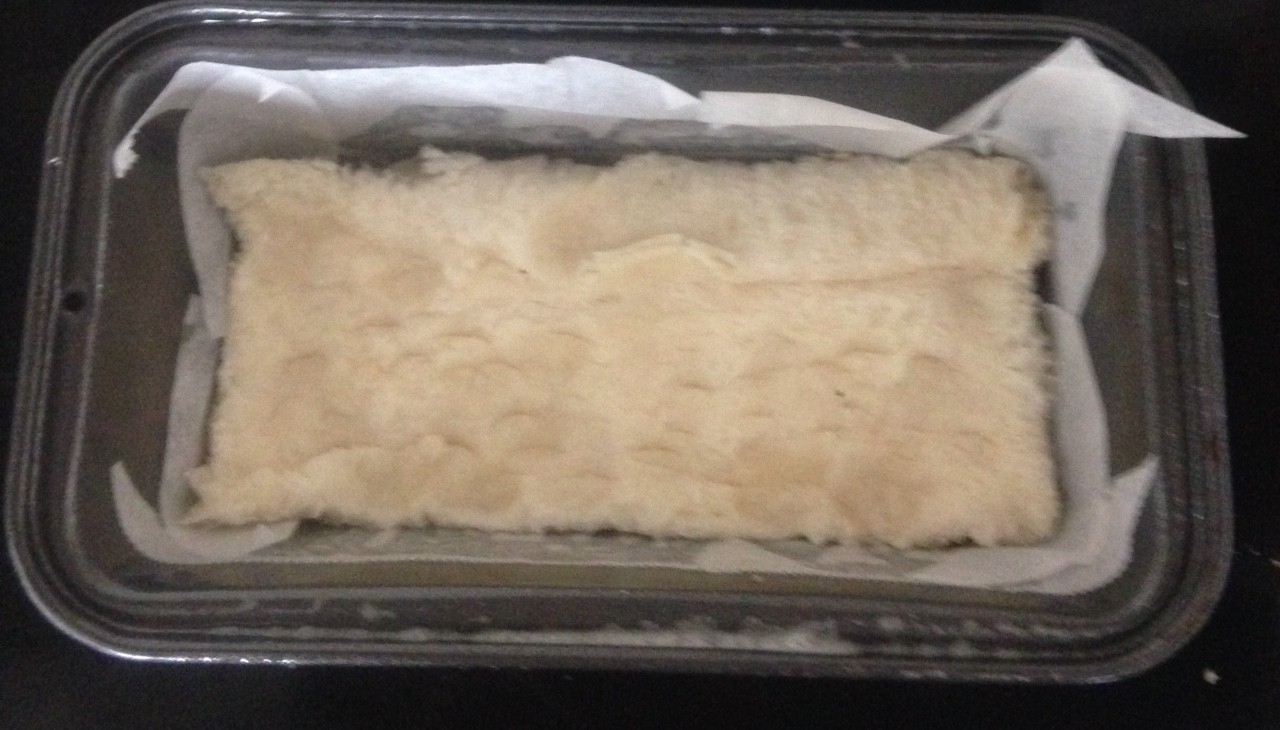
- Preheat the oven to 180c and line a baking tray with baking paper.
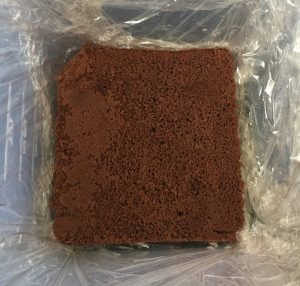
- Sprinkle the sugar on top of the puff pastry evenly and using a rolling pin roll the sugar into the pastry.
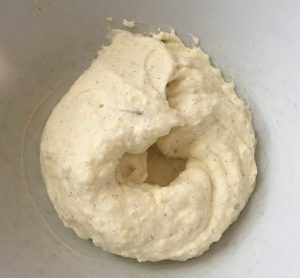
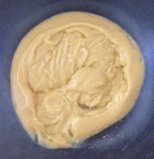
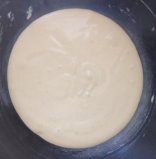
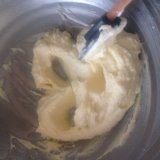
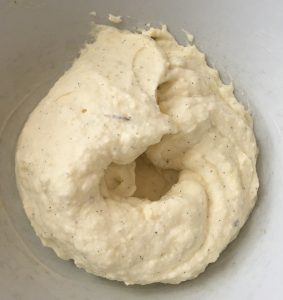
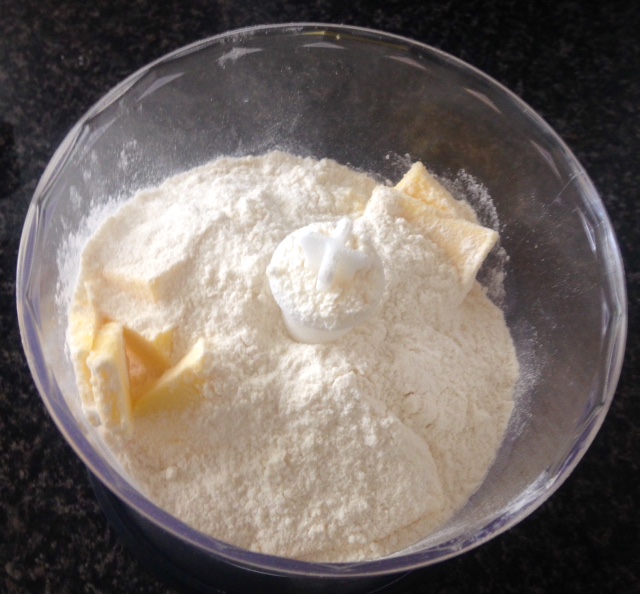
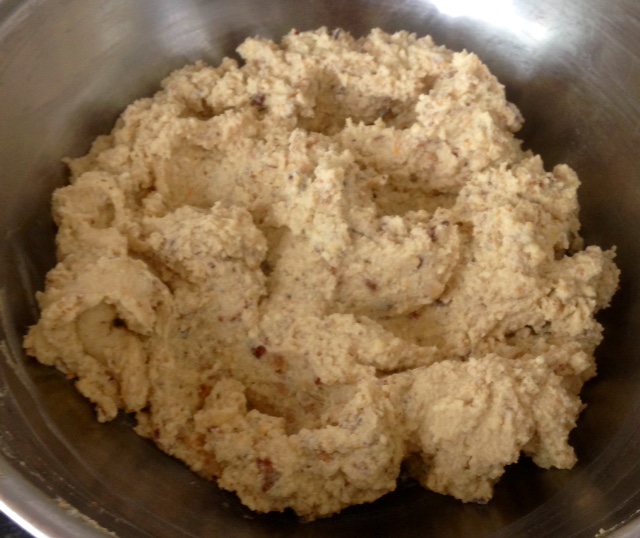
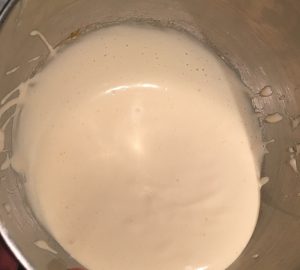
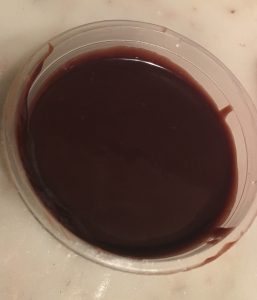
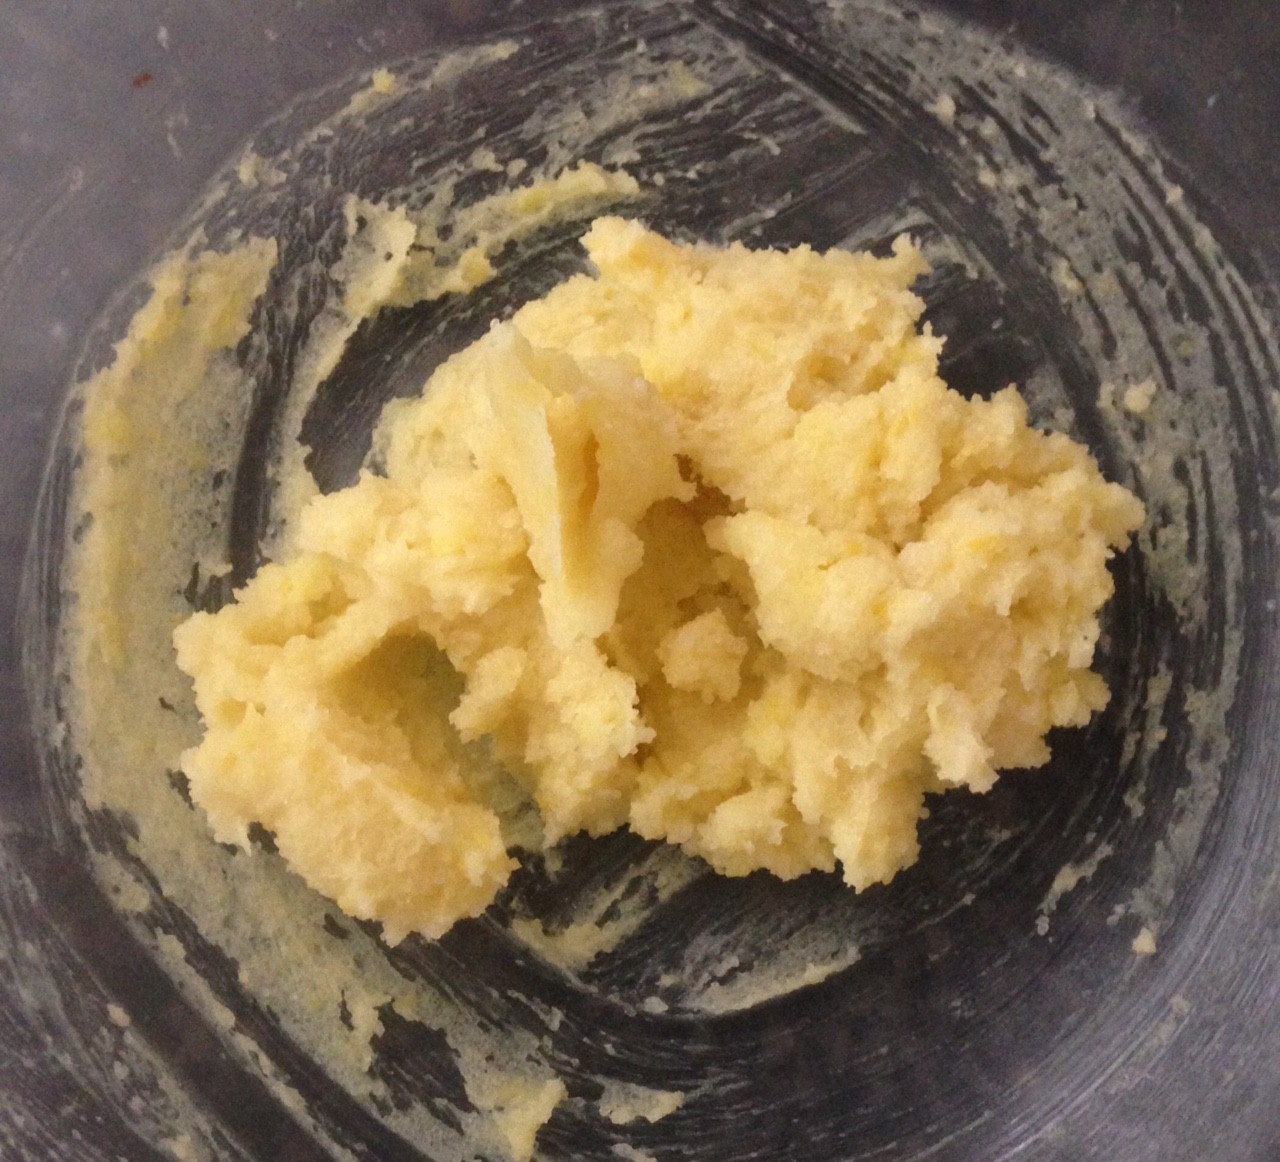
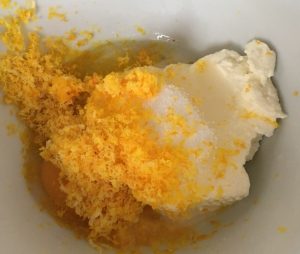
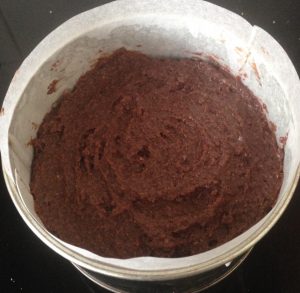
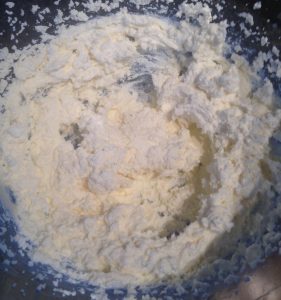
- Meanwhile make the filling by placing the ricotta, almond essence, rum, desiccated coconut, ginger and zest into a bowl and stir.
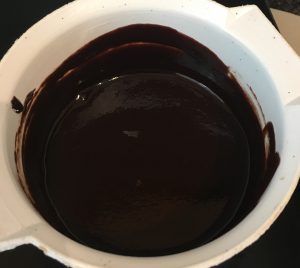
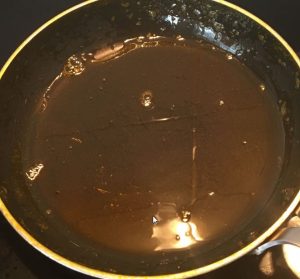
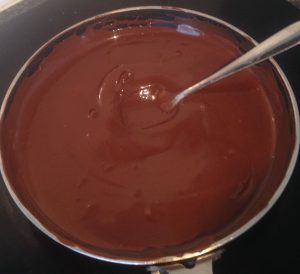
- Grate the chocolate and chop the mint then add.
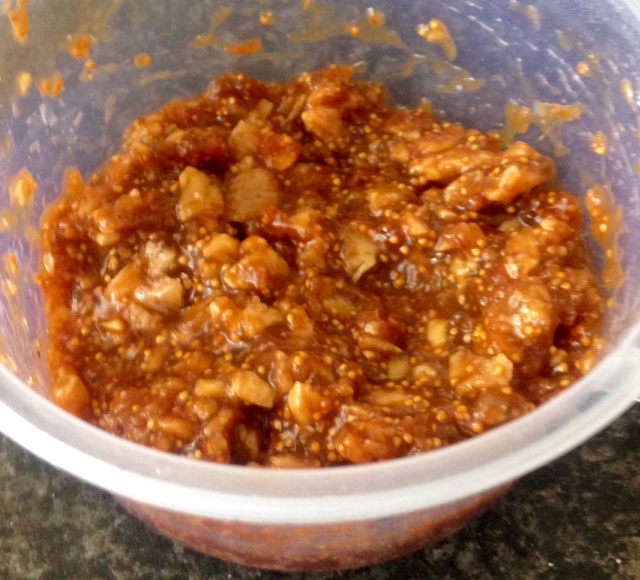
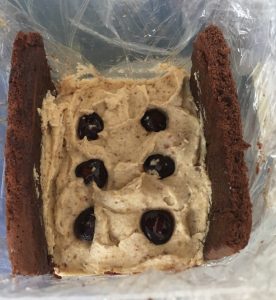
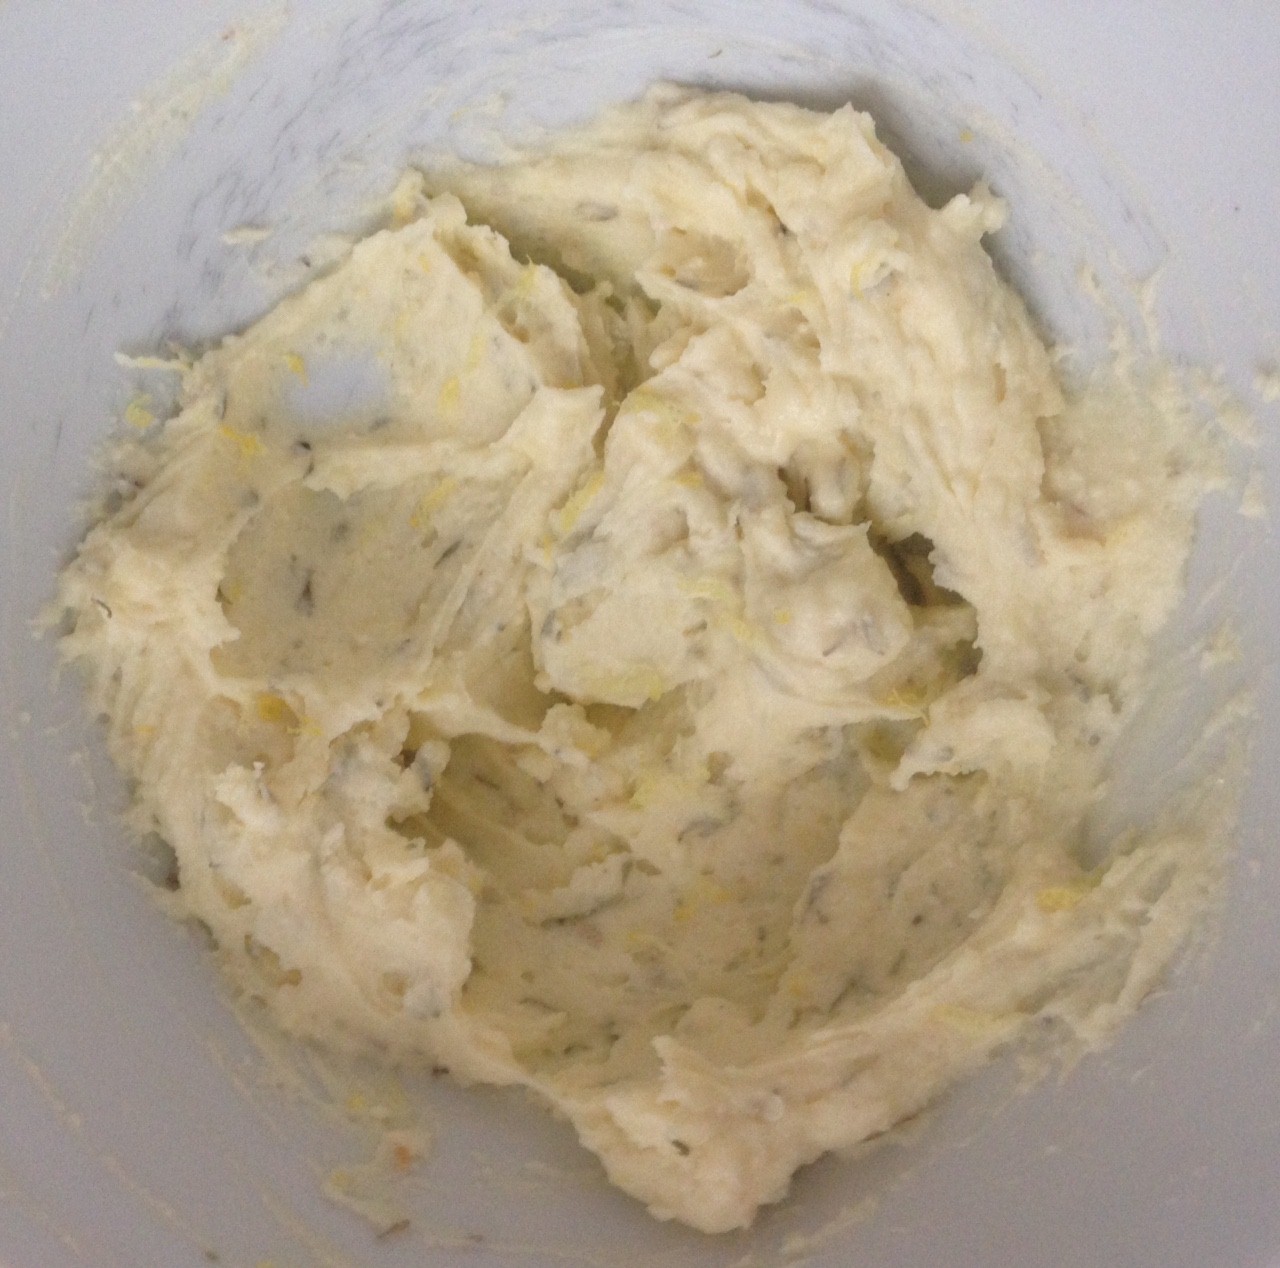
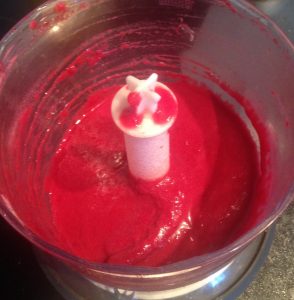
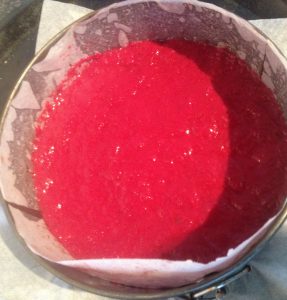
- Dice the mixed berries, cherries and pineapple into small pieces.
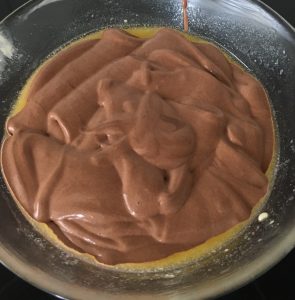
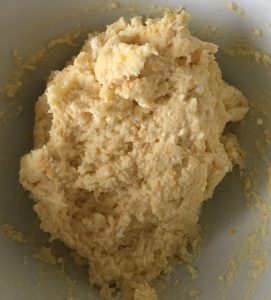
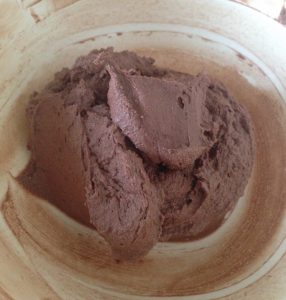
- Stir mix until well combined.
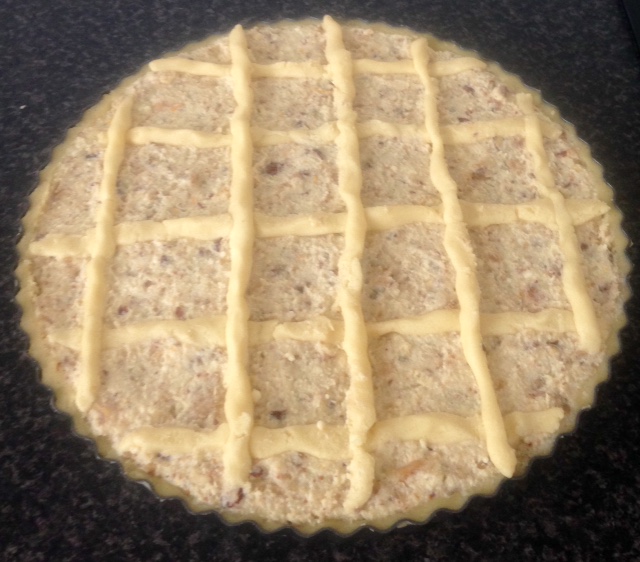
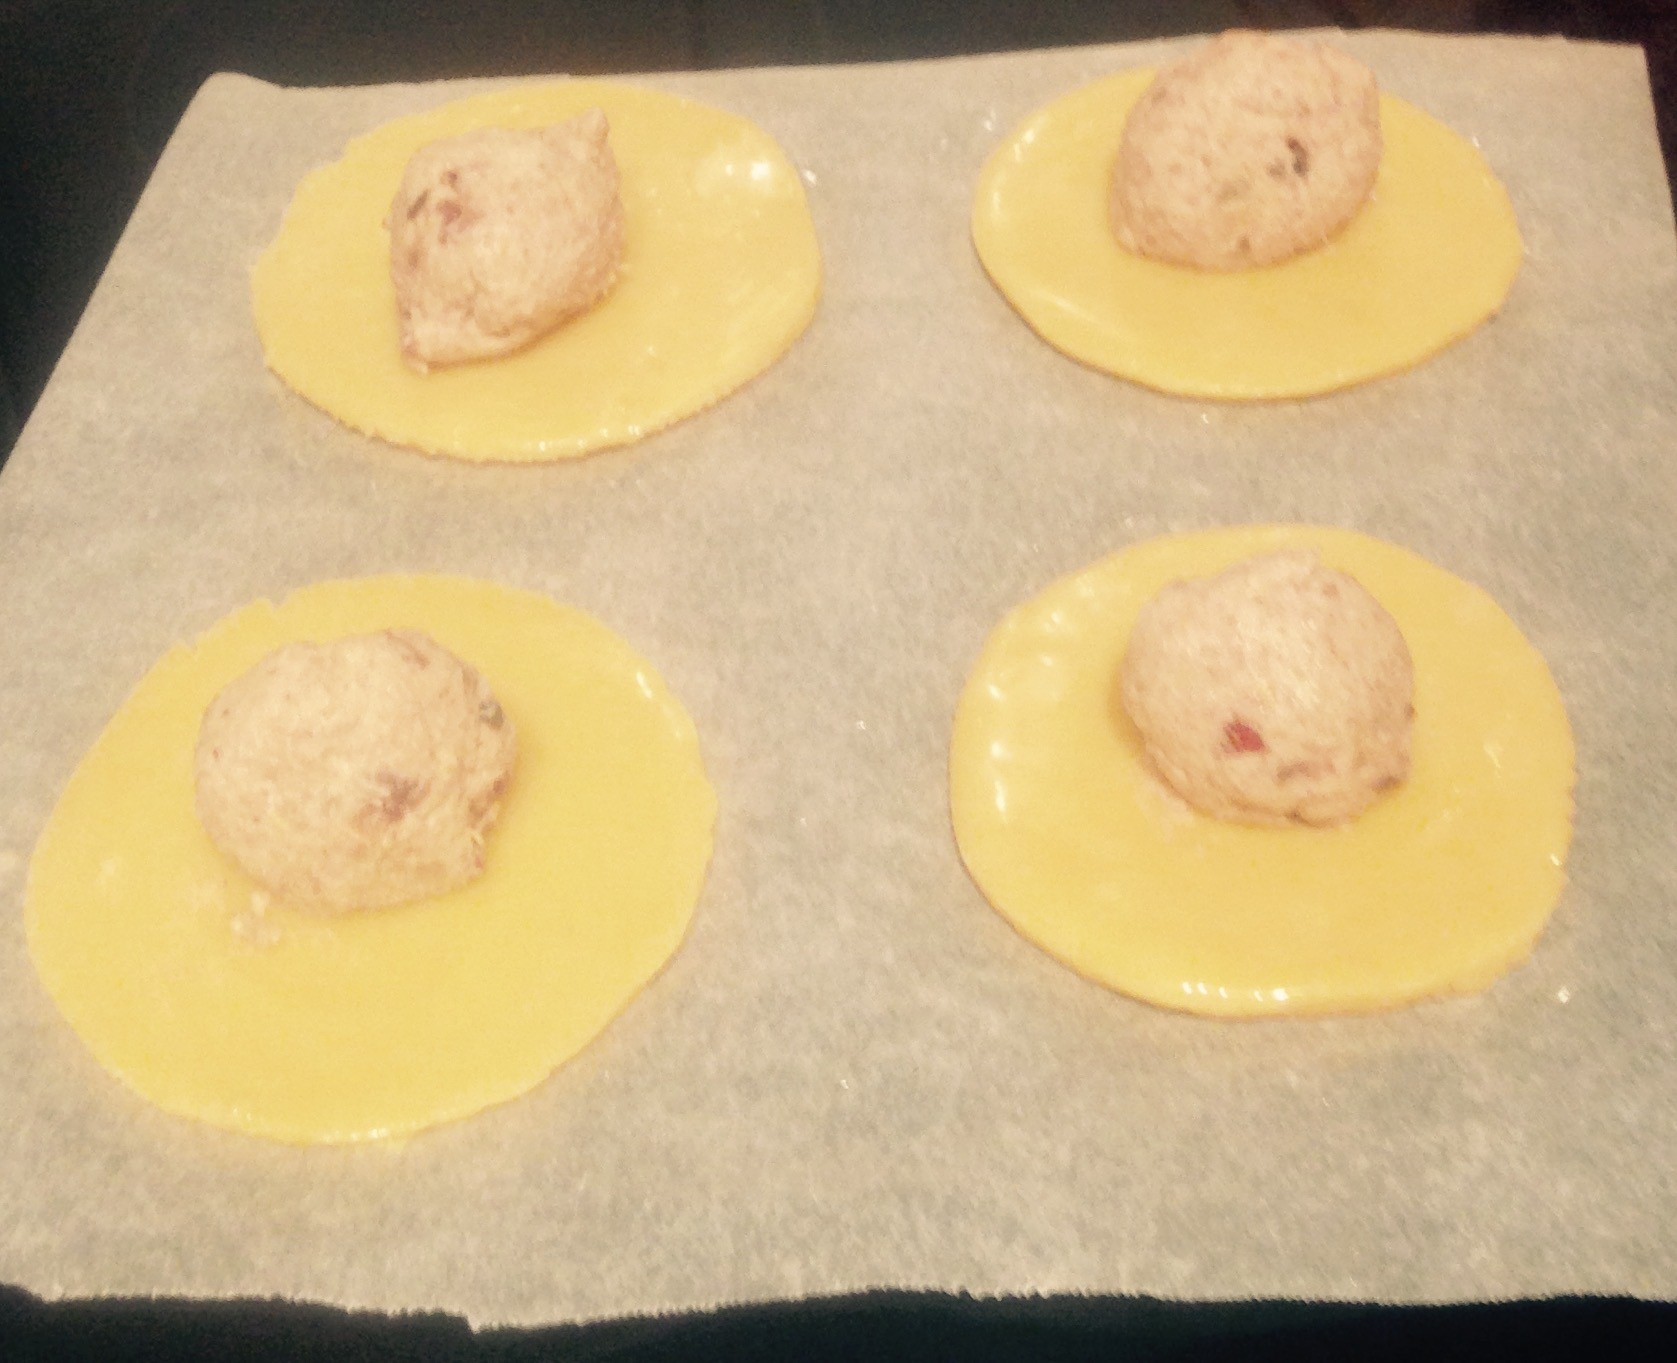
- Using a 10cm cutter cut out 4 circles in the pastry.
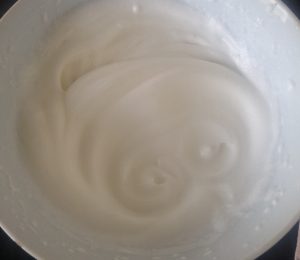
- Using the eggwhite brush the pastry.
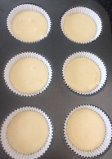
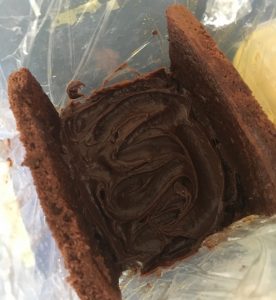
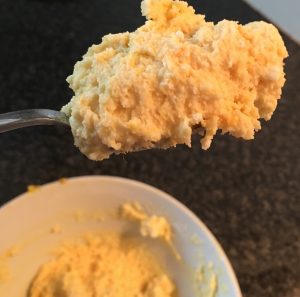
- Evenly place the ricotta filling in the center of the circles and fold to resemble a half circle shape,
- Seal by pressing a forks teeth onto the seal.
- Place on the prepared tray.
- Sprinkle the top with almonds and dust with the icing sugar.
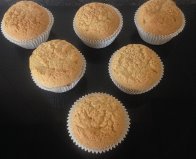
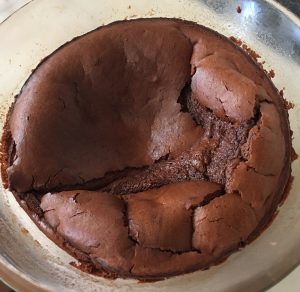
- Bake for 15-20 mins until golden brown.
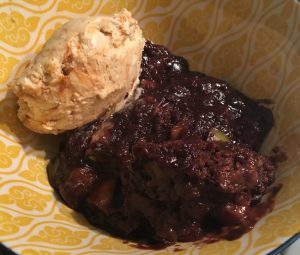
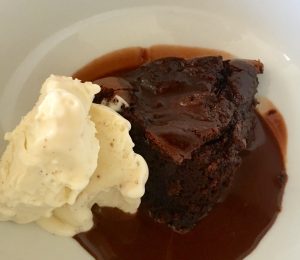
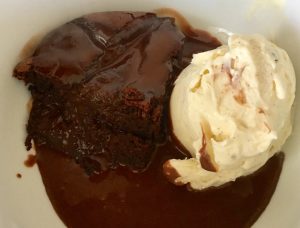
- Serve warm with a scoop of vanilla ice-cream.

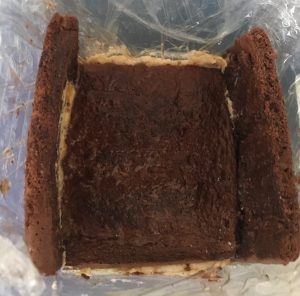
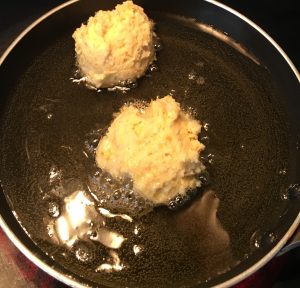
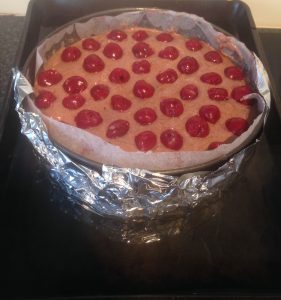
Step 7
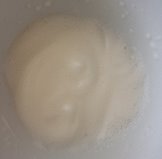
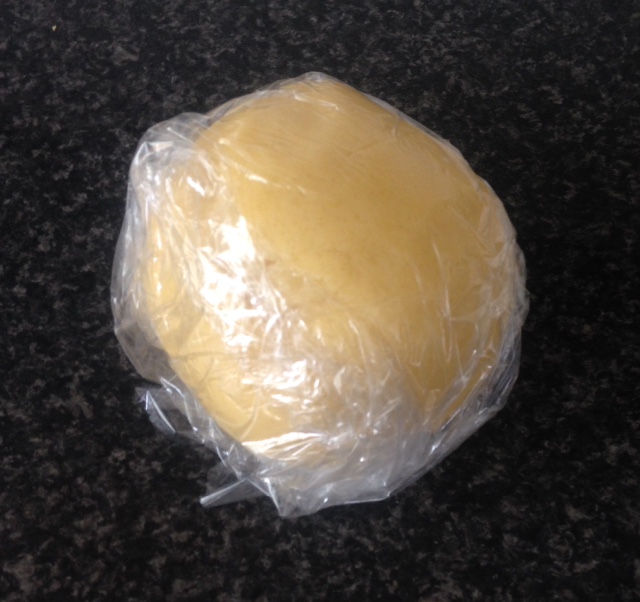
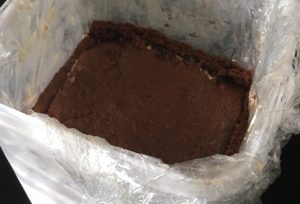
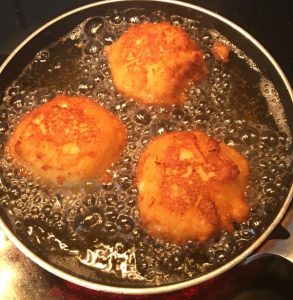
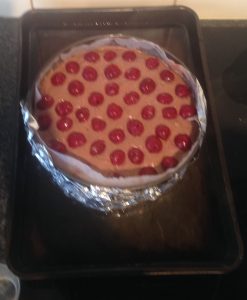
Step 9

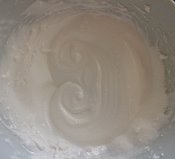
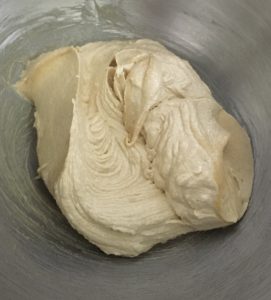
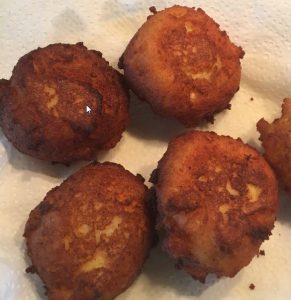
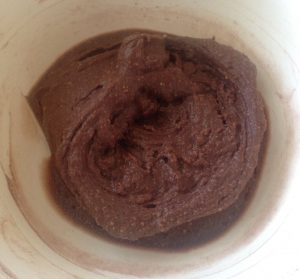
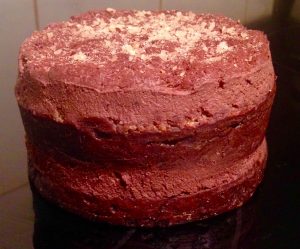
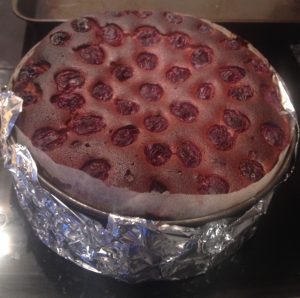
Step 12

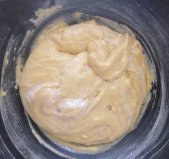
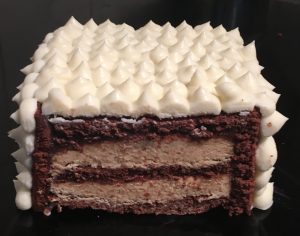
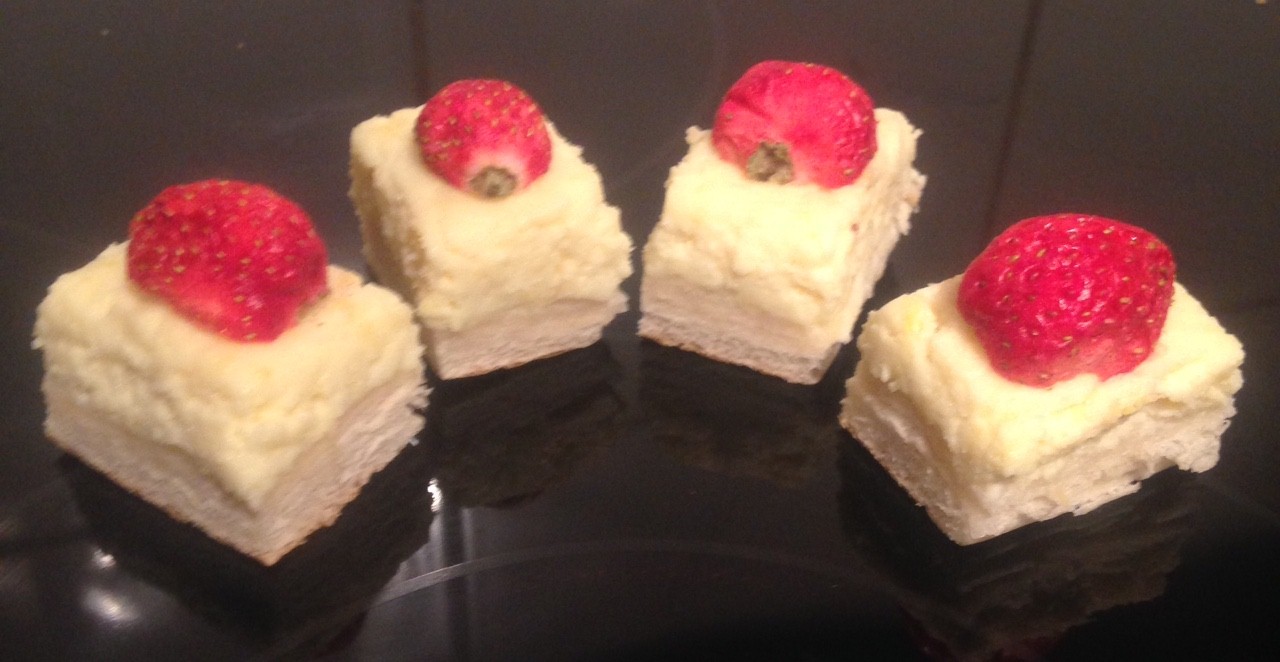
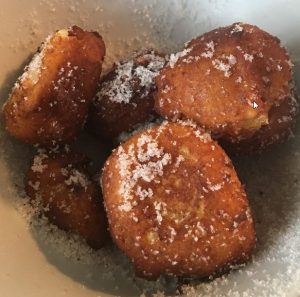
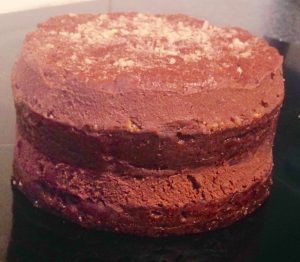
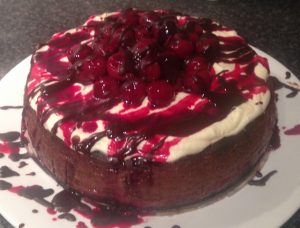
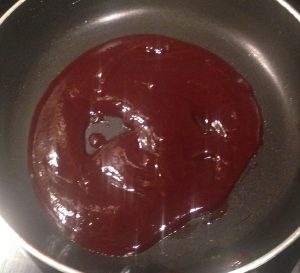
Step 13
Like this recipe? Subscribe via RSS or email to get my new entries and more scrumptious recipes with reviews.
 Follow