Sweet Tooth Experiments

  • About Me
  • Recipe Index
  • Baking Metrics
  • Tips & Tricks
  • Common Baking Questions
  • Contact

Tag Archives: ricotta

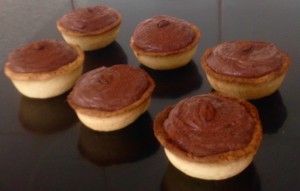
Cocoa Ricotta Mousse Tarts
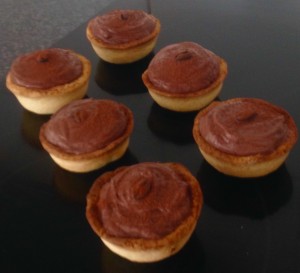
Posted on March 28, 2016 Posted in Tarts .

Cocoa Ricotta Mousse Tarts

Cocoa Ricotta Mousse Tarts recipe
 
I have made many versions of chocolate mousse with interesting ingredients, from silken Tofu to Avocado (check out my Healthy Chocolate Mousse Tart and Avocado Chocolate and Orange Mousse Tart recipes) and made unusual icings from Ricotta to Yoghurt (check out my Rubarb Strawberry Yoghurt cake with Lemon Yoghurt Frosting).

Thus from this experience I do know there is always an alternative to fattening cream that can have nutrient and vitamin benefits instead.

Since I was going down the pathway of experimenting with another alternative version of mousse I decided to also use an alternative to chocolate to lower the sugar content.

Standard chocolate mousse is filled with full fat whipped cream, sugar and lots of chocolate. My aim was to use low fat ricotta instead of cream, cocoa with a little sugar and honey to mimic the chocolate effect and add a little Kahlua kick to intensify the chocolate flavor.

I also wanted to make this super easy (all you need to do it place all ingredients in a blender). This recipe is pretty much fool proof, instantly thick and super tasty.


Ingredients:

Pastry:

  • 200g flour
  • 100g butter
  • 40g sugar

Filling:

  • 400g ricotta
  • 2 eggs
  • 55g honey
  • 55g icing sugar
  • 40g cocoa powder
  • 3 tsn Kahlua


Method:

  1. Pre-heat the oven to 200c degrees and spray a 12 x 7cm capacity cupcake tray with oil spray.
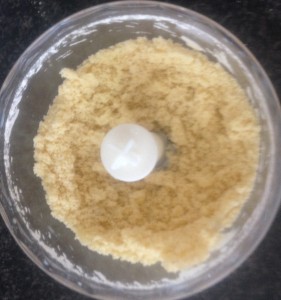
  2. Place all the pastry ingredients into a food processor and blitz until the mix resembles breadcrumbs.
  3. Add 25ml of water and blitz until the dough comes away from the side of the bowl.
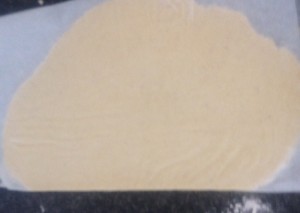
  4. Knead dough for a minute and roll out between 2 pieces of baking paper.
  5. Use a 9cm cookie cutter to cut out 12 pastry circles and place in the center of each mold.
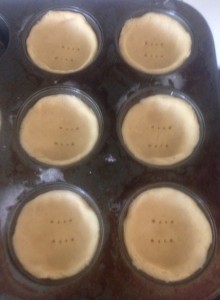
  6. Using a fork prick the middle of the pastry and place the shells in the fridge for 30 minutes.
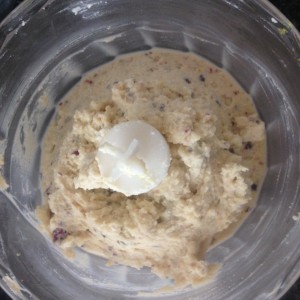
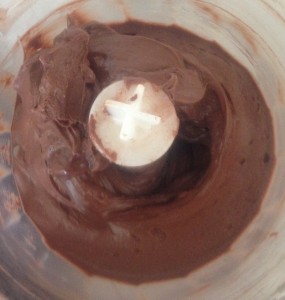
  7. Meanwhile place the ricotta, egg yolk, honey, sugar, cocoa powder and Kahlua into the food processor and blitz until soft and smooth.
  8. Place the egg whites into a bowl and using electric beaters whisk until peaks form.
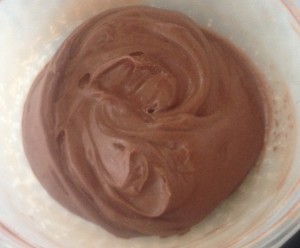
  9. Fold the chocolate mix into the egg whites and leave in the fridge for later.
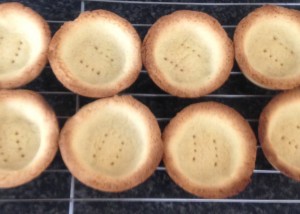
  10. Place the pastry shells into the oven for 18 minutes or until the shells start to brown slightly.
  11. Set the shells aside to cool completely.
  12. Spoon the chocolate mix into the shells and enjoy.


Cocoa Ricotta Mousse Tarts recipe

Step 2

Balsamic and Strawberry Custard Biscuits recipe
Step 4
Cocoa Ricotta Mousse Tarts recipe

Step 6

Cocoa Ricotta Mousse Tarts recipe
Step 7
Cocoa Ricotta Mousse Tarts recipe
Step 8
Cocoa Ricotta Mousse Tarts recipe
Step 11
Cocoa Ricotta Mousse Tarts recipe


Like this recipe? Subscribe via RSS or email to get my new entries and more scrumptious recipes with reviews.
 

Email, RSS Follow
Print
Leave a comment .
Tags: chocolate mousse, Citrus Ricotta Doughnut Fritters, cocoa, Cocoa Ricotta Mousse Tarts, ricotta .

Black Forest Ricotta Layer Sponge Cake

Posted on February 29, 2016 Posted in Cakes .

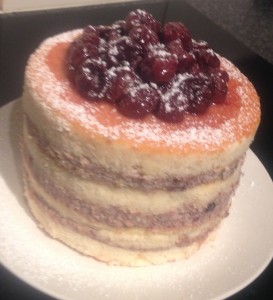
Black Forest Ricotta Layer Sponge Cake

Black Forest Ricotta Layer Sponge Cake recipe

I’m a massive fan of Black Forest Cake, however not so much a fan of high fat volume of cream this cake is predominantly made of.

So, I decided that I would create a lower fat version of this cake that has no need for an oven and is super easy so anyone can make it while still producing a great result.

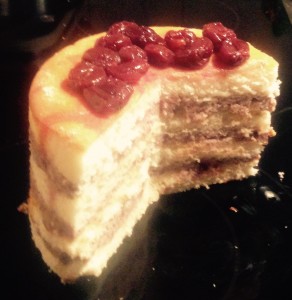
This cake is a cherry lover’s dream with dried cherries, fresh cherries and kirsch Icherry liquor) = 3 x cherry flavor layer craziness.

Black Forest Ricotta Layer Sponge Cake recipe
 

Ingredients:

  • 800g ricotta
  • 120g sugar
  • 3 tsn vanilla essence
  • 90g dried cherries
  • 300g cherries
  • 60g dark chocolate
  • 1 + ½ oranges
  • 2 x 30cm store bought sponge cakes
  • 150ml kirsch

Method:

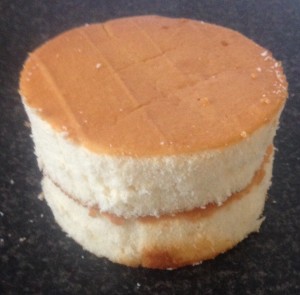
  1. Place a 25cm spring form cake tin on top of a sponge cake and using a knife cut around the tin for a perfect fit cake, repeat with the second sponge cake.
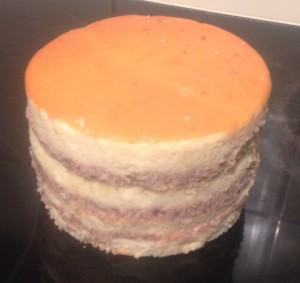
  2. Cut each sponge cake in half horizontally so you have 4 x 25cm cake layers.
  3. Using a pastry brush brush the kirsch onto the top of the 4 sponge cakes.
  4. Grate the chocolate.
  5. Zest 1 + ½ of the oranges.
  6. Dice up the cherries.
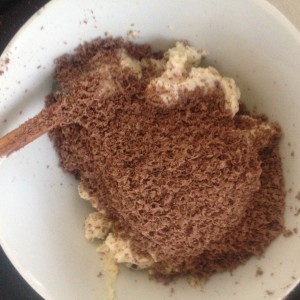
  7. Place the ricotta, sugar, vanilla, dried cherries and orange zest into a food processor and process until combine.
  8. Add the chocolate and the diced cherries and fold to combine.
  9. Line the cake tin with 2 layers of plastic wrap and ensure the wrap overhangs.
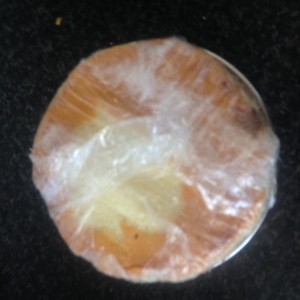
  10. Place one cake layer in the tin, 1/3 of the ricotta mix spread evenly, the 2nd cake layer, 1/3 ricotta mix. Repeat until all 4 layers and 3 ricotta layers are done.
  11. Fold the overhang wrap over the top layer to ensure the cake is fully encompassed.
  12. Use a plate to weight down the top of the cake with a small weight on the top.
  13. Place in the fridge for 4 hours to completely firm.
  14. Once firm release the spring form pan sides, the plastic wrap and turn the cake out onto a plate.
  15. Dust with cocoa powder and further cherries if you desire.


Black Forest Ricotta Layer Sponge Cake recipe

Step 2

Black Forest Ricotta Layer Sponge Cake recipe

Step 7

Black Forest Ricotta Layer Sponge Cake recipe

Step 8

Black Forest Ricotta Layer Sponge Cake recipe

Step 8

Black Forest Ricotta Layer Sponge Cake recipe

Step 10

Black Forest Ricotta Layer Sponge Cake recipe

Step 11

Black Forest Ricotta Layer Sponge Cake recipe

Step 14


Like this recipe? Subscribe via RSS or email to get my new entries and more scrumptious recipes with reviews.
Email, RSS Follow
Print
Leave a comment .
Tags: Black Forest, Black Forest Ricotta Layer Sponge Cake, ricotta, Sponge Cake .

Peanut and Raspberry Ricotta Cheesecake

Posted on April 14, 2015 Posted in Cakes .

Peanut and Raspberry Ricotta Cheesecake

Peanut and Raspberry Ricotta Cheesecake recipe

So often when I come across ricotta cheesecake recipes they seem to have more cream cheese, mascarpone or cream than they do ricotta. So I decided to make a ricotta cheesecake with ricotta and no other cream or cheese inclusions.

For the flavour, I actually played around with many different fruits and flavors but found the texture always ended up too soft or the ricotta flavour overpowered the fruits flavors. Therefore, I ended up opting for ingredients that were thick in texture and strong in flavour. Now, you may recall in the past I have posted a peanut butter and jelly sandwich slice recipe which was one of my first experiments with the peanut and fruit flavour combo’s. This combo worked very well, was strong and as I used peanut butter and jam the mix would not thin the ricotta out too much. The outcome a very satisfying, creamy, tasty RICOTTA cheesecake! In fact, my father actually told me this was the best cake I have made! On top of this it is super easy to make with only 7 steps!

Ingredients

Base:

  • 210g plain sweet biscuits
  • 85g butter

Cake:

  • 90ml milk
  • 1 tbsn gelatine powder
  • 500g ricotta
  • 90ml golden syrup
  • 240g raspberry jam
  • 150g peanut butter
  • 175g condensed milk


Method:

  1. Line a 20cm cake tin with baking paper.
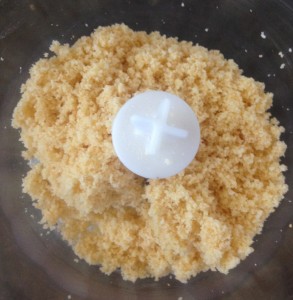
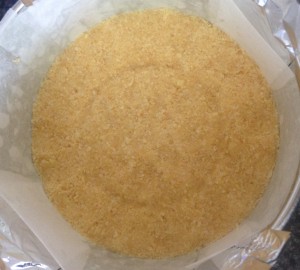
  2. Place the biscuits and butter melted in a food processor and blitz until the mix resembles breadcrumbs.
  3. Press the mix into the bottom of a cake tin and press with fingertips until the base is firm.
  4. Place the tin in the fridge to firm.
  5. Heat the milk in the microwave until bubbling then sprinkle the gelatine in the milk. Wisk with a small hand whisk until the gelatine is well combine and no lumps. Leave mix aside to cool slightly.
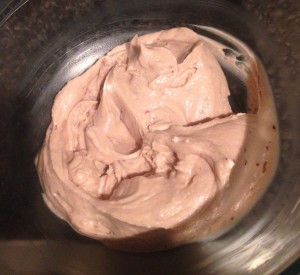
  6. Using electric beaters whisk the ricotta with the condensed milk until; smooth and creamy.
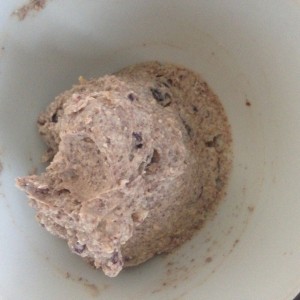
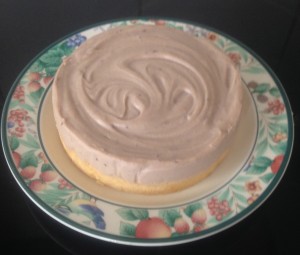
  7. Pour the milk mix into the ricotta mix along with the peanut butter and jam and beat to a smooth consistency. Whisk until well combine then pour the mix onto of the base and place in the fridge to set for 3 hours. Then remove the cake from the tin and serve.


Notes:

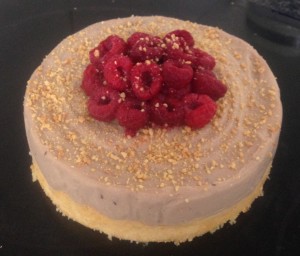
  • I have decorated with crushed peanuts and fresh raspberries.

Peanut and Raspberry Ricotta Cheesecake recipe

Step 2

Peanut and Raspberry Ricotta Cheesecake recipe

Step 3

Peanut and Raspberry Ricotta Cheesecake recipe

Step 7

Peanut and Raspberry Ricotta Cheesecake

Step 7


Like this recipe? Subscribe via RSS or email to get my new entries and more scrumptious recipes with reviews.
Email, RSS Follow
Print
Leave a comment .
Tags: cheesecake, peanut, Peanut and Raspberry Ricotta Cheesecake, rasberry, ricotta, ricotta cheesecake .

Jam Cheesecake Baked Doughnuts

Posted on February 2, 2015 Posted in Doughnuts .

Jam Cheesecake Baked Doughnuts

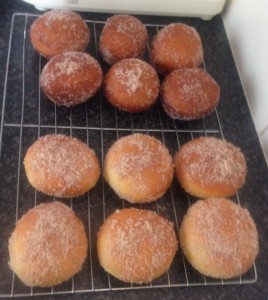
Jam Cheesecake Baked Doughnuts recipe

For a long long time I have been wanting to make doughnuts but have been a bit put off my the frying step, not being an expert in dough and how to recreate this very common (even worldwide) baking treat making it improved not inferior.

Now there are thousands and thousands of doughnut recipe versions that appear in recipe books and the internet so how do you analyze and investigate to not only find the best one but the best one and make it better.

Step 1. Find the best doughnut dough recipe. This was actually quite interesting as I then became exposed to a few ‘baked’ doughnut recipe versions. This then made me keen to do a fried v baked experiment.

Step 2. To fairly compare which makes the better doughnut fried or baked I ensured the method’s steps were identical (apart from the crucial 3 steps). These steps entailed frying the doughnuts before rolling in the cinnamon sugar or baking in the oven.

Jam Cheesecake Baked Doughnuts recipe

The key reviews (friends/family/me in a blind taste test) of the comparison are:

  • The fried version is much darker in colour and more evenly coloured.
  • The baked version is slightly bigger for some reason.
  • Both are extremely spongy and take to the sugar crumb well.

Outcome = the baked version, which was unexpected. Which leads to the questions – If baking doughnuts produce a better results then why do we bake them? Tradition? Also the baked version is so so so much more healthier why would you fry when you can bake? And baking is much easier than frying…

Regardless I still needed to put my twist on this and decided that instead of just a plain jam filling I would turn the doughnut into a ‘cheesecake’ by making a low fat ricotta and jam filling for a more fulfilling and satisfying doughnut.

Just putting it out there, I love this recipe and can guarantee you if I make doughnuts again I will for sure be baking them!

Ingredients:

  • Oil for frying

Dough:

  • 5g dried yeast
  • 225g flour
  • ½ tsn salt
  • 40g sugar
  • 120ml milk
  • 30g butter
  • 1 egg

Filling:

  • 180g ricotta cheese
  • 75g raspberry jam

Sugar crumb:

  • 190g sugar
  • 1 tsn cinnamon


Method:

  1. Stir the yeast with 40ml of warm water and set aside for 7 minutes or until foamy.
  2. Dust a bench with flour.
  3. Combine the flour, salt and sugar in a bowl and make a well in the middle of the bowl.
  4. Place the sugar and cinnamon into a large bowl for dusting later, set side.
  5. In a small bowl microwave the milk until it is luke warm, add the butter, whisk and place in the well.
  6. Add the egg yolk to the well.
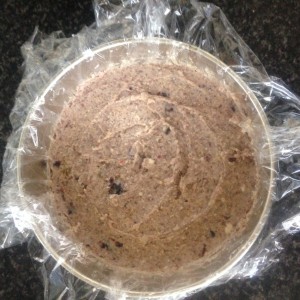
  7. Using your hand massage the ingredients together until a sticky dough has formed and the mix is well combine.
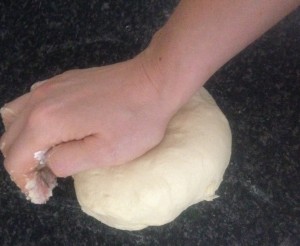
  8. Transfer the dough to the pre-floured bench and knead adding flour as you require until the dough is elastic and smooth (approx. 7 minutes).
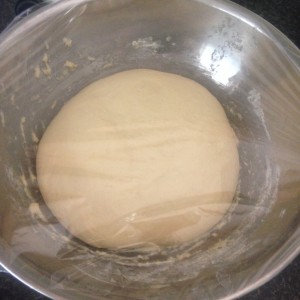
  9. Transfer the dough to the bowl and cover with cling wrap for 1 – 1 ½ hours or until the dough is doubled in size.
  10. Flour the bench again and transfer the dough to the bench.
  11. Lightly give the dough a little knead then roll the dough out with a rolling pin lightly. to 1.5cm in height.
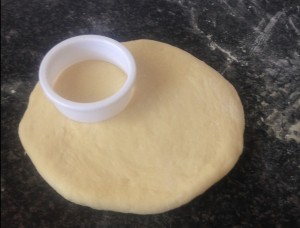
  12. Using a cookie cutter around 7cm in radius cut out doughnuts.
  13. Place the doughnuts onto a baking tray lined with baking paper and cover with cling wrap for 40-45 minutes of until doubled in size again.
  14. Meanwhile to make the filling beat the cheese and jam until smooth and place in the fridge for later.
  15. Pre-heat the oven to 180c degrees and bake the doughnuts in the oven for 12 minutes until golden brown.
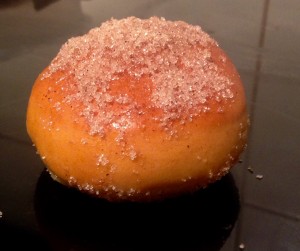
  16. Brush cooked doughnuts with butter then toss in the bowl of sugar&cinnamon.
  17. Place the doughnut onto a cooling rack to completely cool.
  18. Using a long tube piping nozzle pierce each doughnut, ensuring a hole through the doughnuts.
  19. Once the doughnut is cooled spoon the cheese mix into a piping bag fitted with a long tube nozzle.
  20. Pipe each doughnut with the cheese in the pre pierced hole until the doughnut starts to swell slightly, repeat until all doughnuts are filled.


FRYING METHOD (replace steps 15-17 with the below):

  • 15. Heat oil in a saucepan until the temperature hits 170c degrees.
  • 16. Add the doughnuts 3 at a time to the oil and fry for approx. 4 mins, turning the doughnut after a few minutes to ensure the doughnut gets fully cooked and golden.
  • 17. Once completely golden in colour place the doughnut into the sugar&cinnamon bowl, toss and place the doughnut onto a cooling rack to completely cool.


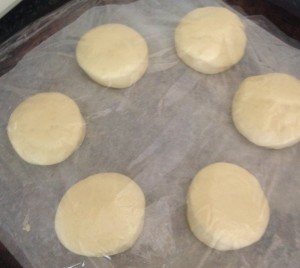
Jam Cheesecake Baked Doughnuts recipe

Step 7

Jam Cheesecake Baked Doughnuts recipe

Step 9

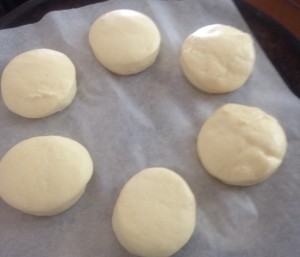
Jam Cheesecake Baked Doughnuts recipe

Step 12

Jam Cheesecake Baked Doughnuts recipe.

Step 13

Jam Cheesecake Baked Doughnuts recipe

Step 13

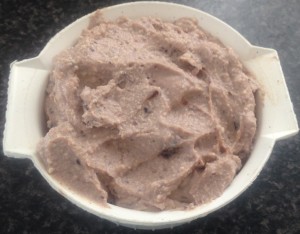
Jam Cheesecake Baked Doughnuts recipe

Step 14

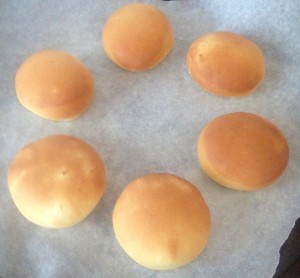
Jam Cheesecake Baked Doughnuts recipe

Step 15


Like this recipe? Subscribe via RSS or email to get my new entries and more scrumptious recipes with reviews.
Email, RSS Follow
Print
Leave a comment .
Tags: Baked Doughnut, cheesecake, doughnuts, Jam Cheesecake Baked Doughnuts, ricotta .

Citrus Dark Chocolate and Ricotta Cannoli’s

Posted on June 1, 2014 Posted in Italy, Traditional .

Citrus, Dark Chocolate and Ricotta Cannoli’s


I have actually made these Cannoli’s on quite a few occasions and in variations each time.

In this recipe I have tweaked to provide you with what I think the best variation (and the easiest as I cheat a little). I’ve made this before with alcohol, pistachios, candied fruit peel, glace cherries, you name it!

I have also made these from scratch (the cannoli shells that is) and to be honest they take a very long time while being fiddly and messy. As I have an Italian grocer down the road buying a pack of 12 shells for $5 is so much more easier.

Cannoli’s are a traditional Italian dessert consisting of fried pastry filled with a cheese filling (usually ricotta or mascarpone). Variations of the filling are also common with cream or custard being piped in the shells.

Also stay tuned on this post, in a few weeks time you will see how I experiment with this recipe to produce a delightful and to die for sweet treat alternative using the fillings.


Ingredients:

  • 300g fresh ricotta
  • ¾ cup of icing sugar
  • Finally grated rind on 1 orange
  • Finally grated rind of I lemon
  • 100g dark chocolate grated


Method:

  1. Mix together all ingredients until smooth.
  2. Spoon into a piping bag with a star nozzle (Witlon tip size up to you).
  3. Pipe the filling into the shells generously starting from one end to the other.
  4. And it’s as simple as that.


Notes:

  • This will fill easily 12 medium size shells or 18 small shells.
  • This filling is actually really good as a filling in the middle and on top of a chocolate cake or sponge cake to give a basic cake a twist of variation.
  • The filling can also be piped into profiteroles as a change up from cream or custard (I shared my profiterole recipe in January).


Like this recipe? Subscribe via RSS or email to get my new entries and more scrumptious recipes with reviews.
 

Email, RSS Follow
Print
Leave a comment .
Tags: Cannoli's, citrus, dark chocolate, ricotta, rind .
« Previous Page

Pages

  • About Me
  • Baking Metrics
  • Blogroll
  • Common Baking Questions
  • Recipe Index
  • Tips & Tricks
  • Contact

Archives

  • February 2022
  • October 2021
  • September 2021
  • August 2021
  • April 2021
  • February 2021
  • January 2021
  • December 2020
  • November 2020
  • October 2020
  • September 2020
  • August 2020
  • July 2020
  • June 2020
  • May 2020
  • September 2019
  • June 2019
  • May 2019
  • April 2019
  • March 2019
  • February 2019
  • January 2019
  • December 2018
  • November 2018
  • October 2018
  • September 2018
  • August 2018
  • July 2018
  • June 2018
  • May 2018
  • April 2018
  • March 2018
  • February 2018
  • January 2018
  • December 2017
  • November 2017
  • October 2017
  • September 2017
  • August 2017
  • July 2017
  • June 2017
  • May 2017
  • April 2017
  • March 2017
  • February 2017
  • January 2017
  • December 2016
  • November 2016
  • October 2016
  • September 2016
  • August 2016
  • July 2016
  • June 2016
  • May 2016
  • April 2016
  • March 2016
  • February 2016
  • January 2016
  • December 2015
  • November 2015
  • October 2015
  • September 2015
  • August 2015
  • July 2015
  • June 2015
  • May 2015
  • April 2015
  • March 2015
  • February 2015
  • January 2015
  • December 2014
  • November 2014
  • October 2014
  • September 2014
  • August 2014
  • July 2014
  • June 2014
  • May 2014
  • April 2014
  • March 2014
  • February 2014
  • January 2014
  • December 2013

Categories

  • America (5)
  • Arabic (1)
  • Australian (2)
  • Biscuits (24)
  • Brazil (1)
  • Bread (12)
  • Brownies (5)
  • Cakes (141)
  • Croatian (1)
  • Cupcakes (20)
  • Custard (1)
  • Doughnuts (6)
  • Flan (1)
  • France (5)
  • Fudge (3)
  • German (1)
  • Greece (2)
  • Hungary (1)
  • Ice-cream & Sorbet (15)
  • Ice-cream cake (6)
  • Icing (18)
  • Italy (4)
  • Jam (1)
  • Jamaican (1)
  • Lebanese (1)
  • Marshmallows (2)
  • Mexican (1)
  • Morocco (1)
  • Mousse (2)
  • Muffins (1)
  • Panna Cotta (1)
  • Pastries (2)
  • Pies (7)
  • Portugal (1)
  • Pudding (12)
  • Roulade (1)
  • Russia (1)
  • Slice (27)
  • Souffle (1)
  • Sweden (1)
  • Swedish (1)
  • Syrup (1)
  • Tarts (13)
  • Traditional (17)
  • Trifile (1)
  • Truffles (5)
  • Turkey (1)
  • Uncategorized (1)
  • Unique (10)

WordPress

  • Register
  • Log in
  • WordPress

Subscribe

  • Entries (RSS)
  • Comments (RSS)

CyberChimps WordPress Themes

© Sweet Tooth Experiments