Sweet Tooth Experiments

  • About Me
  • Recipe Index
  • Baking Metrics
  • Tips & Tricks
  • Common Baking Questions
  • Contact

Monthly Archives: October 2017

Lemon Almond and Lavender Roulade

Posted on October 26, 2017 Posted in Cakes .

Lemon Almond and Lavender Roulade

Lemon Almond and Lavender Roulade recipe

For a long time now I have been playing with different flavour pairings of roulades. Thanks to my curiosity in experimenting I got hooked on continuing to play until I created a recipe I deemed blog-worthy. It may have taken about 7 attempts but I got there in the end. It took me about 3 goes to get the perfect sponge cake base that could bend seamlessly and not split as soon as it is rolled. I then also trial many flavour pairings where I went through Early Grey & Blueberry, Chestnut & Chocolate and a citrus blend to name a few…all were ok but nowhere near my expectations. It was the pairings combo of white chocolate, the multiple layers of almond flavour via almond meal & marzipan, lemon zest and lavender that created an end product of complimentary taste profiles.

Making a curd also meant that I could easily roll the roulade, handy as I struggled keeping the cream in place when using traditional filling methods.

Lemon Almond and Lavender Roulade recipe

Ingredients:

  • 5 eggs
  • 150g sugar
  • 1 + ½ tbsn hot water
  • 100g white chocolate
  • 100g self raising flour
  • 1 tsn ground dried lavender
  • 2 tsn lemon zest

Curd:

  • 2 egg yolks
  • 2 eggs
  • 160g marzipan
  • 60ml lemon juice
  • 100g butter
  • 2 tsn ground lavender
  • ½ tsn almond essence

Extra

  • 30g almonds
  • Whipped cream or ice-cream to serve


Method:

  1. Pre-heat oven to 175c degrees and line a 40cm x 20cm cake tin with baking paper.
  2. Separate eggs and whisk egg yolks with the sugar with electric beaters until light and cream.
  3. Add the hot water and beat for 1 minute.
  4. Grate the chocolate into the egg yolk mix.
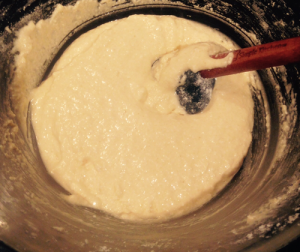
  5. Add the flour to the egg yolk mix and fold until just combine.
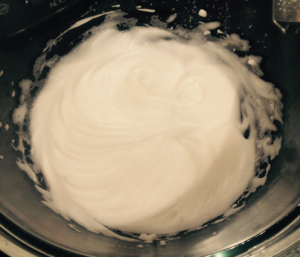
  6. Using electric beaters in a separate bowl whisk the egg whites until peaks form.
  7. Fold 1/3rd of the egg whites into the egg yolk mix until just combine to loosen the mix.
  8. Add the remaining egg whites and fold until just combine.
  9. Pour mix into the tin, even the top of the mix with the back of a spoon and bake for 12 minutes or until the cake springs back when touched.
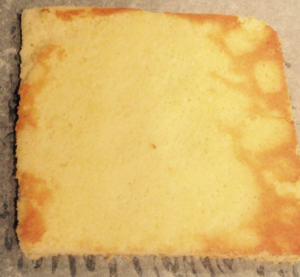
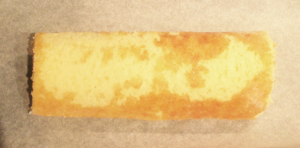
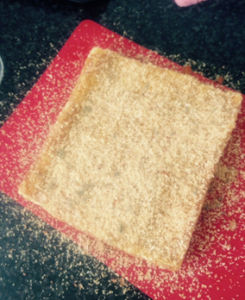
  10. Invert the hot cooked cake onto a piece of baking paper and cut off all 4 sides of the cakes crusts.
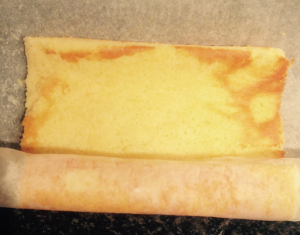
  11. Roll the cake with the paper up into a log shape. The paper should be on top of the cake guiding the rolling. Leave for 5 mins to cool in the rolled shape.
  12. Following unroll the cake and reroll without the paper, leave until the cake is fully cooled.
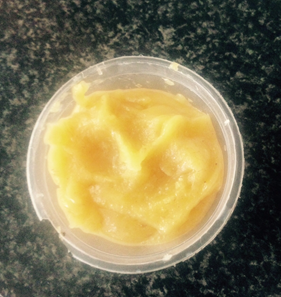
  13. Place the curd ingredients into a saucepan and beat with a hand whisk on a low heat until the mix is well combine and thickened. Leave side to cool.
  14. To assemble the roulade unroll the cake.
  15. Spread the whole cake with the curd and grate OR finely diced the almonds over the curd (whichever you prefer. I personally like the diced almonds crunch).
  16. Place a sheet of plastic wrap onto your bench and again, on top of the plastic wrap, roll the cake into a log shape following the roll shape you created earlier.
  17. Place the plastic wrap around the outside of the roulade to seal the cake and into the fridge for 3 hours to set.
  18. Remove the plastic wrap and cut the roulade into thick wheel shapes. Serve with a generous serving of whipped cream or vanilla ice-cream on top of the cake with the swirl pattern facing up, enjoy!


NOTE: I melted white chocolate with a little cream to create a white chocolate ganache that I drizzled over the completed cake just prior serving for some extra decoration.

Hazelnut Mocha Bread Cake recipe

Step 3

Lemon Almond and Lavender Roulade recipe

Step 5

Lemon Almond and Lavender Roulade recipe

Step 6

Lemon Almond and Lavender Roulade recipe

Step 10

Lemon Almond and Lavender Roulade recipe

Step 11

Lemon Almond and Lavender Roulade recipe

Step 11

Lemon Almond and Lavender Roulade recipe

Step 13

Lemon Almond and Lavender Roulade recipe
 Step 15


Like this recipe? Subscribe via RSS or email to get my new entries and more scrumptious recipes with reviews.

Email, RSS Follow
Print
Leave a comment .
Tags: Almond, lavender, lemon, Lemon Almond and Lavender Roulade, marzapan, rolly polly, roulade .

Anisette Vanilla Marshmallow Pie

Posted on October 20, 2017 Posted in Pies .

Anisette Pie recipe

So after eating a few ‘black cat’ lollies I decided I MUST make a sweet treat with this flavor. Black cats would have to be one of my most favorite lollies ever!

As to what form of dessert was going to be an interesting one and I didn’t want the anisette flavor to be too savory so I opted to pair the lovely aromatic flavor of vanilla.

A cake, pie, slice and pudding was experimented, where the pie was the winner. Thus my Anisette Vanilla Marshmallow Pie was born. Now I must say the final outcome of this sweet treat is definitely only for anisette / liquorice fans. But if that is you then you will LOVE this treat.


Ingredients:

Pastry:

  • 200g cup plain flour
  • 30g icing sugar
  • 150g butter

Filling:

  • 240g white marshmallows
  • 140g milk
  • 15g butter
  • 1 tbsn anisette essence
  • 2 egg whites
  • 10g sugar
  • 110g thickened cream
  • 1 + 1/2 tsn vanilla essence


Method

  1. Pre-heat the oven to 180c degrees.
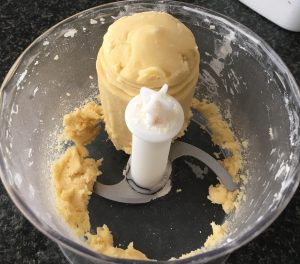
  2. Place the flour, butter, sugar and 2 tbsn water in a food processor and pulse a few times to combine. Now process until the mix combines and balls together.
  3. Roll the dough with a rolling pin on a lightly floured surface and place the dough into a tart tray.
  4. Prick the centres with a fork and place in the fridge for 20 minutes to harden.
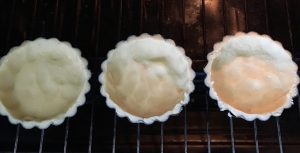
  5. Place baking paper on top of the tart with rice and blind bake for 15 minutes.
  6. Remove the paper and rice and bake for a further 15 minutes.
  7. Place the tart shell on a tray to cool.
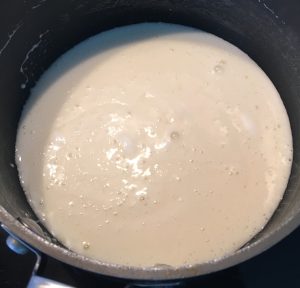
  8. Combine 240g marshmallows, milk, butter and essence in a saucepan and heat on medium, stirring until melted.
  9. Remove from heat and whisk until smooth and glossy, allow to cool then place in the fridge to thicken stirring occasionally.
  10. Meanwhile, beat the egg whites until soft peaks form, then slowly add the sugar and beat until stiff peaks form and mix is thick and glossy.
  11. Place the cream and vanilla in a bowl, beat until thick peaks form.
  12. Remove marshmallow mixture from the fridge and add in the egg mixture and cream mix.
  13. Using a hand whisk gently whisk until mix is smooth and all ingredients are combine.
  14. Spoon mixture into piecrust and place in the fridge for 2 hours to set.
  15. Decorate as you deem fit.


Note: I decorated with some chopped up licorice square lollies. I also opted in the photos for mini tart cases instead on one large tart case.


Anisette Pie recipe
Step 2
Anisette Pie recipe
Step 3
Anisette Pie recipe
Step 7

Anisette Pie recipe

Step 9

Anisette Pie recipe

Step 14
Anisette Pie recipe
Step 15


Like this recipe? Subscribe via RSS or email to get my new entries and more scrumptious recipes with reviews.
 

Email, RSS Follow
Print
Leave a comment .
Tags: anisette, Anisette Pie, Anisette Vanilla Marshmallow Pie, licorice, marshmallows, pie .

Port Black & Blue Berry Pudding

Posted on October 14, 2017 Posted in Pudding .

Port Black & Blue Berry Pudding

Port Black & Blue Berry Pudding recipe

I very rarely bake with blackberry, in fact it tends to be one of the last berries I’d consider. However, Port on the other hand tends to appear in my recipes time and again, particularly to enhance chocolate depth.

Considering my go to Port is red, in which holds a strong raspberry, blackberry and chocolate flavor I thought that leveraging the berry pairing with this sweet dessert wine was a good way of boosting the blackberry palate.

Adding the blueberries to the mix taps into the earthiness of the port and blackberry and compliments.

Lastly, the lemon zest acts as an enhancer to the unique flavors already-present and adds some additional oomph.

All up when I came up with this recipe I thought it could have a potential to be a boring and so-so outcome, however it turned out to be the opposite. A dessert I was going to ‘sample’ with a small spoonful, however in reality I couldn’t put it down and ate the whole pudding in a matter of seconds. A sure sign that the desert is a super success.

Batter:

  • 80g butter
  • 200g blackberry jam
  • 120g milk
  • 1 tsn lemon zest
  • 120g blueberries
  • 140g self-raising flour
  • 80g sugar

Sauce:

  • 80ml water
  • 40ml Port
  • 40g sugar
  • 40g blackberry jam

Extra:

  • 120ml thickened cream


Method:

  1. Pre-heat the oven to 160c degrees and spray 4 x 1 cup ramekins with oil spray.
  2. Place the butter in the microwave in a bowl and heat until the butter is melted.
  3. Add the jam and beat with a hand whisk until combine.
  4. Add the milk and lemon zest and beat until combine.
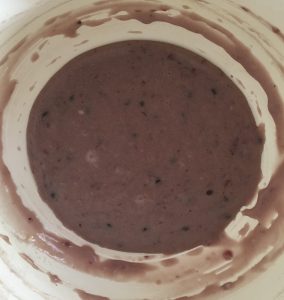
  5. Sieve the flour and sugar into the mix and beat with the hand whisk until combine.
  6. Add the blueberries and stir until well combined.
  7. Pour the mix evenly into the 4 ramekins.
  8. Place the sauce ingredients into a bowl and heat in the microwave until the mix just starts to boil, beat with a hand whisk until well combined.
  9. Pour the syrup over the back of a spoon over the batter in the ramekins.
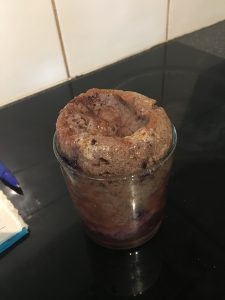
  10. Bake in the oven for 25 minutes or until the top if the pudding is set and crisp.
  11. Meanwhile beat the cream with electric beaters until peaks form.
  12. Leave the puddings for 5 minutes before serving with a dollop of the cream and extra berries if you desire.


Port Black & Blue Berry Pudding recipe

Step 5

Port Black & Blue Berry Pudding

Step 7

Port Black & Blue Berry Pudding

Step 9

Port Black & Blue Berry Pudding recipe

Step 10

Port Black & Blue Berry Pudding recipe

Step 11

Port Black & Blue Berry Pudding recipe

Step 12


Like this recipe? Subscribe via RSS or email to get my new entries and more scrumptious recipes with reviews


Email, RSS Follow
Print
Leave a comment .
Tags: berries, Blackberry, Blueberry, lemon, Port, Port Black & Blue Berry Pudding, pudding .

Green Smoothie Chocolate Cake

Posted on October 7, 2017 Posted in Cakes .

Green Smoothie Chocolate Cake

Green Smoothie Chocolate Cake recipe

Don’t get scared, hold on and stay with me for 1 minute, I can guarantee this cake will taste only of chocolate, you will not taste a gram of green or healthiness in this cake.

The name of this recipe says it all, I have taken key ingredients that you usually find in green smoothies that provide a pleather of varying health benefits and turned them into a cake. In fact, 12/16 of the ingredients in this cake are well known for their health benefits.

Don’t believe you can eat a nutritious cake and thoroughly enjoy it? The below is an example of a few ingredients that provides exactly that:

  • Zucchini – vitamin C & A, protein, fiber, potassium & folate
  • Spinach – vitamins A, B2, C and K, magnesium, manganese, folate, iron, calcium & potassium
  • Dates – iron, calcium, potassium, phosphorous & magnesium
  • Cocoa – lower blood pressure, improve blood flow & 3x the antioxidants than a cup of green tea
  • Cinnamon – lowers blood sugar and reduce heart disease risk factors
  • Ginger and Turmeric – anti-inflammatory qualities
  • Oatmeal – controls blood sugars, high in fiber and drops bad cholesterol
  • Avocado – vitamin C & E


Ingredients:

Cake batter:

  • 265g zucchini
  • 65g spinach
  • 65g dates
  • 240ml almond milk
  • 65g cocoa powder
  • ¼ tsn ground cinnamon
  • 1/4 tsn ground ginger
  • Pinch turmeric
  • 165g butter
  • 240g sugar
  • 4 eggs
  • 30g oatmeal
  • 175g self-raising flour

Icing:

  • 1 large avocado (190g flesh)
  • 60g dates
  • 80ml honey
  • 1 tsn vanilla essence
  • 30g cocoa powder

Extra:

  • 35g dates, diced


Method:

  1. Pre-heat the oven to 180c degrees and line 2 x 25cm cake tins with baking paper.
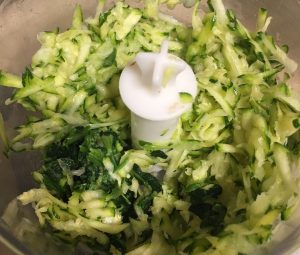
  2. Grate the zucchini into a bowl and squeeze out 65ml of the zucchini liquid.
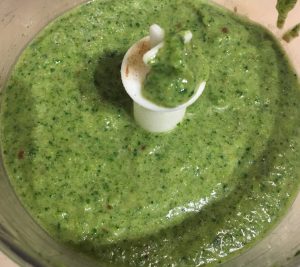
  3. Place in a food processor the spinach, dates and 120ml of the almond milk, blitz until smooth.
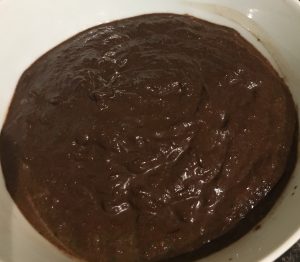
  4. Add the remaining 120ml of almond milk along with the cocoa powder, cinnamon, ginger and turmeric to the food processor. Blitz until smooth and well combine, add to the zucchini and stir to combine.
  5. Using electric beaters whisk the butter for 3 minutes or until pale in colour.
  6. Add the sugar to the butter and beat for 5 minutes until fluffy and light.
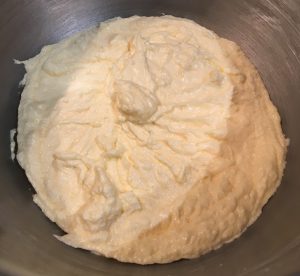
  7. Add the eggs, one at a time beating for at least 1 minute between each addition (mix should be light, pale and fluffy).
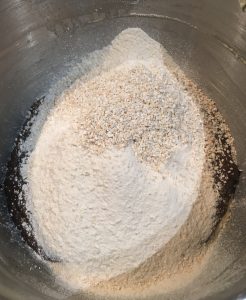
  8. Pour the oatmeal into the butter mix and sieve the self-raising flour into the mix.
  9. Add the almond milk wet mix and whisk with electric beaters on low until just combine.
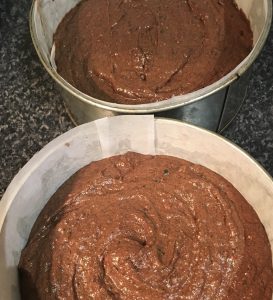
  10. Spoon the mix evenly into the 2 prepared cake tins.
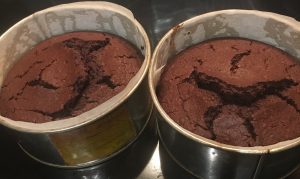
  11. Bake in the oven for 50 minutes or until a skewer inserted in the center of each cake comes out clean.
  12. Leave the cakes in the tins for 10 minutes before inverting onto a cooling rack until cold.
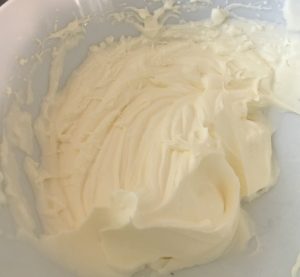
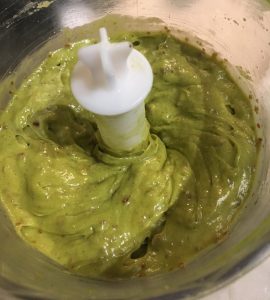
  13. Meanwhile, make the icing by placing the avocado, dates, vanilla and honey into a food processor and blitz until well combine and smooth.
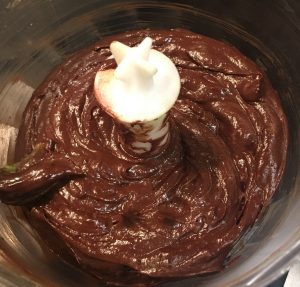
  14. Add the cocoa powder to the avocado mix and blitz until smooth and well combine.
  15. Place 1 cake onto a plate, top with 1/3rd of the icing.
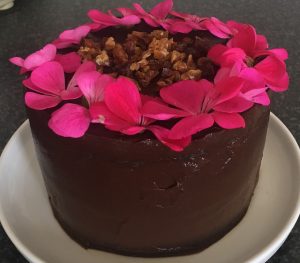
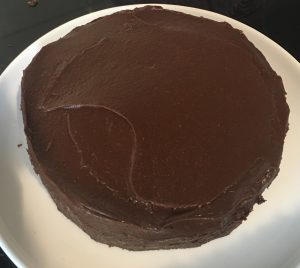
  16. Add the 2nd cake on top and use the remaining icing on the top and sides of the cake, scatter with the additional dates for decoration, enjoy.


NOTE: For additional decoration only I have picked a few flowers for the garden and arranged on top of the cake.


Green Smoothie Chocolate Cake recipe

Step 2

Green Smoothie Chocolate Cake recipe

Step 3

Green Smoothie Chocolate Cake recipe

Step 4

Green Smoothie Chocolate Cake recipe

Step 7

Green Smoothie Chocolate Cake

Step 8

Green Smoothie Chocolate Cake recipe

Step 10

Green Smoothie Chocolate Cake recipe

Step 12

Green Smoothie Chocolate Cake recipe

Step 13

Green Smoothie Chocolate Cake recipe

Step 14

Green Smoothie Chocolate Cake recipe

Step 15

Green Smoothie Chocolate Cake recipe

Step 16


Like this recipe? Subscribe via RSS or email to get my new entries and more scrumptious recipes with reviews

Email, RSS Follow
Print
Leave a comment .
Tags: almond milk, avocado, chocolate, cinnamon, dates, ginger, Green Smoothie Chocolate Cake, honey, oatmeal, spinach, turmeric, zucchini .

Sticky Chocolate and Bourbon Scrolls

Posted on October 1, 2017 Posted in Bread .

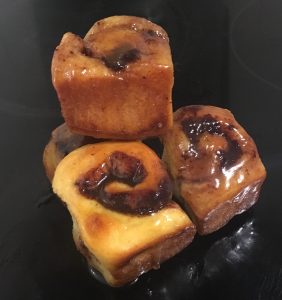
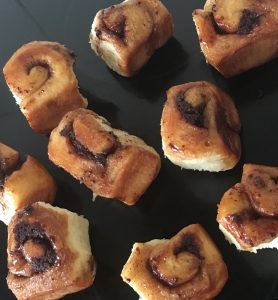
Sticky Chocolate and Bourbon Scrolls

Sticky Chocolate and Bourbon Scrolls

This recipe was originally planned to be chocolate and coffee flavored scrolls, in which the actual dough of the scroll was fluffy and lush but the coffee glaze was not really a standout and to be honest a little boring. Maybe it was the fact chocolate and coffee is such a common flavor combo or maybe there was just no interesting wow factor in the treats.

As I had an awesome cloud-like dough recipe I decided I had to do something with this so I went on an experimental journey with a range of different flavor combos from ingredients that I had in my pantry.

After a few combo assortments, I landed on one I was super happy with and couldn’t stop eating!

I have baked with Chocolate and Bourbon previously (see my Bourbon Chocolate Cake with Peanut Bourbon Icing), thus I knew these flavors work together, however this time I wanted to add an almost caramel flavor to the mix therefore used brown sugar and honey for the glaze that would traditionally be make from white sugar only.

The outcome of the glaze was to die for. It is easily the standout of the scrolls I made up in my experimenting …It’s made me want to make a bourbon, caramel and honey cake now…maybe that can be my next experiment….

Sticky Chocolate and Bourbon Scrolls recipe

Ingredients:

Dough:

  • 200ml warm water
  • 60g butter, melted
  • 60g sugar
  • I sachet yeast (2 tsn)
  • 2 eggs
  • 20g milk powder
  • ¼ tsn salt
  • 470g flour, plus extra for kneading

Filling:

  • 100g dark chocolate
  • 45ml cream

Glaze:

  • 120ml honey
  • 120g butter
  • 90g brown sugar
  • 90ml Bourbon

Extra:

  • 20ml milk


Method:

  1. To make the dough place the water, melted butter, sugar and the yeast in a bowl and stir to combine.
  2. Leave the yeast mix to sit for 5 minutes, or until foamy.
  3. Add the eggs to the yeast mix and whisk with a hand whisk until combine.
  4. In a bowl place the milk powder, salt and flour, stir.
  5. Using the hand whisk beat 300g of the dry flour mix into the water until combine.
  6. With a spatula stir and fold the remaining flour mix until a dough is formed.
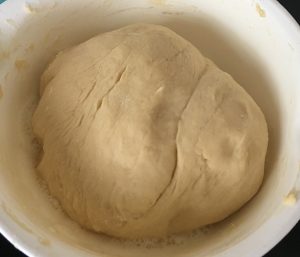
  7. Flour a bench surface and knead the dough for 10 minutes, adding extra flour if required to make the dough smooth and elastic.
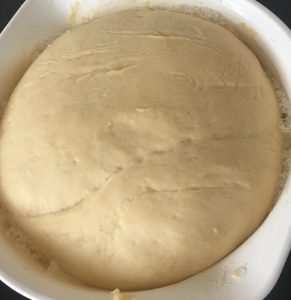
  8. Lightly oil a bowl, add the dough, cover the bowl with plastic wrap and place the bowl in a warm place until doubled in size (at least 1 hour).
  9. While the dough proves pre-heat the oven to 175c degrees and line a 20cm x 35cm cake tin with baking paper.
  10. Now make the filling by placing the cream in a bowl and heat in the microwave until the cream just starts to boil.
  11. Add the chocolate to the cream and stir until smooth and silky.
  12. Following, make the glaze by placing all the ingredients into a saucepan on a high heat, stirring until the mix is bubbling, take off the heat.
  13. Pour the glaze in to the cake tin lined base, ensuring the base is evenly covered with the mix.
  14. Flour a bench surface, place the dough in the center and top with a little sprinkle of extra flour.
  15. Use a rolling pin roll the dough into a 15cm x 40cm rectangle shape.
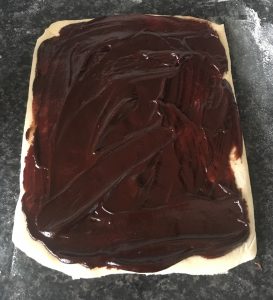
  16. Spread the filling onto the dough covering it evenly.
  17. With a longest side facing you roll the long side of the dough tightly into a swiss roll (jelly-roll style logs), seam side at the bottom of the roll.
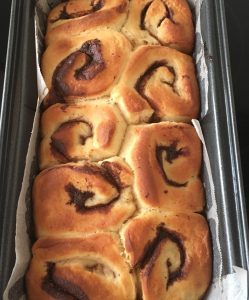
  18. Cut the roll into 3cm sized spiral slices and arrange the spiral slices cut side up into the cake tin on top of the glaze.
  19. Push the spirals into the base of the tin slightly with fingertips and brush the tops with the 20ml milk.
  20. Top the tin with plastic wrap and leave to rise for 1 hour or until doubled in size.
  21. Place the tin in the middle of the oven and bake for 25 minutes or until the tops are golden in colour.
  22. Invert onto a plate and top with any remaining syrup left in the tin.
  23. Allow scrolls to sit until slightly cooled then using fingers pull the scrolls apart from each other.
  24. Serve with a cup of tea (if you wish) and enjoy.


Sticky Chocolate and Bourbon Scrolls recipe

Step 7

Sticky Chocolate and Bourbon Scrolls recipe

Step 7

Sticky Chocolate and Bourbon Scrolls recipe

Step 8

Sticky Chocolate and Bourbon Scroll recipe

Step 8

Sticky Chocolate and Bourbon Scrolls recipe

Step 11

Sticky Chocolate and Bourbon Scrolls recipe

Step 12

Sticky Chocolate and Bourbon Scrolls recipe

Step 12

Sticky Chocolate and Bourbon Scrolls recipe

Step 13

Sticky Chocolate and Bourbon Scrolls recipe

Step 16

Sticky Chocolate and Bourbon Scroll recipe

Step 17

Sticky Chocolate and Bourbon Scroll recipe

Step 18

Sticky Chocolate and Bourbon Scrolls recipe

Step 21

Sticky Chocolate and Bourbon Scrolls recipe

Step 22

Sticky Chocolate and Bourbon Scrolls recipe

Step 23

Sticky Chocolate and Bourbon Scrolls recipe

Step 24


Like this recipe? Subscribe via RSS or email to get my new entries and more scrumptious recipes with reviews


Email, RSS Follow
Print
Leave a comment .
Tags: bourbon, buns, dark chocolate, honey, scrolls, Sticky Chocolate and Bourbon Scrolls .

Pages

  • About Me
  • Baking Metrics
  • Blogroll
  • Common Baking Questions
  • Recipe Index
  • Tips & Tricks
  • Contact

Archives

  • February 2022
  • October 2021
  • September 2021
  • August 2021
  • April 2021
  • February 2021
  • January 2021
  • December 2020
  • November 2020
  • October 2020
  • September 2020
  • August 2020
  • July 2020
  • June 2020
  • May 2020
  • September 2019
  • June 2019
  • May 2019
  • April 2019
  • March 2019
  • February 2019
  • January 2019
  • December 2018
  • November 2018
  • October 2018
  • September 2018
  • August 2018
  • July 2018
  • June 2018
  • May 2018
  • April 2018
  • March 2018
  • February 2018
  • January 2018
  • December 2017
  • November 2017
  • October 2017
  • September 2017
  • August 2017
  • July 2017
  • June 2017
  • May 2017
  • April 2017
  • March 2017
  • February 2017
  • January 2017
  • December 2016
  • November 2016
  • October 2016
  • September 2016
  • August 2016
  • July 2016
  • June 2016
  • May 2016
  • April 2016
  • March 2016
  • February 2016
  • January 2016
  • December 2015
  • November 2015
  • October 2015
  • September 2015
  • August 2015
  • July 2015
  • June 2015
  • May 2015
  • April 2015
  • March 2015
  • February 2015
  • January 2015
  • December 2014
  • November 2014
  • October 2014
  • September 2014
  • August 2014
  • July 2014
  • June 2014
  • May 2014
  • April 2014
  • March 2014
  • February 2014
  • January 2014
  • December 2013

Categories

  • America (5)
  • Arabic (1)
  • Australian (2)
  • Biscuits (24)
  • Brazil (1)
  • Bread (12)
  • Brownies (5)
  • Cakes (141)
  • Croatian (1)
  • Cupcakes (20)
  • Custard (1)
  • Doughnuts (6)
  • Flan (1)
  • France (5)
  • Fudge (3)
  • German (1)
  • Greece (2)
  • Hungary (1)
  • Ice-cream & Sorbet (15)
  • Ice-cream cake (6)
  • Icing (18)
  • Italy (4)
  • Jam (1)
  • Jamaican (1)
  • Lebanese (1)
  • Marshmallows (2)
  • Mexican (1)
  • Morocco (1)
  • Mousse (2)
  • Muffins (1)
  • Panna Cotta (1)
  • Pastries (2)
  • Pies (7)
  • Portugal (1)
  • Pudding (12)
  • Roulade (1)
  • Russia (1)
  • Slice (27)
  • Souffle (1)
  • Sweden (1)
  • Swedish (1)
  • Syrup (1)
  • Tarts (13)
  • Traditional (17)
  • Trifile (1)
  • Truffles (5)
  • Turkey (1)
  • Uncategorized (1)
  • Unique (10)

WordPress

  • Register
  • Log in
  • WordPress

Subscribe

  • Entries (RSS)
  • Comments (RSS)

CyberChimps WordPress Themes

© Sweet Tooth Experiments