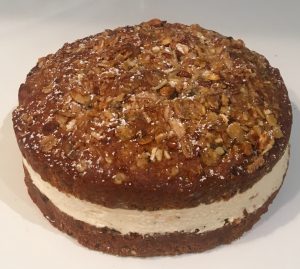
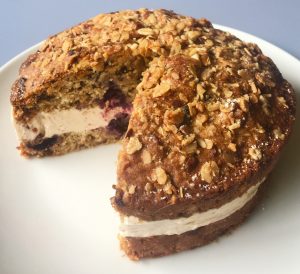
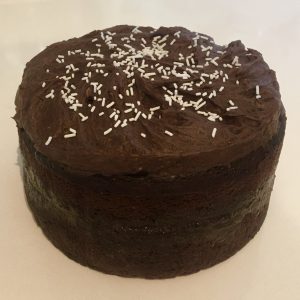
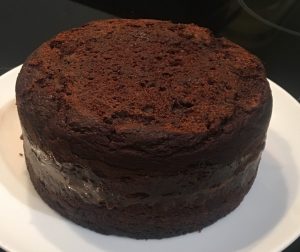
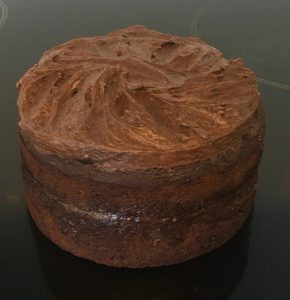
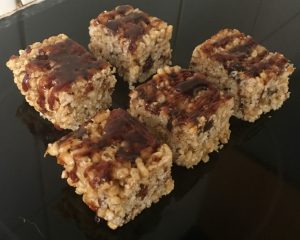
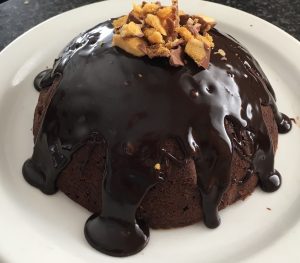
Chocolate Coconut Rough Eggplant Slice with Avocado Icing
After recently going on a gut loving and IBS focused diet I have been consuming a lot more raw, natural, seeds, nuts, good fats and vegetables.
If you follow this blog you will know I have baked gluten free many many times as well as used dried fruit instead of sugar and vegetables as the base for my sweet recipes (with taste testers never realising).
This recipe incorporates the above as well as uses coconut oil, almonds and avocado to replace butter, cream and the need for flour.
This recipe is super easy, literally all ingredients thrown into a blender and spooned into a cake tin in the oven, then boom – a delicious slice.
To take this slice to the next level I have made a simple avocado based icing, that just like the cake is made by simply bending the ingredients together.
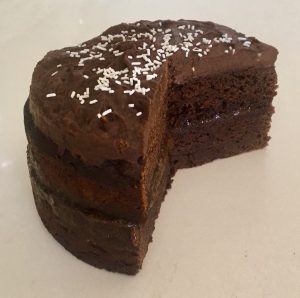
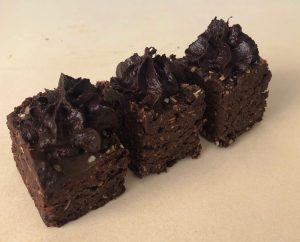
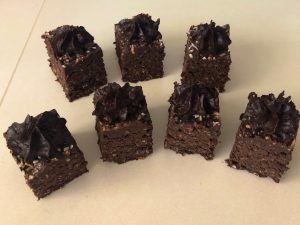
This slice is rich, decadent and satisfying, without any sign that it’s full of vegetables and fruit.
Ingredients:
Slice:
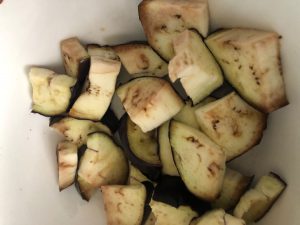
- 200g eggplant, diced
- 130g 70% dark chocolate
- 60g coconut oil
- 80g almond meal (ground almonds)
- 70g dates, chopped
- 30g cocoa powder
- ¼ tsn salt
- 1 tsn vanilla essence
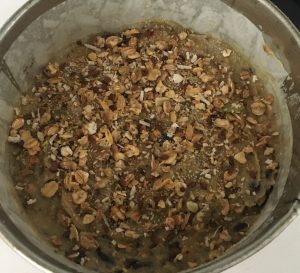
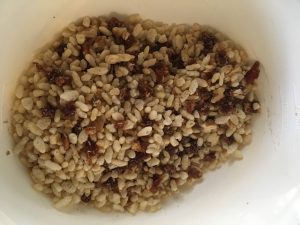
- 60g toasted desiccated coconut
- 3 eggs
- 1 tsn baking powder
- ½ tsn bi-carbonate of soda
Icing:
- 1 Avocado (seeded and peeled)
- 20g cocoa powder
- 20g 70% dark chocolate
- 20g coconut oil
- 20g rice malt syrup
Method:
- Pre heat the oven to 170c and line a 20cm x 20cm cake tin with baking paper.
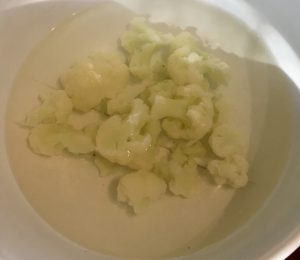
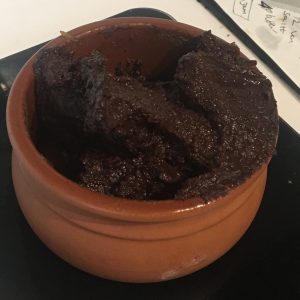
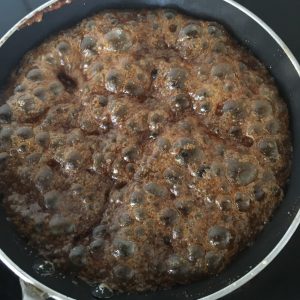
- Place the eggplant in a bowl and microwave for 4 minutes or until the eggplant is steaming and soft.
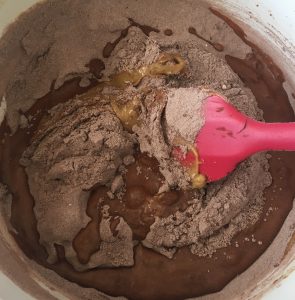
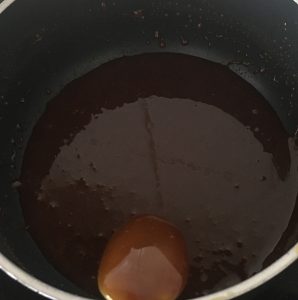
- Place the chocolate and oil in another bowl and microwave for 1 minute or until the oil is melted.
- Remove the bowl from the microwave and stir until the mix is silky smooth and combine.
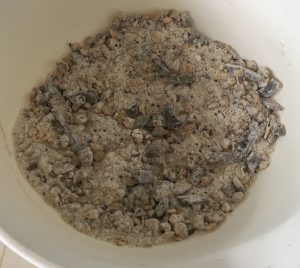
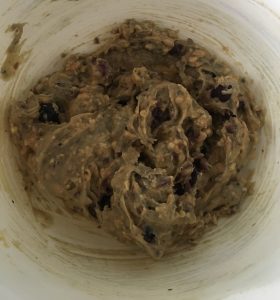
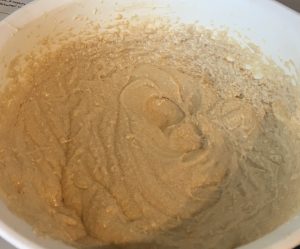
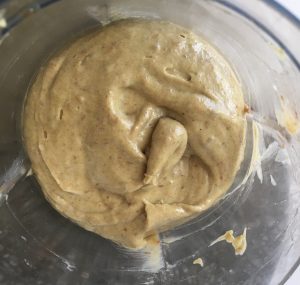
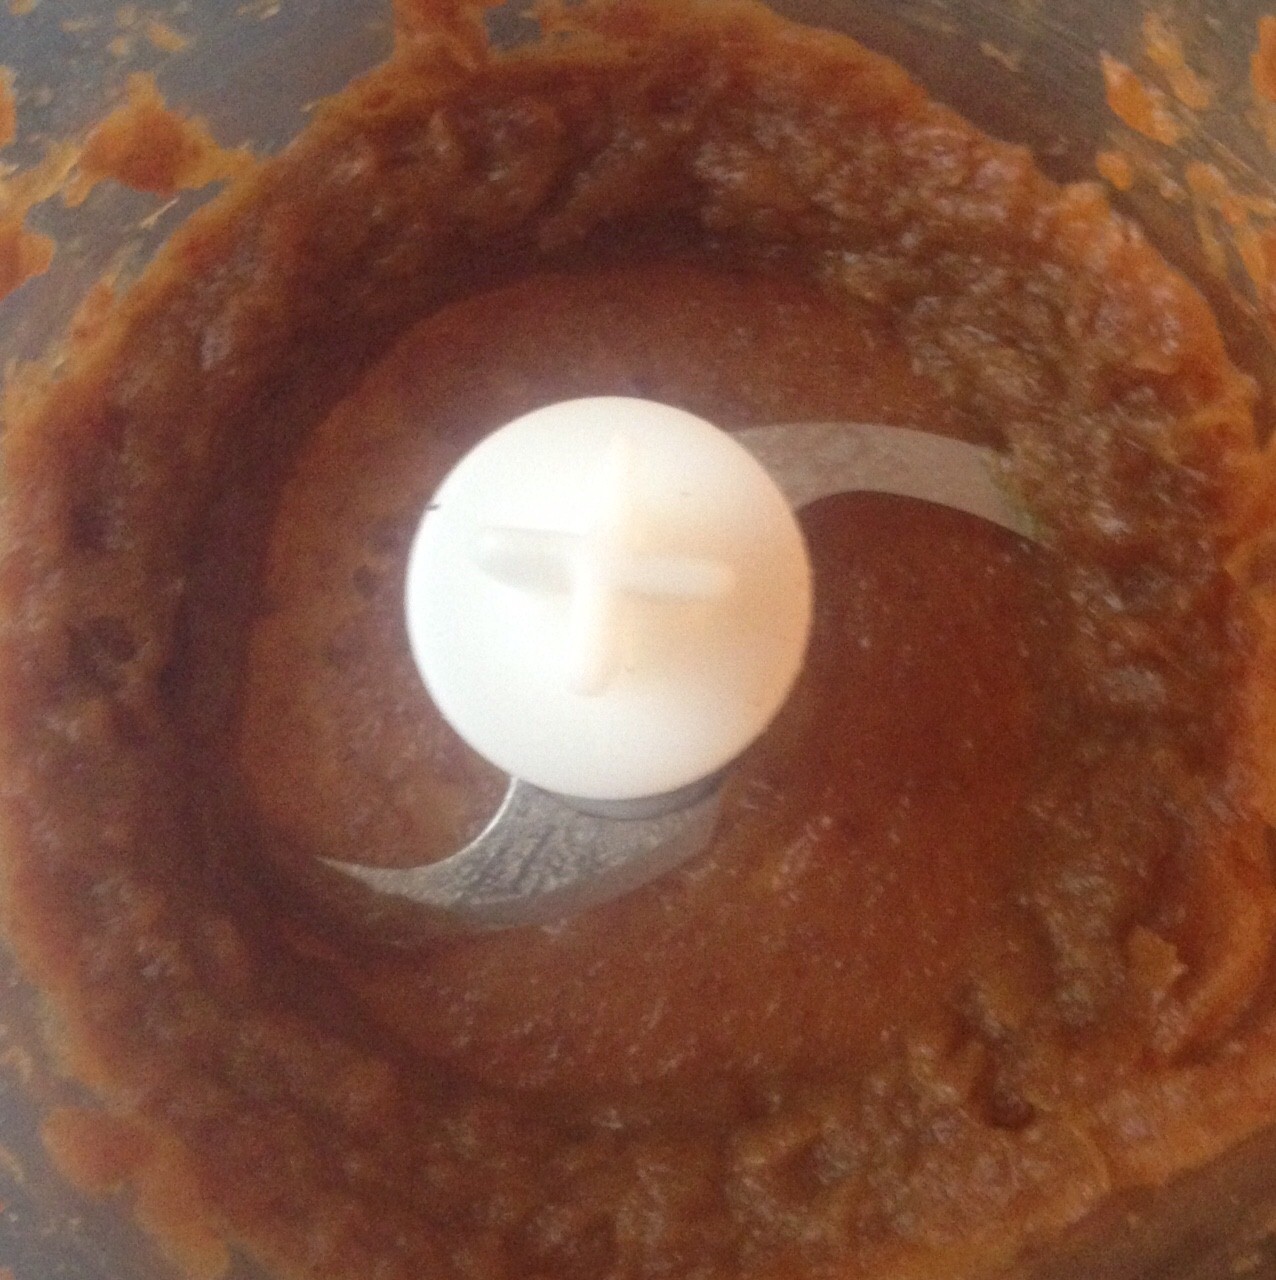
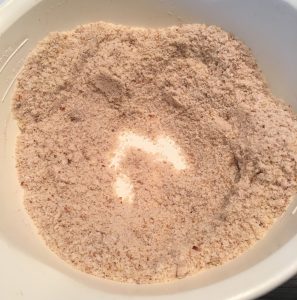
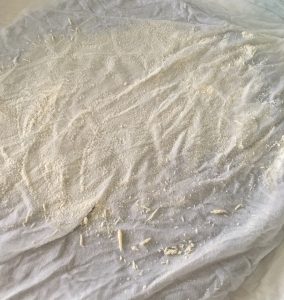
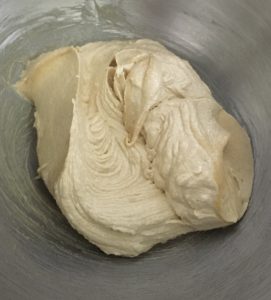
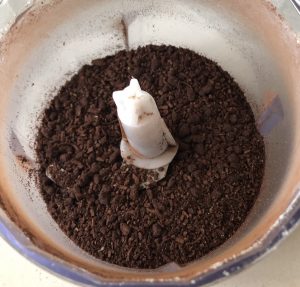
- Place the almond meal, dates, cocoa powder and salt into a food processor and blitz until mix resembles fine breadcrumb texture.
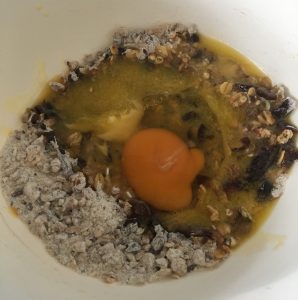
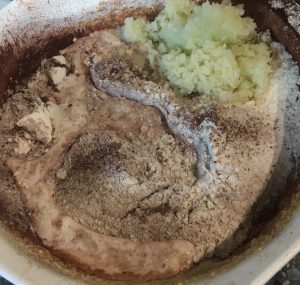
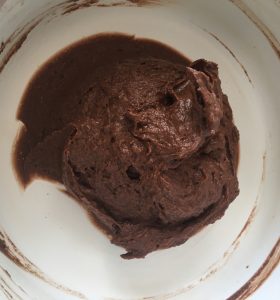
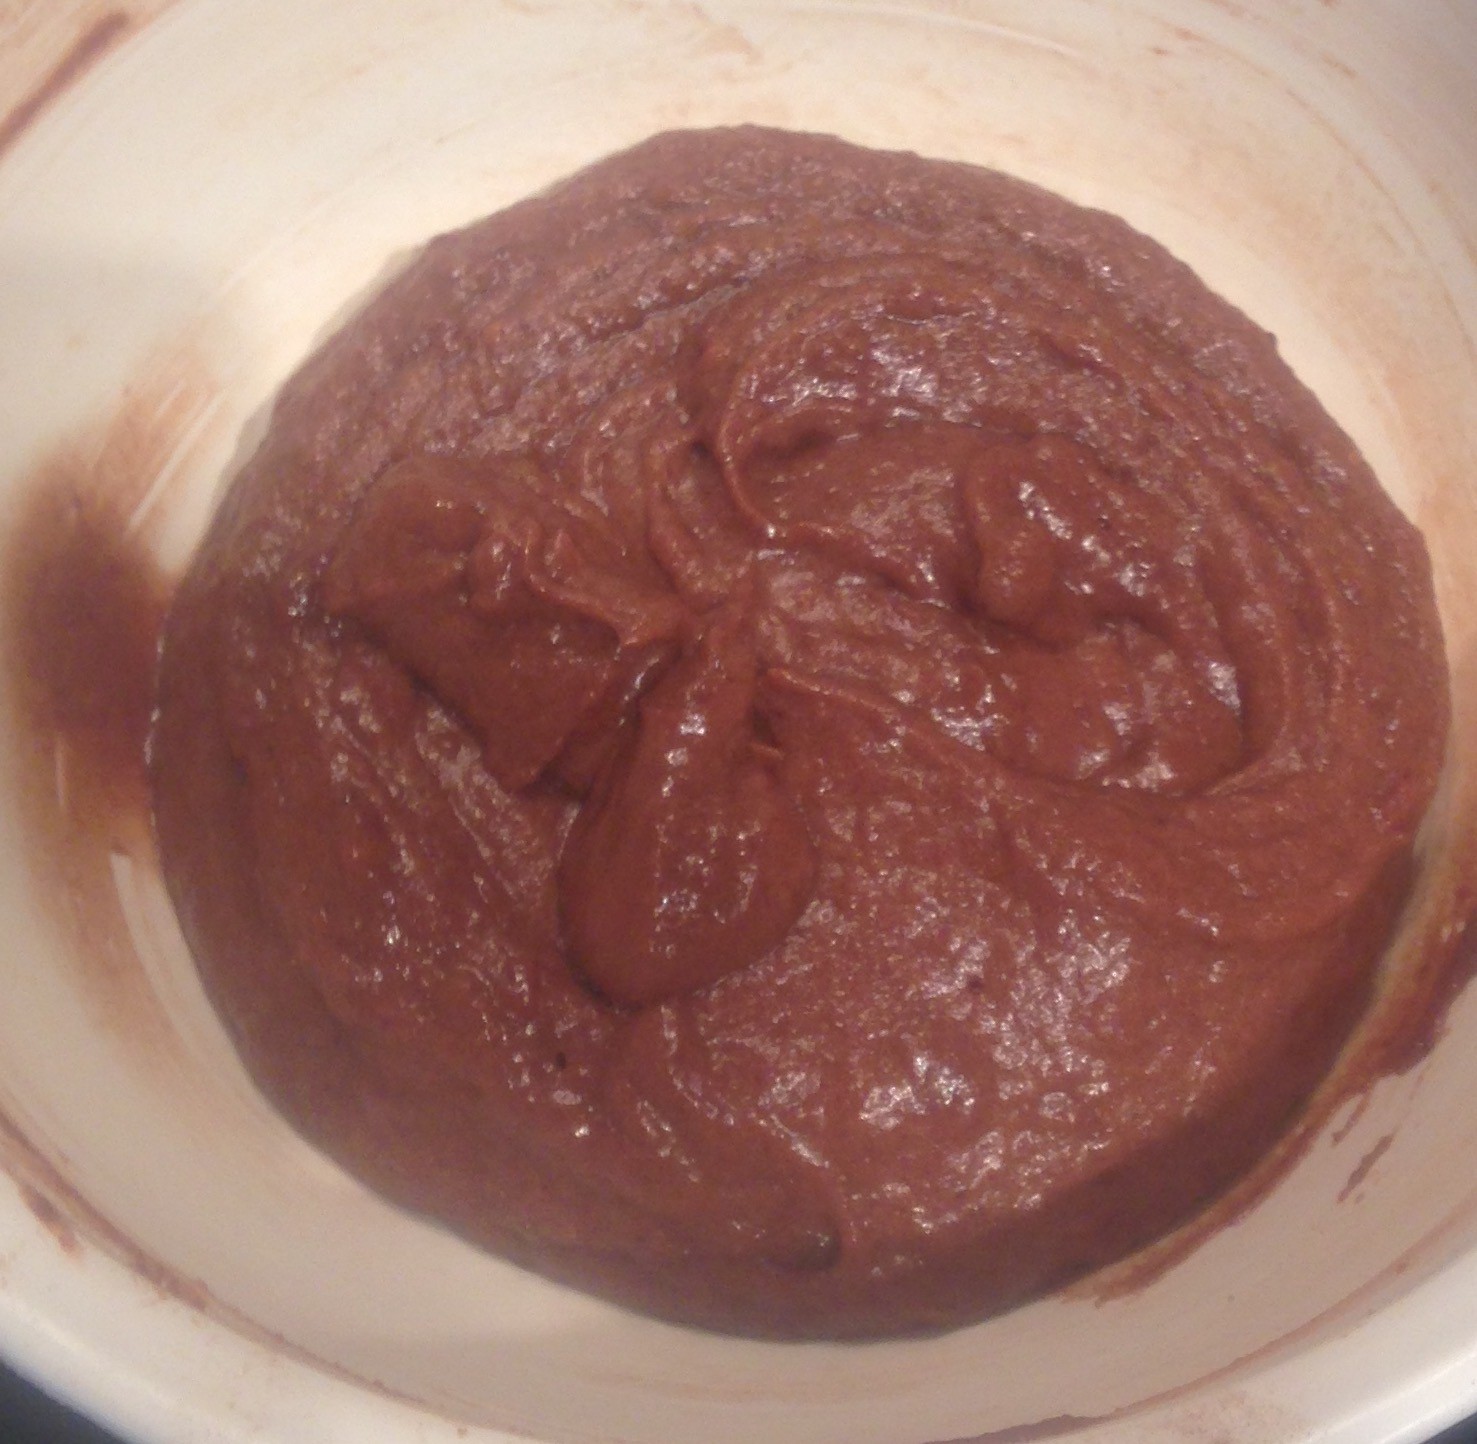
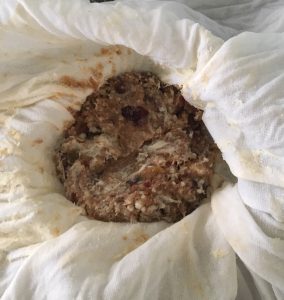
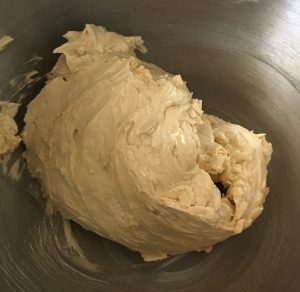
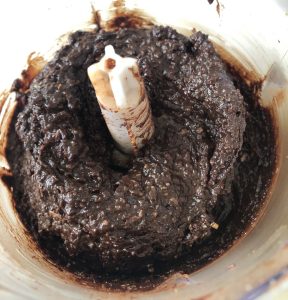
- Add the eggplant, chocolate mix, vanilla, coconut, baking powder, bi-carbonate of soda and eggs to the mix and blitz until well combine.
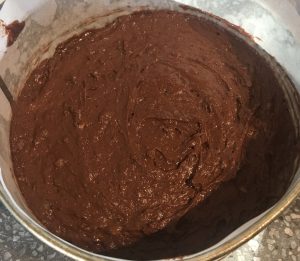
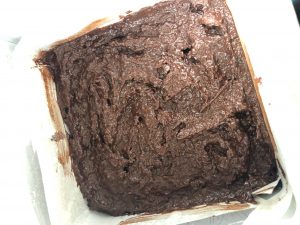
- Spoon the mix into the prepared cake tin, flattening the top with the back of a spoon.
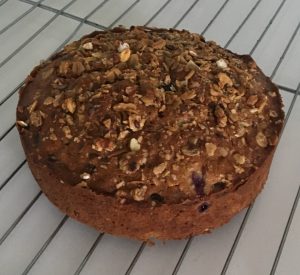
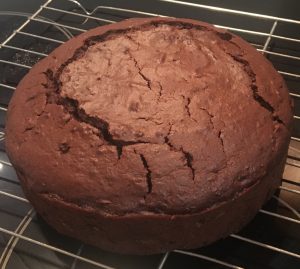
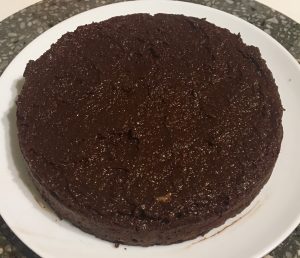
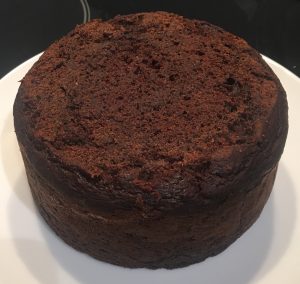
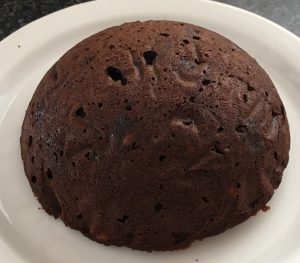
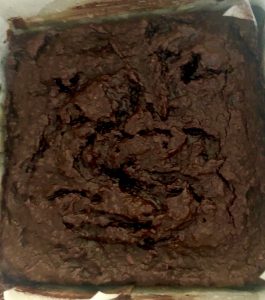
- Bake in the oven for 25 minutes or until a skewer inserted into the center comes out clean.
- Allow the slice to cool in the tin then place onto a cooling tray until cold.
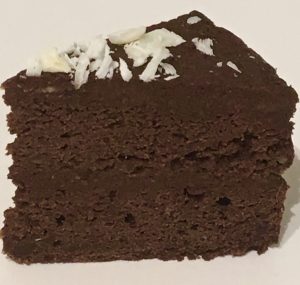
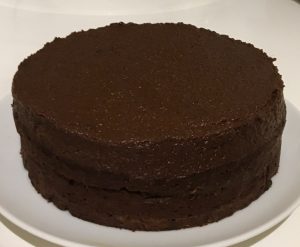
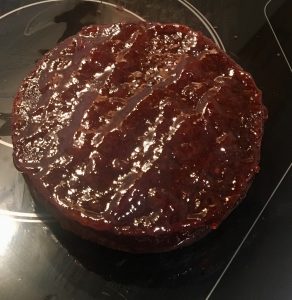
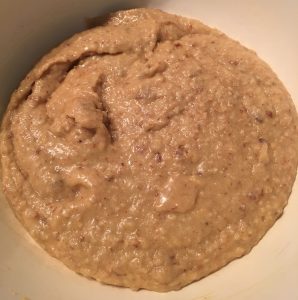
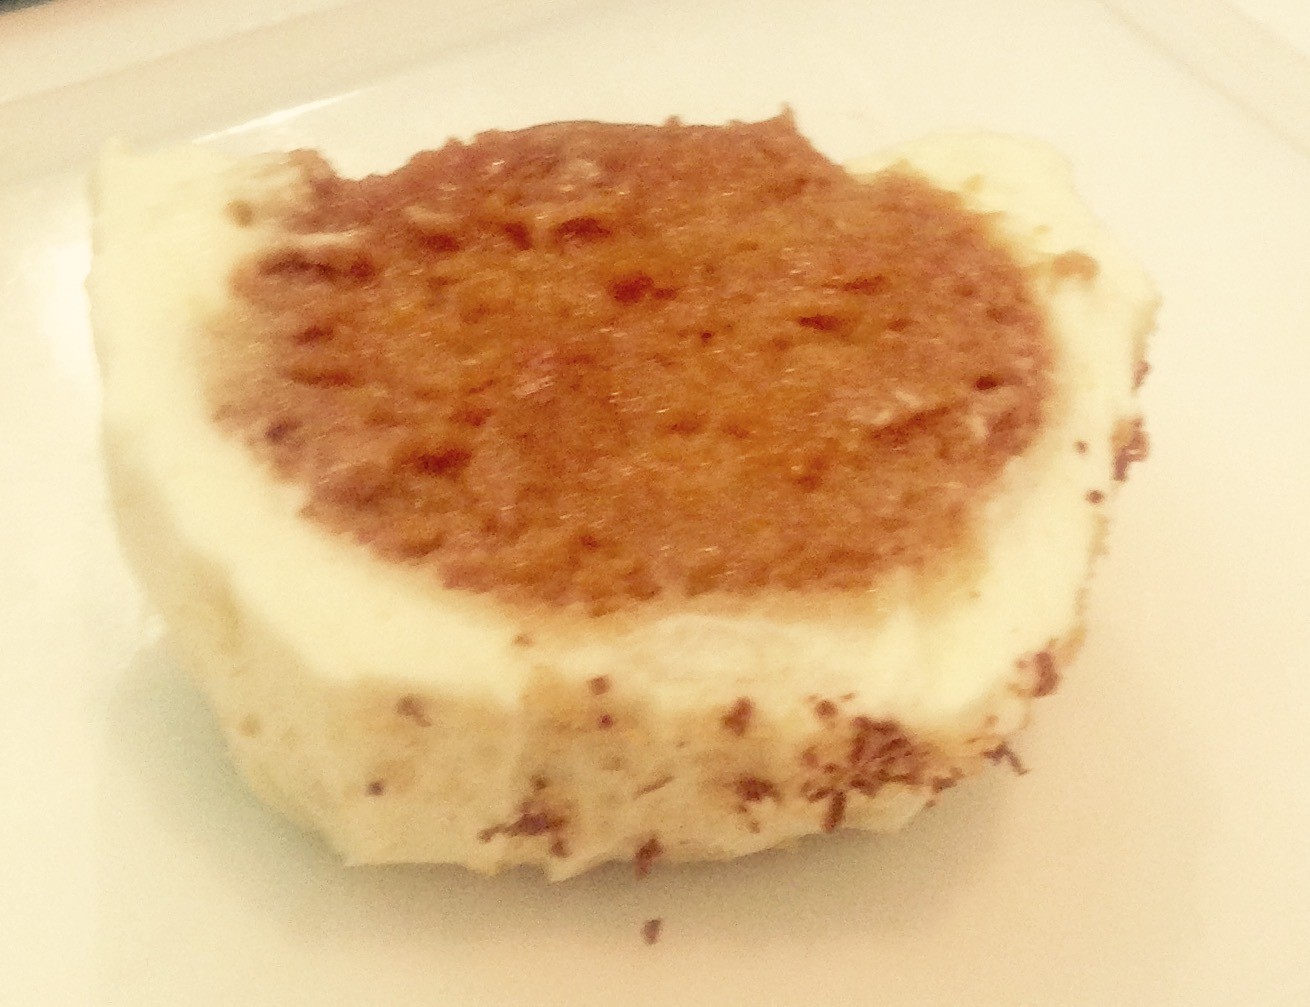
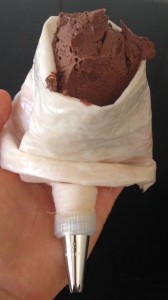
- Meanwhile place the icing ingredients into a food processor and blitz until smooth.
- Spoon the icing mix into a piping bag fit with a star nozzle.
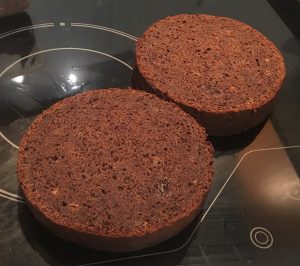
- Cut the slice into pieces and pipe the icing onto each piece.
- Enjoy!
Step 2
Step 5
Step 6
Step 7
Step 8

Step 9

Step 9
Step 11
Like this recipe? Subscribe via RSS or email to get my new entries and more scrumptious recipes with reviews.
 Follow