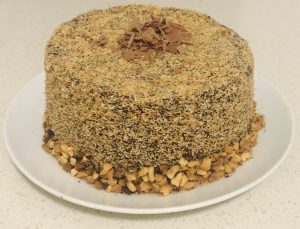
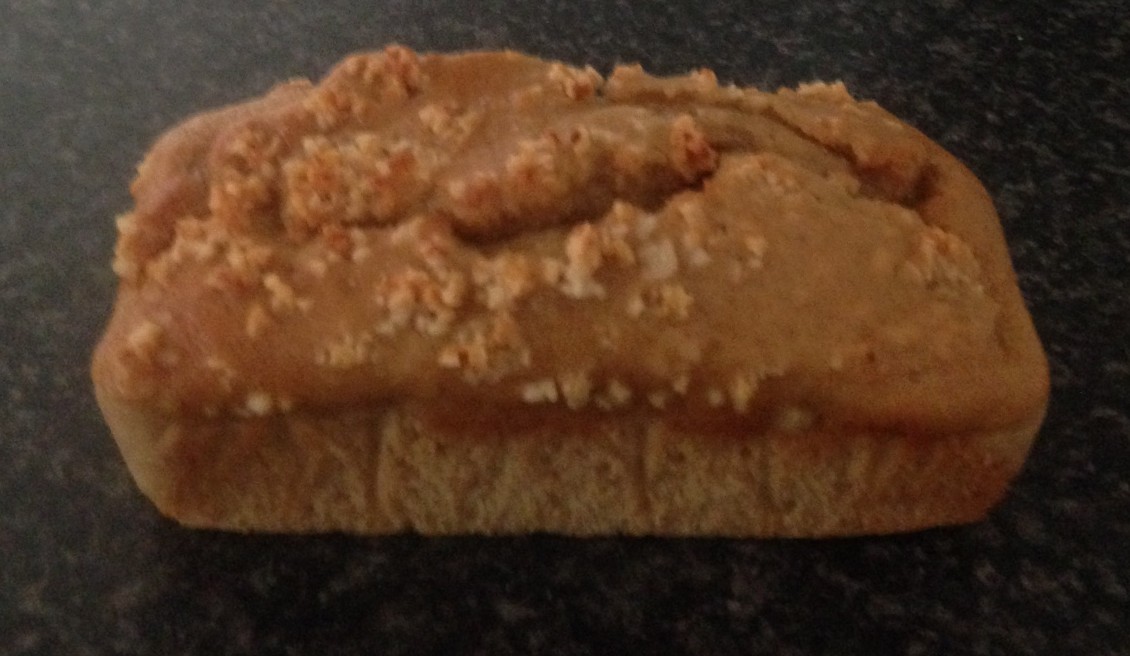
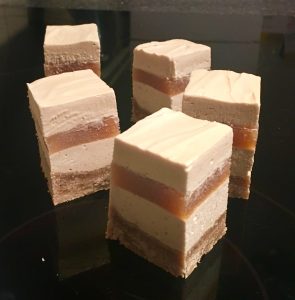
Boozy Butterscotch Caramel and Peanut Ice-Cream
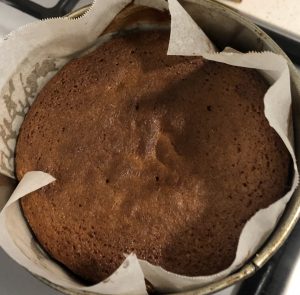
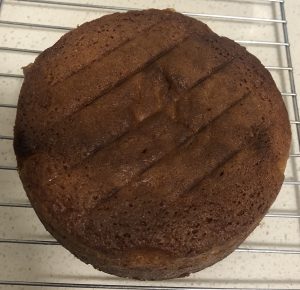
This is such an interesting recipe to me as it was one of my more colorful experiment sessions. So this recipe came from me creating a butterscotch and caramel layer cake with a peanut ice-cream filling. I should have known that adding the ice-cream layer to a cake would mean I would need to freeze the cake in its entirety and that cutting the cake would mean the ice-cream filling would flow out the sides!
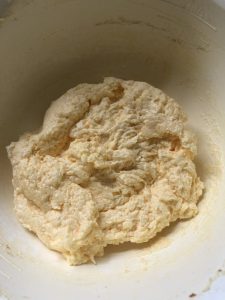
The solution to this is to make a sponge cake, but of course by the time I realized this I had already baked the cake!
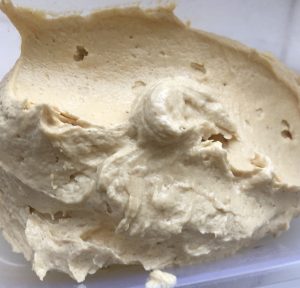
So what to do? I really liked the ice-cream filling I created so I added some caramel and a few other little layers to turn it from nice to “pow exciting”!
Next a bit of a controversial move, based on recent recipe requests I wanted to make the recipe quick and super easy, so…replaced homemade ice-cream with store brought.
Ingredients:
- 650g vanilla ice-cream
- 160g brown sugar
- 70g peanuts, chopped
- 120g peanut butter
- 170ml butterscotch schnapps
- 20g butter
- 35ml thickened cream
Method:
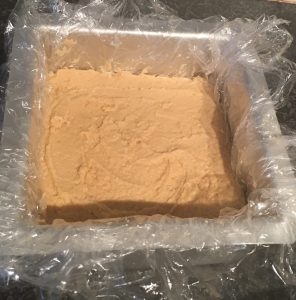
- Put the ice-cream in a bowl and place onto the microwave for 30 seconds or until the mix just softens slightly.
- Place the peanut butter in the microwave for 30 seconds or until liquid consistency is achieved.
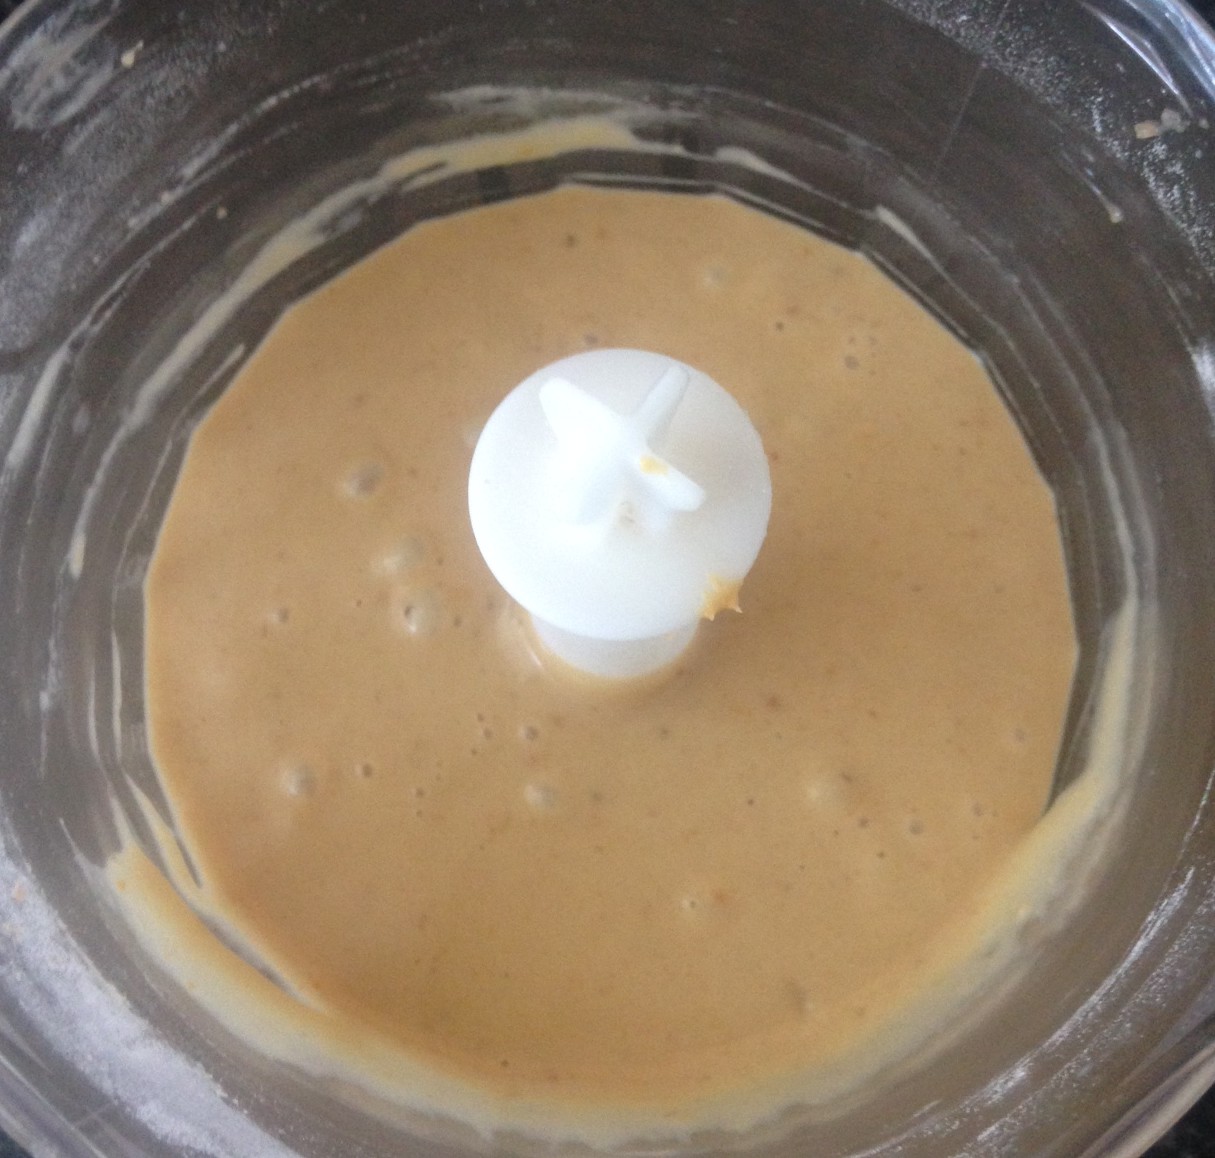
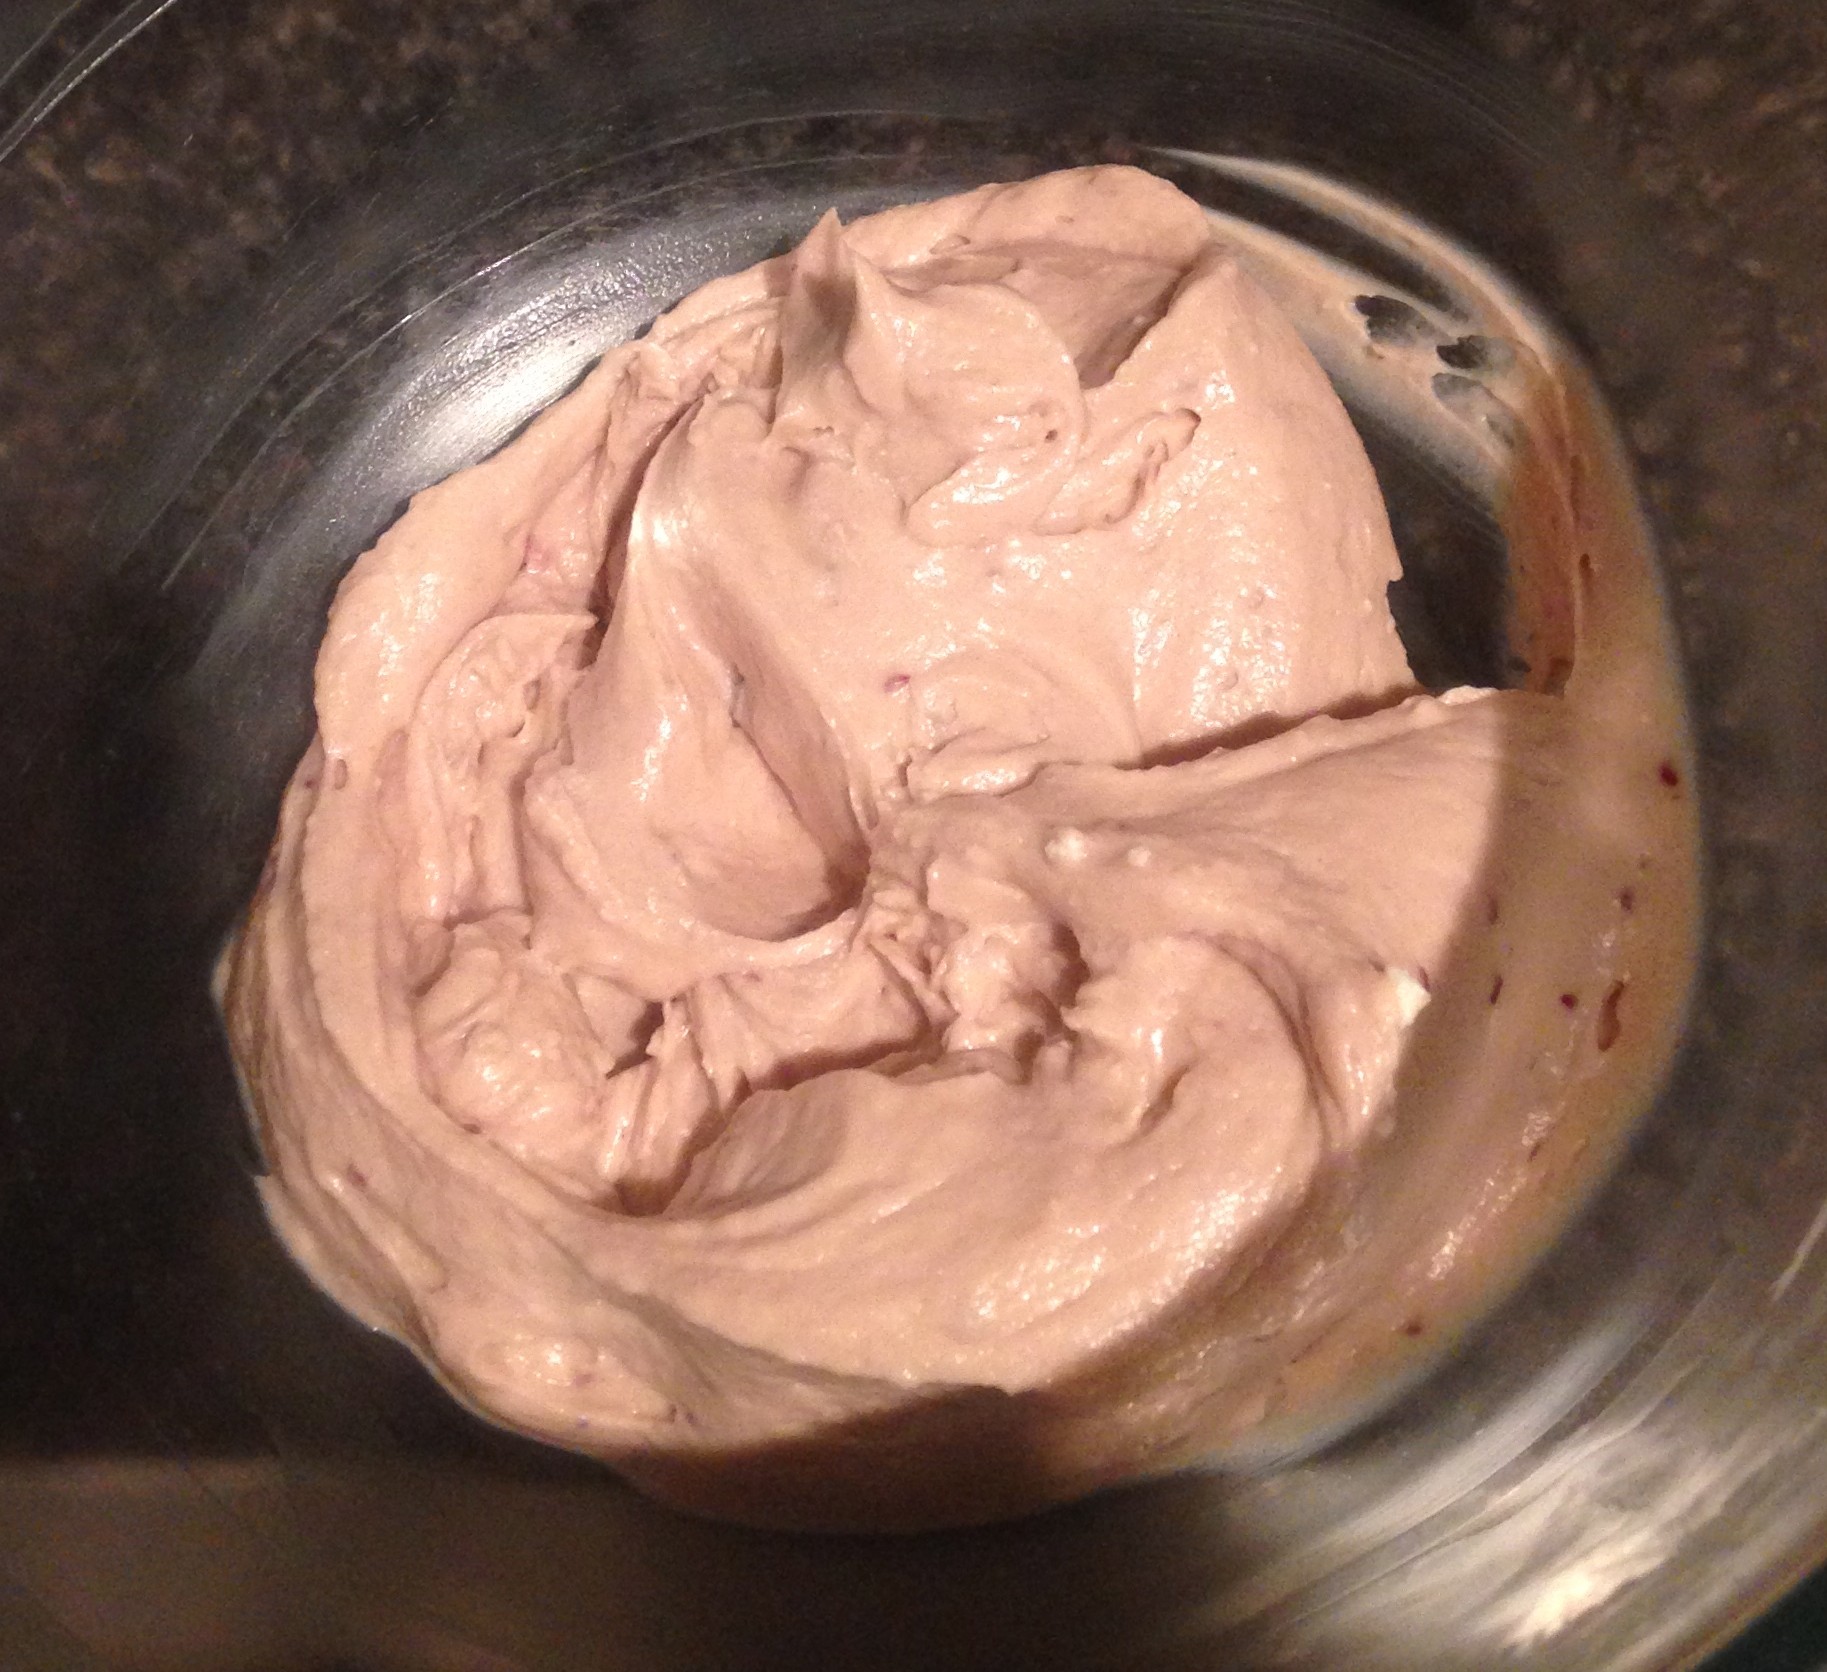
- Add 30g of brown sugar, 50g of the chopped peanuts, peanut butter and butterscotch schnapps to the ice-cream and using a hand whisk beat until combine.
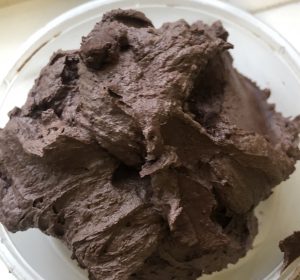
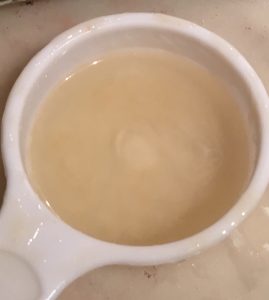
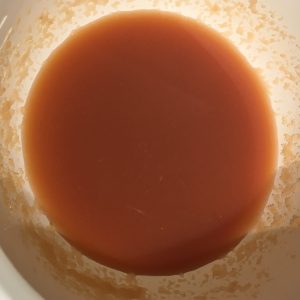
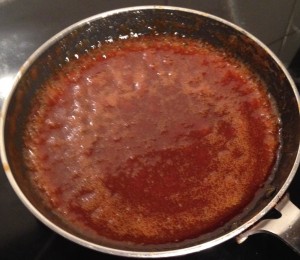
- Place the remaining 130g brown sugar into a saucepan on high until the sugar has melted and bubbling.
- Take off the heat and add the butter, stirring with a whisk until combine.
- Add the cream and whisk with a hand whisk until the mix is smooth and glossy.
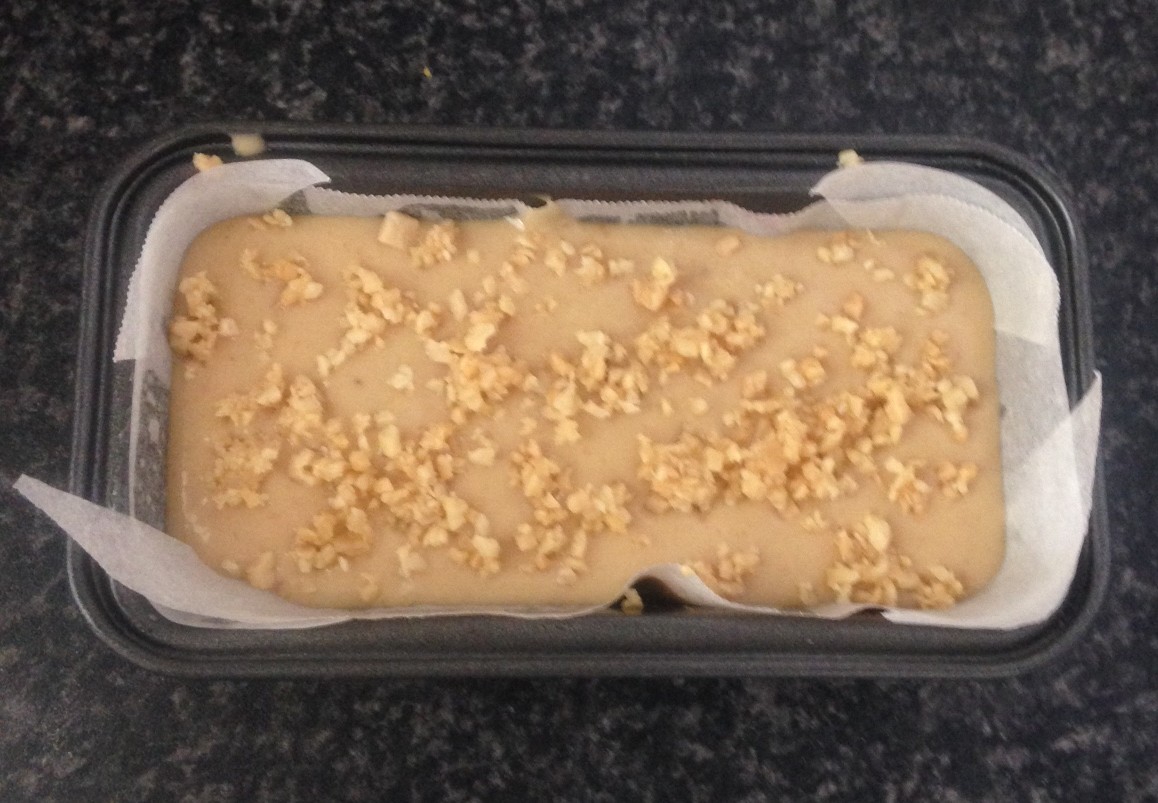
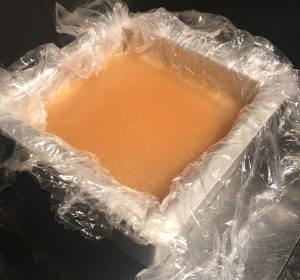
- Pour the mix onto baking paper until cooled then in the freezer for 10 minutes to harden completely.
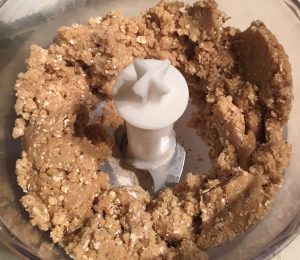
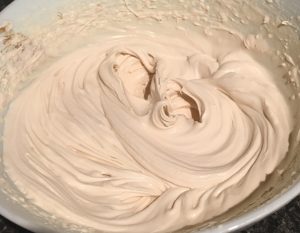
- Break up the hardened caramel into small pieces and place into the mix, leaving 1/5th aside.
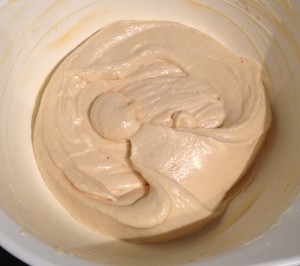
- Whisk the caramel pieces into the ice-cream mix until combine.
- Pour the ice-cream into a bowl and place into the freezer for 4 hours or until completely set.
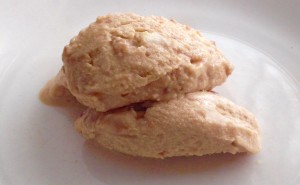
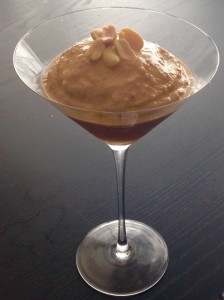
- To serve scoop the ice-cream out into 4 cocktail glasses and top with the remaining 20g of chopped peanuts and caramel pieces.
Notes:
- You can also serve with a caramel or peanut flavored sweet thin biscuit or wafer.
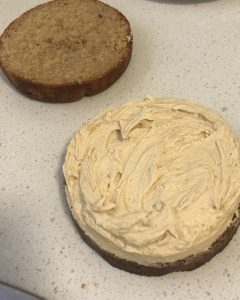
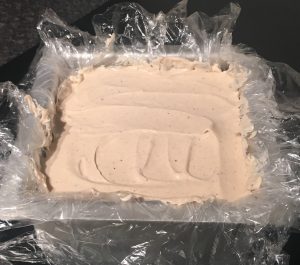
Step 1
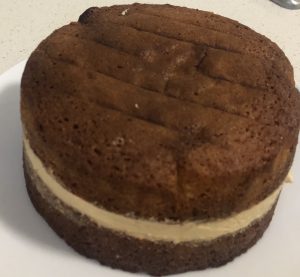
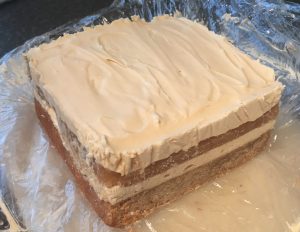
Step 4

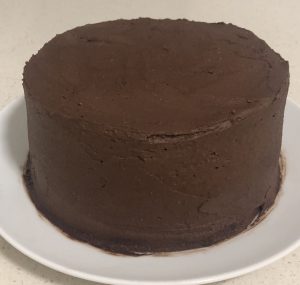
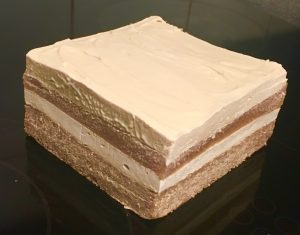
Step 7
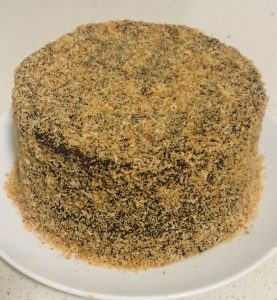
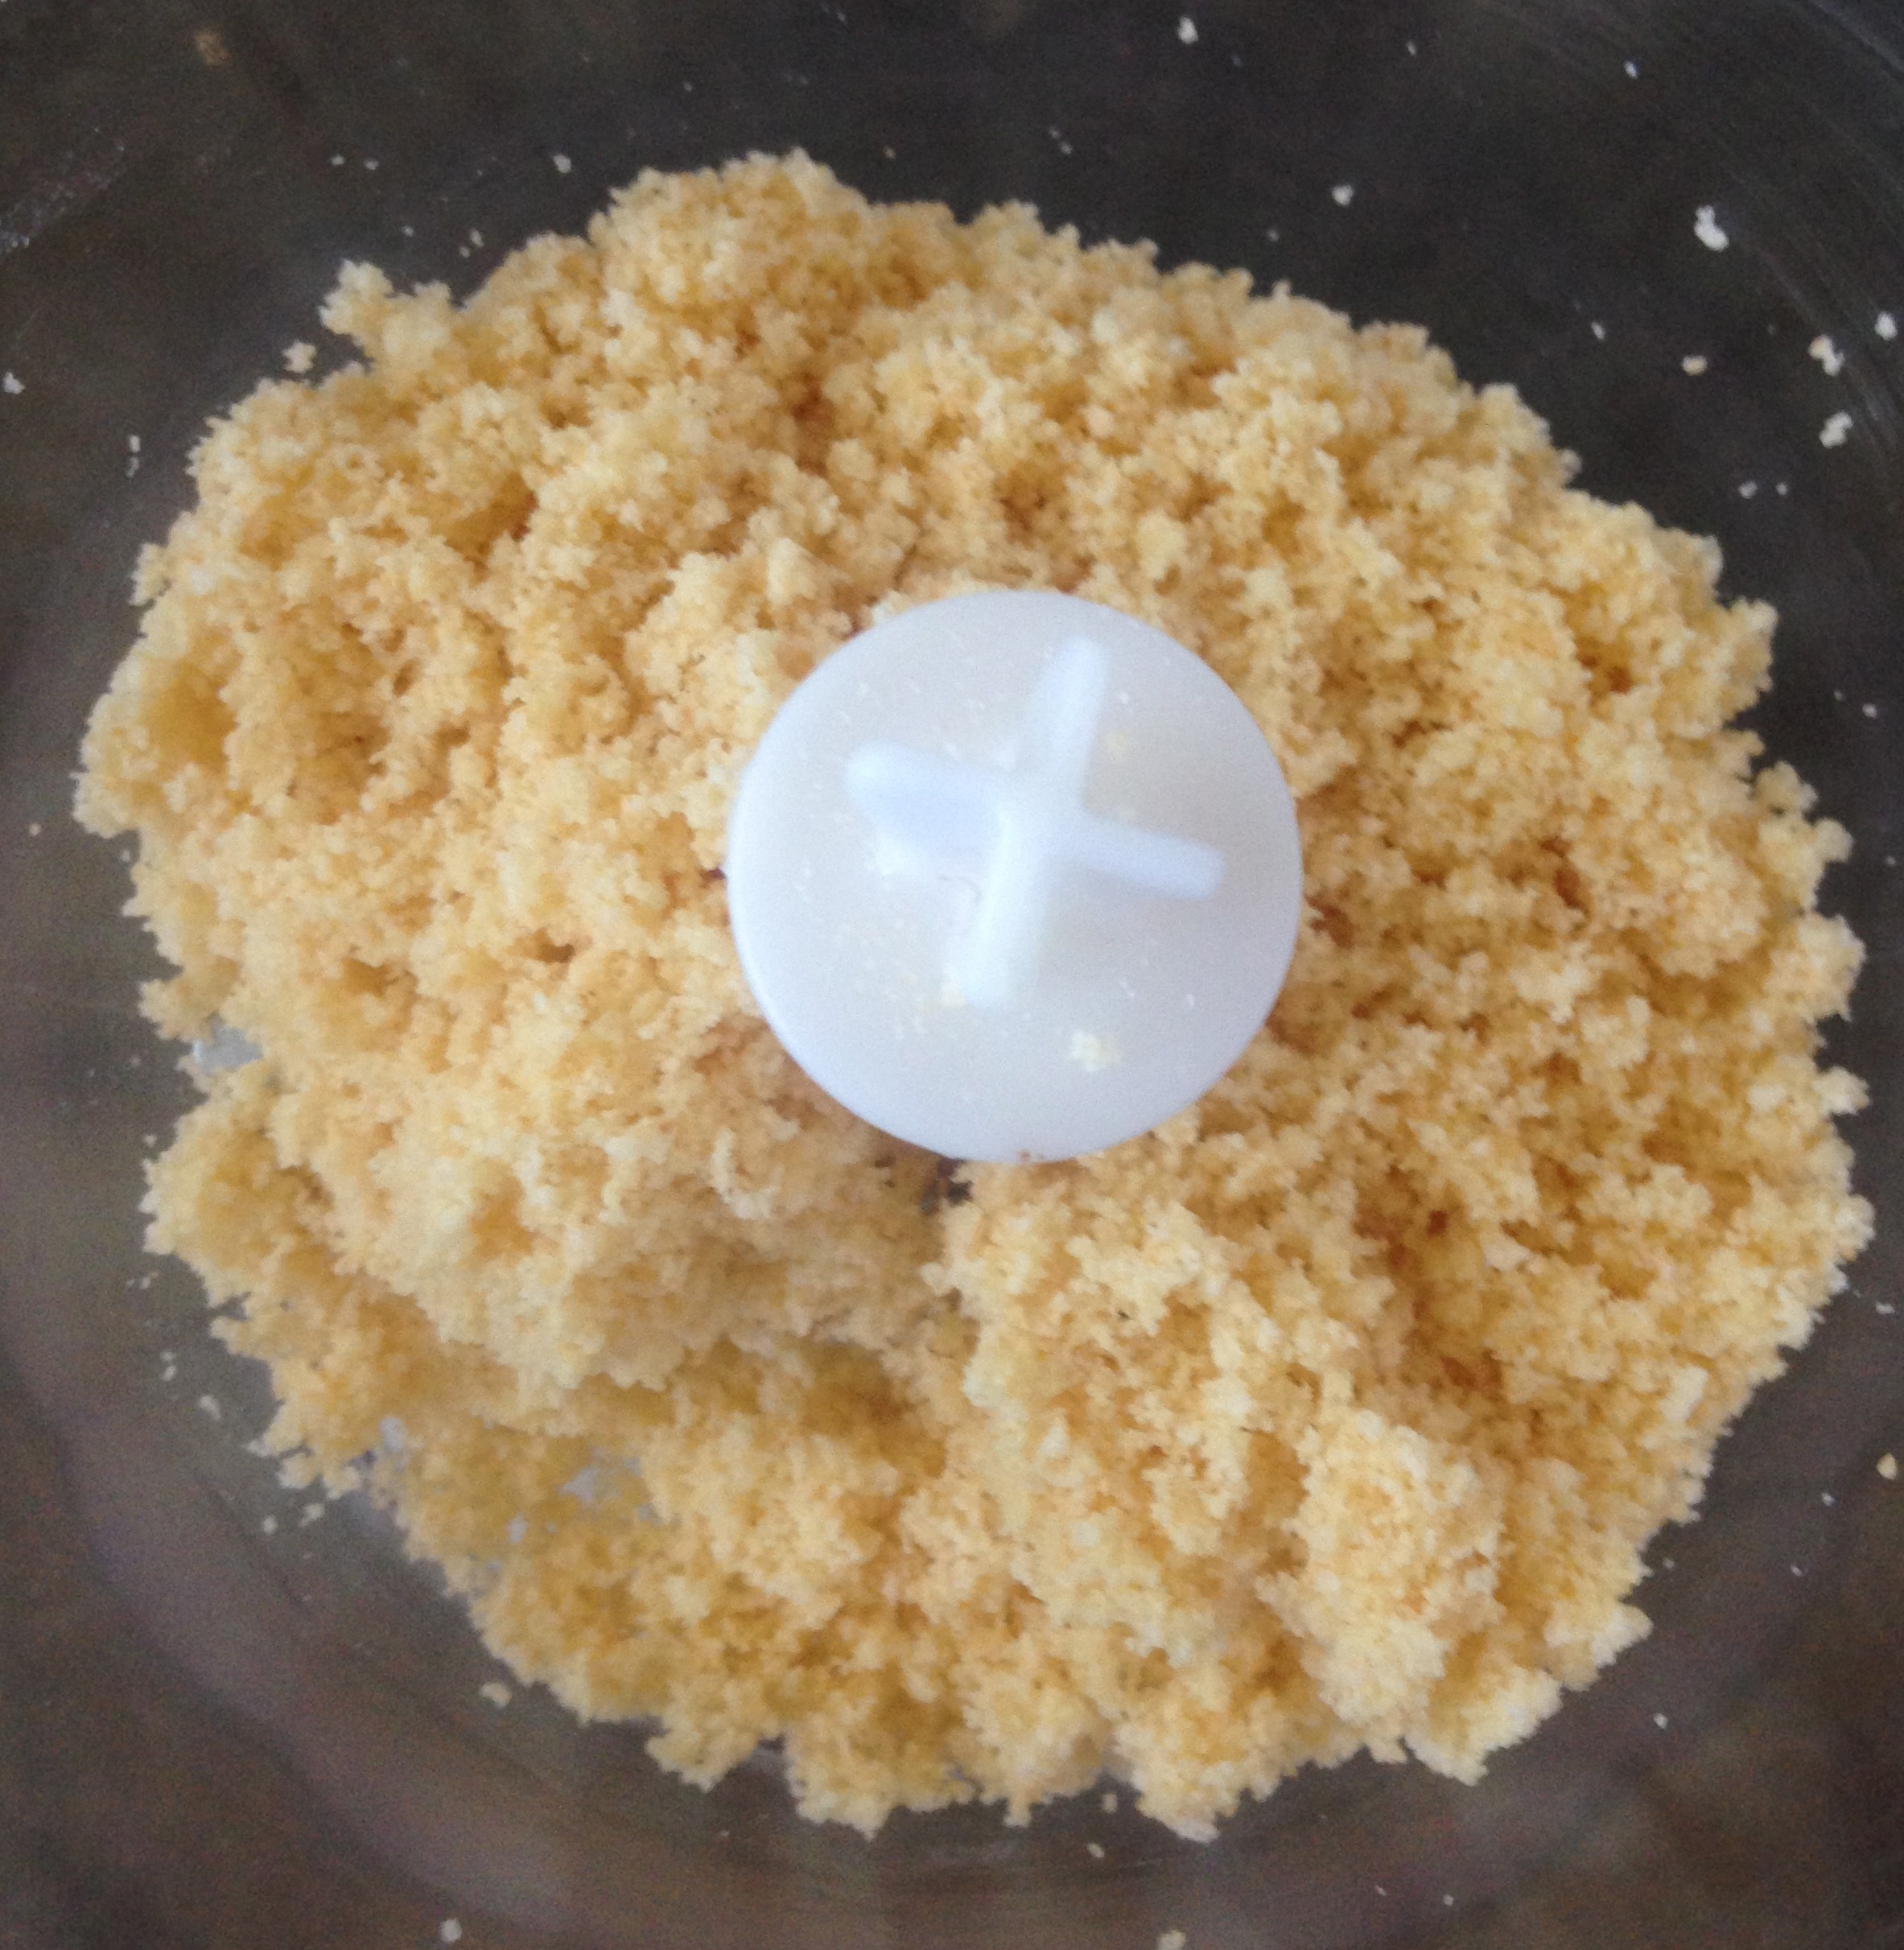
Step 11
Like this recipe? Subscribe via RSS or email to get my new entries and more scrumptious recipes with reviews
 Follow