Sweet Tooth Experiments

  • About Me
  • Recipe Index
  • Baking Metrics
  • Tips & Tricks
  • Common Baking Questions
  • Contact

Tag Archives: peanuts

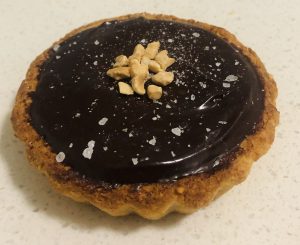
Chocolate and Peanut Rice Crust Tart
Posted on November 1, 2020 Posted in Tarts .

Chocolate and Peanut Rice Crust Tart

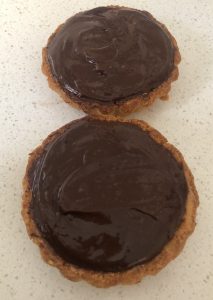
Chocolate and Peanut Rice Crust Tart recipe

This recipe actually derived from a savoury tart recipe with a brown rice and seed base. I liked the idea of a rice base so much I adapted the recipe to suit a sweeter bake.

As the parmesan added such great richness and flavour, whilst being a great binding ingredient I left it in the sweet adaptation recipe. This then dictated what type of a sweet bake I would make as dark chocolate and parmesan go so well together (see my Parmesan Cheese Chocolate Slice recipe).

I changed the seeds from the original recipe to peanuts as peanuts had similar fat content in which the tart needed to keep it moist, while coating the proteins and starches in the egg, rice and flour. A few trials and I had the perfect base.

As peanuts were used in my base, I made this the hero ingredient along with the previously identified dark chocolate and wah-lah a peanut filled tart with chocolate ganache recipe on a rice crust tart case was born.

You would have no idea of rice in the base, in which is a great alternative to flour and the peanut filling with dark chocolate topping is just to die for.

This recipe exceeded my expectations and then some – decadent, delicious, unique and so so satisfying.
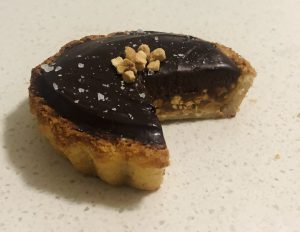
Chocolate and Peanut Rice Crust Tart recipe

Ingredients:

Base:

  • 500g packet ready steamed white rice
  • 50g peanuts
  • 40g parmesan
  • 20g plain flour
  • 1 egg
  • 1/2 tsn salt

Filling:

  • 75g peanut butter
  • 180g sugar
  • 60ml water
  • 80g butter
  • 80ml thickened cream
  • 160g peanuts

Ganache:

  • 165g thickened cream
  • 240g dark choc
  • 3 egg yolks
  • 1 tbsn caster sugar


Method:

  1. Preheat the oven to 180c degrees and spray 8 mini tart cases with oil spray.
  2. Place the rice, peanuts, flour and parmesan into a food processor and blitz until the mix resembles bread crumbs.
  3. Add the egg and salt and blitz until well combined.
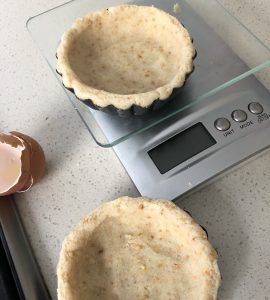
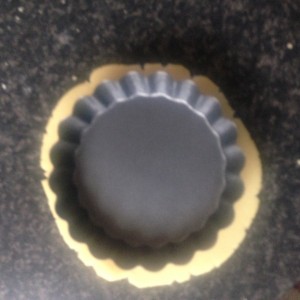
  4. Divide the mix into 8 balls and using wet hands push the mix into the base of the tin and up the sides of the tin to cover the tin completely and evenly.
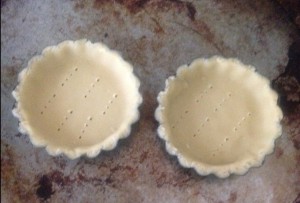
  5. Prick the bases with a fork a few times and place the tart cases into the oven, baking for 20 minutes.
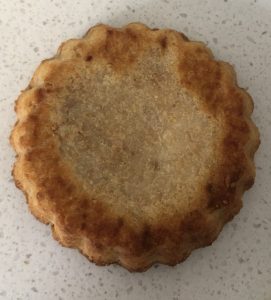
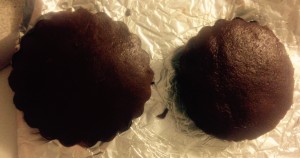
  6. Remove the tarts from the oven, take the tins off the tart shells and bake for a further 5 minutes base side up to ensure a crispy brown base on the tart shells.
  7. Set the bases aside to cool.
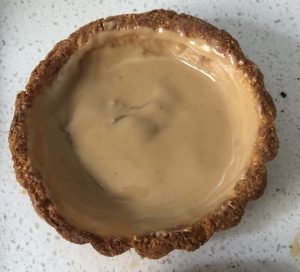
  8. Spoon and evenly spread the peanut butter into the base of each tart shell and place in the fridge for 15 minutes to set.
  9. Meanwhile place the sugar and water into a saucepan on medium heat, whisking with a hand whisk until sugar is dissolved.
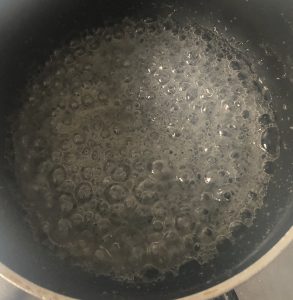
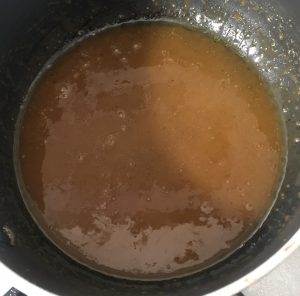
  10. Turn the heat to high and allow to bubble until the mix starts to caramelise.
  11. Remove the mix off the heat and carefully add the butter, cream and salt, whisking with a hand whisk.
  12. Place the pan back on a medium heat, whisking until the mix is silky smooth.
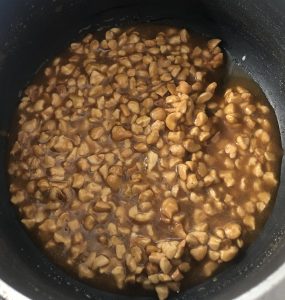
  13. Add the peanuts to the pan and whisk until well combined, leave aside to cool.
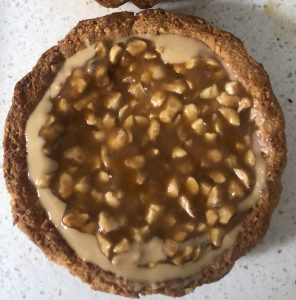
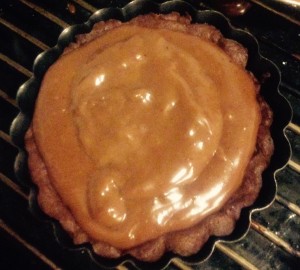
  14. Spoon the peanut caramel mix into the base of the tart shells – over the peanut butter and place the tarts back in the fridge for 30 minutes.
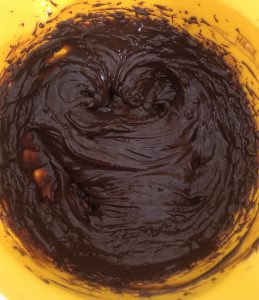
  15. To make the ganache place the cream and chocolate in a saucepan over a pot of simmering water and stir until well combined, silky and smooth in texture, leave aside until slightly cooled.
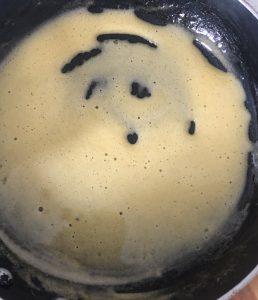
  16. Place the egg yolks and sugar in another saucepan and whisk with a hand whisk until the egg is pale and creamy – do not place directly on the heat or the yolk with scramble.
  17. Place the yolk mix and chocolate mix into a bowl and beat with electric beaters until cooled, thick and creamy.
  18. Spoon over the top of the peanut mix and place the tarts in the fridge to completely set for 2+ hours.
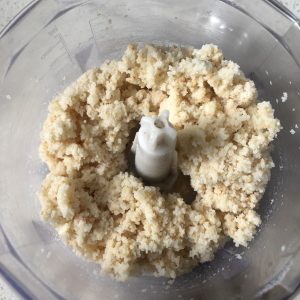


Chocolate and Peanut Rice Crust Tart recipe

Step 2


Chocolate and Peanut Rice Crust Tart recipe

Step 4

Chocolate and Peanut Rice Crust Tart recipe

Step 7


Chocolate and Peanut Rice Crust Tart recipe

Step 8

Chocolate and Peanut Rice Crust Tart recipe

Step 10


Chocolate and Peanut Rice Crust Tart recipe

Step 14


Chocolate and Peanut Rice Crust Tart recipe

Step 13

Chocolate and Peanut Rice Crust Tart recipe

Step 14


Chocolate and Peanut Rice Crust Tart recipe

Step 16

Chocolate and Peanut Rice Crust Tart recipe

Step 17


Chocolate and Peanut Rice Crust Tart recipe

Step 18

Email, RSS Follow
Print
Leave a comment .
Tags: chocolate, Chocolate and Peanut Rice Crust Tart, Parmesan, peanuts, Rice, Rice Crust Tart, tarts .

Coconut Lime and Peanut Bites

Posted on June 1, 2019 Posted in Truffles .

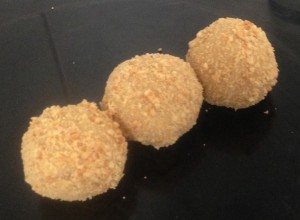
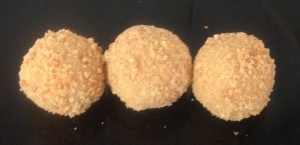
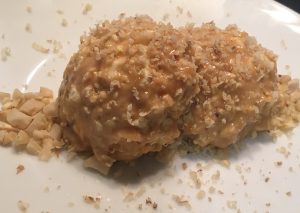
Coconut Lime and Peanut Bites

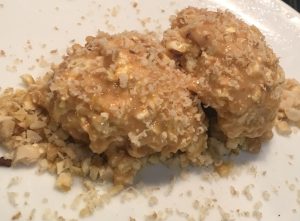
Coconut Lime and Peanut Bites

Coconut, lime and peanuts…when you say this combo to most people they envisage adding some soya sauce and chilli and ‘boom’ you have a homemade satay sauce!

So we know these flavors work together, who says that they need to only work together in a savoury sense. All 3 of these key ingredients are used in sweet dishes just as much as savoury.

I contemplated what format this sweet treat would work best in, a cake, slice, biscuits, flan, ice-cream, you name it. In the end I decided to play with a few options and ended up happiest with coconut lime and peanut balls.

These little treats are really moreish with a lovely lime tang, while the coconut adds a tropical undertone and the peanut butter brings it all together.

Ingredients:

  • 240g plain sweet biscuits
  • 45g desiccated coconut
  • 220g condensed milk
  • 4 tsn lime zest
  • 60g peanut butter
  • 1 tsn coconut essence
  • 40g peanuts


Method:

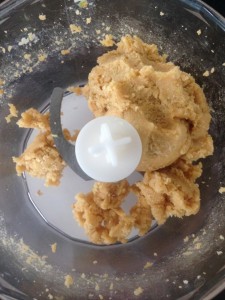
  1. Place the biscuits, coconut, milk, zest, peanut butter and essence in a food processor and blitz until a dough is formed.
  2. Roll the dough into 25g balls.
  3. Place the peanuts into the food processor until fine like breadcrumbs.
  4. Roll the balls into the peanuts then place in the fridge for 1 hour to set.


Coconut Lime and Peanut Bites recipe

Step 1

Coconut Lime and Peanut Bites

Coconut Lime and Peanut Bites recipe


Like this recipe? Subscribe via RSS or email to get my new entries and more scrumptious recipes with reviews.

Email, RSS Follow
Print
Leave a comment .
Tags: coconut, Coconut Lime and Peanut Bites, lime, Peanutbutter, peanuts .

Chocolate Banana Split Sundae Pie

Posted on March 9, 2019 Posted in Pies .

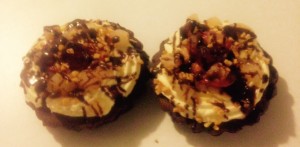
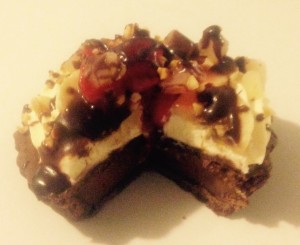
Chocolate Banana Split Sundae Pie

Chocolate Banana Split Pie recipe

I have always been a fan of chocolate banana split sundae. Vanilla ice-cream, banana, chocolate, cherries, nuts and strawberry, how could this not taste absolutely amazing?

The only thing is that ice-cream is not a great ‘comfort food’ in the colder months, so to mitigate this I decided to turn the banana split sundae into a pie.

I have kept the core flavors and added a few secondary complementing flavors into the mix to make the pies even tastier.

Chocolate Banana Split Pie recipe

Ingredients:

Pastry:

  • 180g plain flour
  • 20g cocoa powder
  • 100g butter
  • 50g sugar
  • 45ml water

Filling:

  • 180g dark chocolate
  • ¾ cup sugar
  • 750ml milk
  • ¼ cup corn flour
  • 5 egg yolks
  • 2 tsn vanilla extract
  • 20g butter

Topping:

  • 150g thickened cream
  • 20g icing sugar

Extra:

  • 2 chopped bananas
  • 200g strawberries chopped
  • 200g chopped pineapple
  • 20g peanuts
  • 4 glace cherries

Chocolate Sauce:

  • 30g cream
  • 50g dark chocolate


Method:

  1. Pre-heat the oven to 220c degrees.
  2. Place all the pastry ingredients except the water into a food processor and blitz until the mix resembles fine breadcrumbs.
  3. Add 45g of water and process until the mix resembles dough and comes away at the sides of the bowl.
  4. Knead the dough for a minute then divide into 4 balls of 60g each.
  5. With a rolling pin roll the balls to disks and place into 4 medium sized tart cases, trim edges. Place the remaining pastry aside back in the fridge.
  6. Prick the pastry with a fork a few times in the center and place the tarts in the fridge for 30 minutes.
  7. Meanwhile make the filling by placing the chocolate, sugar, milk and corn flour in a saucepan on a medium heat and whisk with a hand whisk until the mix is thick.
  8. Lightly beat the 5 egg yolks and vanilla in a bowl and add in 1 cup of the chocolate custard mix, beat.
  9. Add the yolk mix into the chocolate custard mix and beat with a hand whisk for 2 minutes while the mix boils.
  10. Take off the heat and beat in the 20g butter.
  11. Place some baking paper on the top of the custard mix to stop a skin from forming and leave for 10 minutes to cool.
  12. Take the tart cases out of the fridge and place on a baking tray covering the tarts with foil, baking for 10 minutes.
  13. Remove the foil and bake for a further 5 minutes.
  14. Once the tart cases have cooled place the chocolate custard mix in each tart base.
  15. Turn the oven down to 160c degrees.
  16. Roll the remaining pastry into 3 equal balls then roll out into a disk shape.
  17. Top the remaining disks on top of the custard and trim excess.
  18. Poke the top a few times with a fork and place in the oven for 25 minutes.
  19. Remove tarts from the oven and leave to completely cool, then place in the fridge for 30 minutes.
  20. Meanwhile, with electric beats whisk the cream and icing sugar until peaks form.
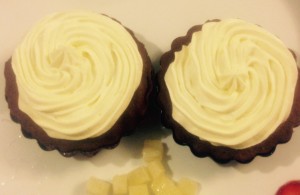
  21. Place the cream into a piping bag with a star nozzle and pipe on top of each chilled pie evenly.
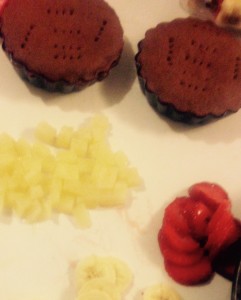
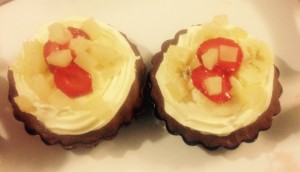
  22. Cut up the strawberries, banana and pineapple and place on top of the cream.
  23. Chop up the peanuts and sprinkle on top.
  24. To make the sauce place the chocolate and cream in the microwave for 1 minute, stirring every 20 seconds until a sauce is formed.
  25. Allow sauce to cool slightly and drizzle on top of the pies.
  26. Place a cherry in the center and into the fridge to fully set for 1 hour.


Coconut Cream Pie recipe
Step 2
Coconut Cream Pie recipe
Step 4
Coconut Cream Pie recipe
Step 6
Chocolate Banana Split Pie recipe
Step 11
Chocolate Banana Split Pie recipe
Step 14
Chocolate Banana Split Pie recipe
Step 17
Chocolate Banana Split Pie recipe
Step 18
Chocolate Banana Split Pie recipe
Step 21
Chocolate Banana Split Pie recipe
Step 22

Like this recipe? Subscribe via RSS or email to get my new entries and more scrumptious recipes with reviews.

Email, RSS Follow
Print
Leave a comment .
Tags: banana, cherries, chocolate, Chocolate Banana Split Pie, Chocolate Banana Split Sundae Pie, cream, peanuts, pineapple, strawberry .

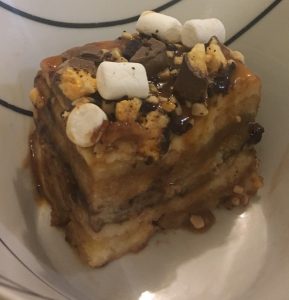
Marshmallow Peanut Caramel and Chocolate Bread Pudding
Posted on August 18, 2018 Posted in Cakes .

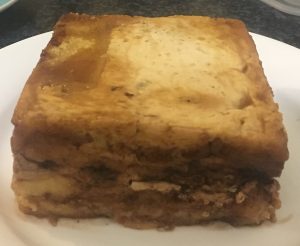
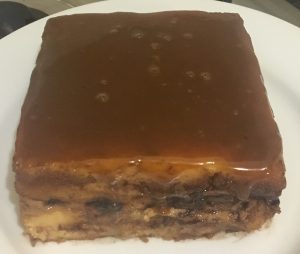
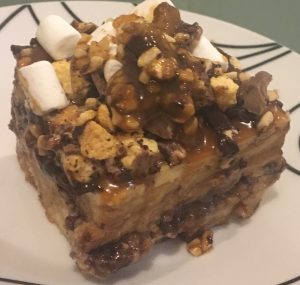
Marshmallow Peanut Caramel and Chocolate Bread Pudding
Marshmallow Peanut Caramel and Chocolate Bread Pudding recipe
What do you do when you are tasked to make the most delectable bread and butter pudding?

I don’t know about you but I took this as a challenge to do some experimenting with scrumptious, over-the-top but still delightfully tasty flavour pairings (any excuse to experiment and I’m there with bells on)!
After ideating on a few flavour ideas I landed on 3 varying flavour profiles all as rich as each other, being; a rocky-road influence combo, black forest inspired and a Jaffa guided taste.

I must say all combo’s were tasty, I’d happily eat any of them for dessert, however, the rocky-road influenced combo (Marshmallow Peanut Caramel and Chocolate Bread Pudding) was the stand out winner….A far cry from the traditional cinnamon and sultana recipe!

Marshmallow Peanut Caramel and Chocolate Bread Pudding recipe


Ingredients:

  • 3 eggs
  • 400ml milk
  • 140ml cream
  • 20g sugar
  • 1 tsn vanilla essence
  • 9 slices stale white bread (I used sourdough)
  • 45g butter
  • 30g dark (70%) chocolate chips
  • 230g caramel top n’ fill
  • 80g peanuts, finely chopped
  • 40g mini marshmallows

Extra:

  • Vanilla ice-cream to serve


Method:

  1. Pre-heat the oven to 180c degrees and spray a 20cm x 20cm square cake tin with oil spray.
  2. Place 3 pieces of plastic wrap into the tin allowing for overlap, with pieces crossed each over to ensure full tin coverage.
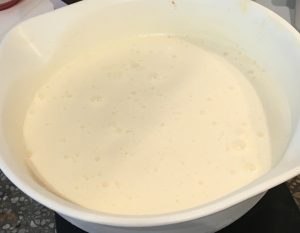
  3. Whisk eggs, milk, sugar and essence in a bowl until combine.
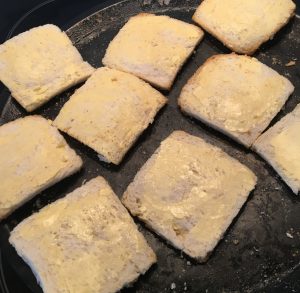
  4. Spread the butter on both sides of all 9 bread slices.
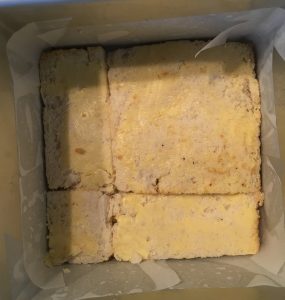
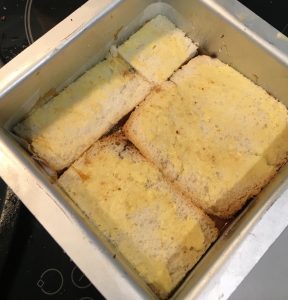
  5. Decrust (if you wish I did but this is optional) the bread and trim 3 pieces to fit a layer snug in the base of the tin.
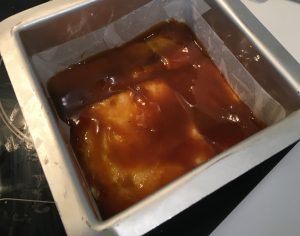
  6. Top with 10g of chocolate chips, 30g peanuts and 150g caramel.
  7. Use the back of a spoon to spread out the mix if it’s not evenly distributed.
  8. Trim a further 3 pieces of buttered bread to fit another layer snug on top of the caramel mix.
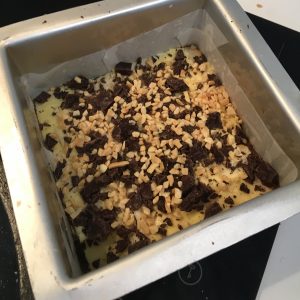
  9. Top with 10g of chocolate chips, 30g peanuts and 30g marshmallows.
  10. Trim the last 3 pieces of buttered bread to fit the last (3rd) layer snug on top of the marshmallow mix.
  11. Pour the milk mix evenly over the pudding and allow to sit and absorb for 1 hour.
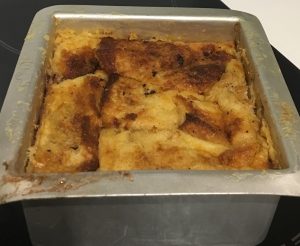
  12. Place the pudding into the oven for 35 minutes or until all liquid has fully been absorbed and the top is golden and crispy.
  13. Allow the pudding to cool slightly until just warm.
  14. Cut the pudding into 6 even pieces, 1horizontal cut through the middle and 2 vertical cuts.
  15. Pull the plastic wrap to remove the pudding from the tin, being careful not to loose the puddings shape.
  16. Use a spatula to spoon the pudding slices into bowls.
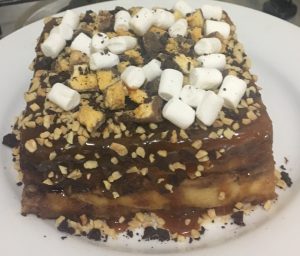
  17. Top each piece evenly with remaining 10g chocolate chips, 80g caramel, 20g peanuts and 10g marshmallow’s.
  18. Serve with a generous scoop of vanilla ice-cream and enjoy.

NOTE: If the pudding starts to drop/slide in shape after step 13 place back in the oven for a further 5-10 minutes.


Marshmallow Peanut Caramel and Chocolate Bread Pudding recipe

Step 3


Marshmallow Peanut Caramel and Chocolate Bread Pudding recipe

Step 4

Marshmallow Peanut Caramel and Chocolate Bread Pudding recipe

Step 5


Marshmallow Peanut Caramel and Chocolate Bread Pudding recipe

Step 7


Marshmallow Peanut Caramel and Chocolate Bread Pudding recipe

Step 9


Marshmallow Peanut Caramel and Chocolate Bread Pudding recipe

Step 10


Marshmallow Peanut Caramel and Chocolate Bread Pudding recipe

Step 13


Marshmallow Peanut Caramel and Chocolate Bread Pudding recipe

Step 15


Marshmallow Peanut Caramel and Chocolate Bread Pudding recipe

Step 17


Marshmallow Peanut Caramel and Chocolate Bread Pudding

Step 17


Like this recipe? Subscribe via RSS or email to get my new entries and more scrumptious recipes with reviews.

Email, RSS Follow
Print
Leave a comment .
Tags: bread and butter pudding, caramel, chocolate, Marshmallow Peanut Caramel and Chocolate Bread Pudding, marshmallows, peanuts, pudding .

Popcorn Peanut and Protein Custard Ice-cream

Posted on July 28, 2018 Posted in Ice-cream & Sorbet .

Popcorn Peanut and Protein Custard Ice-cream

Popcorn Peanut and Protein Custard Ice-cream recipe

I have recently been inspired by the old fashion way of making ice-cream, in which entails a thick and creamy custard base. These days vegetable oil has become the base, which is unhealthy, and 100% fat!

As the traditional method actually delivers on rich and scrumptious dairy goodness I decided I would take this theme and make a tasty ice-cream that has minimal processed elements that is packed with body loving protein. I also wanted to make sure the recipe was super easy and can be done really quickly.

Now this is actually quite a lot that the recipe will need deliver on so I created 4 different versions with differing volume ratios of ingredients and varying flavor combos.

After a bit of trial/error and testing/learning I found the recipe I was looking for.

The custard uses custard powder, meaning it takes a whole of 5 mins tops to make. Protein powder and peanuts/peanut butter provides the high protein kick with only natural good oils, while the sweetness has been delivered via natural honey. The only really naught element here is the small amount of caramel on the popcorn.

A really tasty and satisfying treat that takes only minutes to make with minimal effort!


Ingredients:

Custard:

  • 480ml milk (I used low fat, but up to you)
  • 25g custard powder
  • 20g honey

Ice-cream:

  • 500ml custard (recipe above)
  • 50g vanilla protein powder
  • 1 tsn vanilla essence
  • 10g honey
  • 240g peanut butter
  • 40g chopped peanuts
  • 120g caramel popcorn, roughly chopped (I used store brought)


Method:

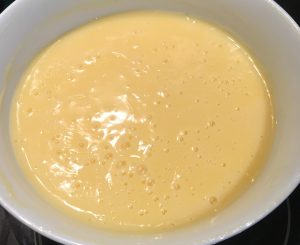
  1. Place the custard ingredients into a bowl and whisk with a hand whisk until combine.
  2. Place the bowl in the microwave for 5 minutes or until the mix resembles a thick custard texture, ensure you whisk in between every minute of cooking.
  3. Allow the custard to sit for 5 minutes then top with plastic wrap. Leave the mix aside to cool to room temperature.
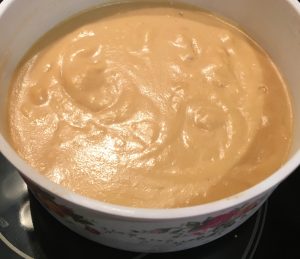
  4. Add to the custard the protein powder, essence, honey and peanut butter, stir.
  5. Place the custard mix in a food processor and blitz until smooth and creamy.
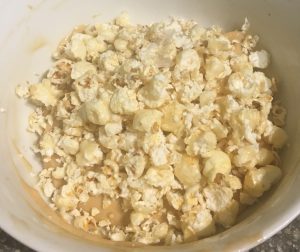
  6. Transfer the custard mix into a large container and stir in the chopped nuts and chopped popcorn until well combine.
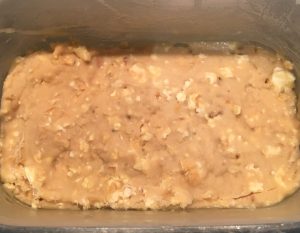
  7. Place the container in the freezer for 5+ hours to set.
  8. When ready to serve remove the ice-cream from the freezer and leave aside to soften slightly for 5 minutes.
  9. Scoop and enjoy.


Popcorn Peanut and Protein Custard Ice-cream recipe

Step 2


Popcorn Peanut and Protein Custard Ice-cream recipe

Step 4


Popcorn Peanut and Protein Custard Ice-cream recipe

Step 6


Popcorn Peanut and Protein Custard Ice-cream recipe

Step 8


Popcorn Peanut and Protein Custard Ice-cream recipe

Step 9


Like this recipe? Subscribe via RSS or email to get my new entries and more scrumptious recipes with reviews.

Email, RSS Follow
Print
Leave a comment .
Tags: caramel popcorn, custard, honey, peanuts, popcorn, protein powder, vanilla .

Coconut Peanut and Chocolate Tofu Cheesecake

Posted on December 22, 2017 Posted in Cakes .

Coconut Peanut and Chocolate Tofu Cheesecake

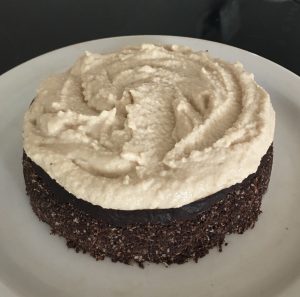
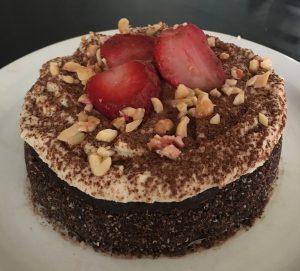
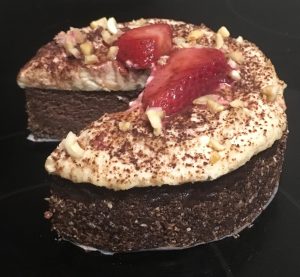
Coconut Peanut and Chocolate Tofu Cheesecake recipe
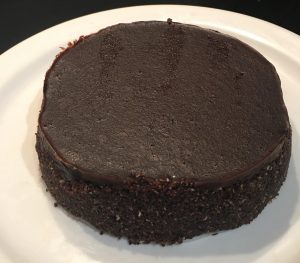
Thought cheesecake is always a devilish high bad fat treat? Think again, this recipe I have created only has healthy fats from nuts and coconut. Yes, a healthy high protein cheesecake can exist and most importantly, it tastes delicious (what’s the point otherwise)!The tofu provides a high protein low carb and low fat stable base, while low fat ricotta cheese significantly cuts the fat that a normal cream cheese cheesecake has.

And as apparently raw is healthy and hot right now I wanted to make sure this cake was on theme and trend with people’s desires.

Using the nuts and dried fruit makes this cake completely gluten free, while the peanut puree icing is fulfilling and satisfying.

To be honest if I added veggies this cake would be a meal in itself with plenty of healthy fats, protein, calcium, even fruit!

Coconut Peanut and Chocolate Tofu Cheesecake recipe

Ingredients:

Icing:

  • 125g peanuts
  • 100ml coconut cream
  • 60ml honey

Base:

  • 2 tsn coconut oil
  • ¼ tsn salt
  • 90g desiccated coconut
  • 20g dried dates
  • 15g cocoa powder
  • 30ml honey

Filling:

  • 250g firm tofu
  • 220g ricotta cheese
  • 220g brown sugar
  • 70g cocoa powder
  • 2 egg whites
  • 1 tsn vanilla essence
  • 5 tsn coconut oil
  • 100g peanut butter
  • 1 tsn coffee graduals
  • ½ tsn ground cinnamon


Method:

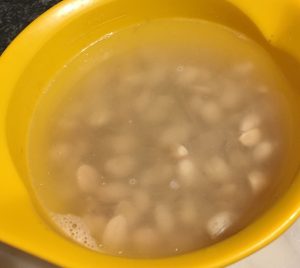
  1. Place the peanuts into a bowl and cover with boiling water. Soak nuts for 5 hours.
  2. Meanwhile, preheat the oven to 175c degrees and line a 25cm spring form cake tin with baking paper.
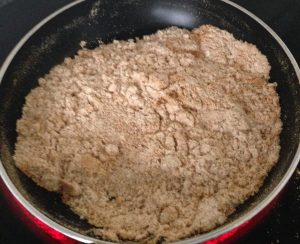
  3. Toast the coconut by placing in a fry pan on the cooktop on high heat.
  4. Using a spoon move the coconut around to ensure even toasting of the coconut until golden brown in colour. Place aside to cool.
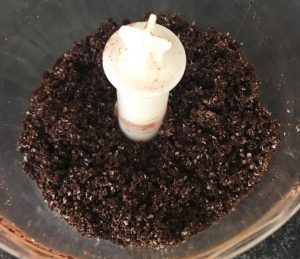
  5. Place the cooled coconut and remaining base ingredients onto a food processor and blitz until well combine and the mix resembles fine breadcrumb texture.
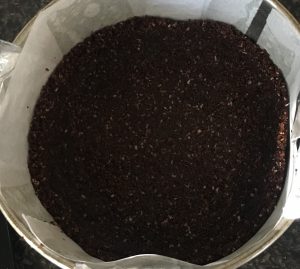
  6. Pour the base mix into the prepared cake tin and using the bottom and sides of a cup flatten the base and sides of the mix in the tin. Place the tin in the fridge to harden.
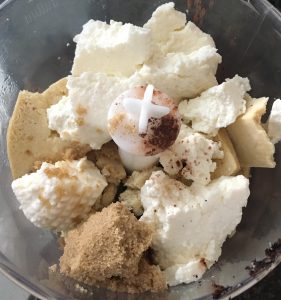
  7. To make the filling place all the filling ingredients into a food processor and blitz until smooth and silky in texture.
  8. Pour the filling mix into the cake tin over the base.
  9. Place the cake in the oven to bake for 1 hour or until a skewer inserted in the center comes out almost clean (if inserted in the sides it should come out clean).
  10. Move the cake to a cooling rack until cold to touch.
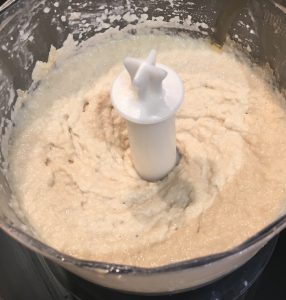
  11. Meanwhile make the icing by draining the peanuts and placing into a food processor along with the coconut cream and honey.
  12. Blitz the icing mix for 5 minutes, scraping down the sides every minute.
  13. To assemble the cake, remove the cooled cake from the tin and place on a serving plate.
  14. Spread the icing over the top of the cake and place the cake in the fridge for 2 hours to full set.


Note: I have decorated with extra chopped peanuts, extra toasted desiccated coconut and grated chocolate.


Coconut Peanut and Chocolate Tofu Cheesecake recipe

Step 1

Coconut Peanut and Chocolate Tofu Cheesecake recipe

Step 5

Coconut Peanut and Chocolate Tofu Cheesecake recipe

Step 6

Coconut Peanut and Chocolate Tofu Cheesecake recipe

Step 7

Coconut Peanut and Chocolate Tofu Cheesecake recipe

Step 7

Coconut Peanut and Chocolate Tofu Cheesecake recipe

Step 8

Coconut Peanut and Chocolate Tofu Cheesecake recipe

Step 12

Coconut Peanut and Chocolate Tofu Cheesecake recipe

Step 13

Coconut Peanut and Chocolate Tofu Cheesecake recipe

Step 14


Like this recipe? Subscribe via RSS or email to get my new entries and more scrumptious recipes with reviews.

Email, RSS Follow
Print
Leave a comment .
Tags: chocolate, cinnamon, coconut, coffee, firm tofu, peanut butter, peanuts, ricotta cheese, tofu .

Pacoca De Amendoim

Posted on March 25, 2017 Posted in Brazil .

Pacoca De Amendoim recipe

This sweet treat is a Brazilian beauty. A traditional candy (thought in my opinion more a slice than candy), this treat is simple, quick and super tasty.

Pacoca De Amendoim or ‘Pacoca’ is very common to serve during the Festa Junina, an annual Brazilian festival among many other occasions.

With only 5 ingredients this ”candy” can we whipped up in 10 minutes with no need for any baking as the fridge will do the setting for you.

Caramelized peanut aroma in flavor this recipe is a must to make!


Ingredients:

  • 130g coconut flour
  • 180g peanuts
  • 1 tsn salt
  • 170g brown sugar
  • 270g sweetened condensed milk


Method:

  1. Grease and line a 20cm square cake tin with baking paper.
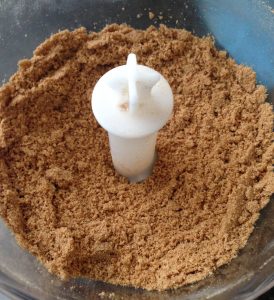
  2. Place the flour into a saucepan and stir on a medium heat for 5 minutes, pour into a bowl (sounds wrong but makes a huge difference to flavor).
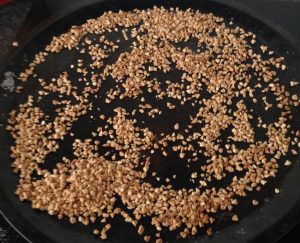
  3. Place the peanuts in the oven under the grill until slightly golden.
  4. Pour the peanuts into the flour bowl and add the the salt and sugar, stir to combine.
  5. Place the peanut mix into a food processor and blitz until well combined.
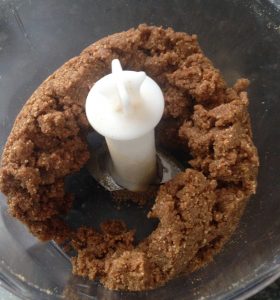
  6. Add the condensed milk and blitz until the mix balls together.
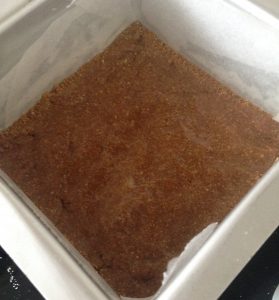
  7. Press the mix into the tin until flat.
  8. Refrigerate for 2 hours or until set.
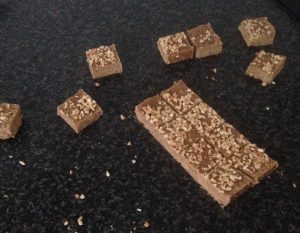
  9. Remove from the tin and cut into squares, enjoy.


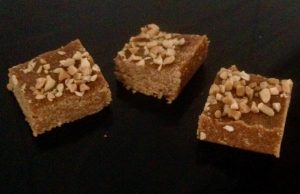
Note: I have topped with additional chopped peanuts.


Pacoca De Amendoim recipe
Step 2
Pacoca De Amendoim recipe

Step 3

Pacoca De Amendoim recipe
Step 5
Pacoca De Amendoim recipe
Step 6
Pacoca De Amendoim recipe

Step 7

Pacoca De Amendoim recipe
Step 9
Pacoca De Amendoim recipe
Step 9


Like this recipe? Please subscribe via RSS or email to get my new entries and more scrumptious recipes with reviews.


Email, RSS Follow
Print
Leave a comment .
Tags: brazil, coconut flour, Pacoca De Amendoim, peanuts .

Honey Nougat Crackle Cheesecake

Posted on September 4, 2016 Posted in Cakes .

Honey Nougat Crackle Cheesecake

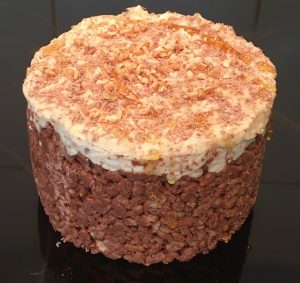
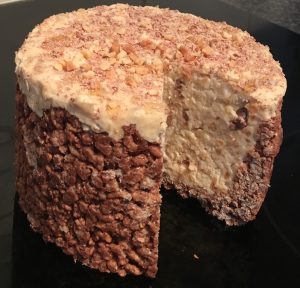
Honey Nougat Crackle Cheesecake recipe

Being a massive fan of Summer Rolls and Honey Nougat Chocolate Bars I decided I wanted to bake a dessert that would turned these bars into a luscious cake.

Honey, nougat, vanilla, peanuts and coconut are all ingredients that would work fabulously with a creamy textured cake, thus cheesecake it is.

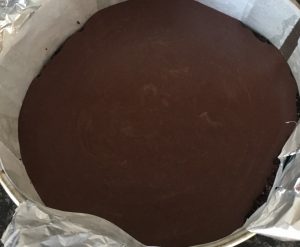
Both bars are covered with chocolate so to replicate this layer I opted to use the chocolate as the base to hold the cheesecake together. As cheesecake is creamy and missing crunch I decided on using rice bubbles for a chocolate crackle base.

A very simple no bake cheesecake that replicates the chocolate bars flavours wonderfully.

Deliciously tasty.

Honey Nougat Crackle Cheesecake recipe


Ingredients:

Base:

  • 100g rice bubbles
  • 40g desiccated coconut
  • 200g chocolate, melted

Filling:

  • 500g cream cheese, at room temperature
  • 160ml honey
  • 1 tsn vanilla essence
  • 45g peanuts, chopped
  • 70g desiccated coconut
  • 2 tsn gelatin
  • 40ml water
  • 110g thickened cream
  • 2 summer roll chocolate bars, chopped
  • 2 honey nougat chocolate bars, chopped


Method:

  1. Line a 25cm spring form cake tin with baking paper.
  2. Place the rice bubbles and coconut into a bowl.
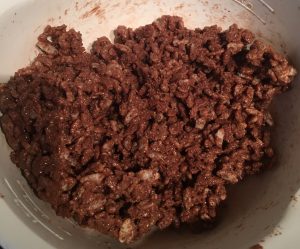
  3. Add the melted chocolate and stir until well combine and all rice bubbles are covered.
  4. Press 1/3rd of the crackle mix on the bottom of the cake base and the remaining up the sides of the cake tin by pressing into the tin with damp hands.
  5. Place the tin in the fridge to set.
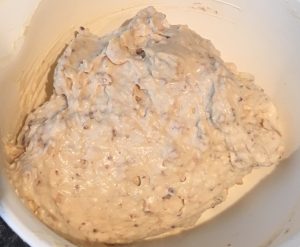
  6. Meanwhile, to make the filling place the cream cheese, honey and vanilla into a bowl and whip until creamy and smooth with electric beaters.
  7. Boil the water and add in the gelatin, stir until dissolved and no lumps.
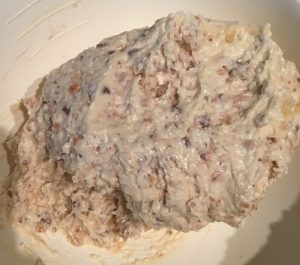
  8. Add the peanuts and coconut to the cheese mix and beat for 1 minute.
  9. Add the cream and gelatin mix and beat for 1 minute.
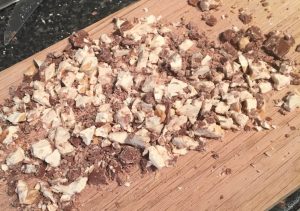
  10. Finely chop up the chocolate bars and add to the mix, beat for 1 minute.
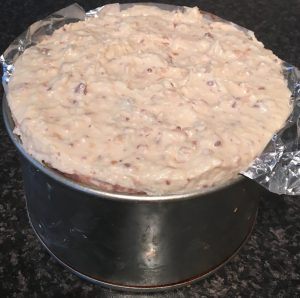
  11. Pour the mixture into the prepared cake tin and leave in the fridge to set for 5 hours.
  12. Remove the cake from the tin and top with grated chocolate, extra peanuts and drizzles of honey.


Honey Nougat Crackle Cheesecake recipe
Step 3
Honey Nougat Crackle Cheesecake recipe

Step 8

Honey Nougat Crackle Cheesecake recipe

Step 10

Honey Nougat Crackle Cheesecake recipe

Step 10

Honey Nougat Crackle Cheesecake recipe

Step 11

Honey Nougat Crackle Cheesecake recipe

Step 12


Like this recipe? Subscribe via RSS or email to get my new entries and more scrumptious recipes with reviews.

Email, RSS Follow
Print
Leave a comment .
Tags: cheesecake, chocolate crackle, honey, Honey Nougat Crackle Cheesecake, no bake, nougat, peanuts .

Novelty Nougat Summer Roll

Posted on January 12, 2015 Posted in Unique .

Novelty Nougat Summer Roll

Novelty Nougat Summer Roll recipe

You many recall a while back I made a cake sized novelty Chomp Chocolate Bar. After a friend recently went though my website index and saw the Chomp Chocolate Bar recipe of course I had another challenge thrown at me fairly swiftly.

Not one to disappoint, the next day I was in the kitchen with a belly full of summer rolls that were a must to devour to ensure I was 100% all over the ingredients, taste and texture.

This experimental session was my first endeavor at making nougat (multiple times to get the texture spot on) and did include many modifications along the way, however in the end the outcome was amazing!


Ingredients:

  • 50g peanuts
  • 15g desiccated coconut
  • 140g sugar
  • 125g glucose syrup
  • 1 egg white
  • ¼ vanilla essence
  • 40g cream
  • 125g milk chocolate


Method:

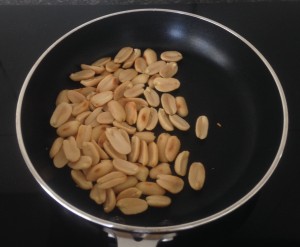
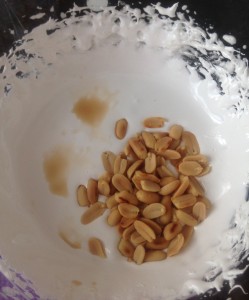
  1. Place the peanuts into a pan and on low heat roast the peanuts on the stove until a slight golden colour forms. Set the peanuts aside.
  2. Place the coconut into the same pan and again roast until the coconut has a slight golden colour. Set aside.
  3. Place a piece of baking paper on a tray with oil spray on both sides of the paper.
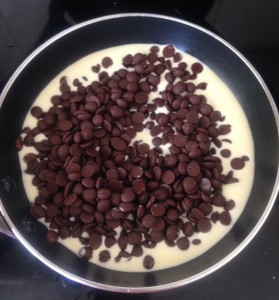
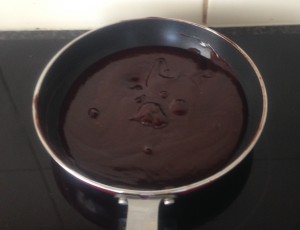
  4. To make the chocolate place the cream in a saucepan on a low heat on the stove and add in the chocolate chip pieces. Once the chocolate begins to melt you can remove off the heat and stir the mix until the chocolate is smooth and glossy. Set aside for later.
  5. Place the sugar, glucose syrup, and 20ml of water in a saucepan and stir on a medium low heat for 10 minutes.
  6. In the meantime place approx. 10cm of water in an empty the sink to cool down the bottom of the saucepan immediately for later.
  7. Beat the egg white with electric beaters until firm peaks have formed.
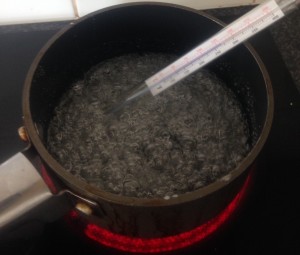
  8. Increase the heat of the stove for the sugar mix to high until the mix boils, then place a sugar thermometer in the mix and keep an eye on the temperature.
  9. Once the temperature hits 150c degrees remove off the heat and place the bottom of the pan in the sink of water for 5 seconds or until the bubbles subside. This will stop the temperature climbing past 150c.
  10. On a medium speed of the electric beaters whish the egg whites again while you carefully pour the sugar syrup into the egg white mix in a slow and continuous flow. NOTE It is important not to pour the sugar syrup on the side of the bowl or on the beaters as the syrup with seize before it is incorporated into the mix.
  11. Once the syrup is all added in continue beating for an additional 3 minutes.
  12. Add the vanilla and the peanuts to the mix, stirring to combine.
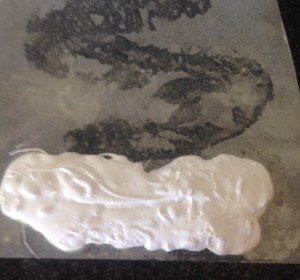
  13. Spoon the nougat mix onto the baking paper in a log shape and roll the baking paper, twisting the paper at both ends to ensure the nougat is tightly enclosed in the log shape. Place in the freezer for 15 minutes to set.
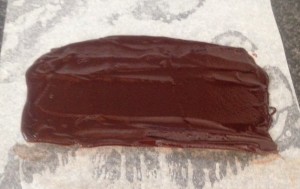
  14. On another piece of oiled baking paper spread out the chocolate mix from earlier in a fat log shape, big enough to cover all sides of the nougat log.
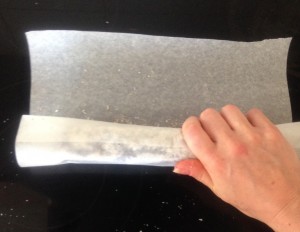
  15. Remove the log from the freezer as well as the accompanying paper and place on the spread chocolate.
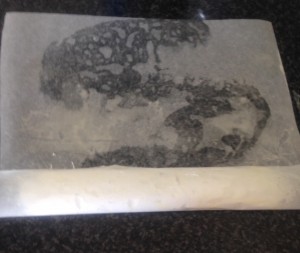
  16. Roll the baking paper with the log in the center ensuring the log is completely covered in chocolate.
  17. Again twist the ends of the baking paper to enclose the log with chocolate and carefully with your hands place some pressure on the log while rolling to ensure a full distribution of the chocolate on the nougat. Place in the freezer again for 5 minutes.
  18. Remove the roll from the freezer and carefully unravel the paper completely.
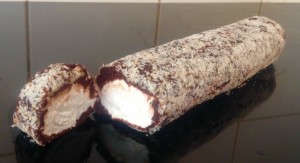
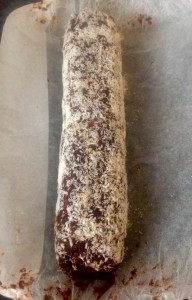
  19. Sprinkle the coconut all over the baking paper and roll the log along the paper, pushing the coconut into the roll as you roll it.
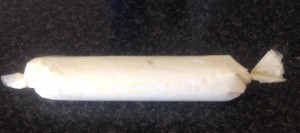
  20. For the last time re-roll the log in the baking paper and twist the sides.
  21. Place in the freezer for 10 minutes to set, following cut to enjoy.


Novelty Nougat Summer Roll recipe

Step 1

Novelty Nougat Summer Roll recipe

Step 4

Novelty Nougat Summer Roll recipe

Step 4

Novelty Nougat Summer Roll recipe

Step 8

Novelty Nougat Summer Roll recipe

Step 12

Novelty Nougat Summer Roll recipe

Step 13

Novelty Nougat Summer Roll recipe

Step 13

Novelty Nougat Summer Roll recipe

Step 13

Novelty Nougat Summer Roll recipe

Step 14

Novelty Nougat Summer Roll recipe

Step 16

Novelty Nougat Summer Roll recipe

Step 19


Like this recipe? Subscribe via RSS or email to get my new entries and more scrumptious recipes with reviews.

Email, RSS Follow
Print
Leave a comment .
Tags: chocolate, chocolate bar, coconut, nougat, Novelty Nougat Summer Roll, peanuts, summer roll .

Pages

  • About Me
  • Baking Metrics
  • Blogroll
  • Common Baking Questions
  • Recipe Index
  • Tips & Tricks
  • Contact

Archives

  • February 2022
  • October 2021
  • September 2021
  • August 2021
  • April 2021
  • February 2021
  • January 2021
  • December 2020
  • November 2020
  • October 2020
  • September 2020
  • August 2020
  • July 2020
  • June 2020
  • May 2020
  • September 2019
  • June 2019
  • May 2019
  • April 2019
  • March 2019
  • February 2019
  • January 2019
  • December 2018
  • November 2018
  • October 2018
  • September 2018
  • August 2018
  • July 2018
  • June 2018
  • May 2018
  • April 2018
  • March 2018
  • February 2018
  • January 2018
  • December 2017
  • November 2017
  • October 2017
  • September 2017
  • August 2017
  • July 2017
  • June 2017
  • May 2017
  • April 2017
  • March 2017
  • February 2017
  • January 2017
  • December 2016
  • November 2016
  • October 2016
  • September 2016
  • August 2016
  • July 2016
  • June 2016
  • May 2016
  • April 2016
  • March 2016
  • February 2016
  • January 2016
  • December 2015
  • November 2015
  • October 2015
  • September 2015
  • August 2015
  • July 2015
  • June 2015
  • May 2015
  • April 2015
  • March 2015
  • February 2015
  • January 2015
  • December 2014
  • November 2014
  • October 2014
  • September 2014
  • August 2014
  • July 2014
  • June 2014
  • May 2014
  • April 2014
  • March 2014
  • February 2014
  • January 2014
  • December 2013

Categories

  • America (5)
  • Arabic (1)
  • Australian (2)
  • Biscuits (24)
  • Brazil (1)
  • Bread (12)
  • Brownies (5)
  • Cakes (141)
  • Croatian (1)
  • Cupcakes (20)
  • Custard (1)
  • Doughnuts (6)
  • Flan (1)
  • France (5)
  • Fudge (3)
  • German (1)
  • Greece (2)
  • Hungary (1)
  • Ice-cream & Sorbet (15)
  • Ice-cream cake (6)
  • Icing (18)
  • Italy (4)
  • Jam (1)
  • Jamaican (1)
  • Lebanese (1)
  • Marshmallows (2)
  • Mexican (1)
  • Morocco (1)
  • Mousse (2)
  • Muffins (1)
  • Panna Cotta (1)
  • Pastries (2)
  • Pies (7)
  • Portugal (1)
  • Pudding (12)
  • Roulade (1)
  • Russia (1)
  • Slice (27)
  • Souffle (1)
  • Sweden (1)
  • Swedish (1)
  • Syrup (1)
  • Tarts (13)
  • Traditional (17)
  • Trifile (1)
  • Truffles (5)
  • Turkey (1)
  • Uncategorized (1)
  • Unique (10)

WordPress

  • Register
  • Log in
  • WordPress

Subscribe

  • Entries (RSS)
  • Comments (RSS)

CyberChimps WordPress Themes

© Sweet Tooth Experiments