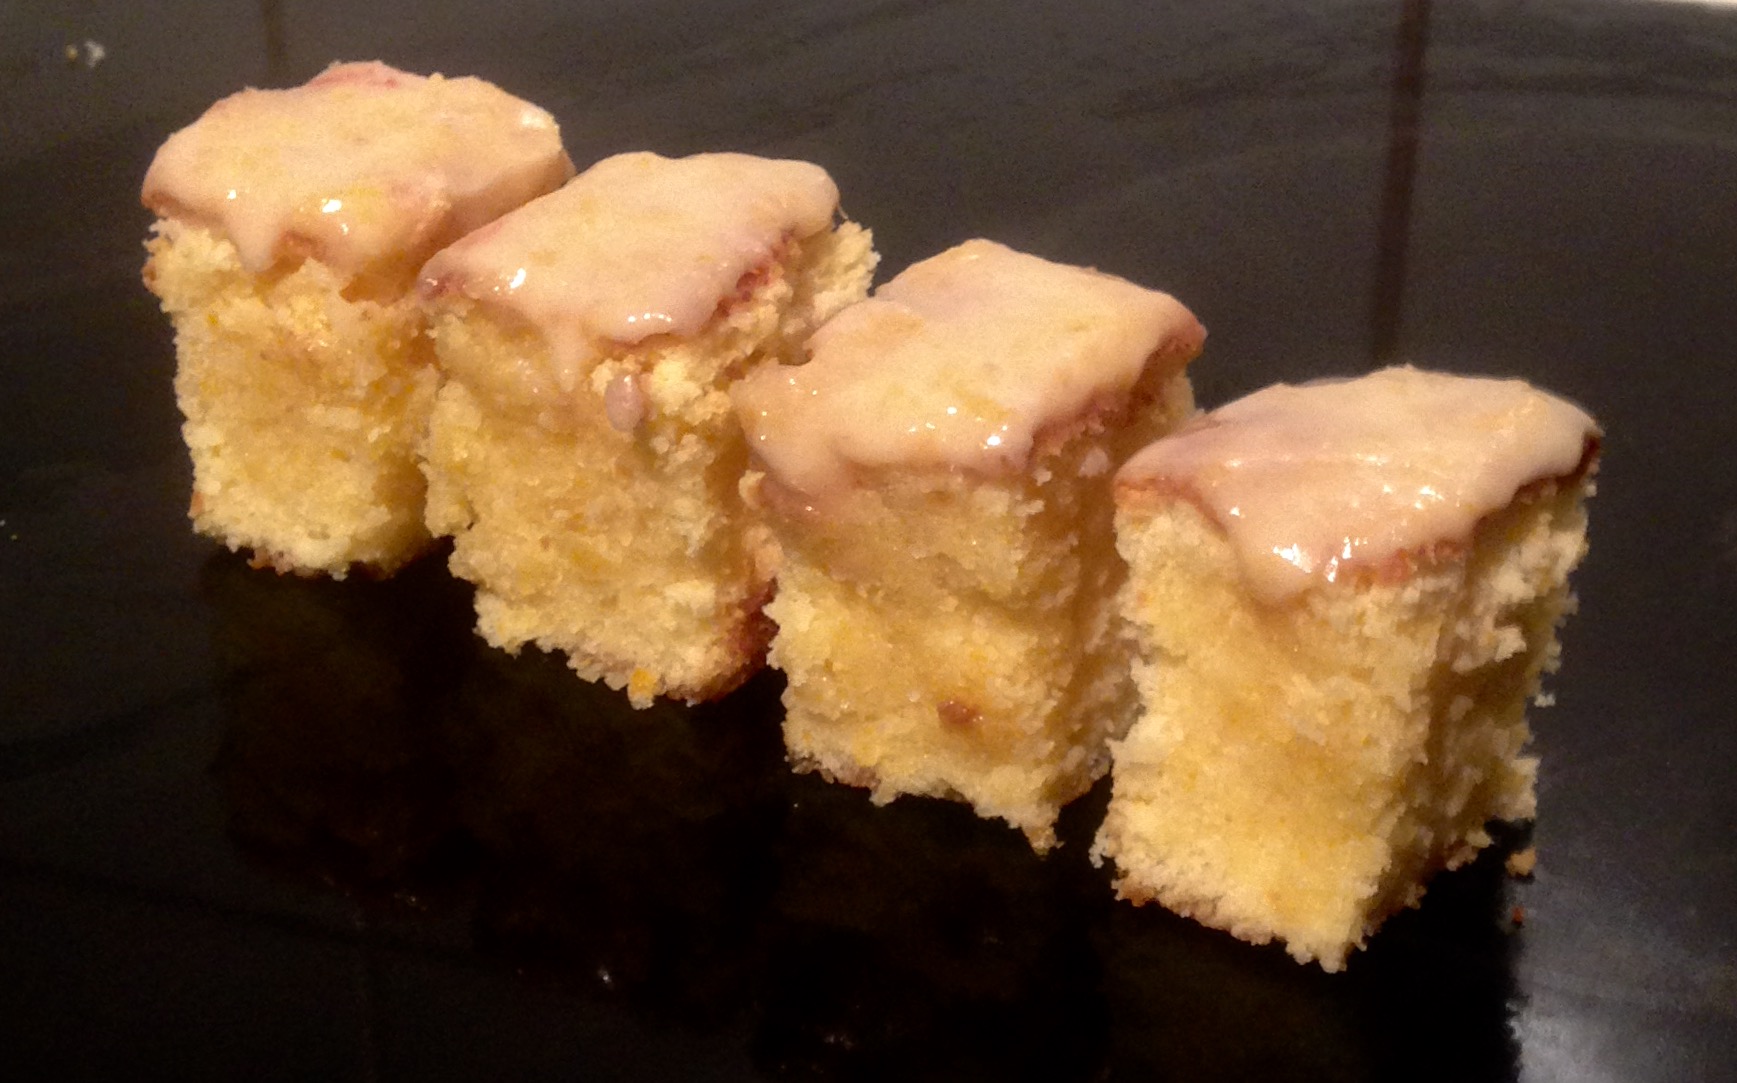
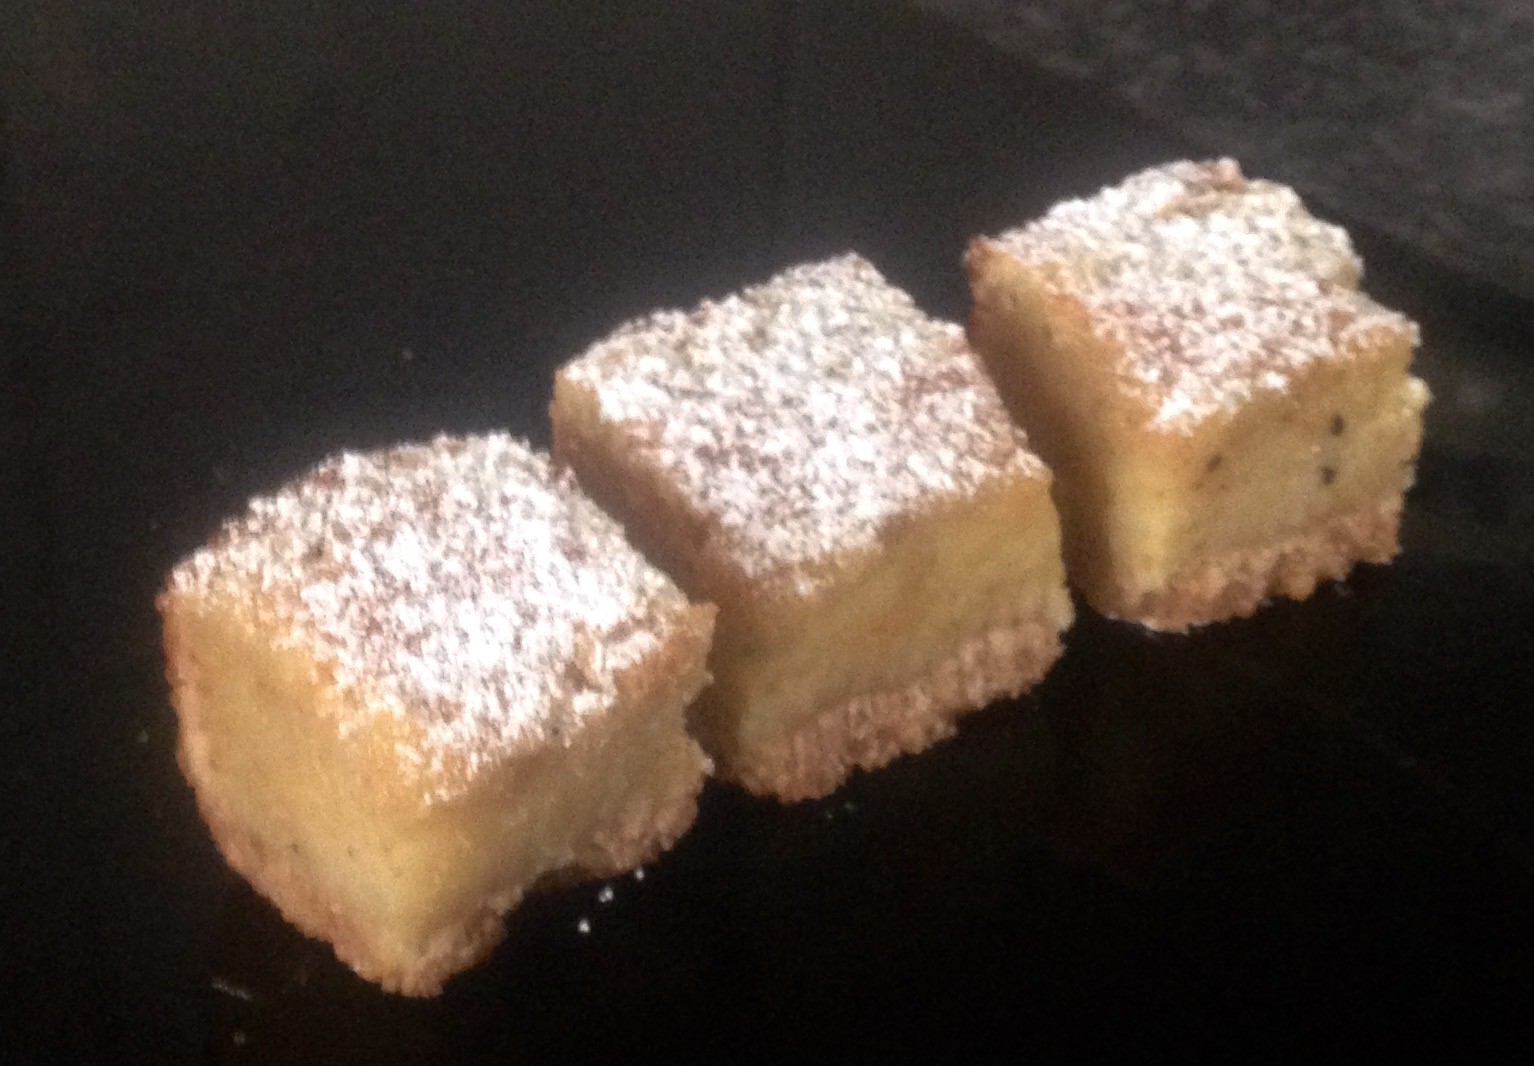
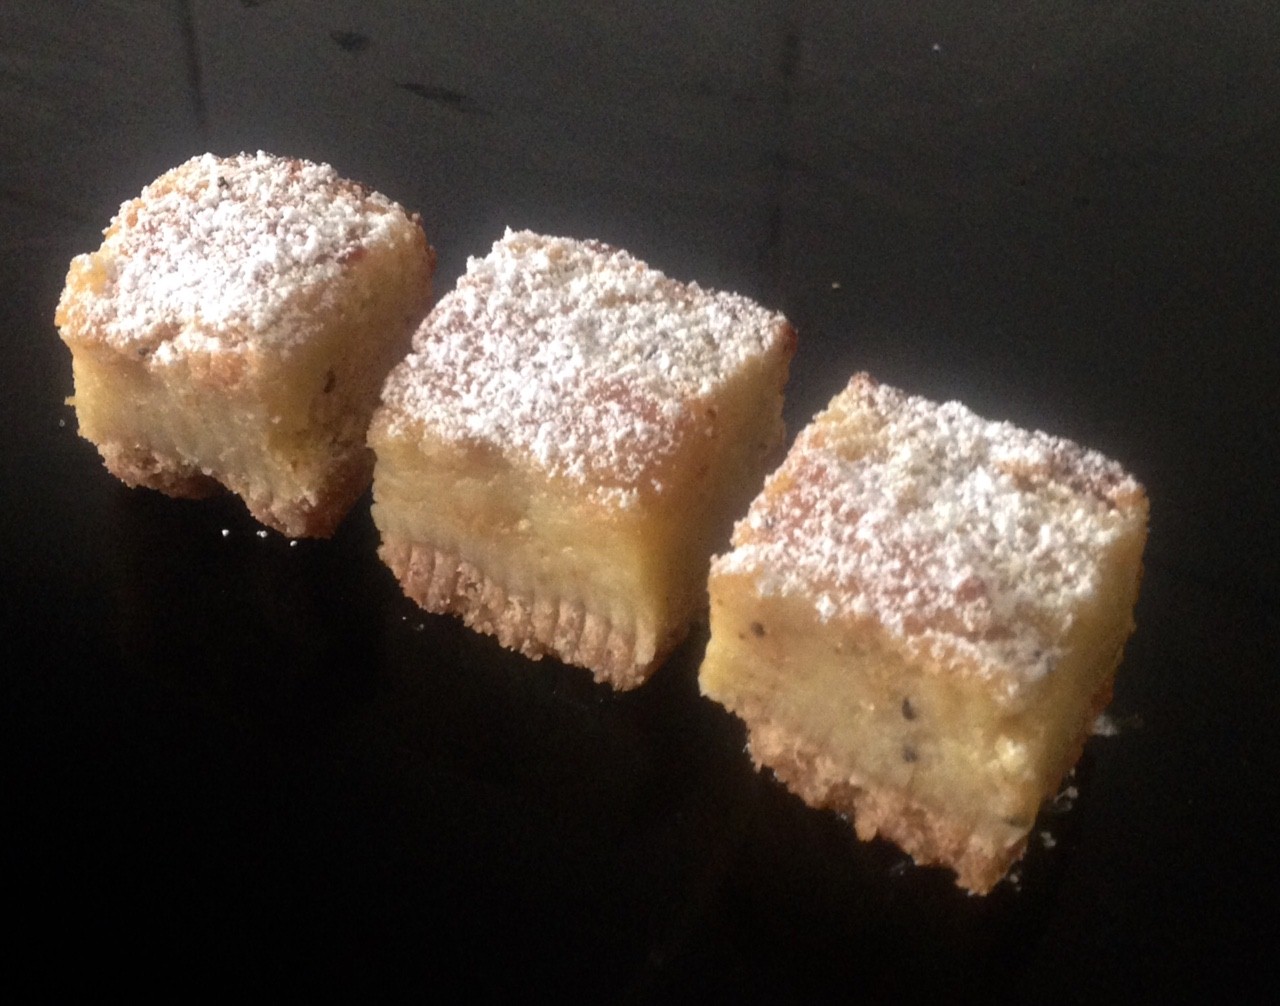
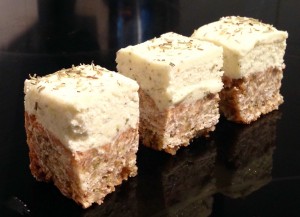
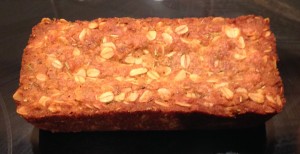
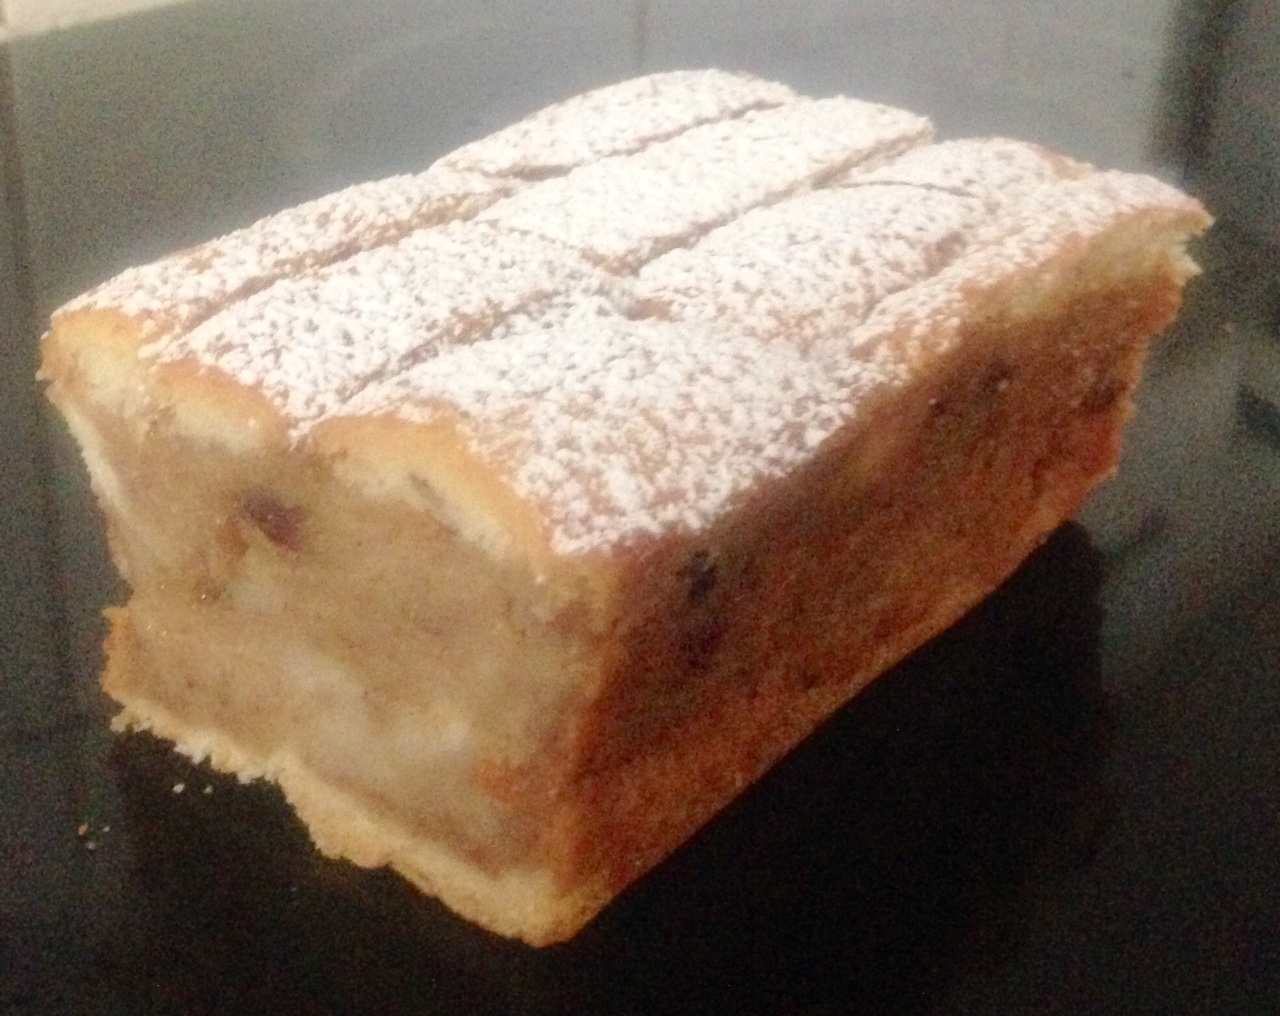
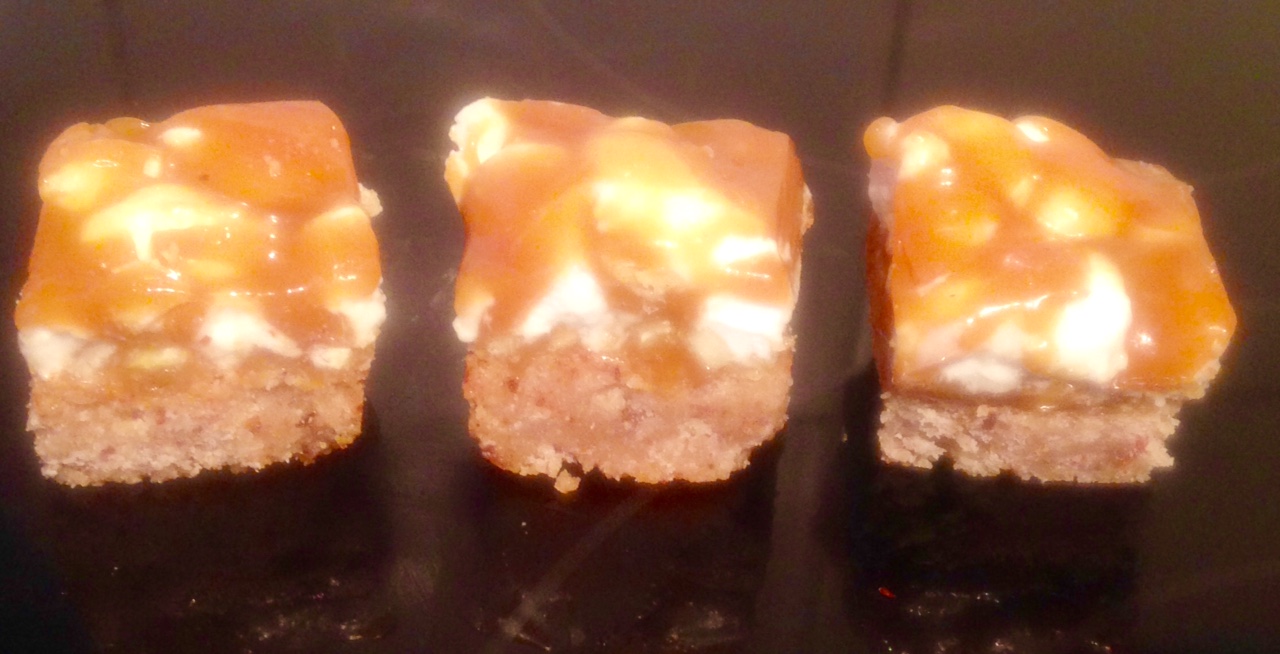
White Honey Blondies
Blondies are a brownie without cocoa powder and usually the addition of vanilla essence.
Why this is a ‘white’ blondie is due to the chocolate being different to a brownie/blondie, in which is milk or dark chocolate. In this instance I have opted for white chocolate and with keeping with this theme I also utilised white sugar instead of the usual brown sugar.
For a little variation on this sweet treat (and there are soooo many variations from different chocolates, nuts, dried fruit, essence), I decided to try something that is quite unusual while still keeping in with the blondies ‘warm’ theme therefore I introduced honey into the mix.
This is definitely a very sweet treat – keeping in with blonie/brownie traditional texture and expectations.
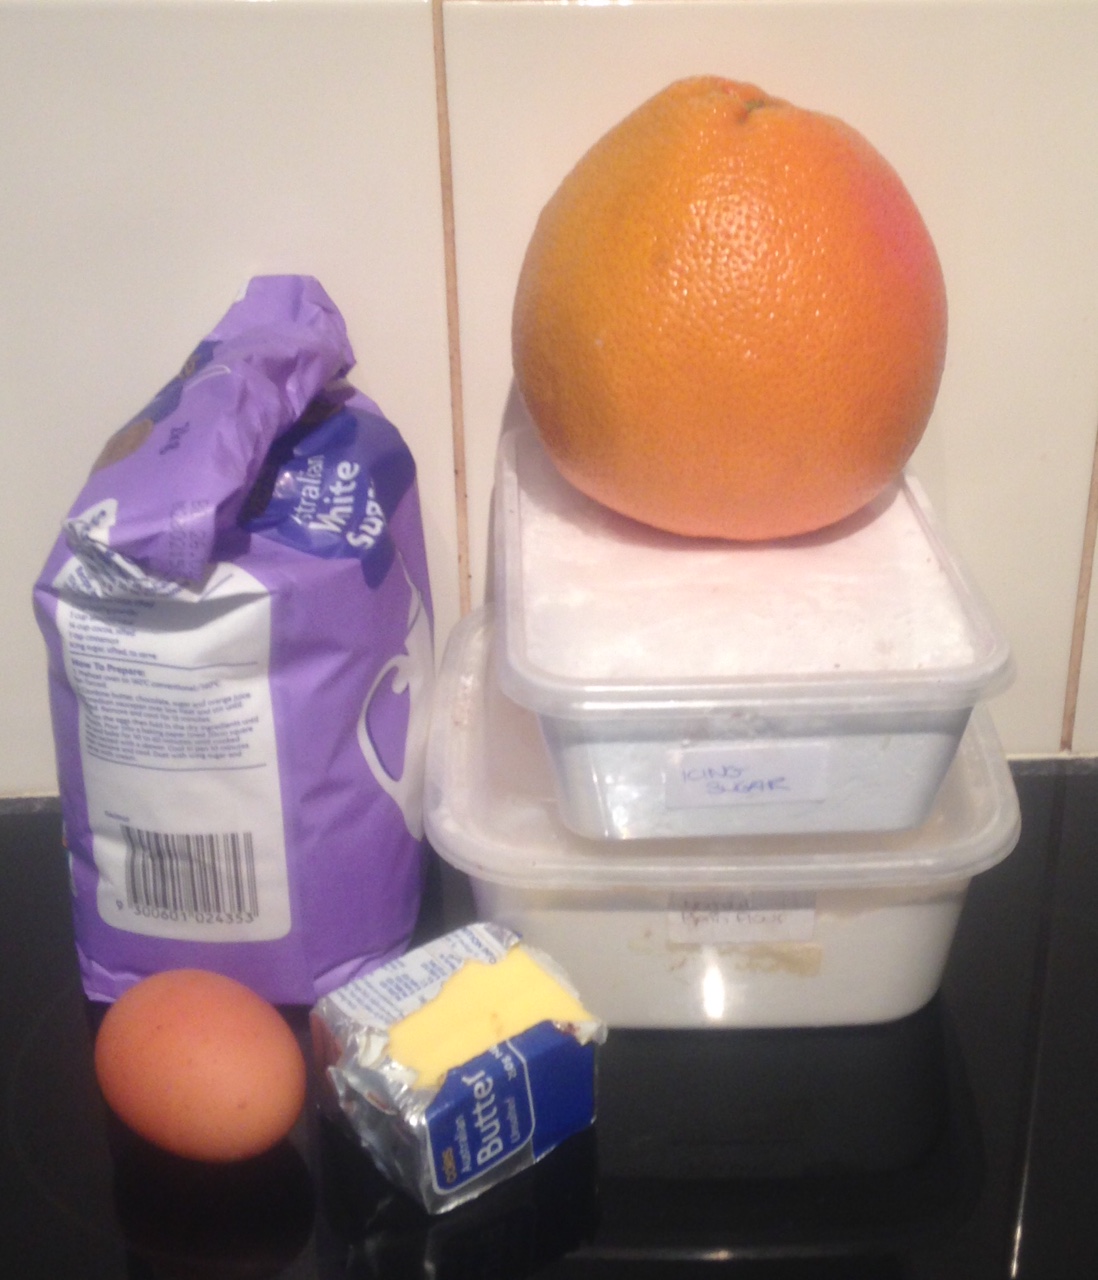
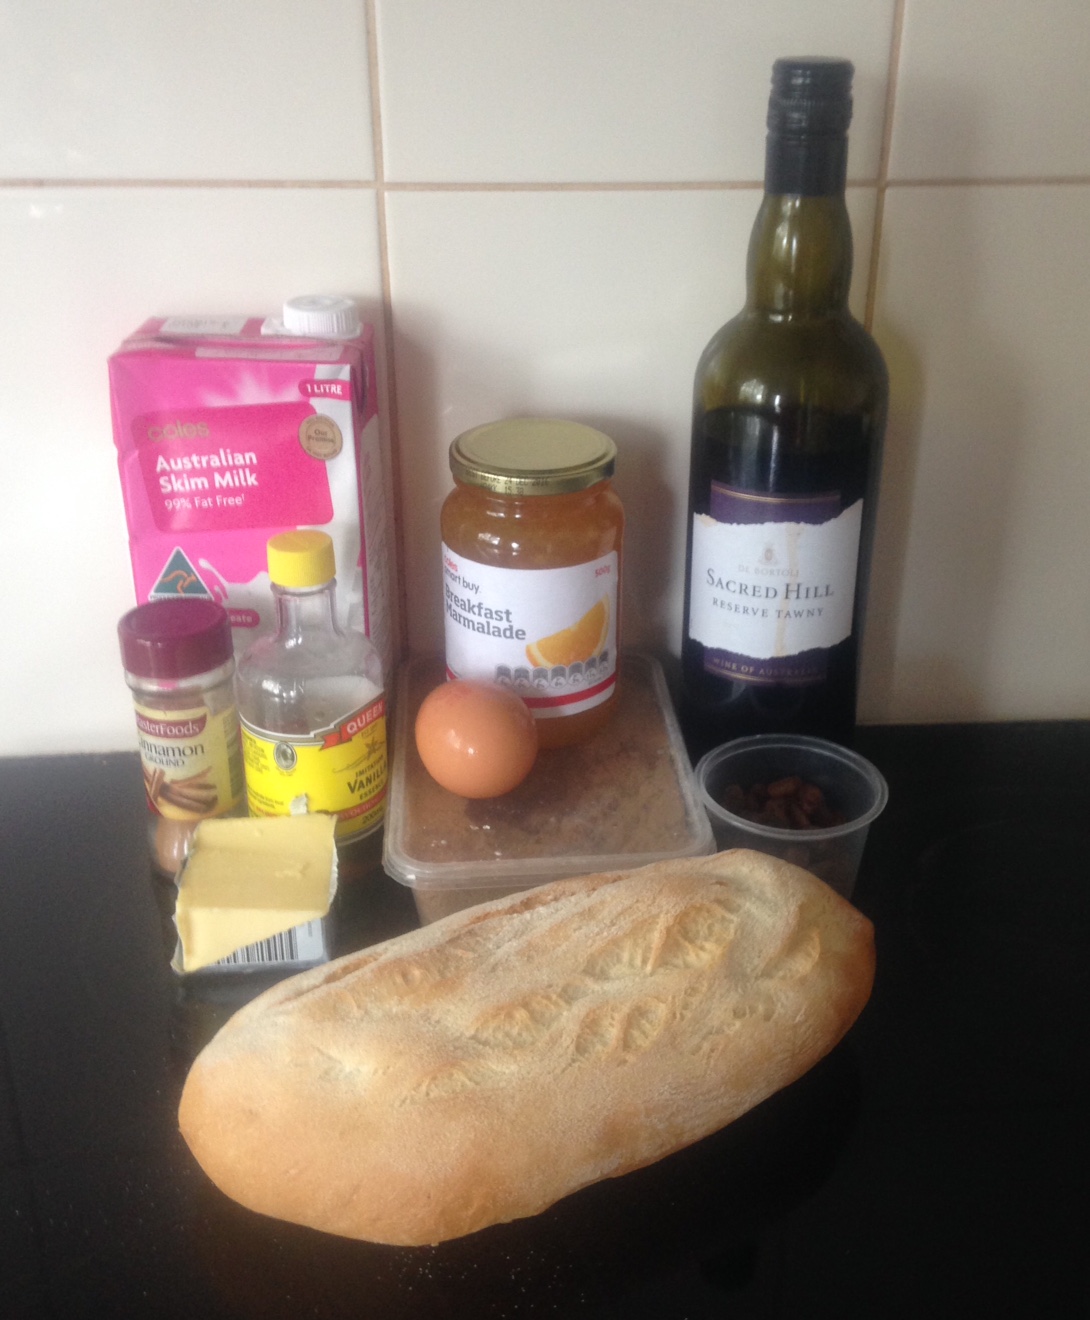
Ingredients:
- 65g honey
- 125g butter
- 120g white sugar
- 220g white chocolate
- 1 tsn vanilla essence
- 2 eggs
- 150g plain flour
- 50g macadamia nuts
Method:
- Pre-heat the oven to 180c degrees and line a 20cm x 20cm cake tin with baking paper.
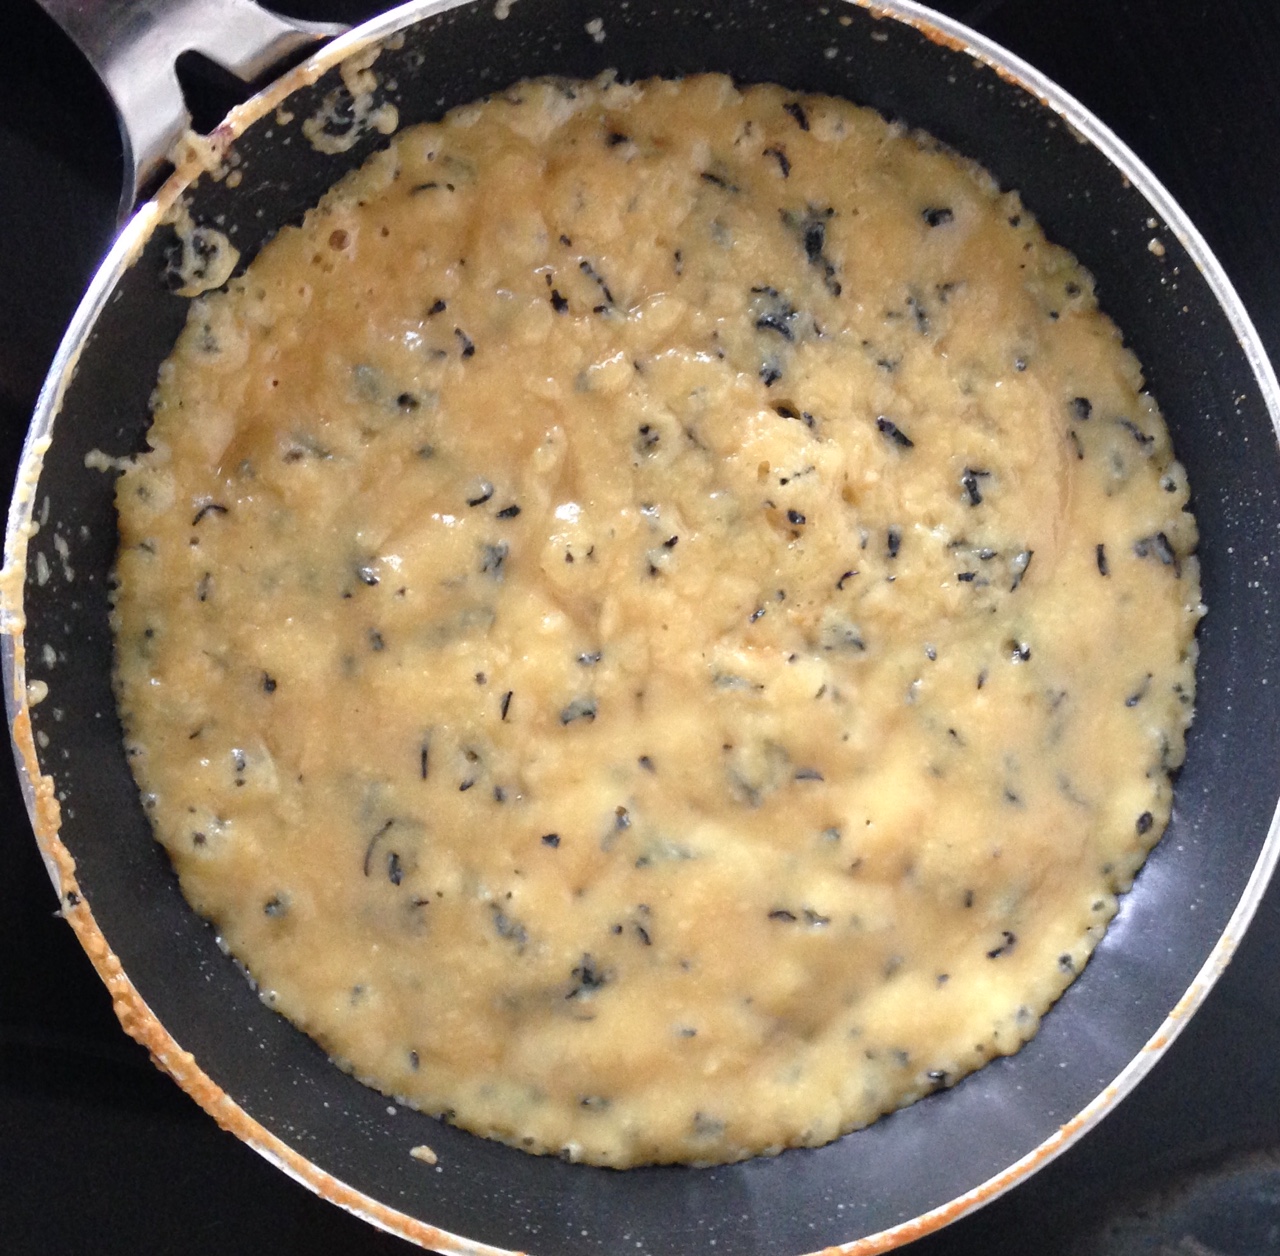
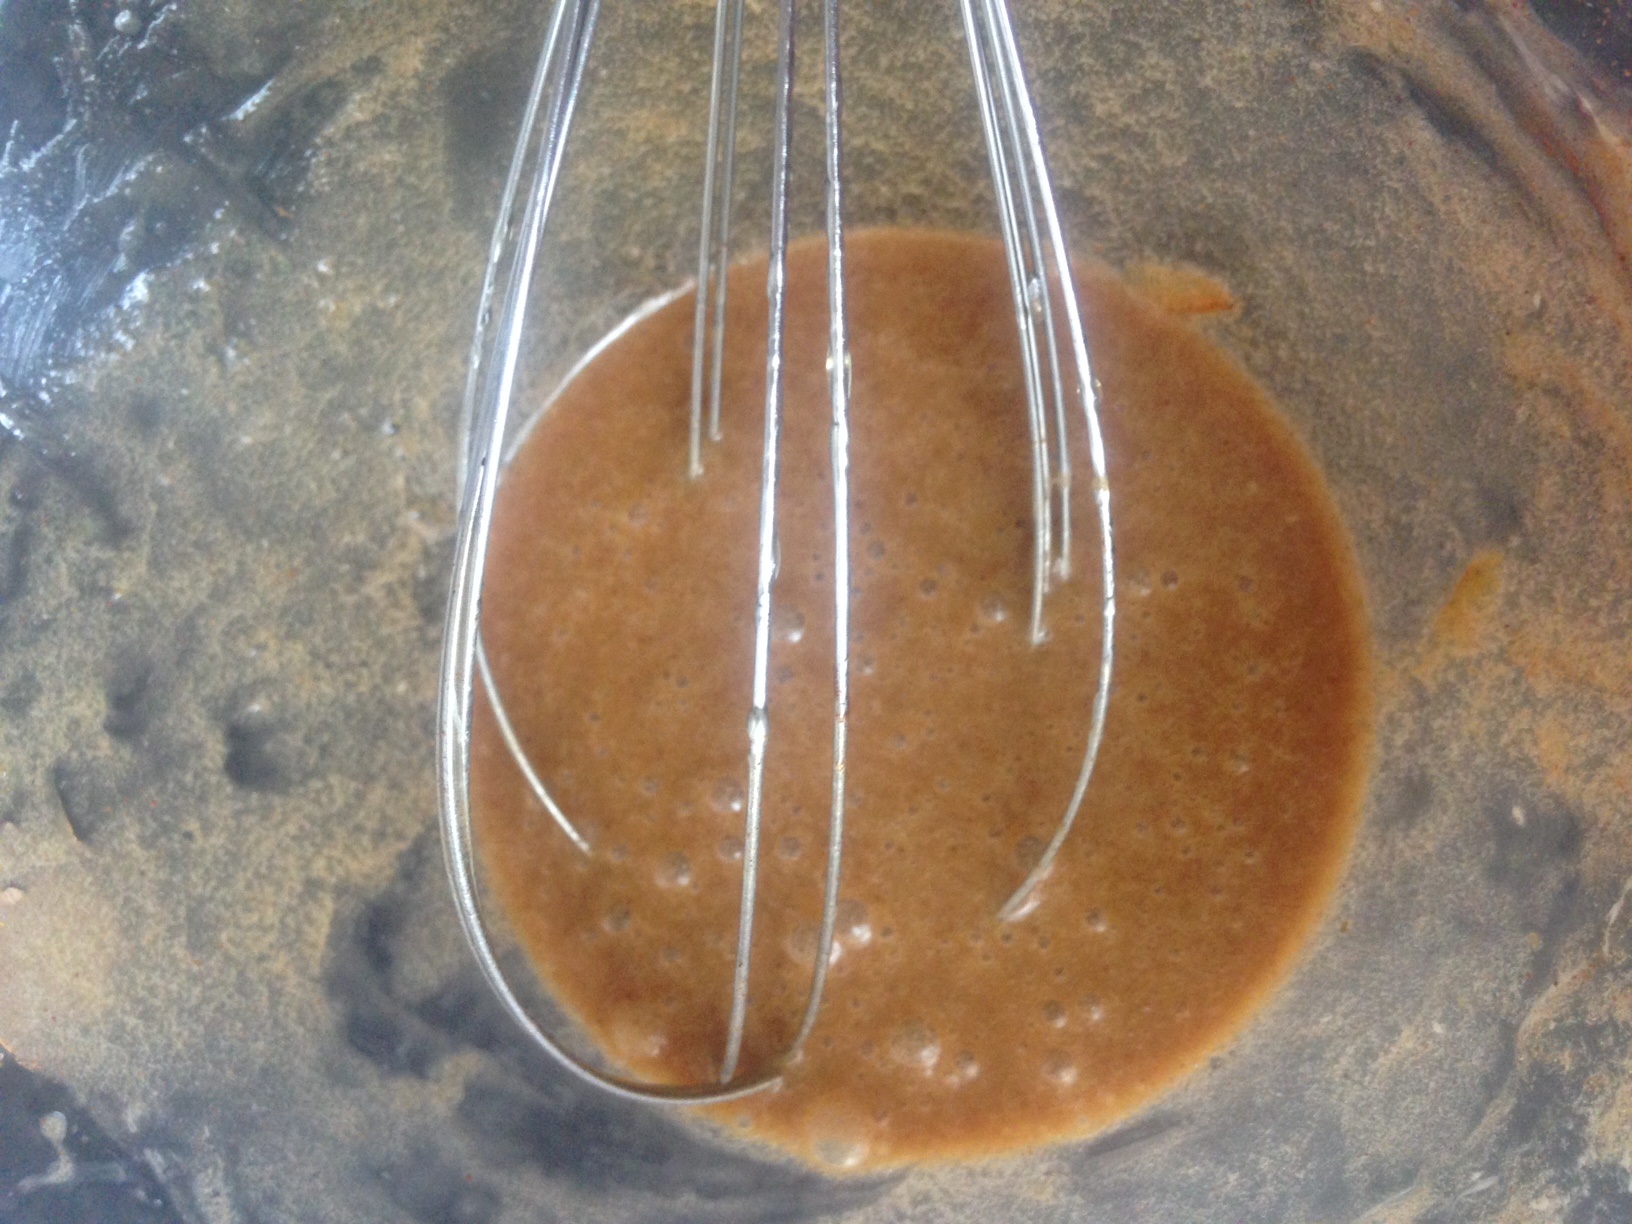
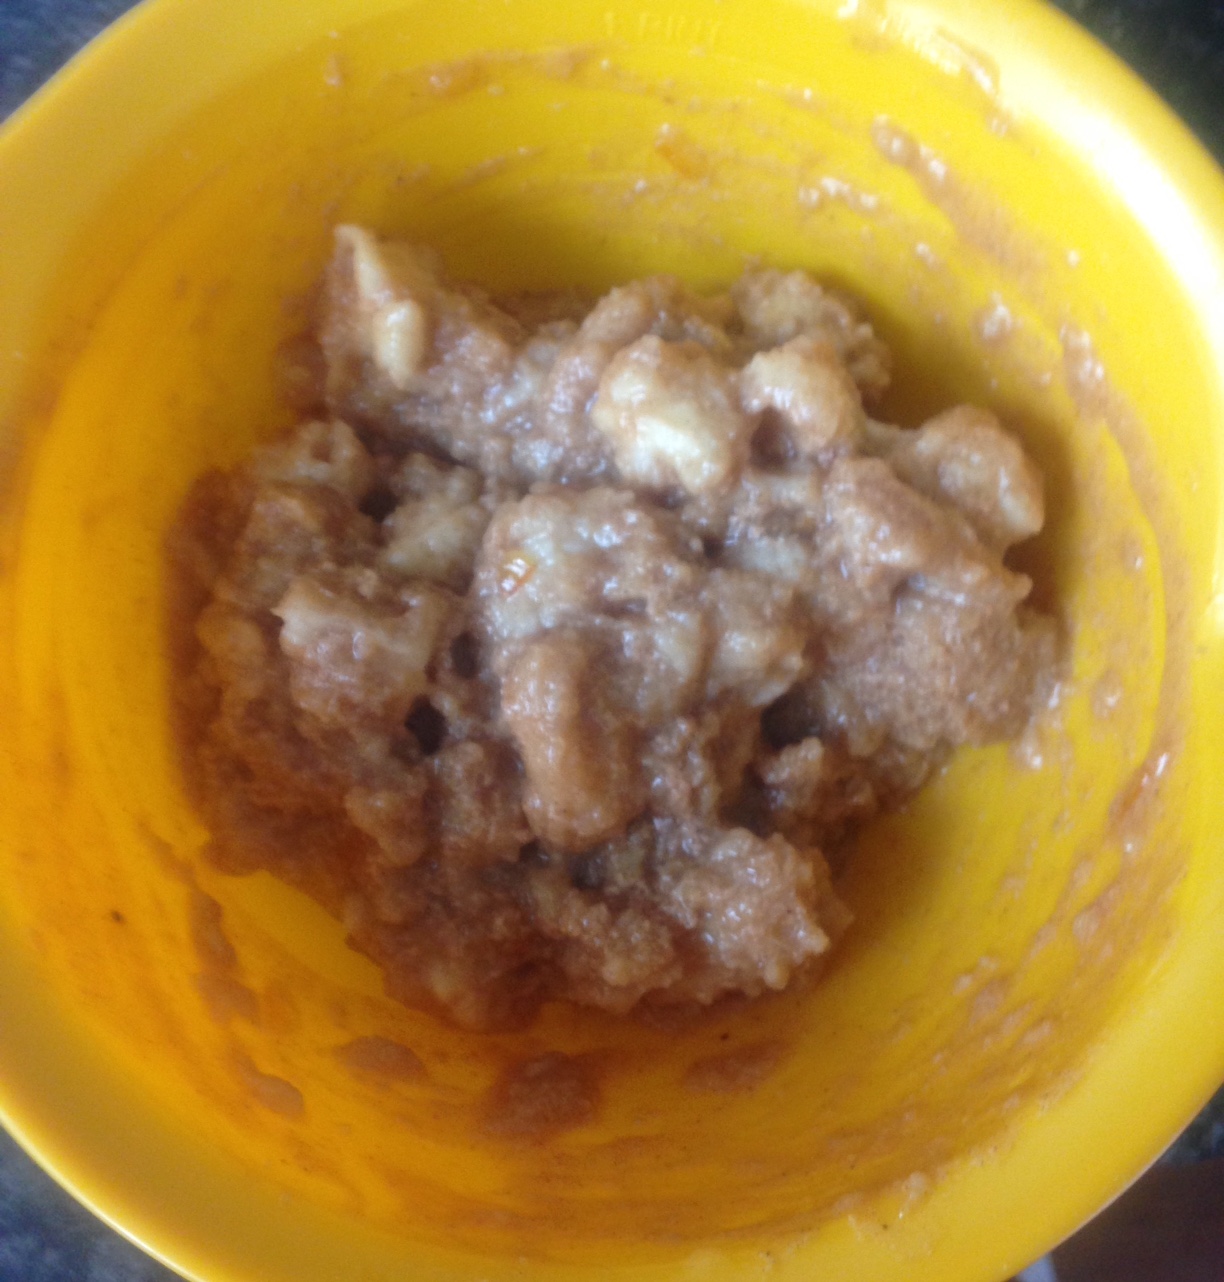
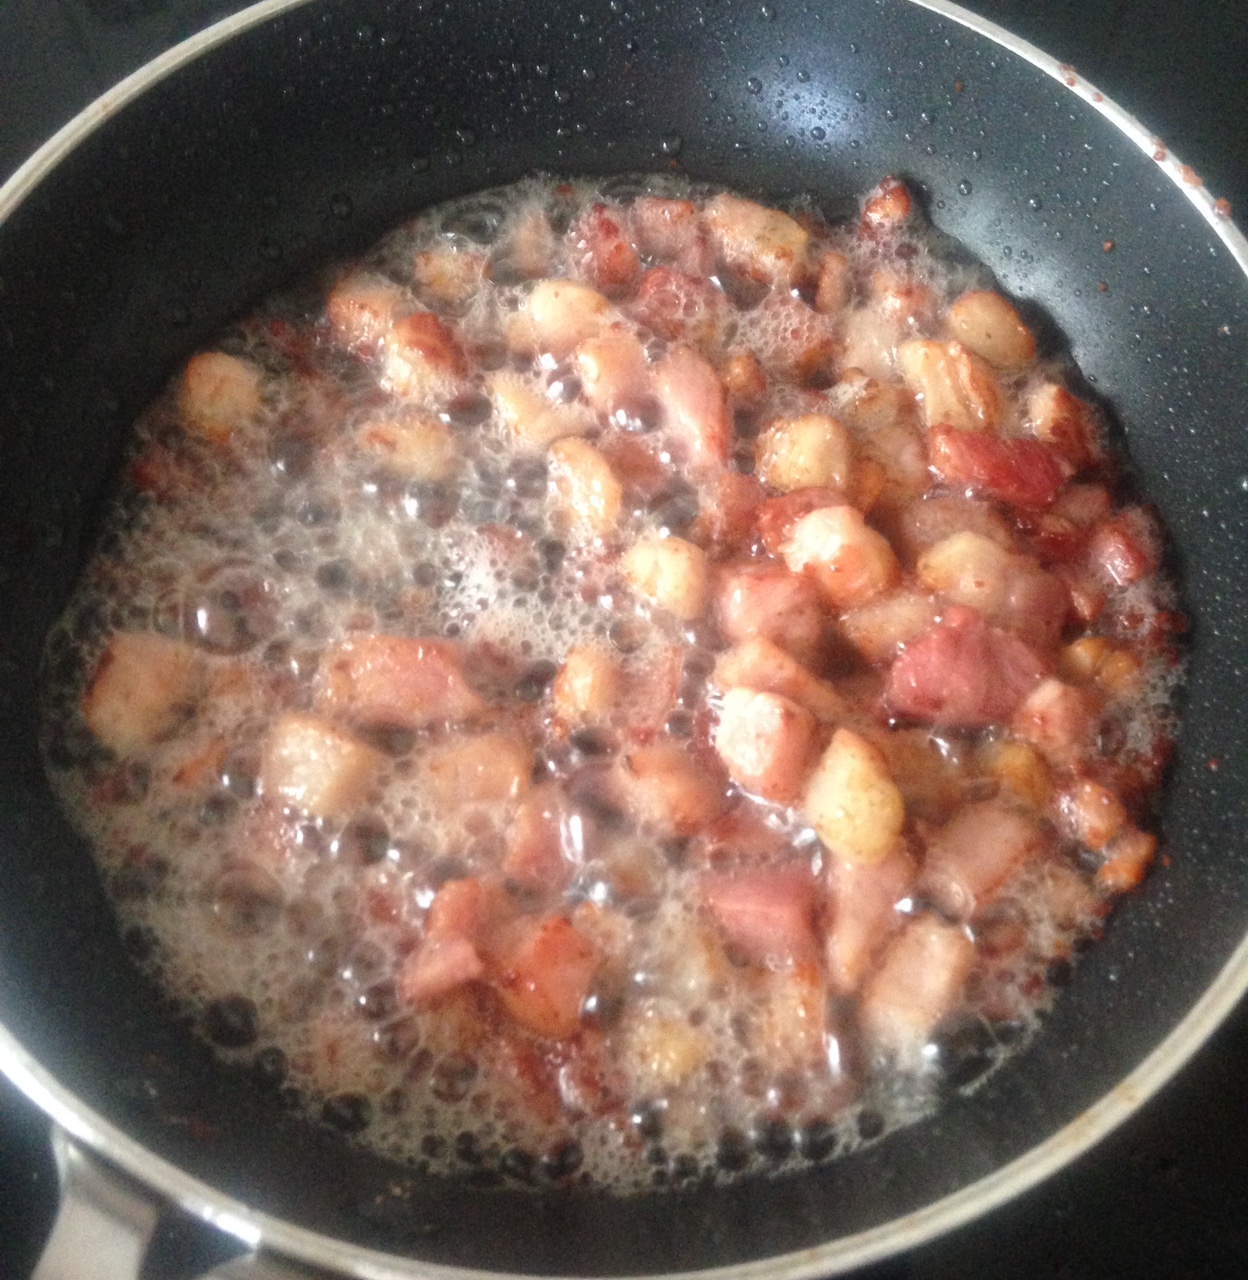
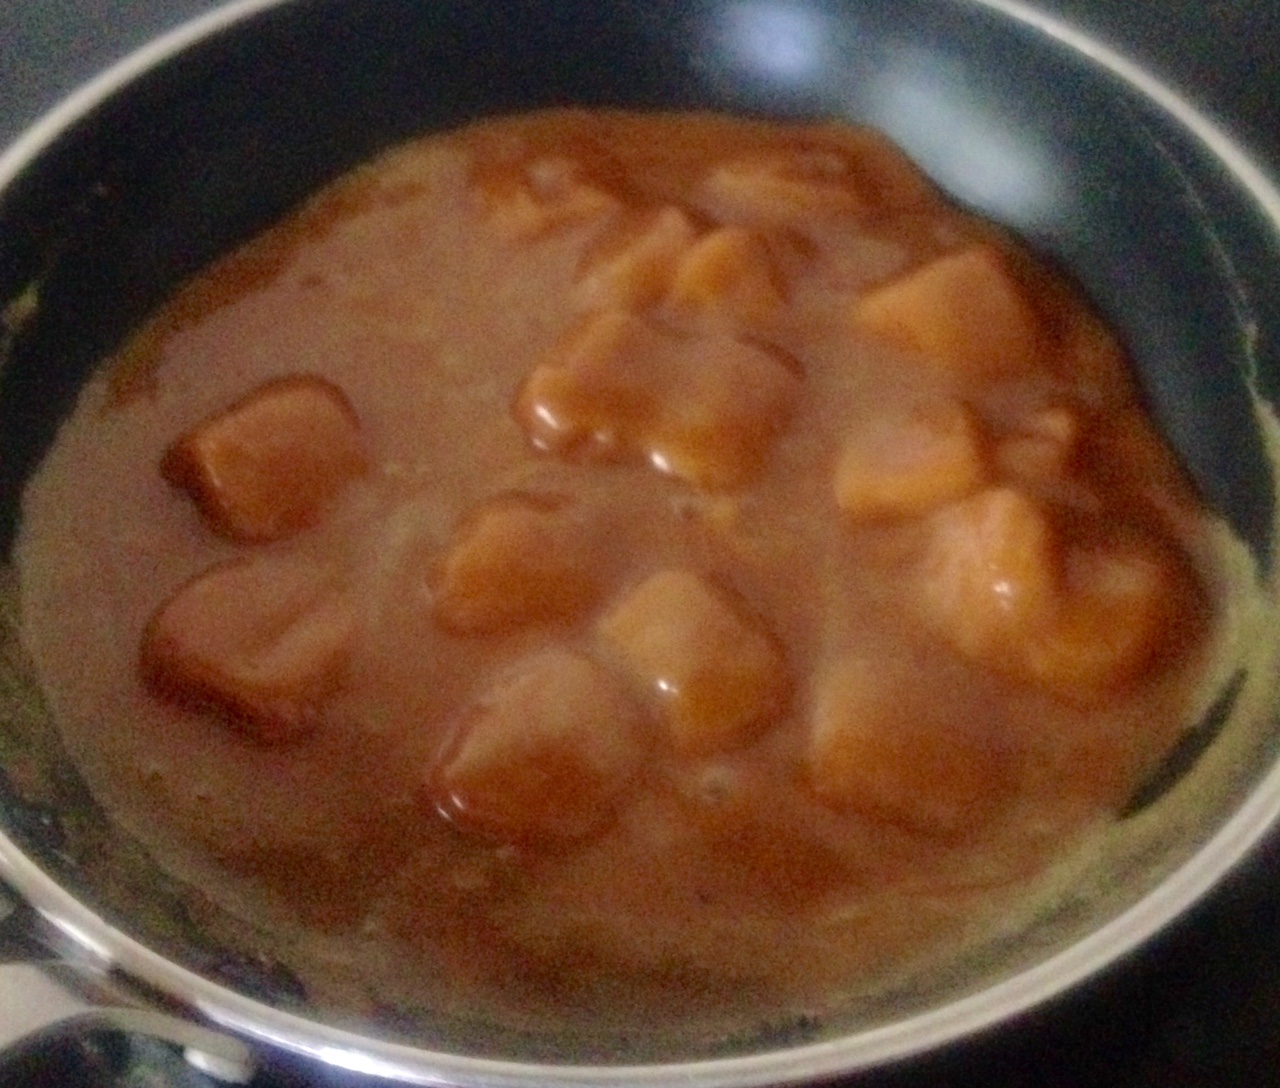
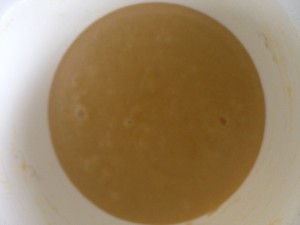
- Place the honey, butter and sugar into a saucepan on a medium heat and stir until the sugar is melted and the mix is well combine.
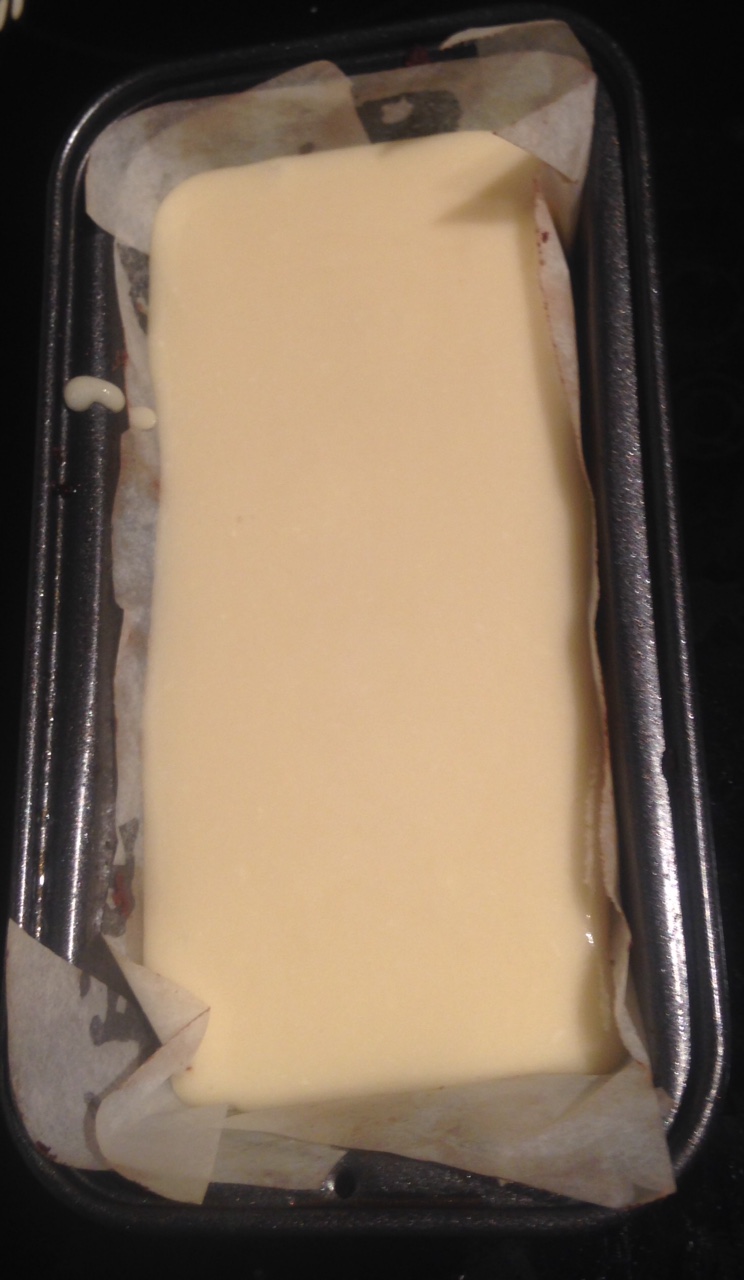
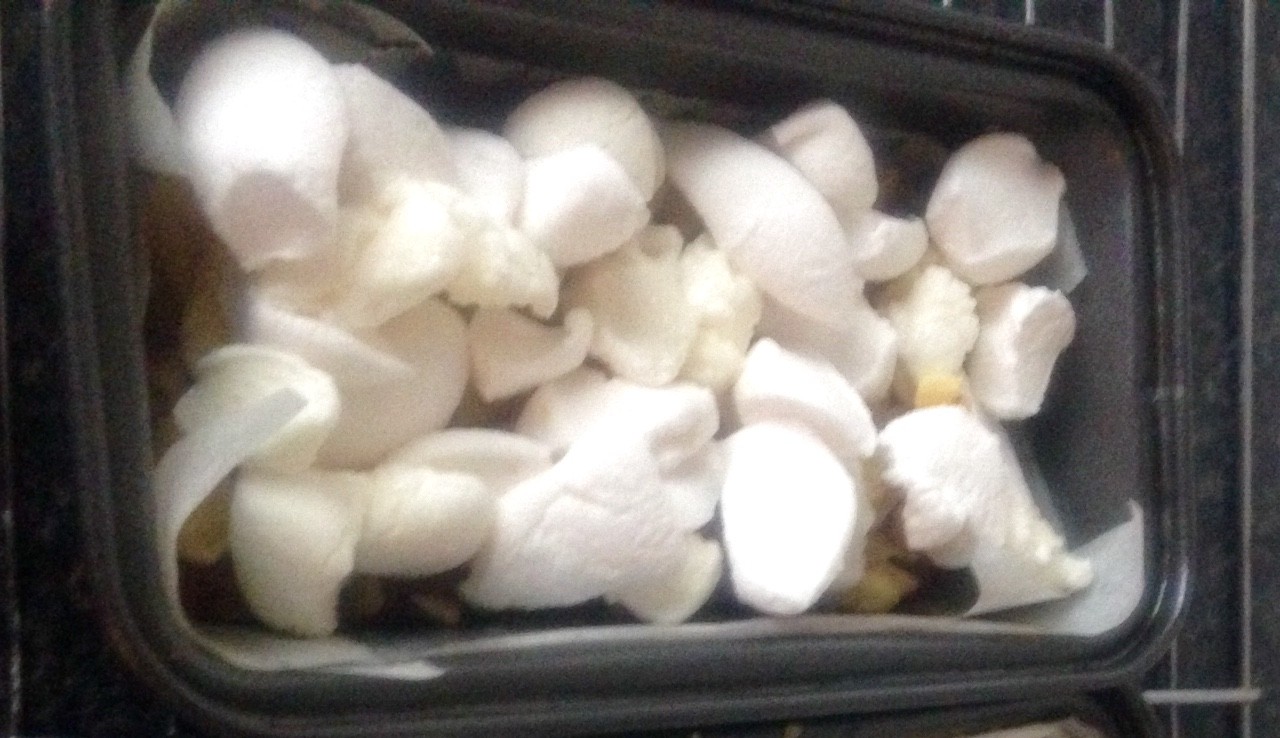
- Take off the heat and add in 140g of the white chocolate and vanilla, stir until the chocolate is melted and the mix is well combine, set aside.
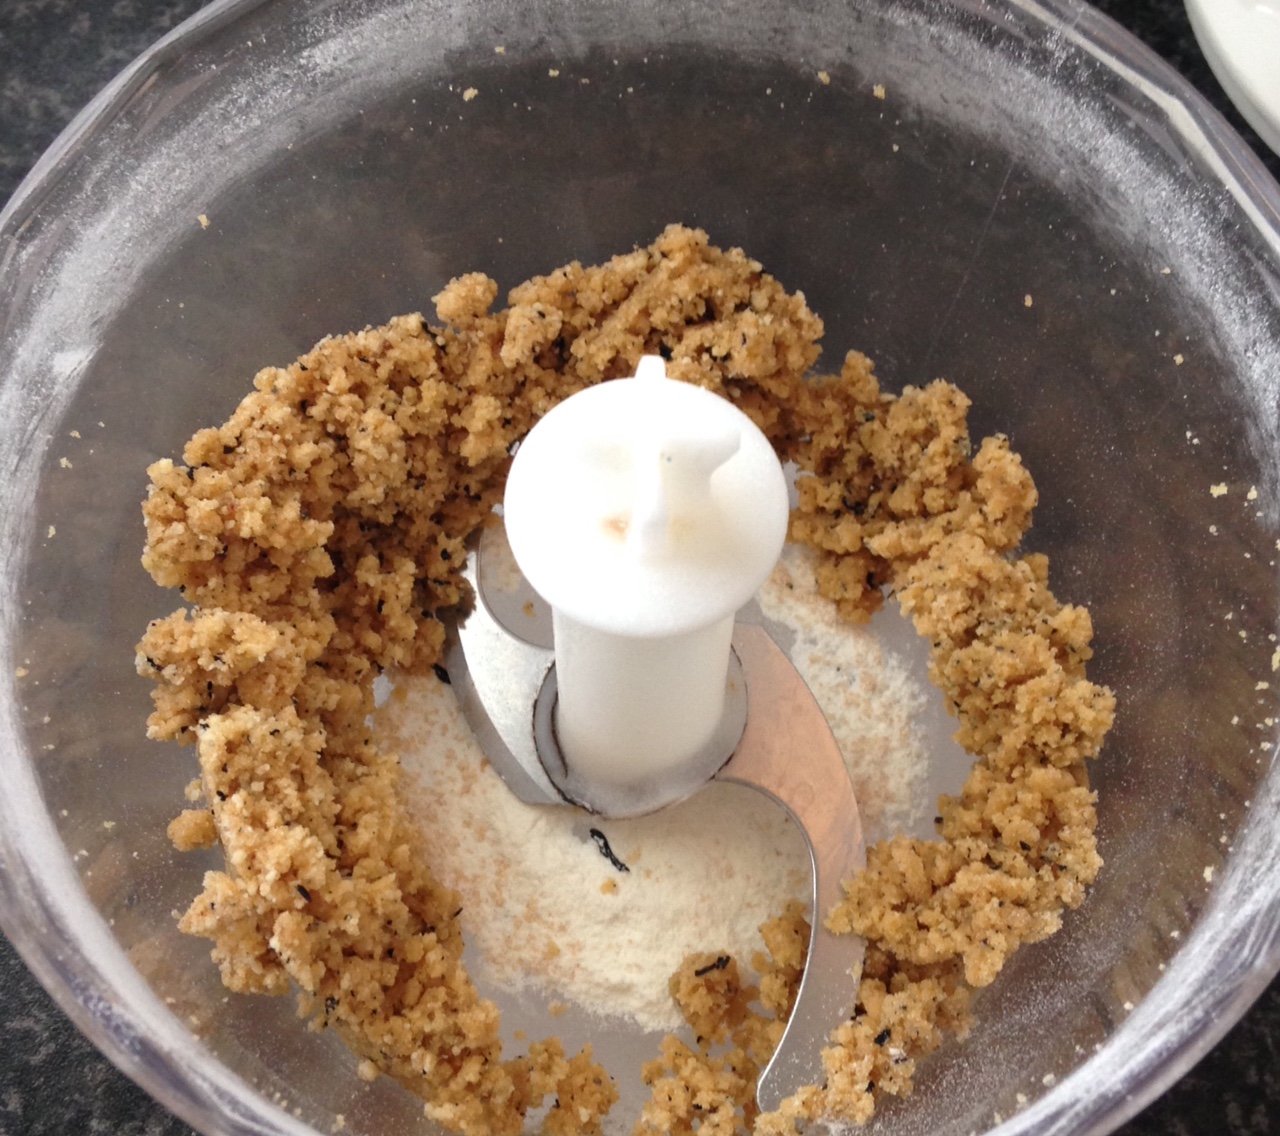
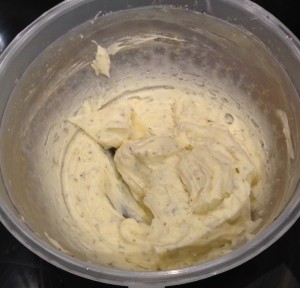
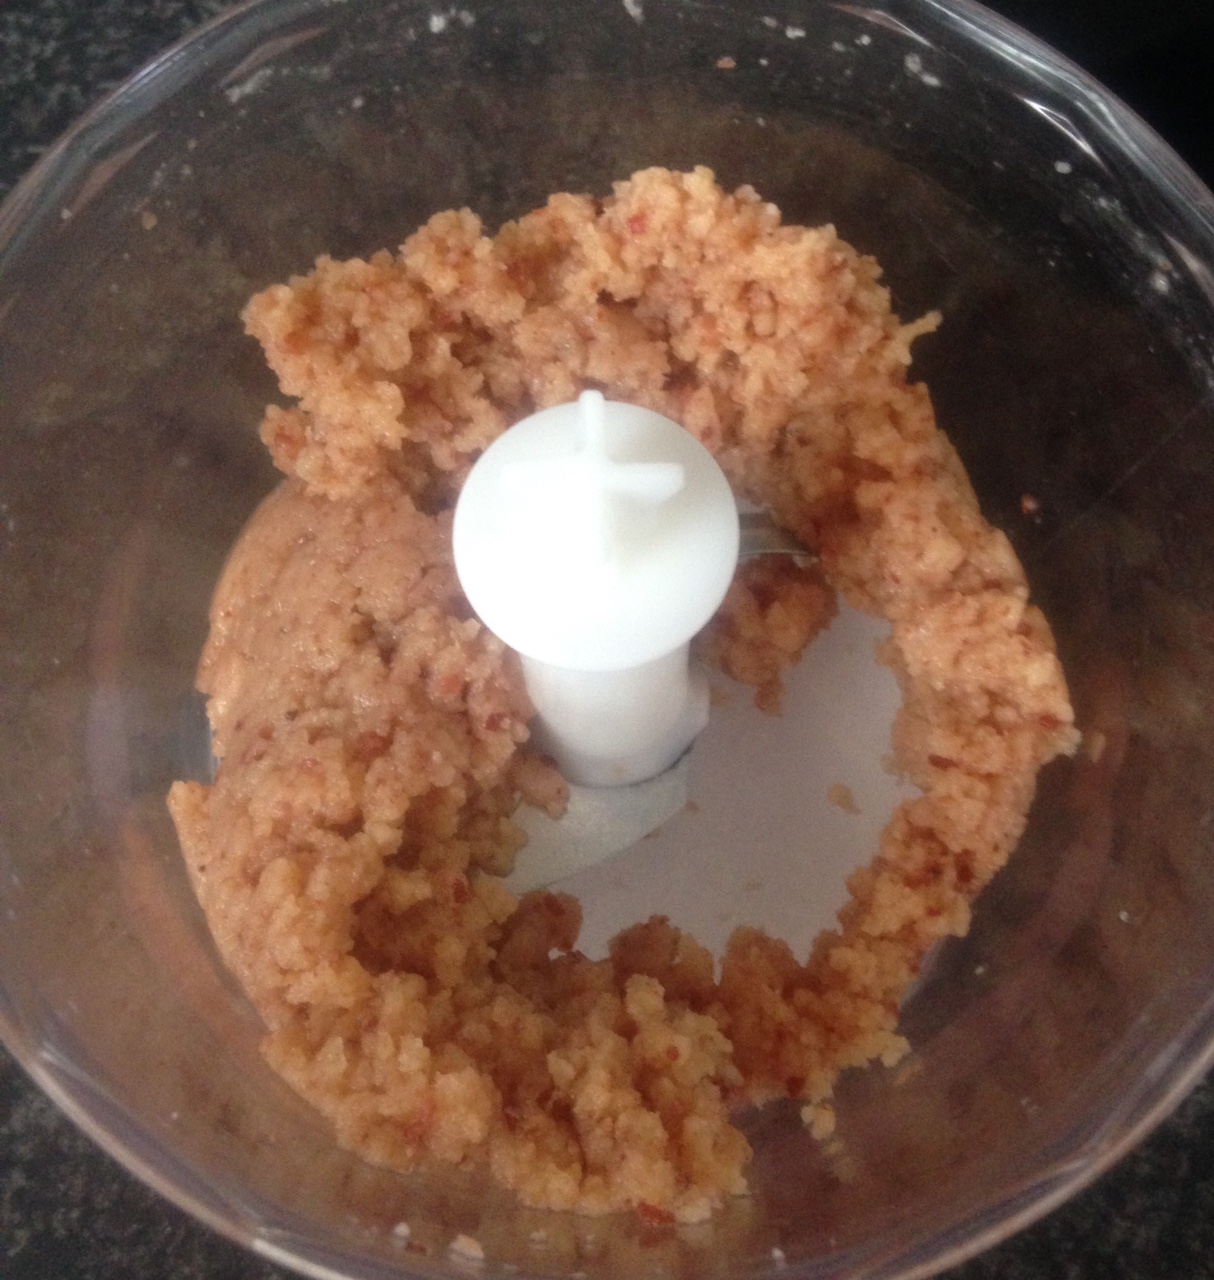
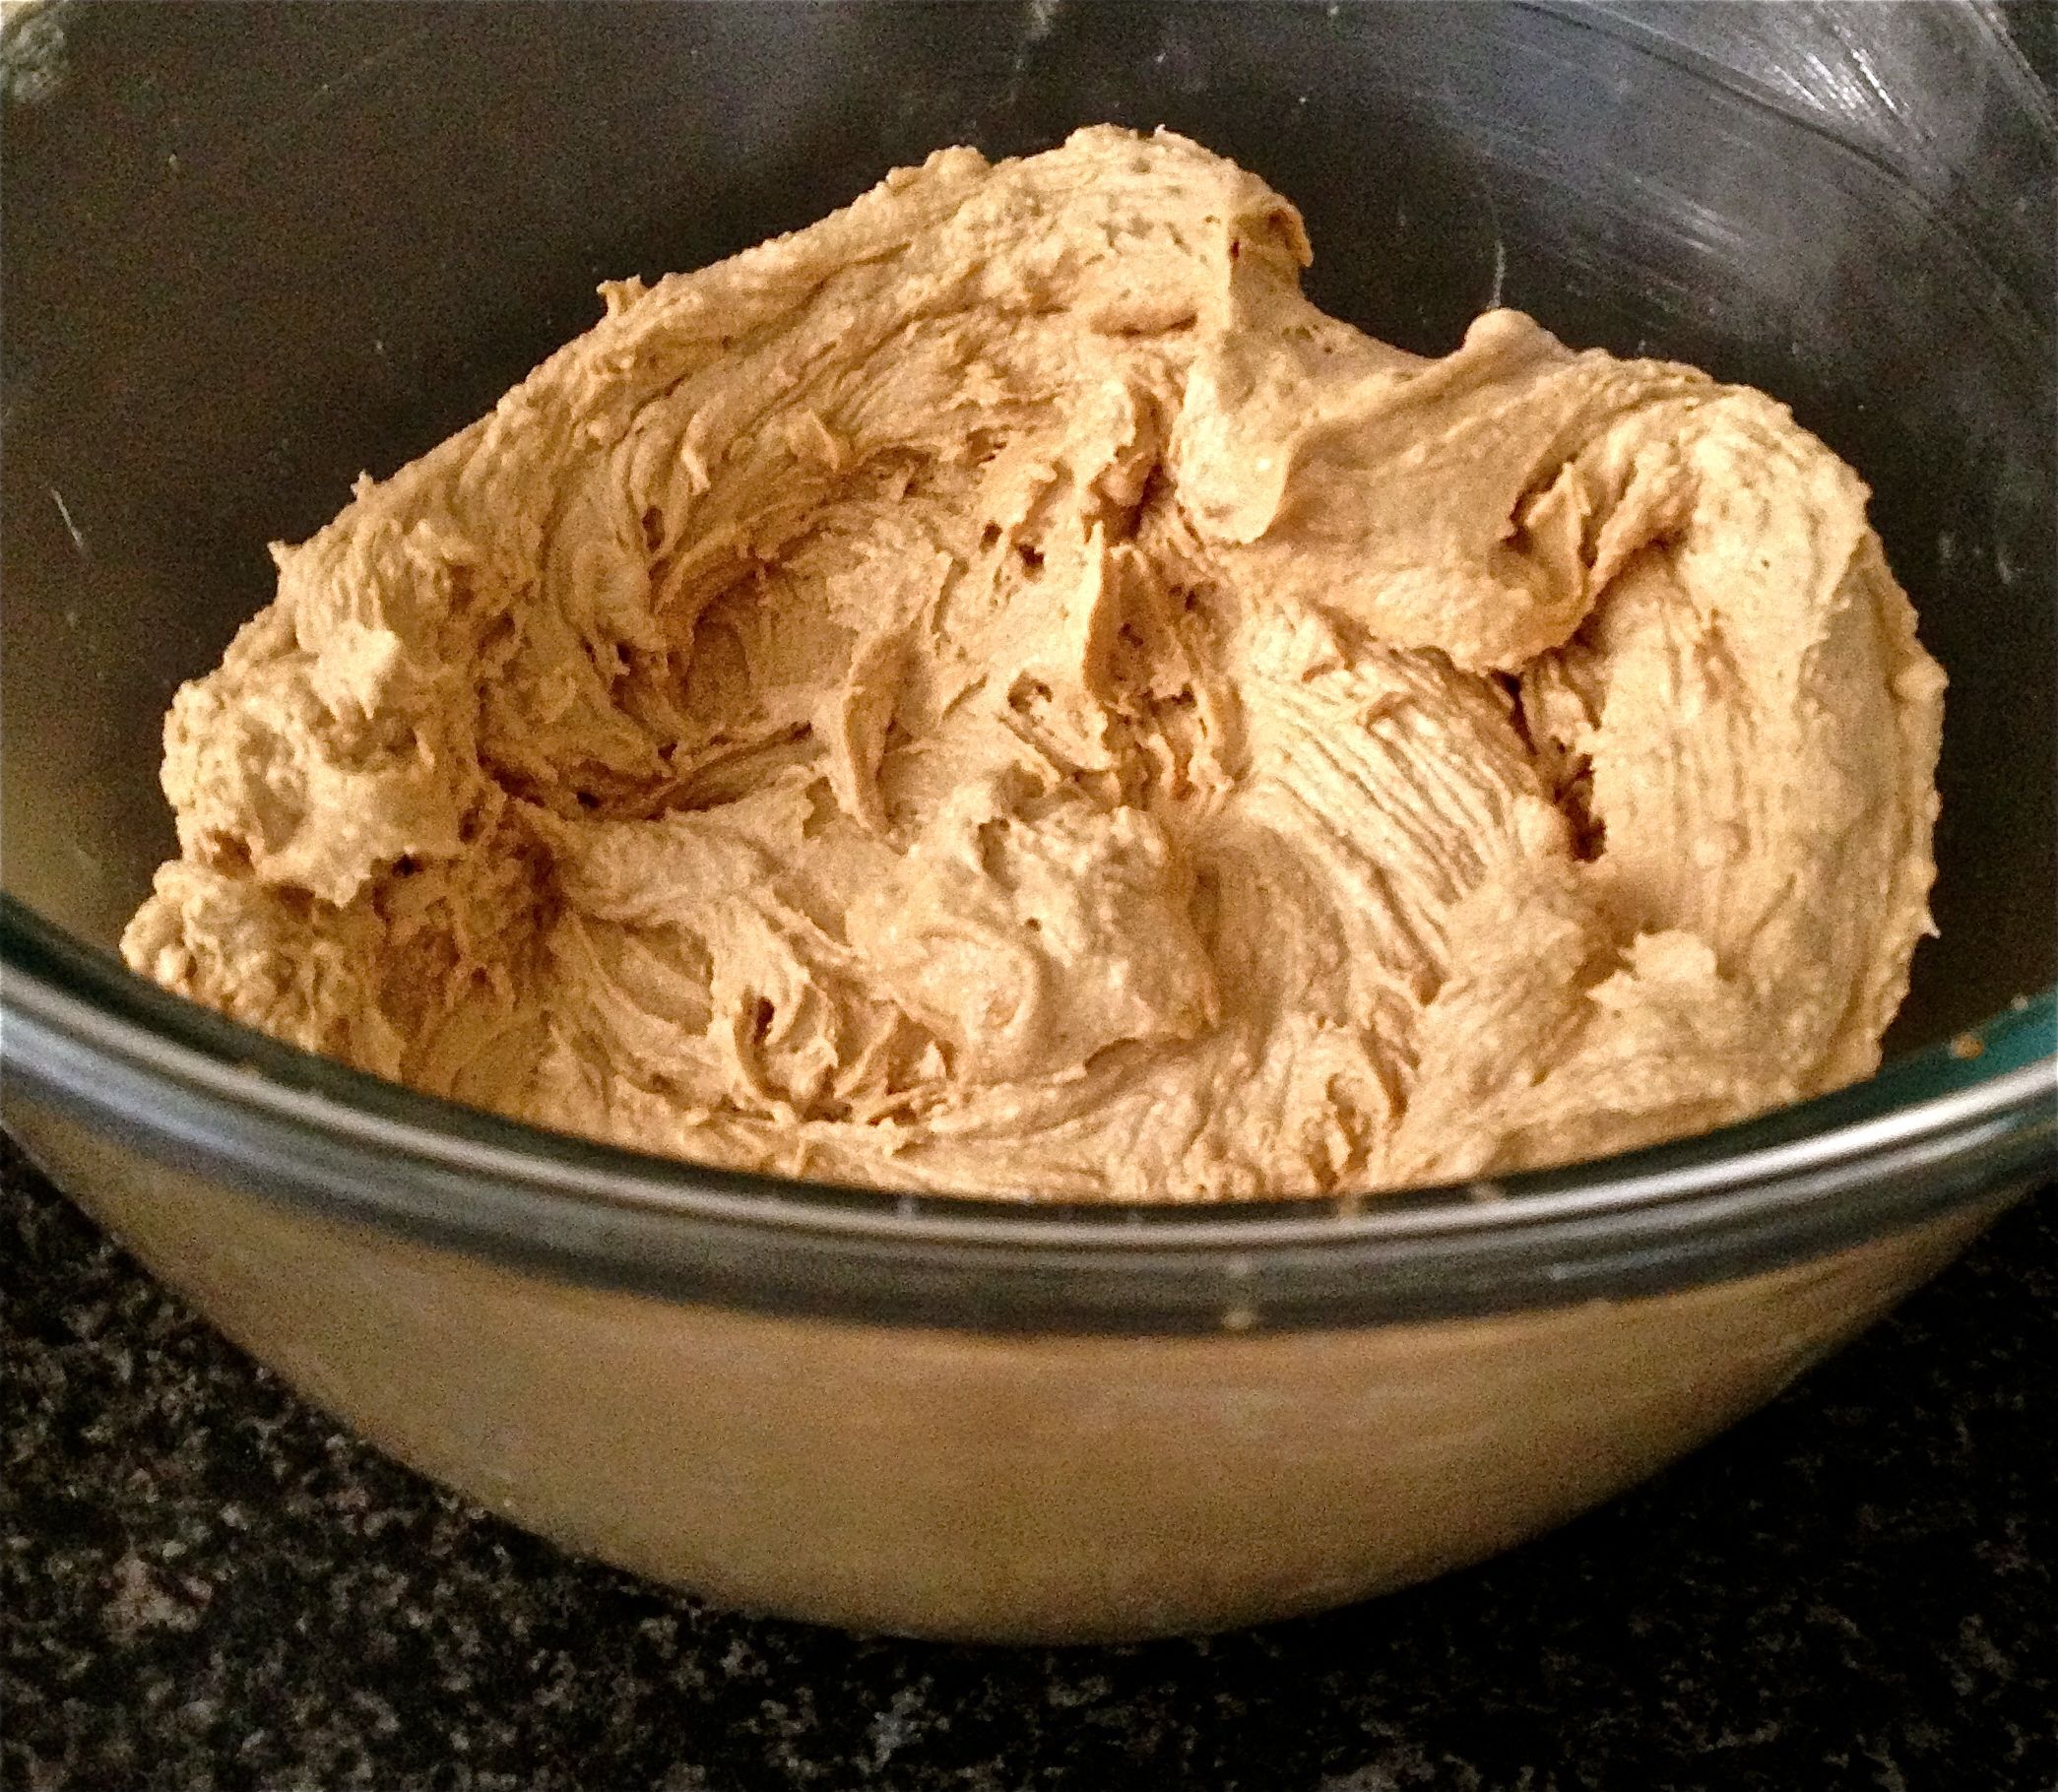
- Transfer the mix into a bowl and sift the flour into the mix, add the eggs and whisk with a hand whisk to combine.
- Chop up the nuts and remaining 80g of white chocolate into small pieces.
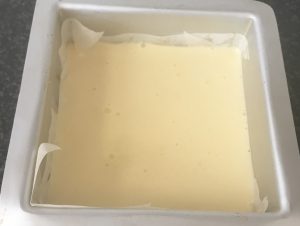
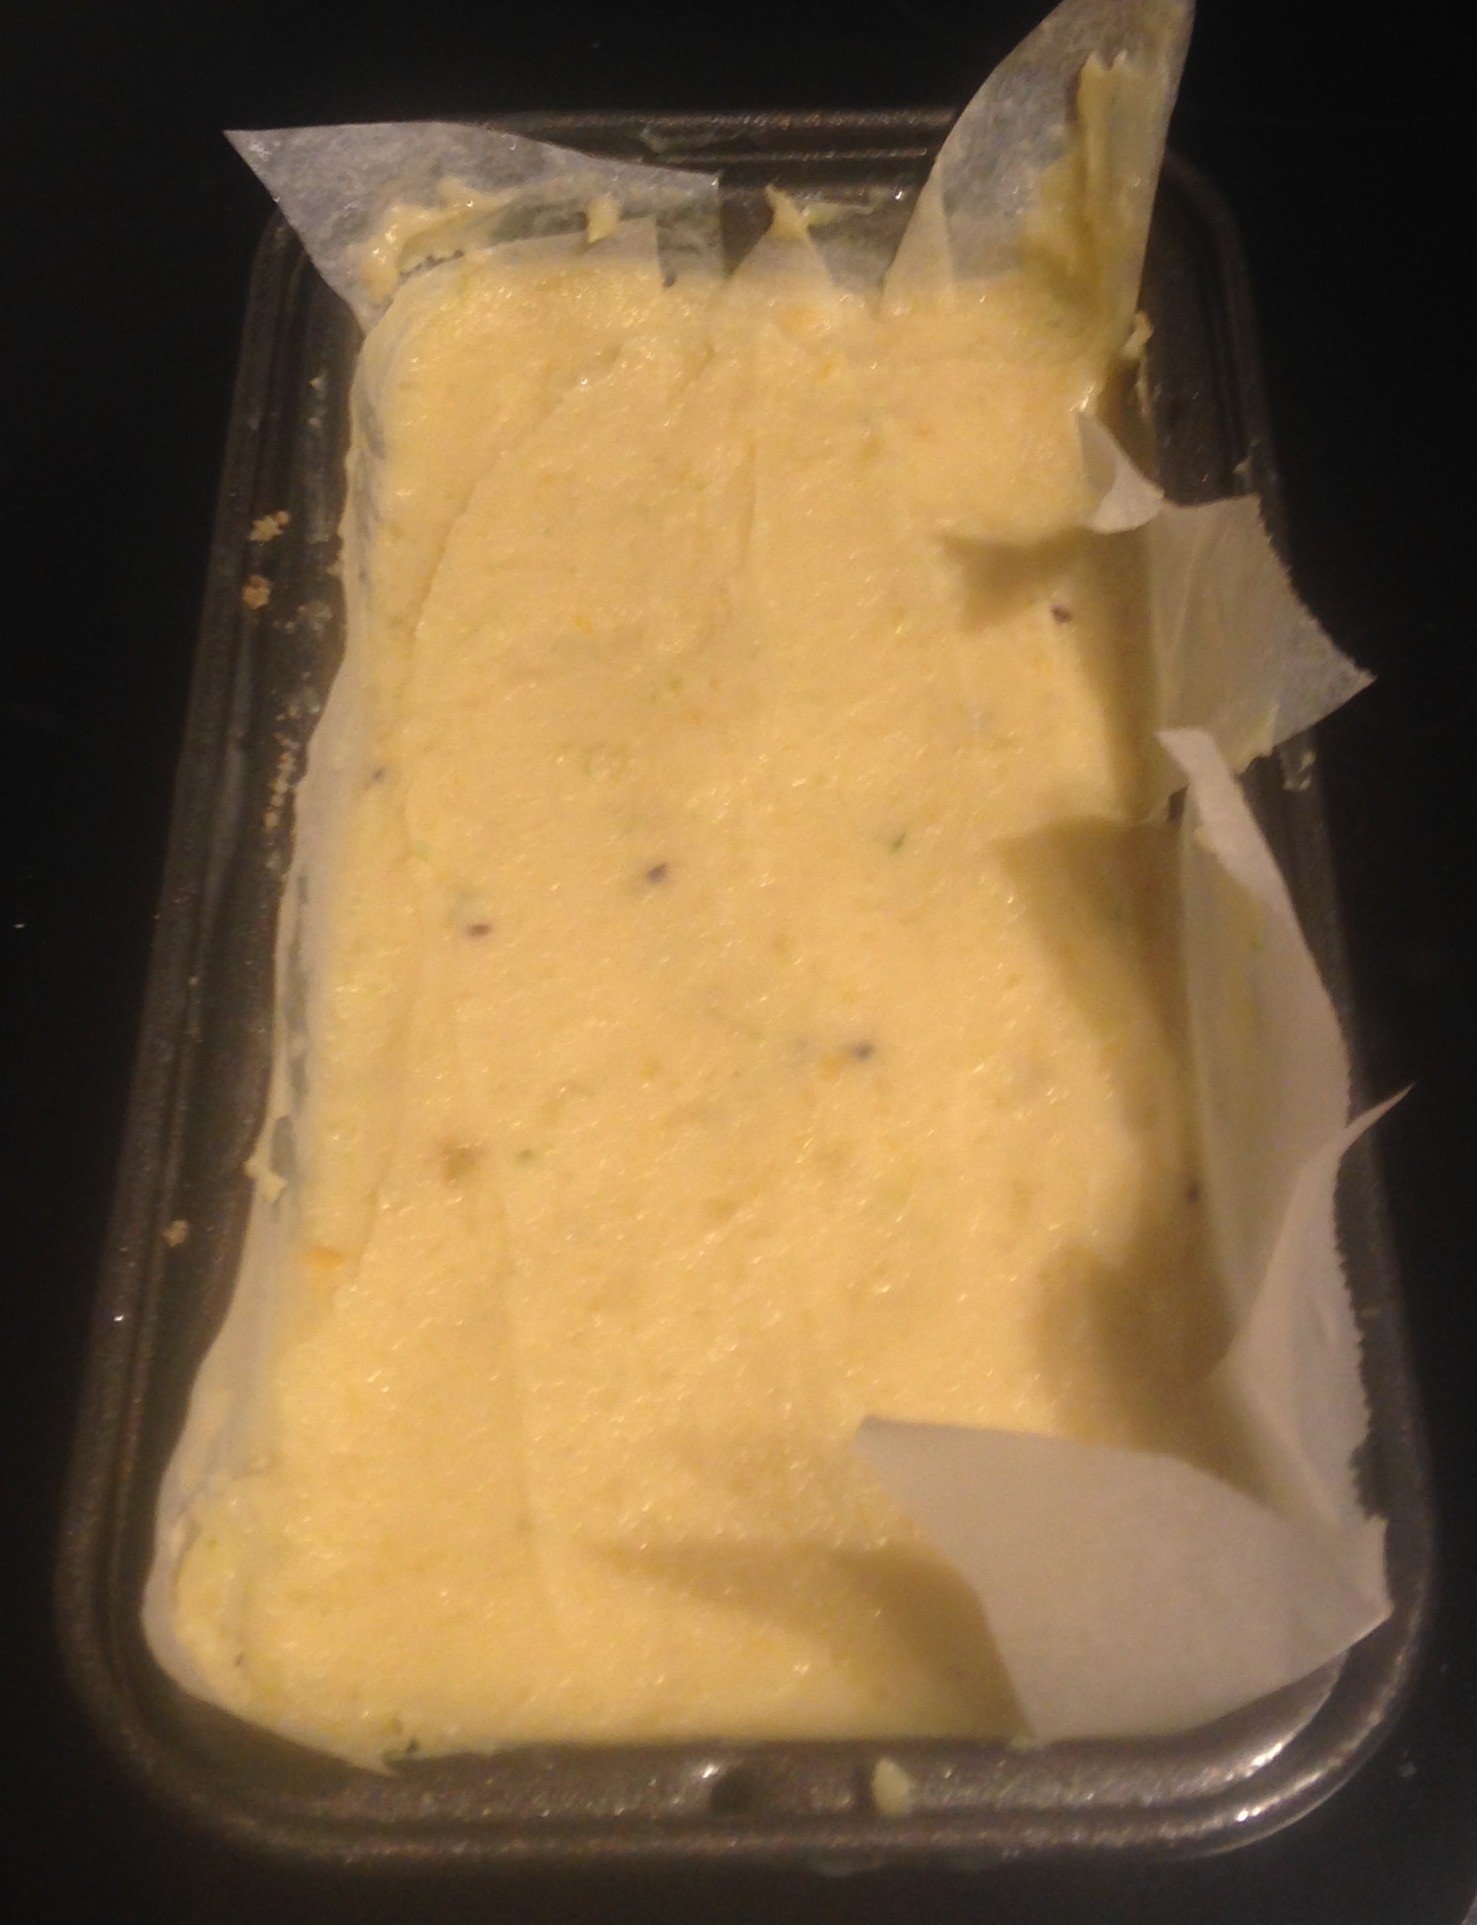
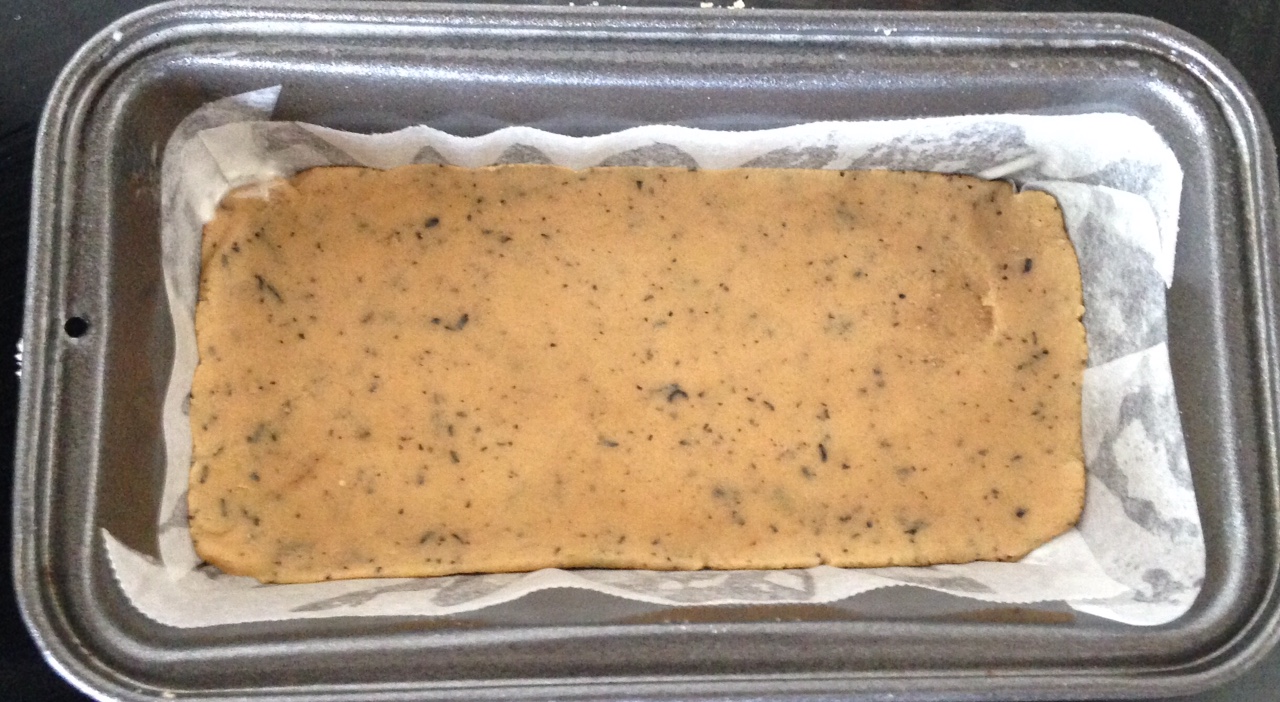
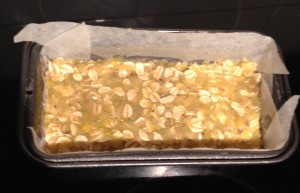
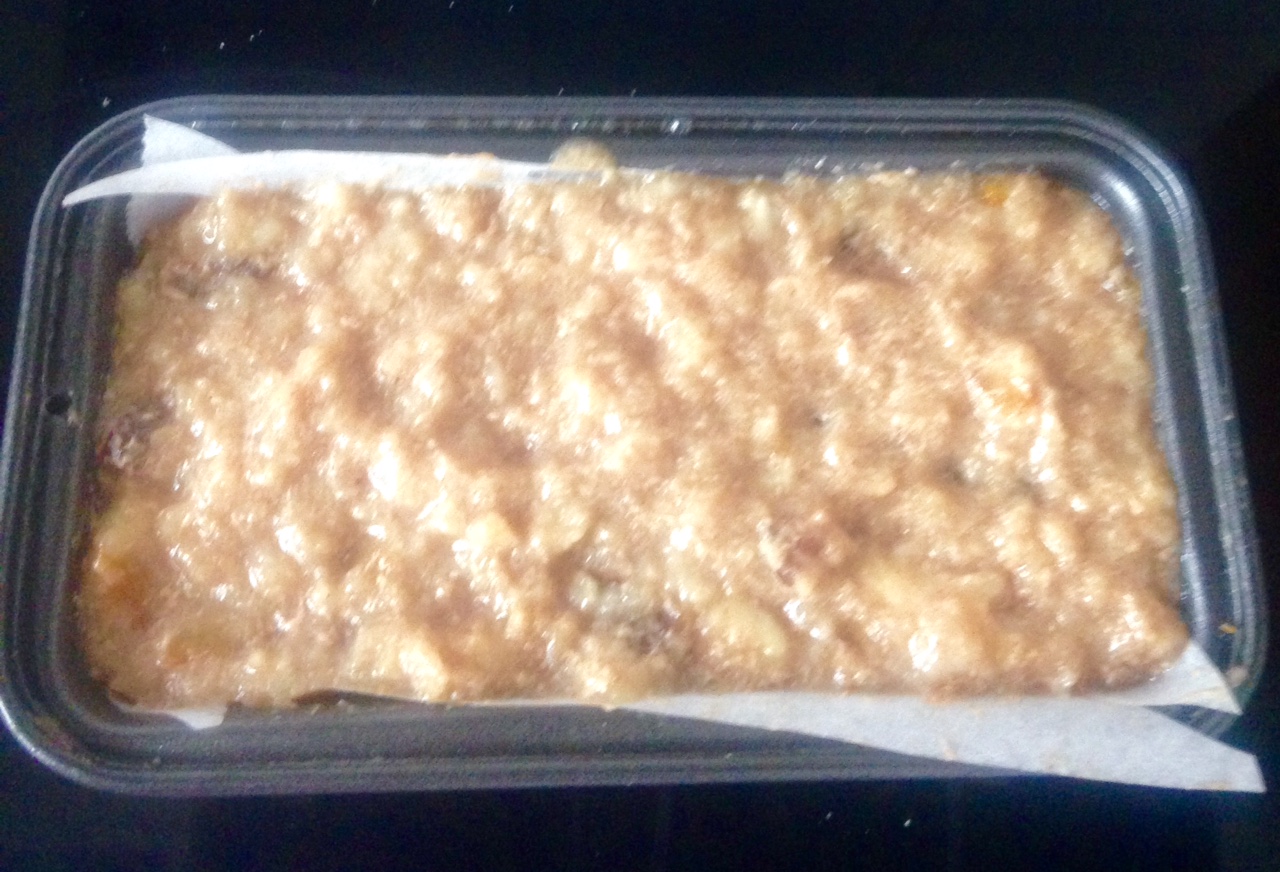
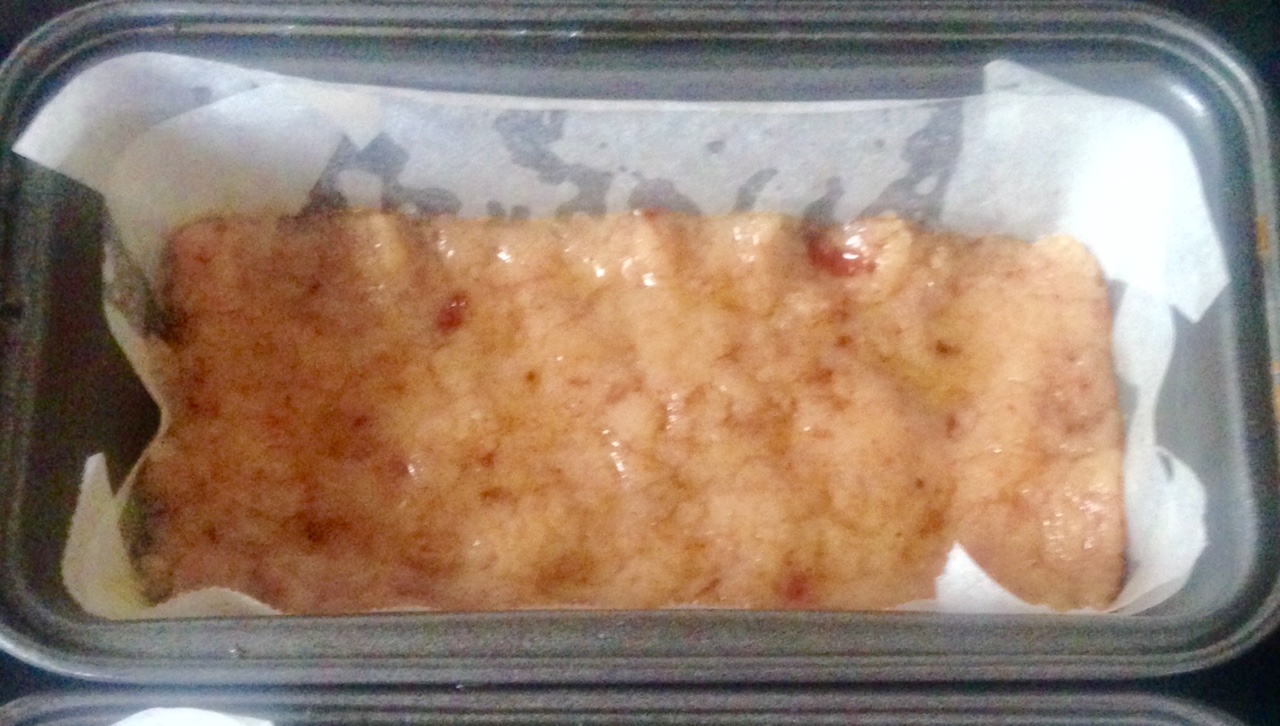
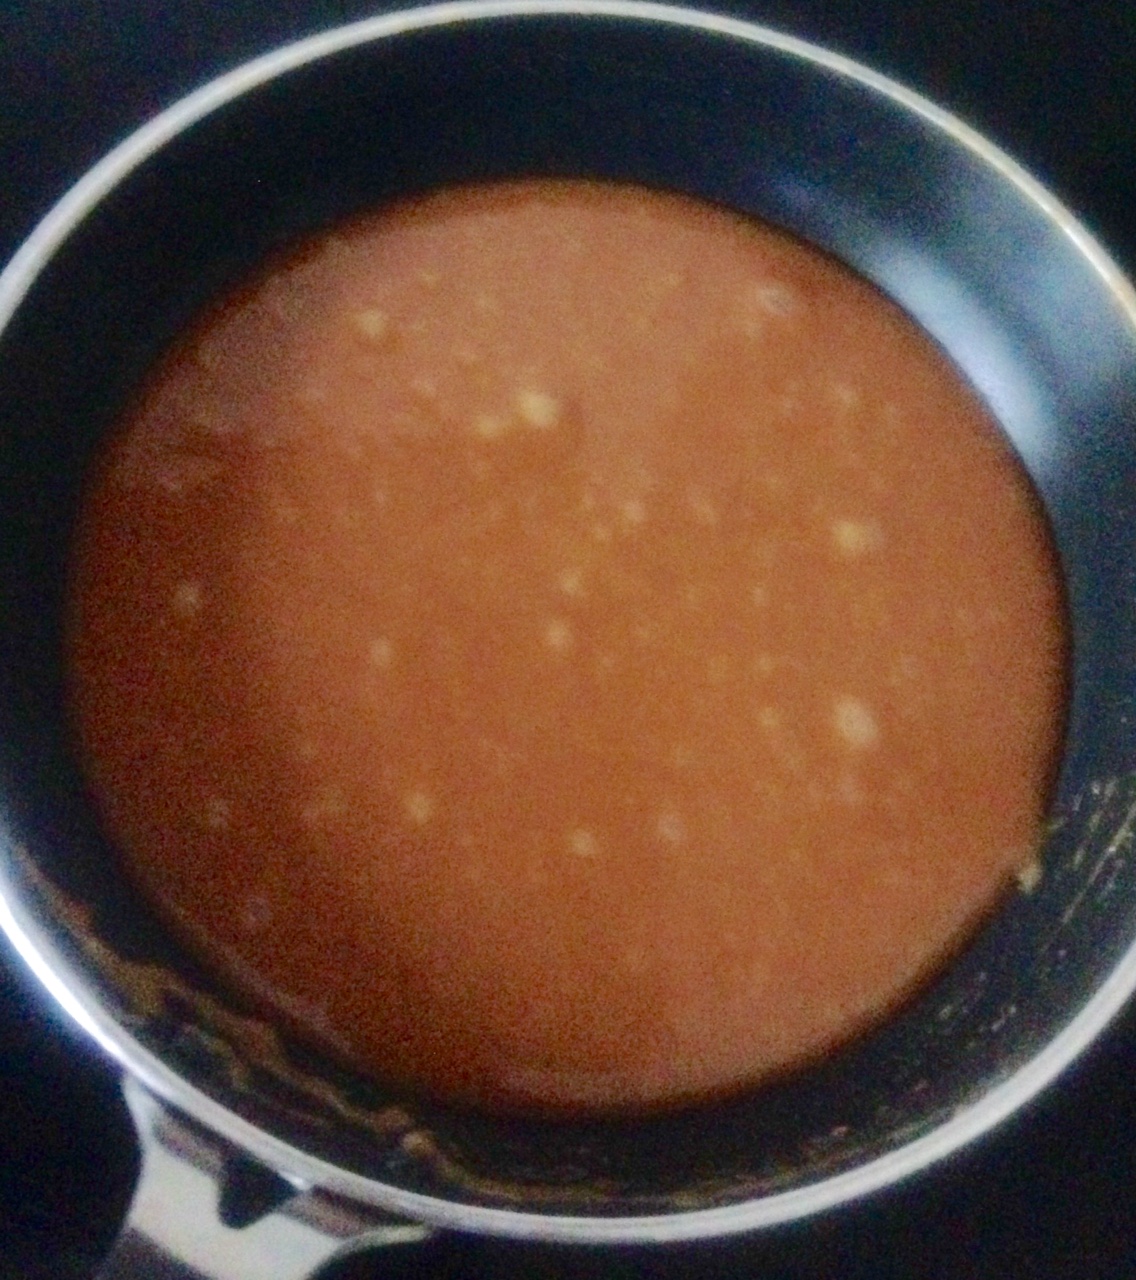
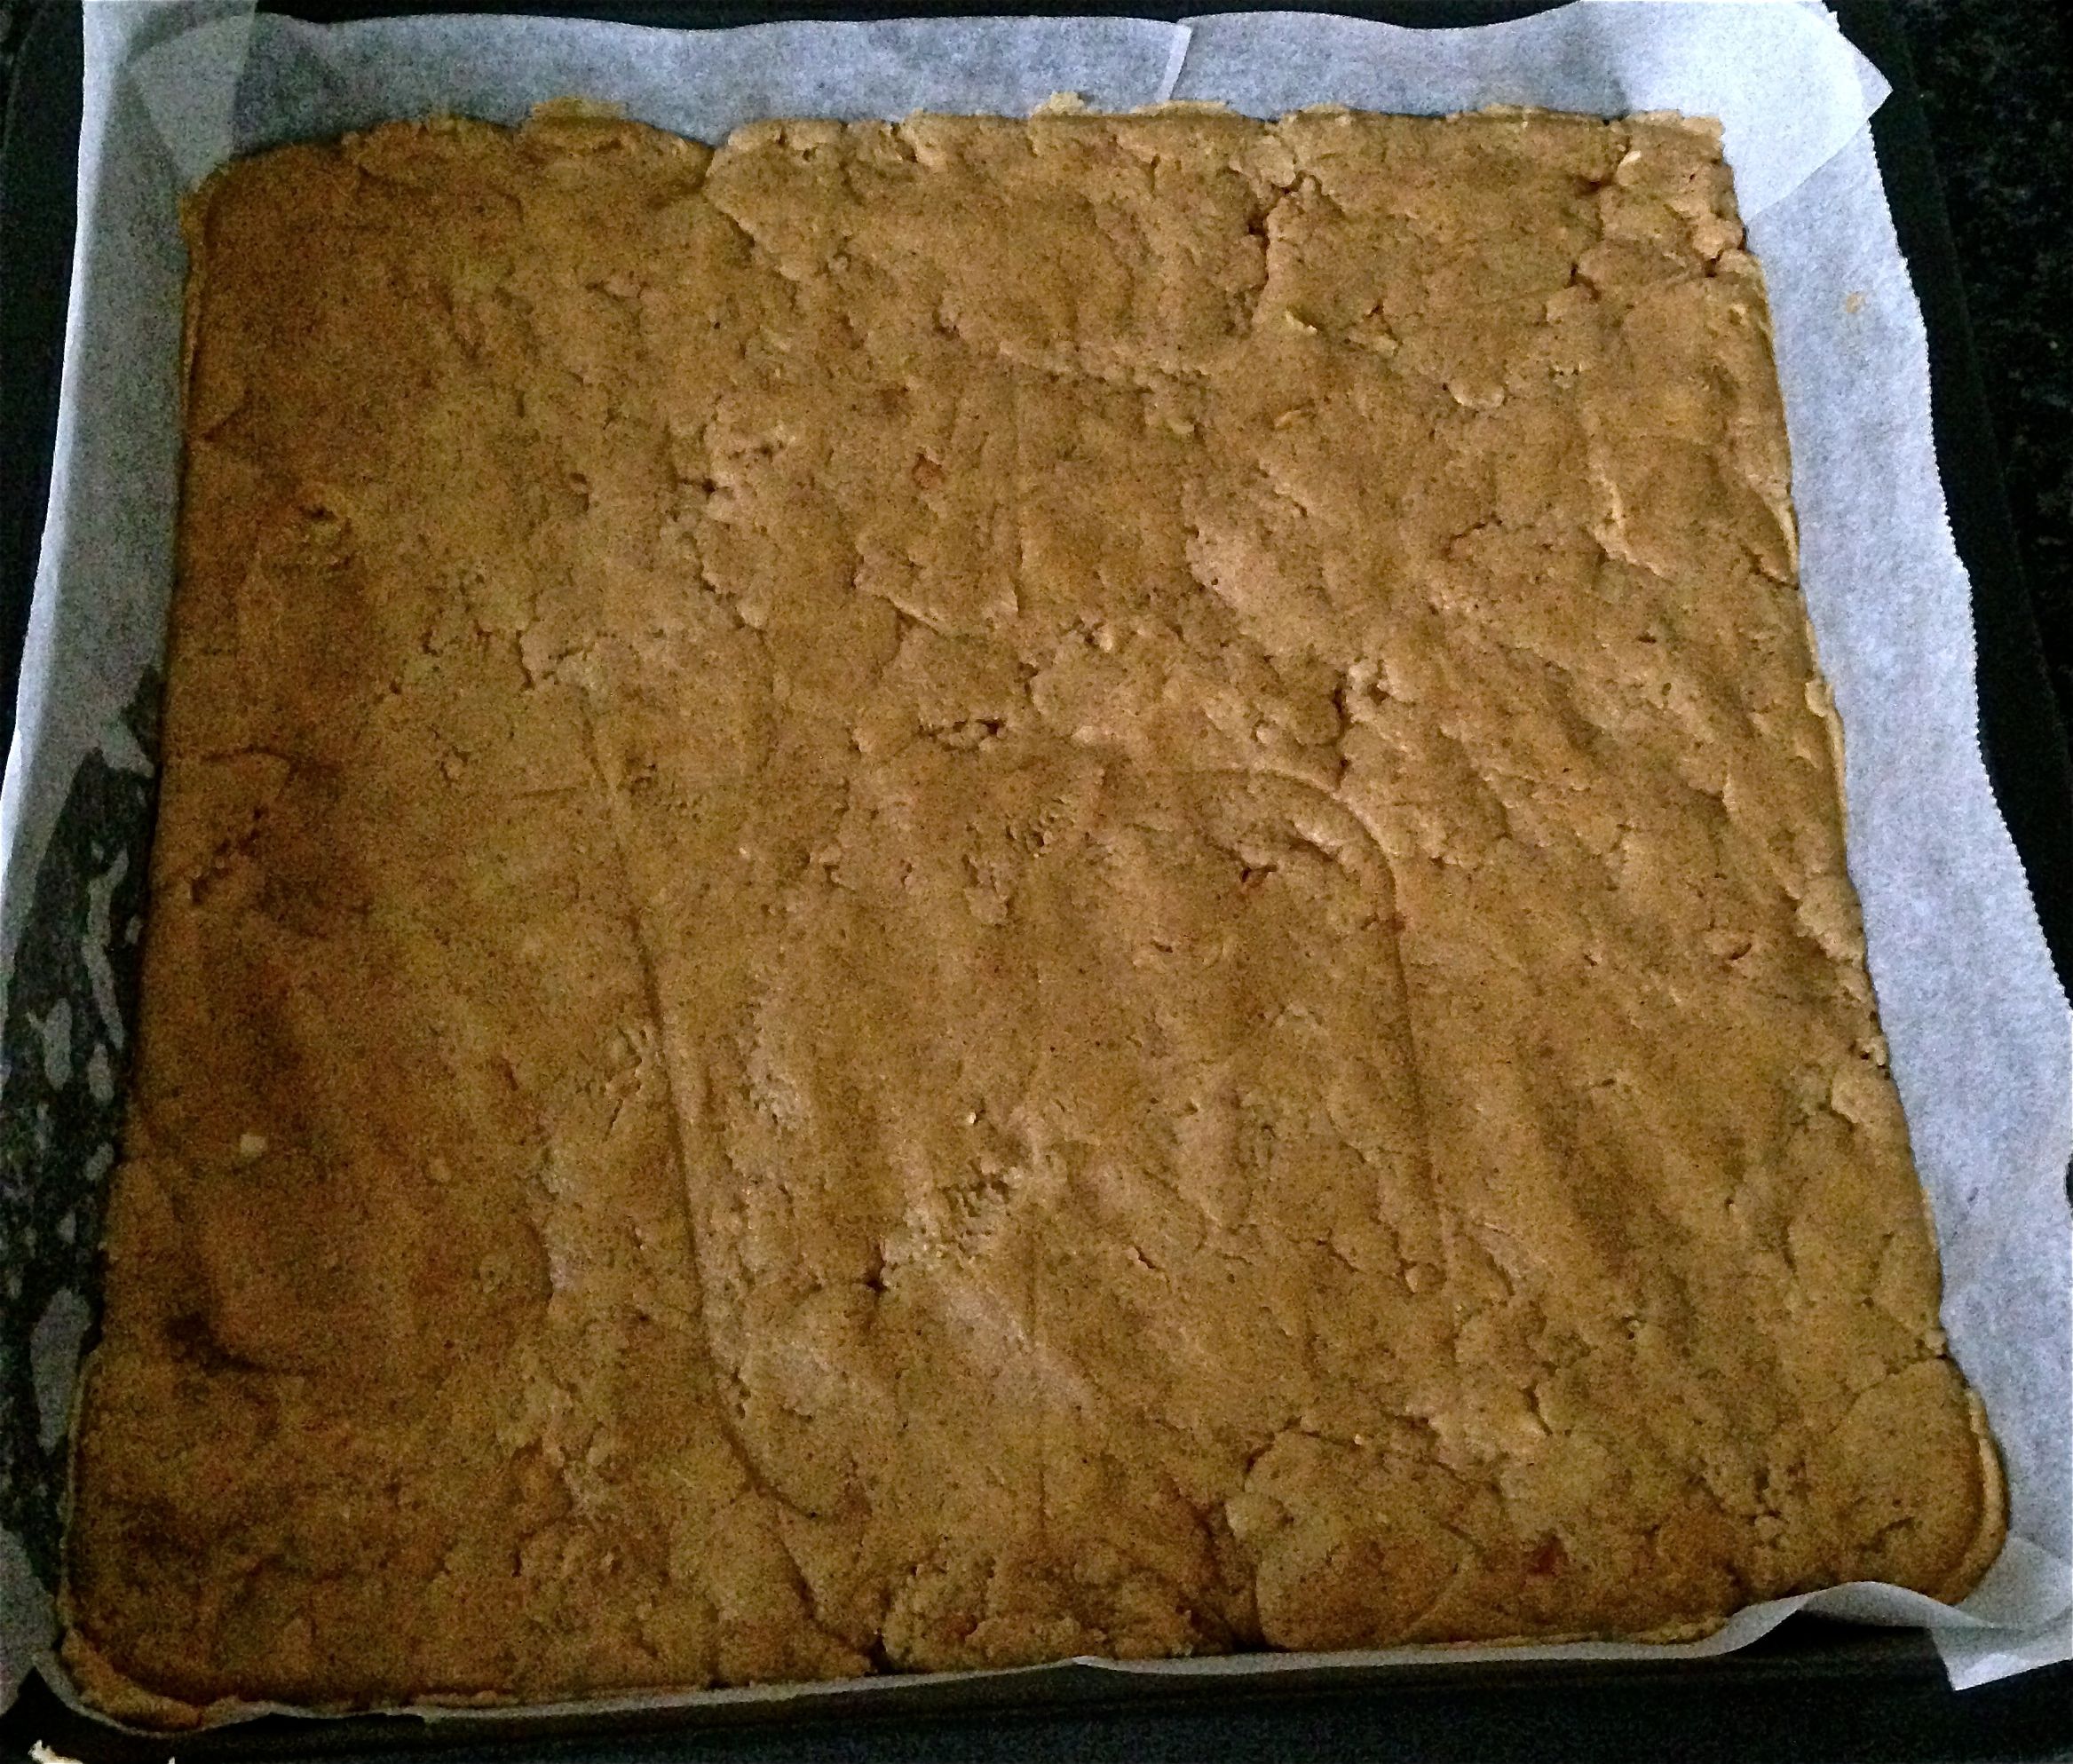
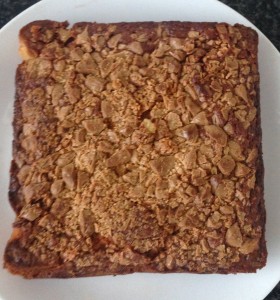
- Pour the mix into the cake tin and top by scattering the nut and chocolate pieces.
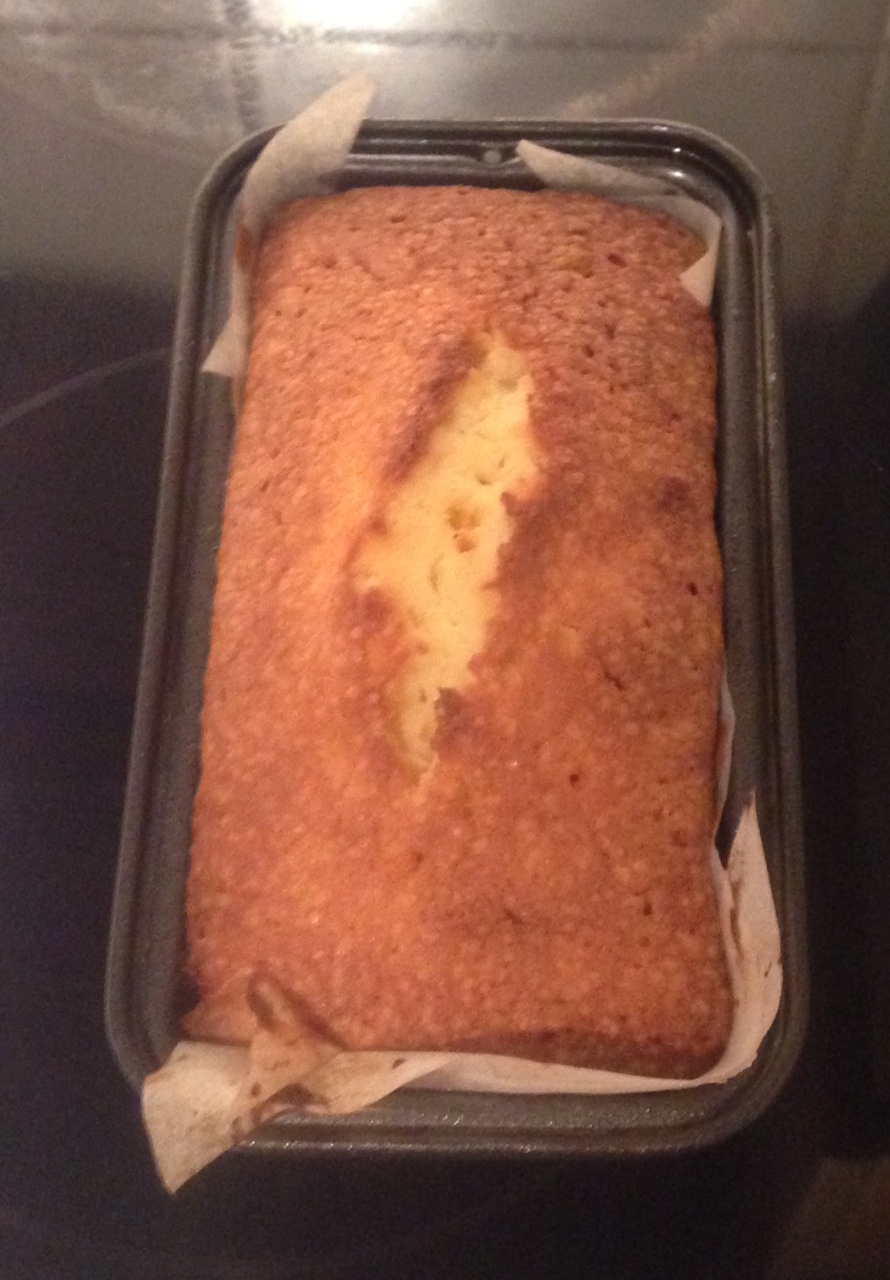
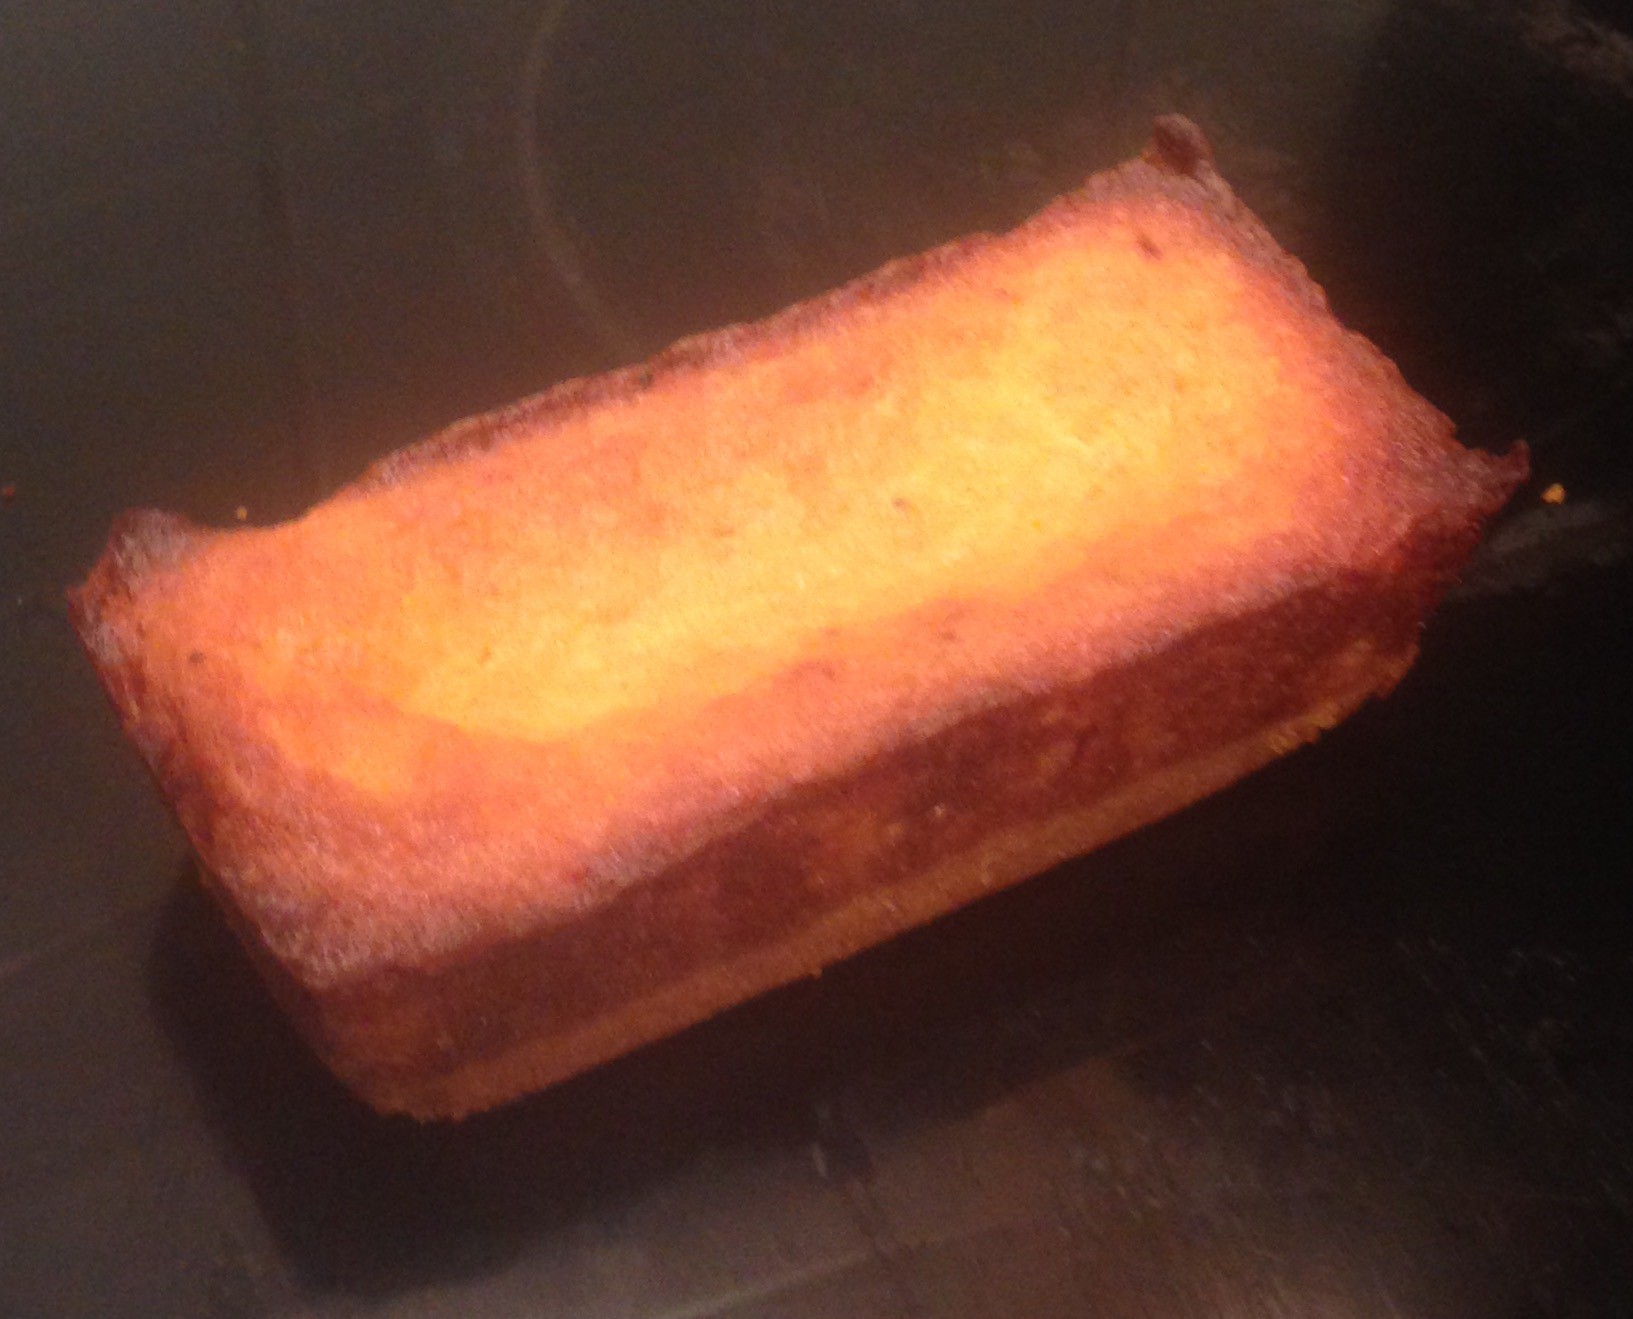
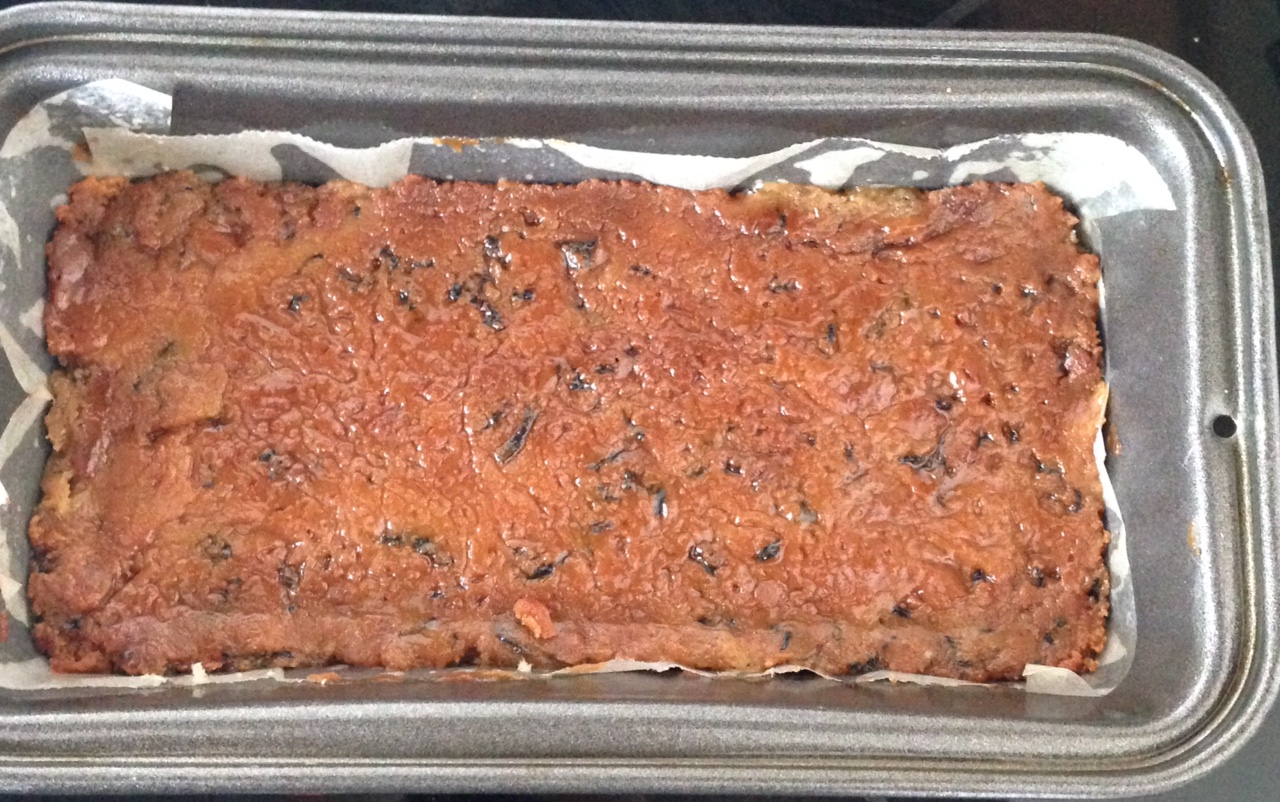
- Bake in the oven for 40 minutes or until the top of the slice is set and firm to touch.
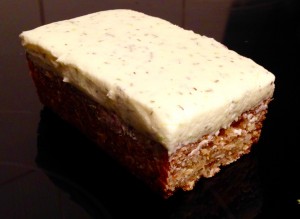
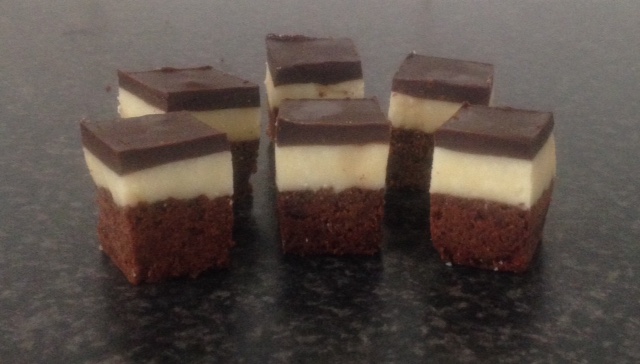
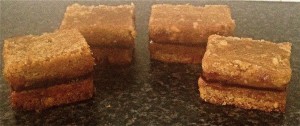
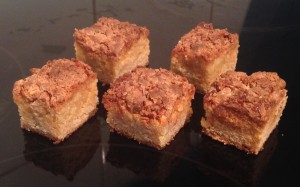
- Leave the cake in the tin to cook completely and once cooled remove from tin and cut into pieces.
Notes:
This dessert is best served warm with a side of vanilla ice-cream.

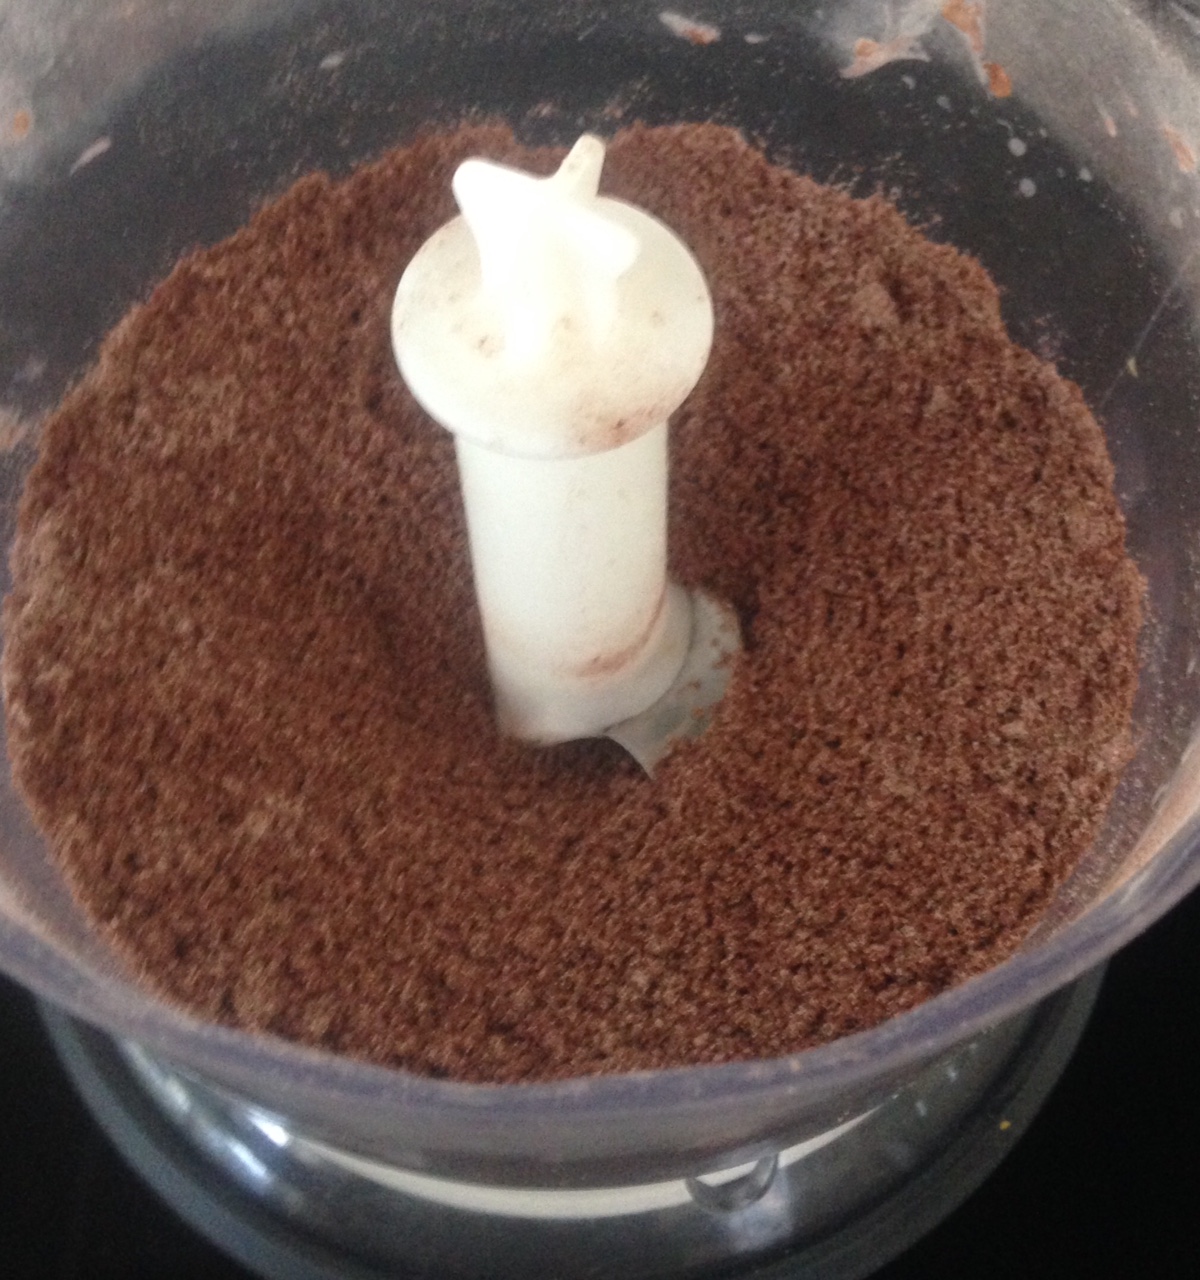
Step 2
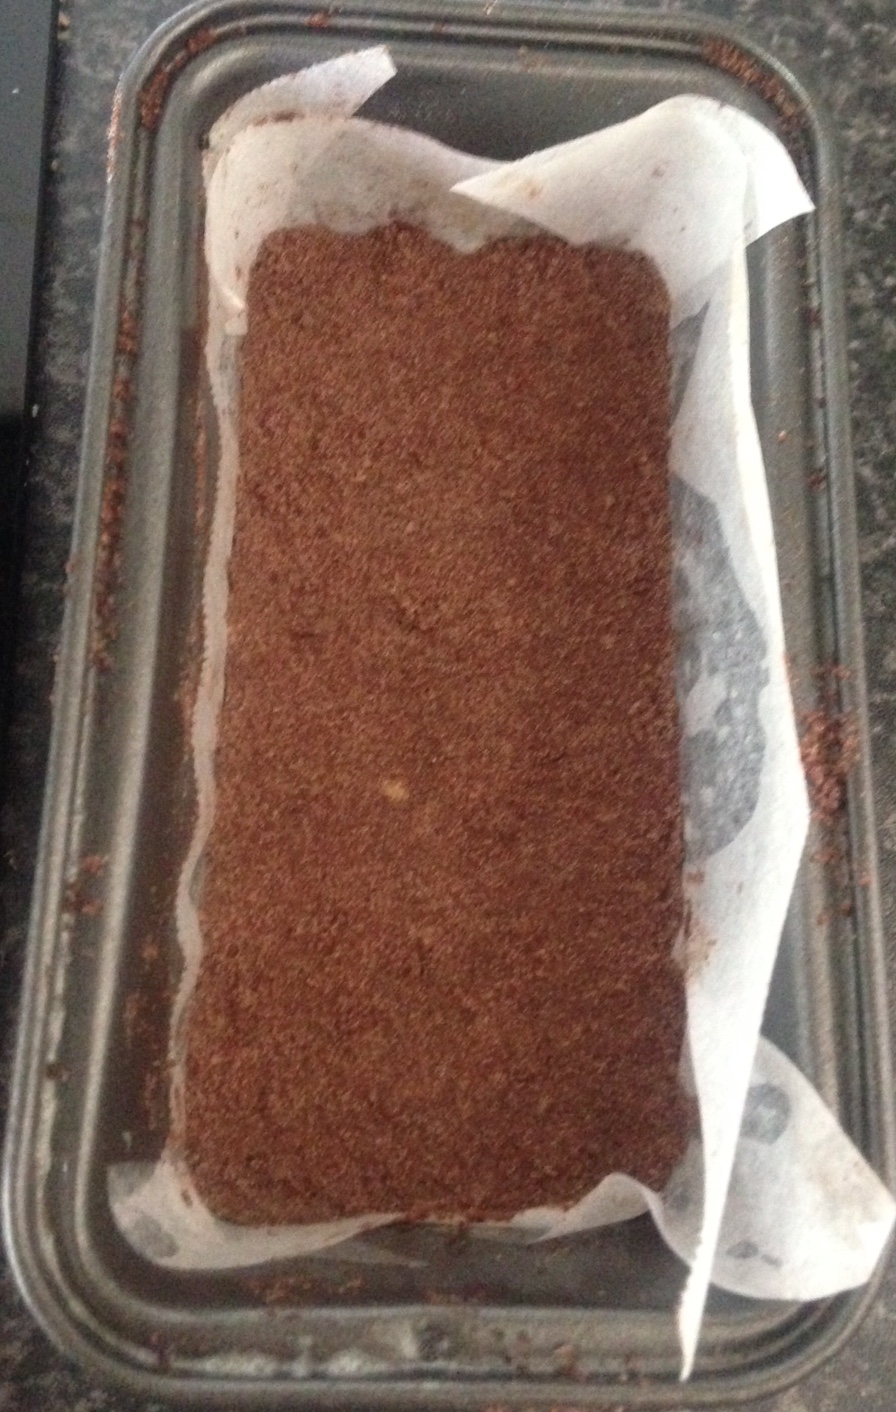
- Step 3

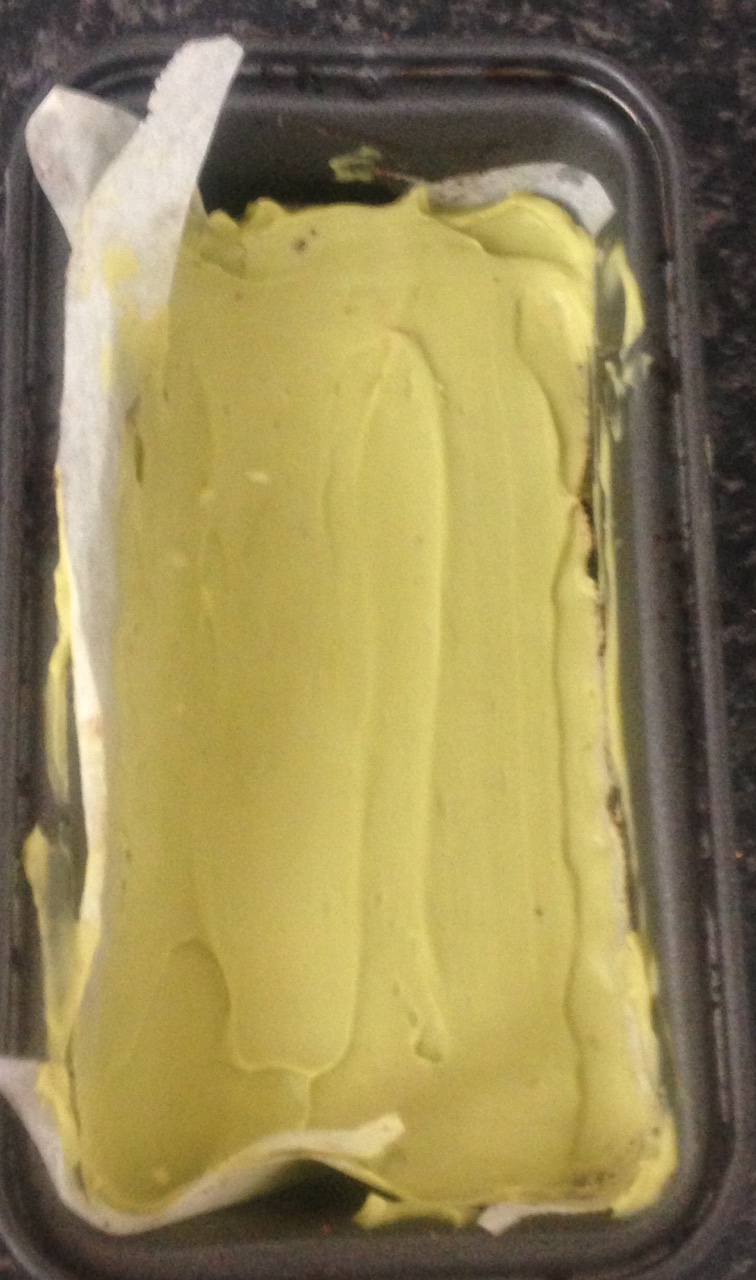
- Step 6
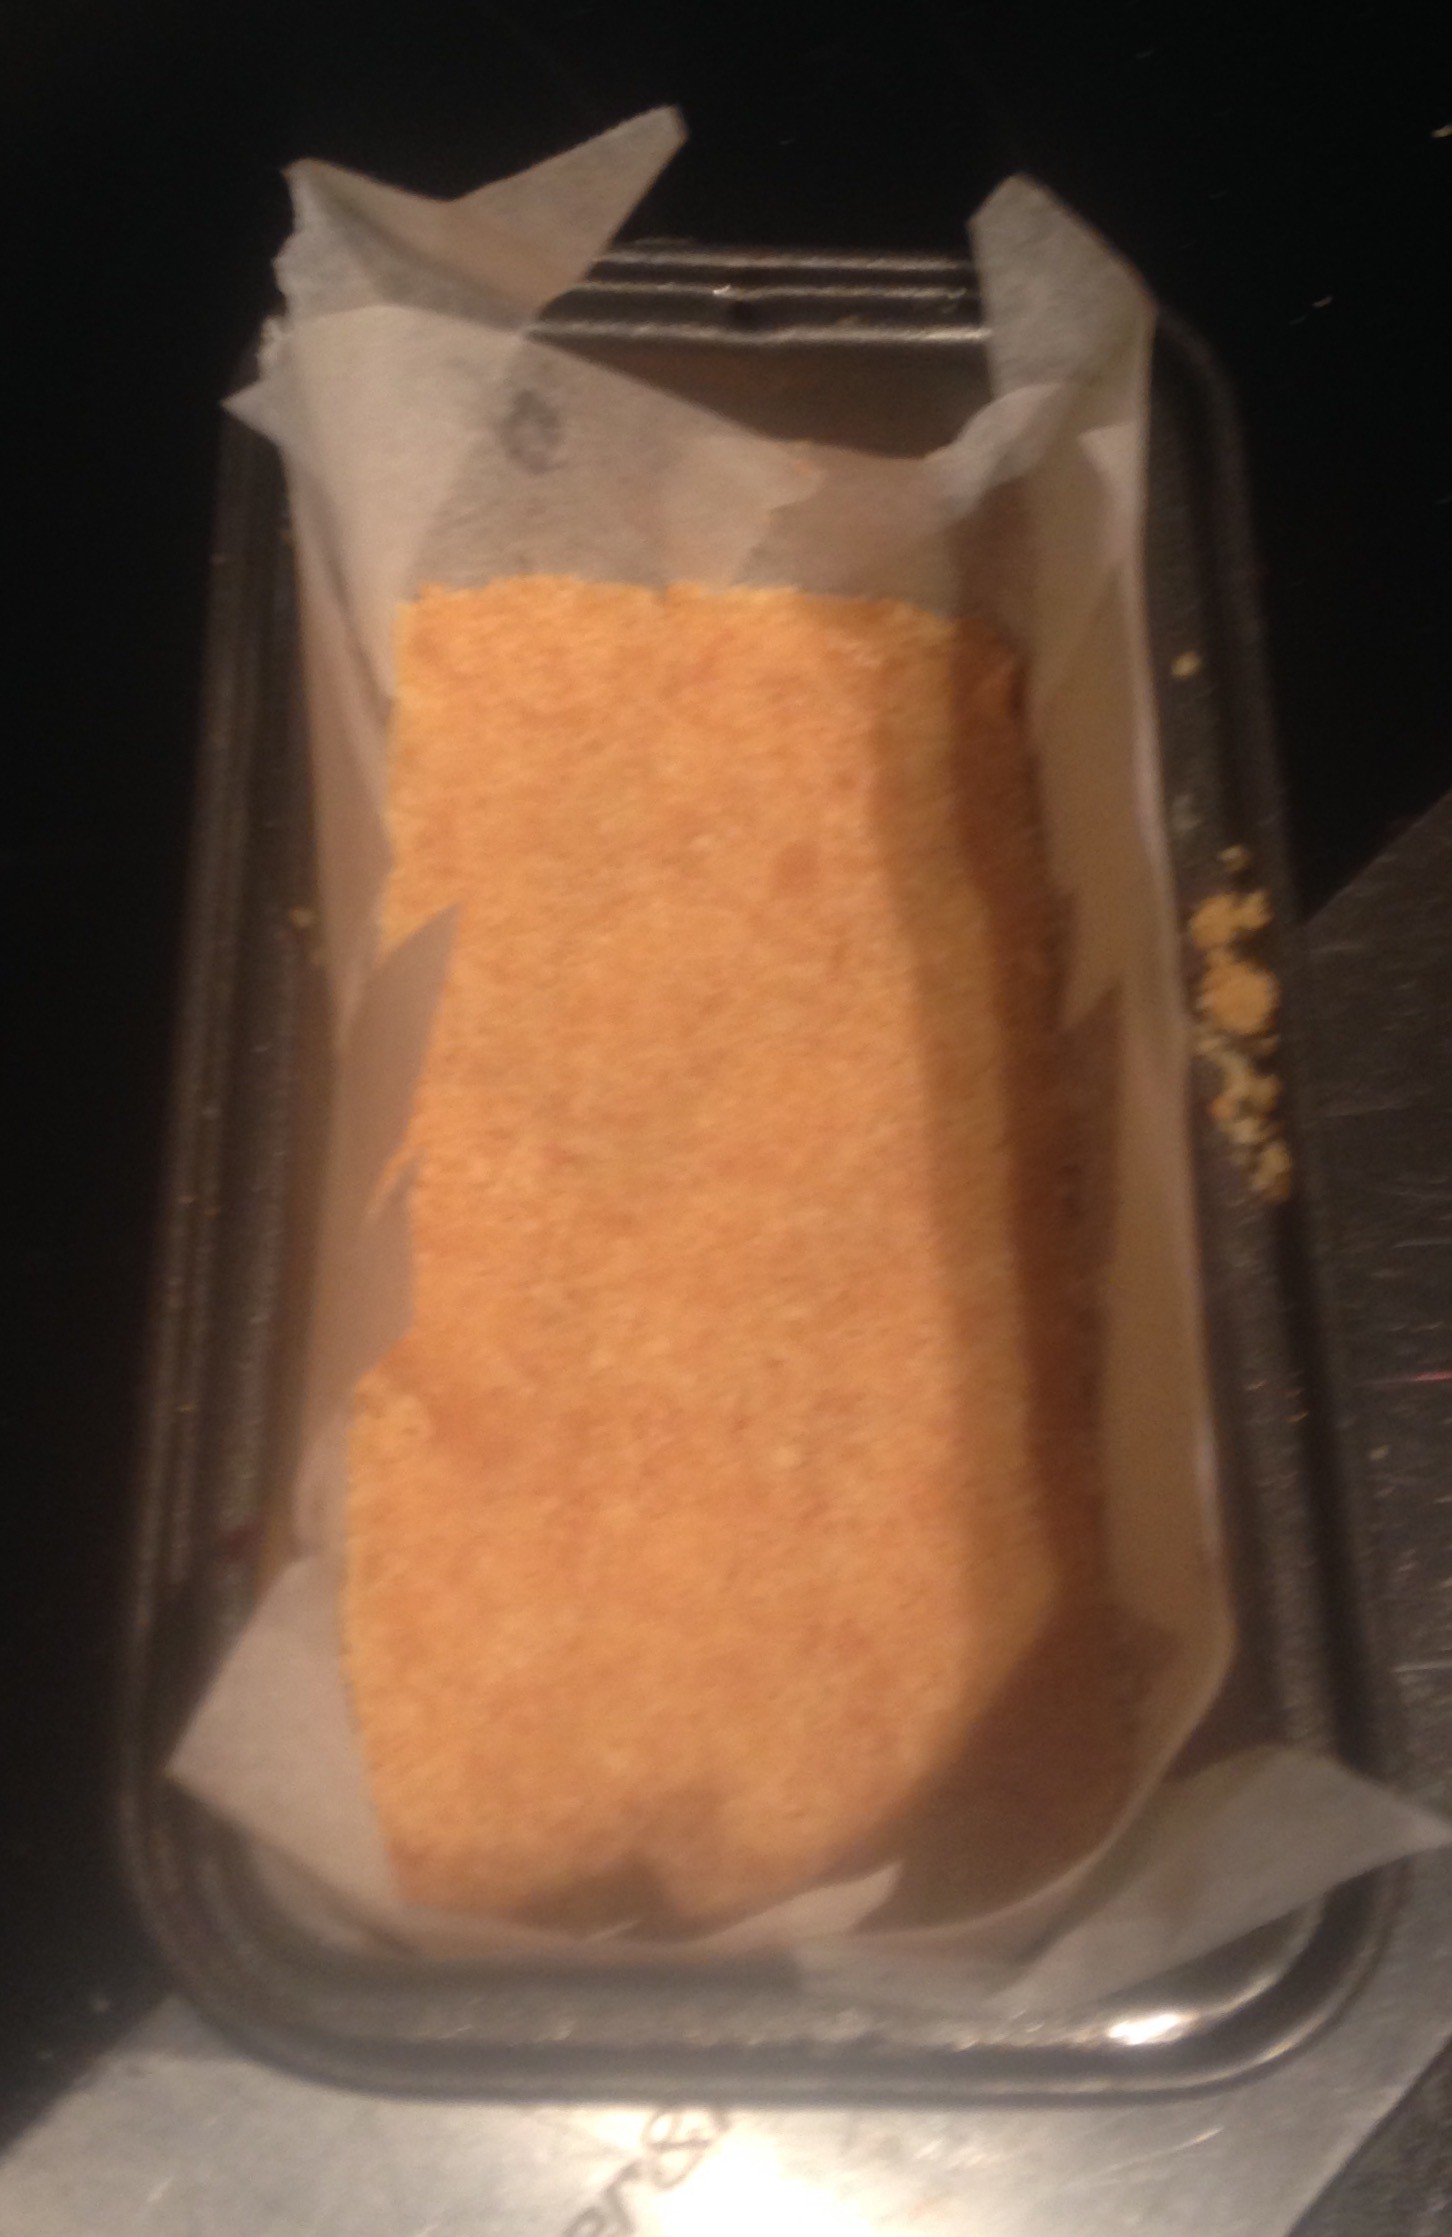
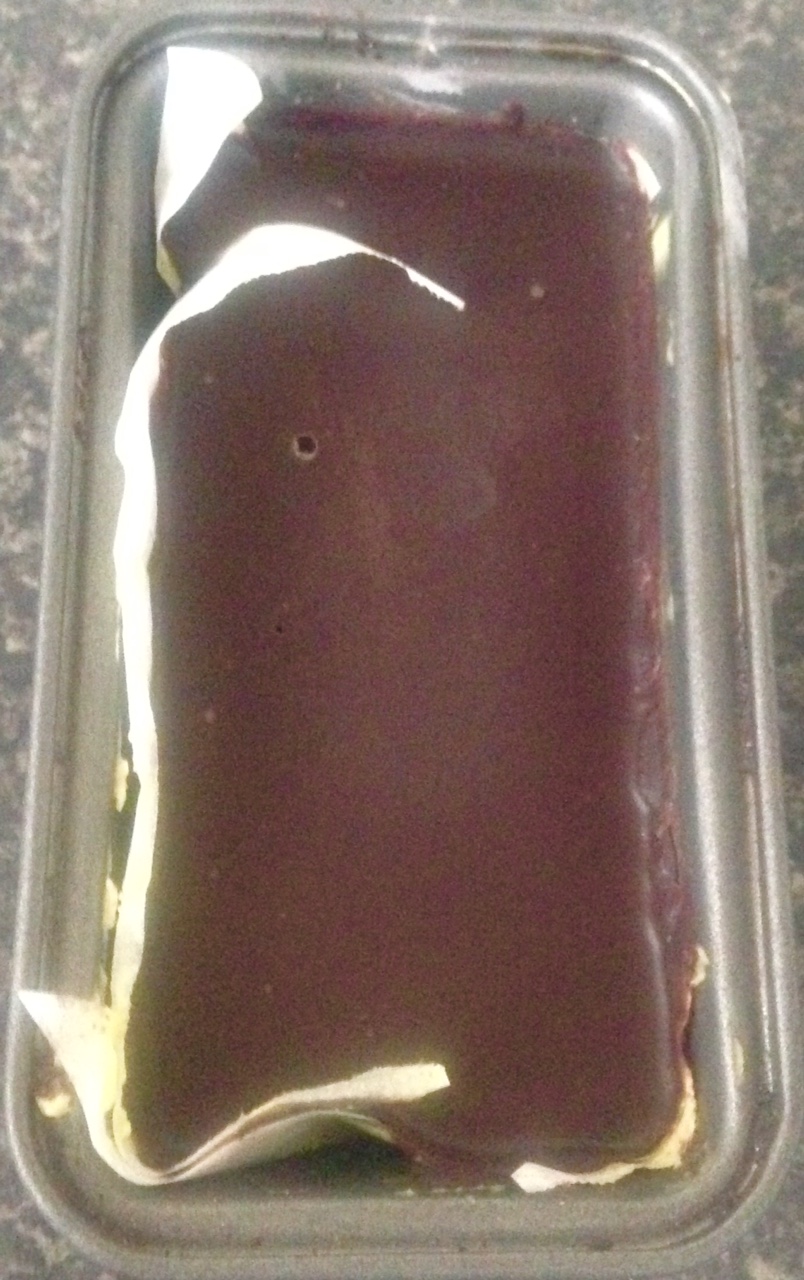
- Step 7
Like this recipe? Subscribe via RSS or email to get my new entries and more scrumptious recipes with reviews.
 Follow