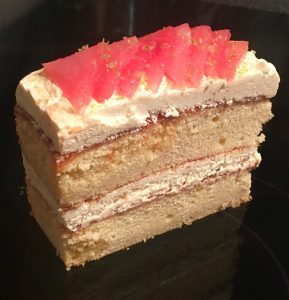
I do a loooot of baking, and quite a lot of my recipes include sponge cake as a layer. I have previously shared my never fail amazing sponge cake recipe but let’s face it, sometimes I have limited time to whip up this element in a bake and need a quick fluffy alternative (and paying $5 at the supermarket feels like big wasted money).
This got me thinking of coming up with a super fluffy, easy and tasty sponge recipe that I could whip up and cook in seconds saving me 20 minutes per future bake.
Therefore, coming up with a microwave sponge cake recipe would be super helpful, but could it be done?
After 4 experiments, a lot of time trailing and dish sizes I landed on the below recipe in which has worked 3 times in a row perfectly.
A great secret recipe that involves no oven and saves you on baking time and money!
Ingredients:
- 50g butter, softened
- 50g caster sugar
- 1 egg
- 2 tbsn milk
- ¼ tsn vanilla essence
- 50g self-raising flour
Method:
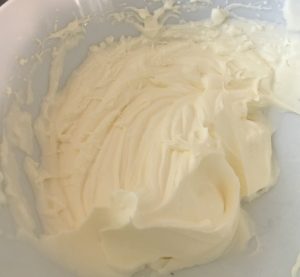
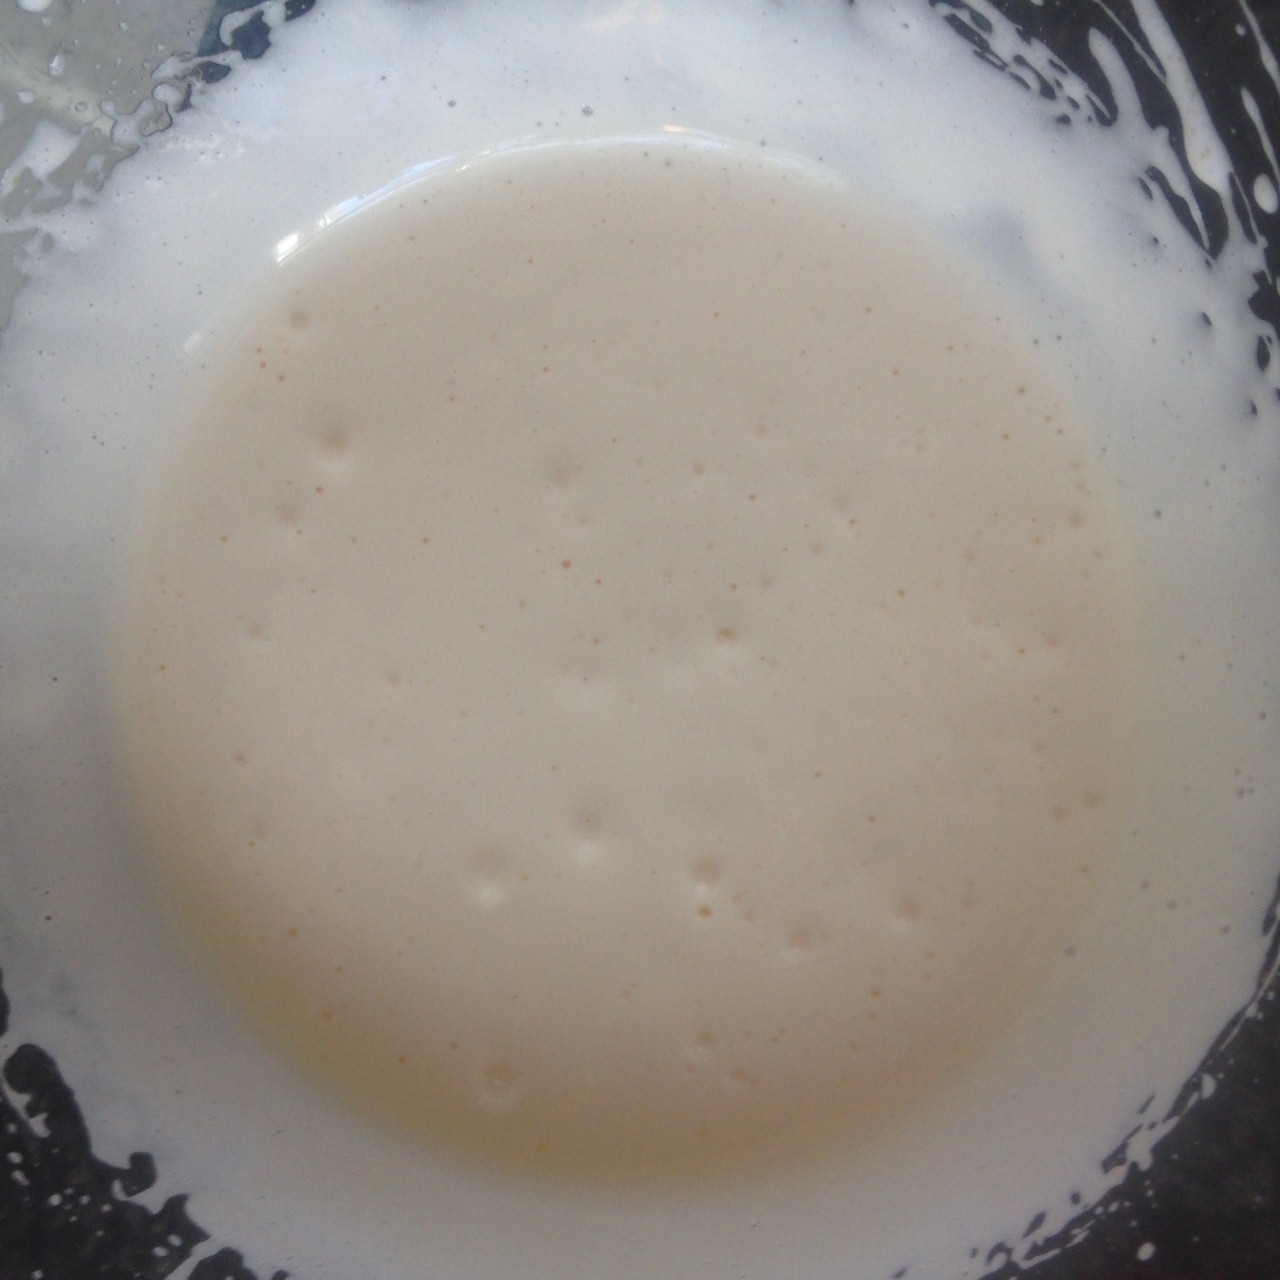
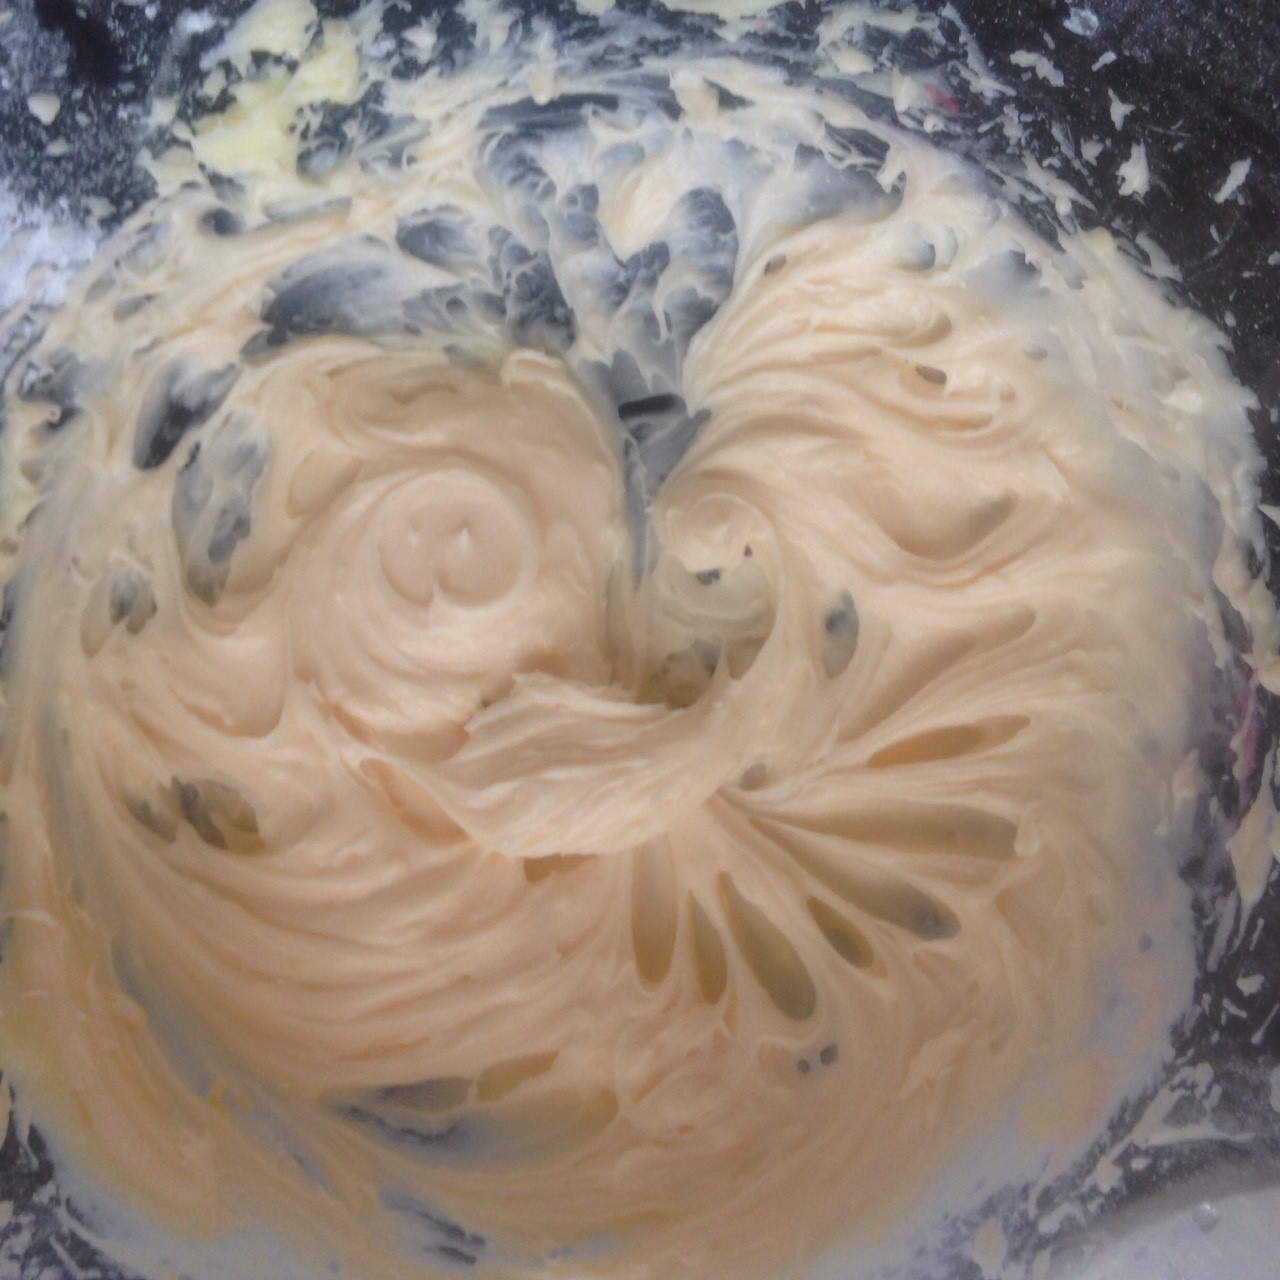
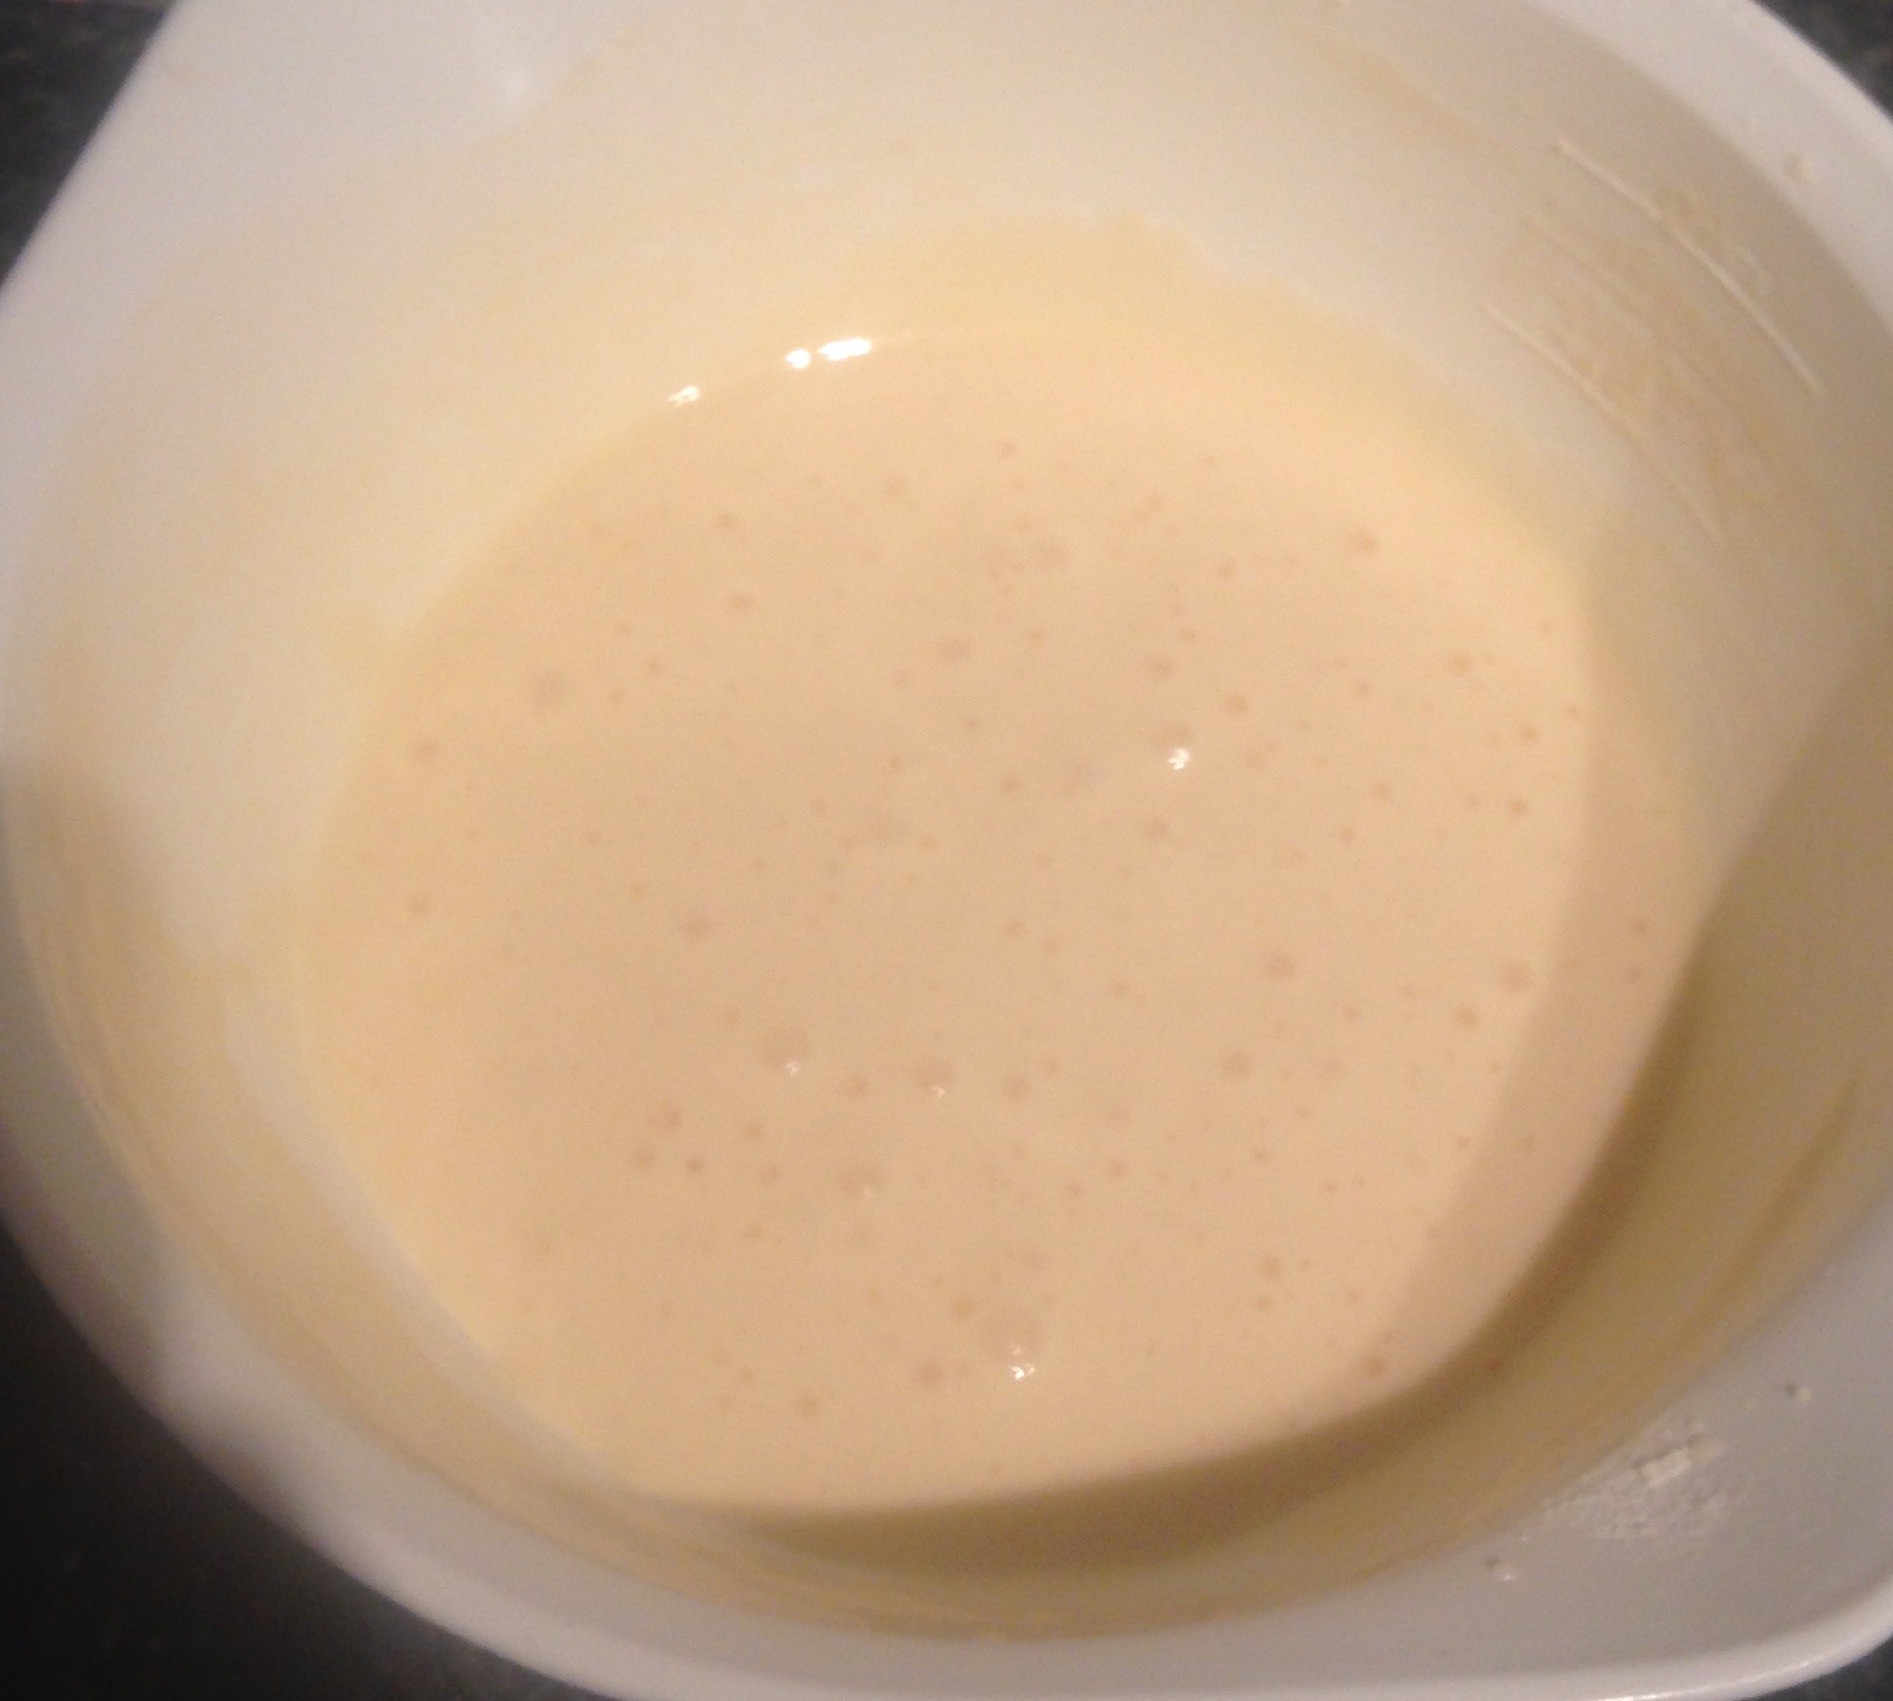
- Beat the butter and sugar in a bowl with electric beaters until fluffy and pale.
- Add the egg and beat until creamy.
- Add the milk and vanilla and beat until well combined and silky smooth.
- Add the flour and beat on a low setting with electric beaters for 30 seconds or until just combined.
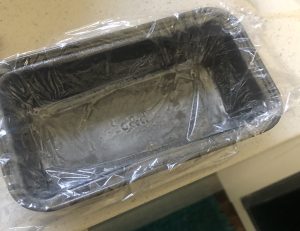
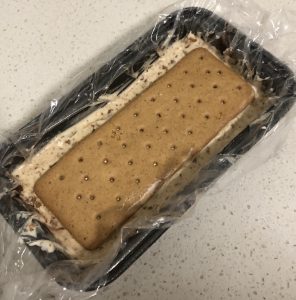
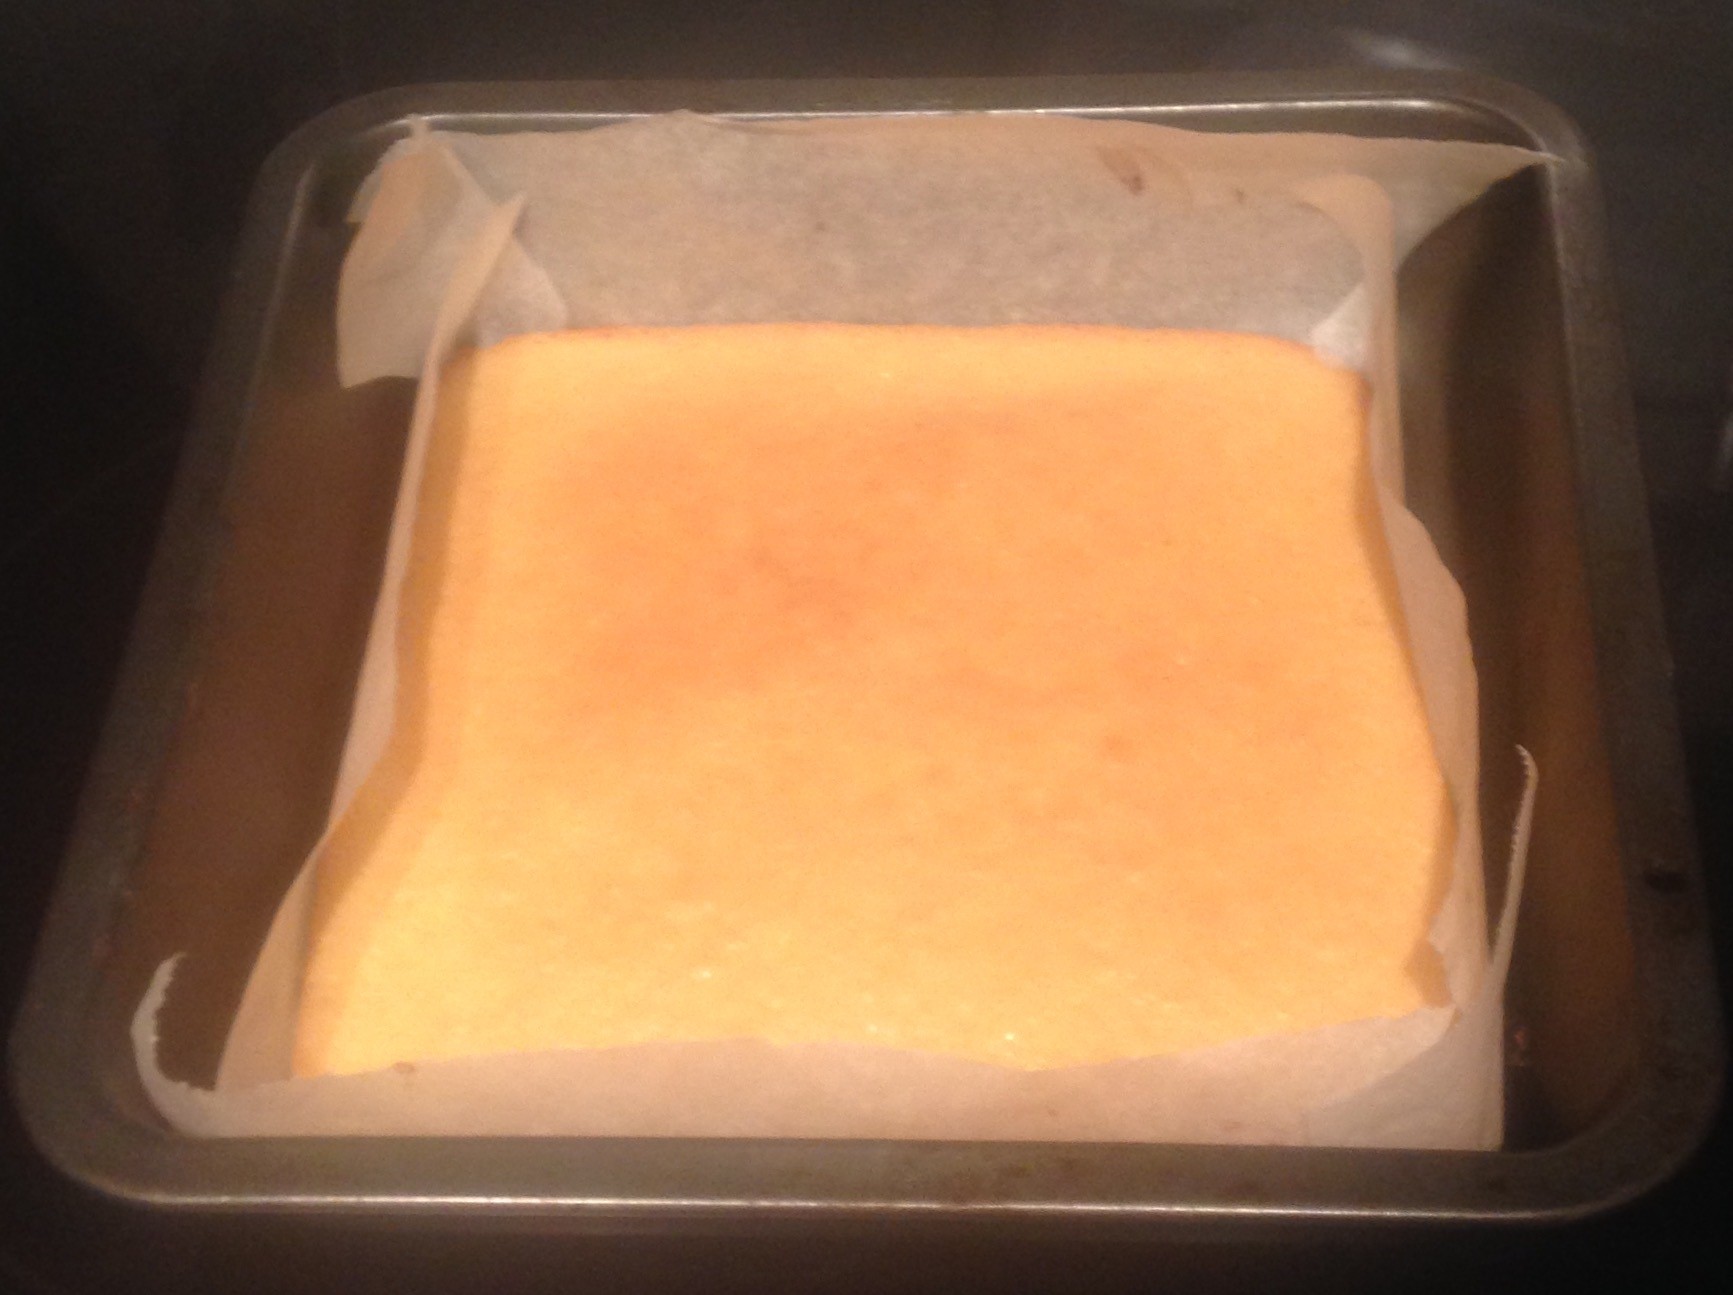
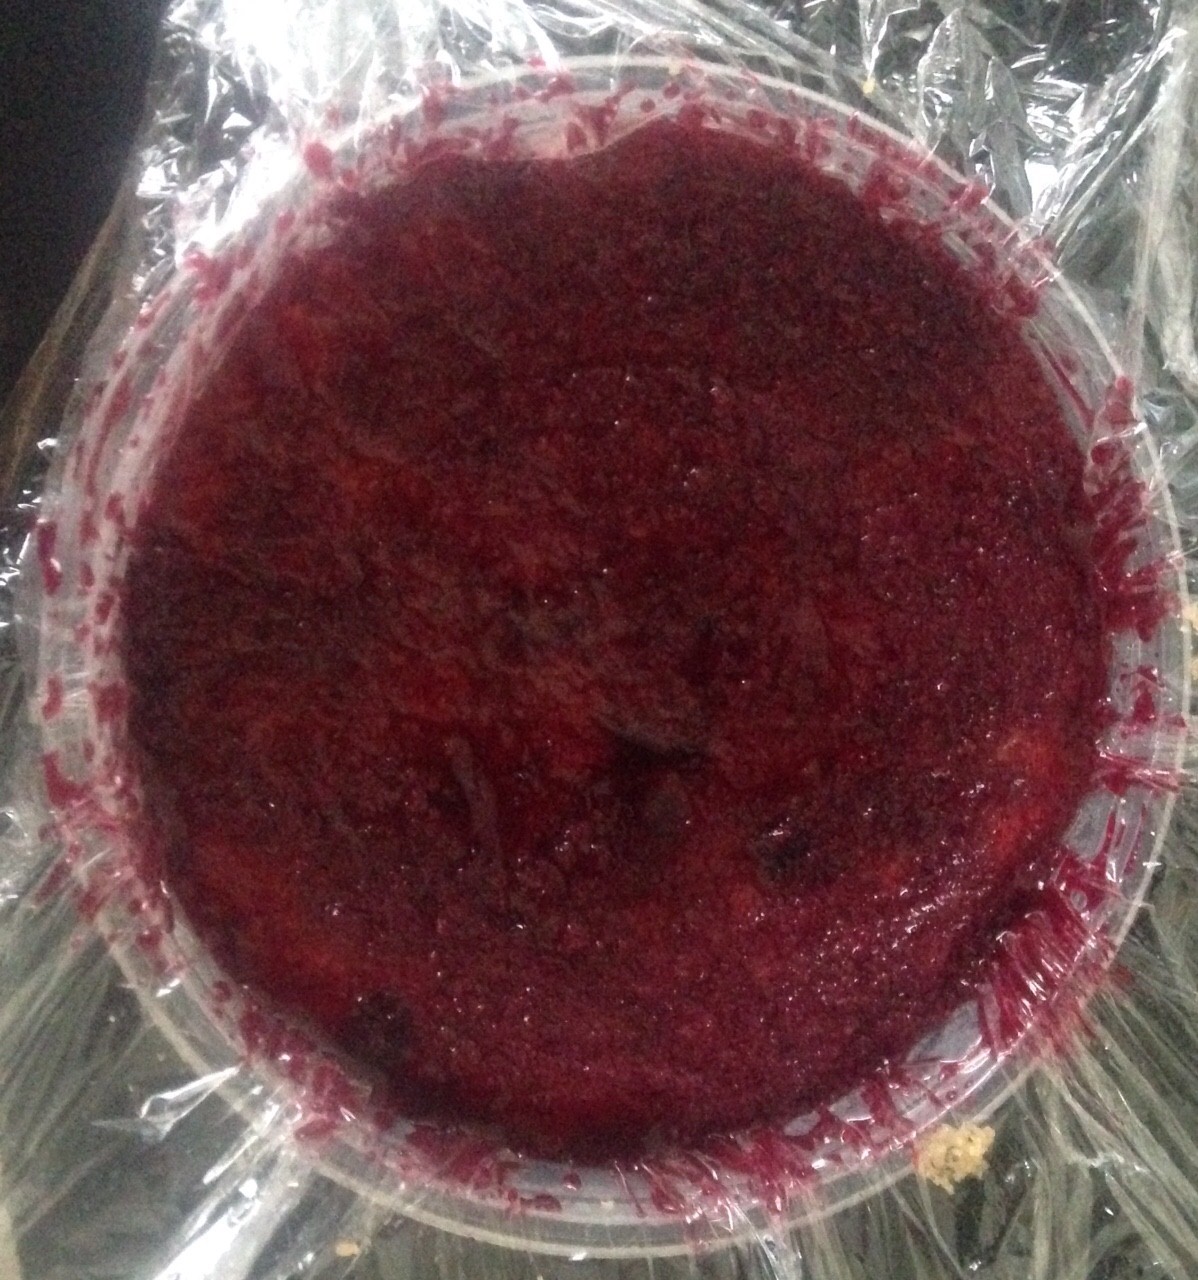
- Spray a microwave safe glass/plastic bowl/silicon 20cm x 10cm baking dish with oil spray.
- Pour the mix into the dish, allowing for the dish to be half full or less (the mix will significantly rise).
- Use the back on a spoon to evenly distribute the mix in the dish.
- Top the dish with plastic wrap and poke holes in the wrap with a skewer to allow the steam to escape.
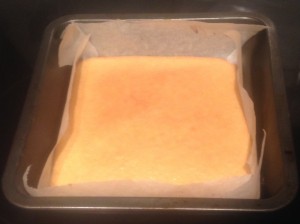
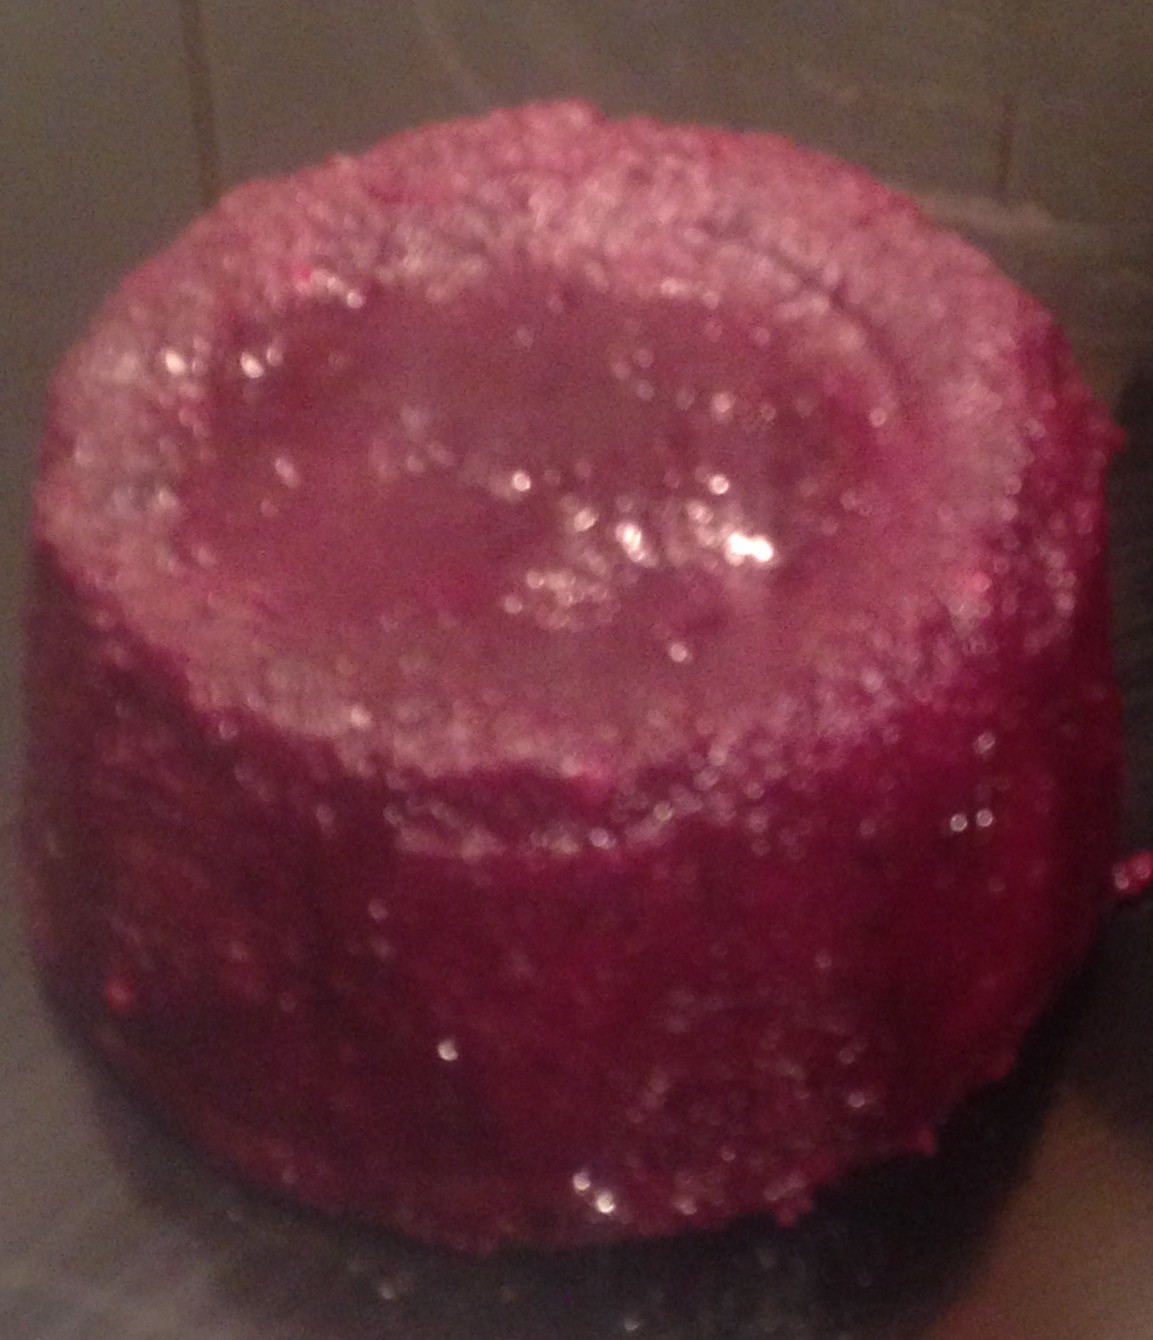
- Cook the cake in the microwave on high for 90 seconds.
- Remove from the microwave and place the dish aside to completely cool.
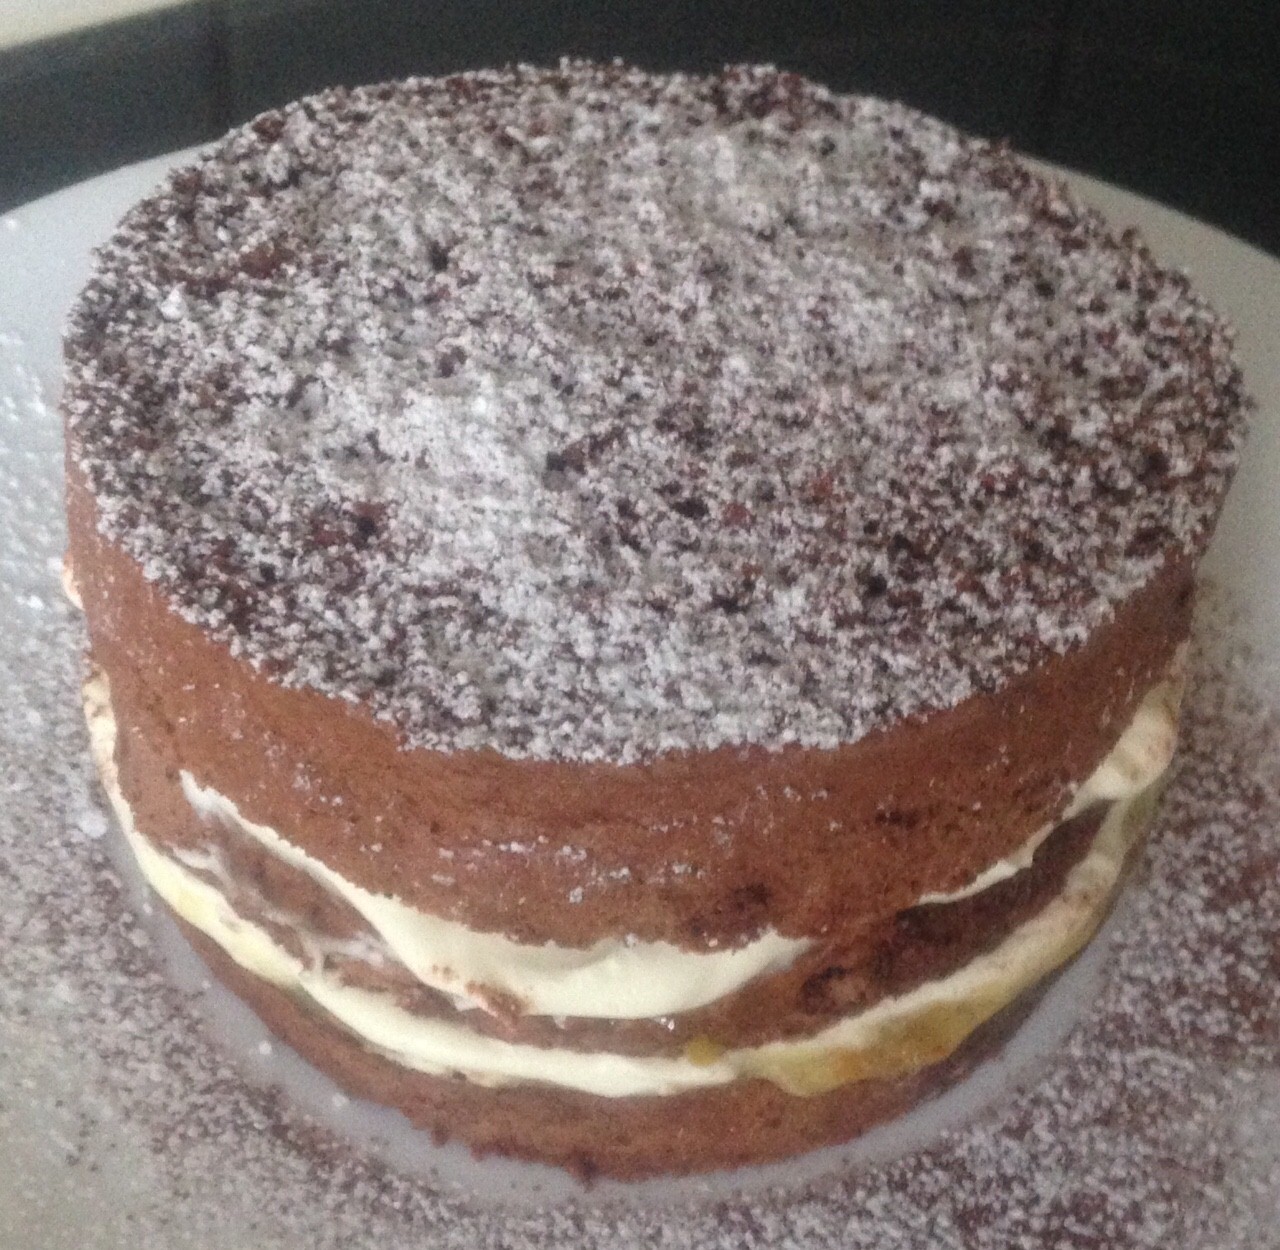
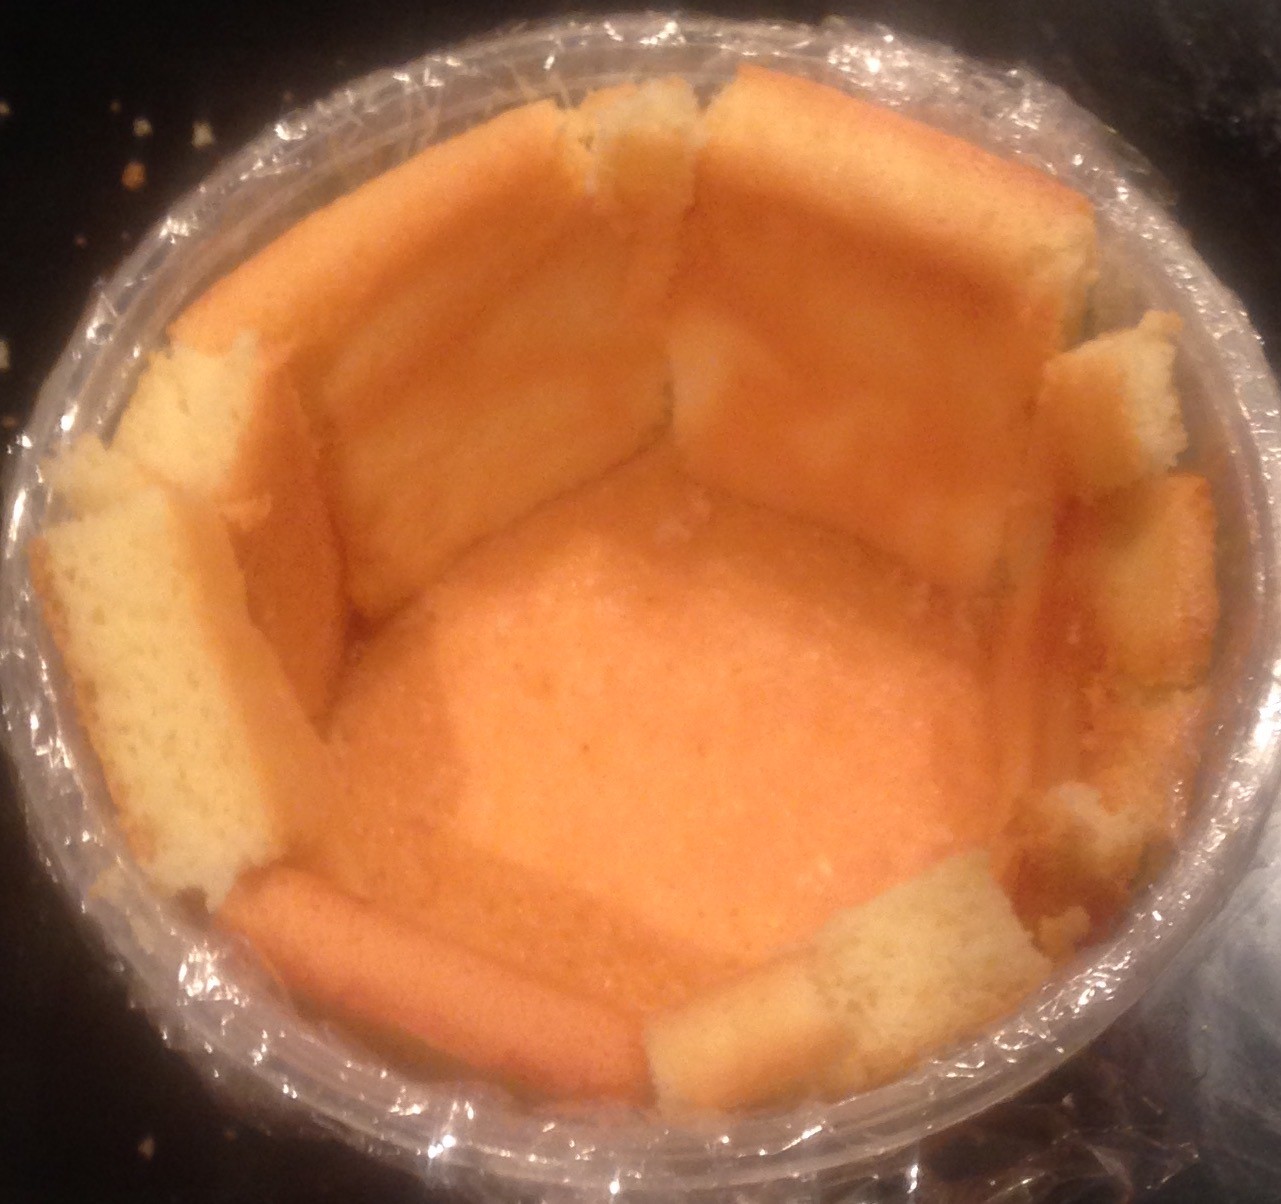
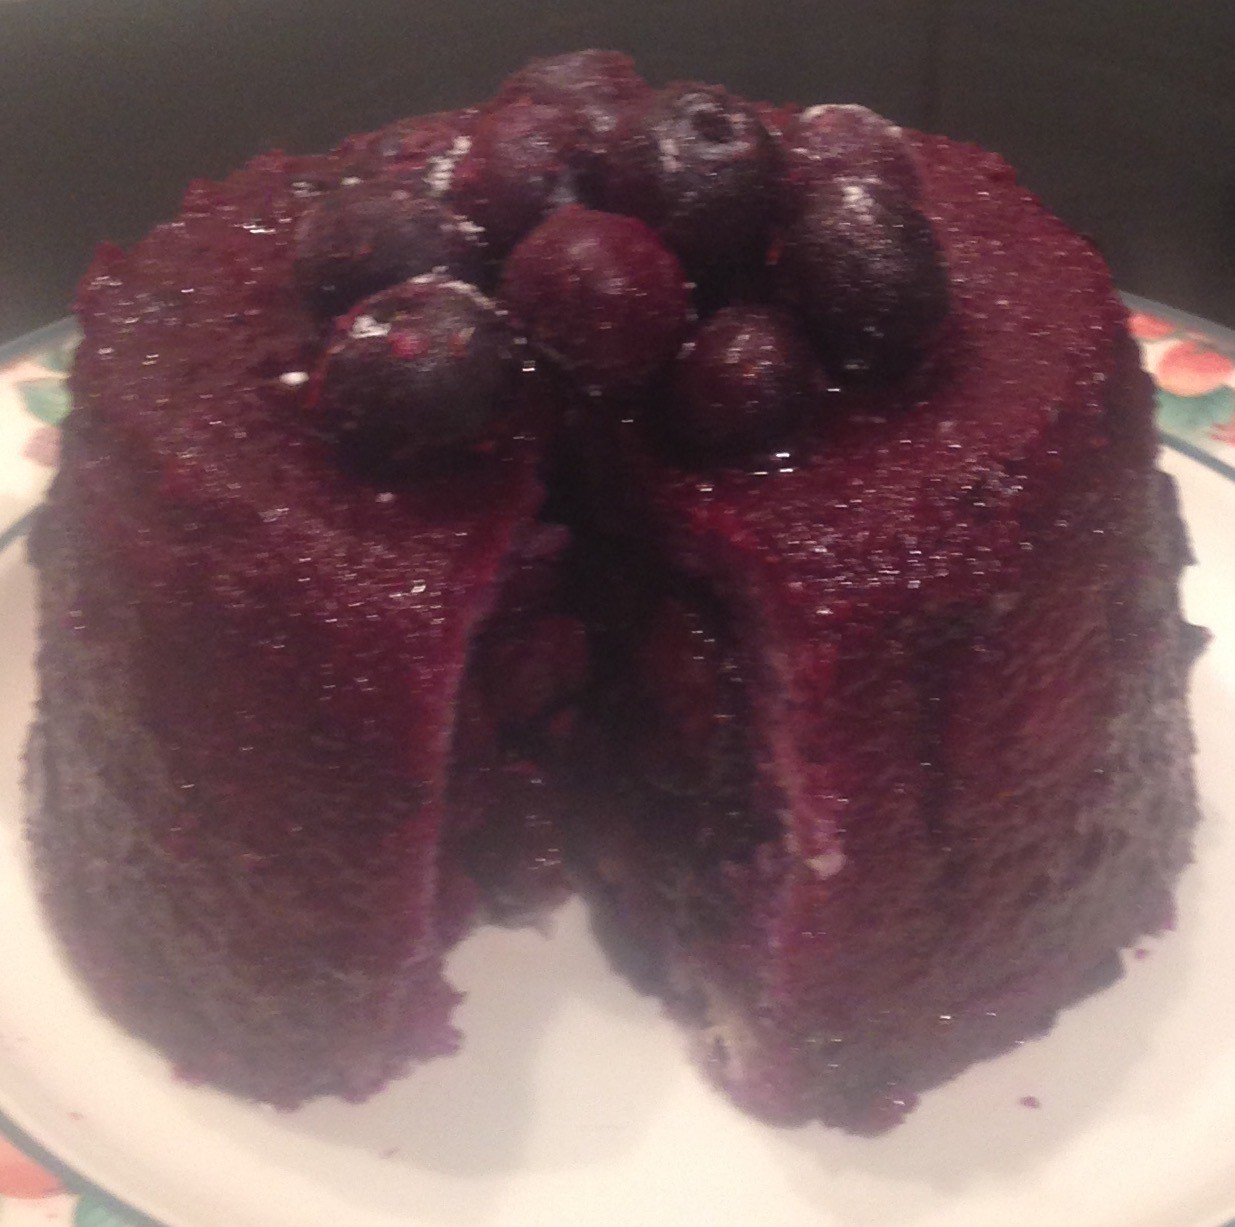
- Once cooled invert the dish onto a chopping board and cut in half vertically, making 2 even 10cm x 10cm cake halves.
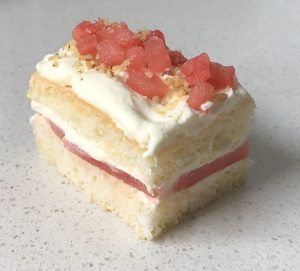
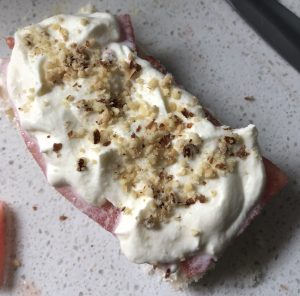
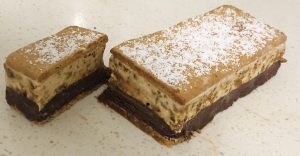
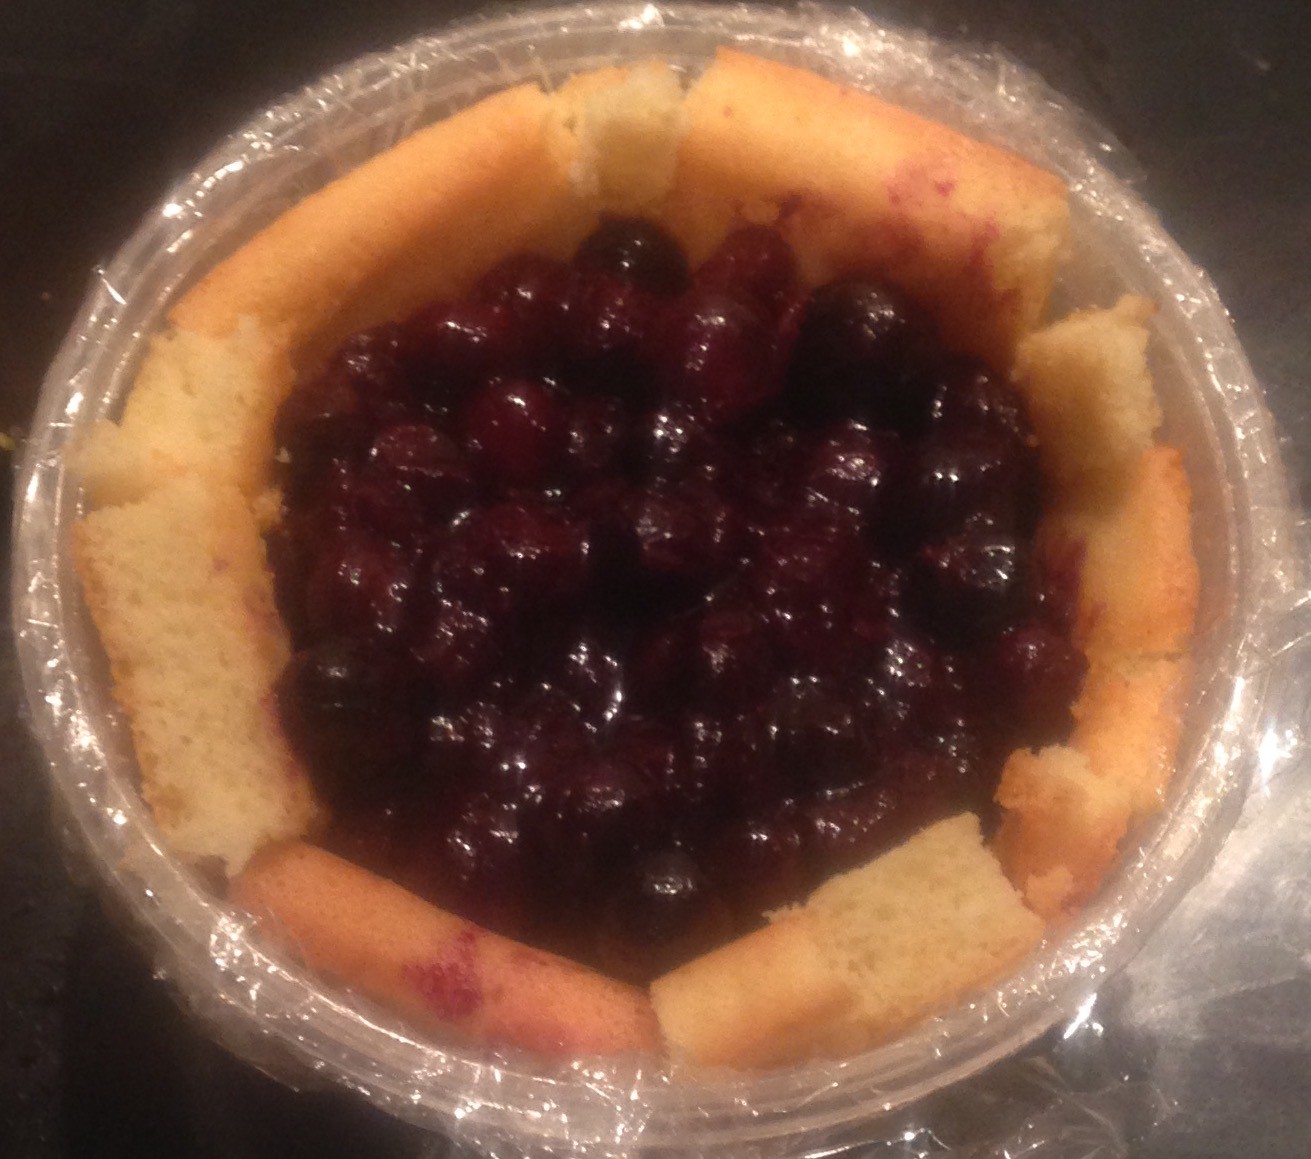
- Place one layer on a plate and top with your favourite filling followed by the 2nd cake layer, Enjoy.
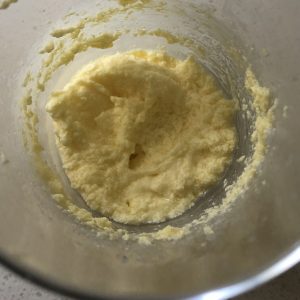
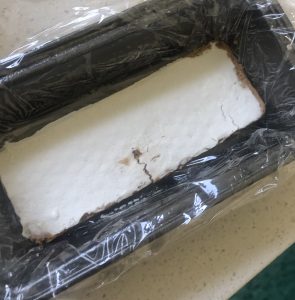
Step 3
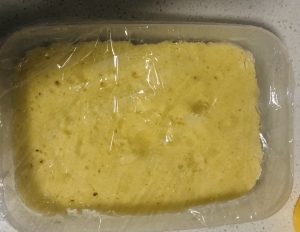
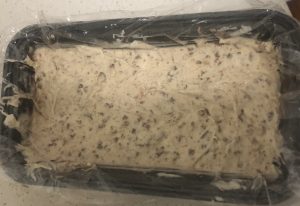
Step 9
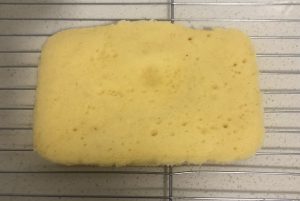
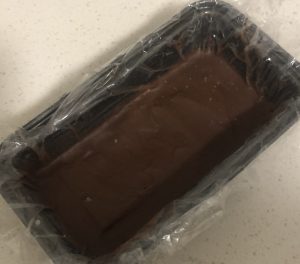
Step 10
 Follow