Quinoa Honey and Peanut Butter Biscuits
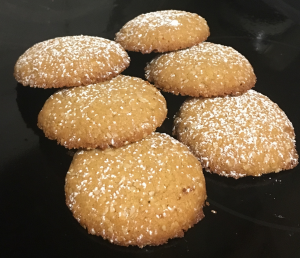
In an attempt to eat gluten free, I brought a packet of quinoa flakes to use as a rolled oat substitute for my porridge. As much as the substitute seemed consistent with rolled oats I didn’t fall in love with the texture.
So, after opting back to oats I had a half full packet of quinoa flakes that I didn’t want to waste.
The solution? Get experimenting. I figured if the flakes were mostly used as an oat substitute I could bake with them just like I do with other cereal ingredients.
Knowing this ingredient pairs well with common breakfast flavors I played around with a few flavour combos before I landed on honey and peanut butter.
These 2 ingredients go so well together and using the quinoa flakes as a base biscuit ingredient went just as well as oat bran, flour or oats do.
To keep with the gluten free theme, I used rice flour instead of the usual wheat flour for gluten free friendly biscuit-y goodness.
I had low expectations for this treat and to be honest was blown away by how tasty it is.
Ingredients:
- 55g brown sugar
- 80g butter
- 110g honey
- 90g peanut butter
- 1 tsn vanilla essence
- 200g rice flour
- 1 tsn baking power
- ¼ tsn salt
- 110g quinoa flakes
Method:
- Preheat the oven to 180c degrees and line 2 large baking trays with baking paper.
- Place the sugar, butter, honey, peanut butter and vanilla into a saucepan on a medium heat.
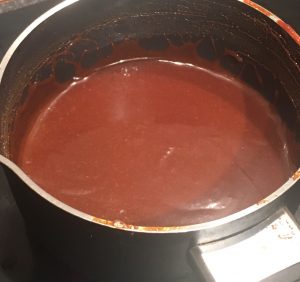
- Stir until the mix is well combined, silky and bubbling on the sides of the pan. Set aside to cool slightly.
- Sieve the flour, powder and salt into a bowl and add the quinoa flakes, stir.
- Pour the butter mix over the dry mix and stir until well combined.
- Put the bowl of the biscuit mix into the fridge for 30 minutes to cool and slightly harden.
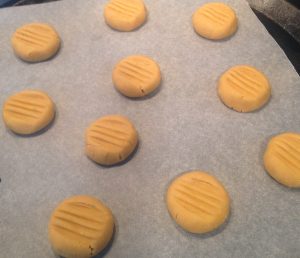
- Next roll the cooled dough into balls 30g in size and place onto the trays.
- Using a fork push the balls in the center to flatten.
- Place the trays in the oven to bake for 15 minutes or until the biscuits are golden brown in colour – leave the biscuits on the tray to completely cool.
- Enjoy!
Step 2
Step 8
Like this recipe? Subscribe via RSS or email to get my new entries and more scrumptious recipes with reviews
 Follow
