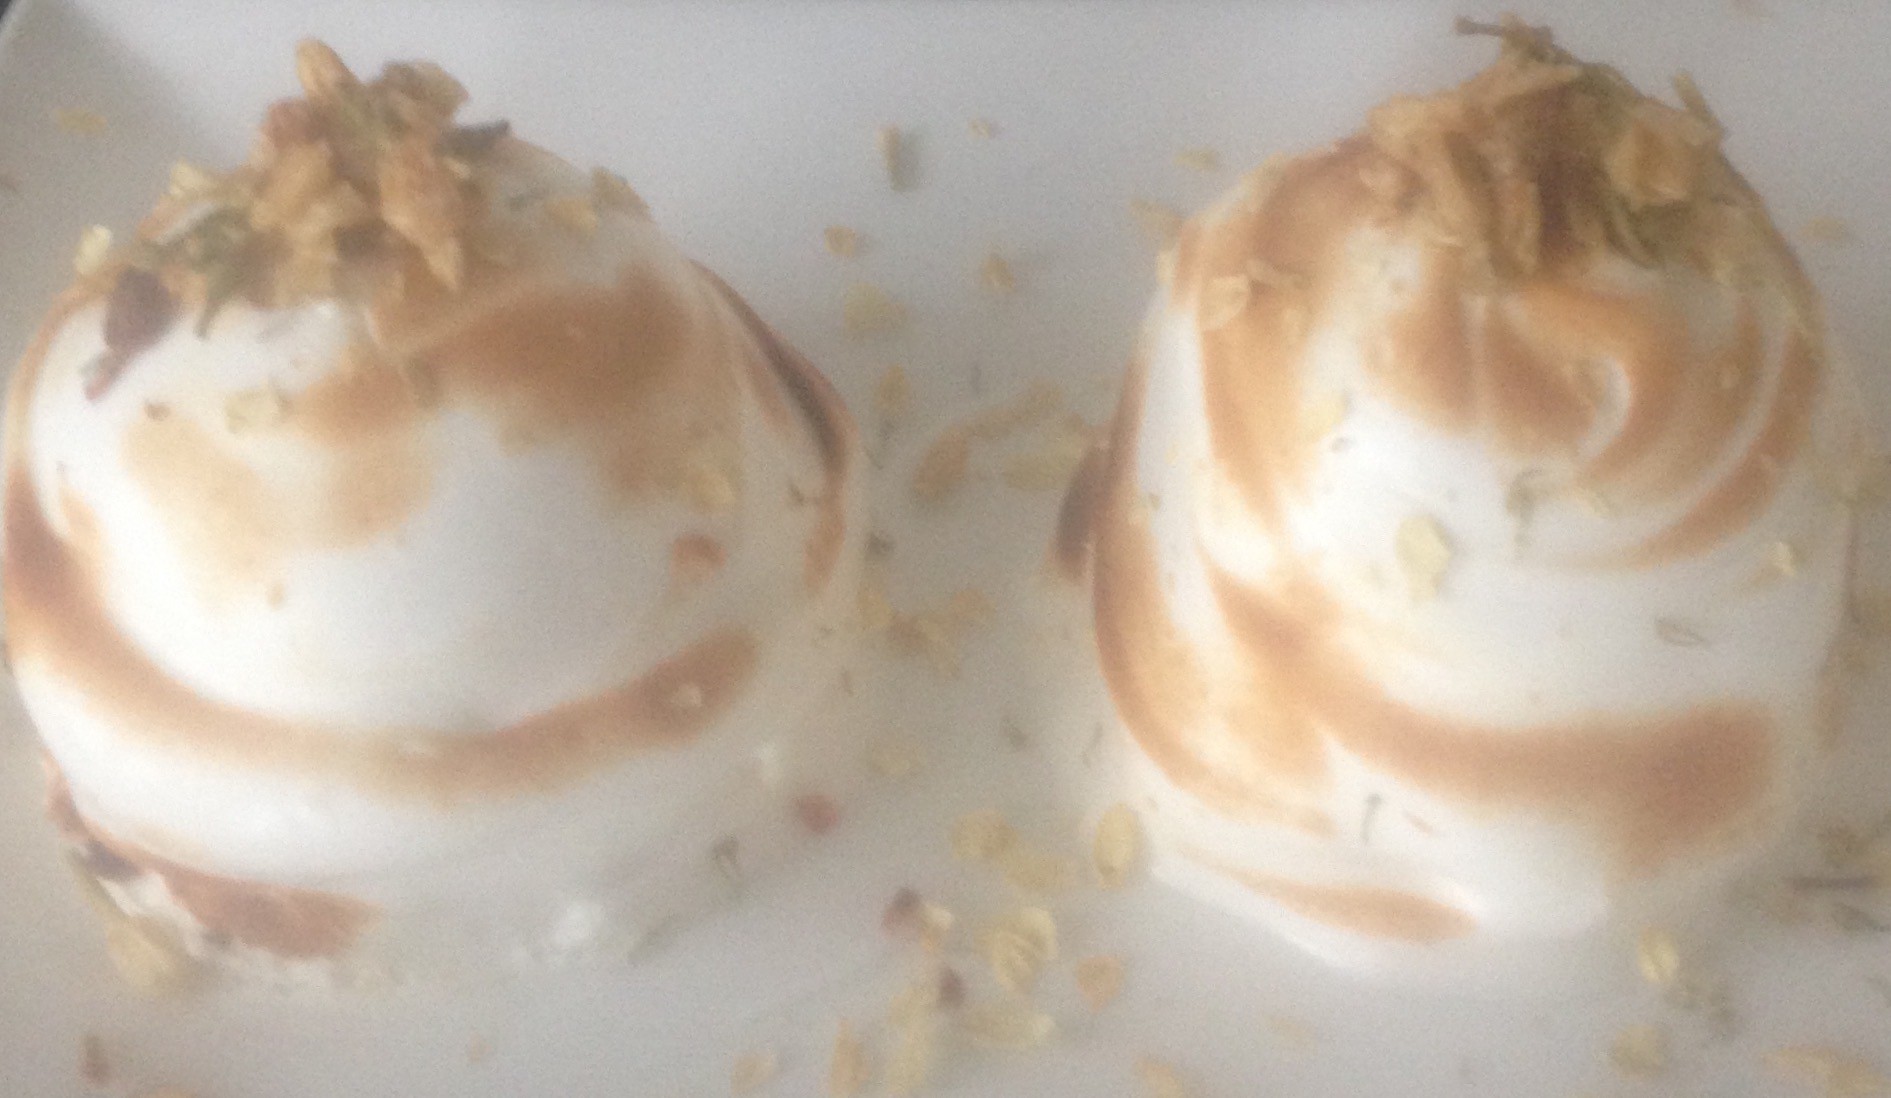
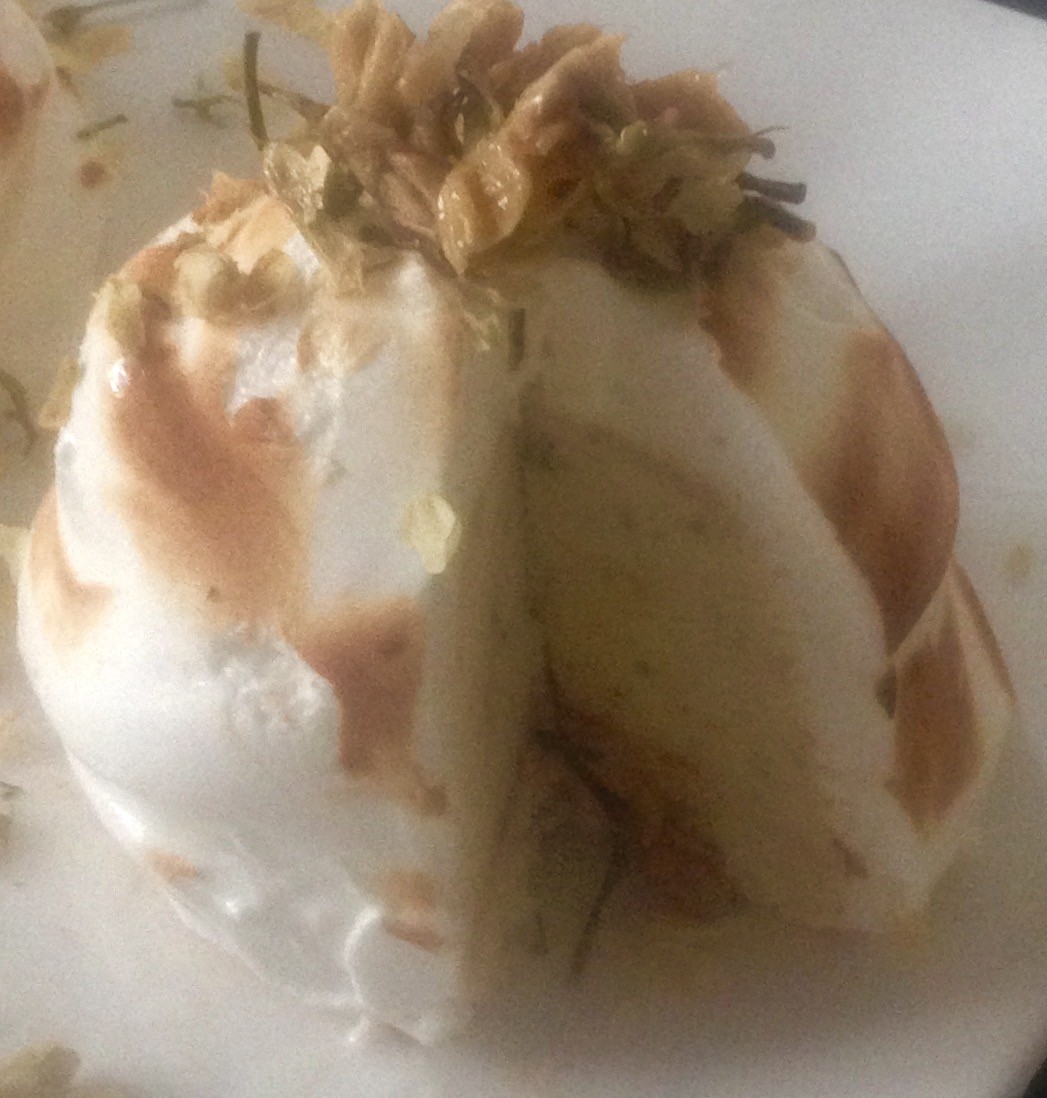
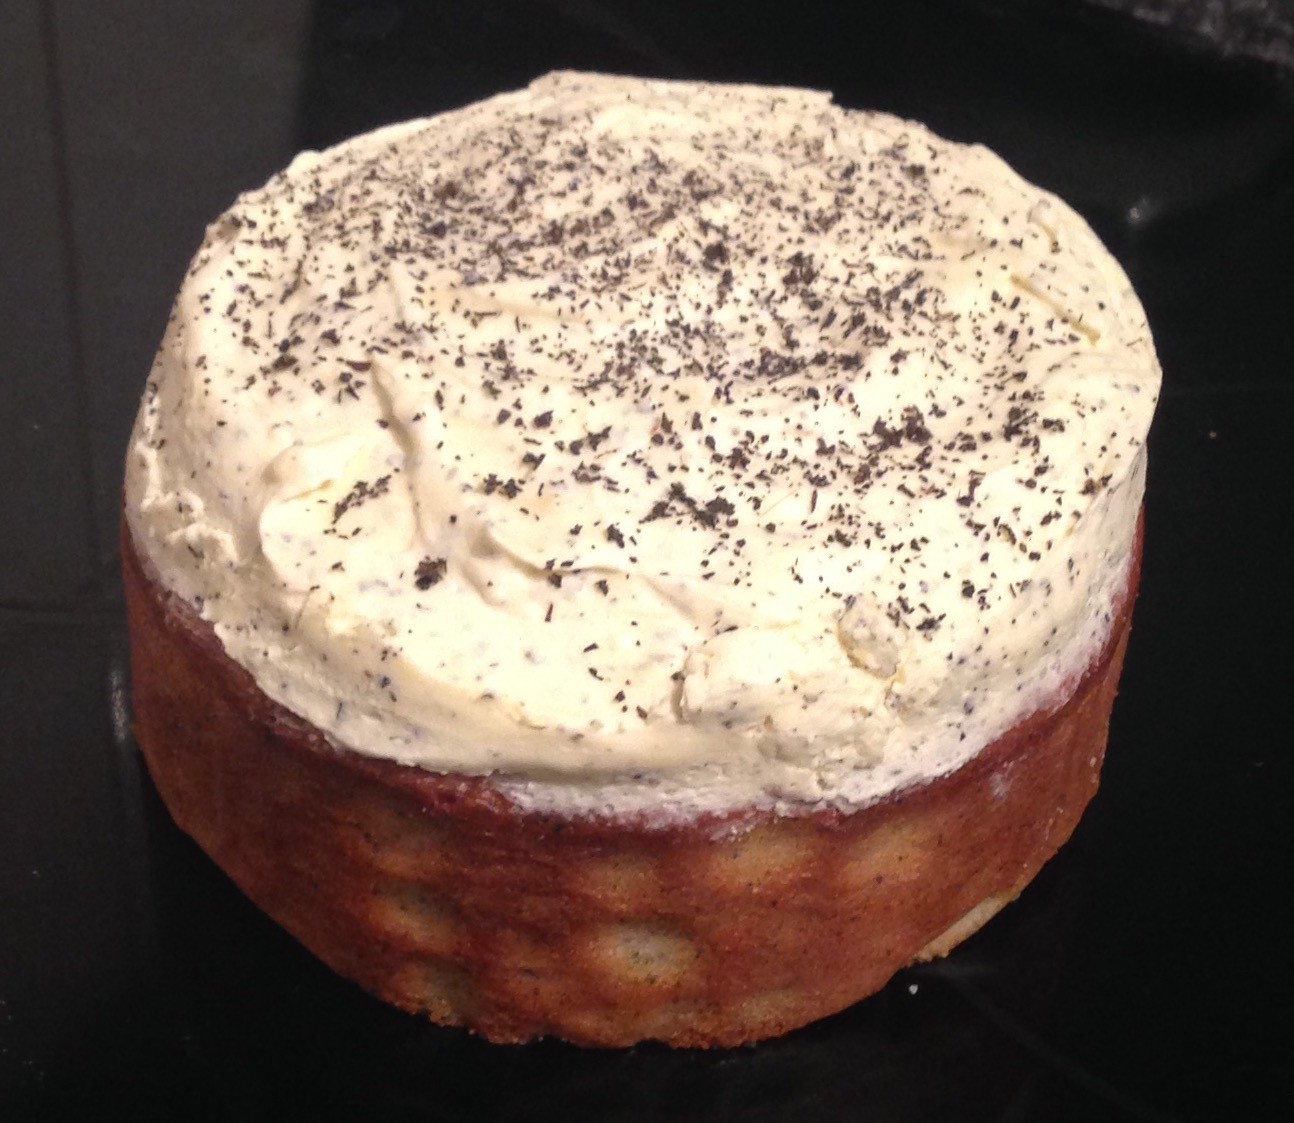
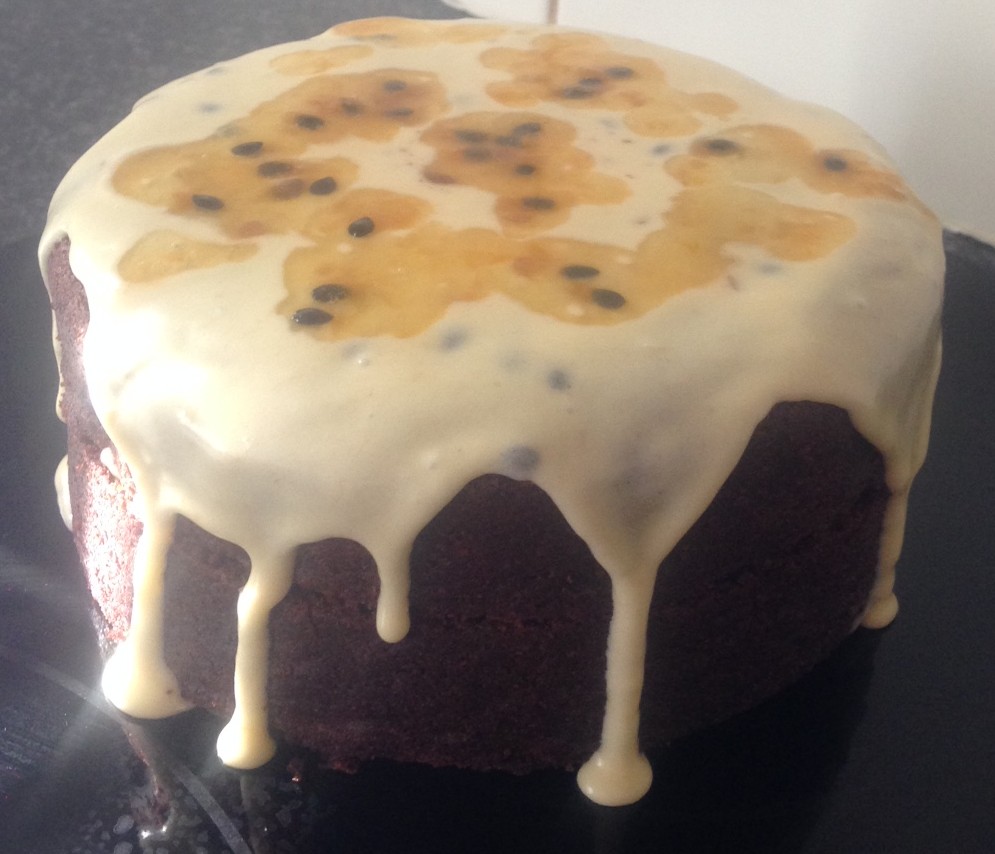
Potato Chocolate Cake with Passionfuit Icing
Every now and then I play with vegetables in my recipes. Some favorites have been my Sweet Potato and Orange Cake , Chocolate Zucchini Cake , Beetroot and Chocolate Brownies to name a few; however one vegetable I have not baked with is the plain old fashion potato.
Though not very popular at current this mundane ingredient was once a norm for cake baking (especially mid-1900s to late 1900s).
I believe the original reason potato featured so heavily in baking (mashed to be more specific) was to use up leftovers.
The Irish were quick onto this where they would make savory potato cakes with eggs, flour, butter, onion etc.
However I am told my grandmother’s sister had a signature potato cake and frequently use this ingredient to make cakes light, fluffy, moist and dense.
It is also used to replace flour is some cases (just like apple puree is to replace butter).
After a few trials I came up with my own potato cake version, which I am quite proud of as it definitely exceeded my expectations!
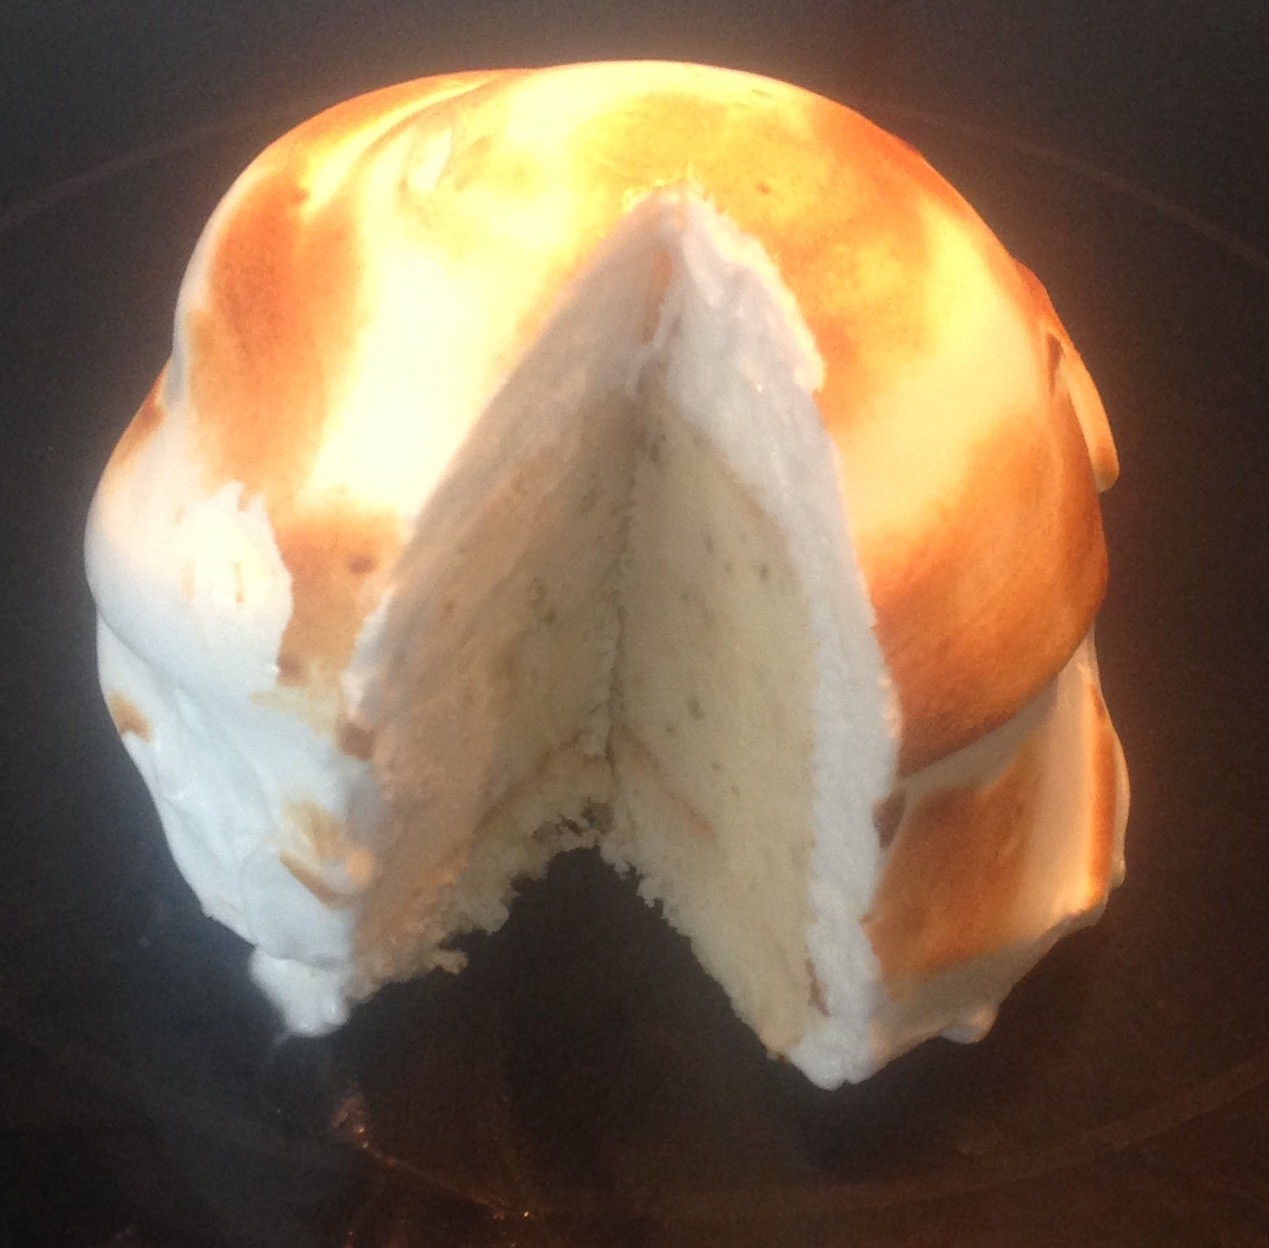
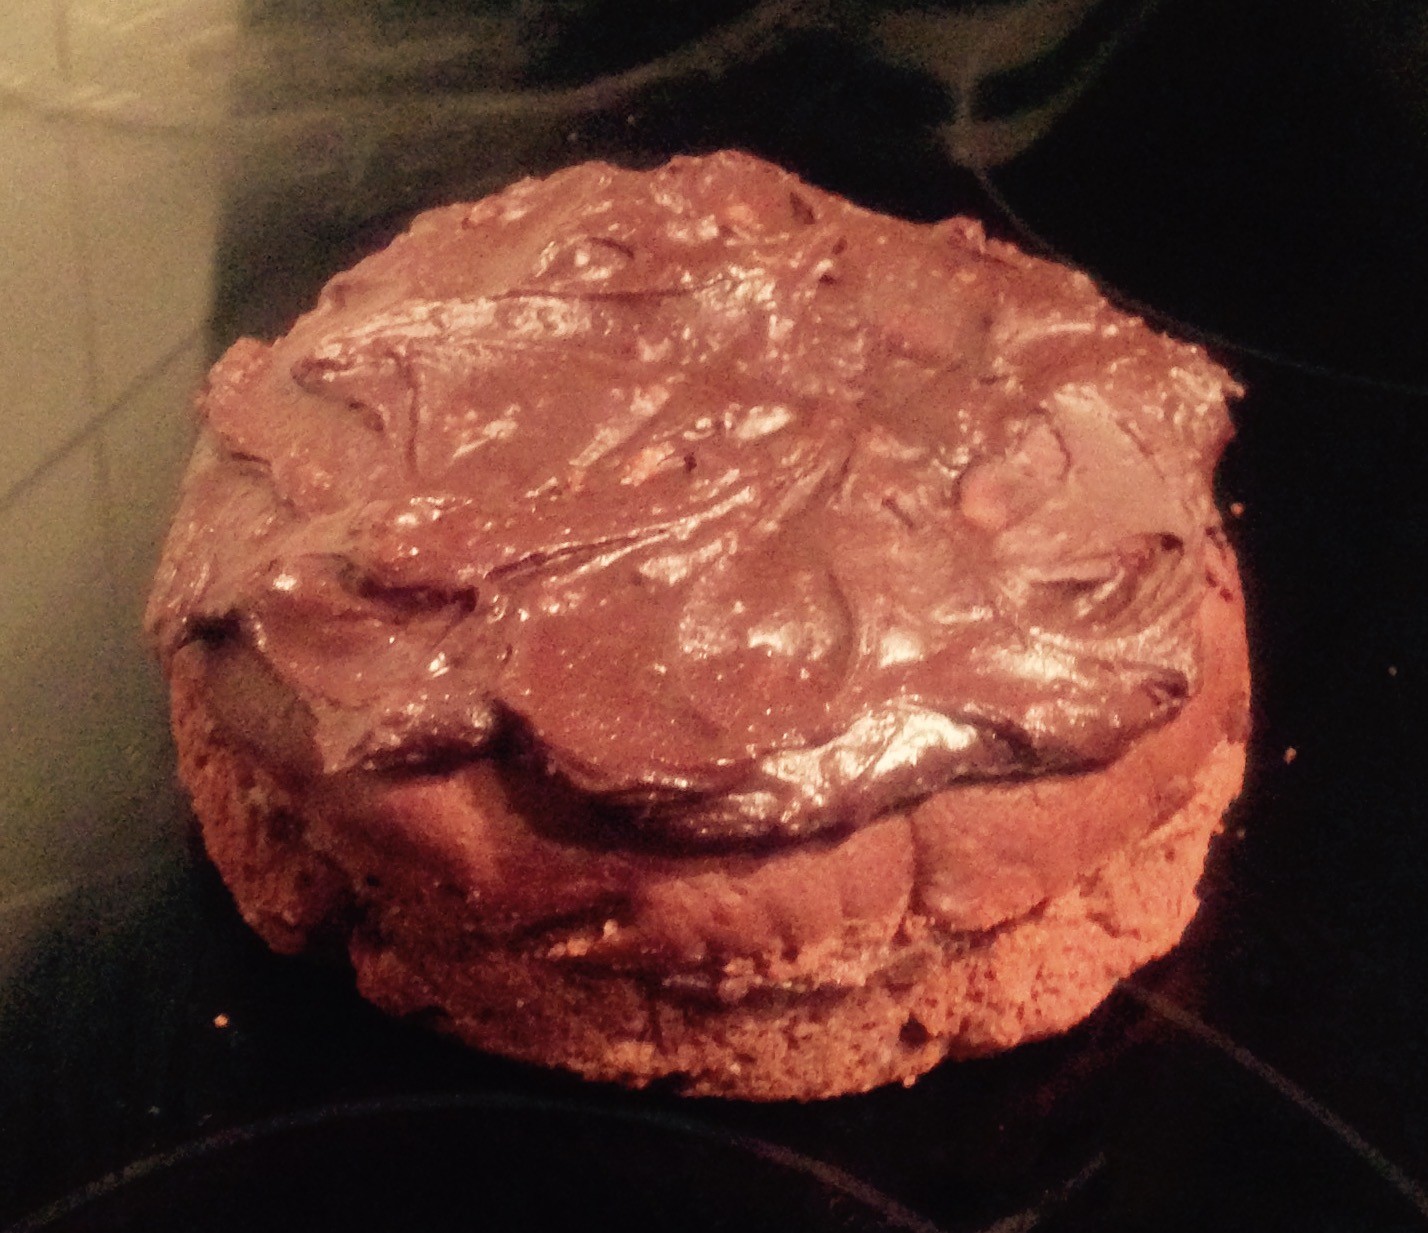
Think chocolate mud cake, but without the naughty cream and chocolate.
Ingredients:
- 130g butter
- 220g sugar
- 1 egg
- 1/2 cup mashed potato
- 1/2 tsn vanilla extract
- 145g self raising flour
- 35g cocoa powder
- 125ml milk
Icing:
- 1 + 1/2 tbsn fresh passionfruit pulp (this should be 1 + 1/2 passionfruit)
- 1 cup icing sugar
Method:
- Pre-heat the oven to 175c degrees and line a 25cm cake tin with baking paper.
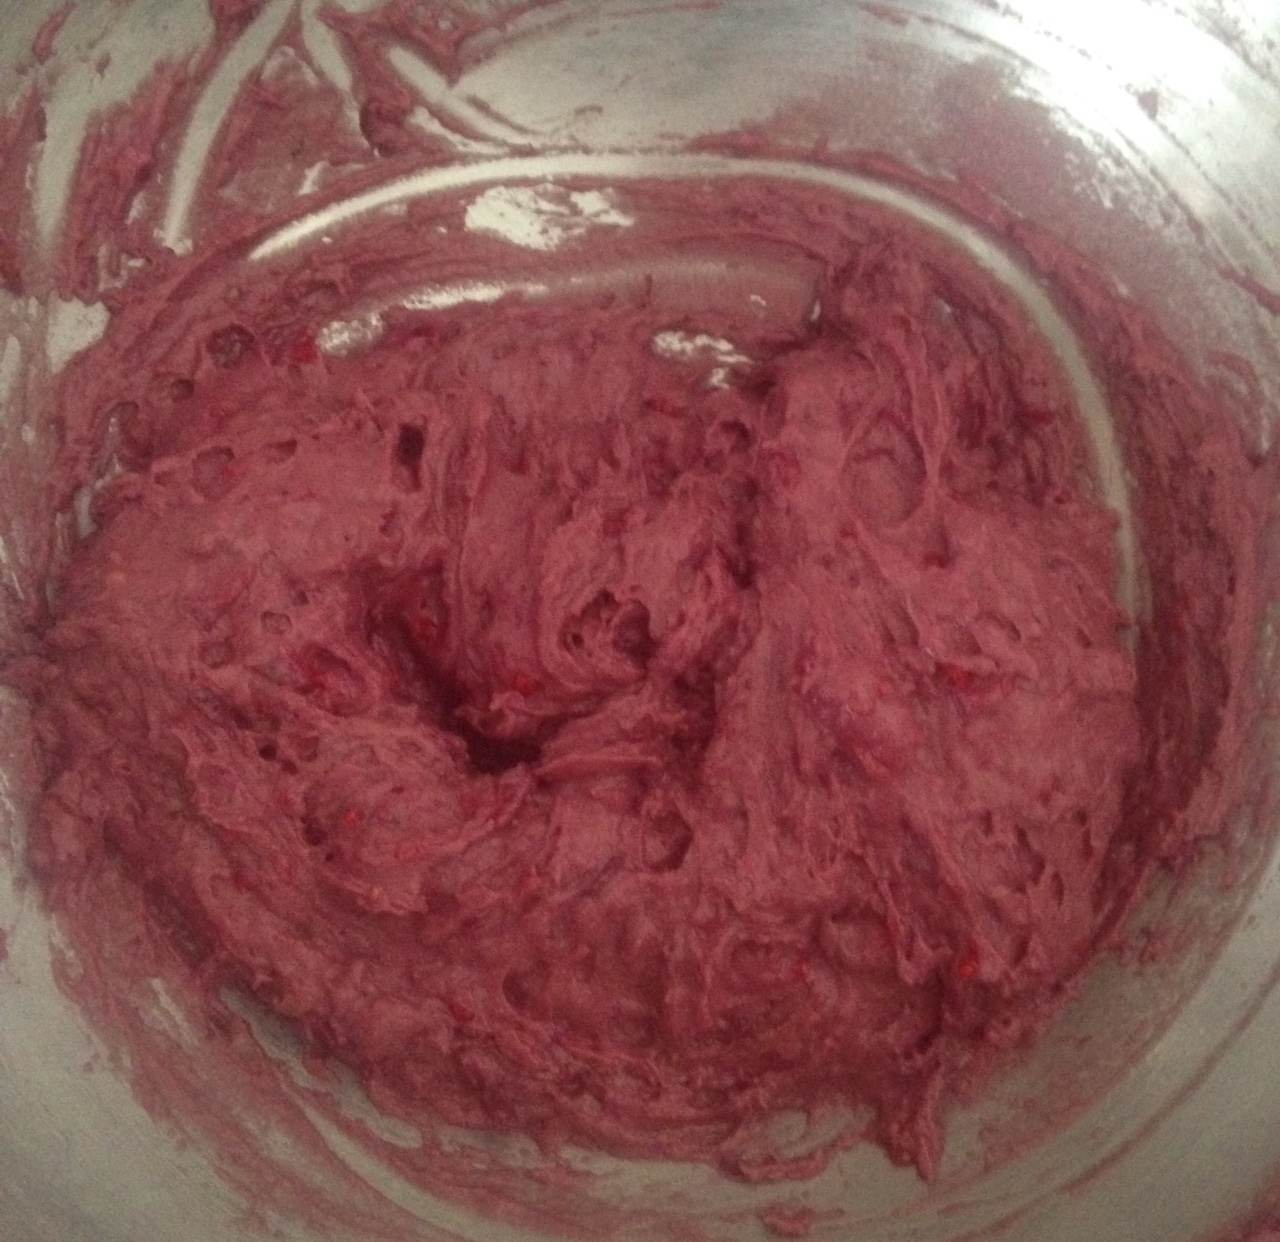
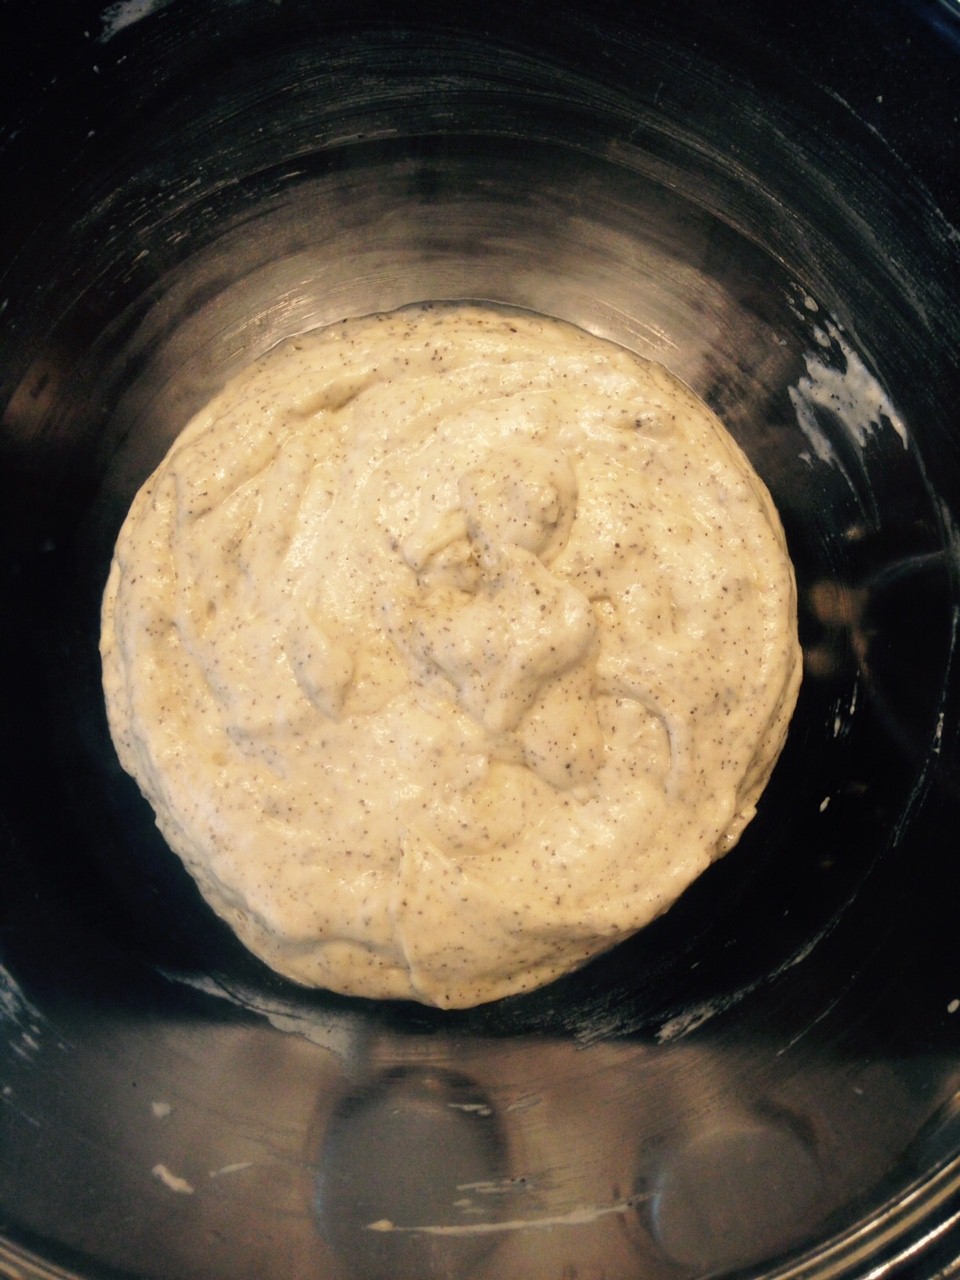
- In a bowl cream the butter and sugar with electric beaters for 5 minutes until pale and fluffy.
- Add the egg.
- Add the potato and vanilla essence and beat for 1 minute.
- Add the milk and sift in the flour and cocoa powder, stir with a spoon until just combine.
- Beat with electric beats for 1 minute.
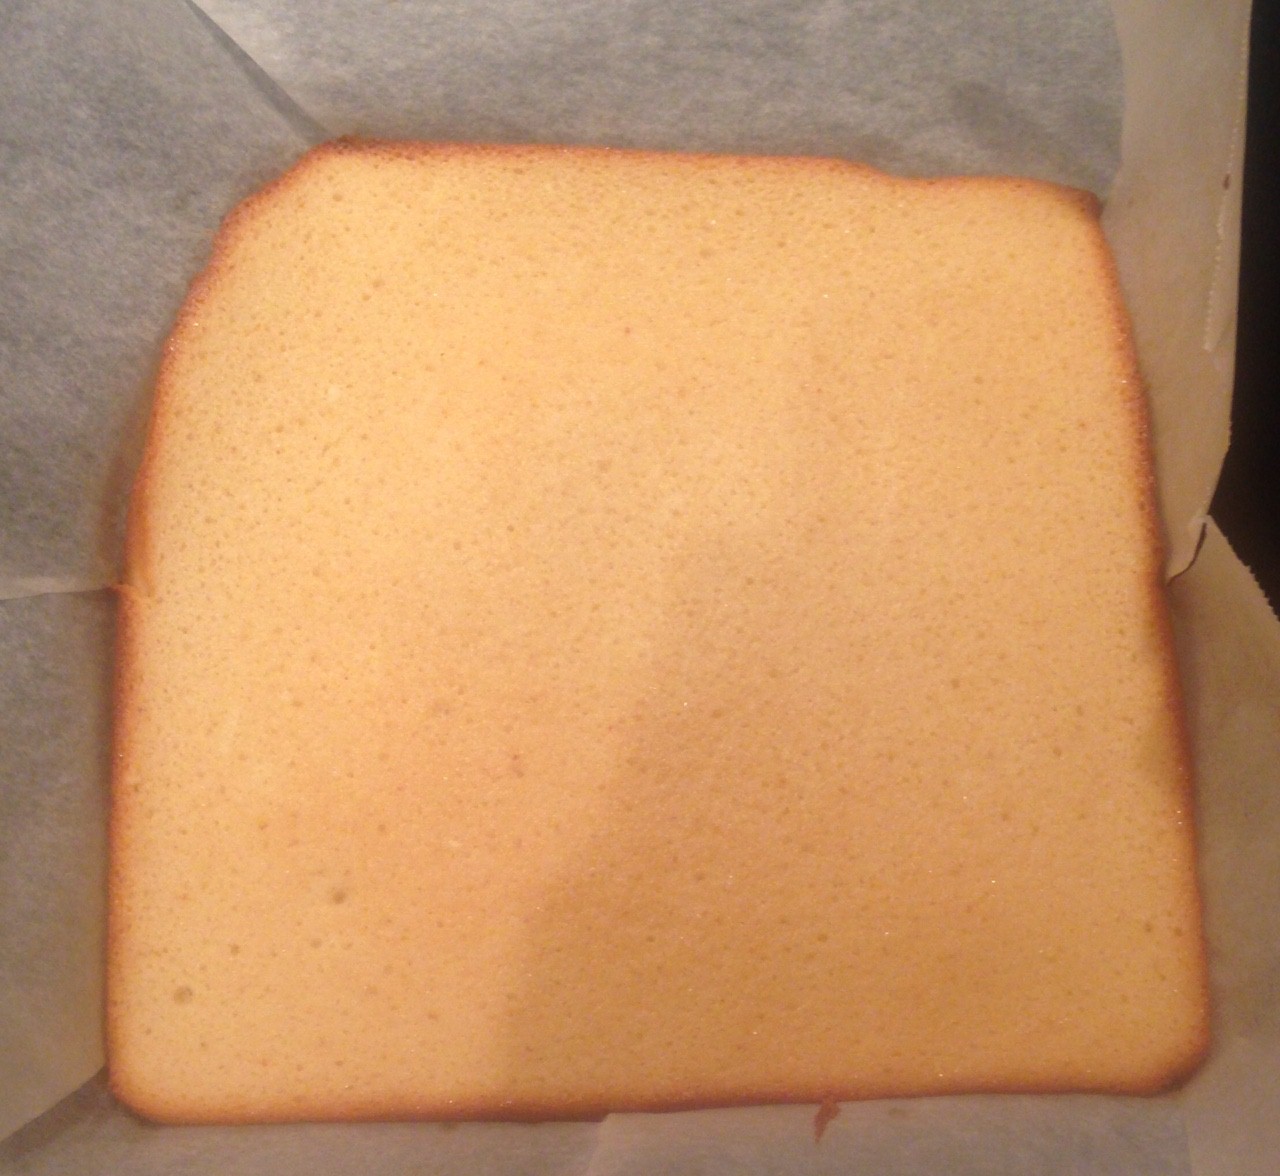
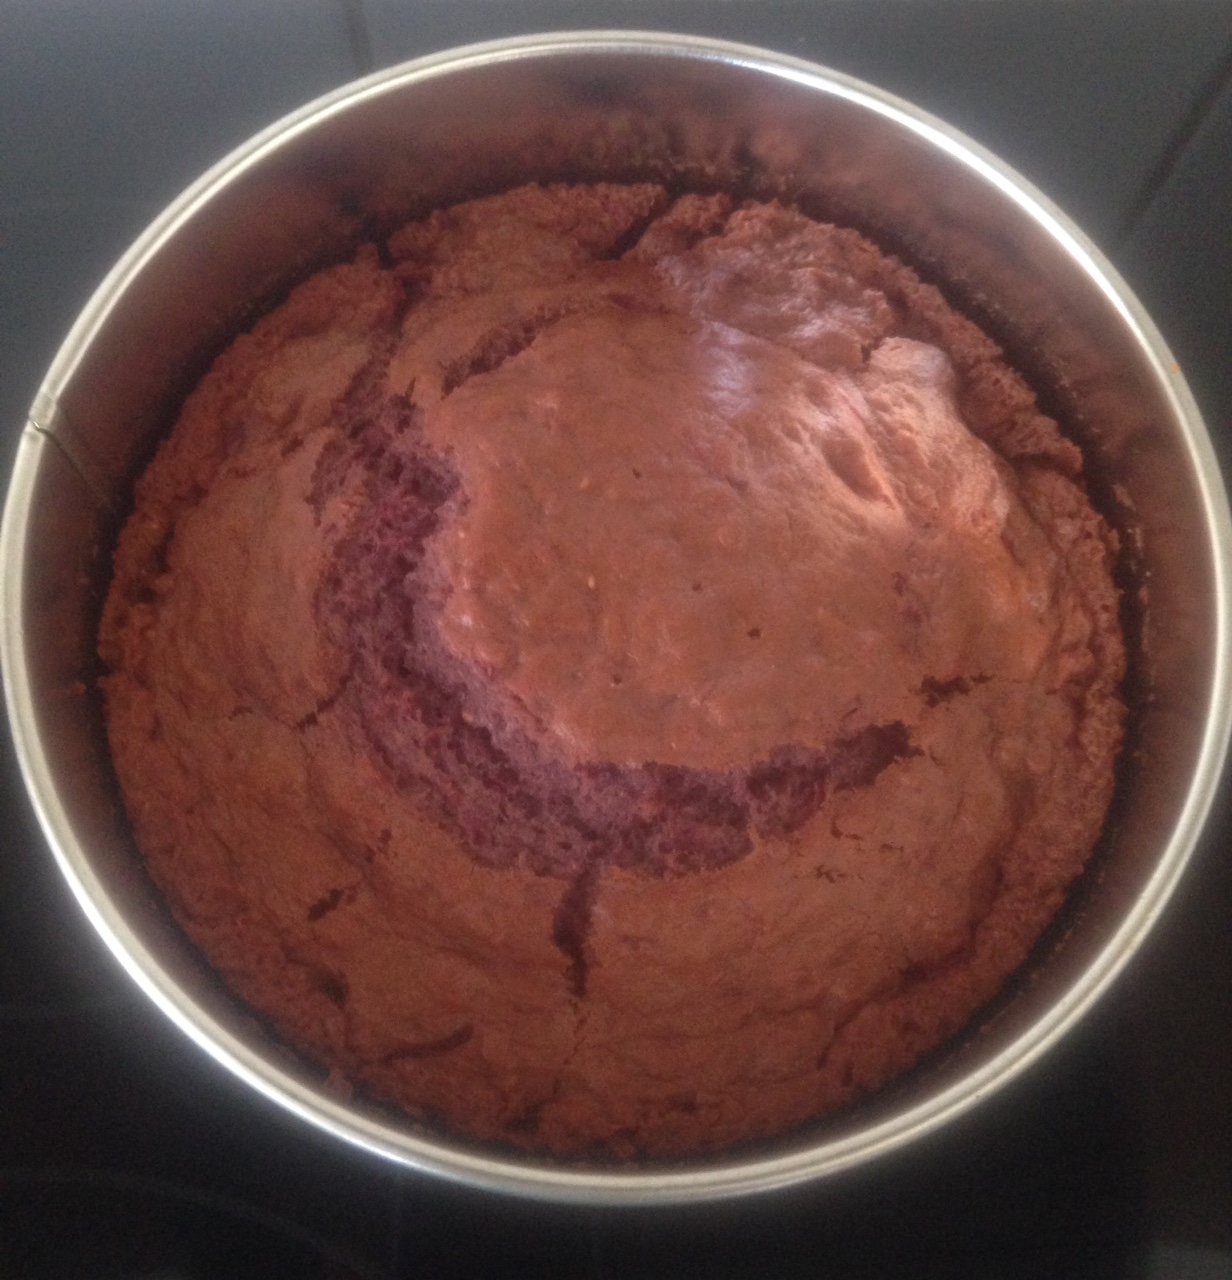
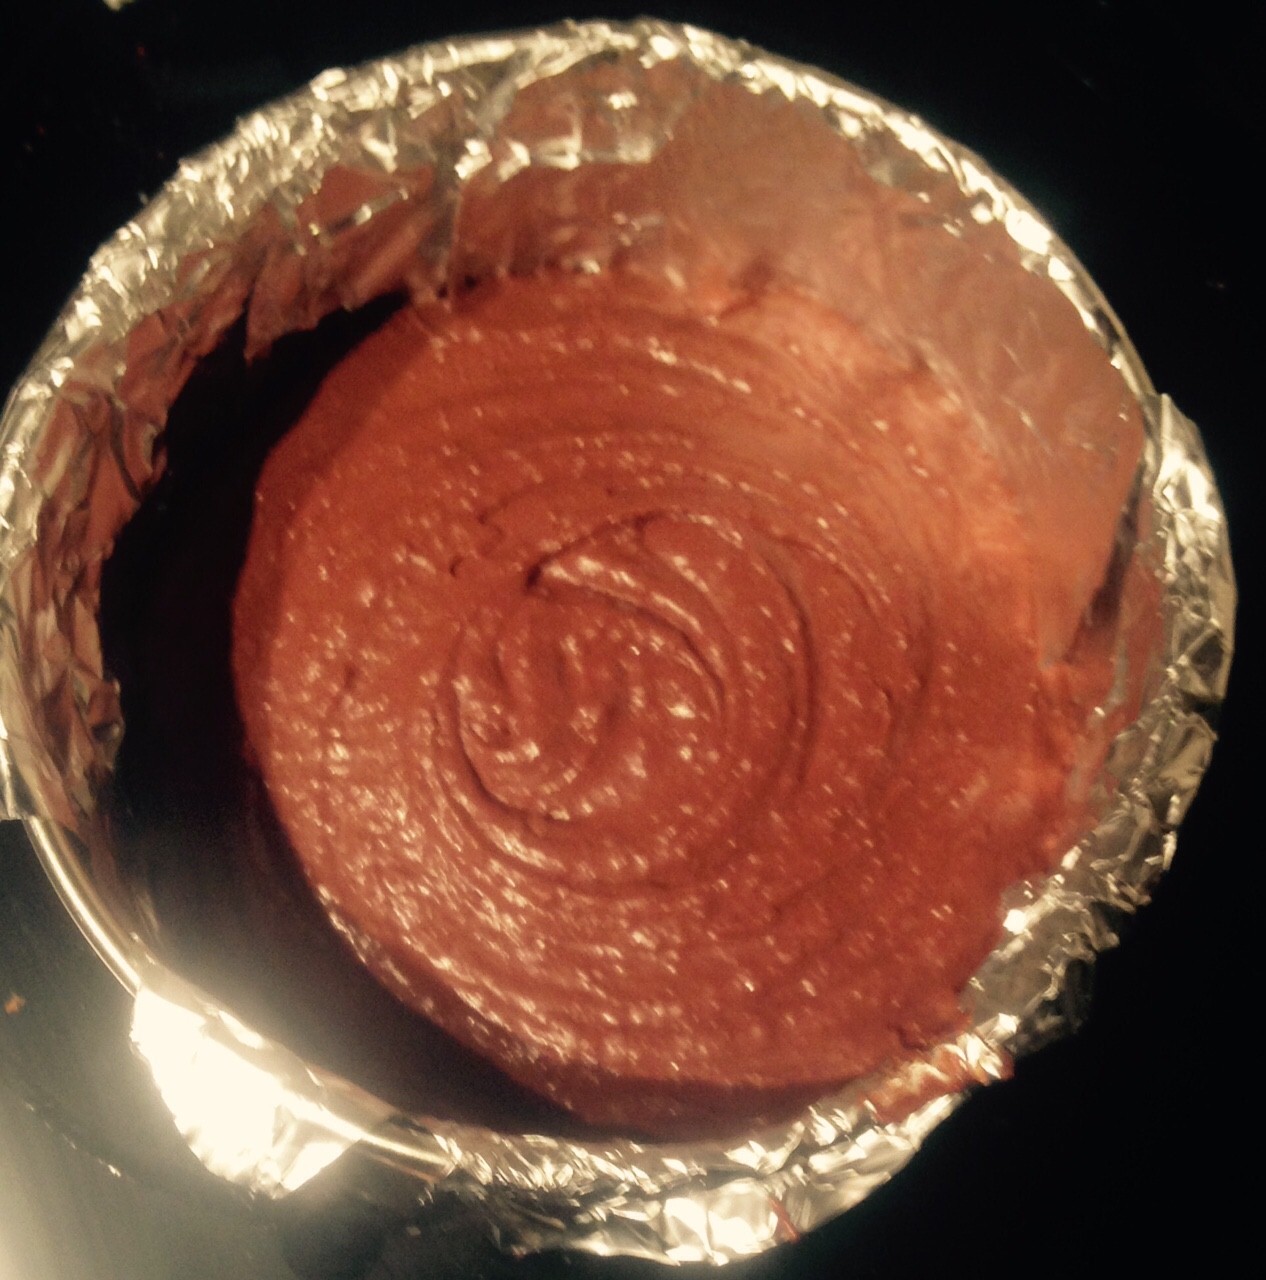
- Pour the mix into the cake tin and bake in the oven for 1 hour or until a skewer inserted in the center comes out clean.
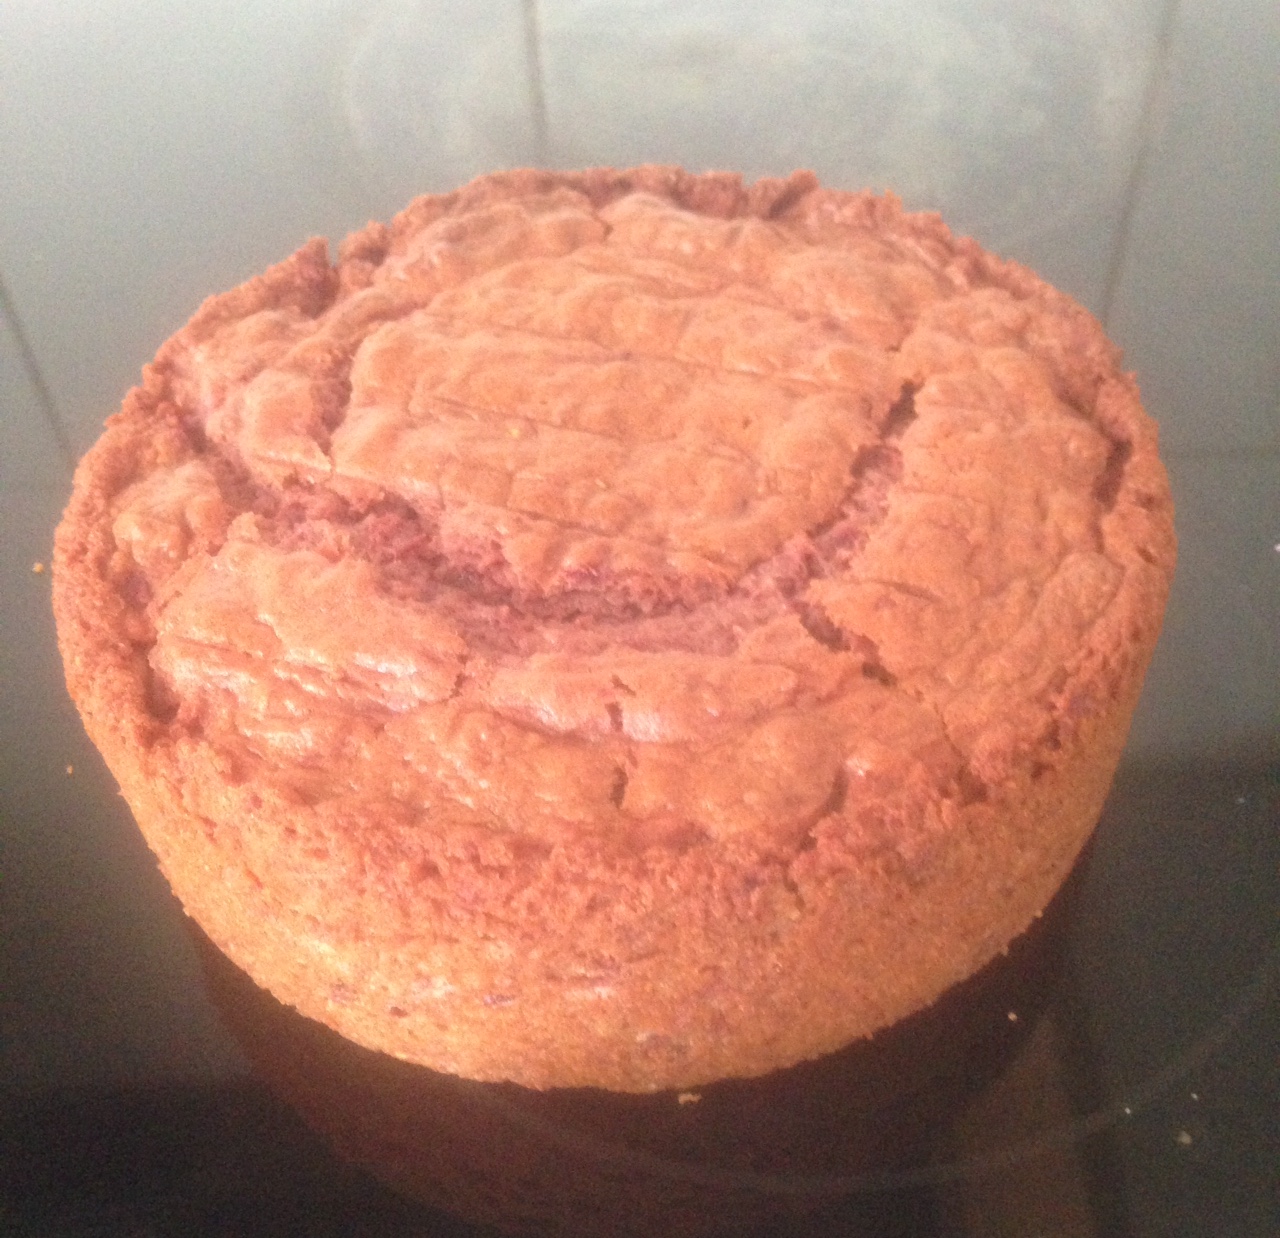
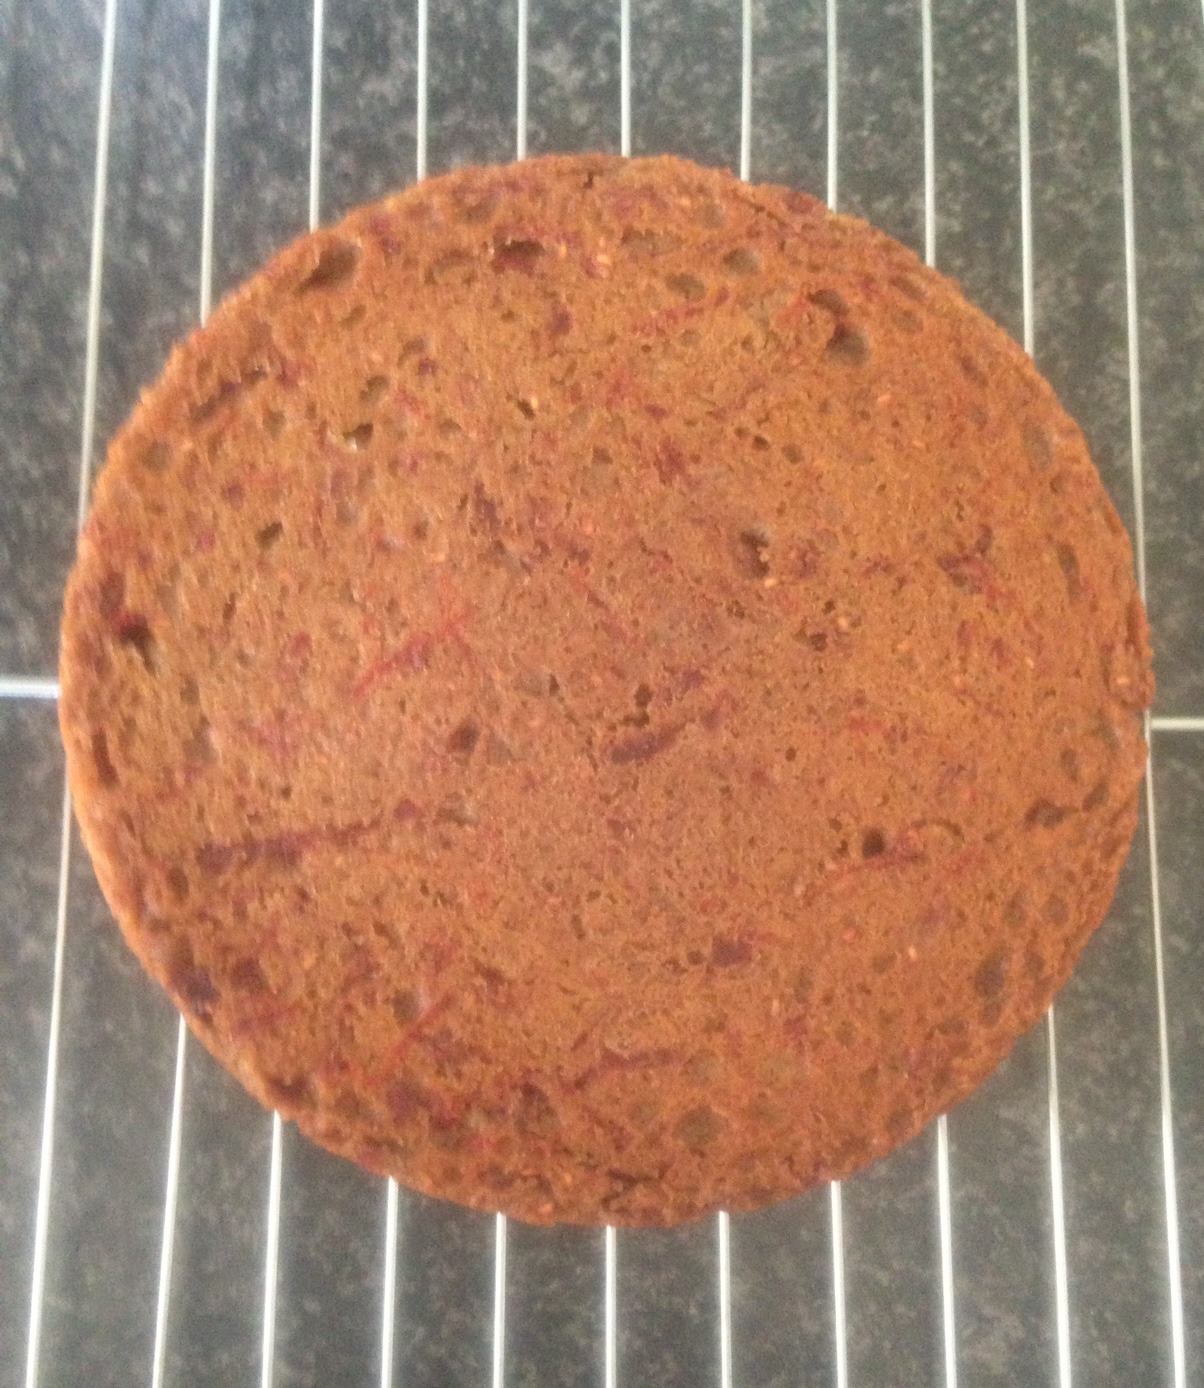
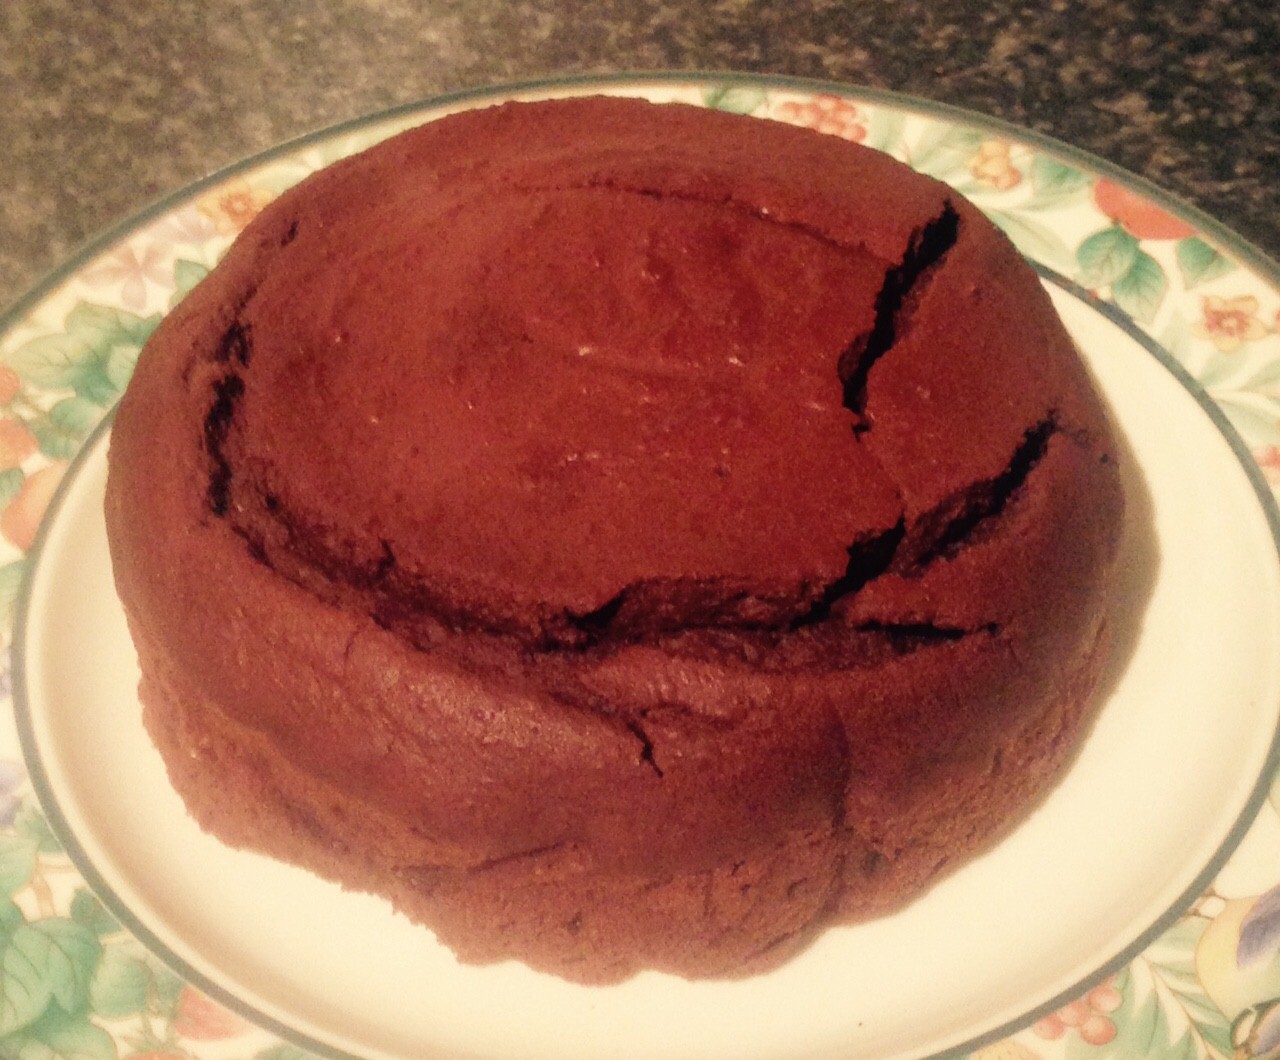
- Allow the cake to cool in the tin for 10 minutes, and then place on a cooling rack until cool.
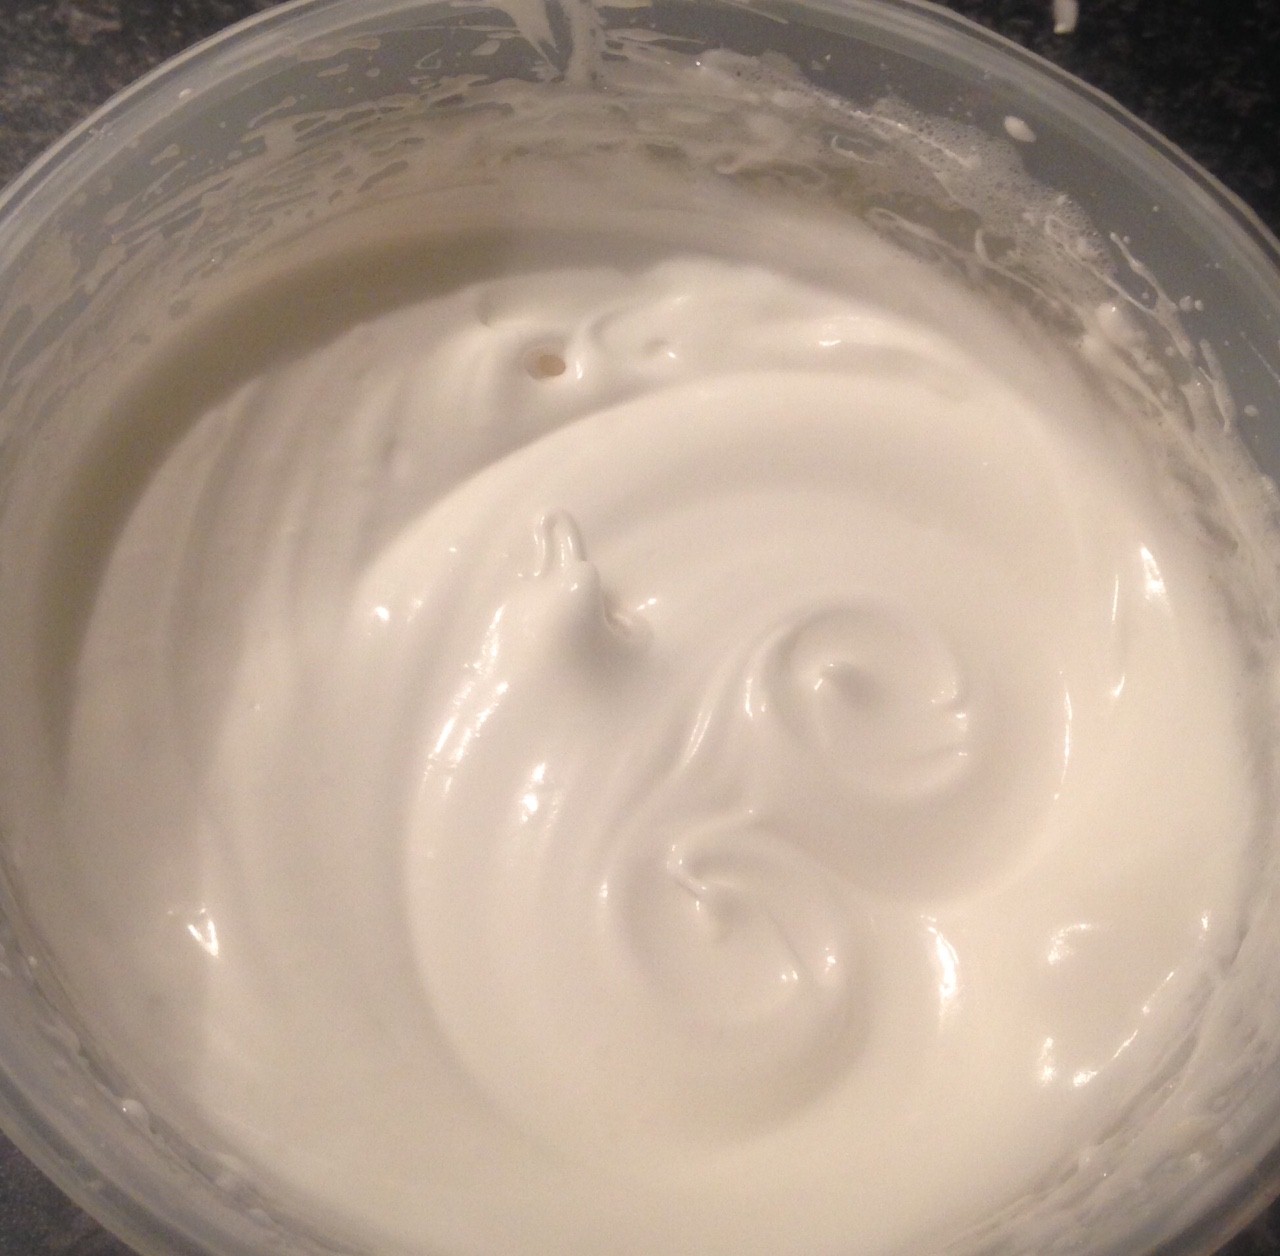
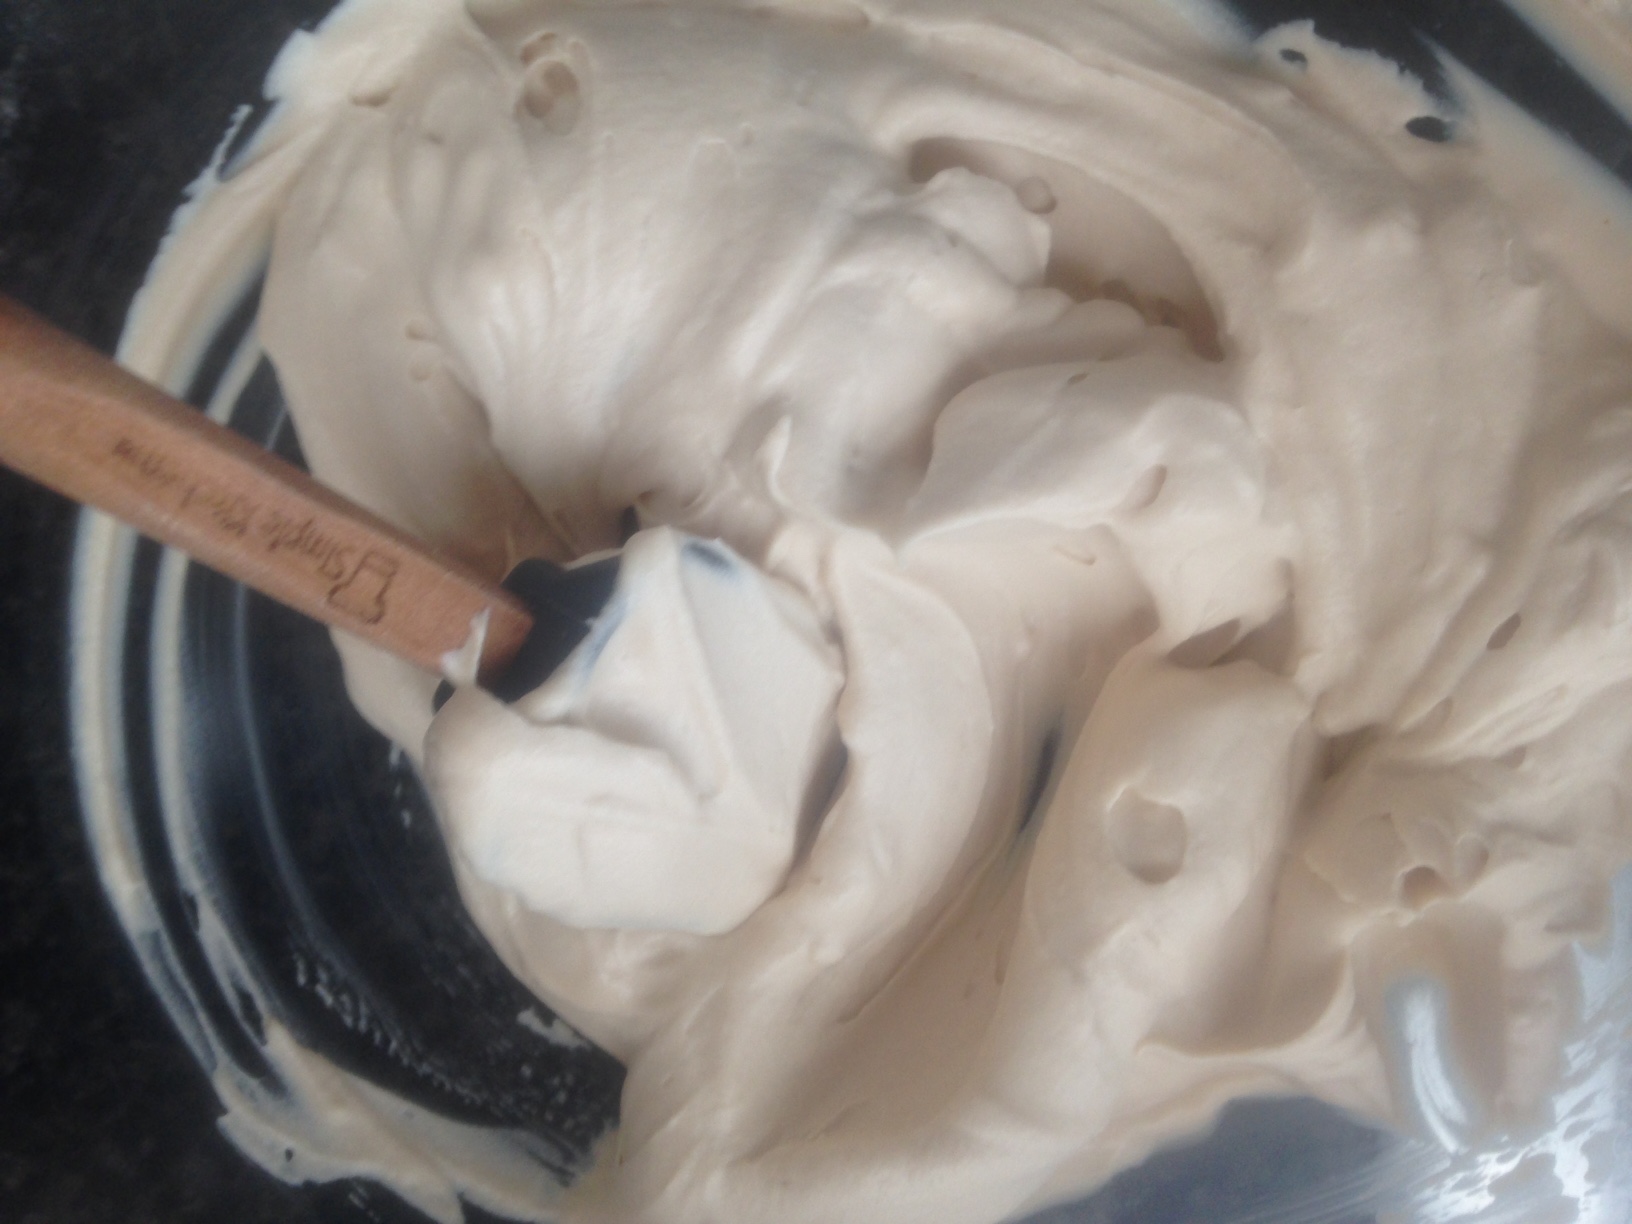
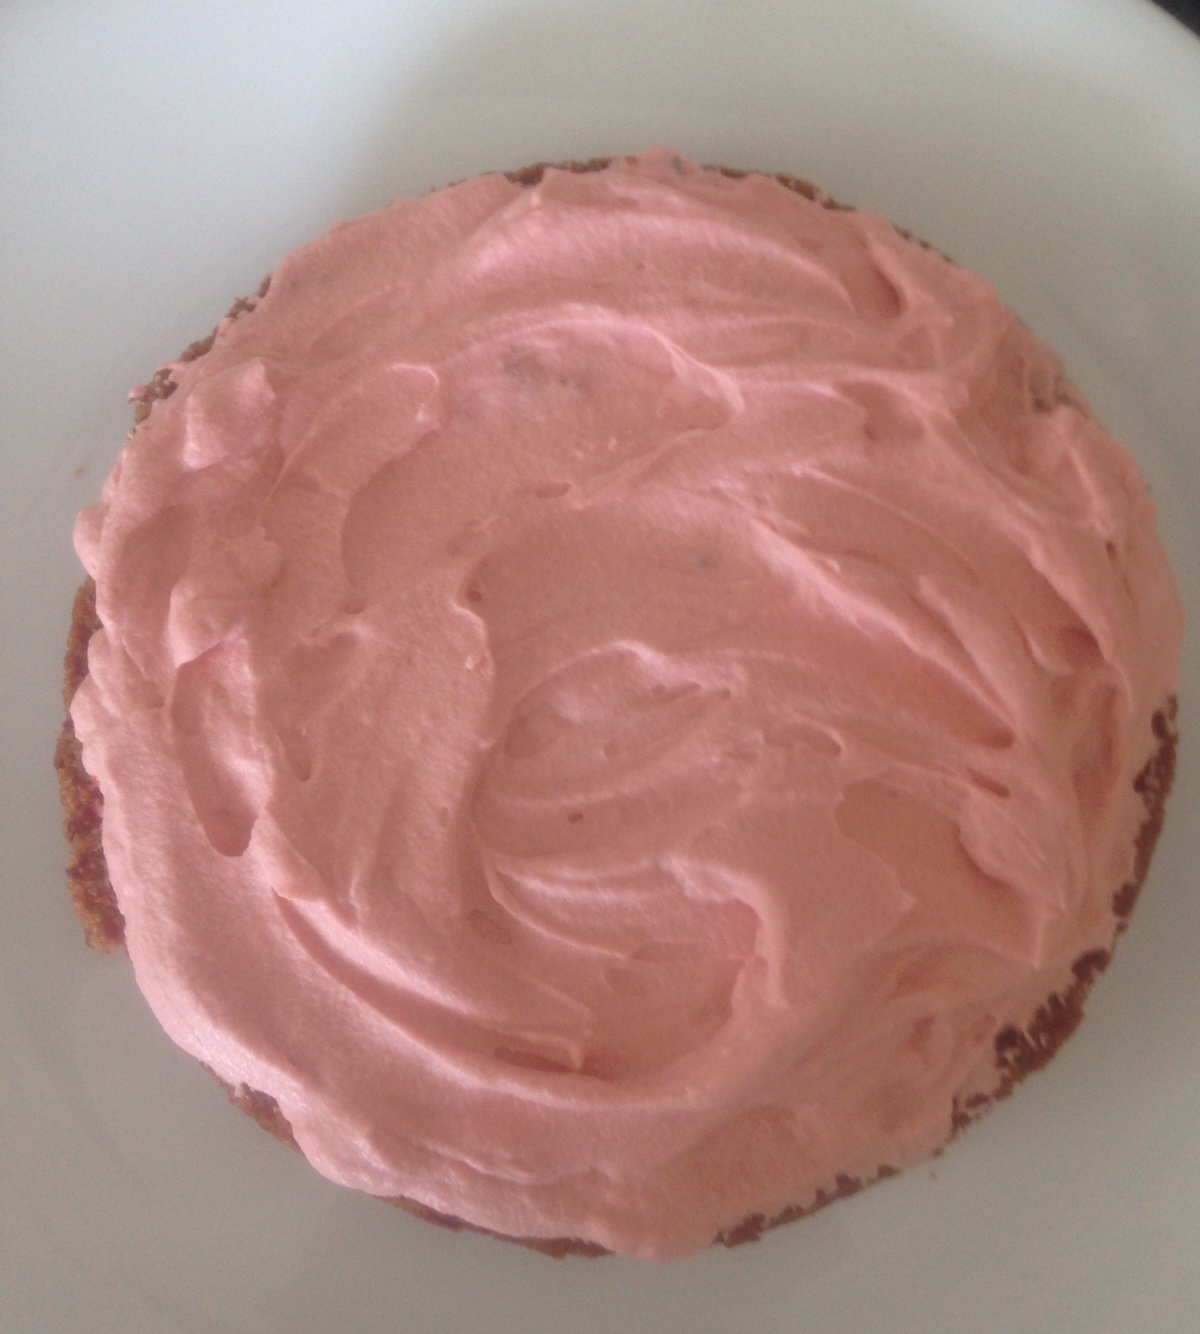
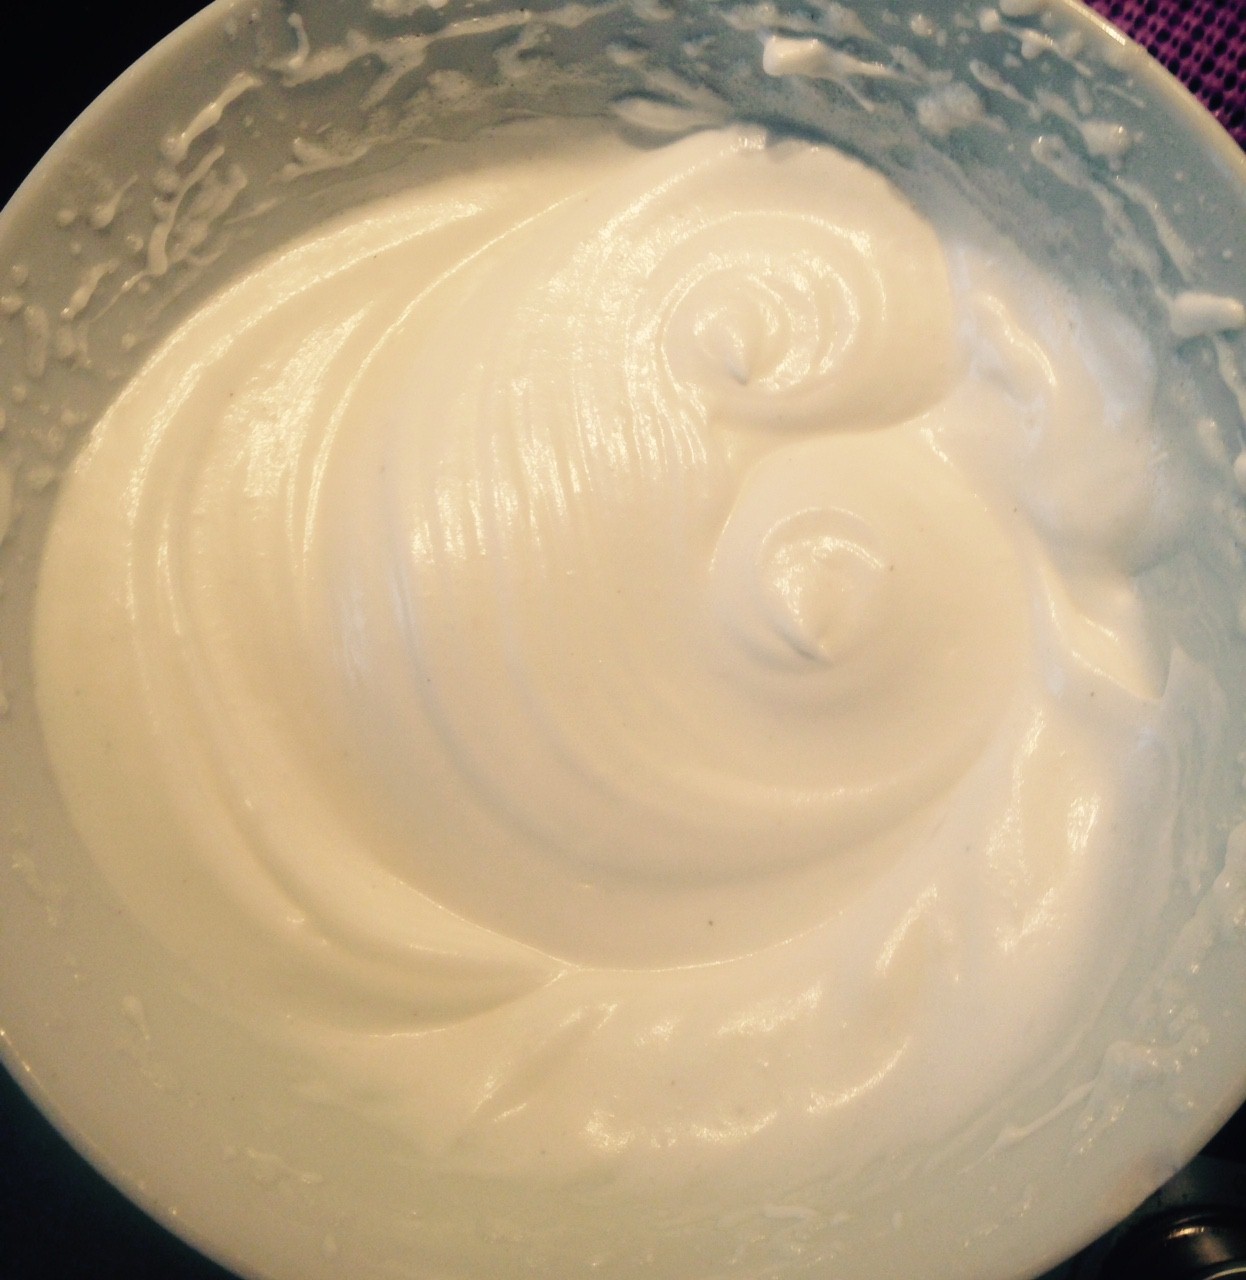
- Meanwhile make the icing by whisking the ingredients with a hand whisk until combine.
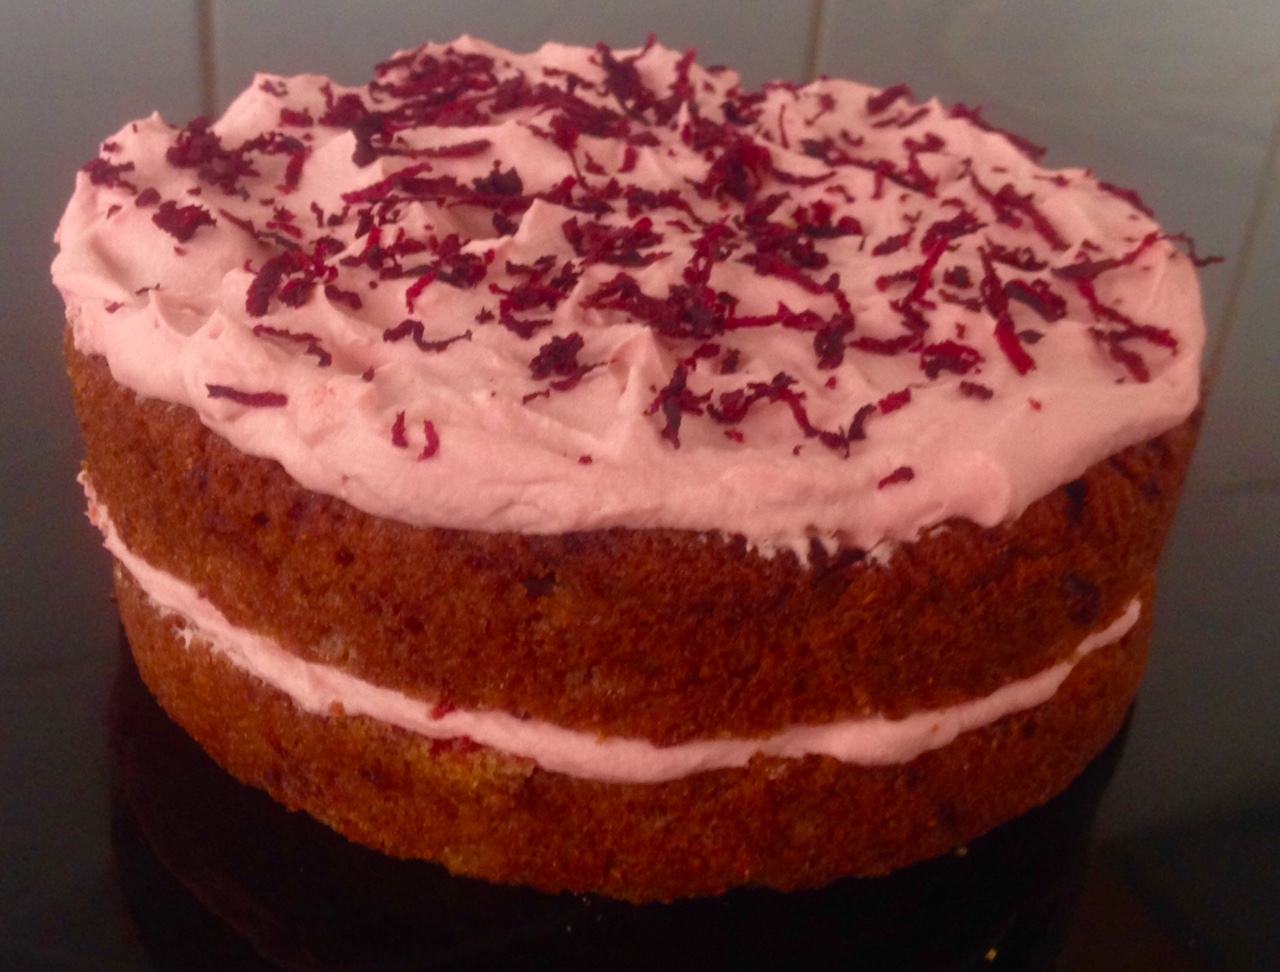
- Spread icing on the top of the cooled cake and enjoy.

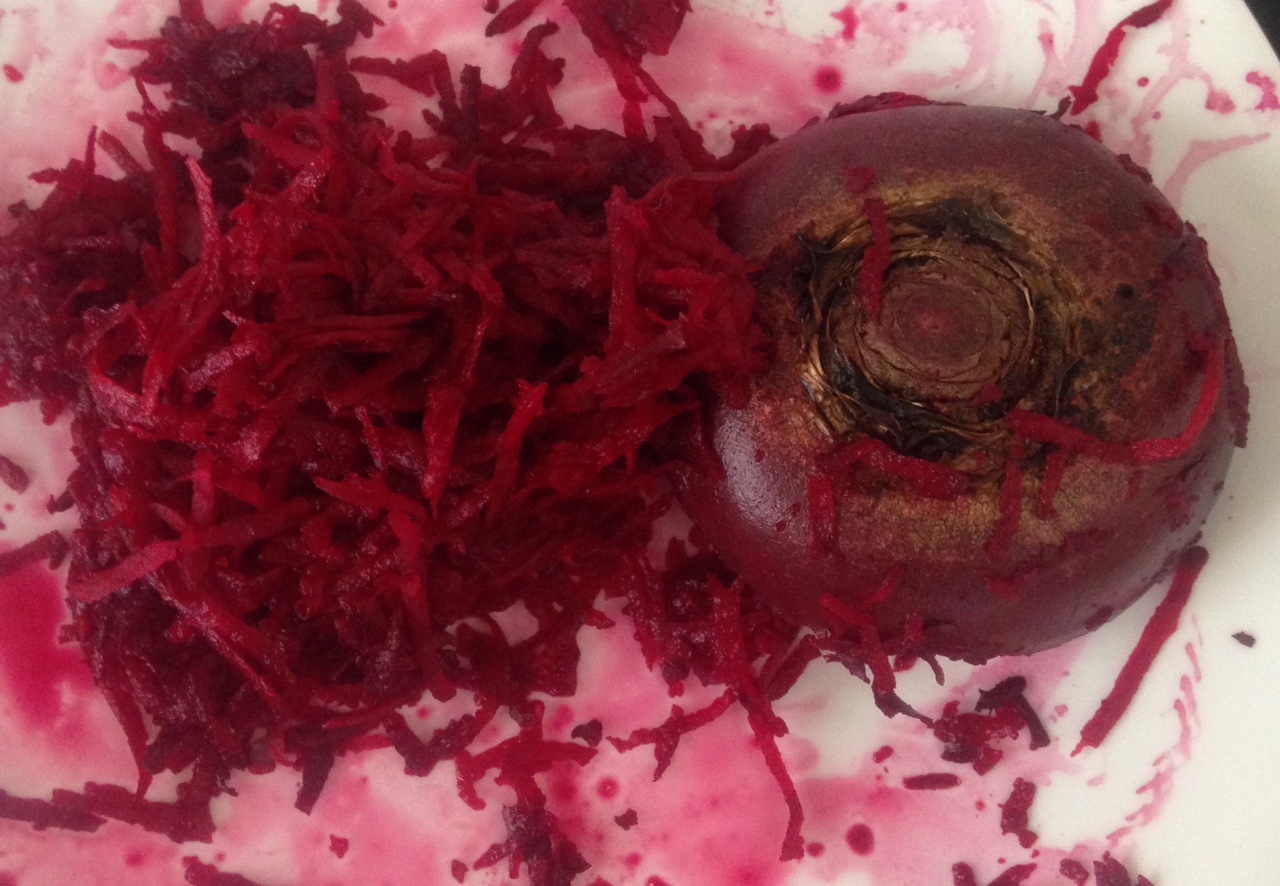
Ingredients
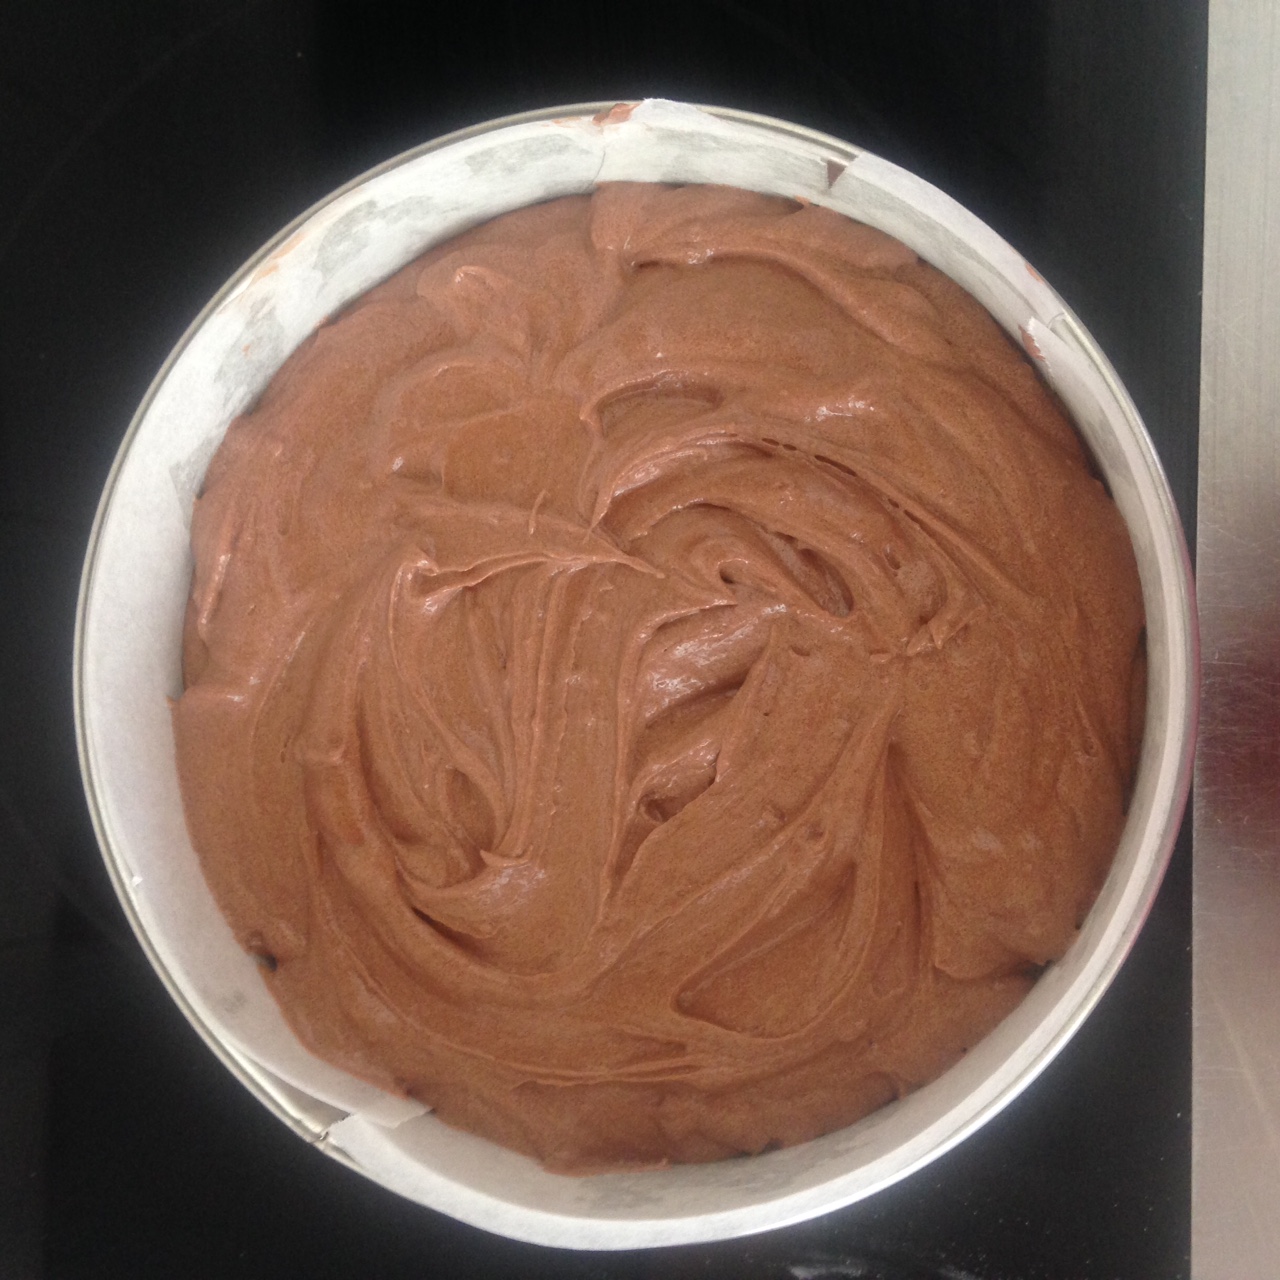
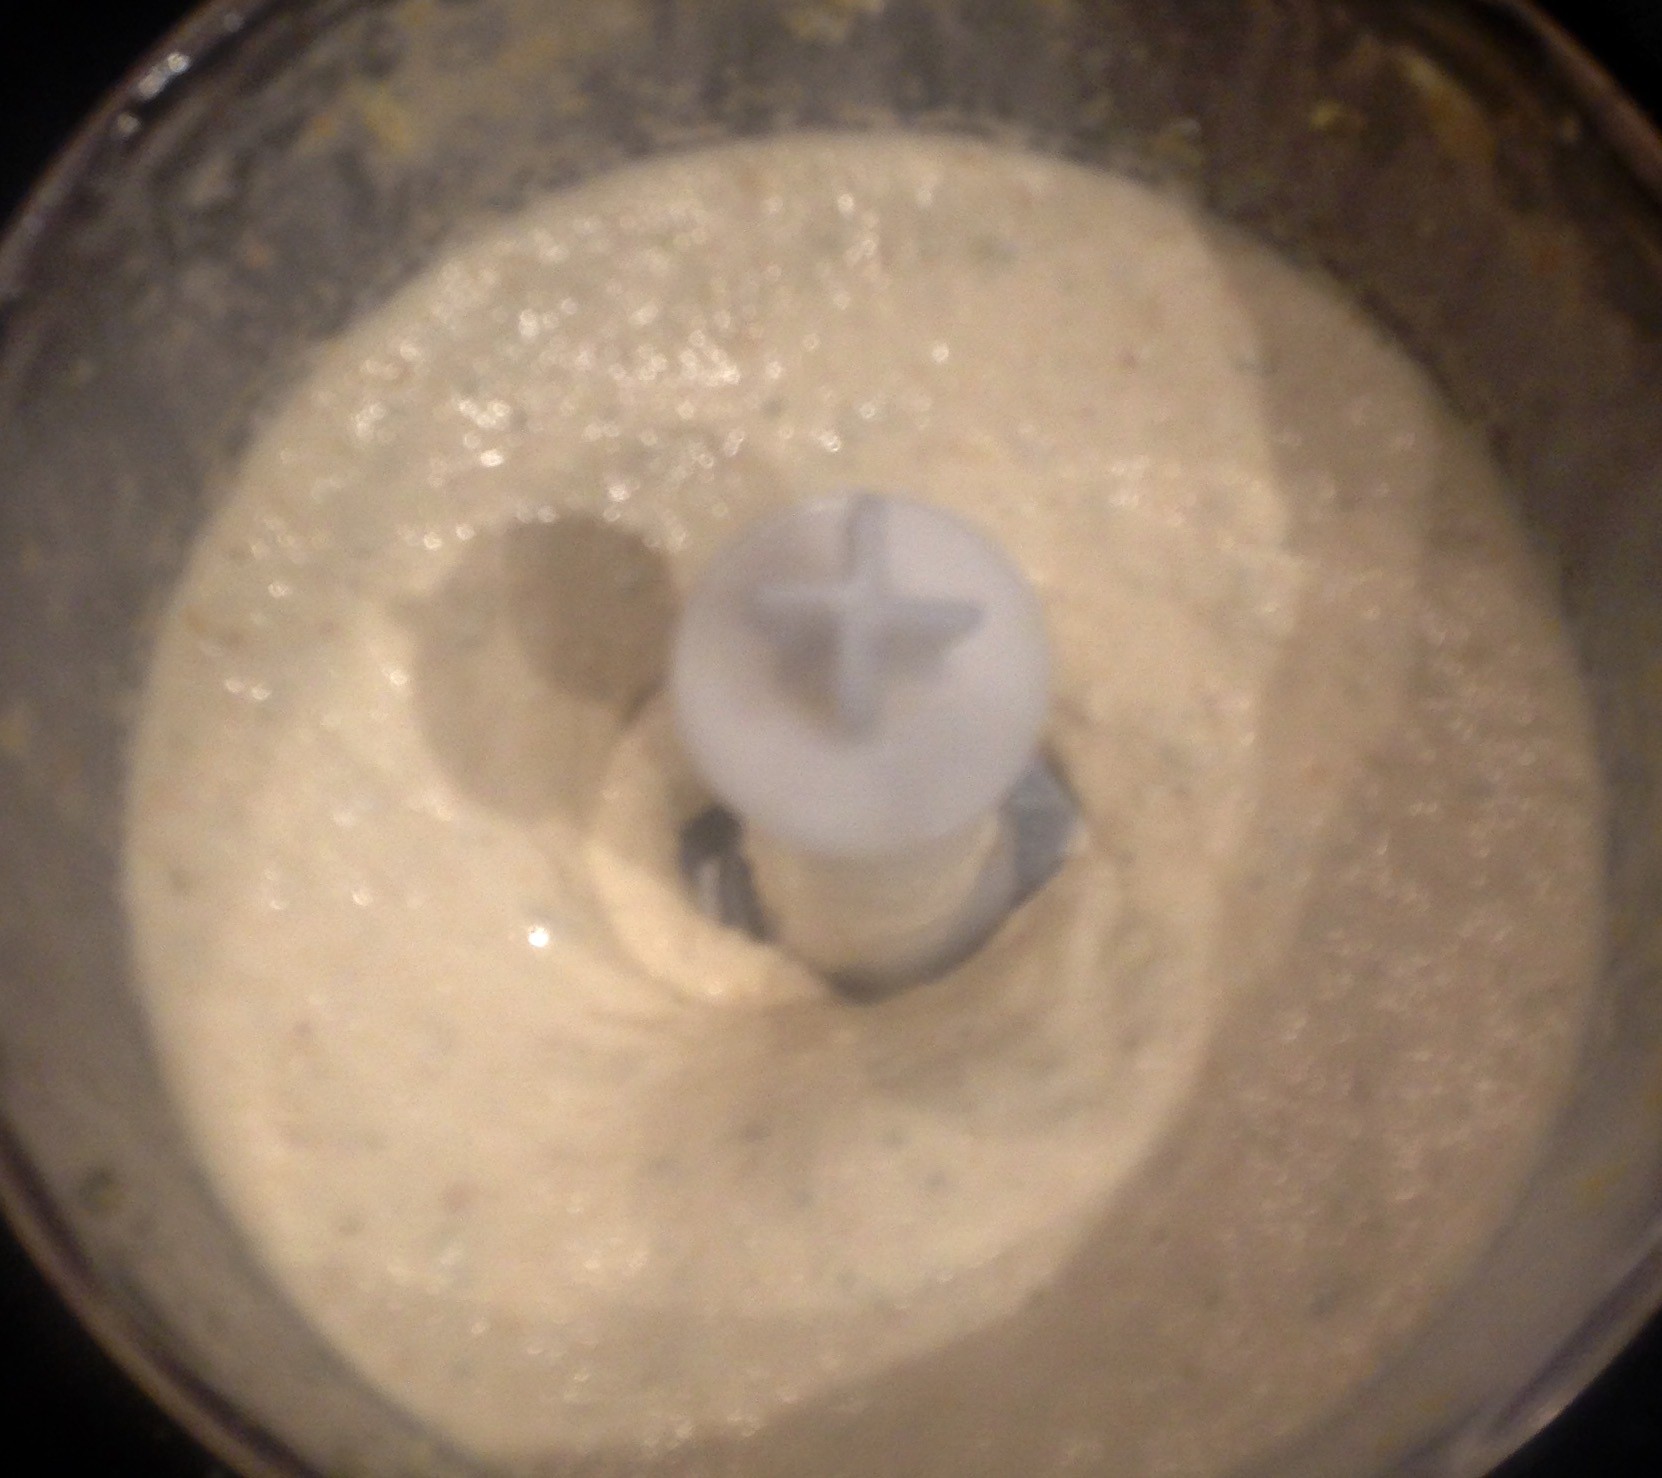
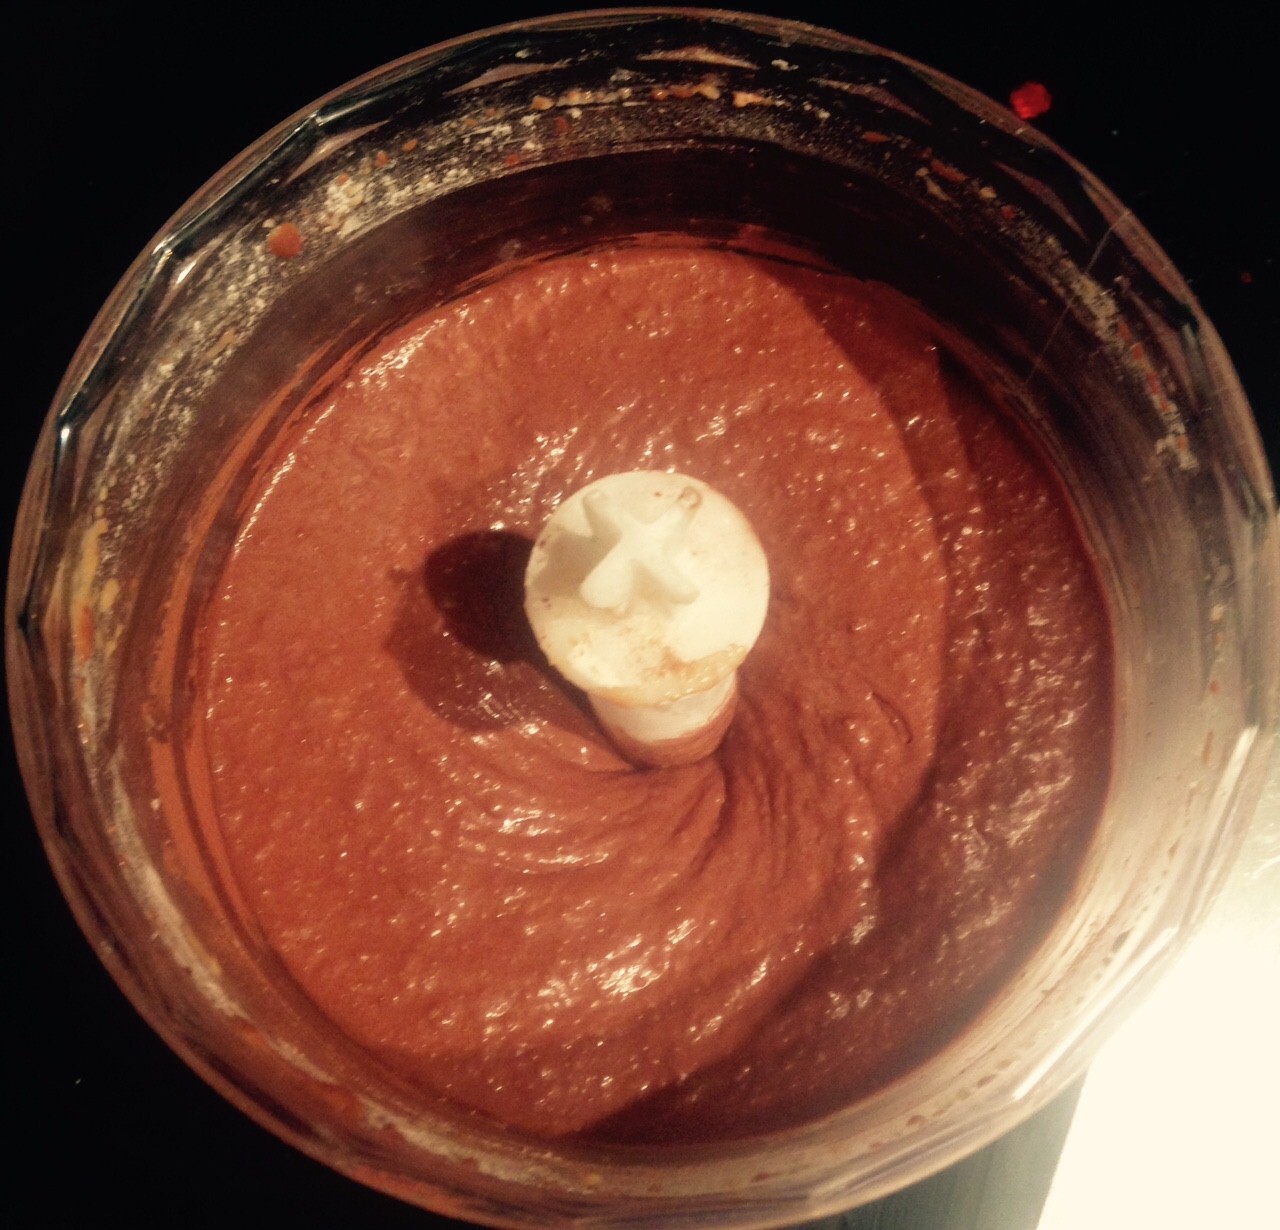
Step 6
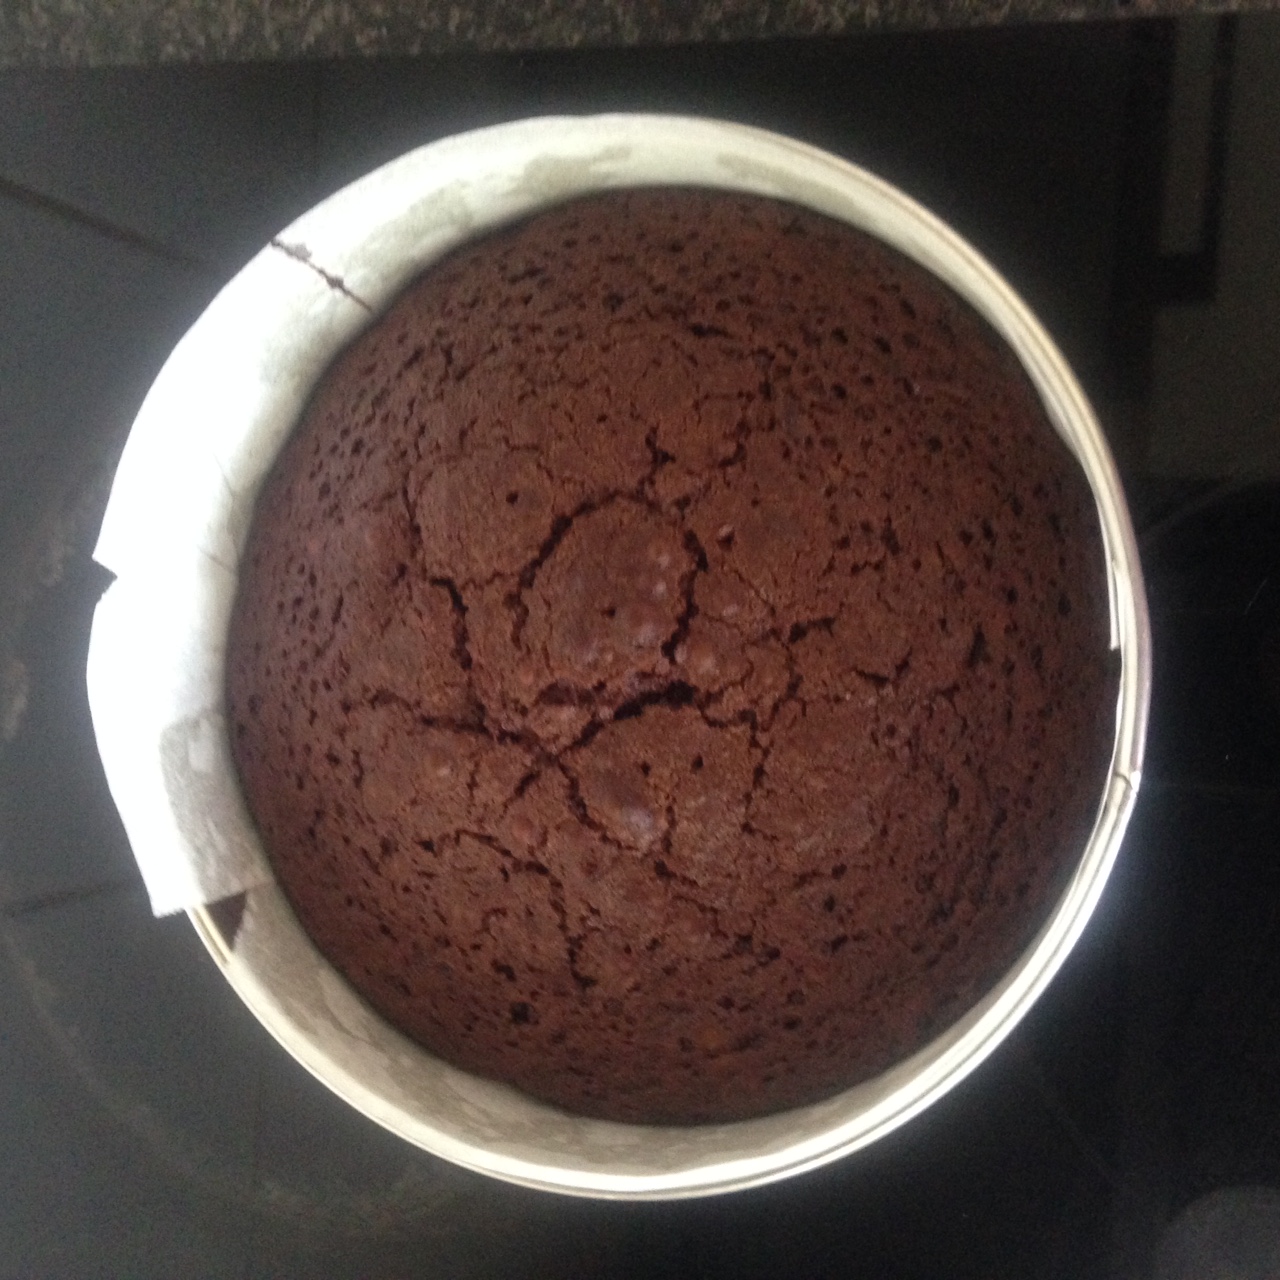
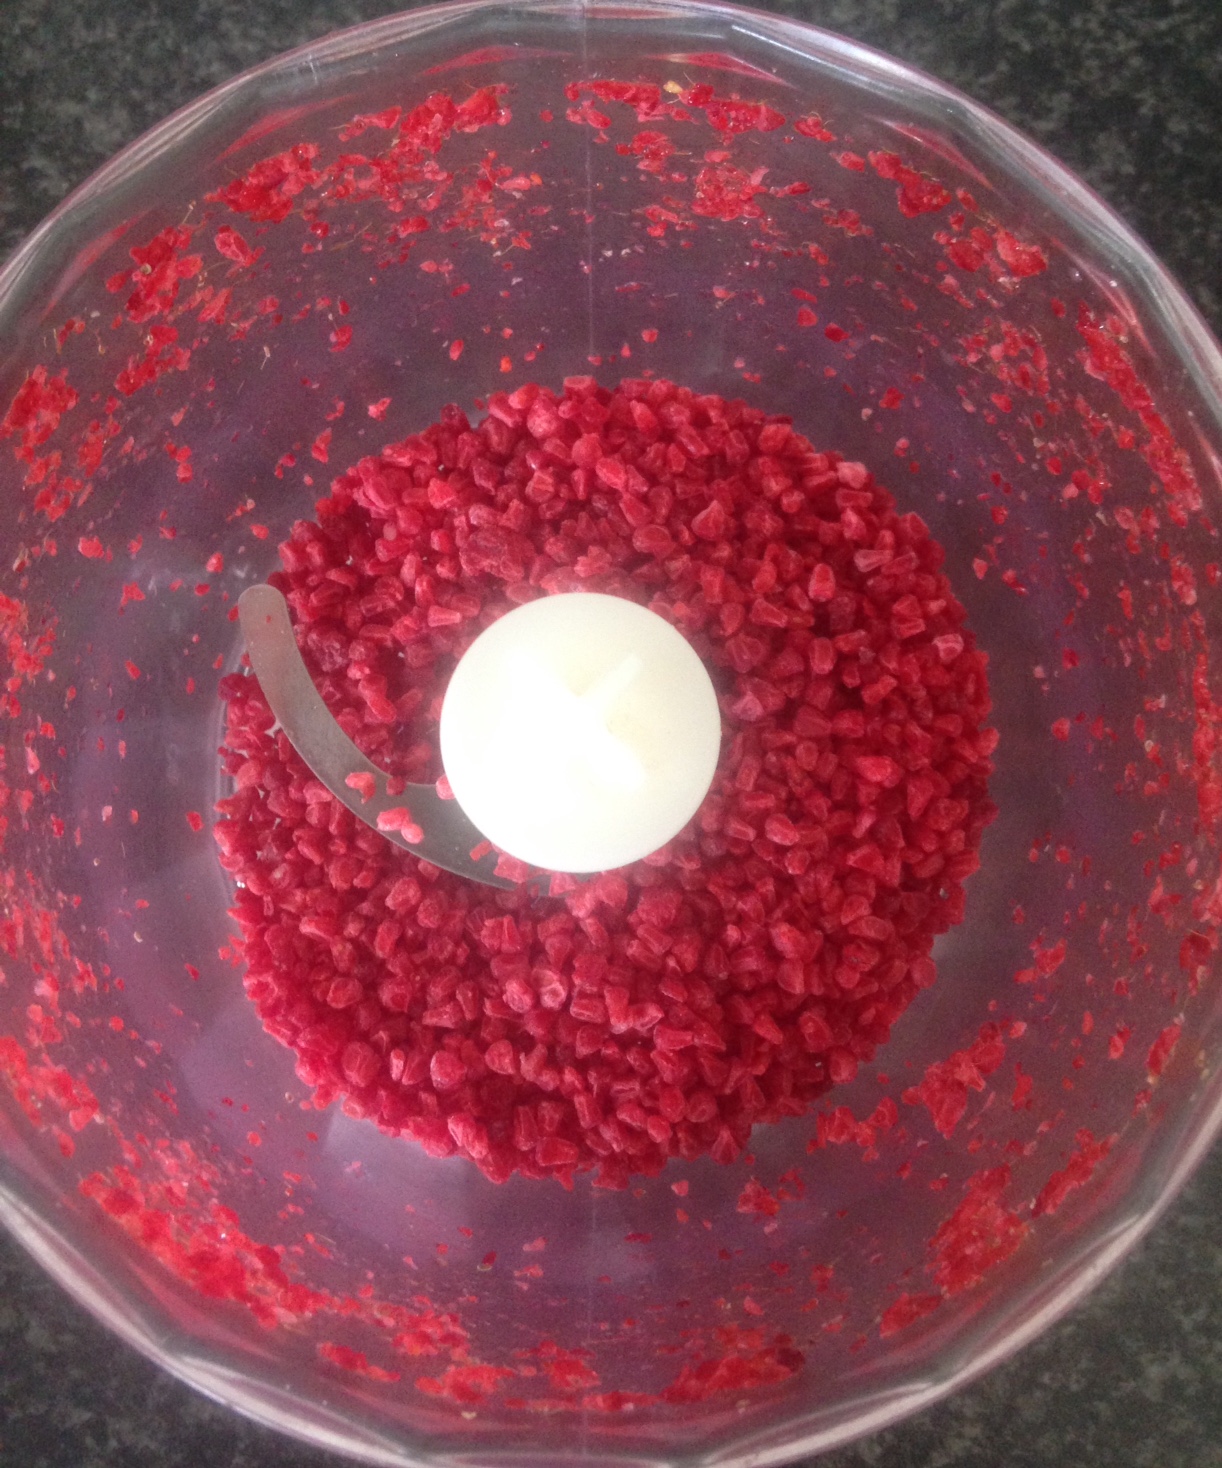
Step 8
Like this recipe? Subscribe via RSS or email to get my new entries and more scrumptious recipes with reviews.
 Follow