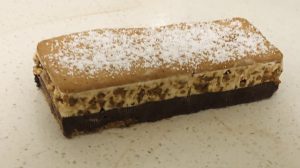
I recently was experimenting with peanut brittle and ended up with a LOT of brittle and not much to do with the excess. Usually I would take it to work but with my working from home scenario all the brittle was not leaving the house. So, I decided to make up a recipe that featured the brittle. With my recent ice-cream experimenting trend, ice-cream was on my mind, but I didn’t want to have too many steps to the recipe, I wanted to make it simple easy, scrumptious and quick prep time.
I did make a biscuit base for this recipe but to be honest a store brough base is completely fine as this recipe is all about the brittle.
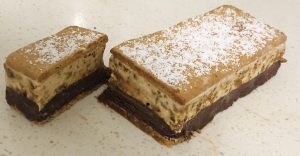
I wanted to make somewhat of a “Maxibon vs. Eskimo Pie” that had complementary layers and textures.
As my favorited flavour in the world is chocolate of course I had to build this layer into the mix and presto a new recipe was born.
Ingredience:
- 1 cup caster sugar
- ¼ cup water
- 1 cup peanuts, chopped salted and toasted
- 40g butter
- 1 tsn baking soda
- 500g vanilla ice-cream, softened
- ¼ cup cocoa powder
- Sponge cake, plain store brought
Extra
- Chocolate ganache
- Icing sugar
Method:
- Line a tray with baking paper.
- Place the sugar and water in a saucepan, stirring on a low heat until the sugar has dissolved.
- Turn the heat to high, add the nuts and allow the mix to boil until it reaches 110c degrees on a candy thermometer or begins to turn golden.
- Take the nut toffee off the heat and stir in the butter and soda.
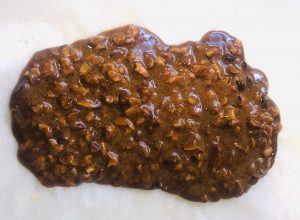
- Pour the mix into the prepared baking paper and allow to completely cool.
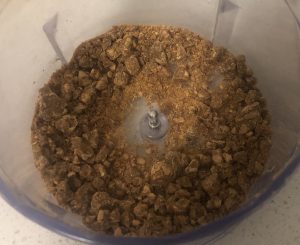
- Break the brittle into pieces and place in a food processor, pulsing until they resemble small pieces.
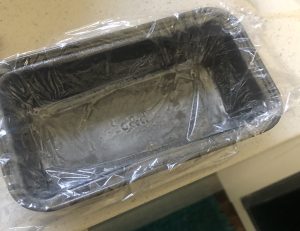
- Spray a 10cm x 15cm cake tin with oil spray and then line the tin with 2 layers of clingwrap.
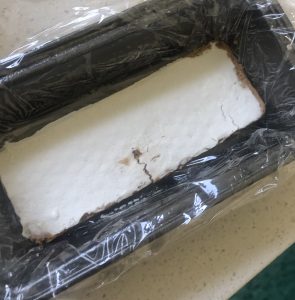
- Cut a 2 x 1cm layers of sponge cake the same size as the cake tin’s base.
- Place one sponge layer in the bottom of the tin.
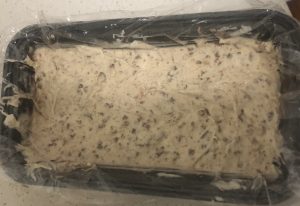
- Stir the peanut mix into 250ml of the ice-cream until well combined.
- Spoon the peanut ice-cream mix on top of the sponge and even with the back of a spoon.
- Place the tin in the freezer to firm.
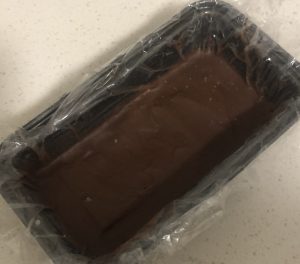
- Meanwhile stir the cocoa powder with the remaining 250ml ice-cream.
- Spoon the chocolate ice-cream over the top of the peanut ice-cream and even with the back of a spoon in the tin.
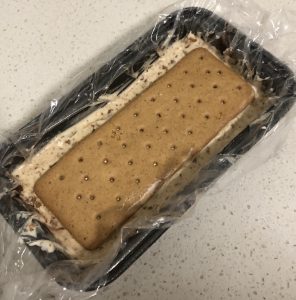
- Top the chocolate ice-cream with the 2nd layer of sponge, gently pushing down with your fingertips.
- Place the cake in the freezer to completely set (4+ hours, overnight ideal).
- To serve, pull the plastic wrap to release the cake from the tin and place onto a cutting board.
- Trim the cake slightly on all 4 sides if needed to ensure a clean straight cake.
- Place the cake onto a plate, dust with icing sugar and a drizzle of chocolate ganache if desired.
- Cut into sliced and serve.
Note: Sponge cake OR as I have used a tin sized biscuit can be used as the top and bottom of the ice-cream sandwich.

Step 3
Step 5
Step 6
Step 7
Step 8
Step 13
Step 14
Step 15