Honey Nougat Crackle Cheesecake
Being a massive fan of Summer Rolls and Honey Nougat Chocolate Bars I decided I wanted to bake a dessert that would turned these bars into a luscious cake.
Honey, nougat, vanilla, peanuts and coconut are all ingredients that would work fabulously with a creamy textured cake, thus cheesecake it is.
Both bars are covered with chocolate so to replicate this layer I opted to use the chocolate as the base to hold the cheesecake together. As cheesecake is creamy and missing crunch I decided on using rice bubbles for a chocolate crackle base.
A very simple no bake cheesecake that replicates the chocolate bars flavours wonderfully.
Deliciously tasty.
Ingredients:
Base:
- 100g rice bubbles
- 40g desiccated coconut
- 200g chocolate, melted
Filling:
- 500g cream cheese, at room temperature
- 160ml honey
- 1 tsn vanilla essence
- 45g peanuts, chopped
- 70g desiccated coconut
- 2 tsn gelatin
- 40ml water
- 110g thickened cream
- 2 summer roll chocolate bars, chopped
- 2 honey nougat chocolate bars, chopped
Method:
- Line a 25cm spring form cake tin with baking paper.
- Place the rice bubbles and coconut into a bowl.
- Add the melted chocolate and stir until well combine and all rice bubbles are covered.
- Press 1/3rd of the crackle mix on the bottom of the cake base and the remaining up the sides of the cake tin by pressing into the tin with damp hands.
- Place the tin in the fridge to set.
- Meanwhile, to make the filling place the cream cheese, honey and vanilla into a bowl and whip until creamy and smooth with electric beaters.
- Boil the water and add in the gelatin, stir until dissolved and no lumps.
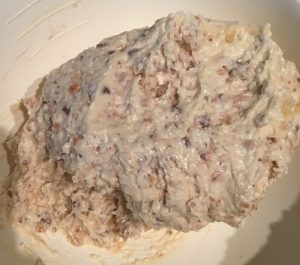
- Add the peanuts and coconut to the cheese mix and beat for 1 minute.
- Add the cream and gelatin mix and beat for 1 minute.
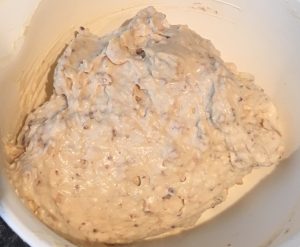
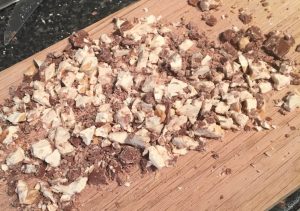
- Finely chop up the chocolate bars and add to the mix, beat for 1 minute.
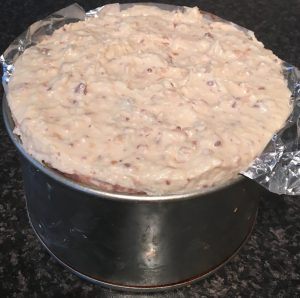
- Pour the mixture into the prepared cake tin and leave in the fridge to set for 5 hours.
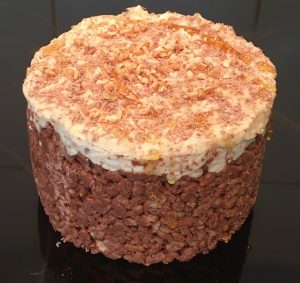
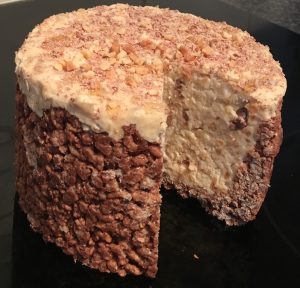
- Remove the cake from the tin and top with grated chocolate, extra peanuts and drizzles of honey.
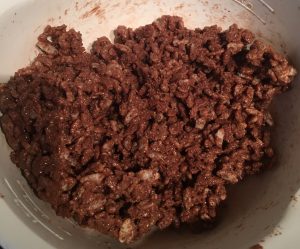
- Step 3
Step 8
Step 10
Step 10
Step 11
Step 12
Like this recipe? Subscribe via RSS or email to get my new entries and more scrumptious recipes with reviews.
 Follow