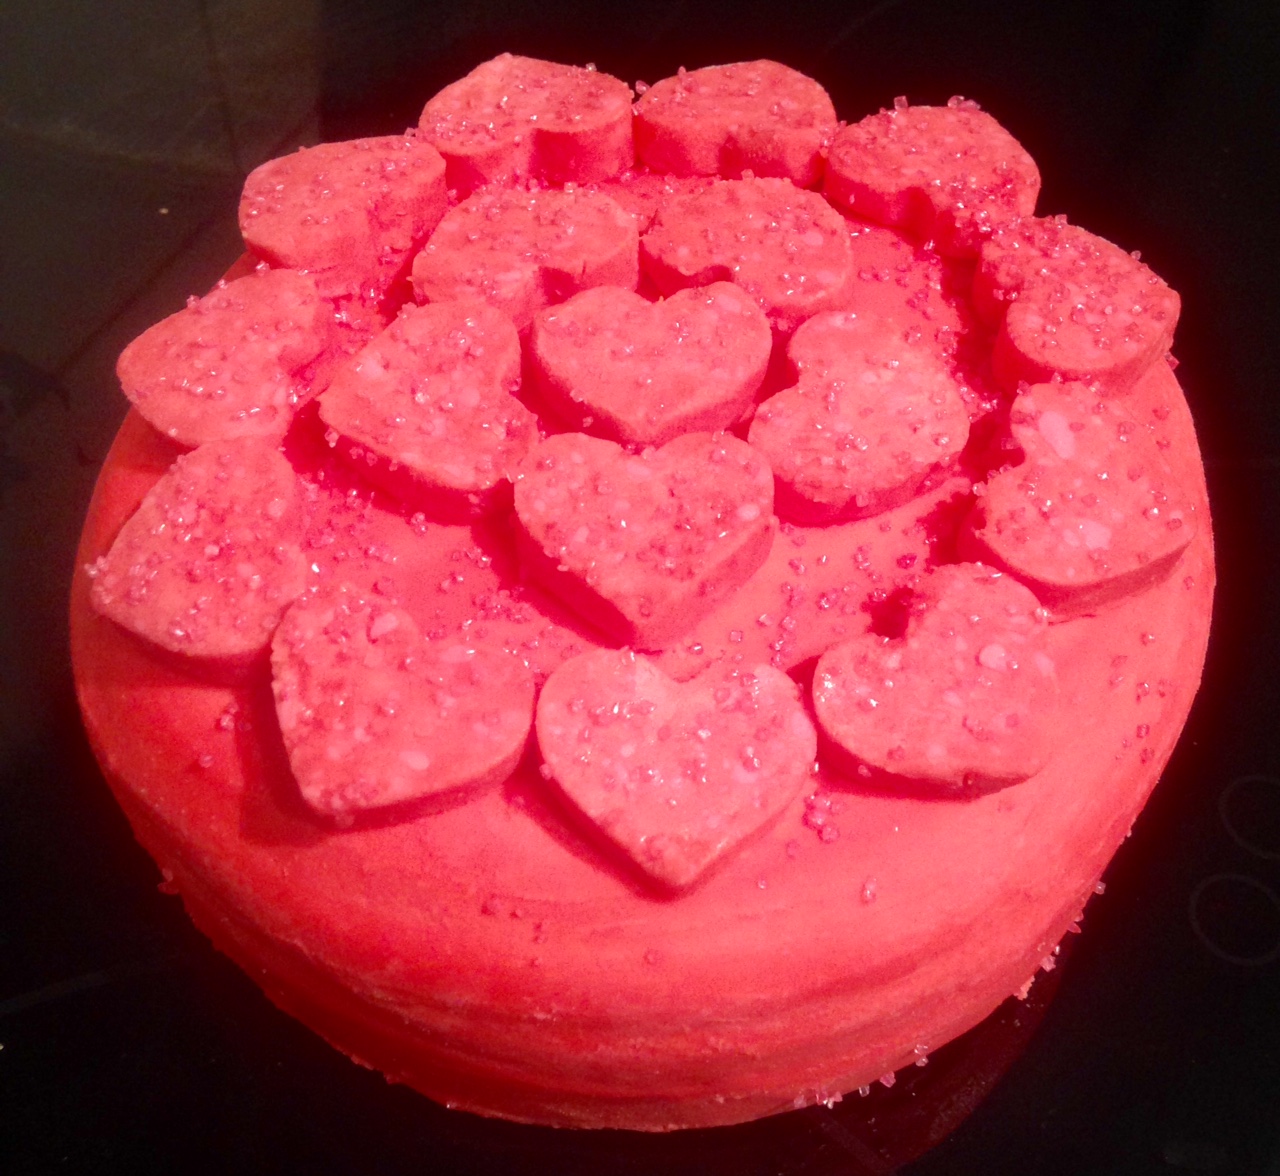
Sweet Tooth Experiments

  • About Me
  • Recipe Index
  • Baking Metrics
  • Tips & Tricks
  • Common Baking Questions
  • Contact

Monthly Archives: April 2015

Red Skin Candy Cake

Posted on April 27, 2015 Posted in Cakes .

Red Skin Candy Cake

Red Skin Candy Cake recipe

To get some ideas on recipes recently I started looking closer at the more popular and my favourite lollies (candy) that I grew up on.

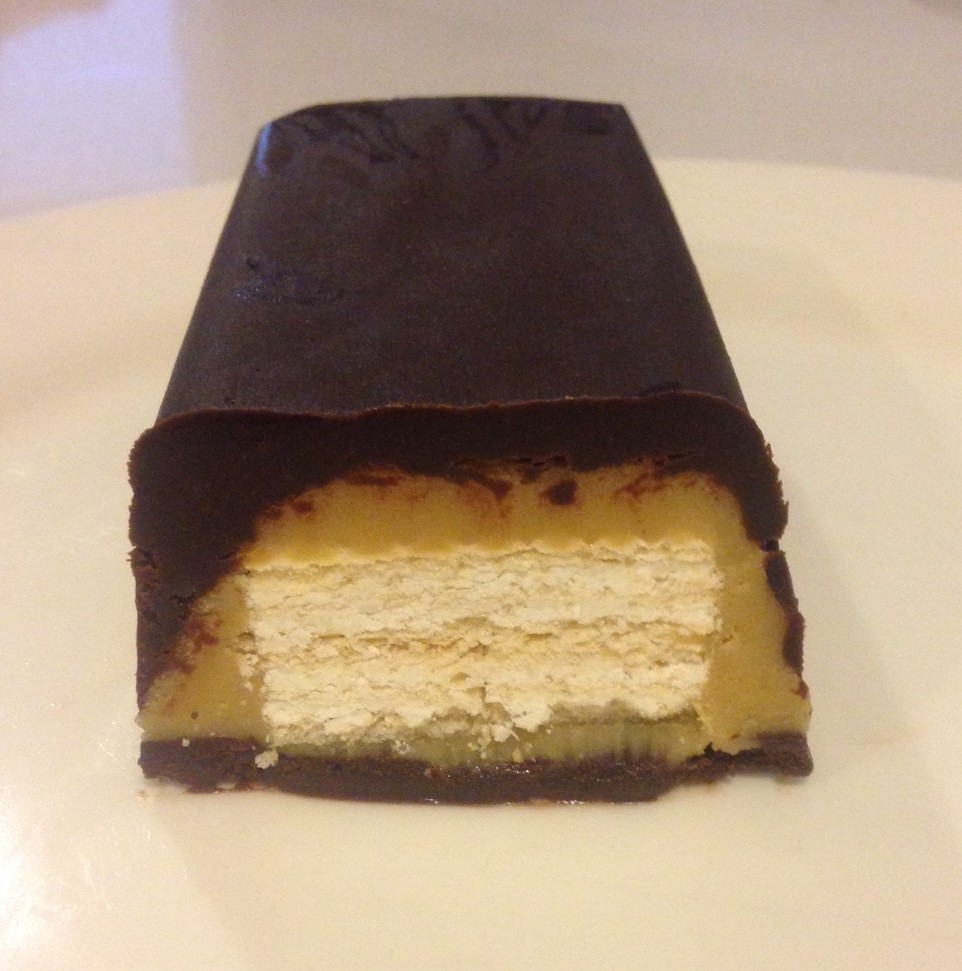
One of the lollies that caught my eye was the sweet raspberry flavour of the old Red Skin bar. Similar to the raspberry twist, (red licorice) but much stronger in flavour.

I have made a Musk Stick Cake before which turned out amazing so I decided to make a Red Skin Candy Cake.

Unlike the Must Stick Cake I made I would not be able to blitz the lollies in a food processor, therefore, for this recipe I placed the Red Skins in water to dissolved (inspired by the old Red Skin dissolving in vodka concept).

As I needed a plain cake base of this recipe I used my white chocolate cake recipe which uses water instead of milk (perfect for dissolving the red skins).

My white chocolate cake recipe is super amazing, where so the Red Skins just takes it to the next level!

Red Skin Candy Cake recipe

Ingredients:

  • 420ml boiling
  • 16 red skins
  • 170g butter
  • 170g white chocolate
  • 300g sugar
  • 300 self raising flour
  • 2 egg
  • Red Skin Ganache:
  • 8 red skins
  • 100ml cream
  • 200g white chocolate


Method:

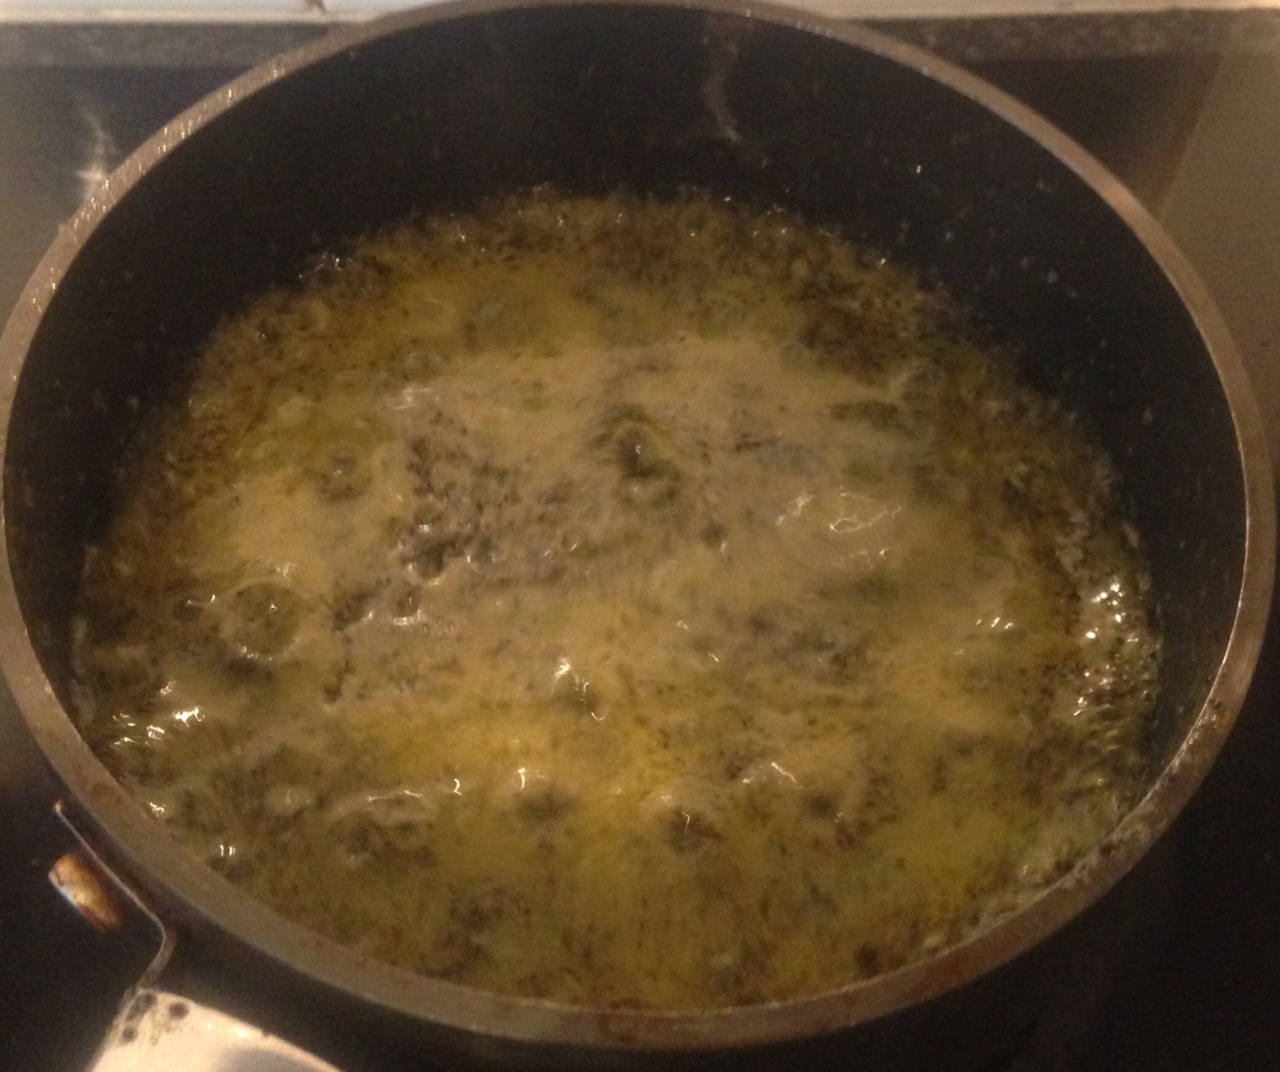
  1. Place the water in a bowl with the red skins. Set aside until the red skins have dissolved in the water.
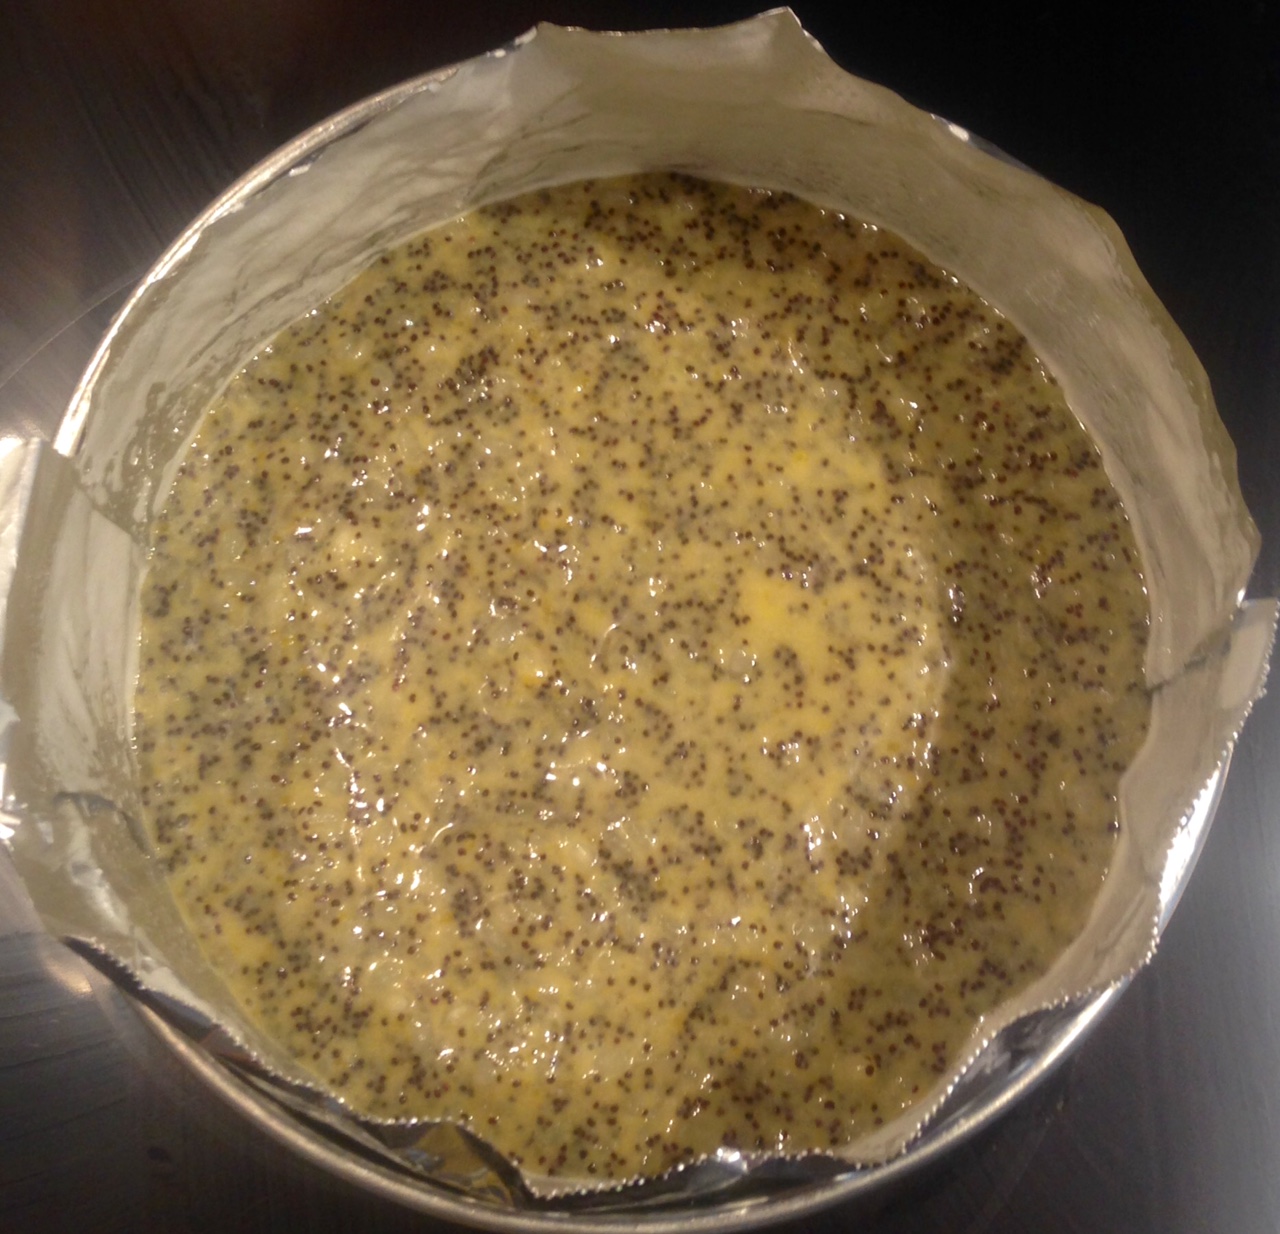
  2. Preheat the oven to 180c degrees and line a 23cm cake tin with baking paper.
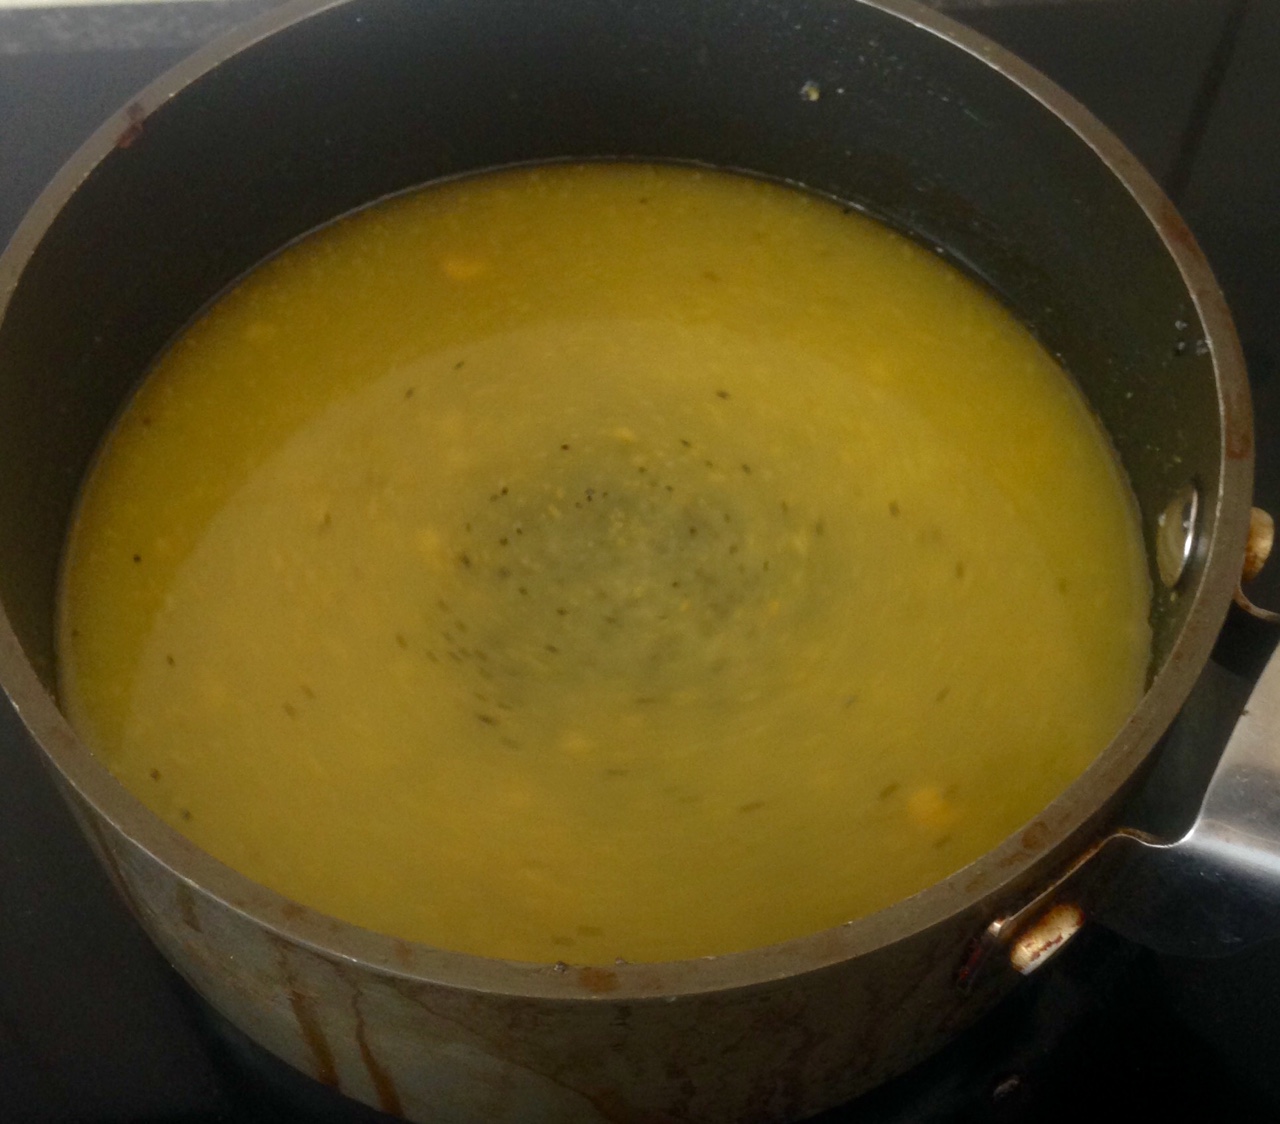
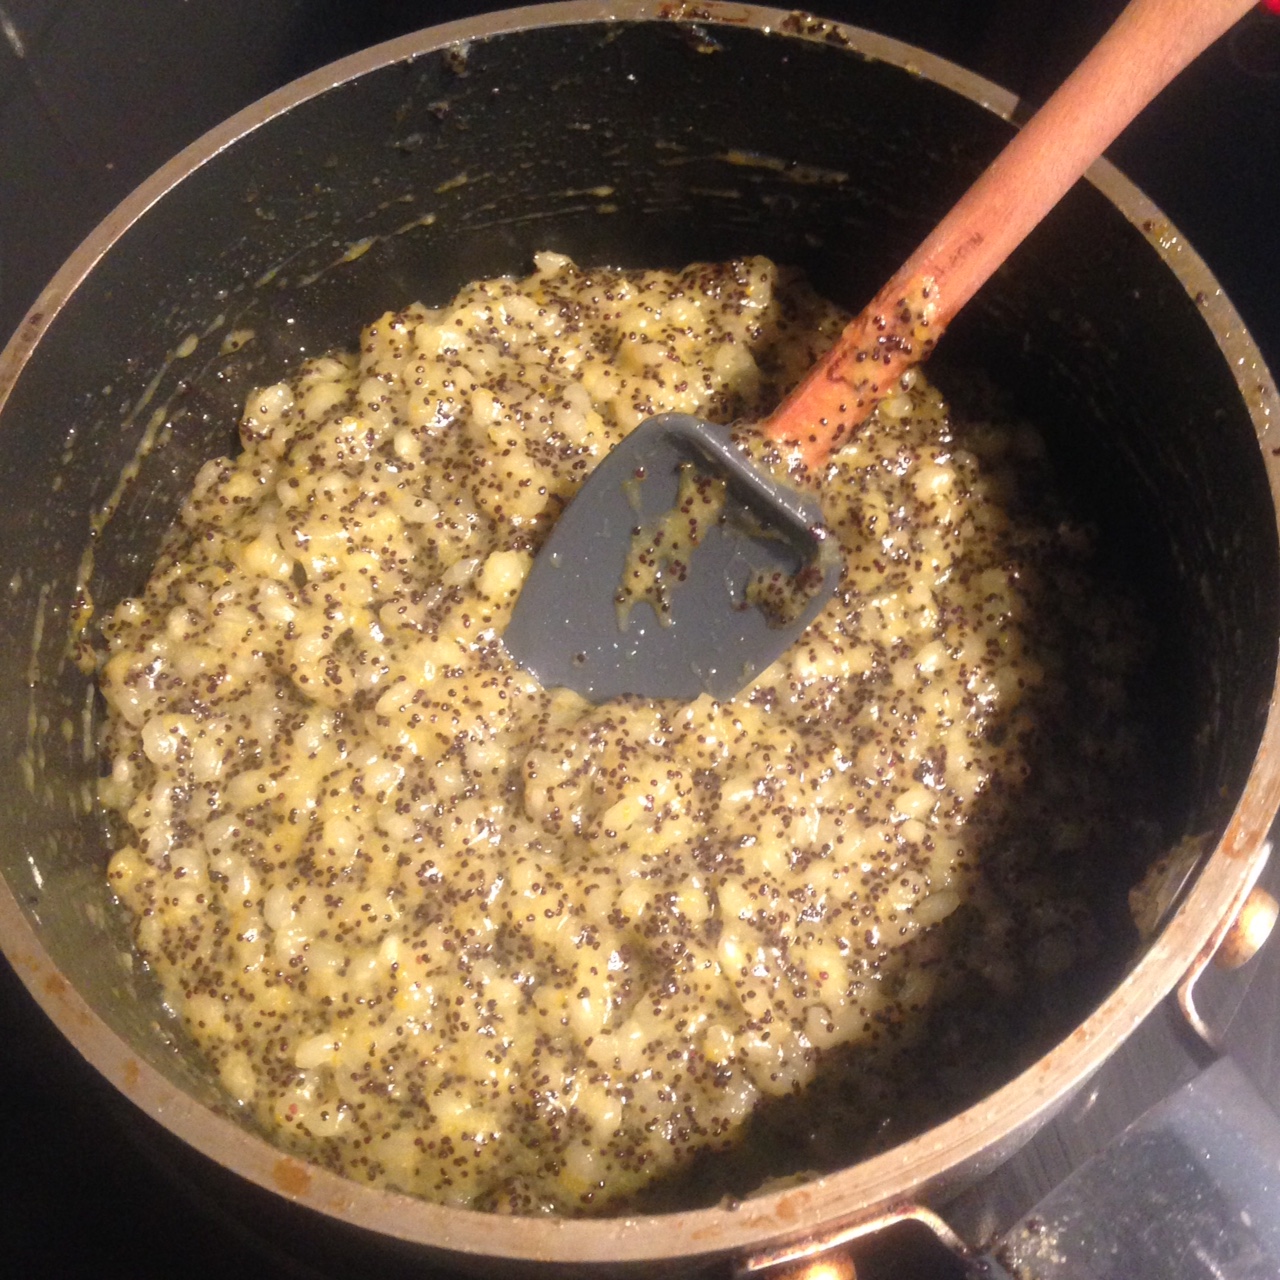
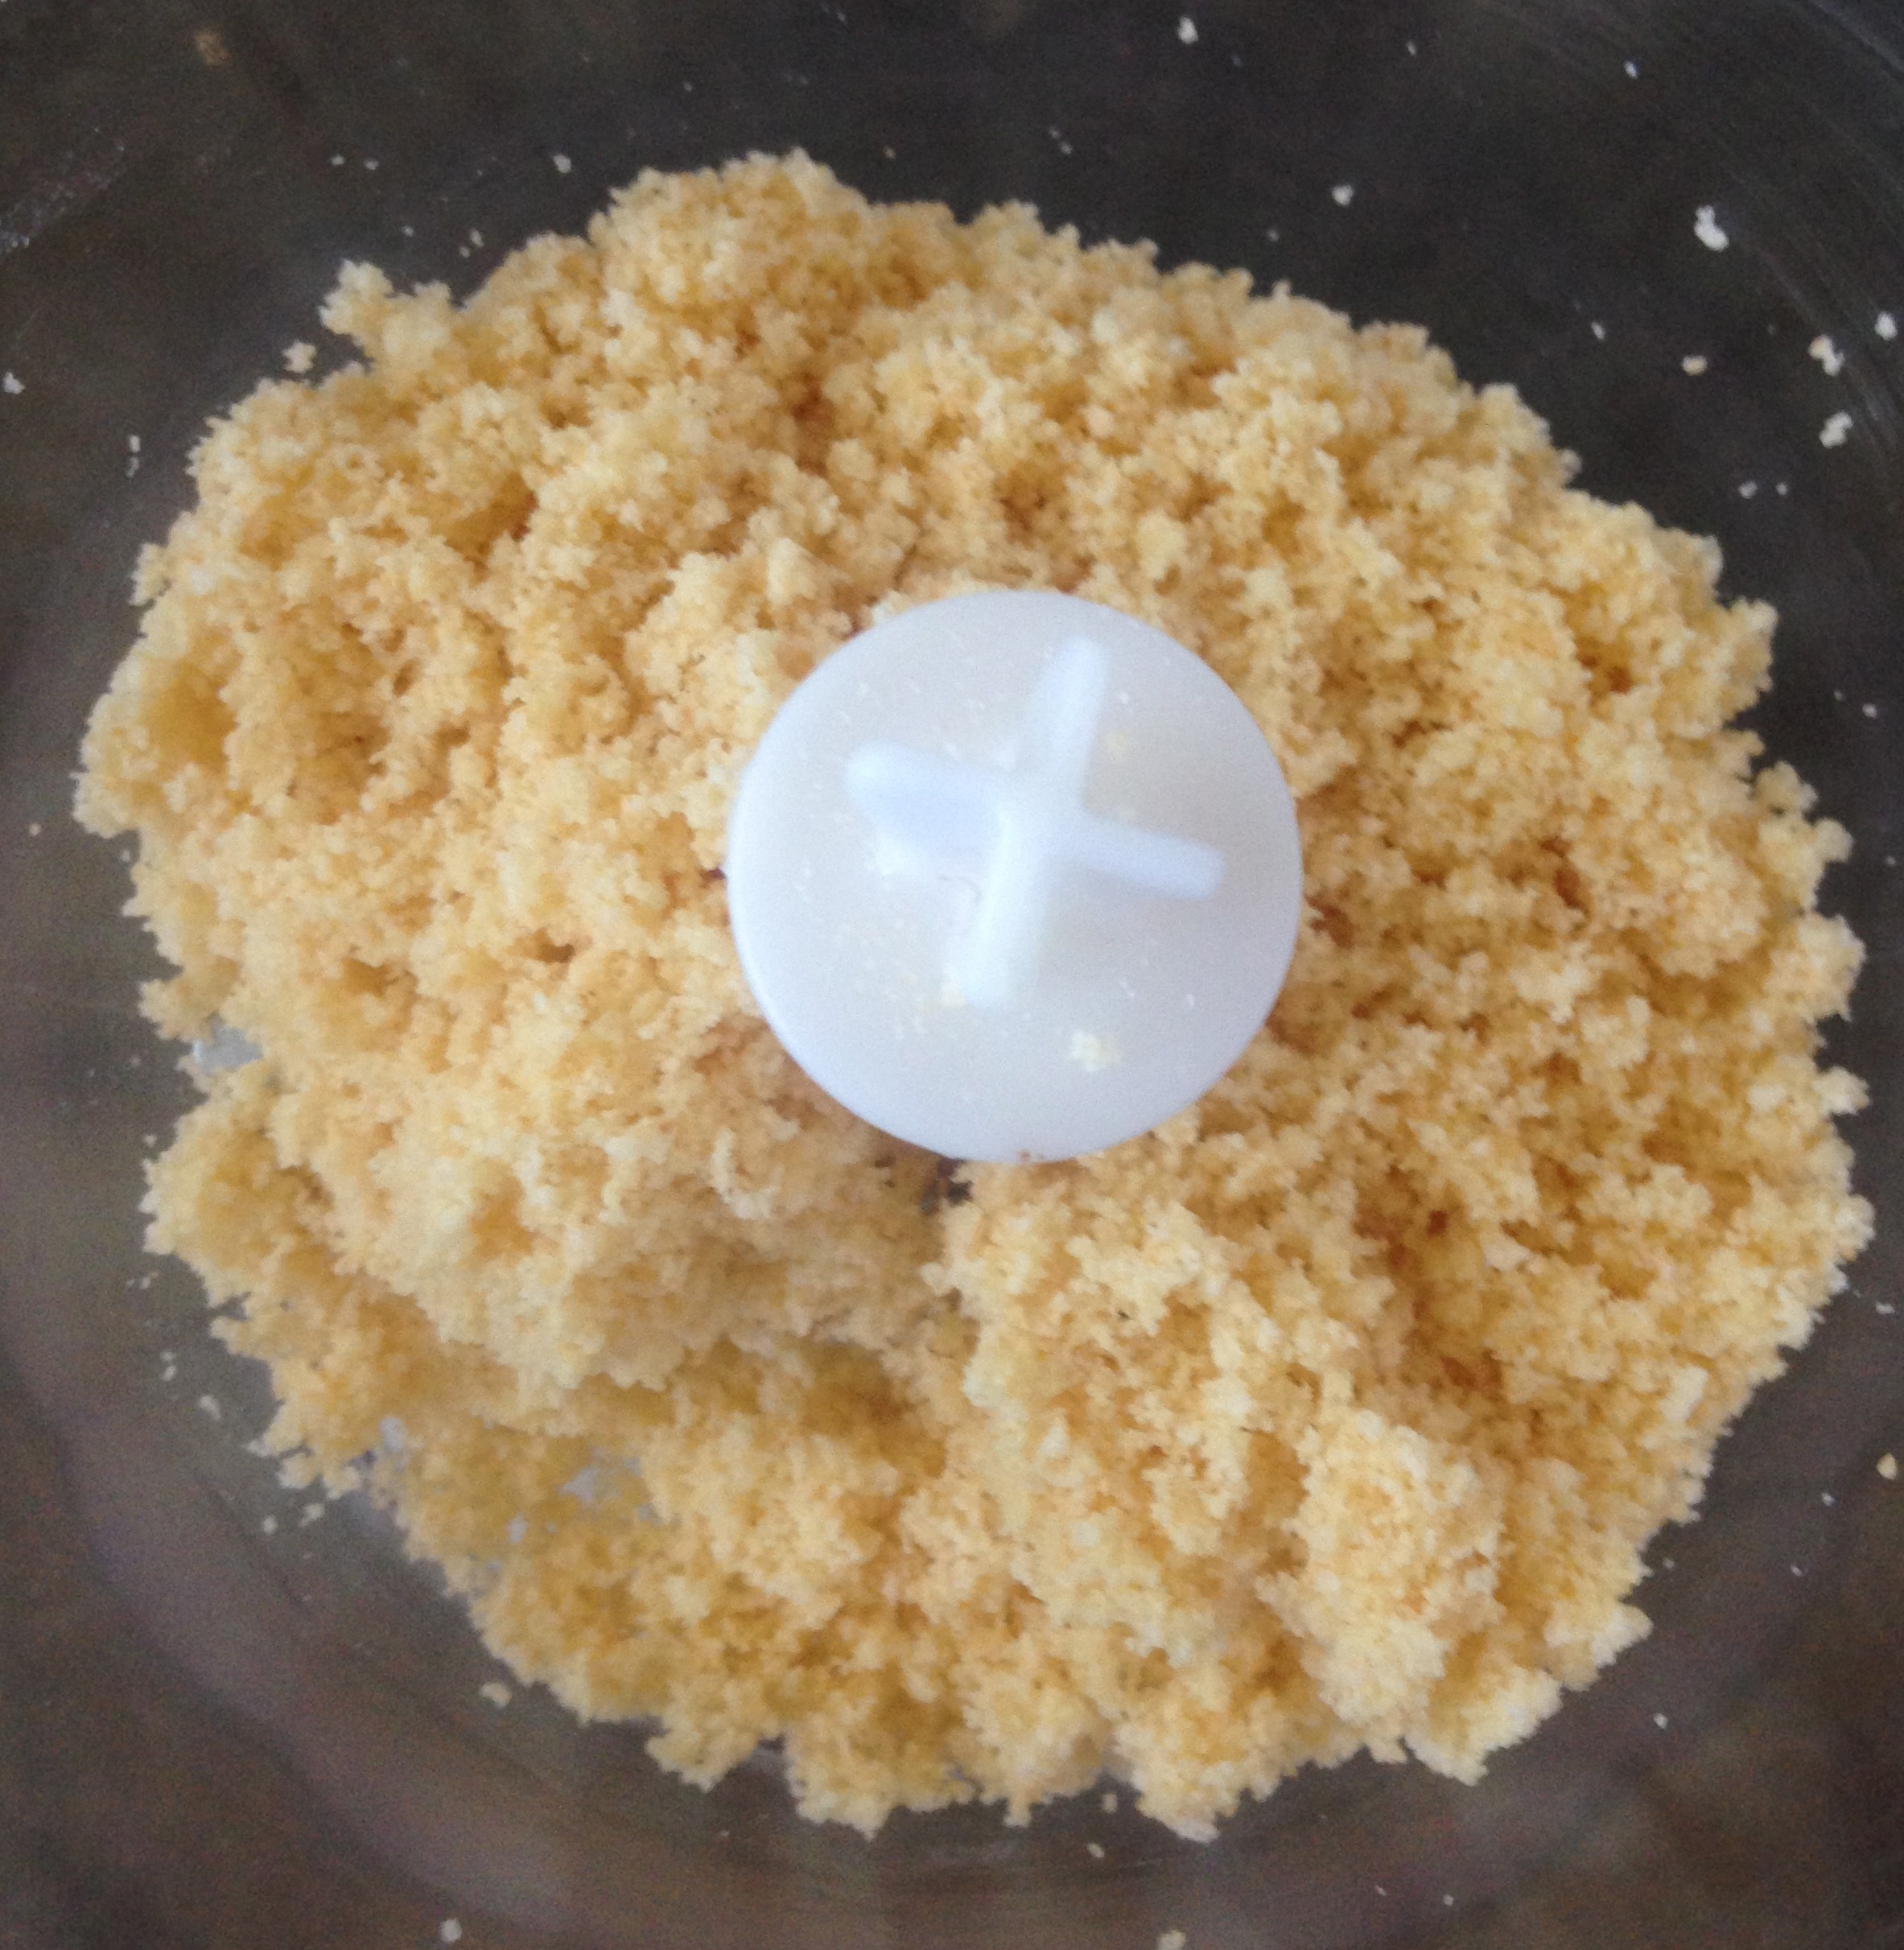
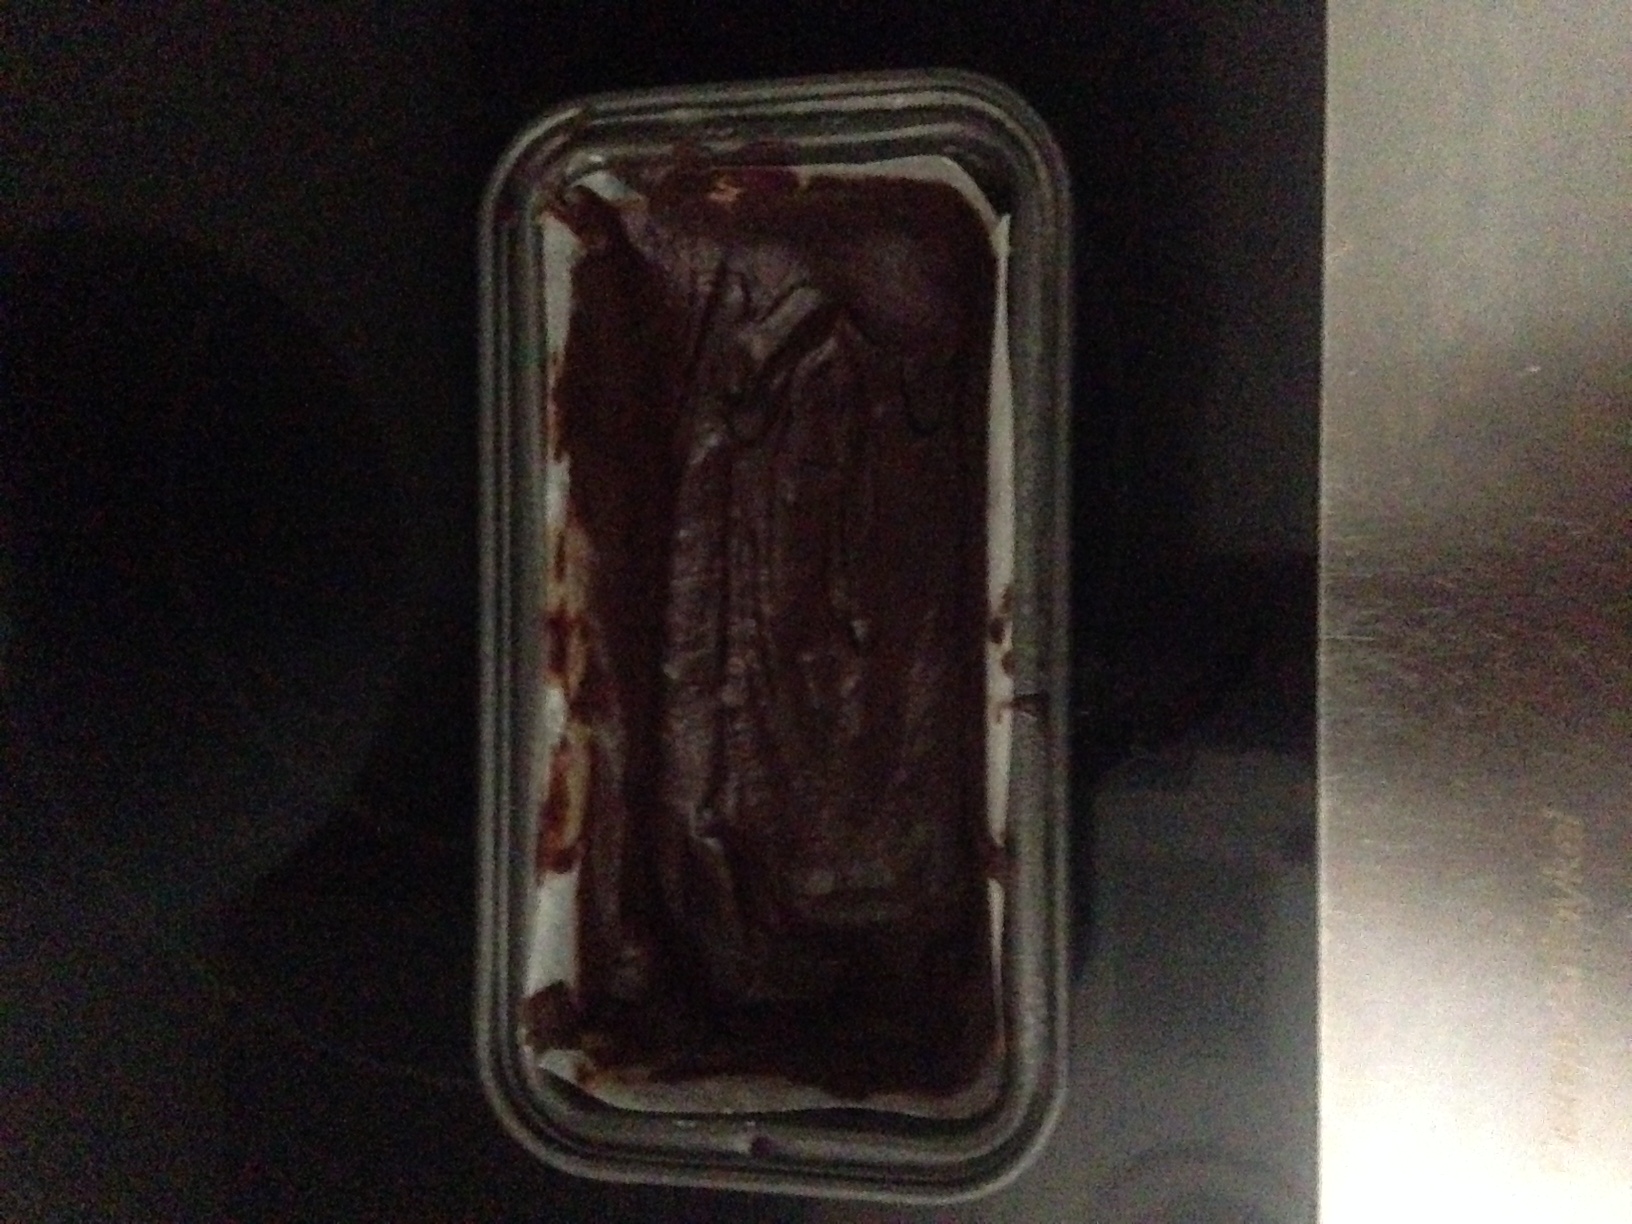
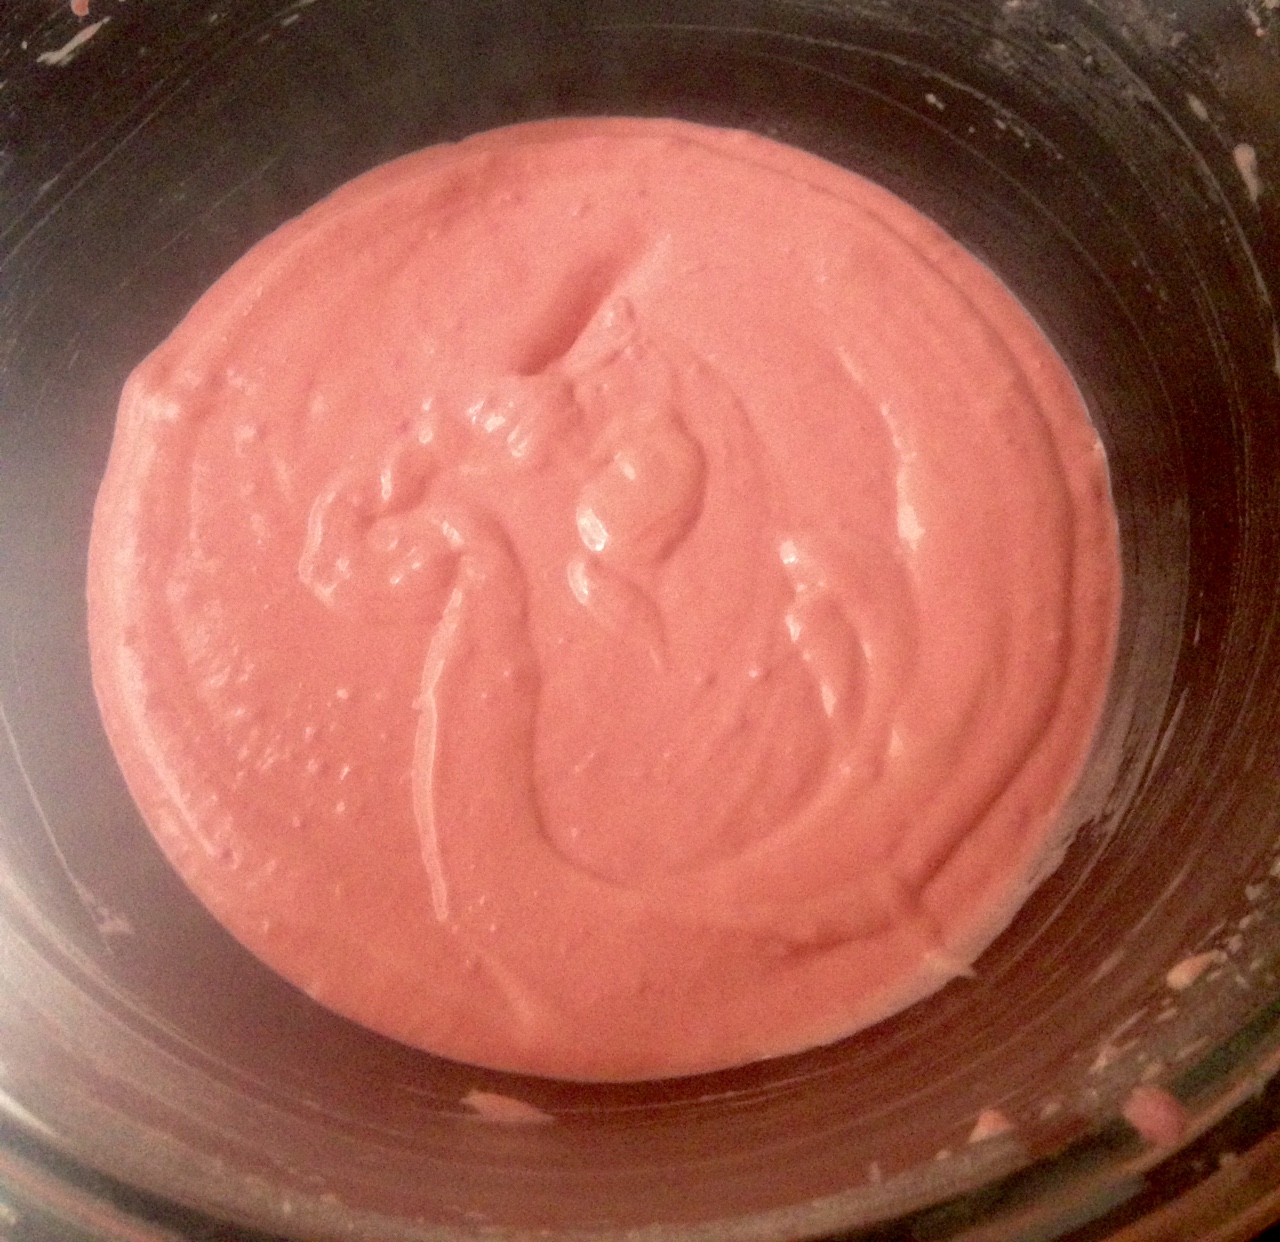
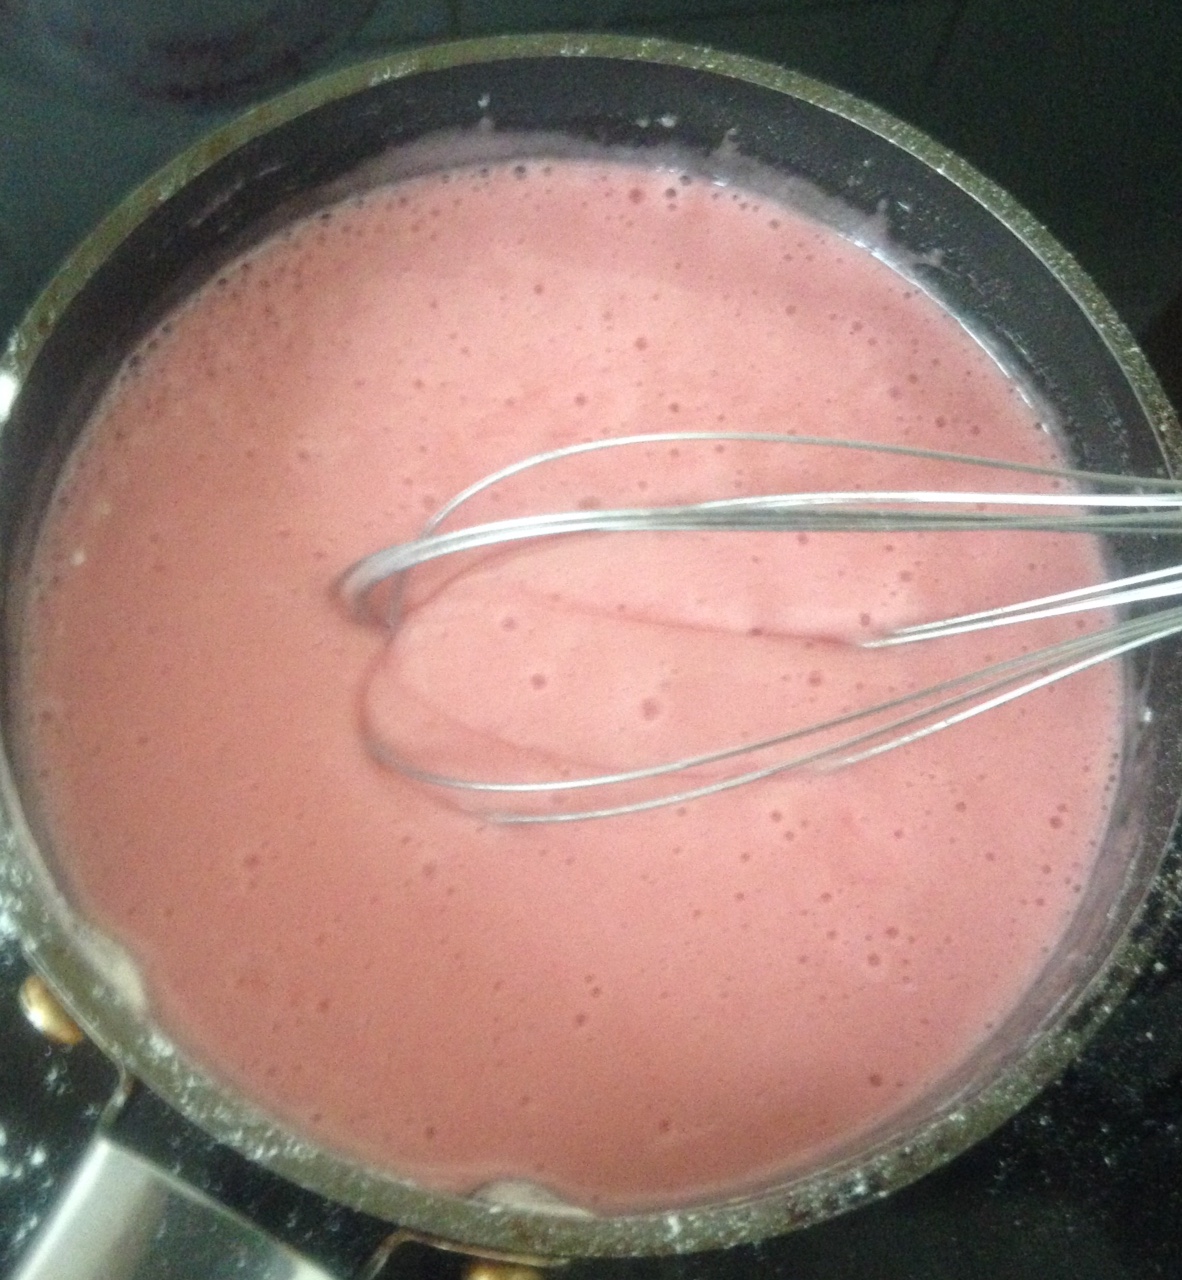
  3. Place the butter, chocolate, sugar and red skin water in a saucepan on a medium heat until the mix is smooth and glossy.
  4. Add the flour and whisk with a hand whisk until the mixture thickens.
  5. Add the egg and whisk to combine.
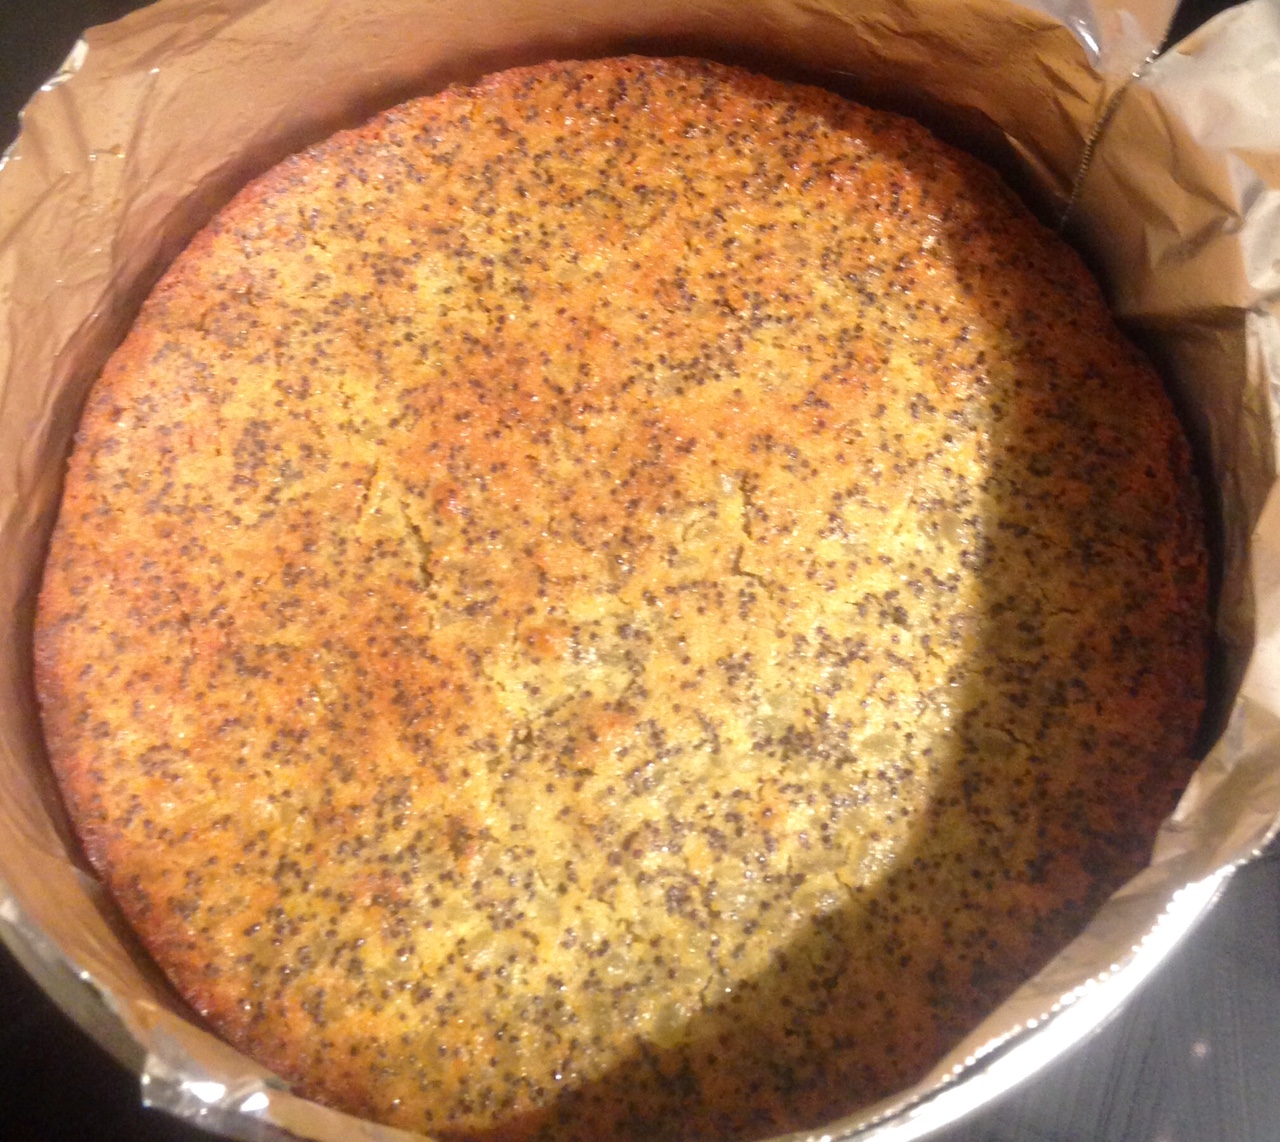
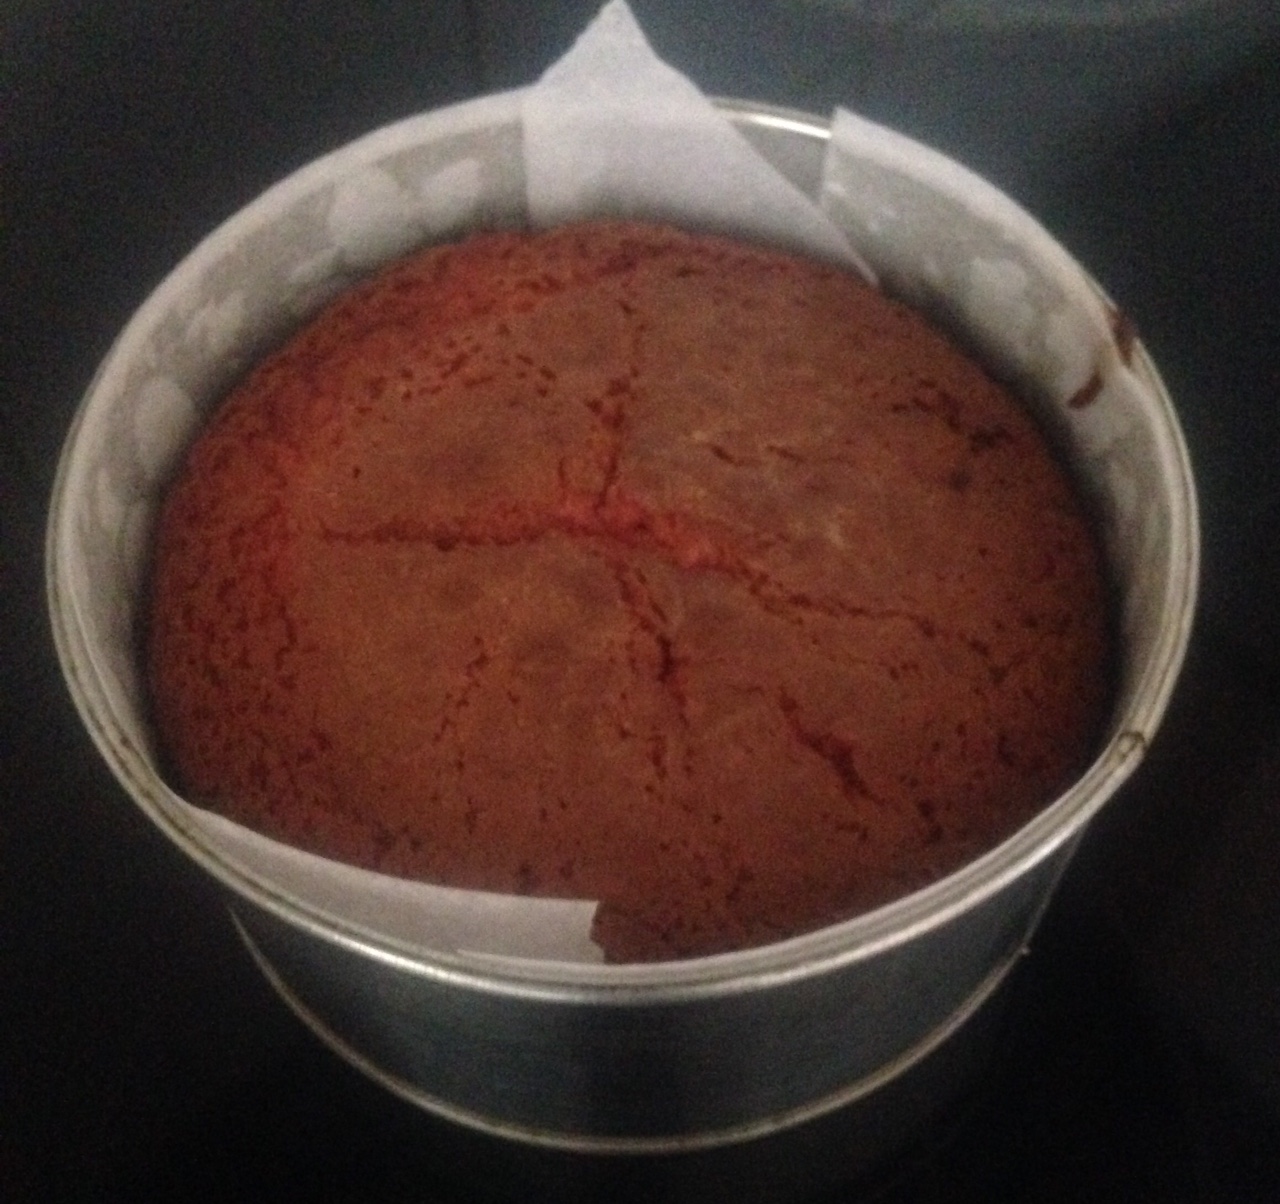
  6. Pour the mix into the cake tin and bake in the oven for 50 minutes or until a skew inserted into the middle of the cake comes out clean.
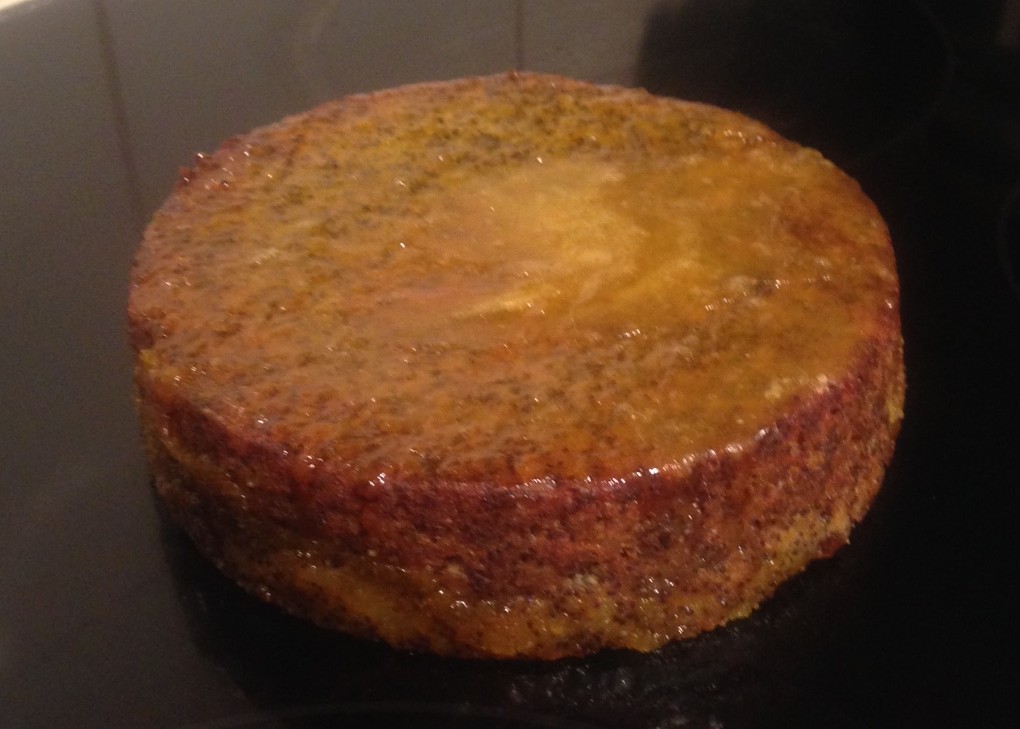
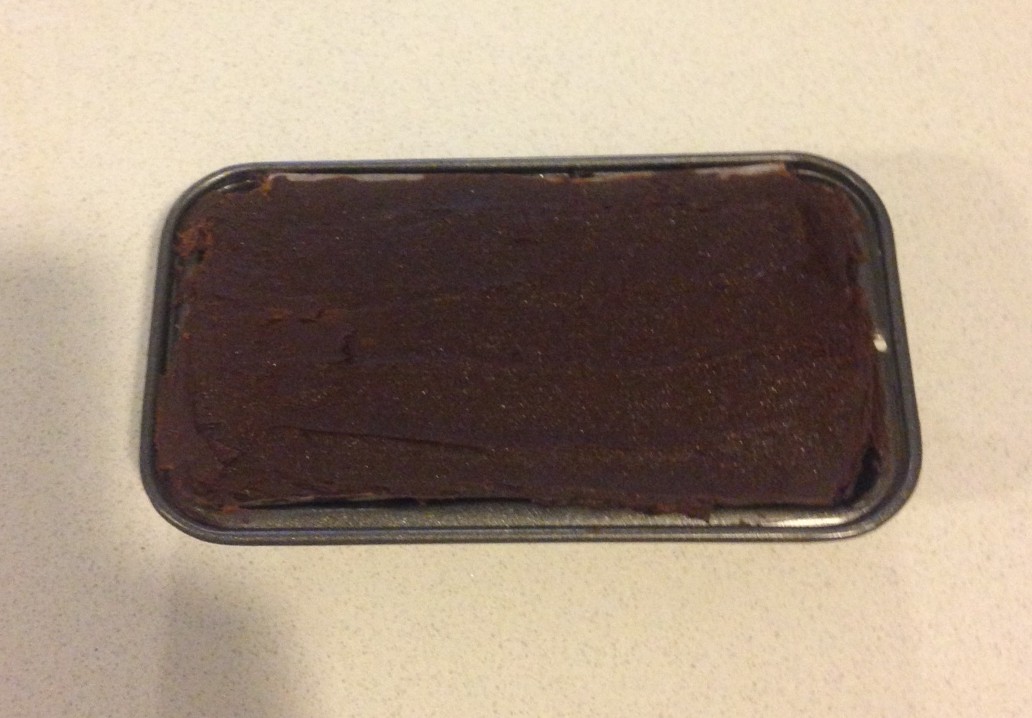
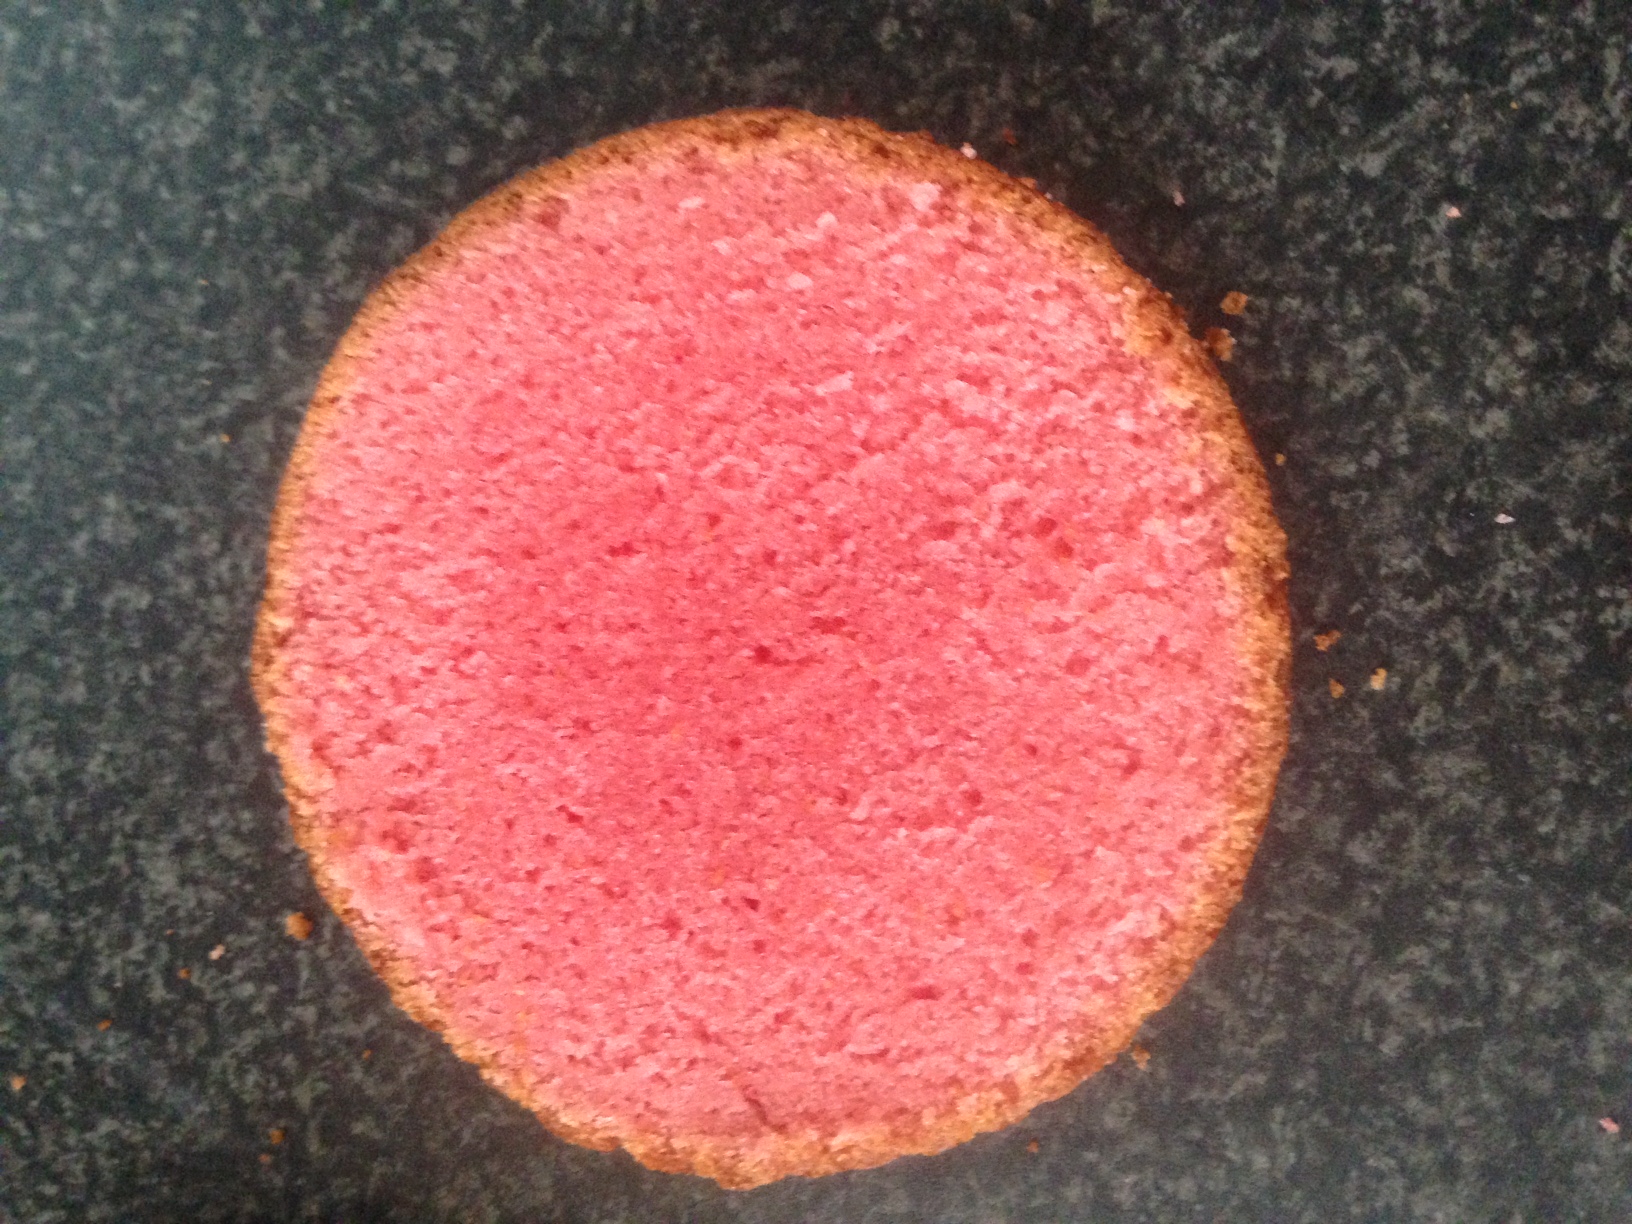
  7. Place the cake onto a cooling tray until cold.
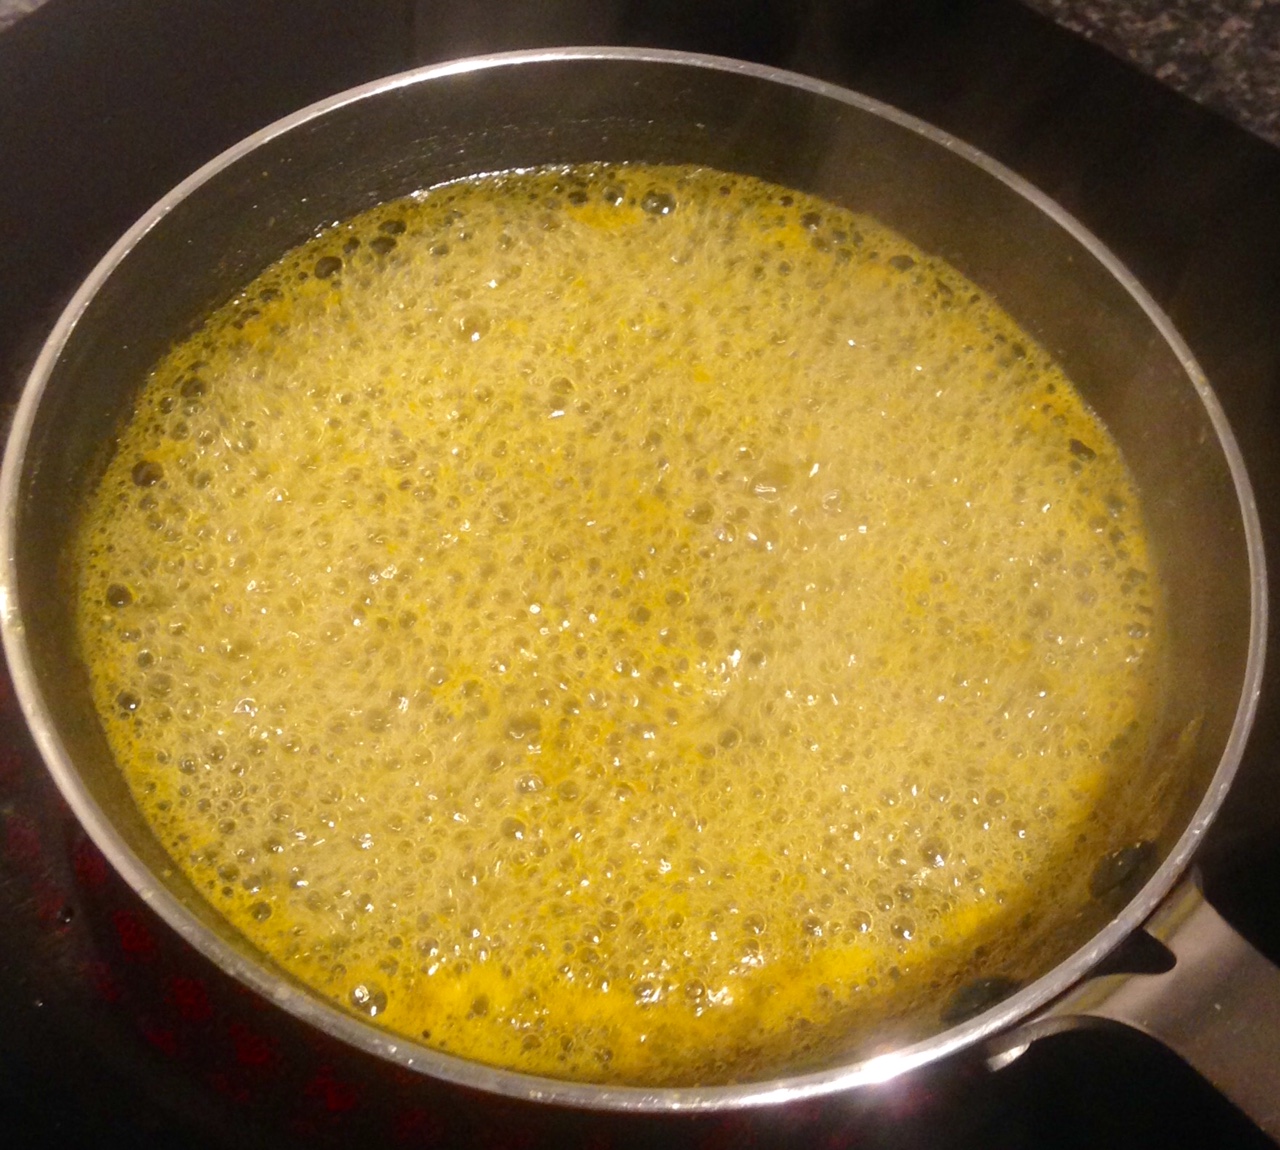
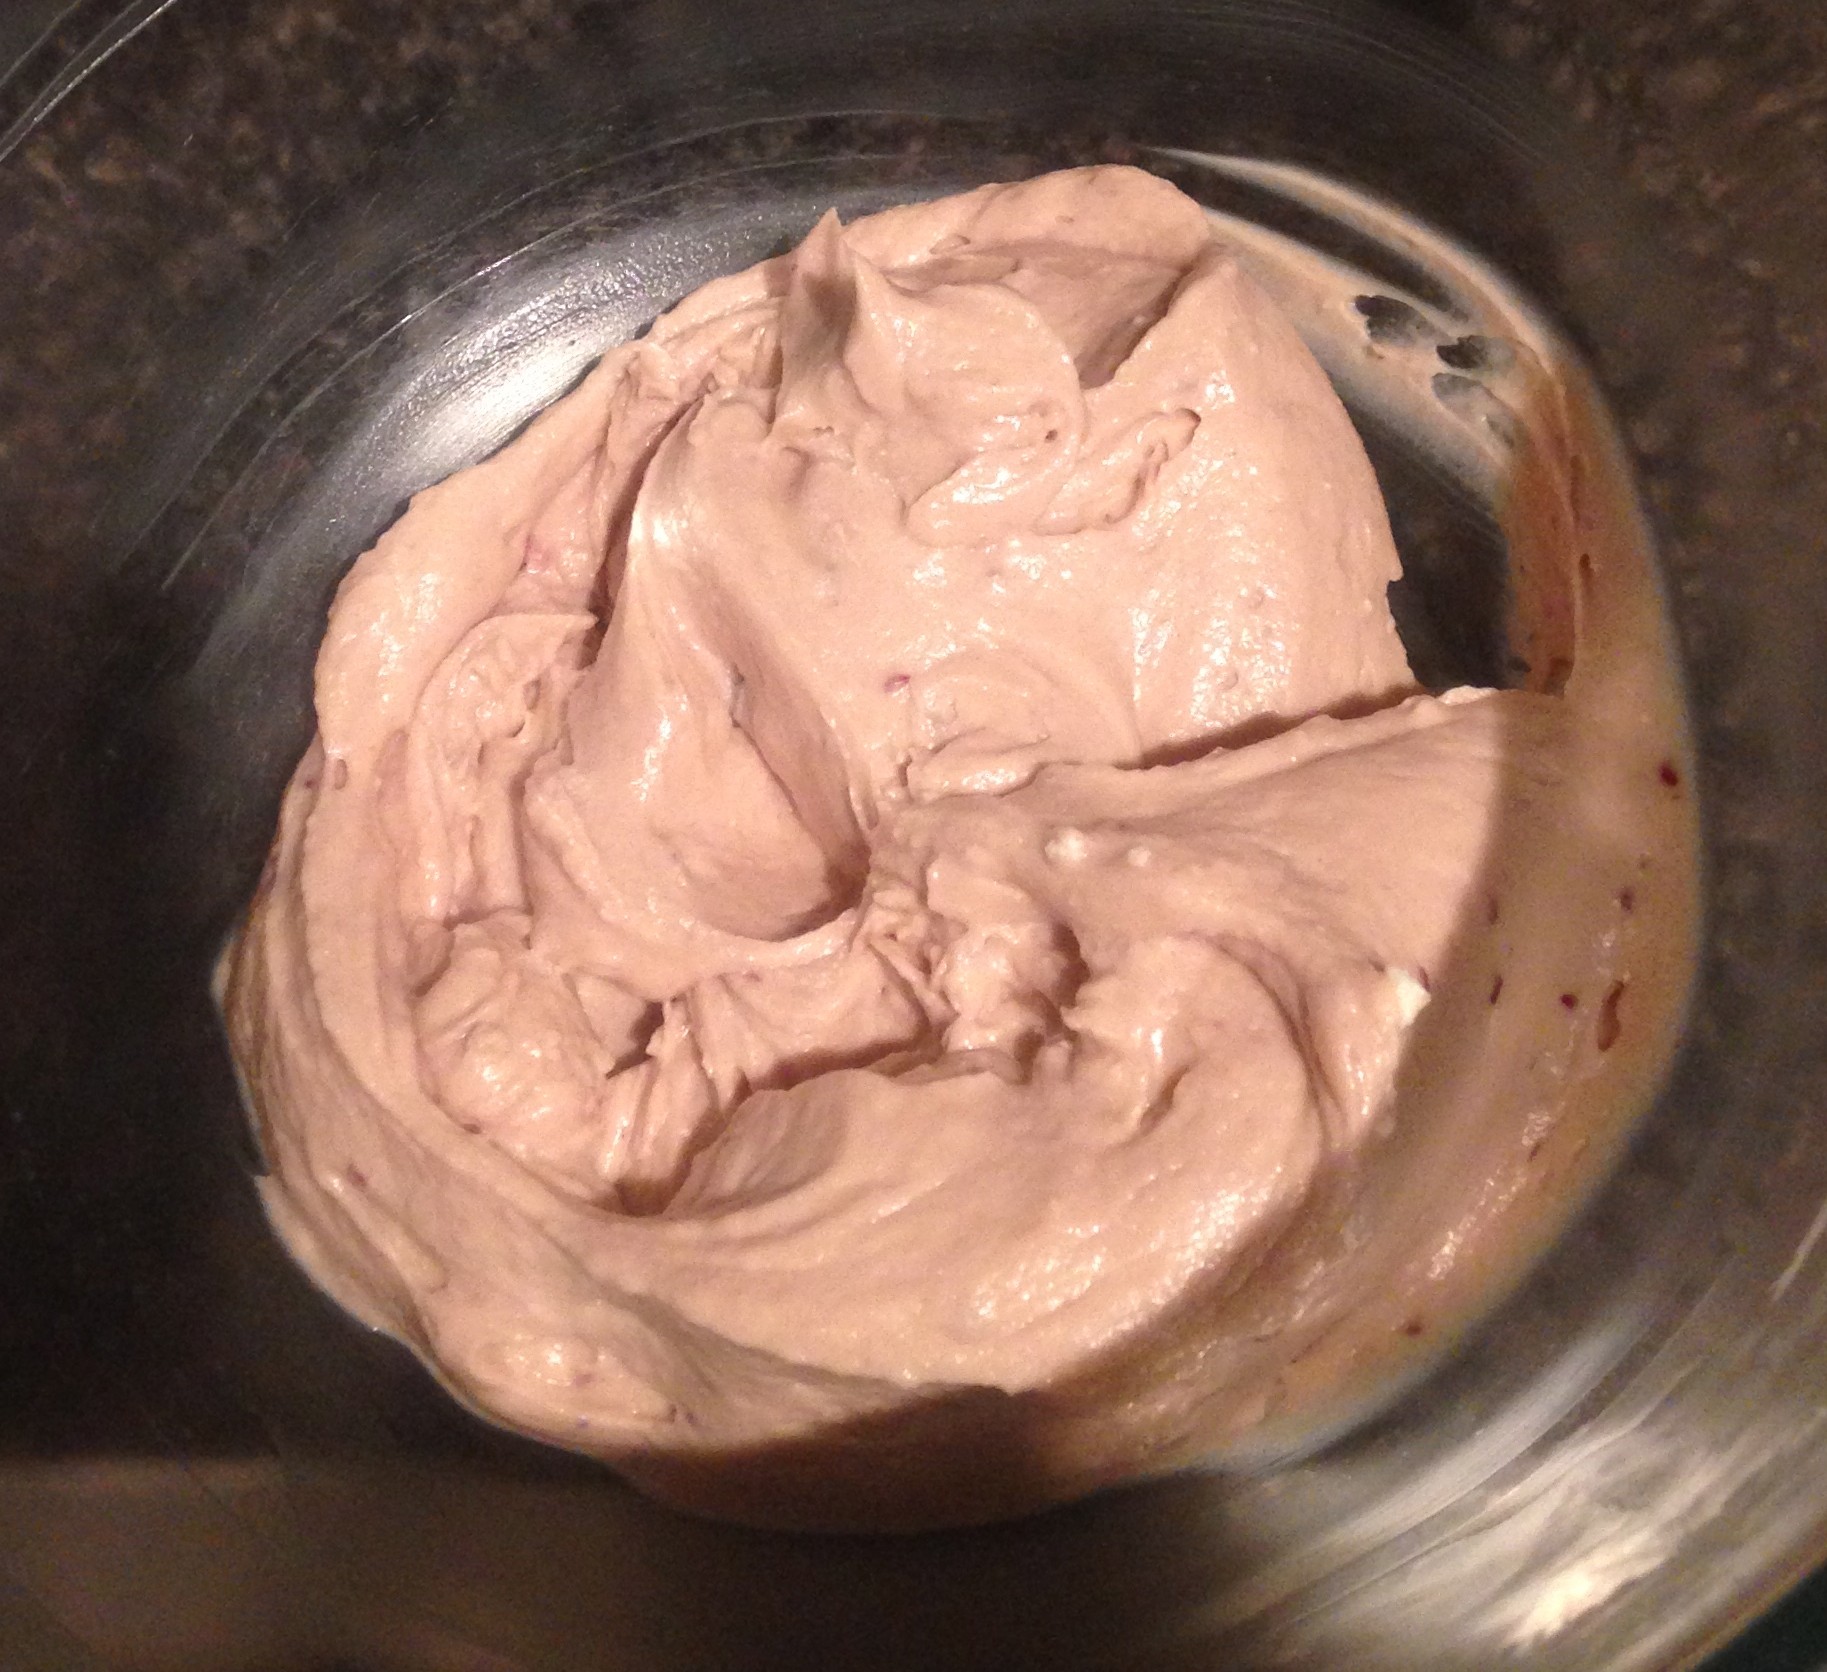
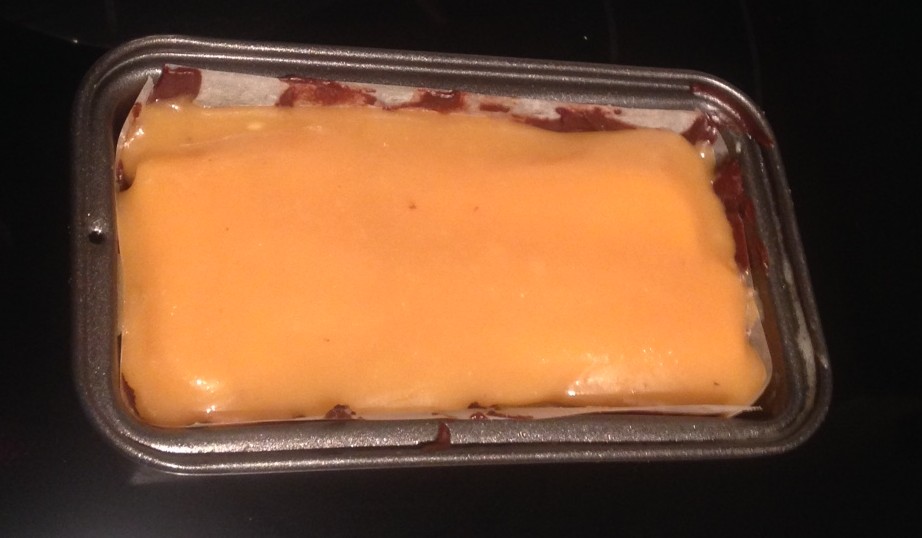
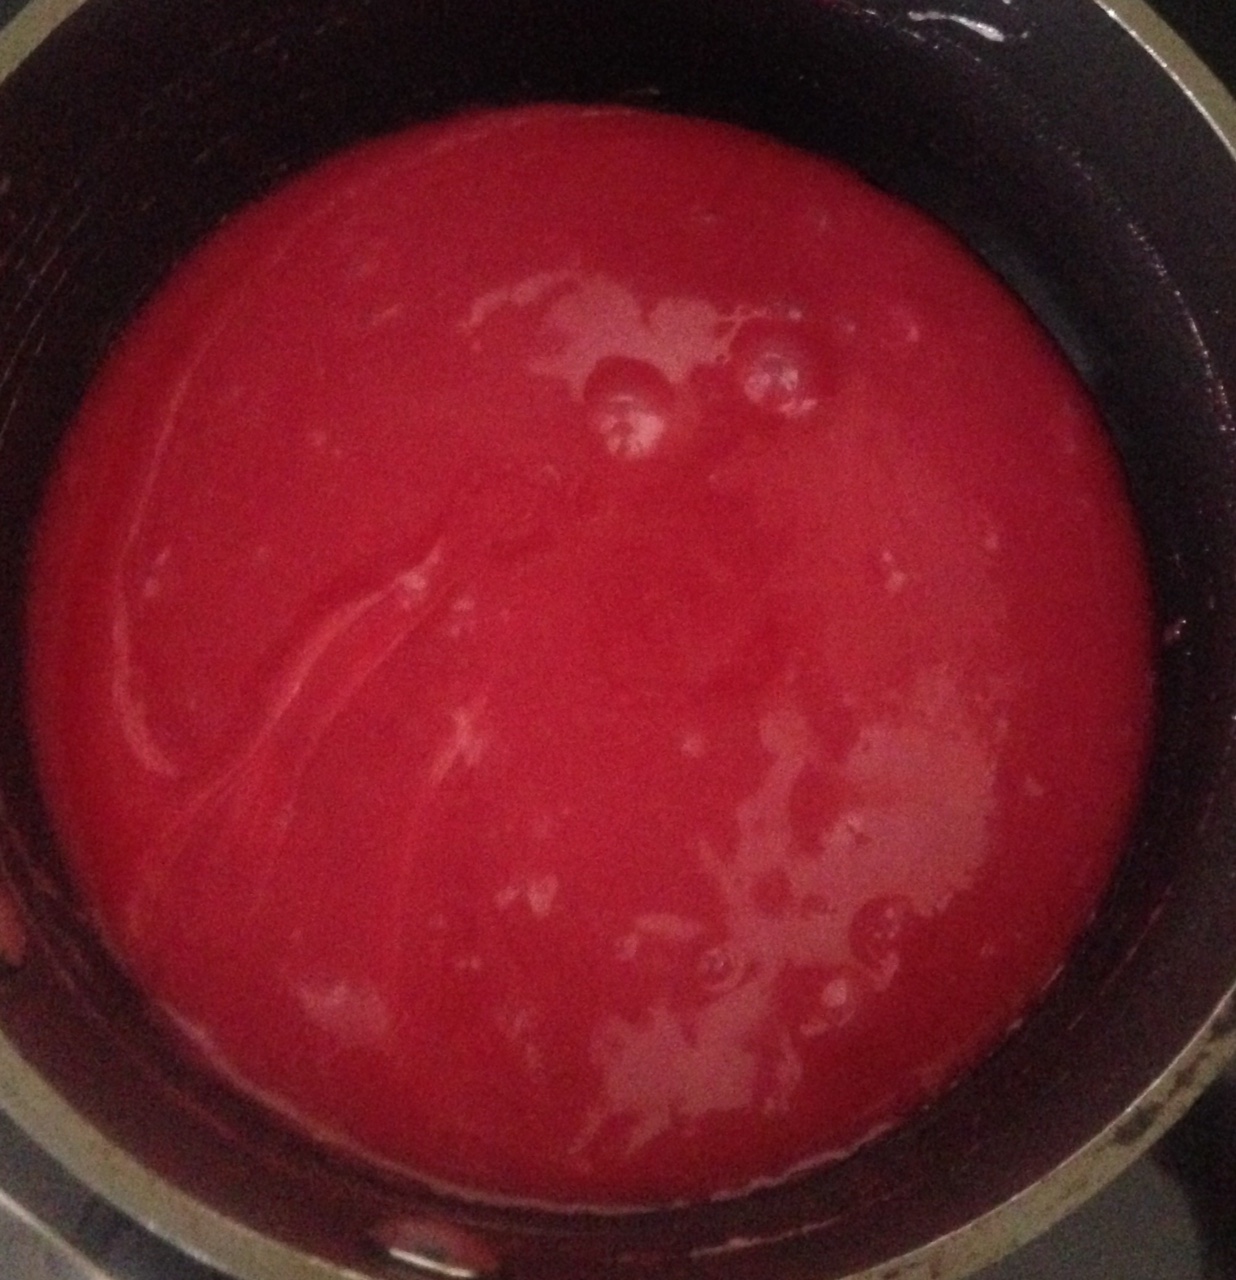
  8. To make the ganache place the red skins and cream into a saucepan on a medium heat and stir until the red skins have melted and the mix is smooth.
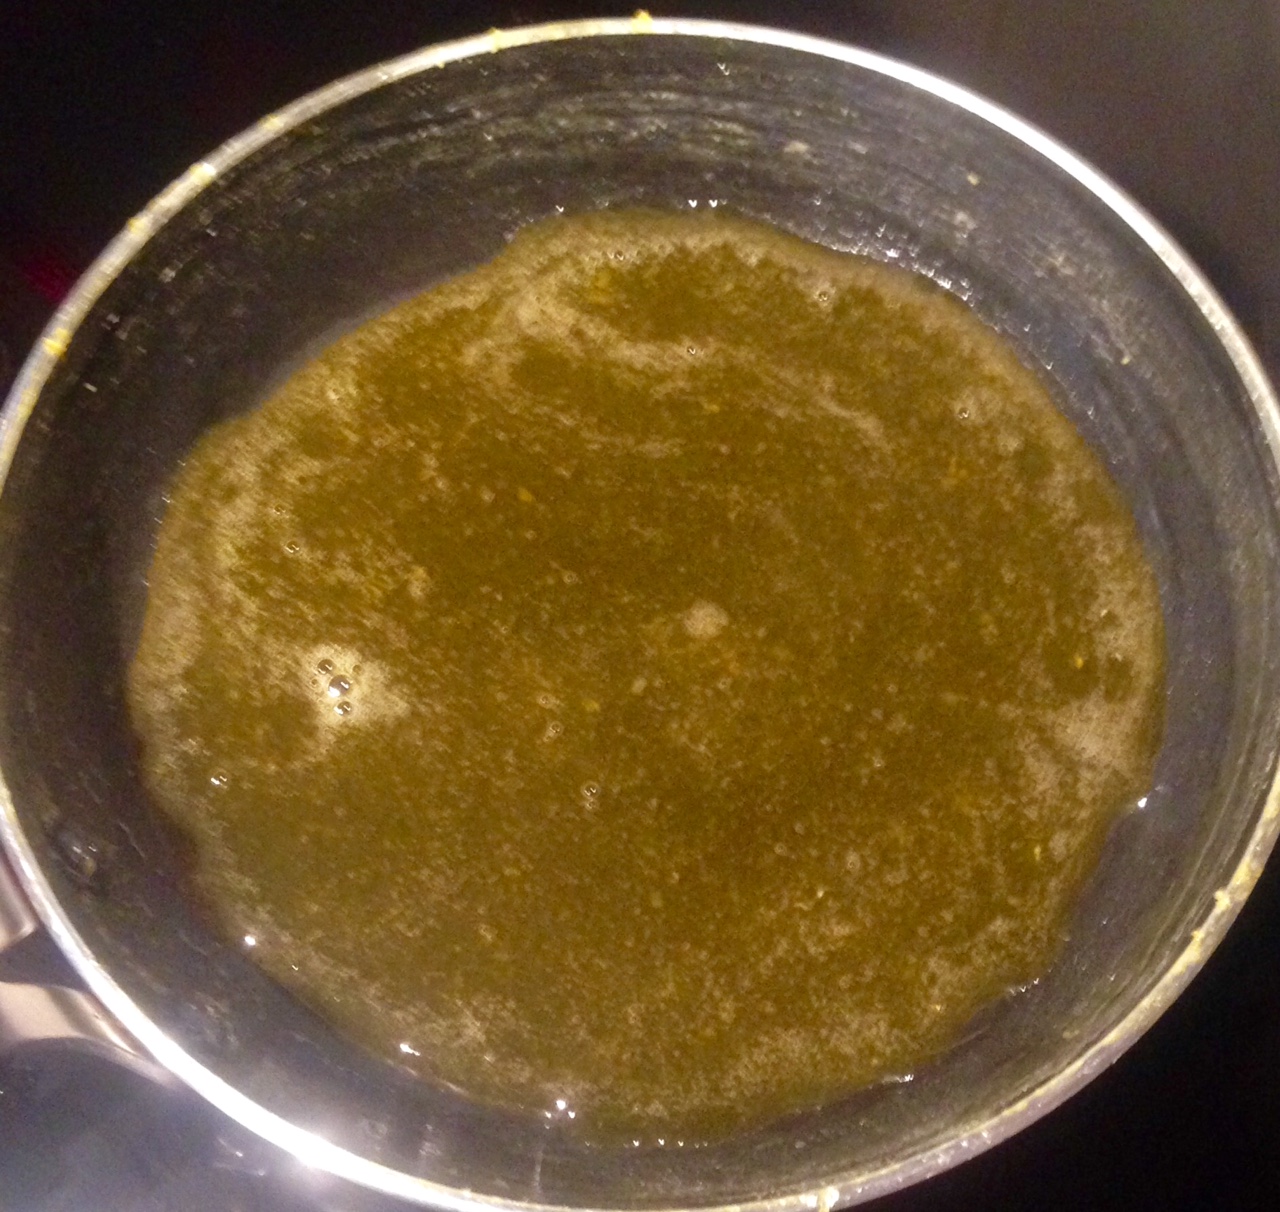
  9. Place the white chocolate in and remove the saucepan off the heat.
  10. Stir until the white chocolate has melted and the mix is glossy and smooth.
  11. Place the mix in the fridge to harden to a spreadable consistency.
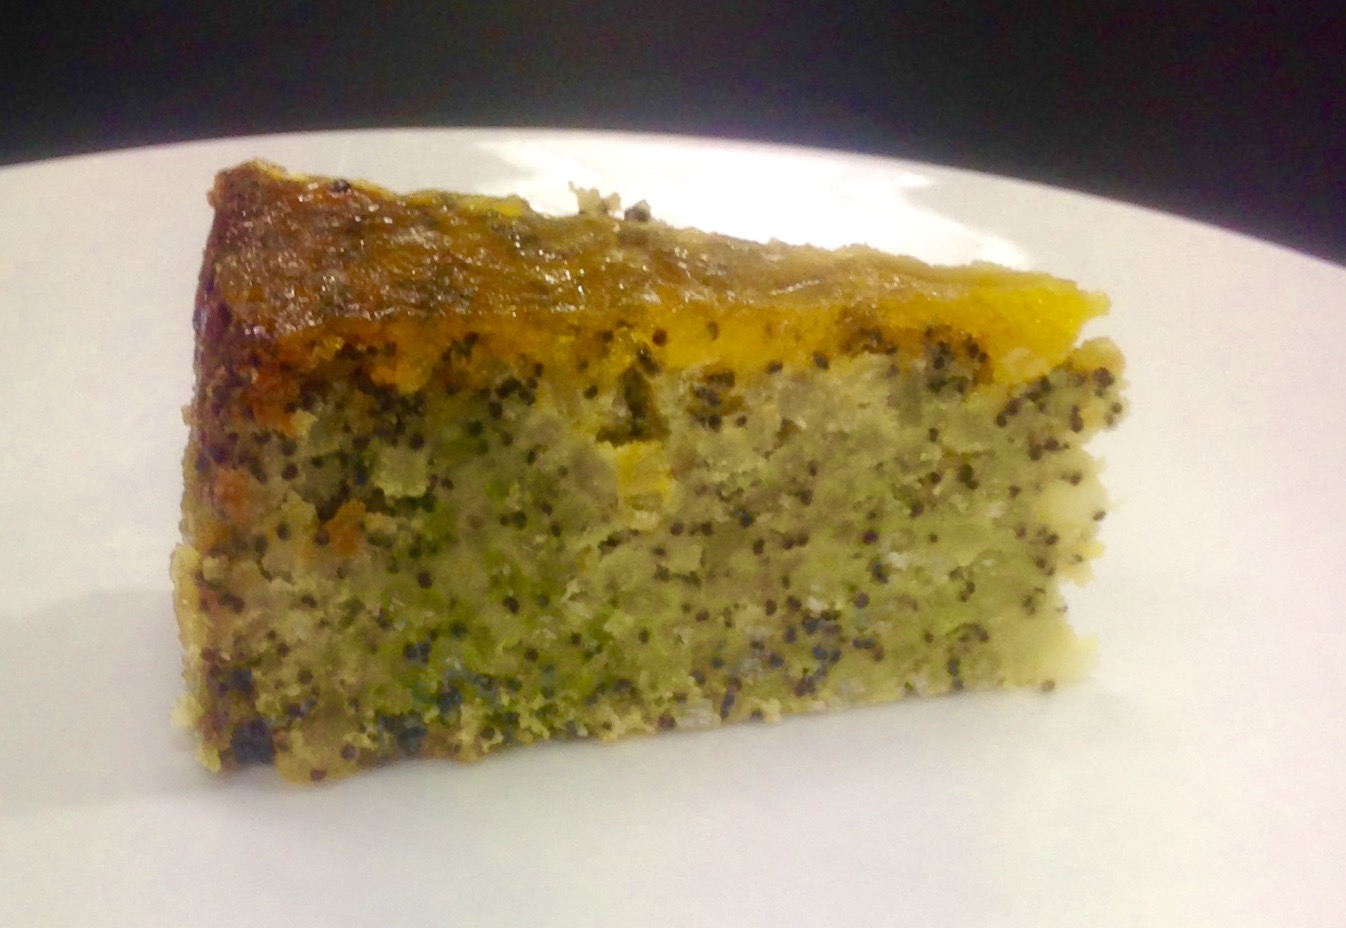
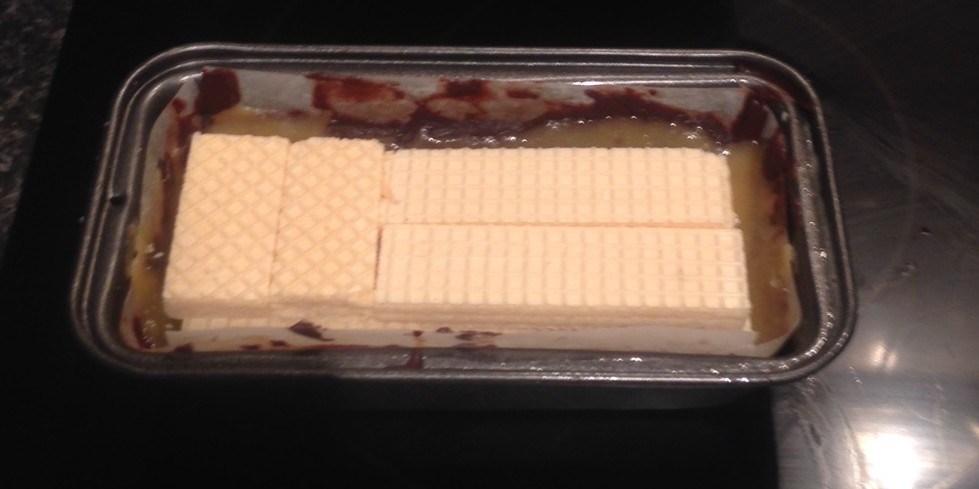
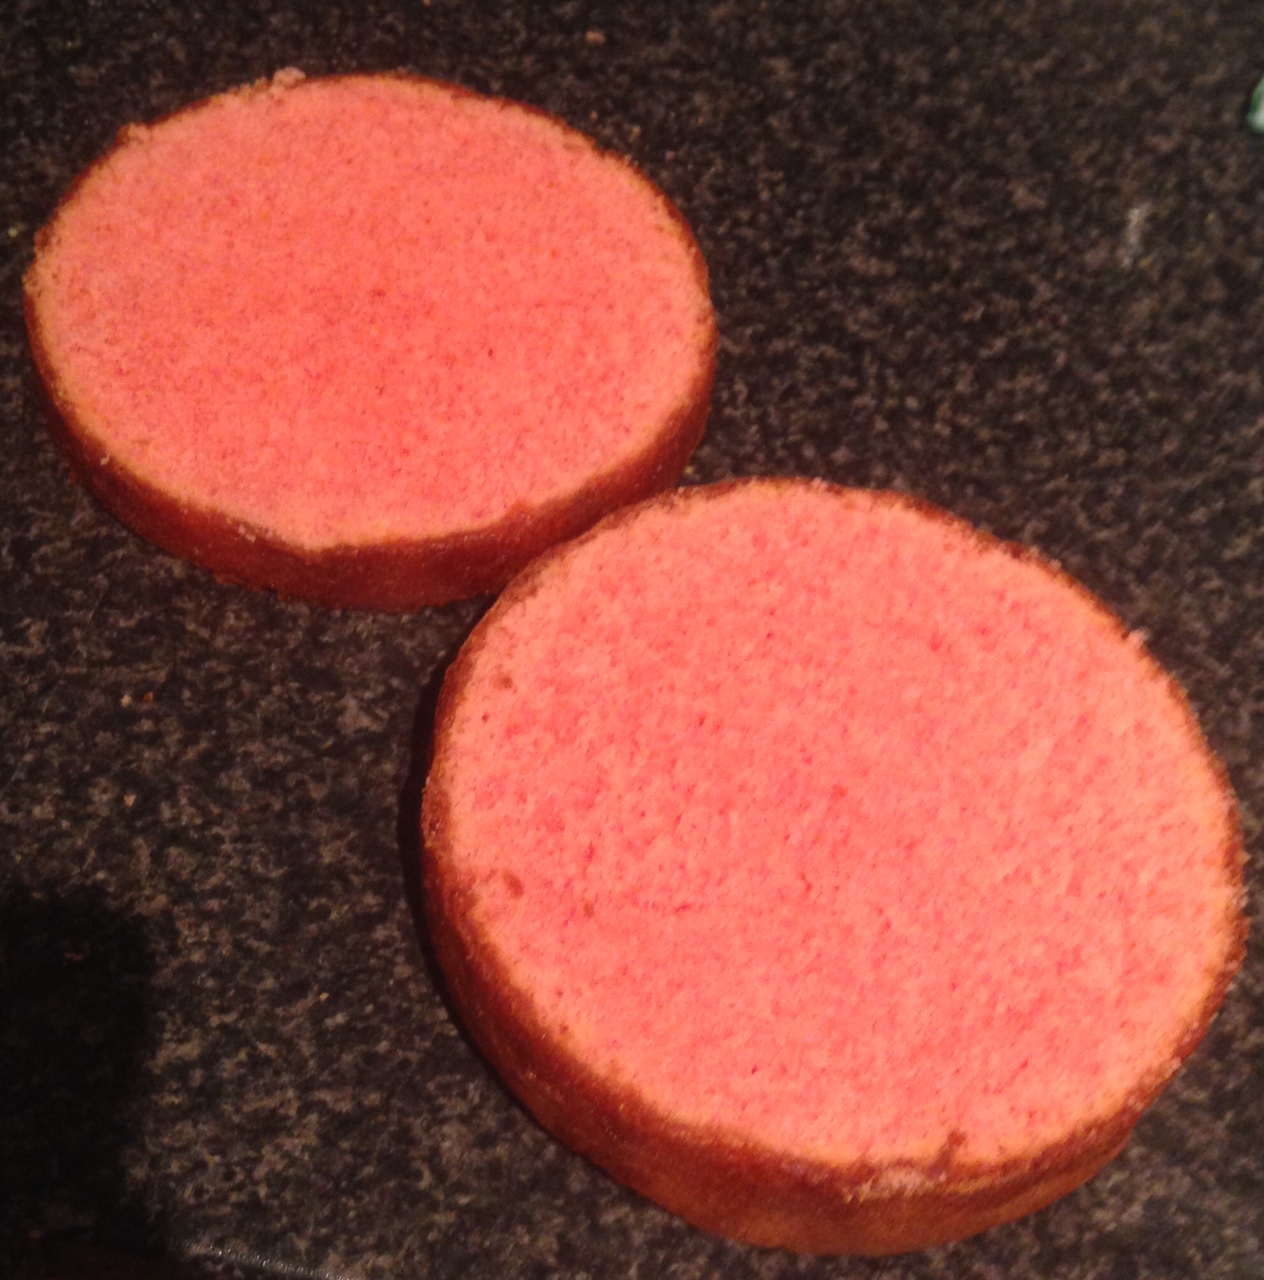
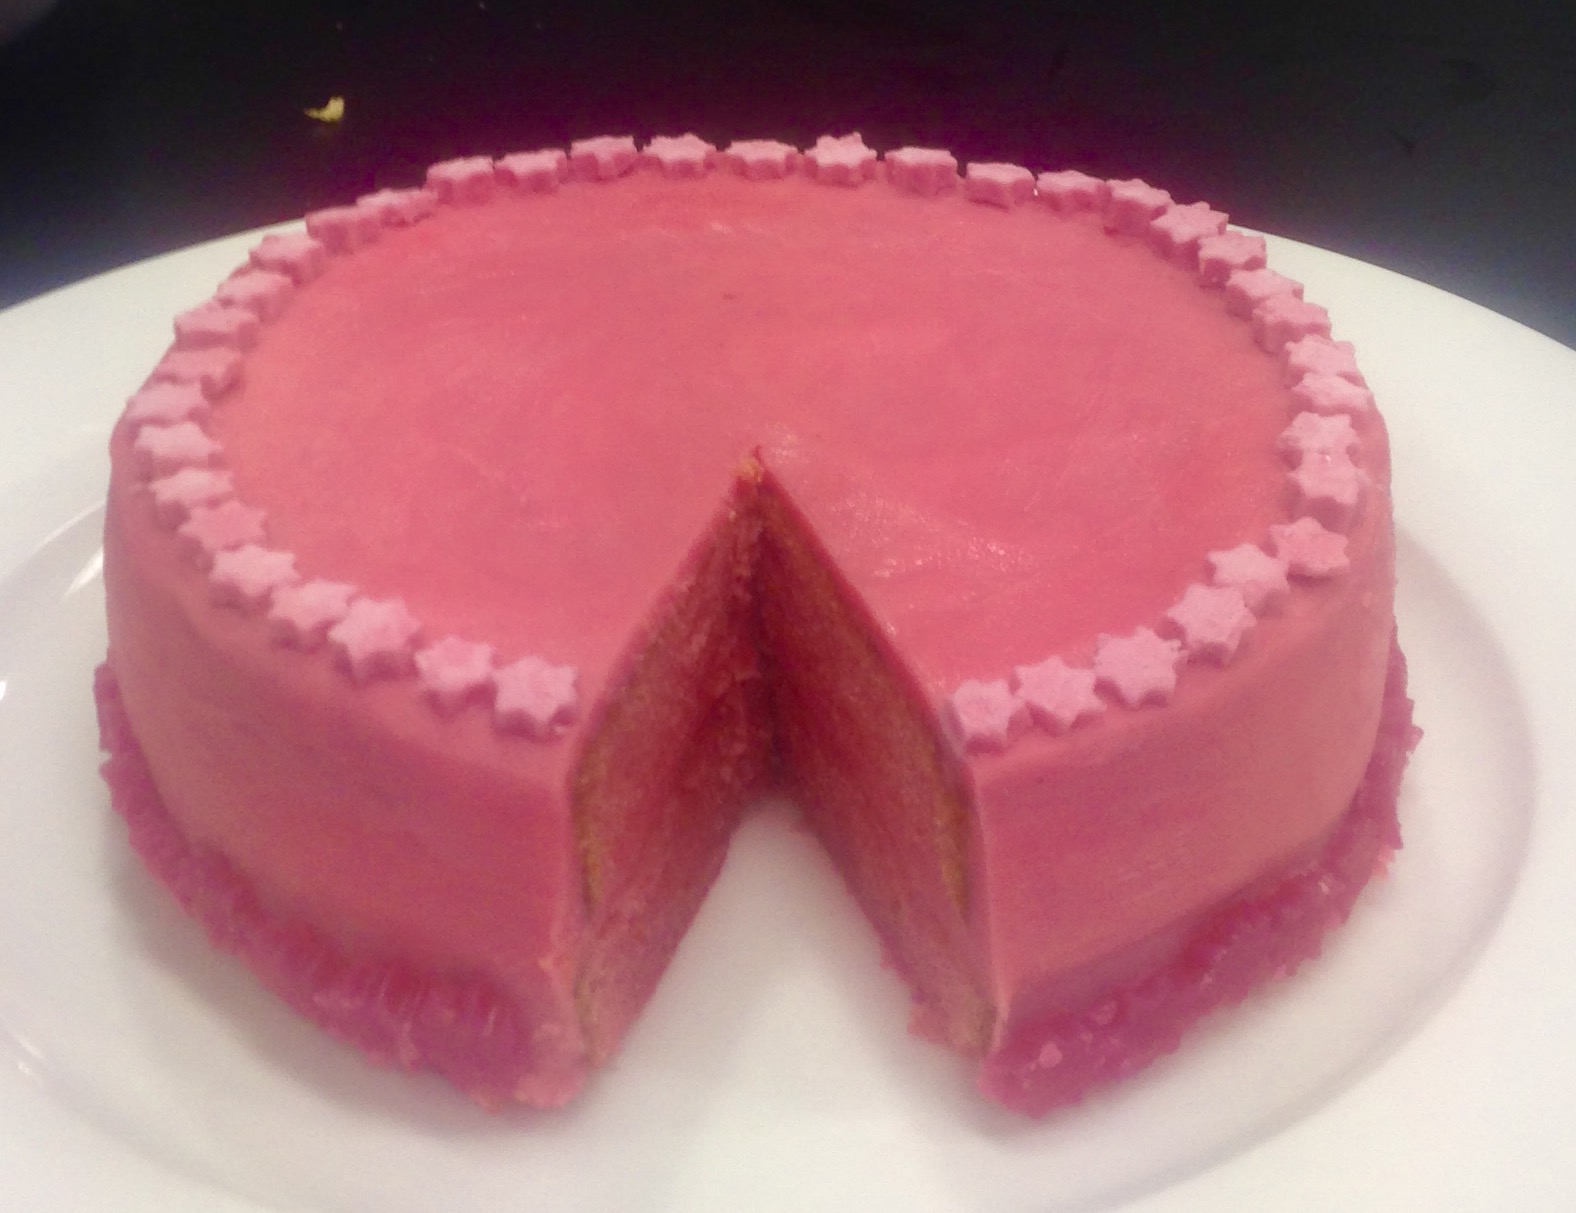
  12. Cut the cake in half horizontally.
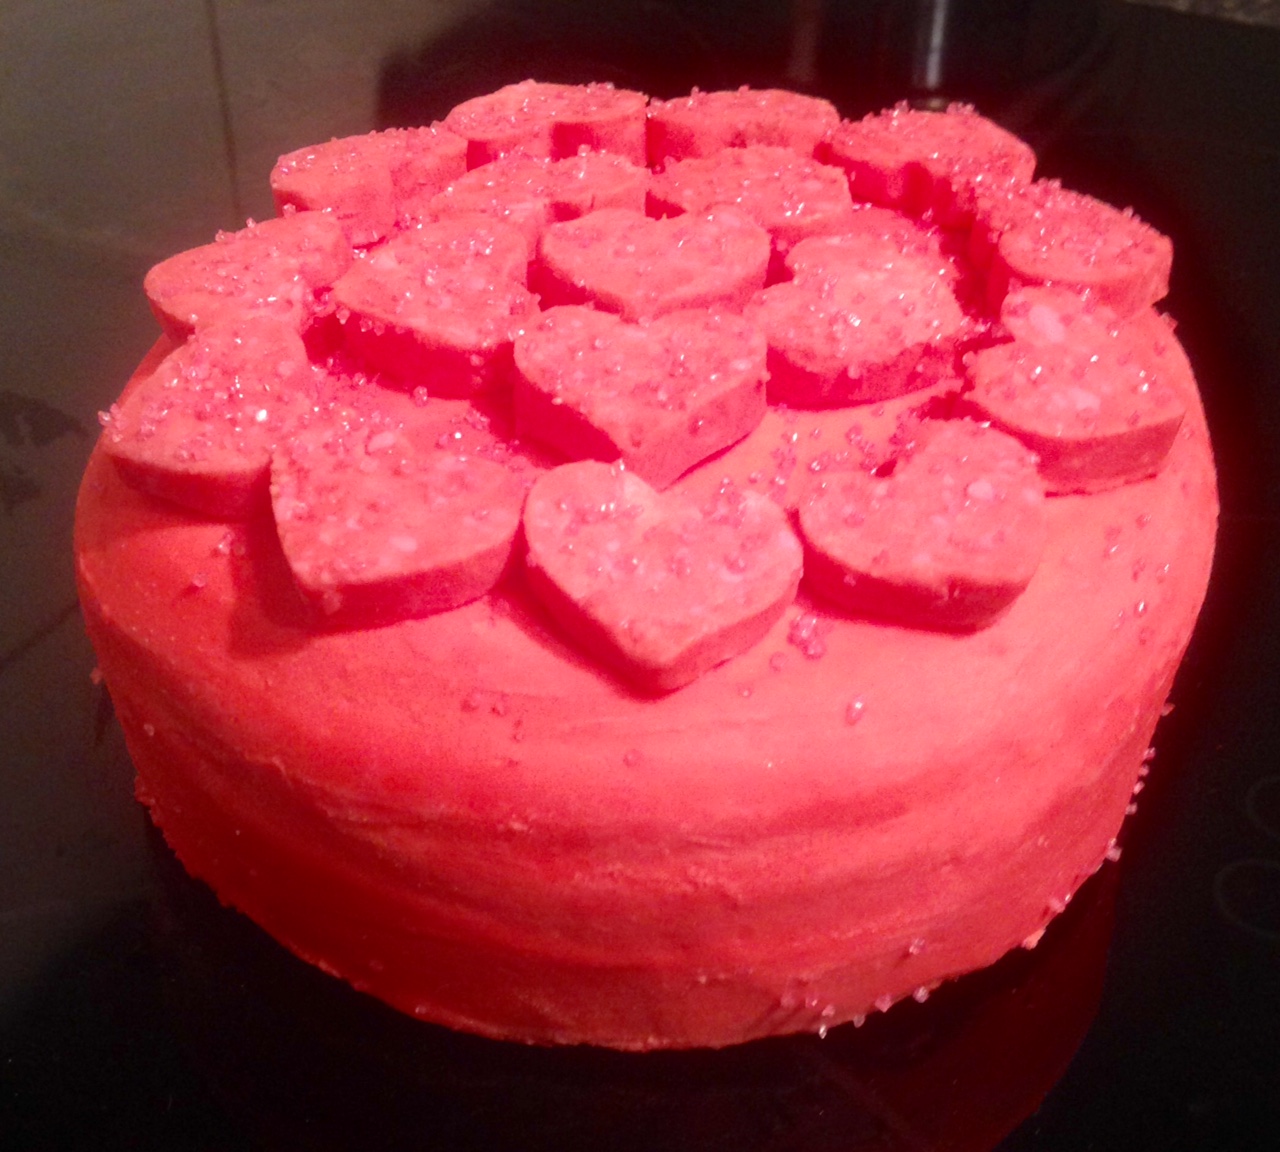
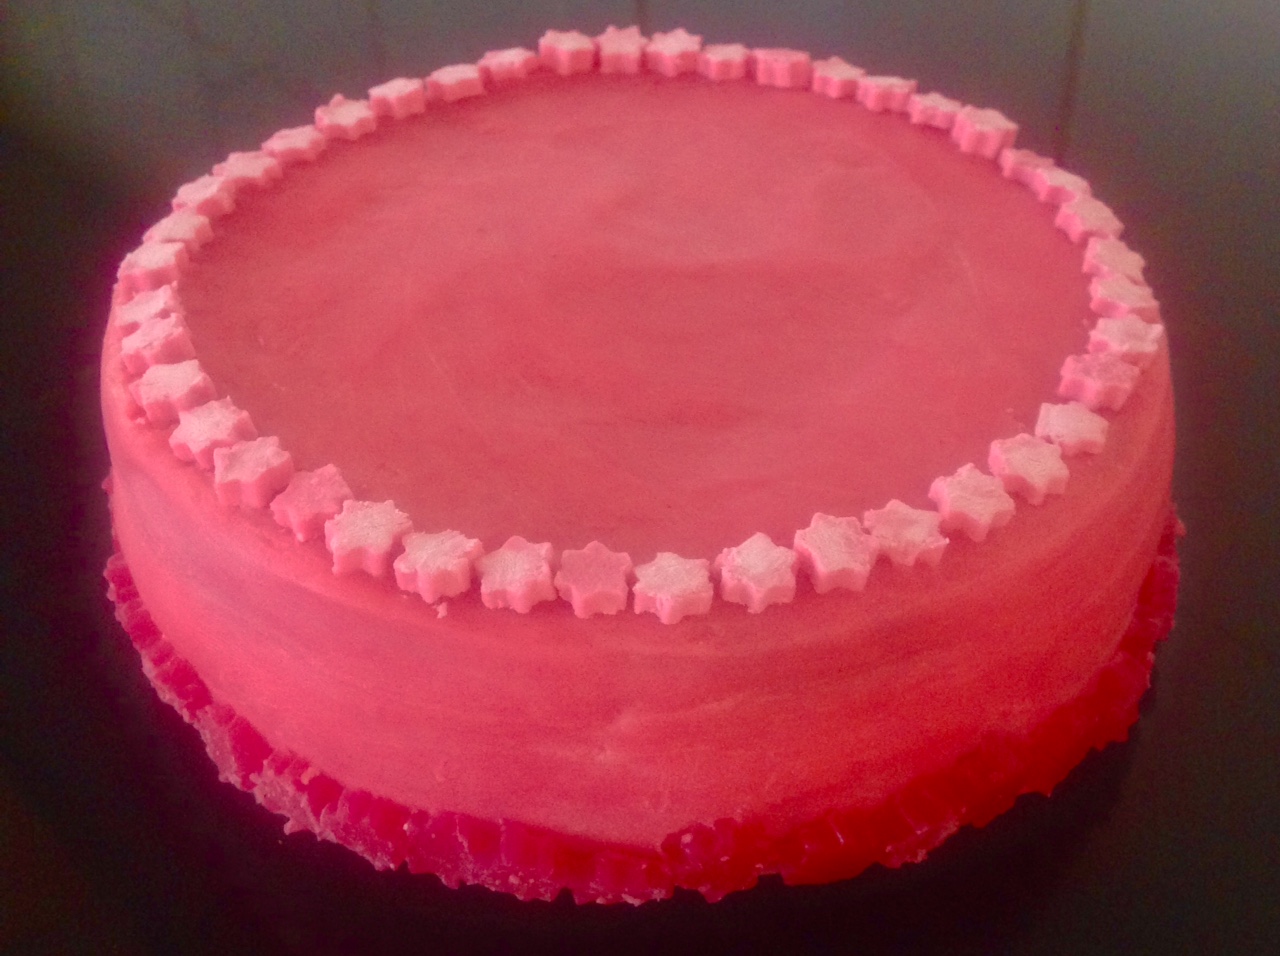
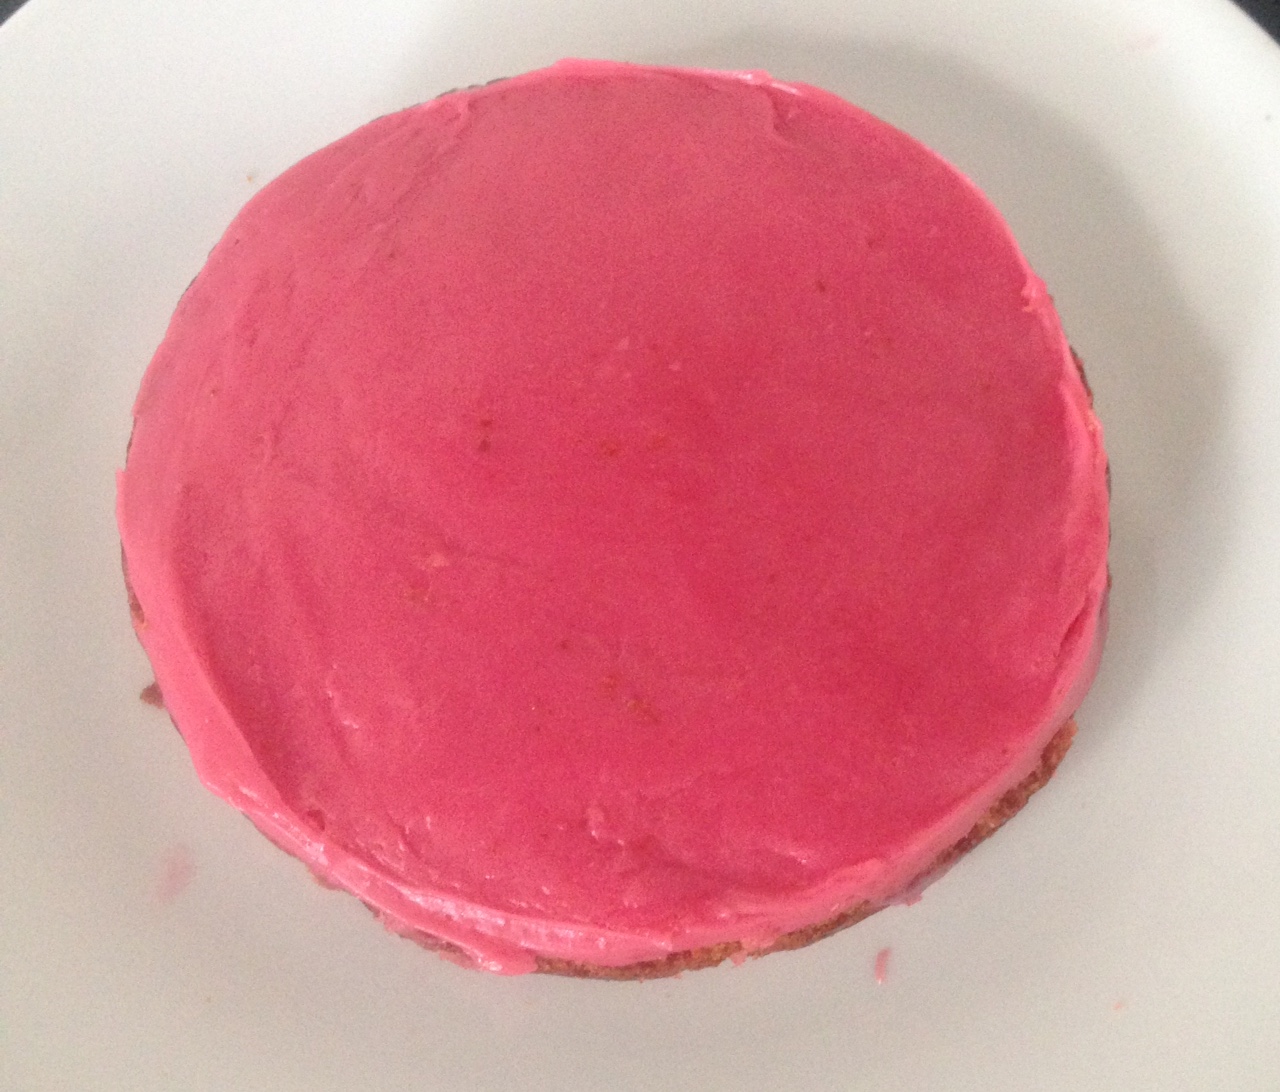
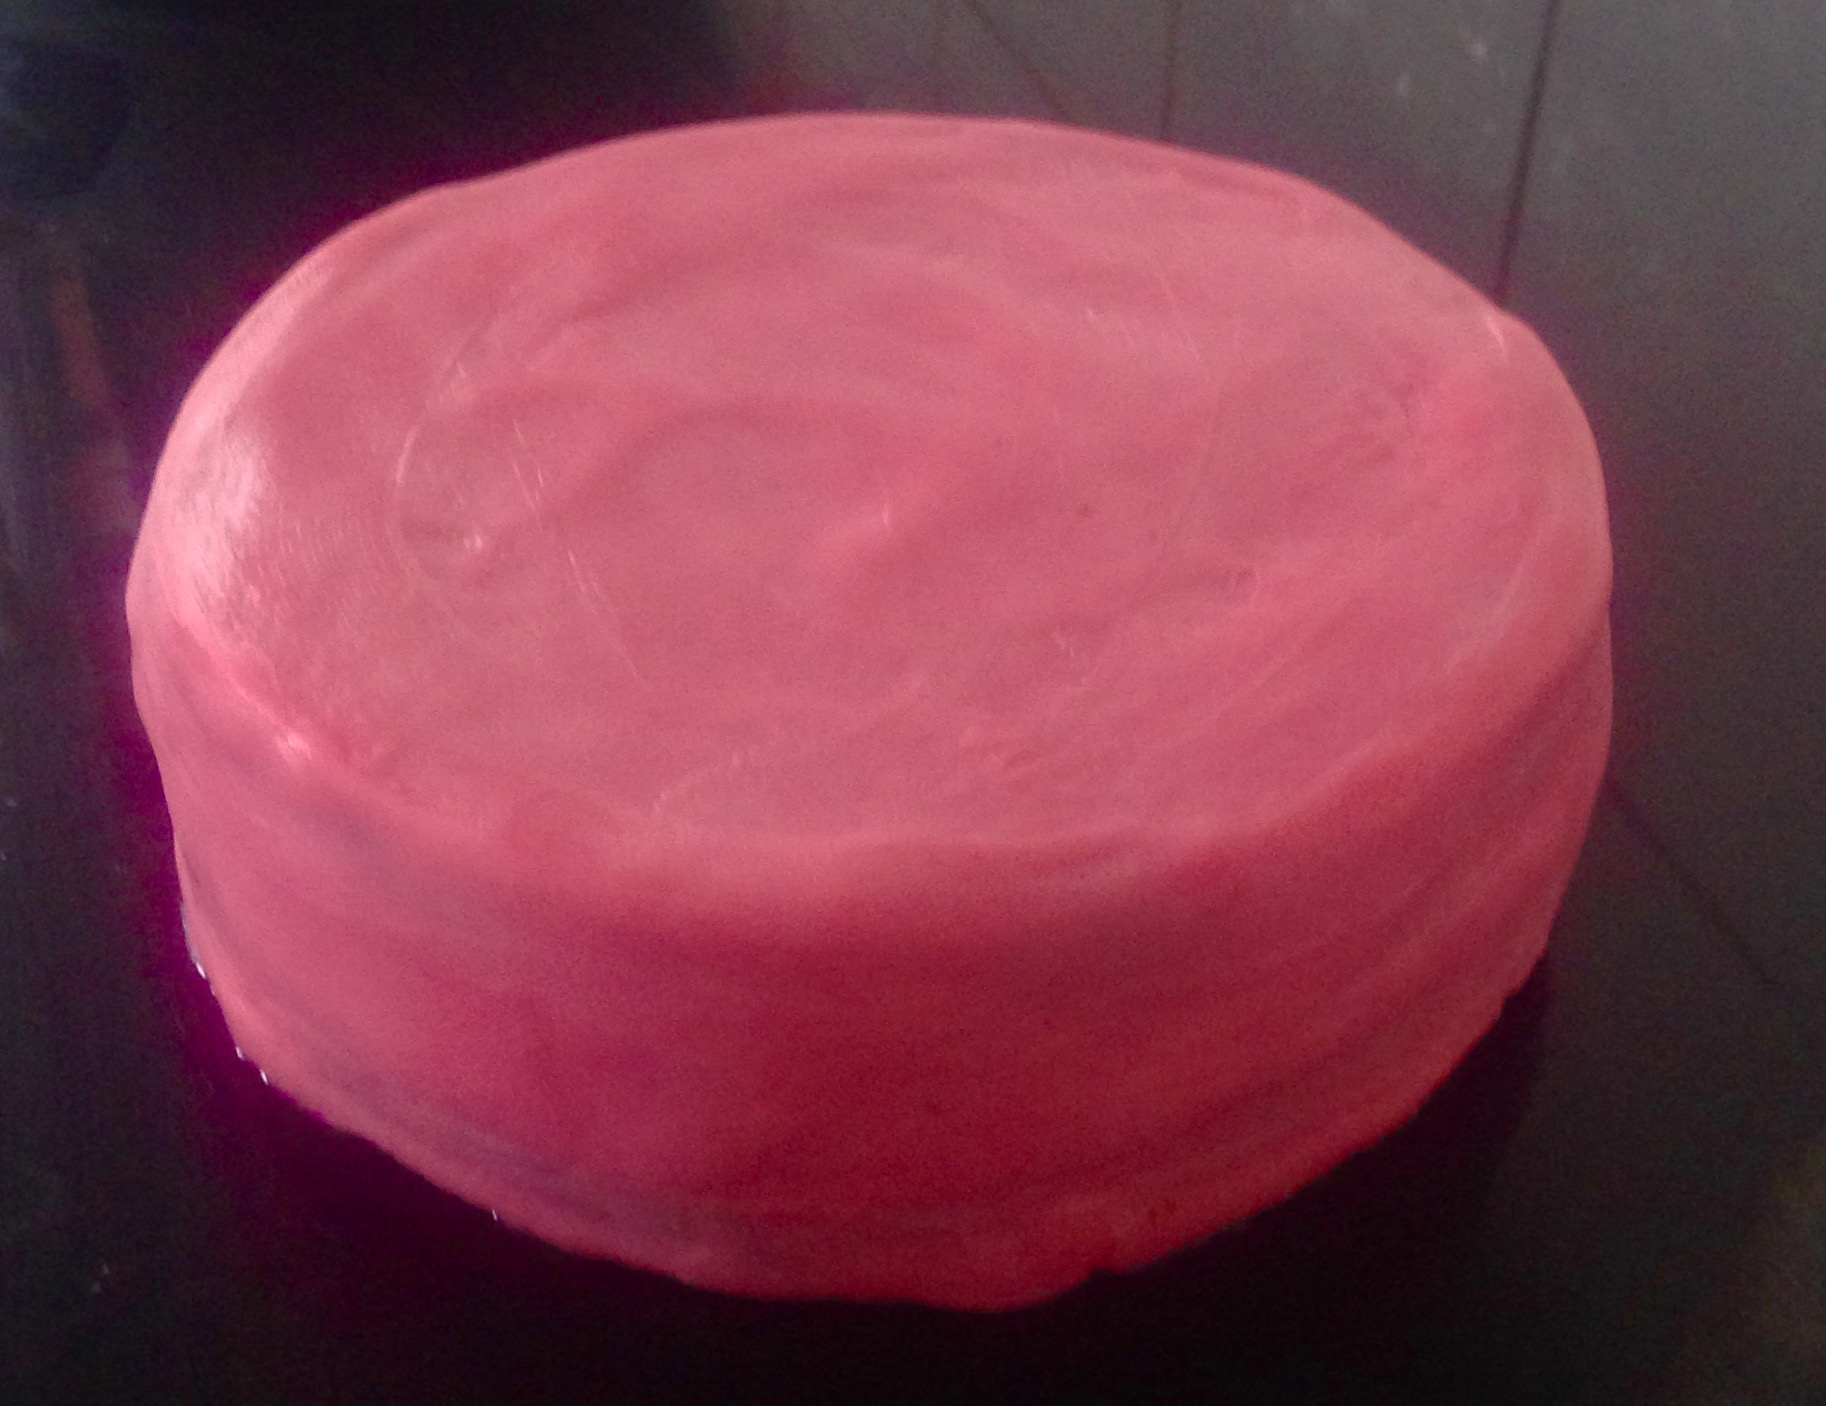
  13. Spread half the ganache over one layer of cake. Top with the second and spread remaining ganache over the top and the sides of the cake.
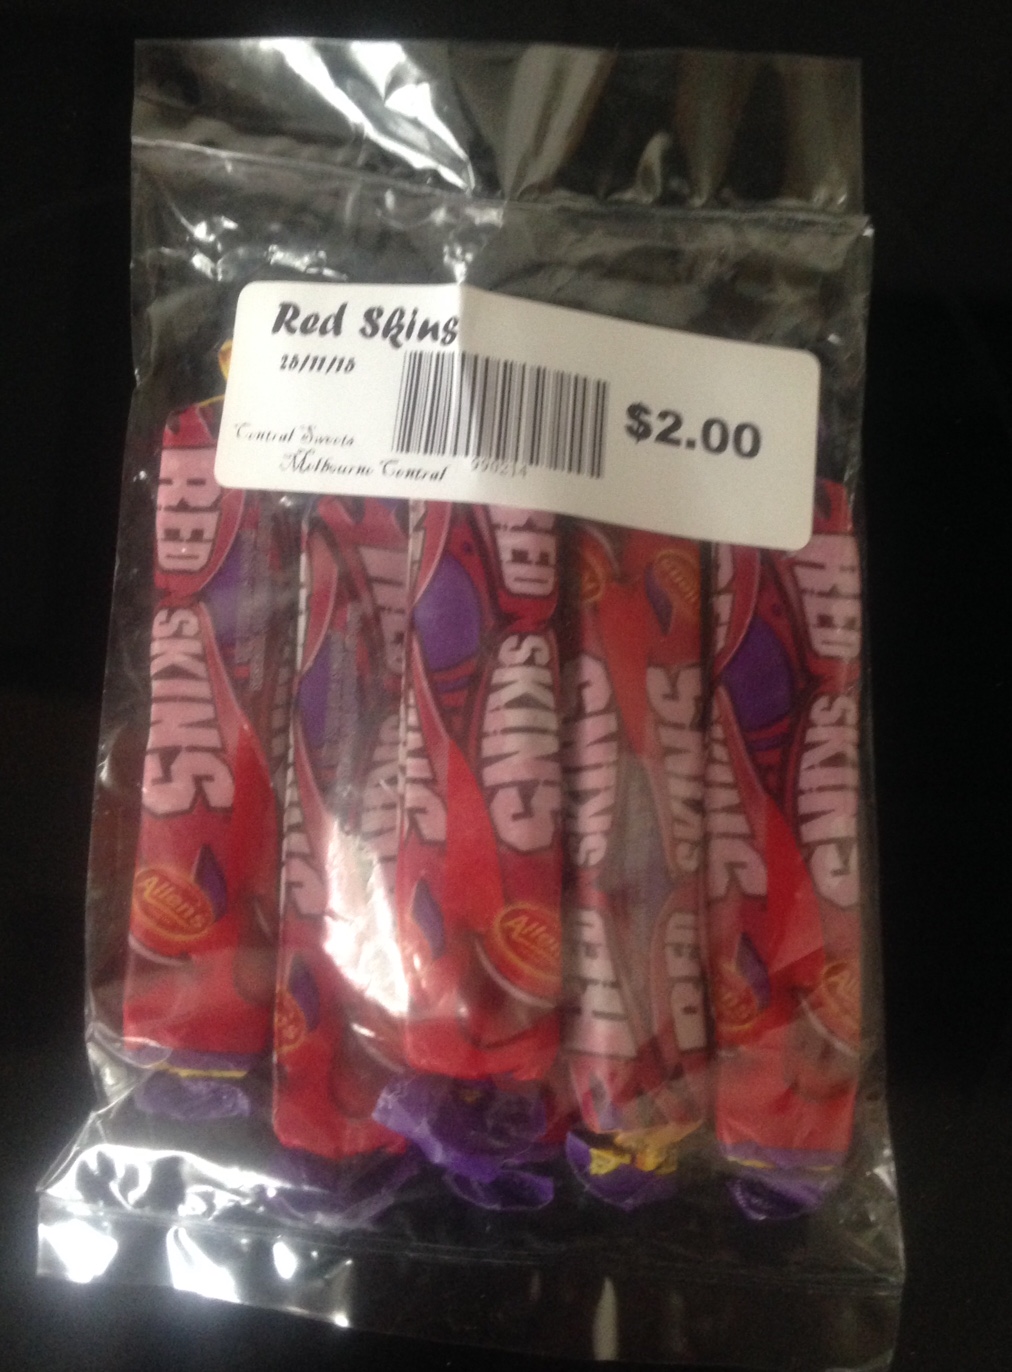
 

Red Skin Candy Cake recipe

Red Skins

Red Skin Candy Cake recipe

Step 1

Red Skin Candy Cake recipe

Step 5

Red Skin Candy Cake recipe

Step 8

Red Skin Candy Cake

Step 10

Red Skin Candy Cake recipe

Step 12

Red Skin Candy Cake recipe

Step 13

Red Skin Candy Cake recipe

Step 13


Like this recipe? Subscribe via RSS or email to get my new entries and more scrumptious recipes with reviews.

Email, RSS Follow
Print
Leave a comment .
Tags: candy, lolly, Red Skin Cake, Red Skin Candy Cake, redskin .

Orange and Poppy Seed Rice Cake

Posted on April 20, 2015 Posted in Cakes .

Orange and Poppy Seed Rice Cake

Orange and Poppy Seed Rice Cake recipe


I actually got the idea for this recipe from a savory risotto and garlic cake recipe. I thought it would be interesting to take the rice base idea and the cooking methodology and incorporate this into my orange and poppy seed cake recipe (knowing only zest, juice or essence would work as the flavoring).

I did have to make quite a few alternations as I went, obviously the original orange and poppy seed ingredients were not all applicable and the savory cake methodology didn’t 100% translate but was fairly close.

The outcome was quite surprising. I had no idea if the cake would hold the structure I was after, or if the cake would be too dry, however the outcome was an extremely well structured but moist cake that tasted amazing! A very satisfying experiment. I even got told that had I not informed people of the rice part they would not have known.

Orange and Poppy Seed Rice Cake recipe

Ingredients:

Cake:

  • 2 tbsn orange zest
  • I tsn vanilla essence
  • 80g poppy seeds
  • 220g sugar
  • 1 cup orange juice
  • 2 cups milk
  • 1 cup arborio rice
  • 2 eggs
  • 3 tbsn self raising flour

Syrup:

  • 20g orange juice
  • 1 tbsn orange zest
  • 120g sugar

Method:

  1. Simmer on low the orange zest, vanilla, poppy seeds, sugar, juice and milk in a saucepan on the stove until well combine and the sugar and butter are melted. Remove off heat.
  2. Place the rice in a saucepan on medium heat and stir the dry rice.
  3. Now add in 1/2 cup of the milk mix until the liquid is absorbed. Then add in another 1/2 cup. Repeat until the liquid is full absorbed. This will take around 30 minutes in total.
  4. Remove the rice mix off the heat and place a lid on the top, leave for 10 minutes.
  5. Preheat the oven to 180c degrees and line a 23cm spring form cake tin with baking paper.
  6. Once the rice mix has cooled add in the eggs and flour, beat until will combine with a wooden spoon.
  7. Bake in the oven for 40 minutes or until the top of the cake has browned slightly.
  8. Meanwhile, place the syrup ingredients in a saucepan on a medium heat, stir until ingredients are well combine.
  9. Boil the mix for 4 minutes or until the mix resembles a thick syrup consistency.
  10. Using a skewer poke holes in the cake and pour the orange syrup over the top of the cake.
  11. Remove from the tin and enjoy.


Notes:

  • You will need 3 oranges for this recipe.


Orange and Poppy Seed Rice Cake recipe.

Step 1

Orange and Poppy Seed Rice Cake recipe

Step 2

Orange and Poppy Seed Rice Cake recipe

Step 3

Orange and Poppy Seed Rice Cake recipe

Step 4

Orange and Poppy Seed Rice Cake recipe

Step 6

Orange and Poppy Seed Rice Cake recipe

Step 8

Orange and Poppy Seed Rice Cake recipe

Step 9

Orange and Poppy Seed Rice Cake recipe

Step 10


Like this recipe? Subscribe via RSS or email to get my new entries and more scrumptious recipes with reviews.

Email, RSS Follow
Print
Leave a comment .
Tags: orange, Orange and Poppy Seed Rice Cake, poppy seed, Rice .

Peanut and Raspberry Ricotta Cheesecake

Posted on April 14, 2015 Posted in Cakes .

Peanut and Raspberry Ricotta Cheesecake

Peanut and Raspberry Ricotta Cheesecake recipe

So often when I come across ricotta cheesecake recipes they seem to have more cream cheese, mascarpone or cream than they do ricotta. So I decided to make a ricotta cheesecake with ricotta and no other cream or cheese inclusions.

For the flavour, I actually played around with many different fruits and flavors but found the texture always ended up too soft or the ricotta flavour overpowered the fruits flavors. Therefore, I ended up opting for ingredients that were thick in texture and strong in flavour. Now, you may recall in the past I have posted a peanut butter and jelly sandwich slice recipe which was one of my first experiments with the peanut and fruit flavour combo’s. This combo worked very well, was strong and as I used peanut butter and jam the mix would not thin the ricotta out too much. The outcome a very satisfying, creamy, tasty RICOTTA cheesecake! In fact, my father actually told me this was the best cake I have made! On top of this it is super easy to make with only 7 steps!

Ingredients

Base:

  • 210g plain sweet biscuits
  • 85g butter

Cake:

  • 90ml milk
  • 1 tbsn gelatine powder
  • 500g ricotta
  • 90ml golden syrup
  • 240g raspberry jam
  • 150g peanut butter
  • 175g condensed milk


Method:

  1. Line a 20cm cake tin with baking paper.
  2. Place the biscuits and butter melted in a food processor and blitz until the mix resembles breadcrumbs.
  3. Press the mix into the bottom of a cake tin and press with fingertips until the base is firm.
  4. Place the tin in the fridge to firm.
  5. Heat the milk in the microwave until bubbling then sprinkle the gelatine in the milk. Wisk with a small hand whisk until the gelatine is well combine and no lumps. Leave mix aside to cool slightly.
  6. Using electric beaters whisk the ricotta with the condensed milk until; smooth and creamy.
  7. Pour the milk mix into the ricotta mix along with the peanut butter and jam and beat to a smooth consistency. Whisk until well combine then pour the mix onto of the base and place in the fridge to set for 3 hours. Then remove the cake from the tin and serve.


Notes:

  • I have decorated with crushed peanuts and fresh raspberries.

Peanut and Raspberry Ricotta Cheesecake recipe

Step 2

Peanut and Raspberry Ricotta Cheesecake recipe

Step 3

Peanut and Raspberry Ricotta Cheesecake recipe

Step 7

Peanut and Raspberry Ricotta Cheesecake

Step 7


Like this recipe? Subscribe via RSS or email to get my new entries and more scrumptious recipes with reviews.

Email, RSS Follow
Print
Leave a comment .
Tags: cheesecake, peanut, Peanut and Raspberry Ricotta Cheesecake, rasberry, ricotta, ricotta cheesecake .

Novelty Chomp Bar

Posted on April 9, 2015 Posted in Unique .

Novelty Chomp Bar

Novelty Chomp Bar recipe

While on holiday at the start of the year a friend professed her love for the chocolate bar Chomp. We were in the supermarket and she saw the Chomp bar, which is quite a rare find and had to have not one but two.

Somehow we got onto the subject of me making a ‘chomp cake’…A few bars later and an analysis of the key ingredients that go into the chocolate bar and I was pretty sure I could replicate the bar on a large scale.

Therefore introducing my Novelty Chomp Chocolate Bar.

Novelty Chomp Bar recipe

Ingredients:

  • 125g pack of vanilla cream waffers

Chocolate ganache:

  • 50g thickened cream
  • 150g milk chocolate

Caramel layer:

  • 160g brown sugar
  • 95g thickened cream
  • 35g butter


Method:

  1. Line a 15cm x 8cm loaf cake tin with baking paper.
  2. To make the chocolate ganache heat the 50g cream in the microwave in a bowl until boiling.
  3. Add the chocolate to the cream, wait 1 minute then stir the chocolate until a thick and glossy consistency has formed. Place the mix aside in the fridge to cool.
  4. To make the caramel place the sugar and 95g of cream in a pan on the stove and heat on medium stirring until the sugar has dissolved.
  5. Turn the heat up to high and boil for 5 minutes.
  6. Remove the pan off the heat, add the 35g of butter and stir until the mix is glossy and combine. Place in the fridge until the caramel is cooled.
  7. To assemble pour 2/3rds of the chocolate mix into the tin, ensuring you spread the chocolate along the sides as well as covering the bottom of the tin. You need to have all the metal of the cake tin completely covered in chocolate. Place in the freezer for 5 minutes or until set.
  8. To add the caramel layer you need to pour half the mix into the base on top of the chocolate mix.
  9. For the wafer layer place 2×2 waffers in the tin horizontally (long ways). Cut 4 extra wafers to size to ensure complete coverage of the caramel with 2 layers of wafer thickness.
  10. Pour the remainder of the caramel on top of the wafers and spread to ensure even coverage.
  11. Place the tin in the freezer for 5 minutes.
  12. Remove the tin from the freezer and pour the remaining chocolate ganache over the top of the caramel, ensuring even and full overage of the caramel.
  13. Place in the freezer for 20 minute.
  14. To serve turn the tin upside down onto a plate and remove the baking paper from the Chomp Bar.
  15. Cut horizontally and enjoy.


Note:

  • You will only need 8 waffers for this recipe so if you can find a smaller packet (70g) of waffers it would be ideal.


Novelty Chomp Bar recipe

Step 7

Novelty Chomp Bar recipe

Step 8

Novelty Chomp Bar recipe

Step 9

Novelty Chomp Bar recipe

Step 10

Novelty Chomp Bar recipe.

Step 12


Like this recipe? Subscribe via RSS or email to get my new entries and more scrumptious recipes with reviews.

Email, RSS Follow
Print
Leave a comment .
Tags: caramel, chocolate, chocolate bar, chomp, Novelty Chomp Bar, waffers .

Musk Candy Cake

Posted on April 4, 2015 Posted in Cakes .

Musk Candy Cake

Musk Candy Cake recipe


Recently at work a colleague brought in a box of old school canteen/cafeterias musk sticks, which of course I consumed quite happily. It has been so long since I have had lollies that I grew up on (one would hope that I have grown out of the lolly bag stage by now). Eating these lollies brought on the idea of making a musk flavoured cake.

By using my standard vanilla cake recipe as the base I modified to allow for ground-up musk sticks. After a few variations of frosting I ended up making a rosewater inspired frosting, which is a very very similar flavour to musk sticks therefore worked really well.

Musk sticks in the icing made the texture way to rough and looked worse for wear after being spread onto the cake.

Such a tasty and pretty cake – this one will be coming out again for a cousins 7th birthday for sure!

Ingredients:

Cake:

  • 250g sugar
  • 125g butter
  • 2 eggs
  • 1 + ½ rosewater essence
  • Pink food coloring (as many drops as you desire)
  • 275g musk lollies
  • 250 milk
  • 2 cups self raising flour

Frosting:

  • 125g butter
  • 2 cups icing sugar
  • 1 tsn rosewater essence
  • Pink food coloring (as many drops as you desire)


Method:

  1. Preheat the oven to 180c degrees and line a 23cm baking tin with baking paper.
  2. Place the musk lollies in a food processor and process until they are to a powder consistency.
  3. Beat the sugar and butter with electric beaters until pale and fluffy.
  4. Add the eggs one at a time beating in between each addition.
  5. Beat in the rosewater essence and food coloring.
  6. Beat in the ground musk until well combine.
  7. Pour in the milk and flour and stir with a spoon until just combine.
  8. Use the electric beaters until the mix is just smooth, without over-beating.
  9. Pour the mix into the prepared cake tin.
  10. Place in the oven for 1 hour or until a skewer inserted into the middle of the cake comes out clean.
  11. Meanwhile make the frosting by placing the ingredients into a bowl and using the electric beaters beat the mix until light and fluffy. Place aside.
  12. Leave the cake in the tin for 5 minutes then transfer onto a cooling rack.
  13. Once cool cut the cake in half horizontally.
  14. Following, spread the frosting in the middle of the cake, over the top and sides with a knife.


Notes:

  • I used musk sticks as musk flavored lifesavers are too hard to process sufficiently.


Musk Candy Cake recipe

Step 2

Musk Candy Cake recipe

Step 8

Musk Candy Cake recipe

Step 11

Musk Candy Cake recipe

Step 11

Musk Candy Cake recipe

Step 13

Musk Candy Cake recipe


Like this recipe? Subscribe via RSS or email to get my new entries and more scrumptious recipes with reviews.

Email, RSS Follow
Print
1 Comment .
Tags: Candy Cake, Musk, Musk Candy Cake, Musk Lifesavers, Musk Sticks .

Pages

  • About Me
  • Baking Metrics
  • Blogroll
  • Common Baking Questions
  • Recipe Index
  • Tips & Tricks
  • Contact

Archives

  • February 2022
  • October 2021
  • September 2021
  • August 2021
  • April 2021
  • February 2021
  • January 2021
  • December 2020
  • November 2020
  • October 2020
  • September 2020
  • August 2020
  • July 2020
  • June 2020
  • May 2020
  • September 2019
  • June 2019
  • May 2019
  • April 2019
  • March 2019
  • February 2019
  • January 2019
  • December 2018
  • November 2018
  • October 2018
  • September 2018
  • August 2018
  • July 2018
  • June 2018
  • May 2018
  • April 2018
  • March 2018
  • February 2018
  • January 2018
  • December 2017
  • November 2017
  • October 2017
  • September 2017
  • August 2017
  • July 2017
  • June 2017
  • May 2017
  • April 2017
  • March 2017
  • February 2017
  • January 2017
  • December 2016
  • November 2016
  • October 2016
  • September 2016
  • August 2016
  • July 2016
  • June 2016
  • May 2016
  • April 2016
  • March 2016
  • February 2016
  • January 2016
  • December 2015
  • November 2015
  • October 2015
  • September 2015
  • August 2015
  • July 2015
  • June 2015
  • May 2015
  • April 2015
  • March 2015
  • February 2015
  • January 2015
  • December 2014
  • November 2014
  • October 2014
  • September 2014
  • August 2014
  • July 2014
  • June 2014
  • May 2014
  • April 2014
  • March 2014
  • February 2014
  • January 2014
  • December 2013

Categories

  • America (5)
  • Arabic (1)
  • Australian (2)
  • Biscuits (24)
  • Brazil (1)
  • Bread (12)
  • Brownies (5)
  • Cakes (141)
  • Croatian (1)
  • Cupcakes (20)
  • Custard (1)
  • Doughnuts (6)
  • Flan (1)
  • France (5)
  • Fudge (3)
  • German (1)
  • Greece (2)
  • Hungary (1)
  • Ice-cream & Sorbet (15)
  • Ice-cream cake (6)
  • Icing (18)
  • Italy (4)
  • Jam (1)
  • Jamaican (1)
  • Lebanese (1)
  • Marshmallows (2)
  • Mexican (1)
  • Morocco (1)
  • Mousse (2)
  • Muffins (1)
  • Panna Cotta (1)
  • Pastries (2)
  • Pies (7)
  • Portugal (1)
  • Pudding (12)
  • Roulade (1)
  • Russia (1)
  • Slice (27)
  • Souffle (1)
  • Sweden (1)
  • Swedish (1)
  • Syrup (1)
  • Tarts (13)
  • Traditional (17)
  • Trifile (1)
  • Truffles (5)
  • Turkey (1)
  • Uncategorized (1)
  • Unique (10)

WordPress

  • Register
  • Log in
  • WordPress

Subscribe

  • Entries (RSS)
  • Comments (RSS)

CyberChimps WordPress Themes

© Sweet Tooth Experiments