Portuguese Custard Tarts
Portuguese Custard Tarts (aka Pastéis De Nata) are not only Portuguese traditional delicious sweet treats they are super easy to make!
The background of these lovely treats is quite interesting. They were created back in the 1800’s when egg-whites were used for starching of clothes, therefore egg yolks were in the abundance. Due to this the leftover egg yolks were used to make cakes and pastries – where Portuguese Custard Tarts was one of these treats.
There have been many alterations to the recipe over the years (etc speckled with Cinnamon) however I believe the original flavor mix is the best!
Ingredients:
- 165g sugar
- 185g water
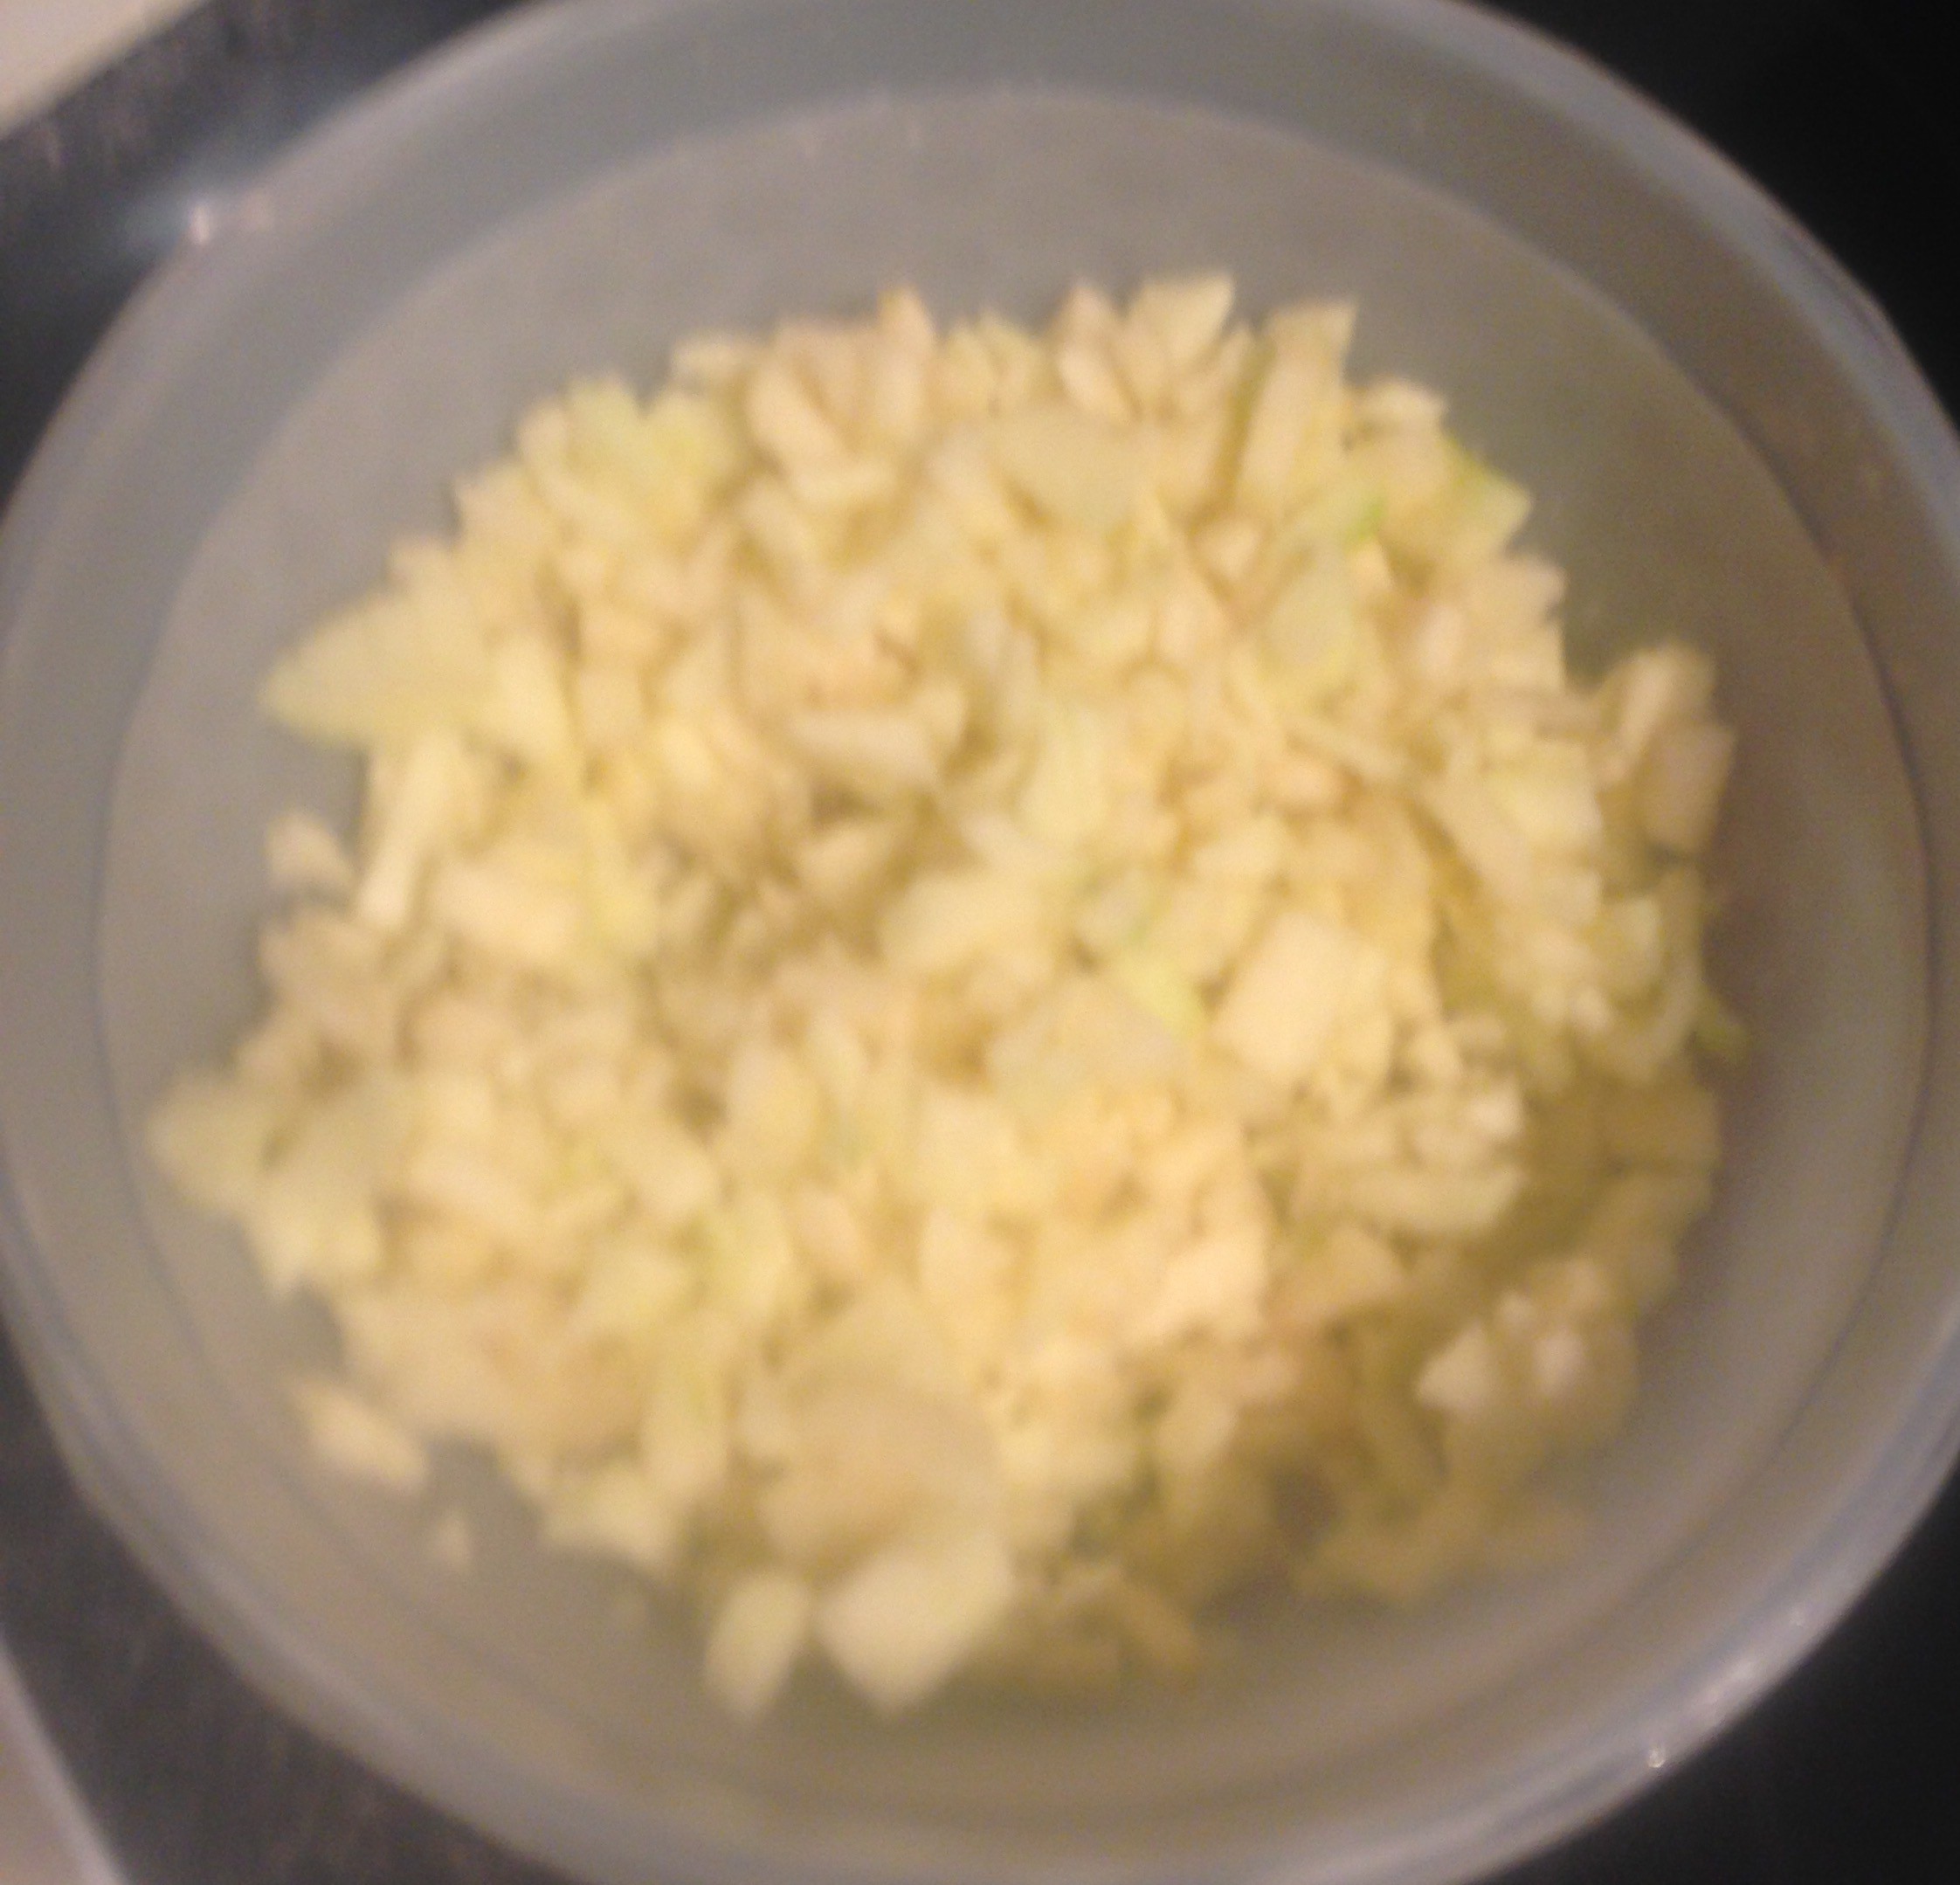
- 2 lemon peels
- 1 tsn vanilla essence
- 35g corn flour
- 375g milk
- 3 egg yolks
- 1 sheet of puffy pastry
Method:
- Preheat the oven to 200c degrees and spray a 12 capacity muffin tin with oil spray.
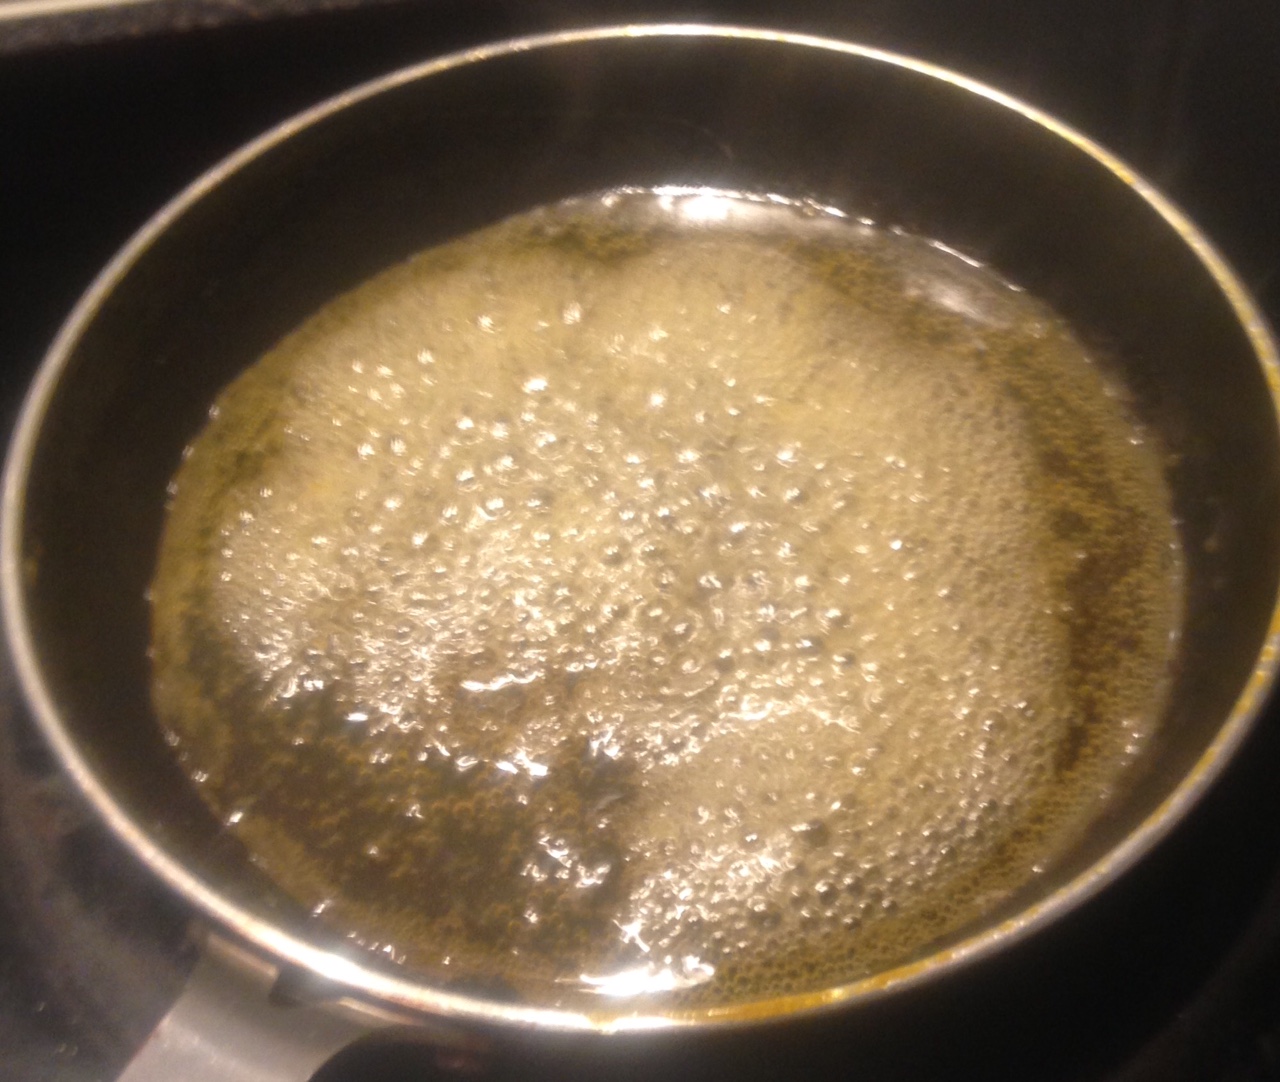
- Place the sugar, water, lemon peel and essence in a pan on a high heat on the stove, stir constantly until boiling.
- Conclude the stirring and let the syrup thicken up for a few minutes.
- Take off the heat to cool slightly.
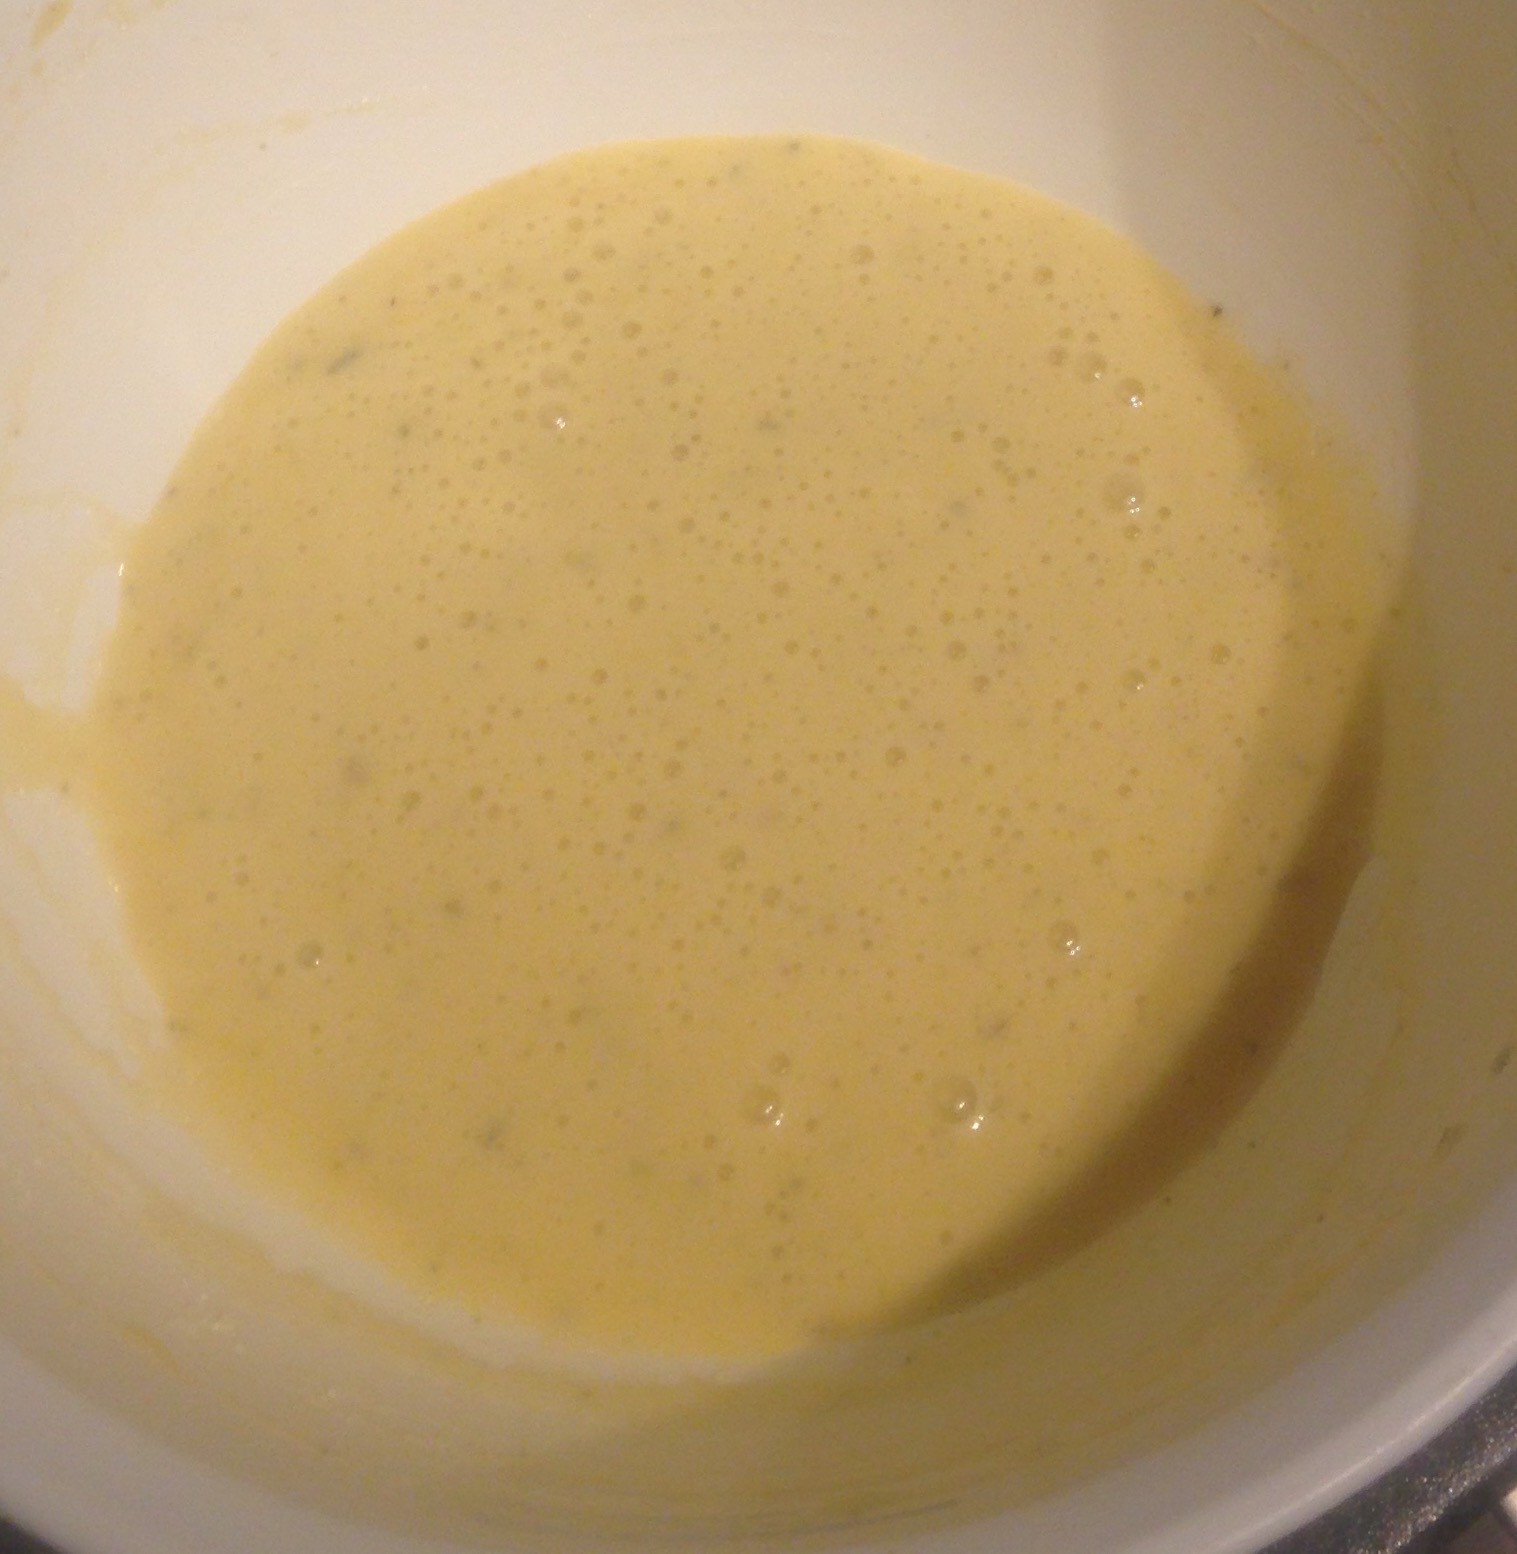
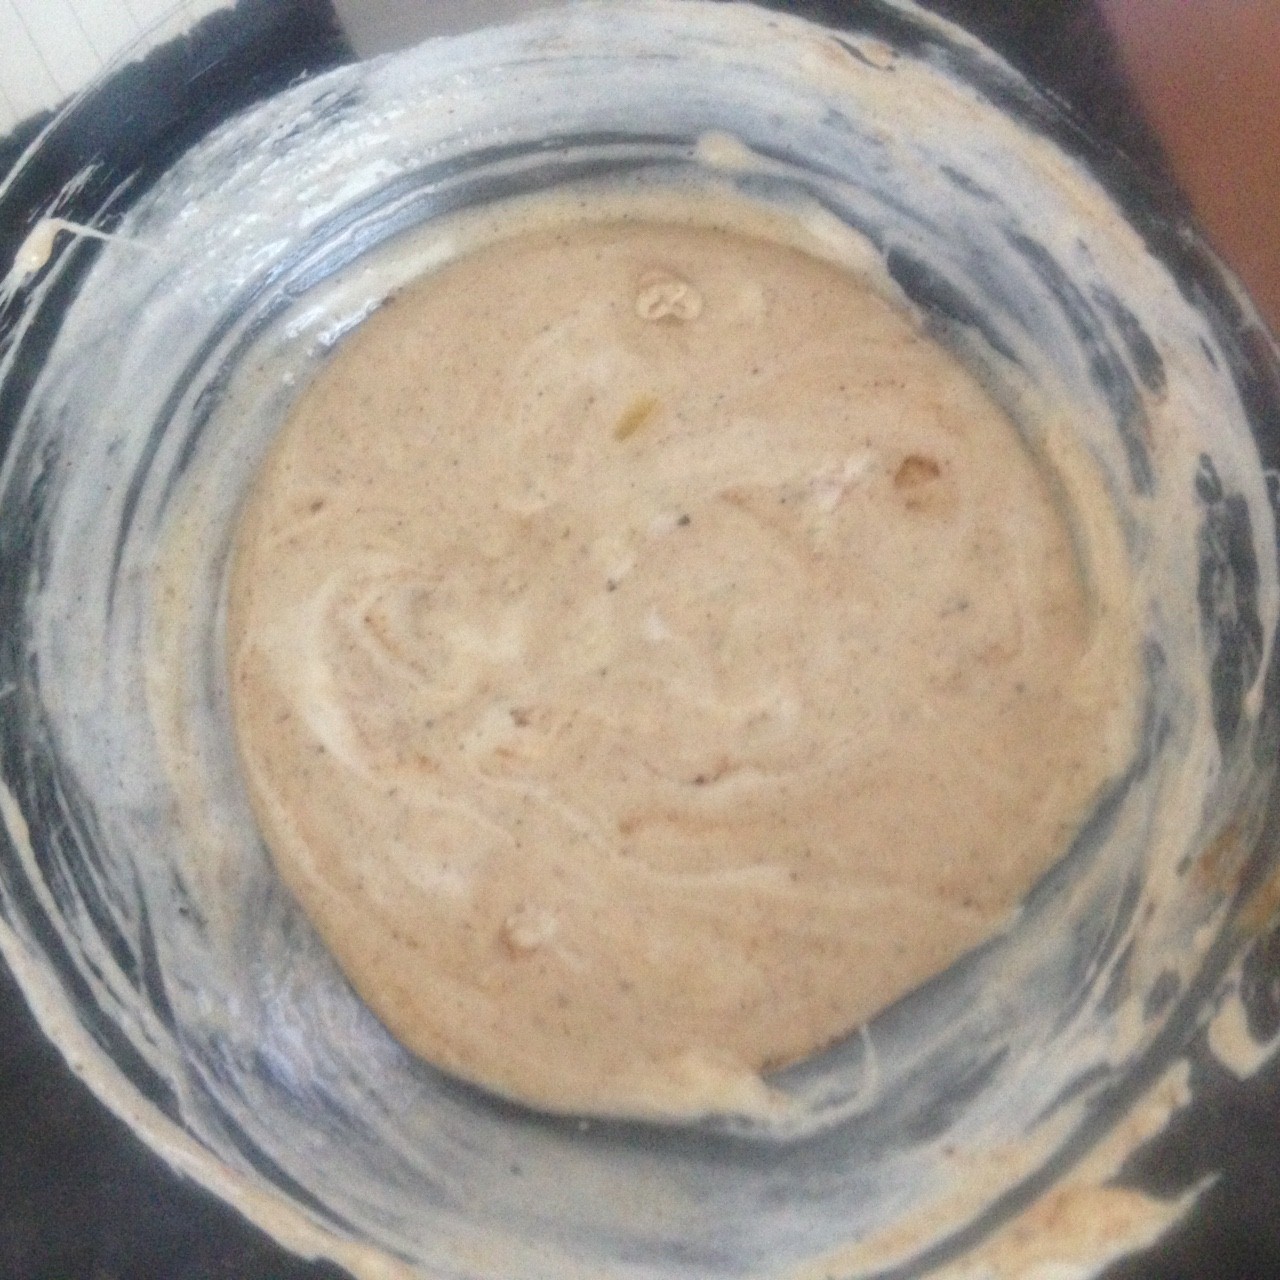
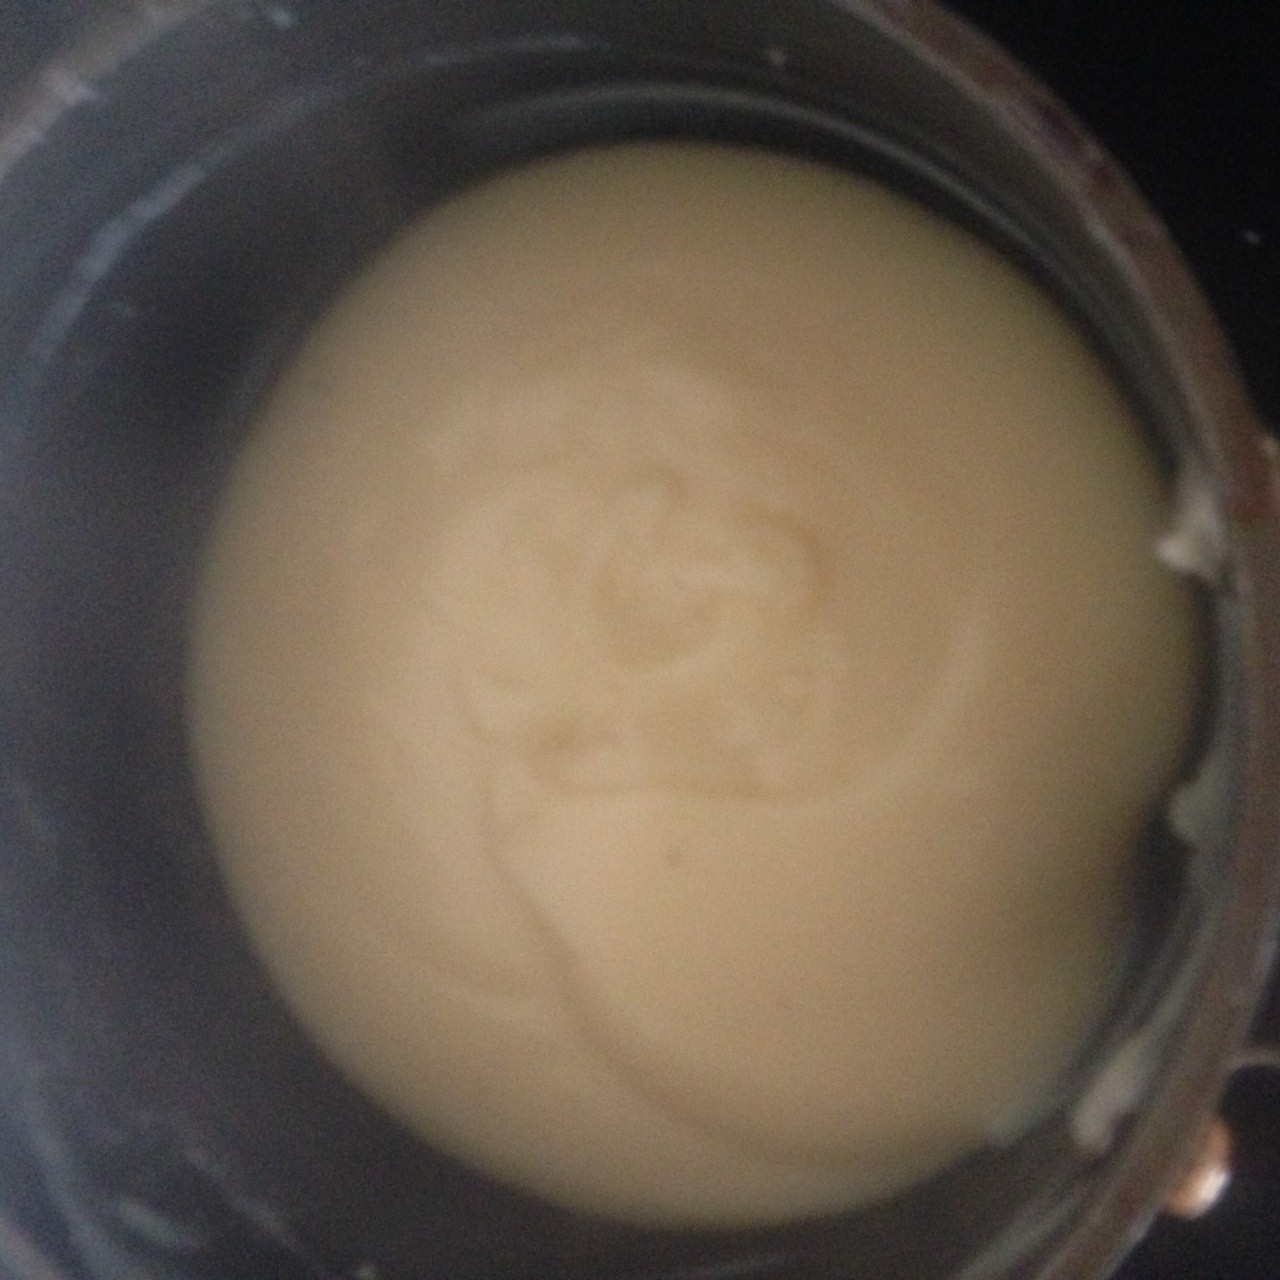
- Place the corn flour, milk and egg yolks in a bowl and whisk with a hand whisk until well combine.
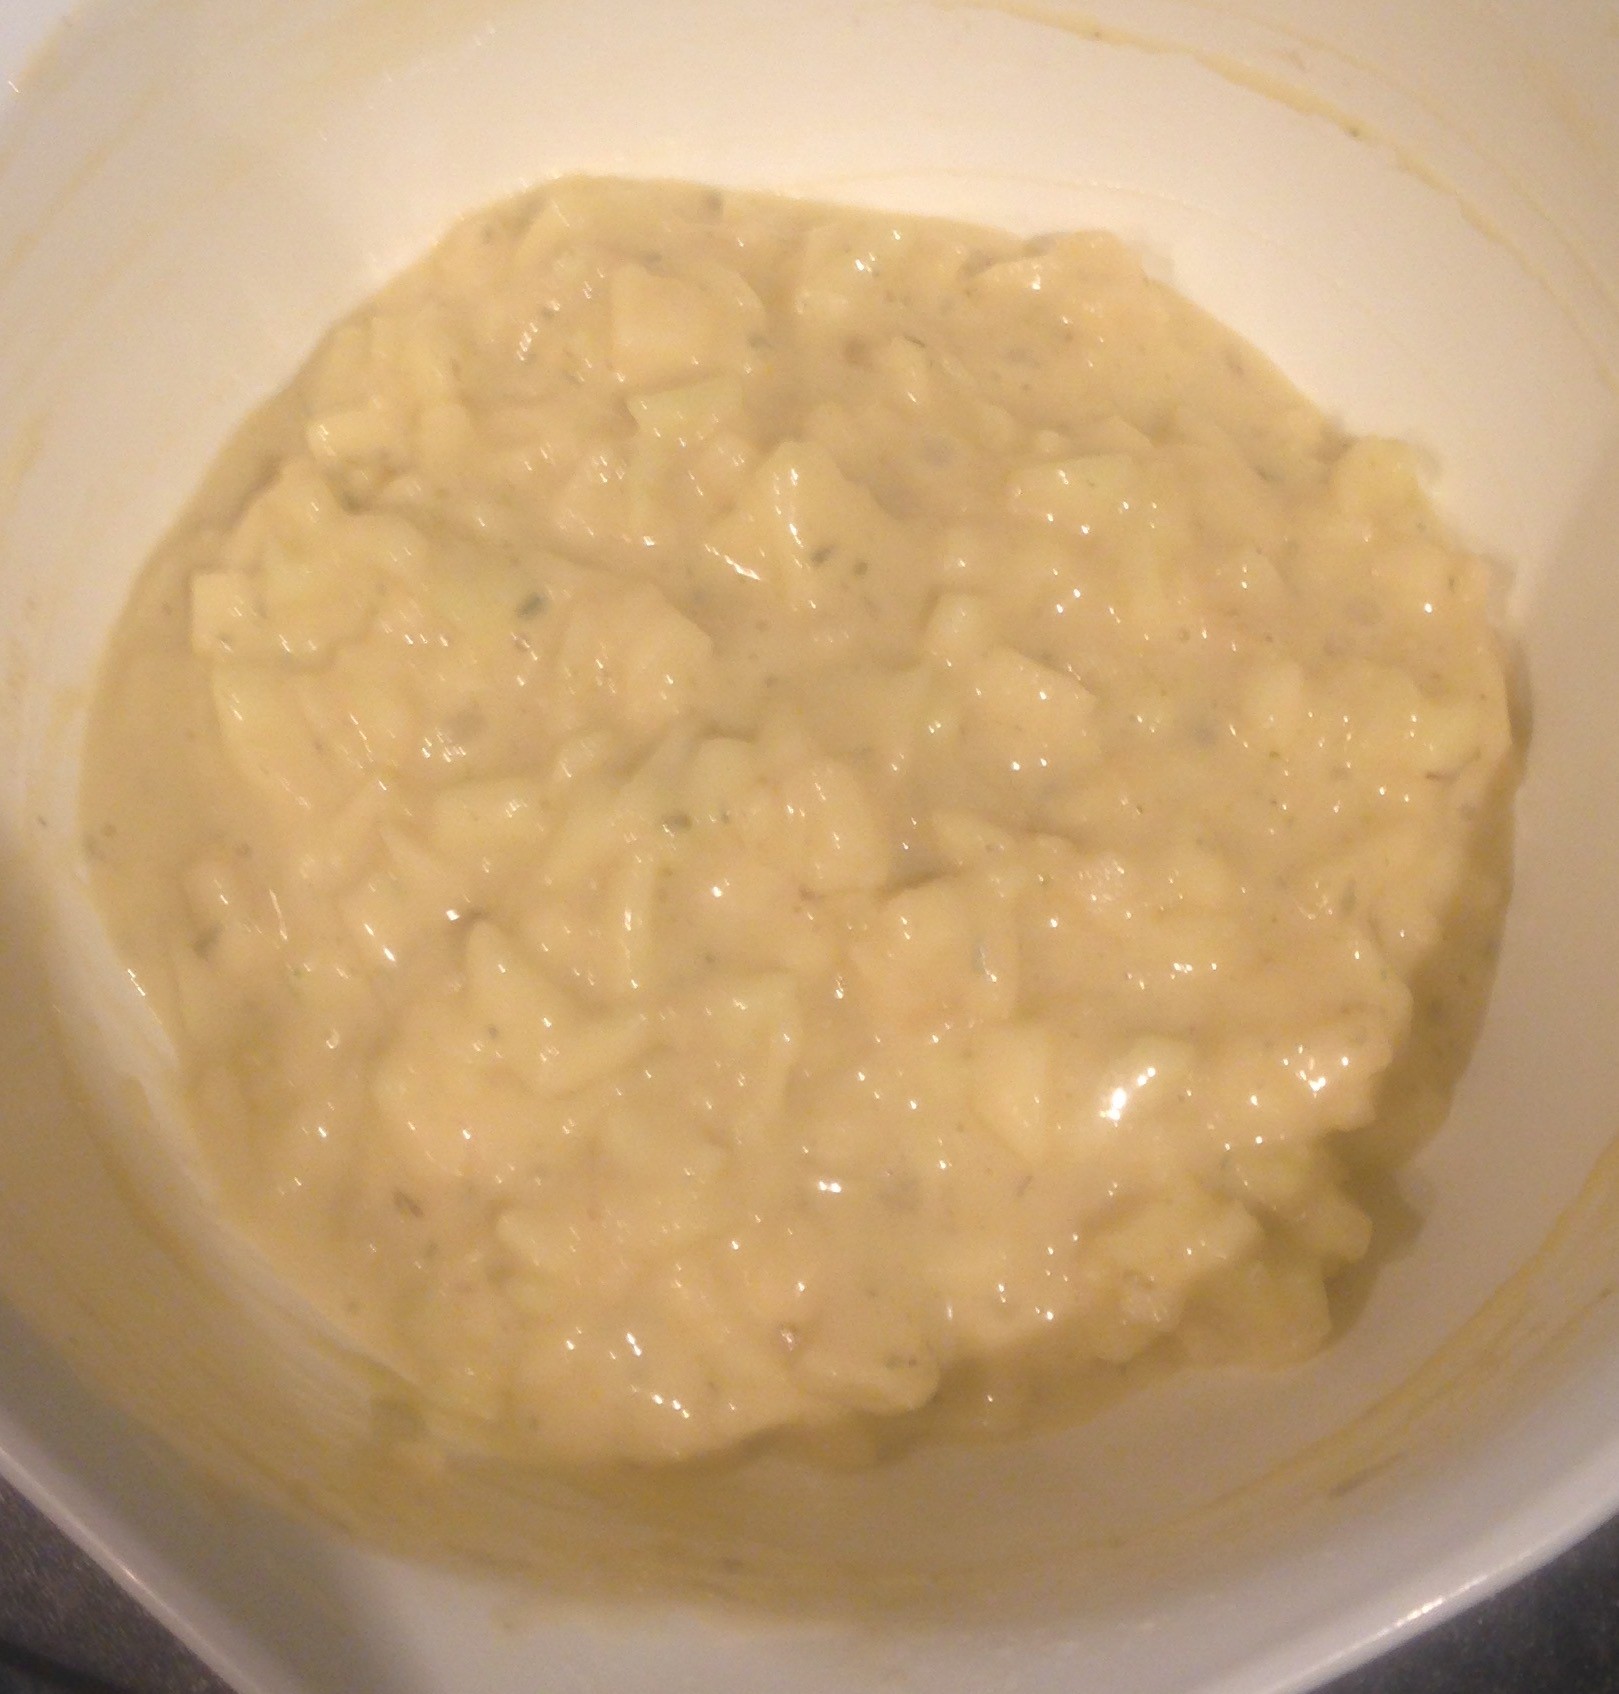
- Pour the milk mix into the saucepan with the sugar syrup and whisk with the hand whisk until the sugar syrup has dissolved into the milk mix.
- Place the saucepan on the heat and on high stir continuously until the mix thickens and boils (about 5 mins), set aside to cool.
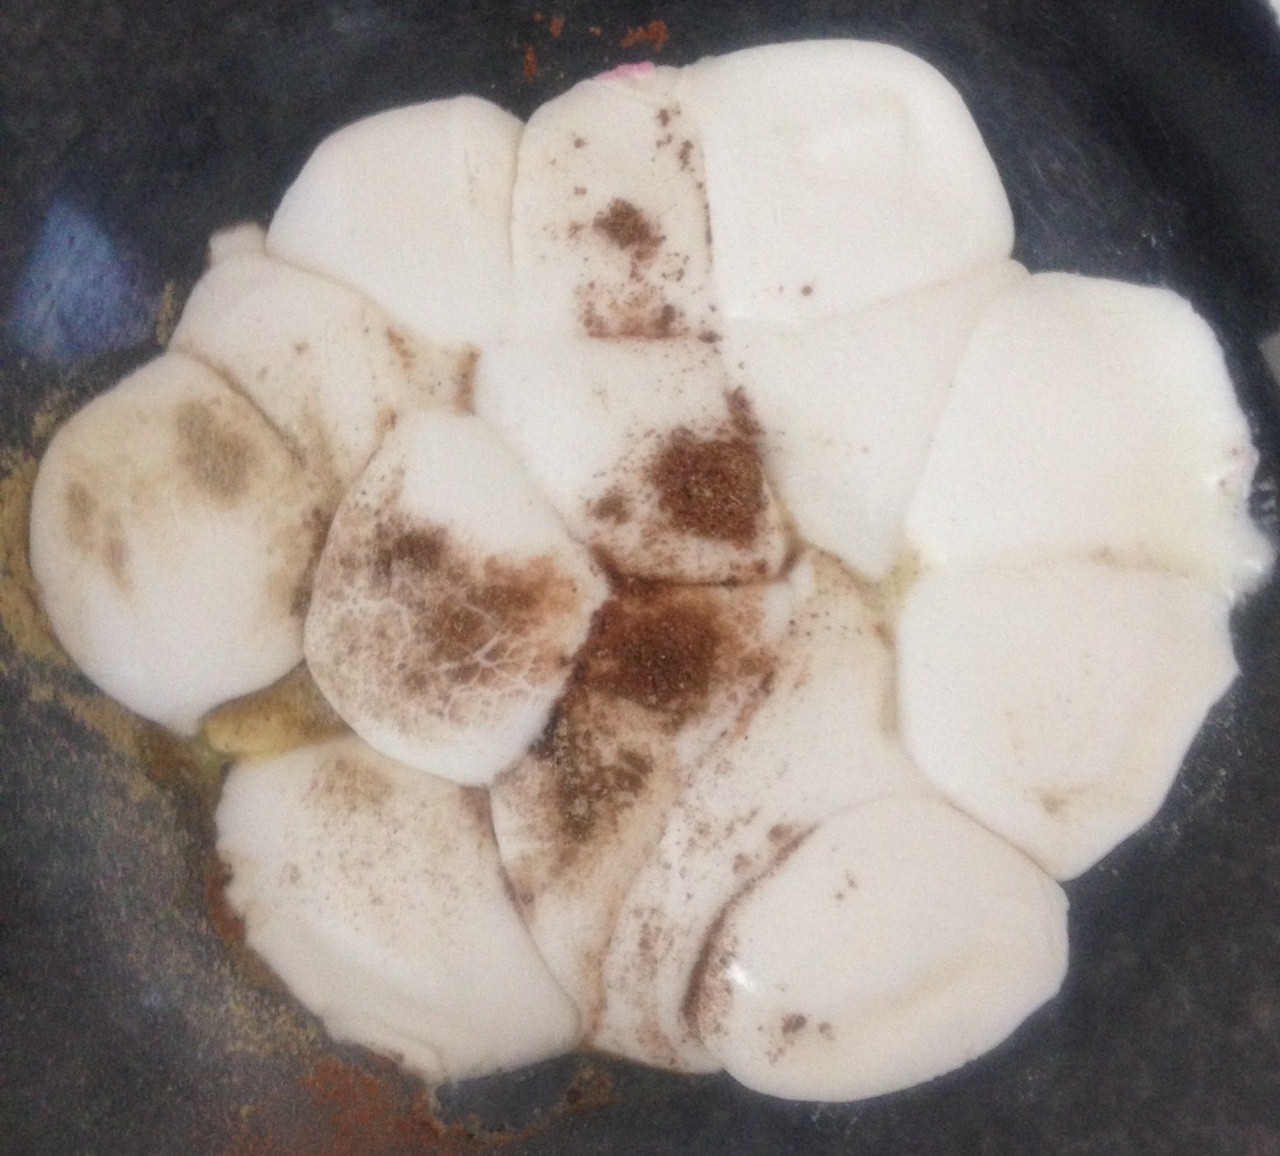
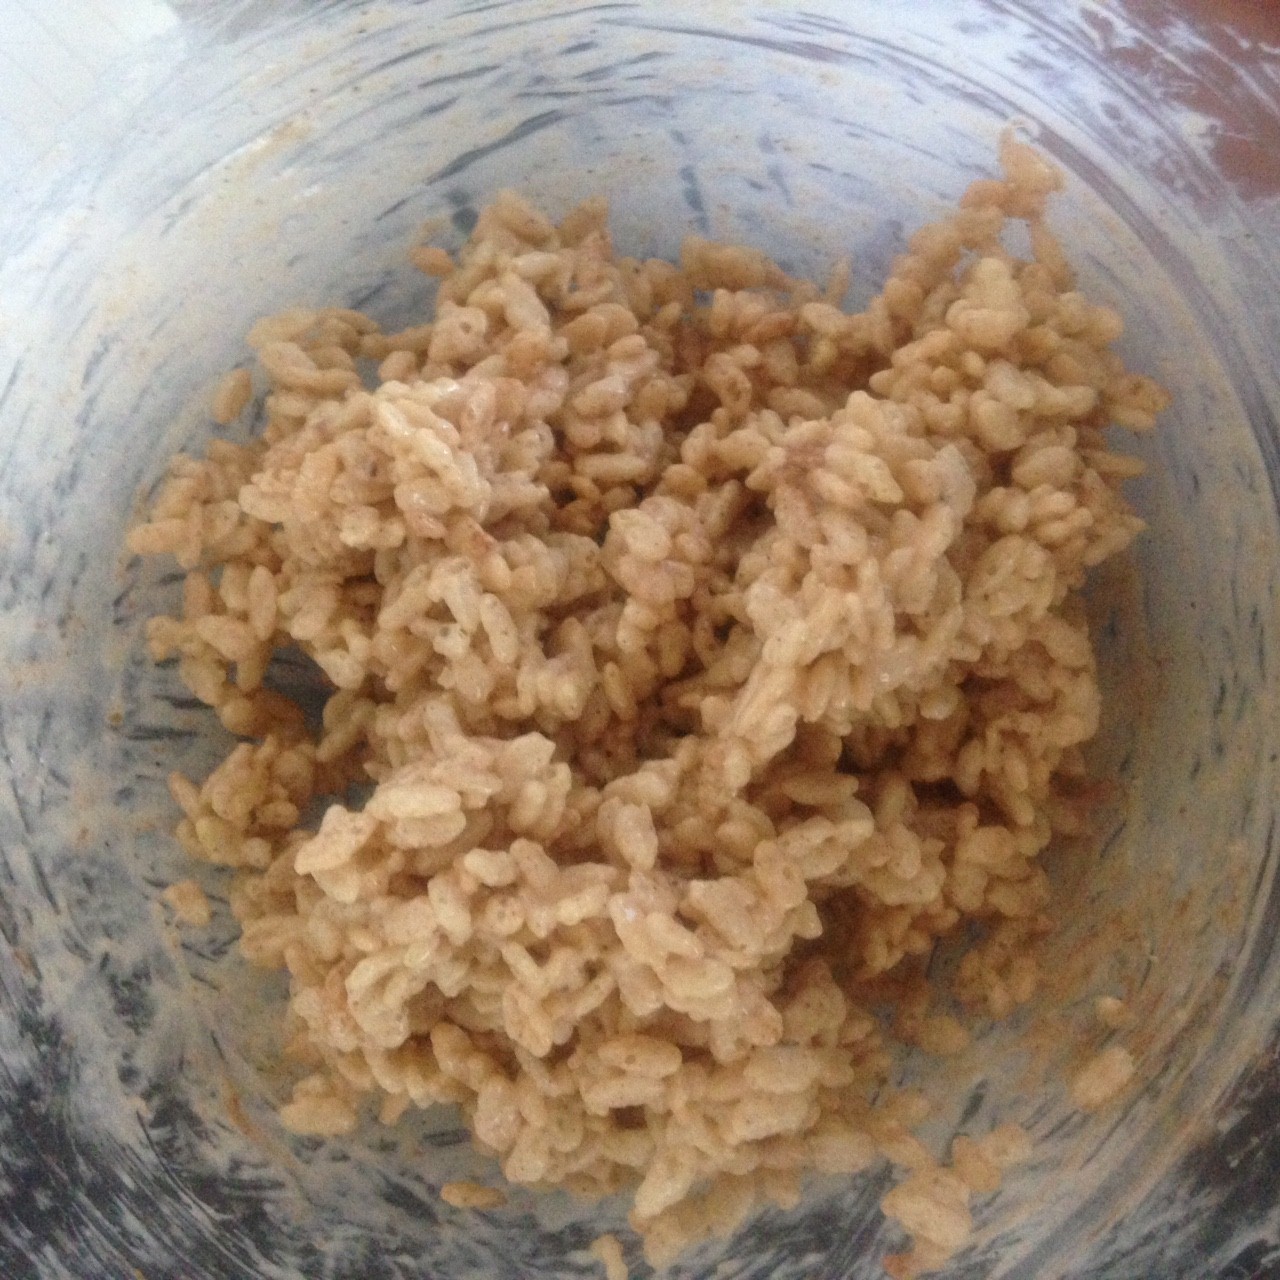
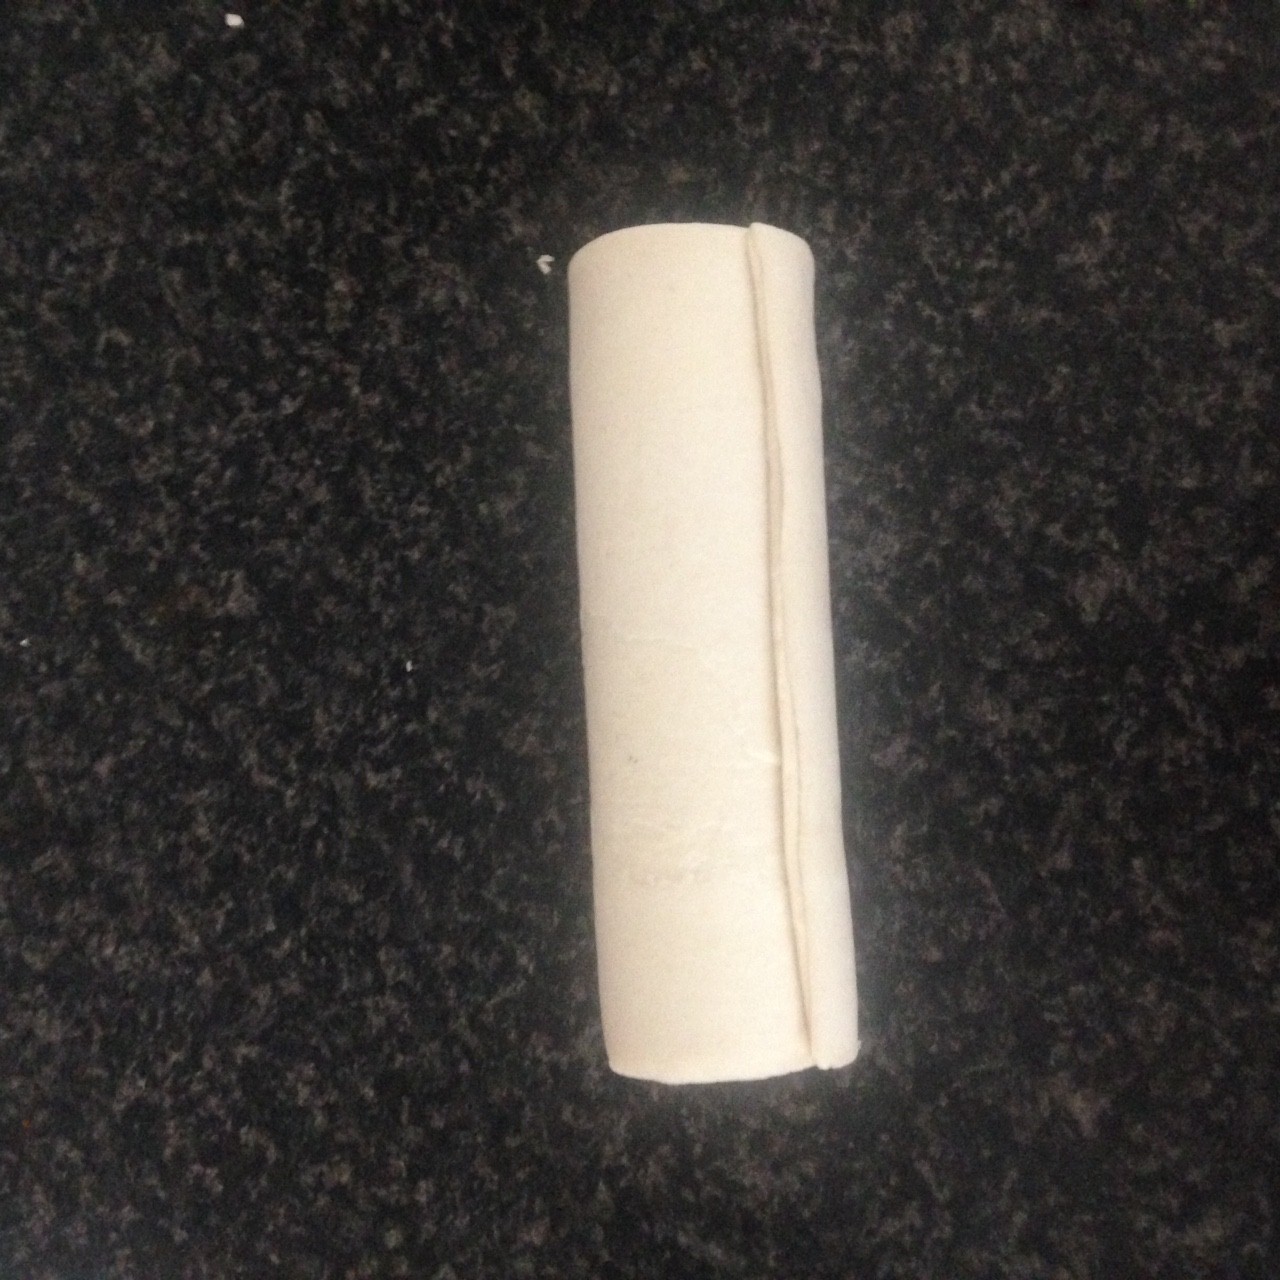
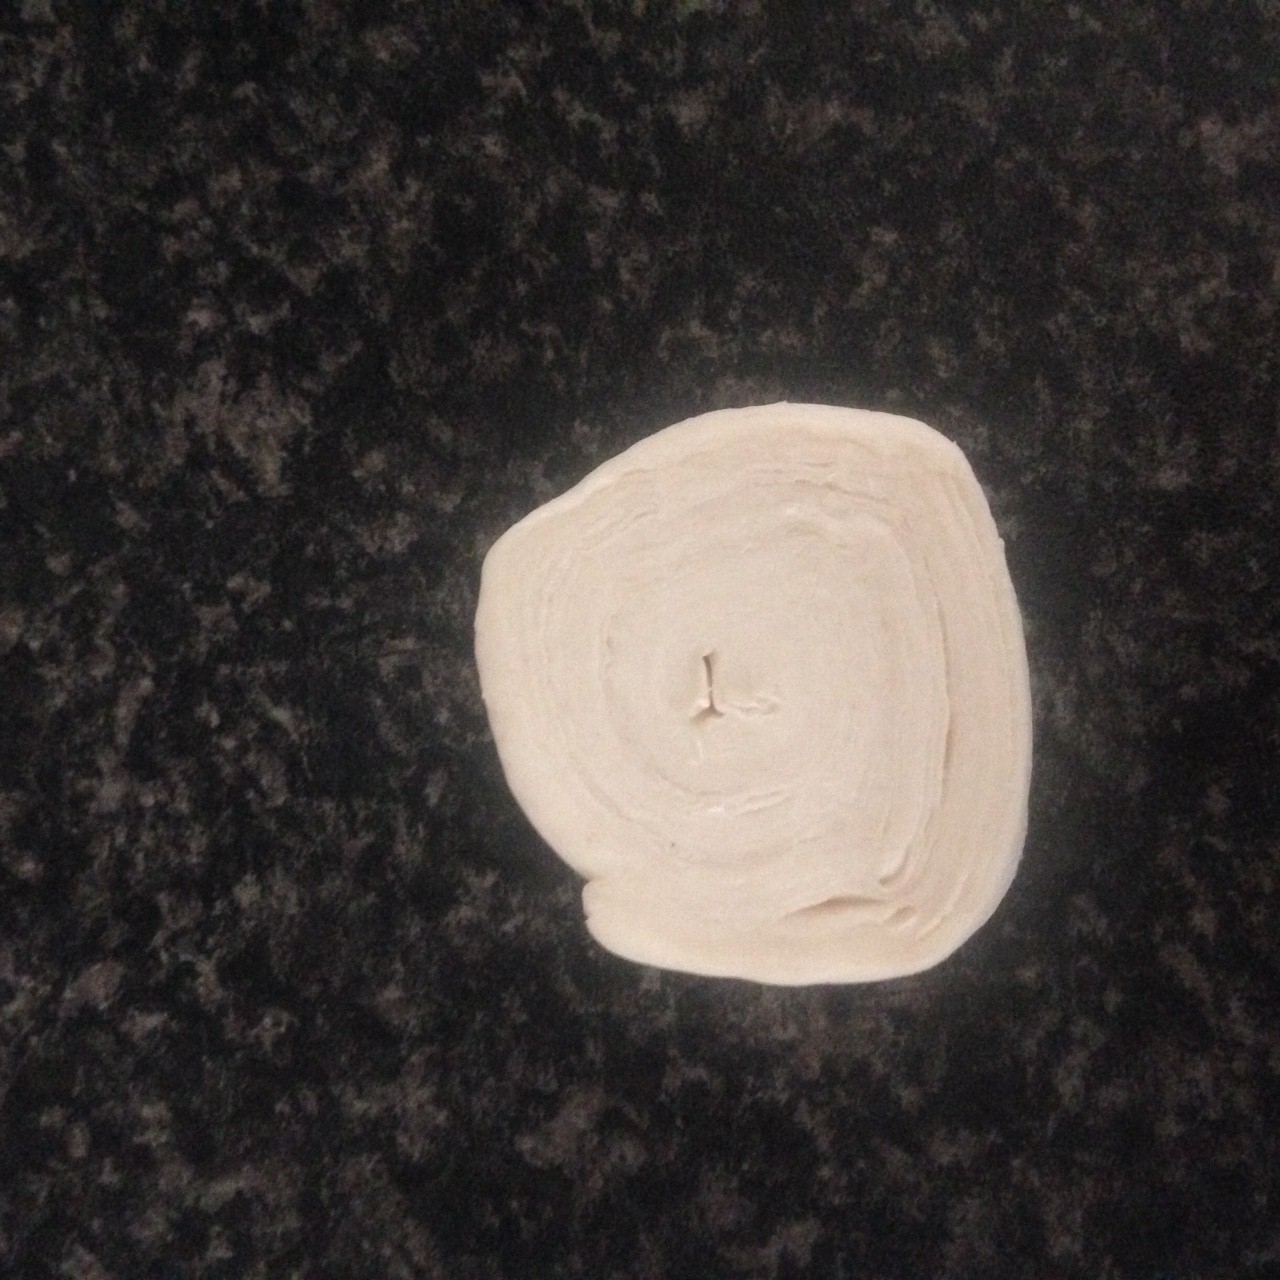
- Fold the pastry sheet in half and roll up at the short end tightly into a log shape.
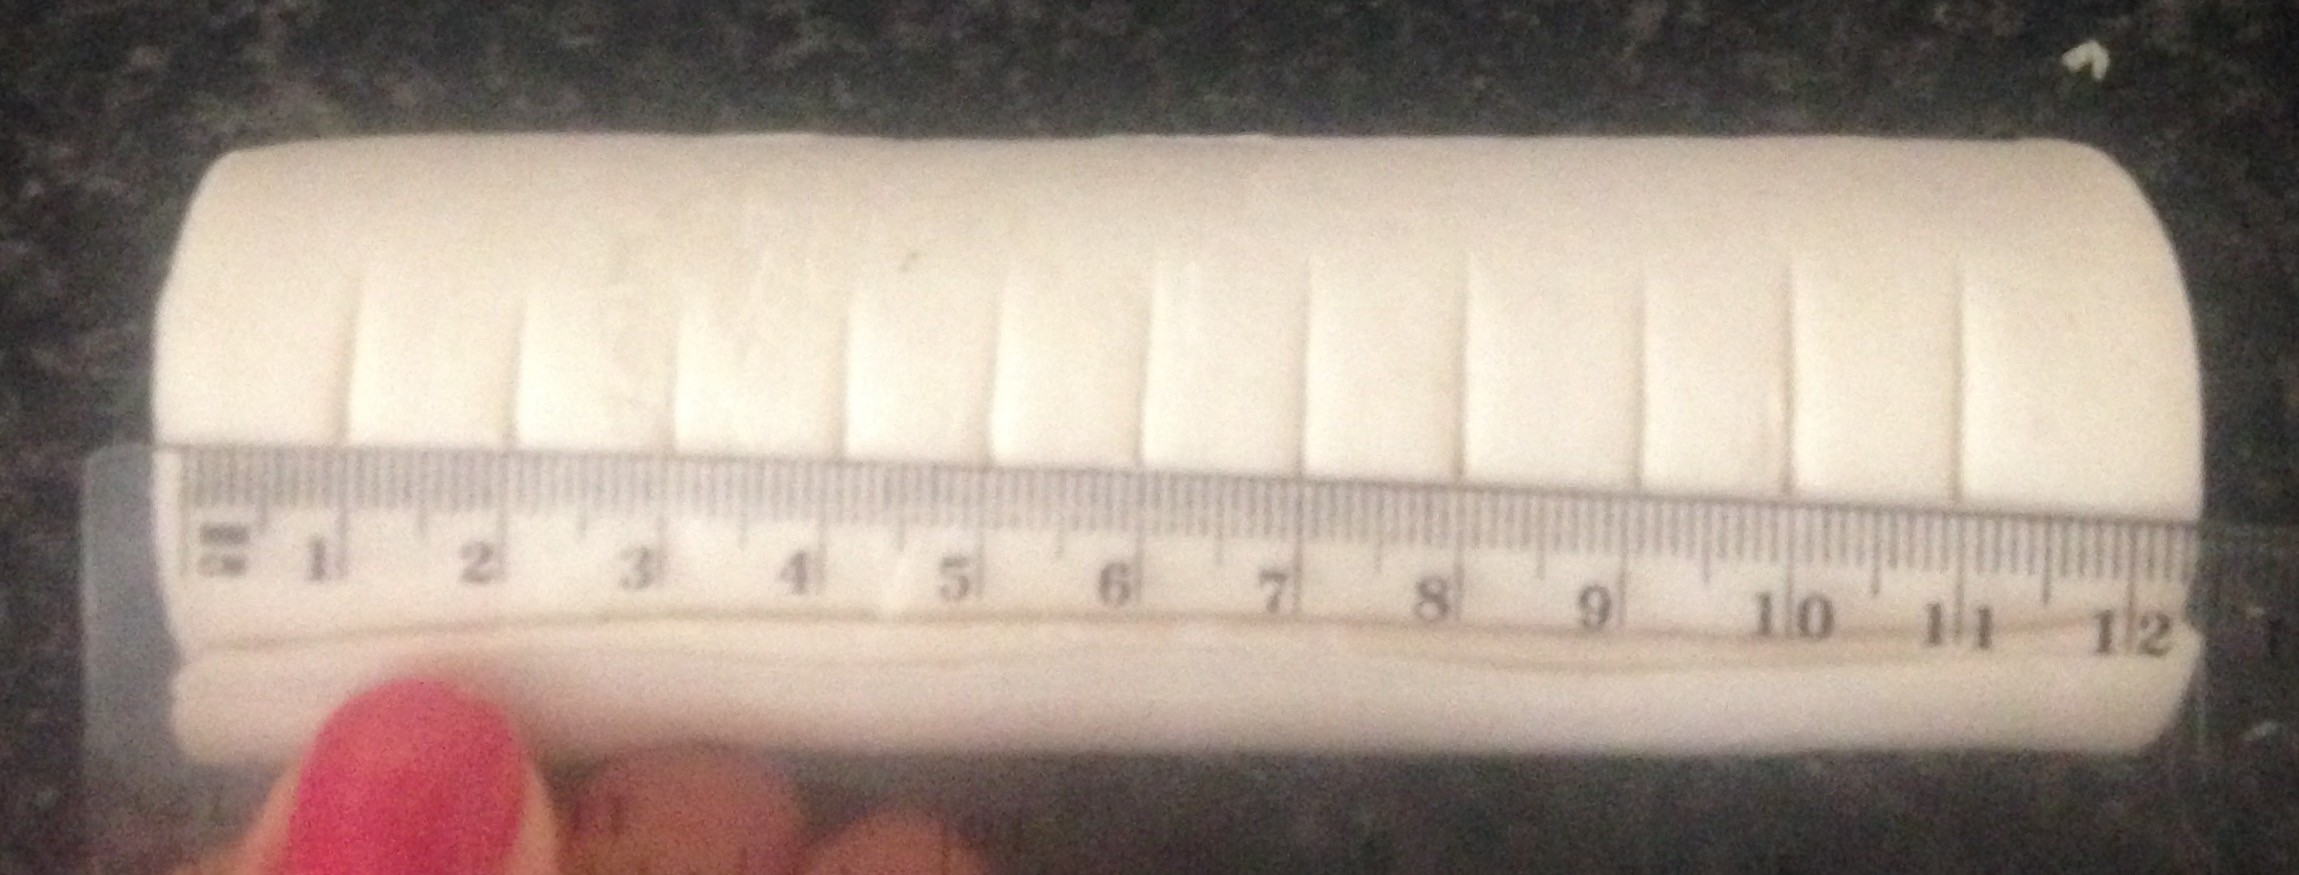
- Trim the edges of the log and cut circles 1cm thick. You will have 12 rounds.
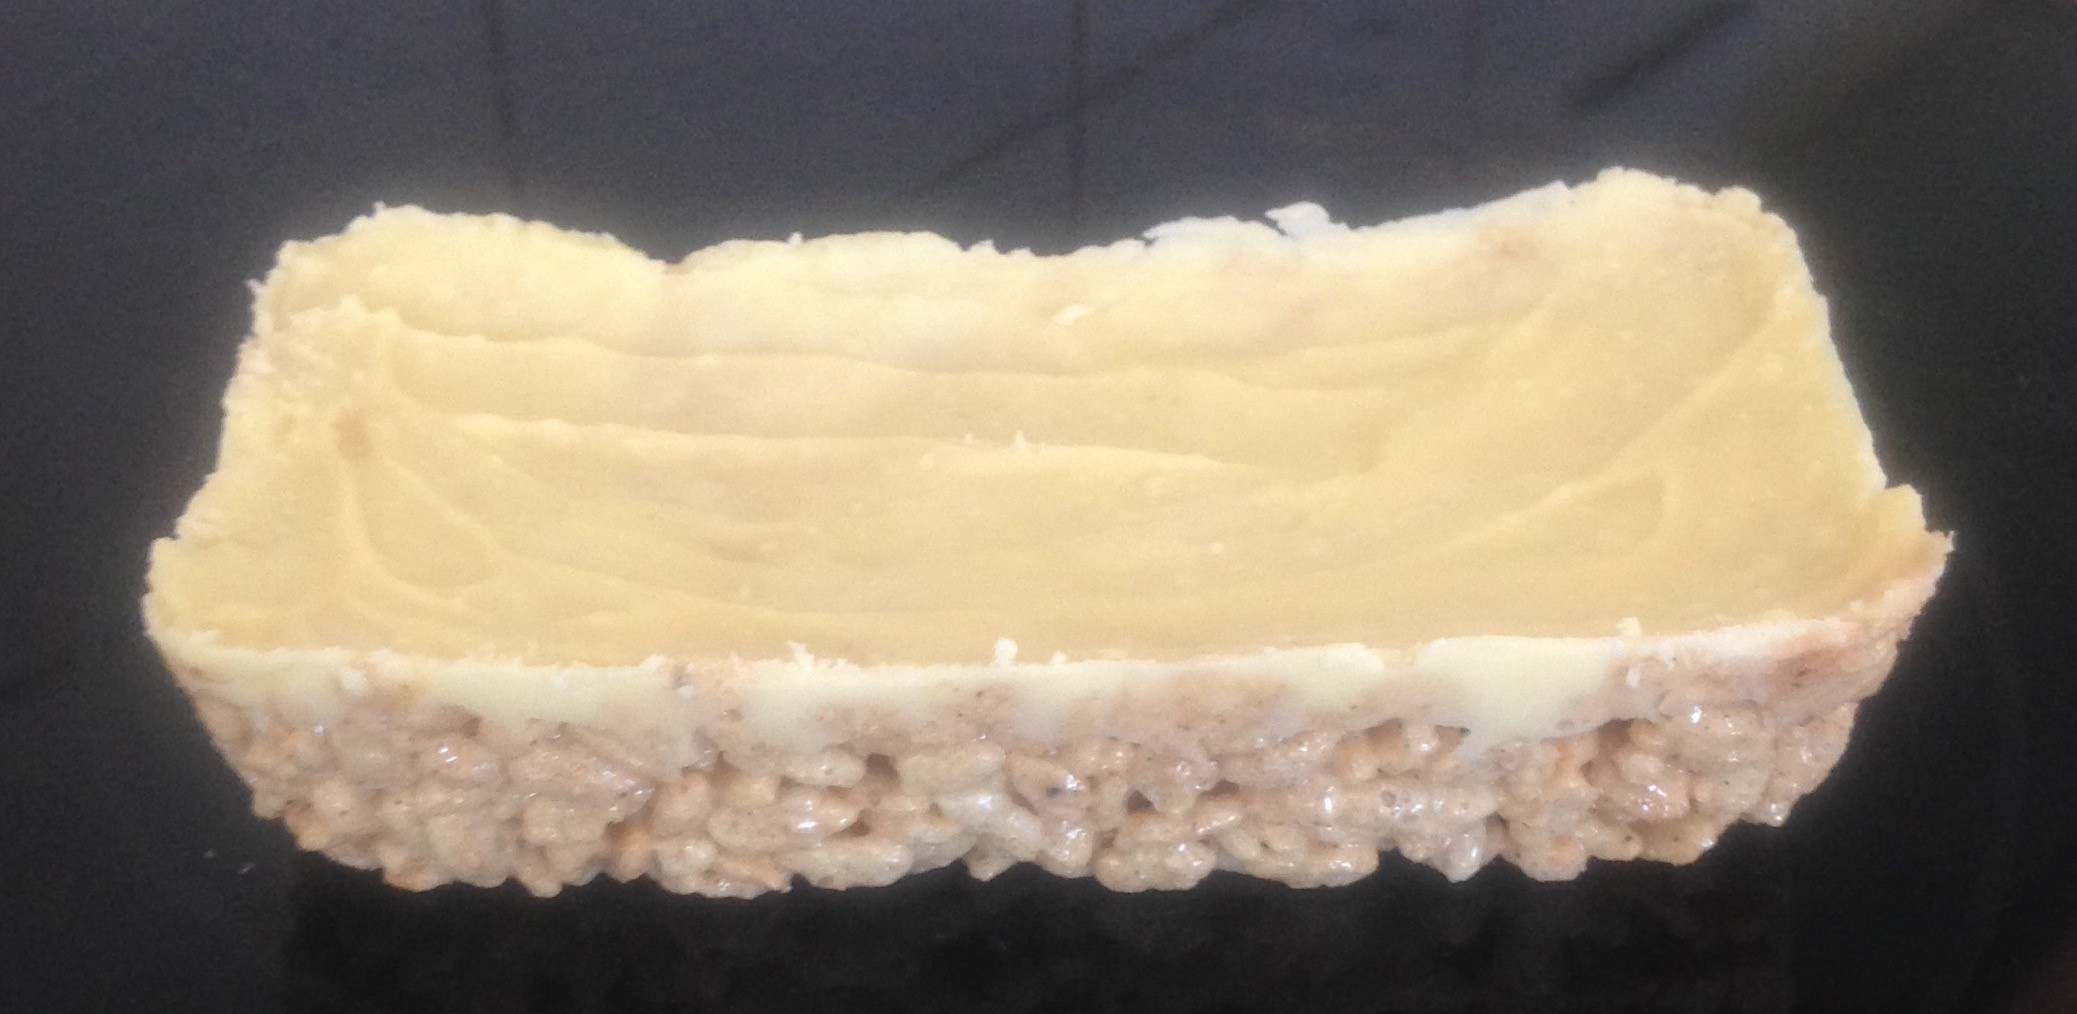
- Lay the pastry flat on the bench and using a rolling pin roll out to 10x10cm circles.
- Press the pastry into the muffin tin holes and lightly press in place.
- Spoon the custard mix into the pastry cups.
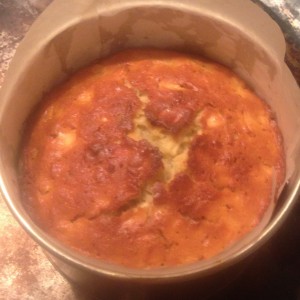
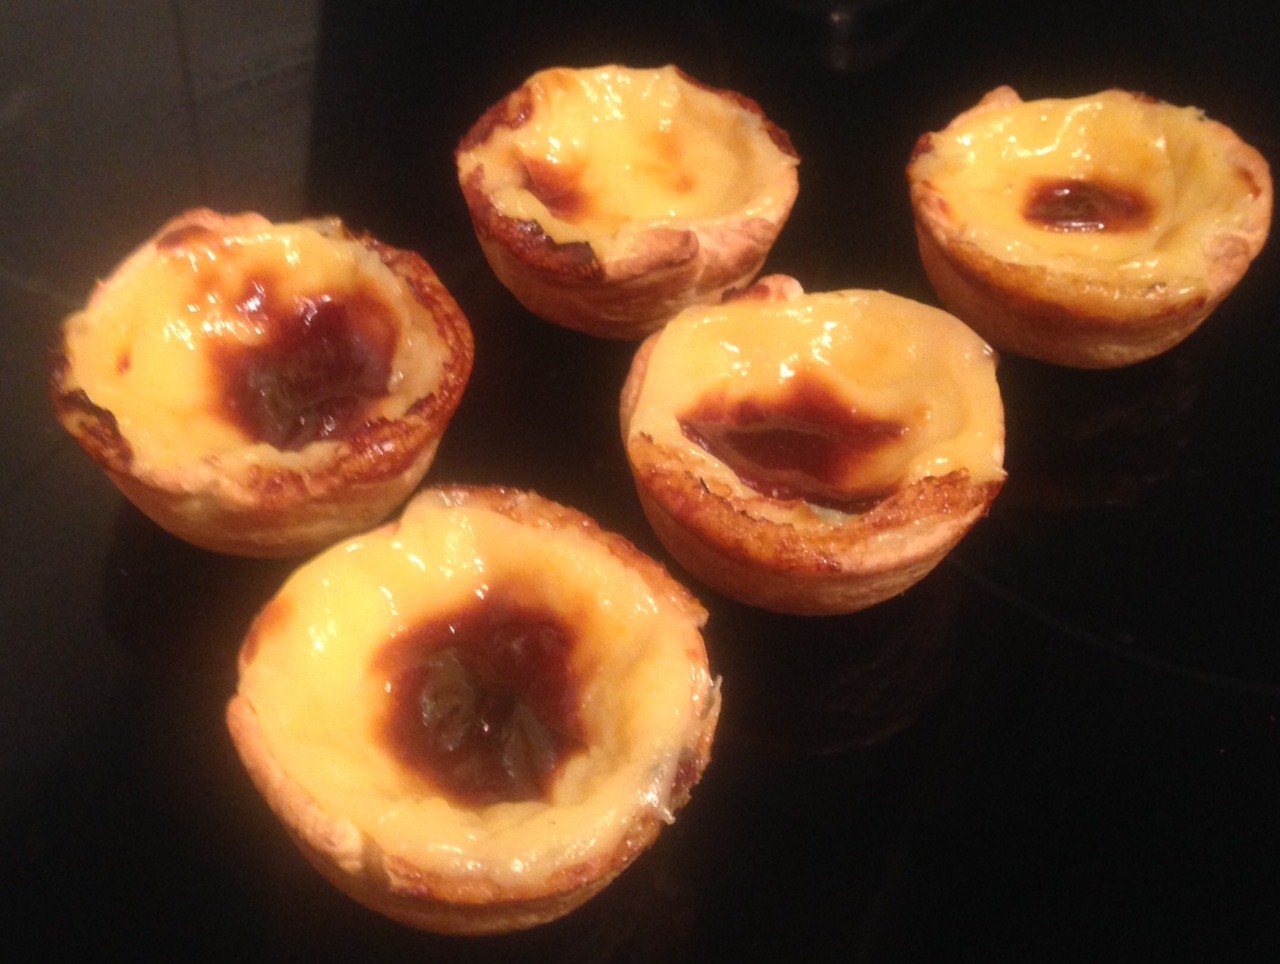
- Place the tin in the oven for 25 minutes or until the tops of the custard gets dark golden.
- Allow to cool and enjoy!

Step 5
Step 7

Step 8

Step 8
Step 9
Step 9
Step 9

Step 10

Step 11

Step 12
Like this recipe? Subscribe via RSS or email to get my new entries and more scrumptious recipes with reviews.
 Follow