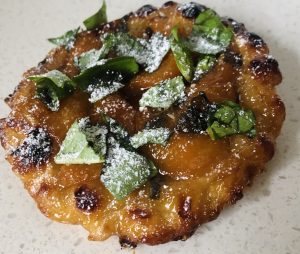
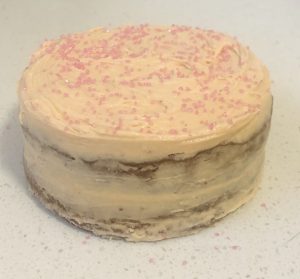
Avocado Strawberry Lemon Cake
In a previous bake I loved the Avo, strawberry and lemon pairing but not the texture the avocado was doing to the cake…a chewy cake is not ideal! That’s what I found on first attempt of making this cake, but I continued to experiment with an Avo Strawberry and Lemon cake as the flavours were so delightful and tasty. Adding in some butter and downweighing the avo quantity slightly was the solution to getting this cake recipe to perfection.
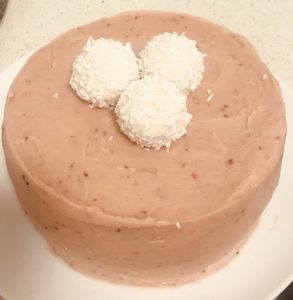
Delicious filling, addictively scrumptious frosting and now a sturdy and delectable base, this recipe ticks all the boxes.
Ingredients:
Cake:
- 180g caster sugar
- 180g avocado,
- 60g butter, softened
- ½ tsn strawberry essence
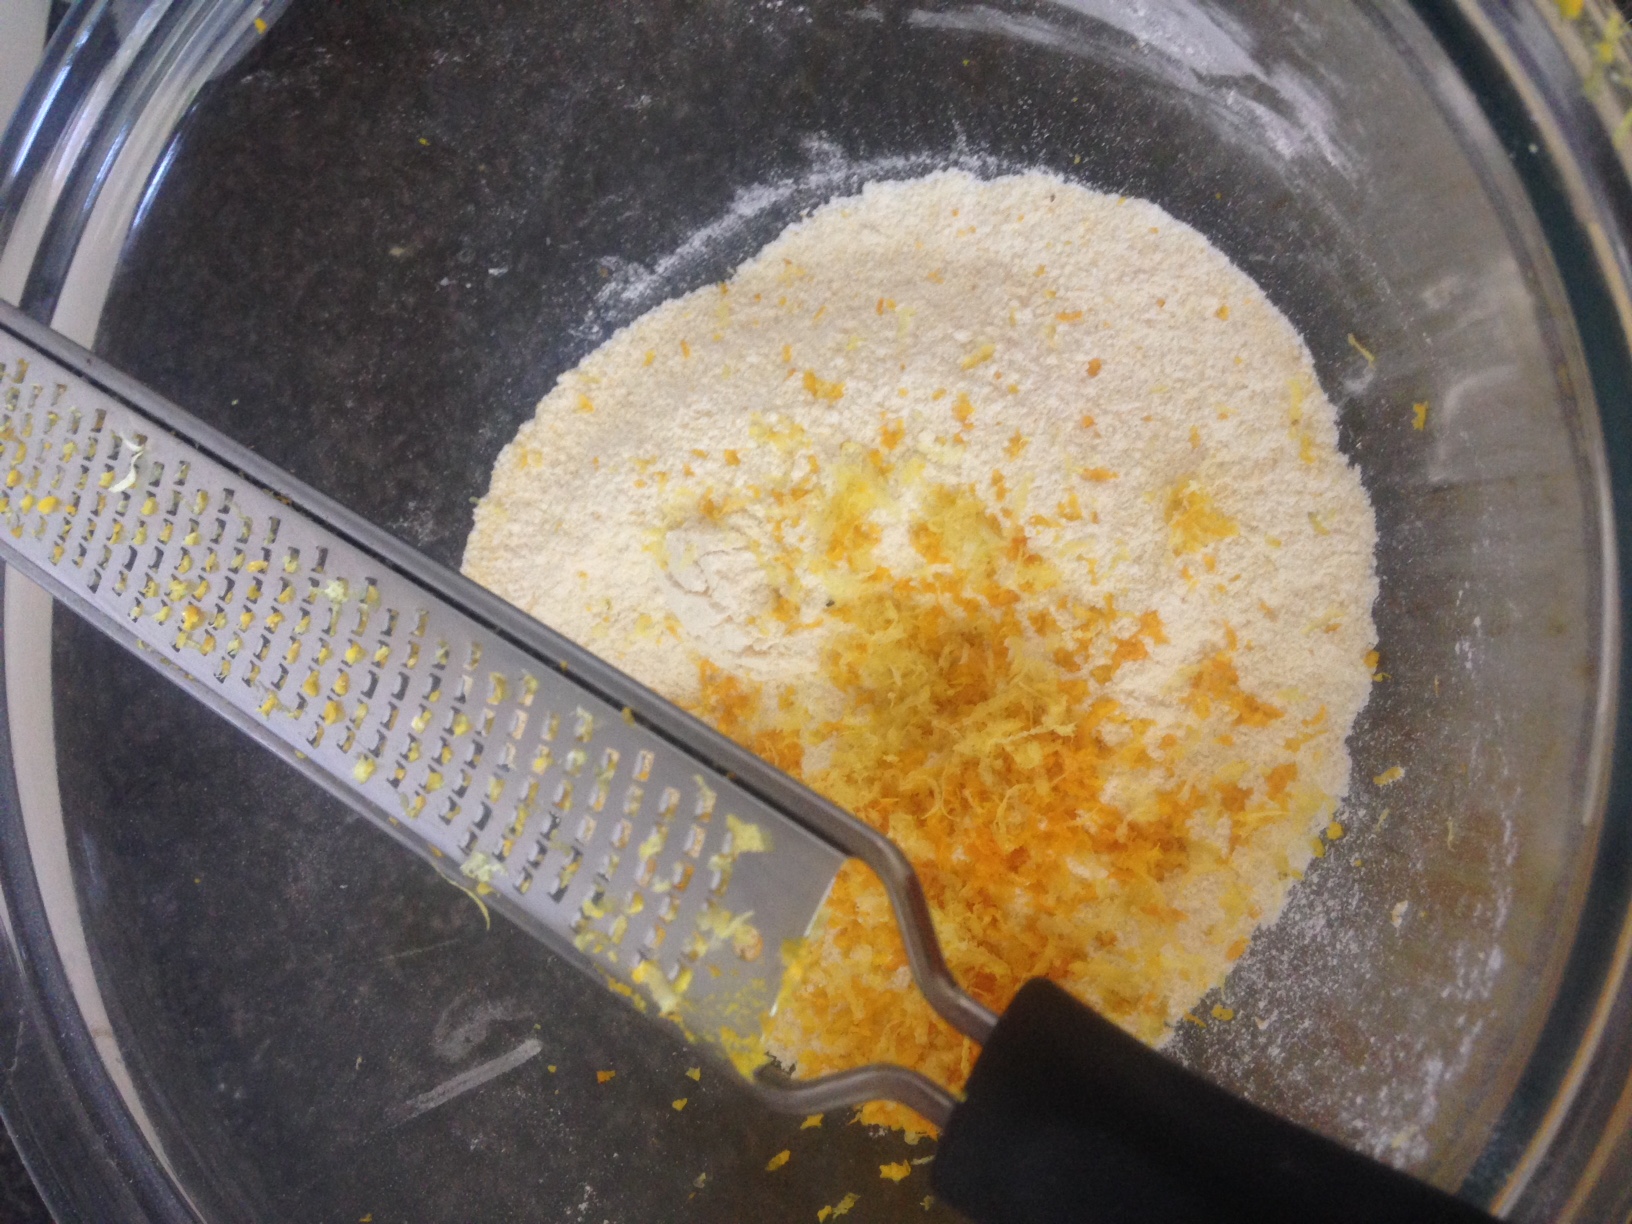
- ½ tsn lemon zest
- 3 eggs
- 285g strawberry jam
- 270g self raising flour
Filling:
- 90g avocado
- 90g strawberry jam
- 30g custard powder
Frosting:
- 90g strawberry jam
- 90g butter, softened
- 150g icing sugar
- 90g strawberry jam
- 30g custard powder
- ½ lemon zest
- 3 drops pink food colouring
Method:
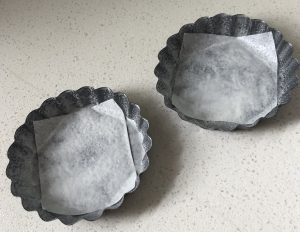
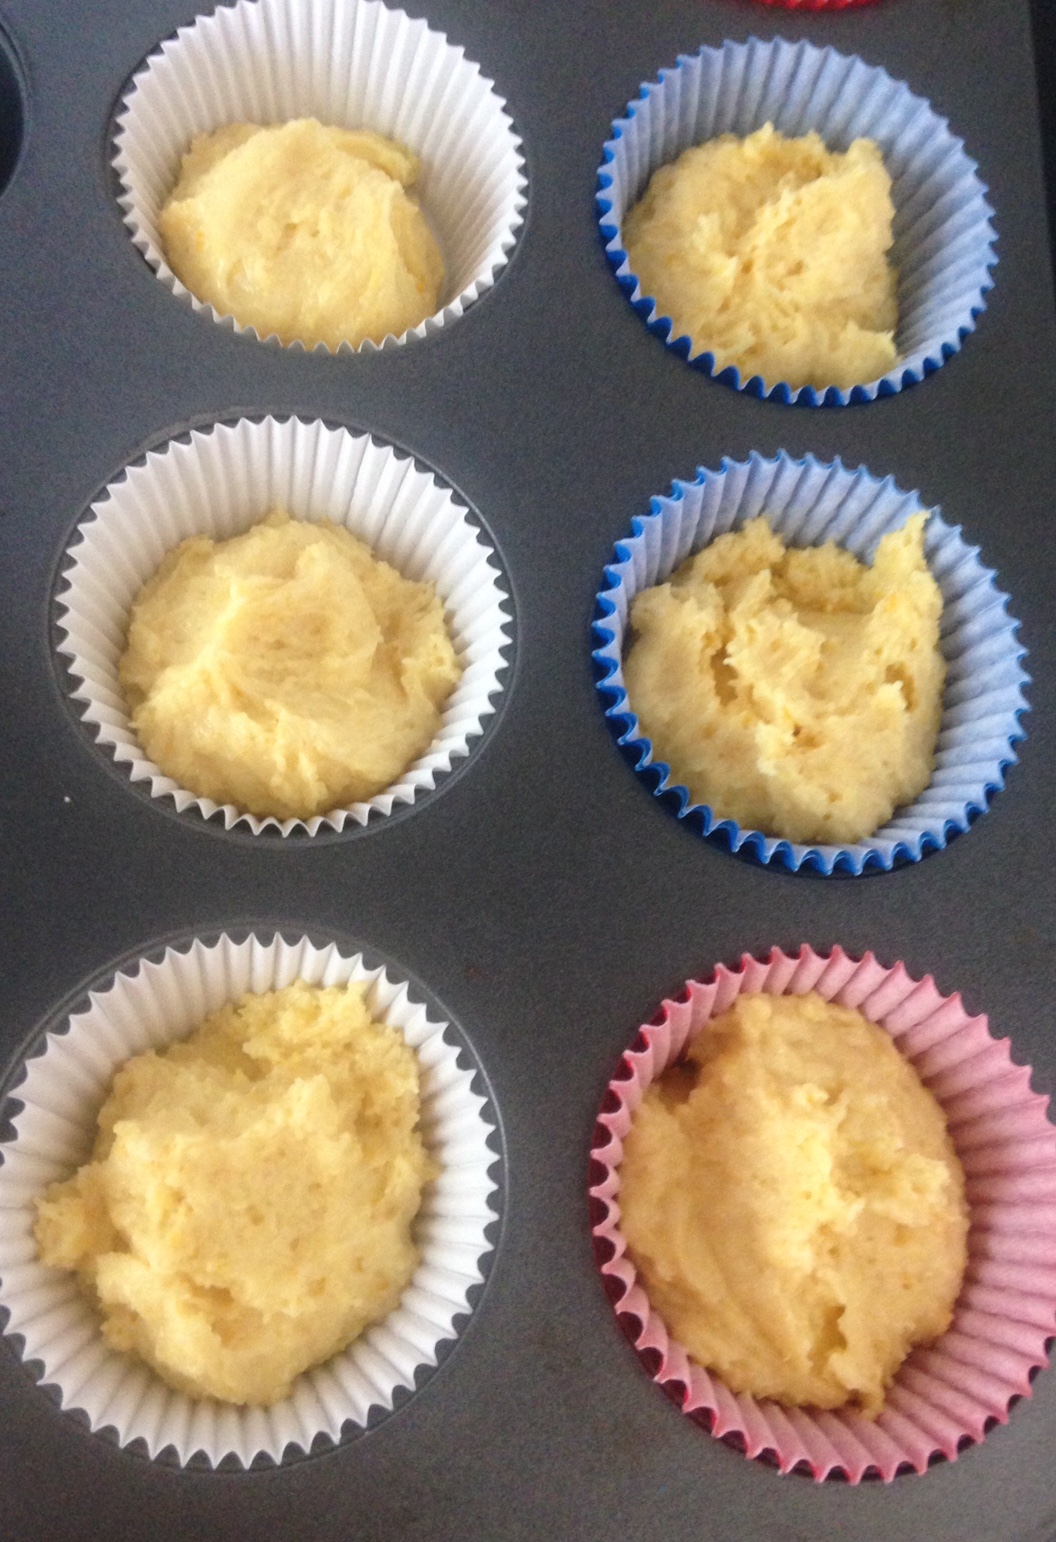
- Preheat oven to 180c degrees and line a 30cm cake tin with baking paper.
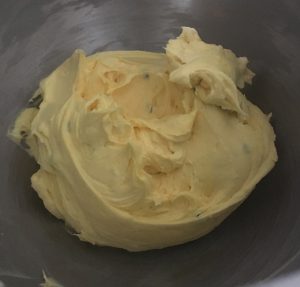
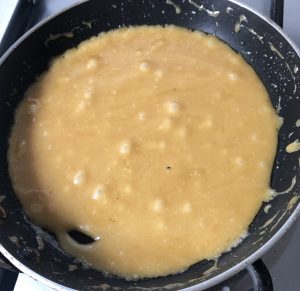
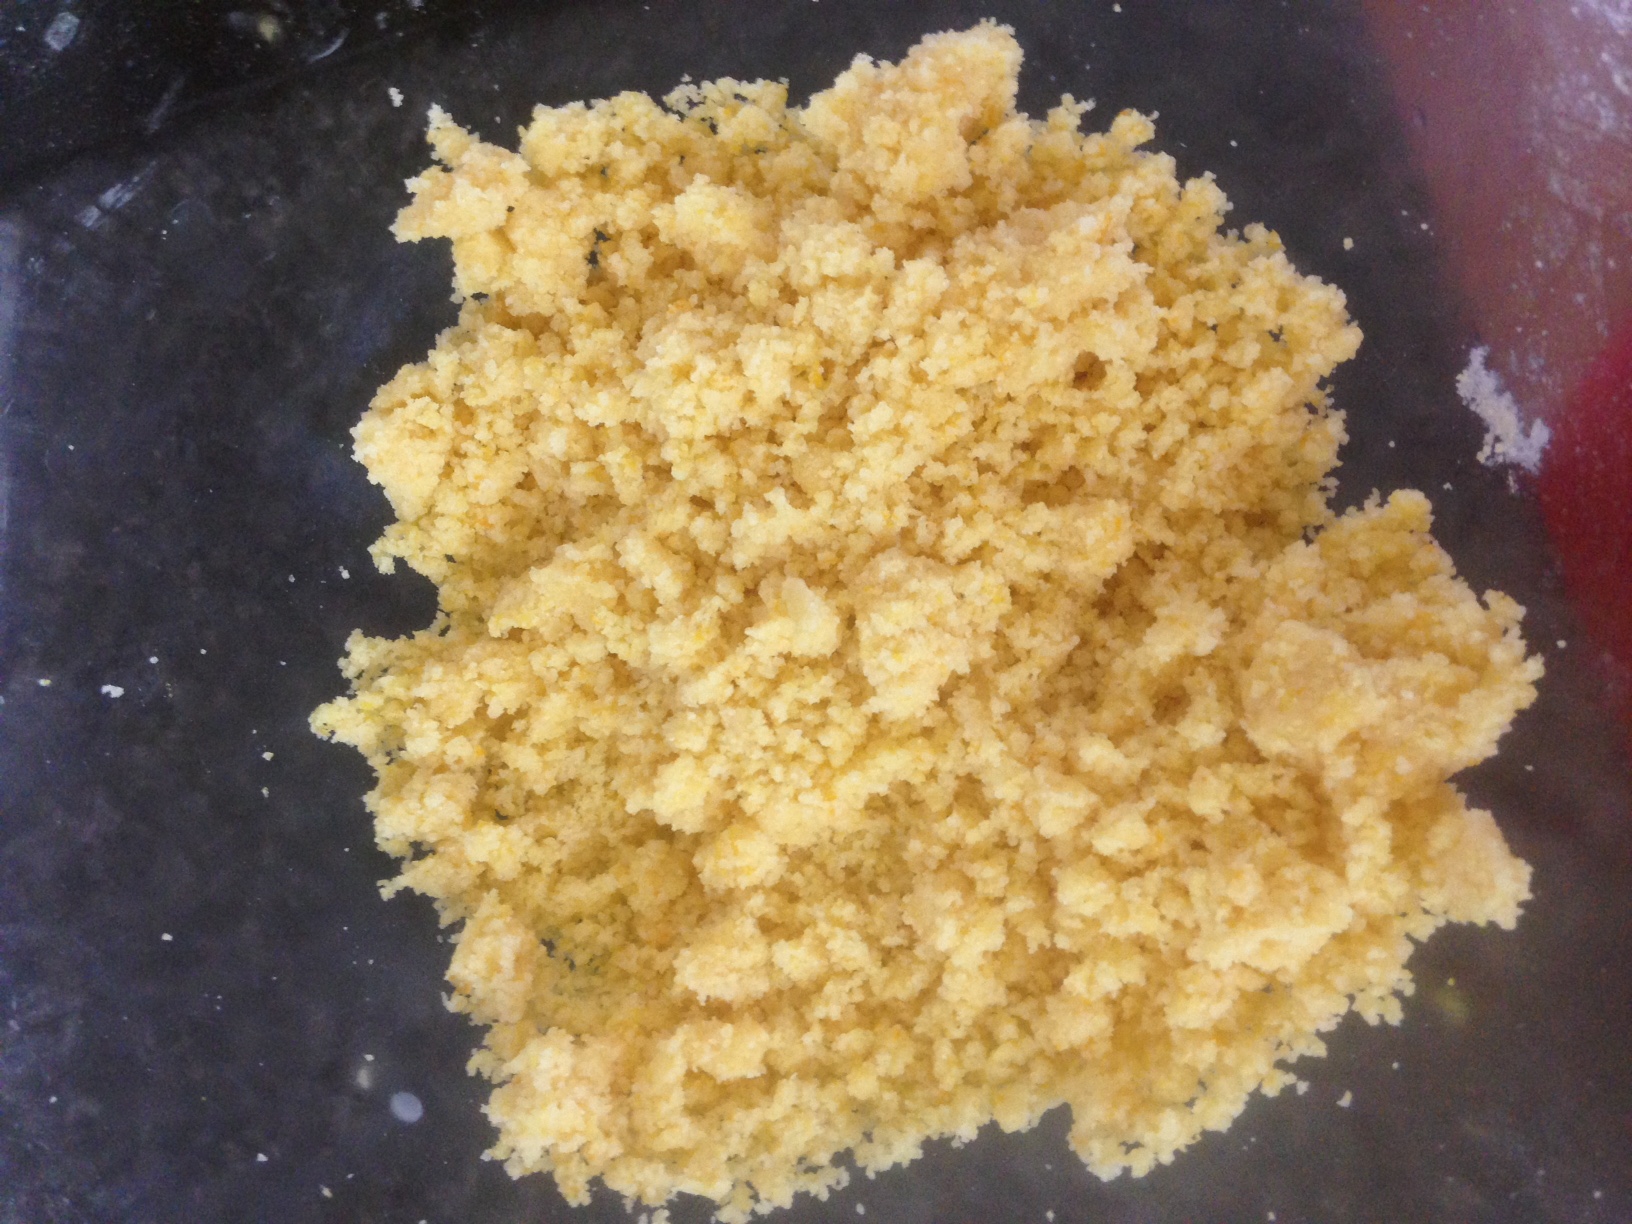
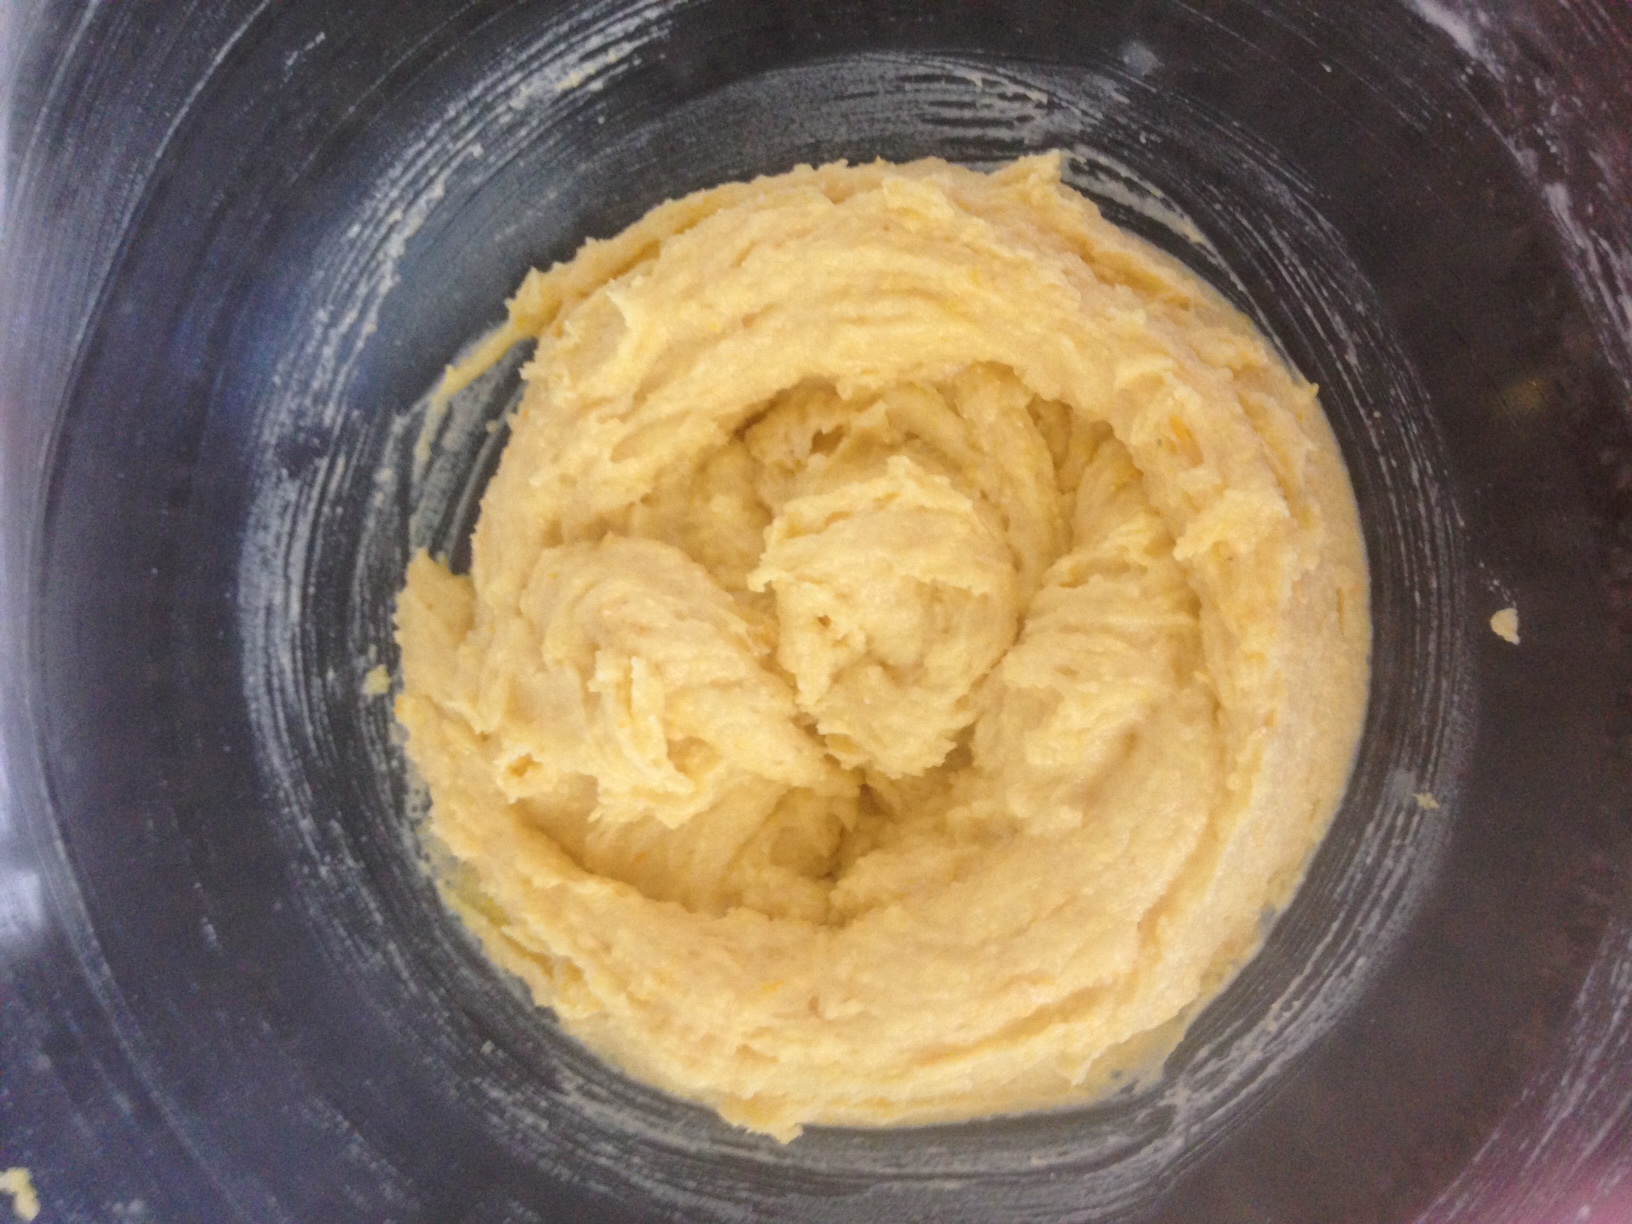
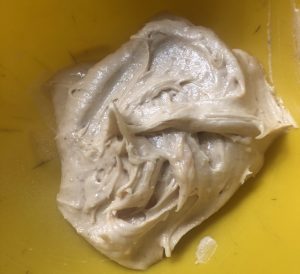
- Beat butter, sugar, avocado, essence and zest for 5 minutes or until creamy and pale with electric beaters.
- Add the eggs one at a time, beating in between each addition.
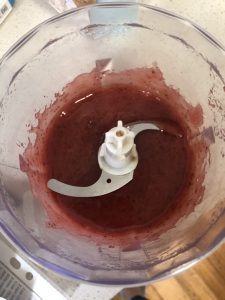
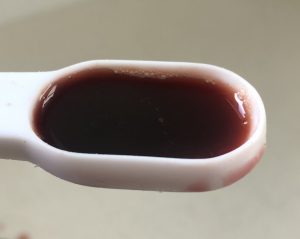
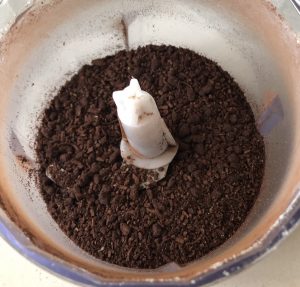
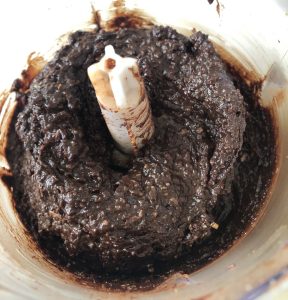
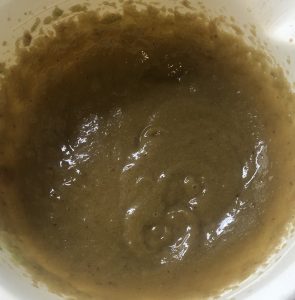
- Puree the jam in a food processor until smooth, leave aside.
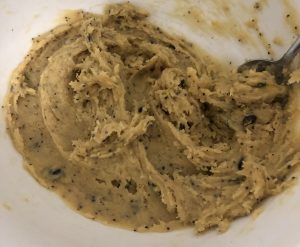
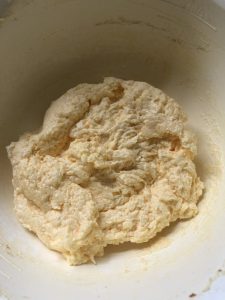
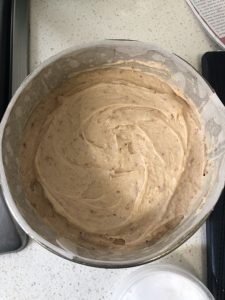
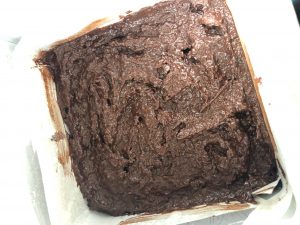
- Sieve the flour into the butter mix along with the strawberry jam puree. Beat with electric beats until just combined.
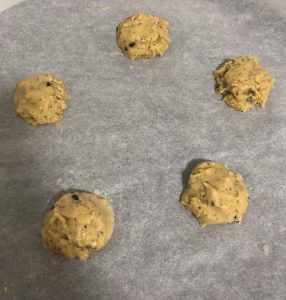
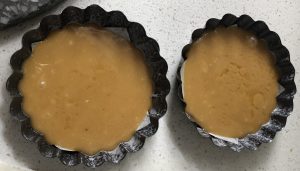
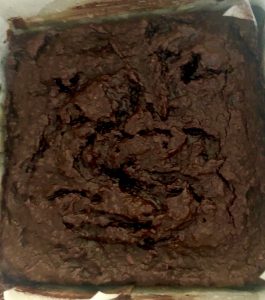
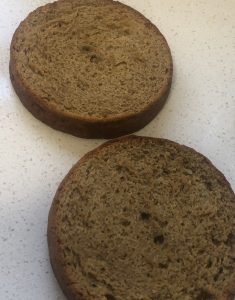
- Pour the mix into the prepared cake tin and bake in the oven for 40 minutes or until a skewer inserted into the centre comes out clean.
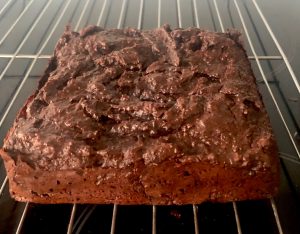
- Wait 5 minutes then invert the cake onto a cake tray to cool completely.
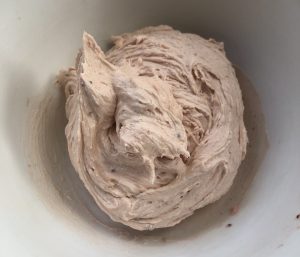
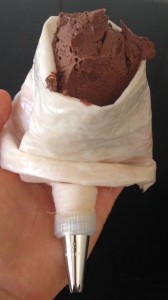
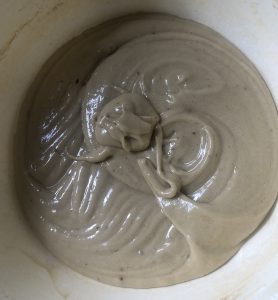
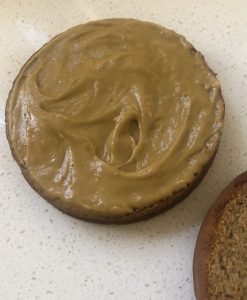
- Meanwhile make the filling by beating the ingredients together for 3 minutes.
- Next, make the frosting by beating all the ingredients together with electric beaters for 5 minutes until light and fluffy.
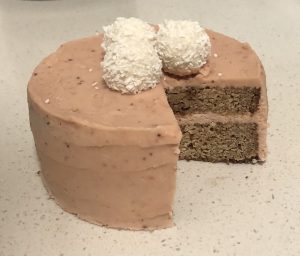
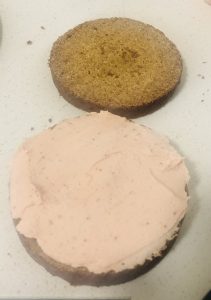
- Cut the top of the cake horizontally to even the surface (if needed) then cut the cake in half horizontally.
- Spread the filling between the 2 cake layers.
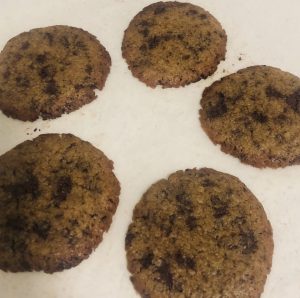
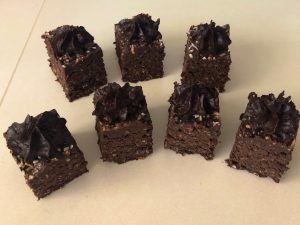
- Spread a light layer of frosting on the sides of the cake and the remaining on the top – enjoy!
Step 4
Step 8
Step 9
Step 10
Step 11
 Follow