Sweet Tooth Experiments

  • About Me
  • Recipe Index
  • Baking Metrics
  • Tips & Tricks
  • Common Baking Questions
  • Contact

Category Archives: Biscuits

Banana Berry Lemon Ice-Cream Sandwich

Posted on September 2, 2017 Posted in Biscuits .

Banana Berry Lemon Ice-Cream Sandwich

Banana Berry Lemon Ice-Cream Sandwich recipe

In summer one of my favorite ways to cool down at home is by blitzing frozen berries, bananas and yoghurt to make an ‘ice-cream’ that is made of healthy ingredients as well as being delicious.

One day I decided that I wanted to take this fruit and yoghurt ‘ice-cream’ to the next level and turn it into an ice-cream biscuit sandwich.

For a lift in flavor I added in further complimentary ingredients and played around with different taste combinations until I landed on a combo that is absolutely super moreish and delicious.

To turn this ice-cream into a sandwich I relied on my never fail melting moments biscuit recipe that I tweaked to boost the lemon and berry flavor of the ice-cream. The outcome, so addictive!


Ice-cream:

  • 500g bananas (260g peeled)
  • 240g frozen raspberries
  • 100g honey
  • 1 vanilla pod
  • 1 tsn strawberry essence
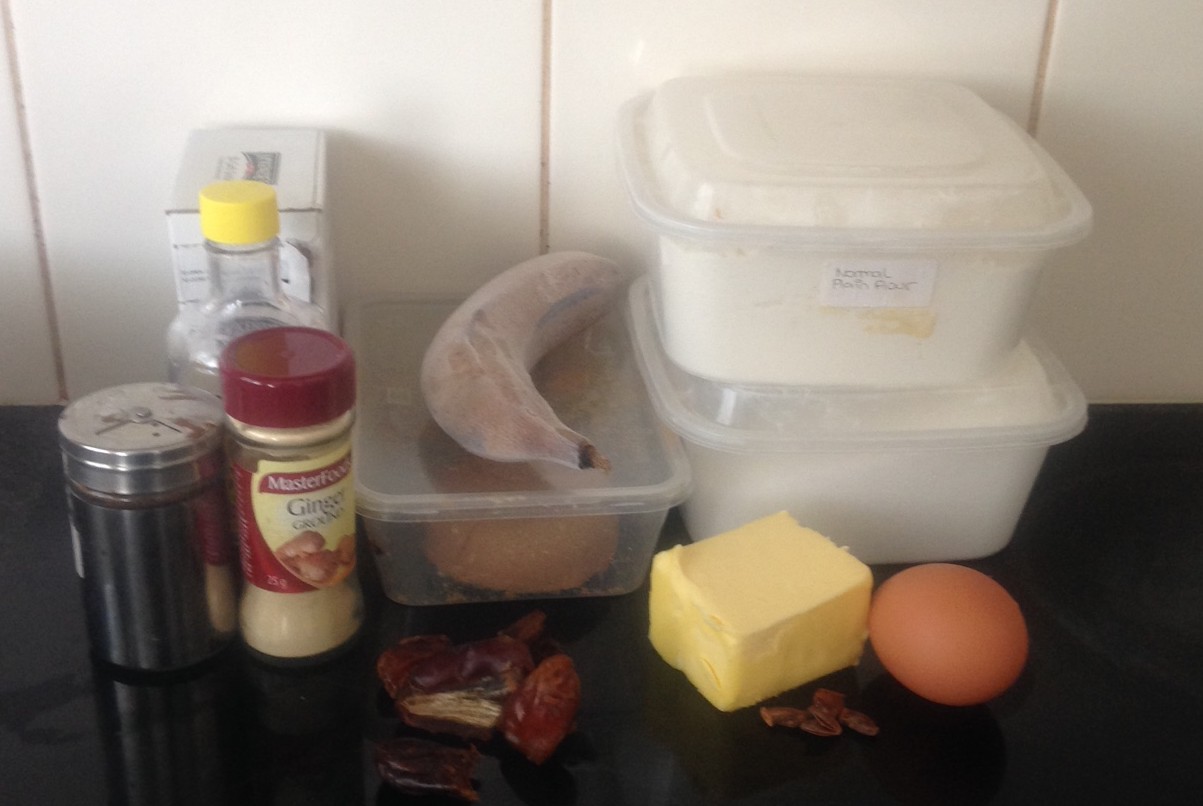
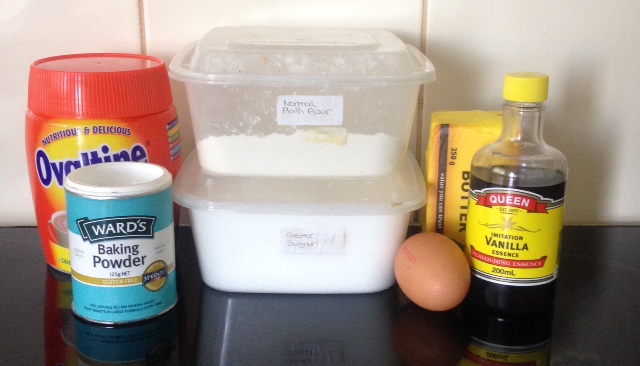
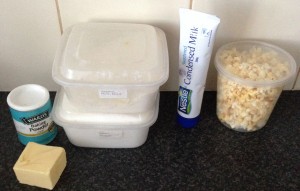
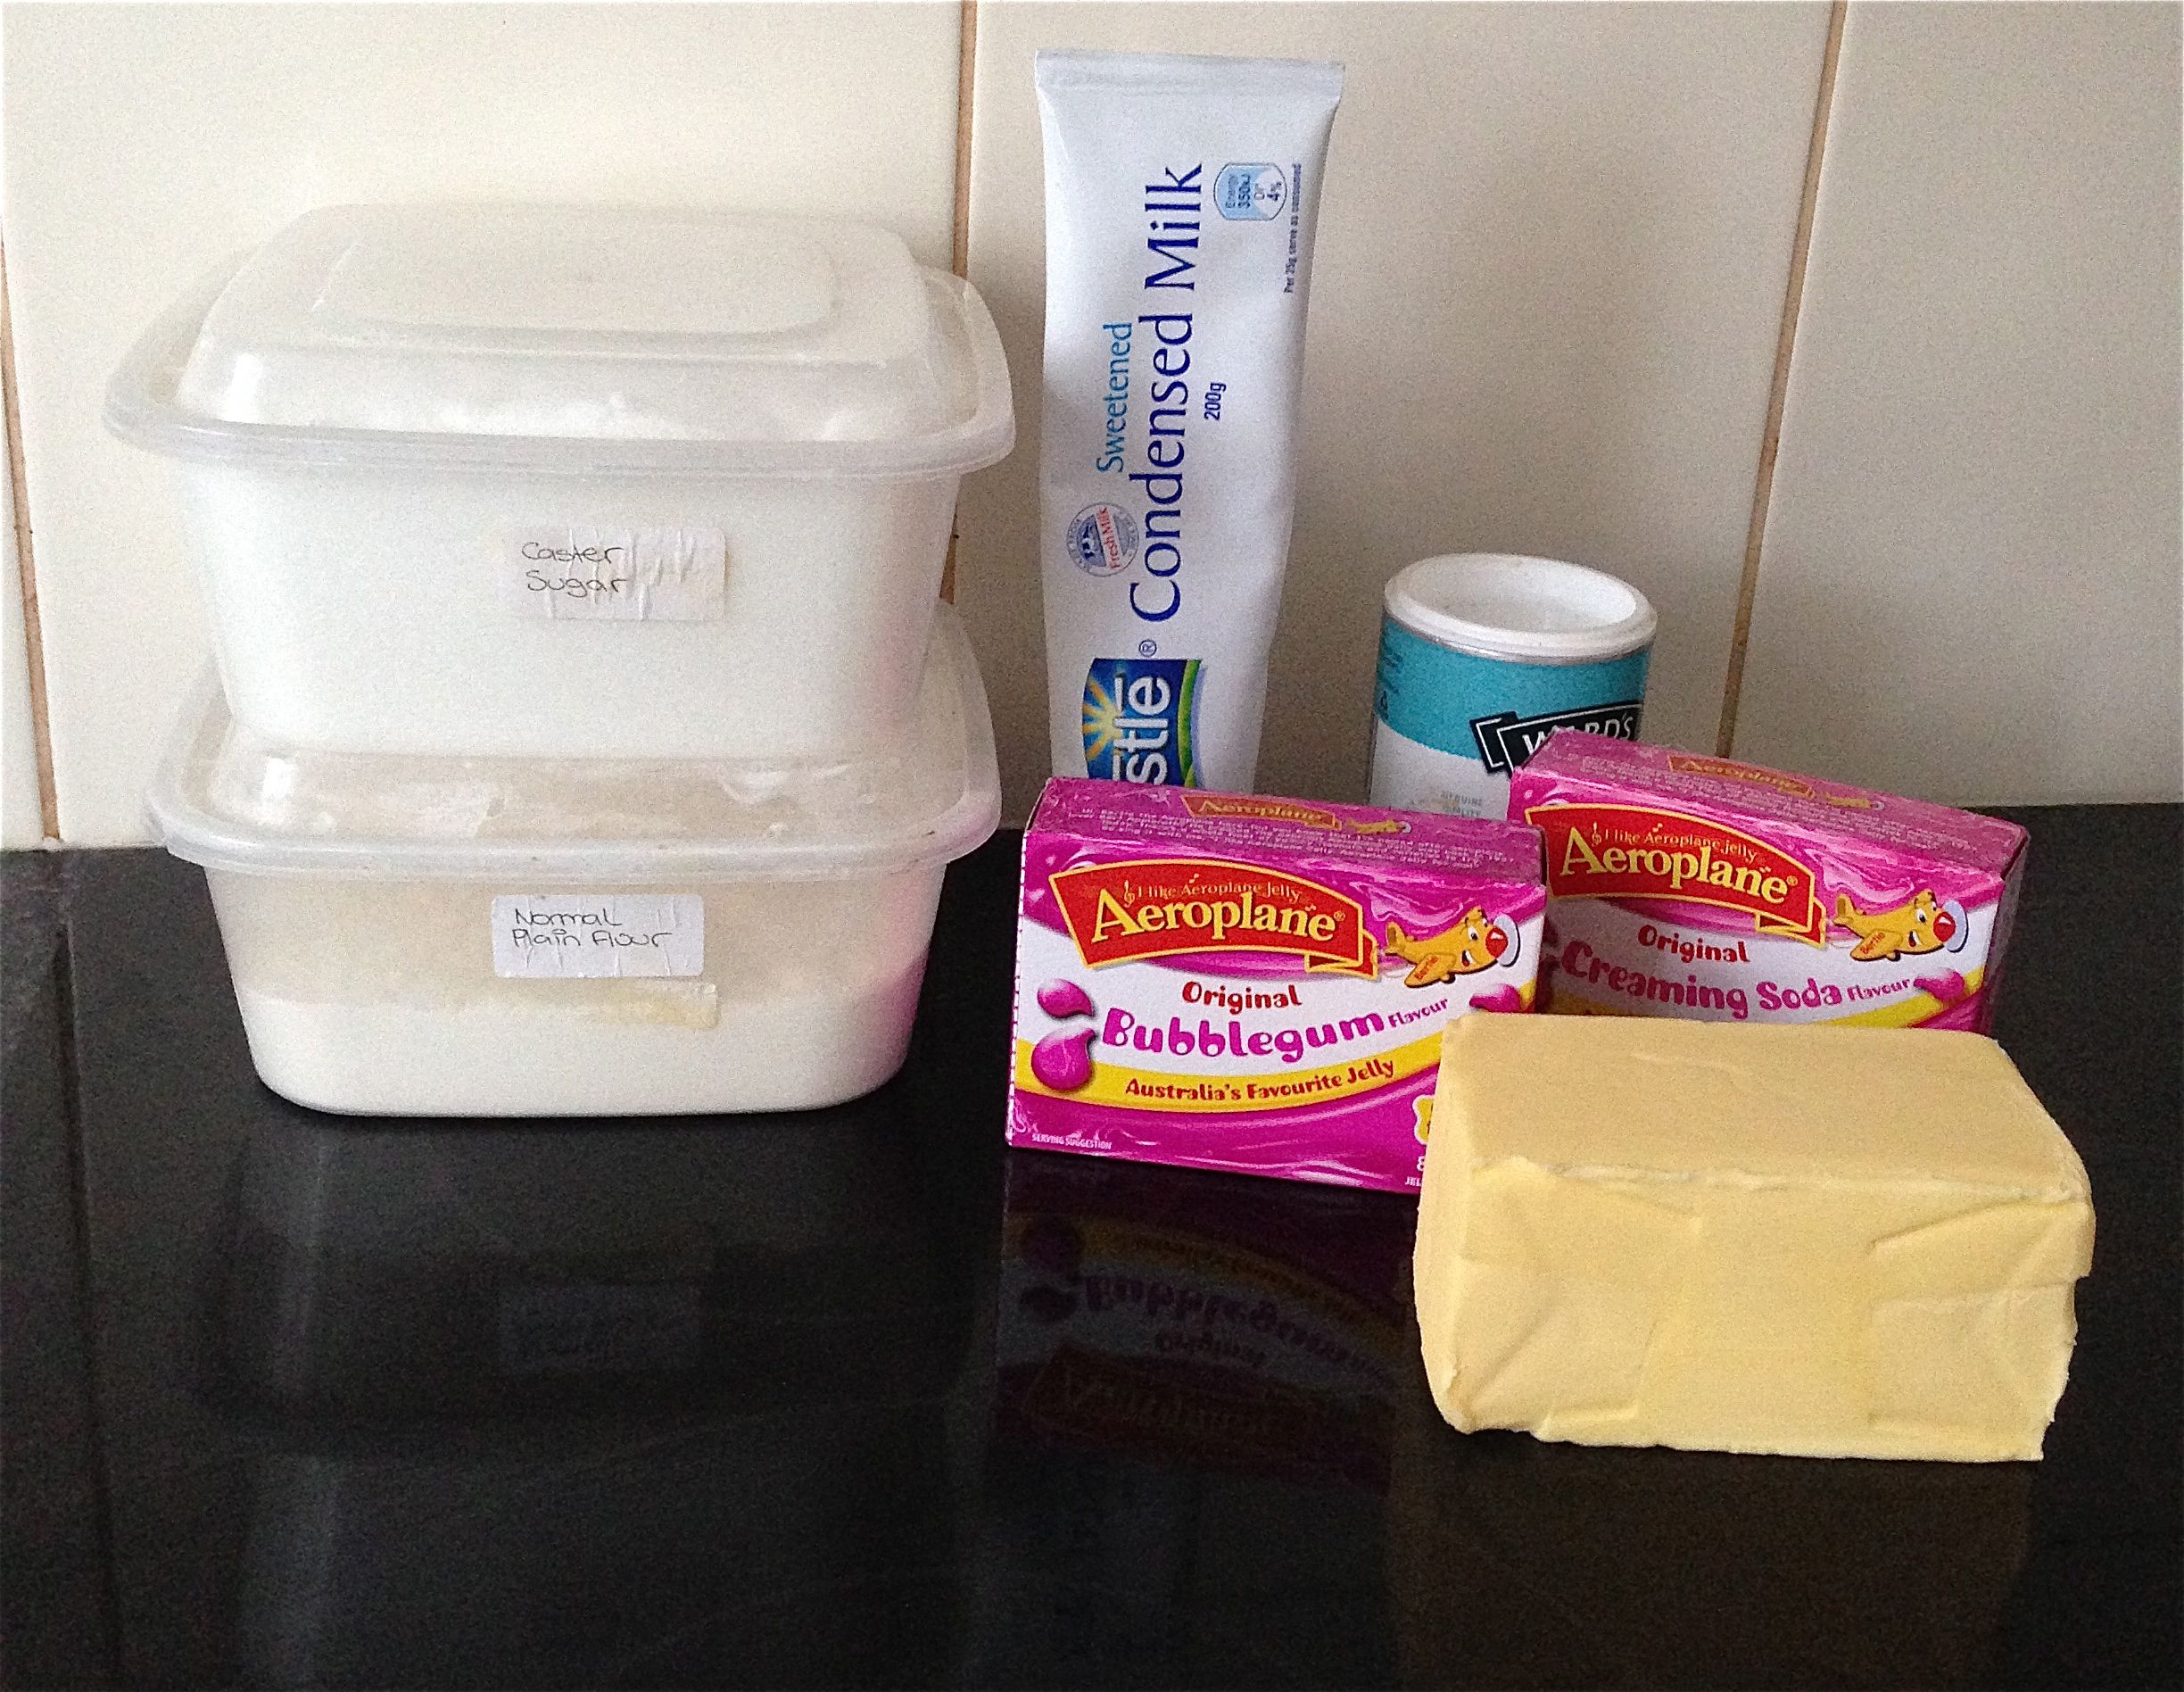
Biscuits:

  • 180g butter
  • ¼ tsn lemon zest
  • ¼ tsn strawberry essence
  • 60g custard powder
  • 60g icing sugar
  • 160g plain flour
  • 1 tsn baking powder
  • Pinch salt


Method:

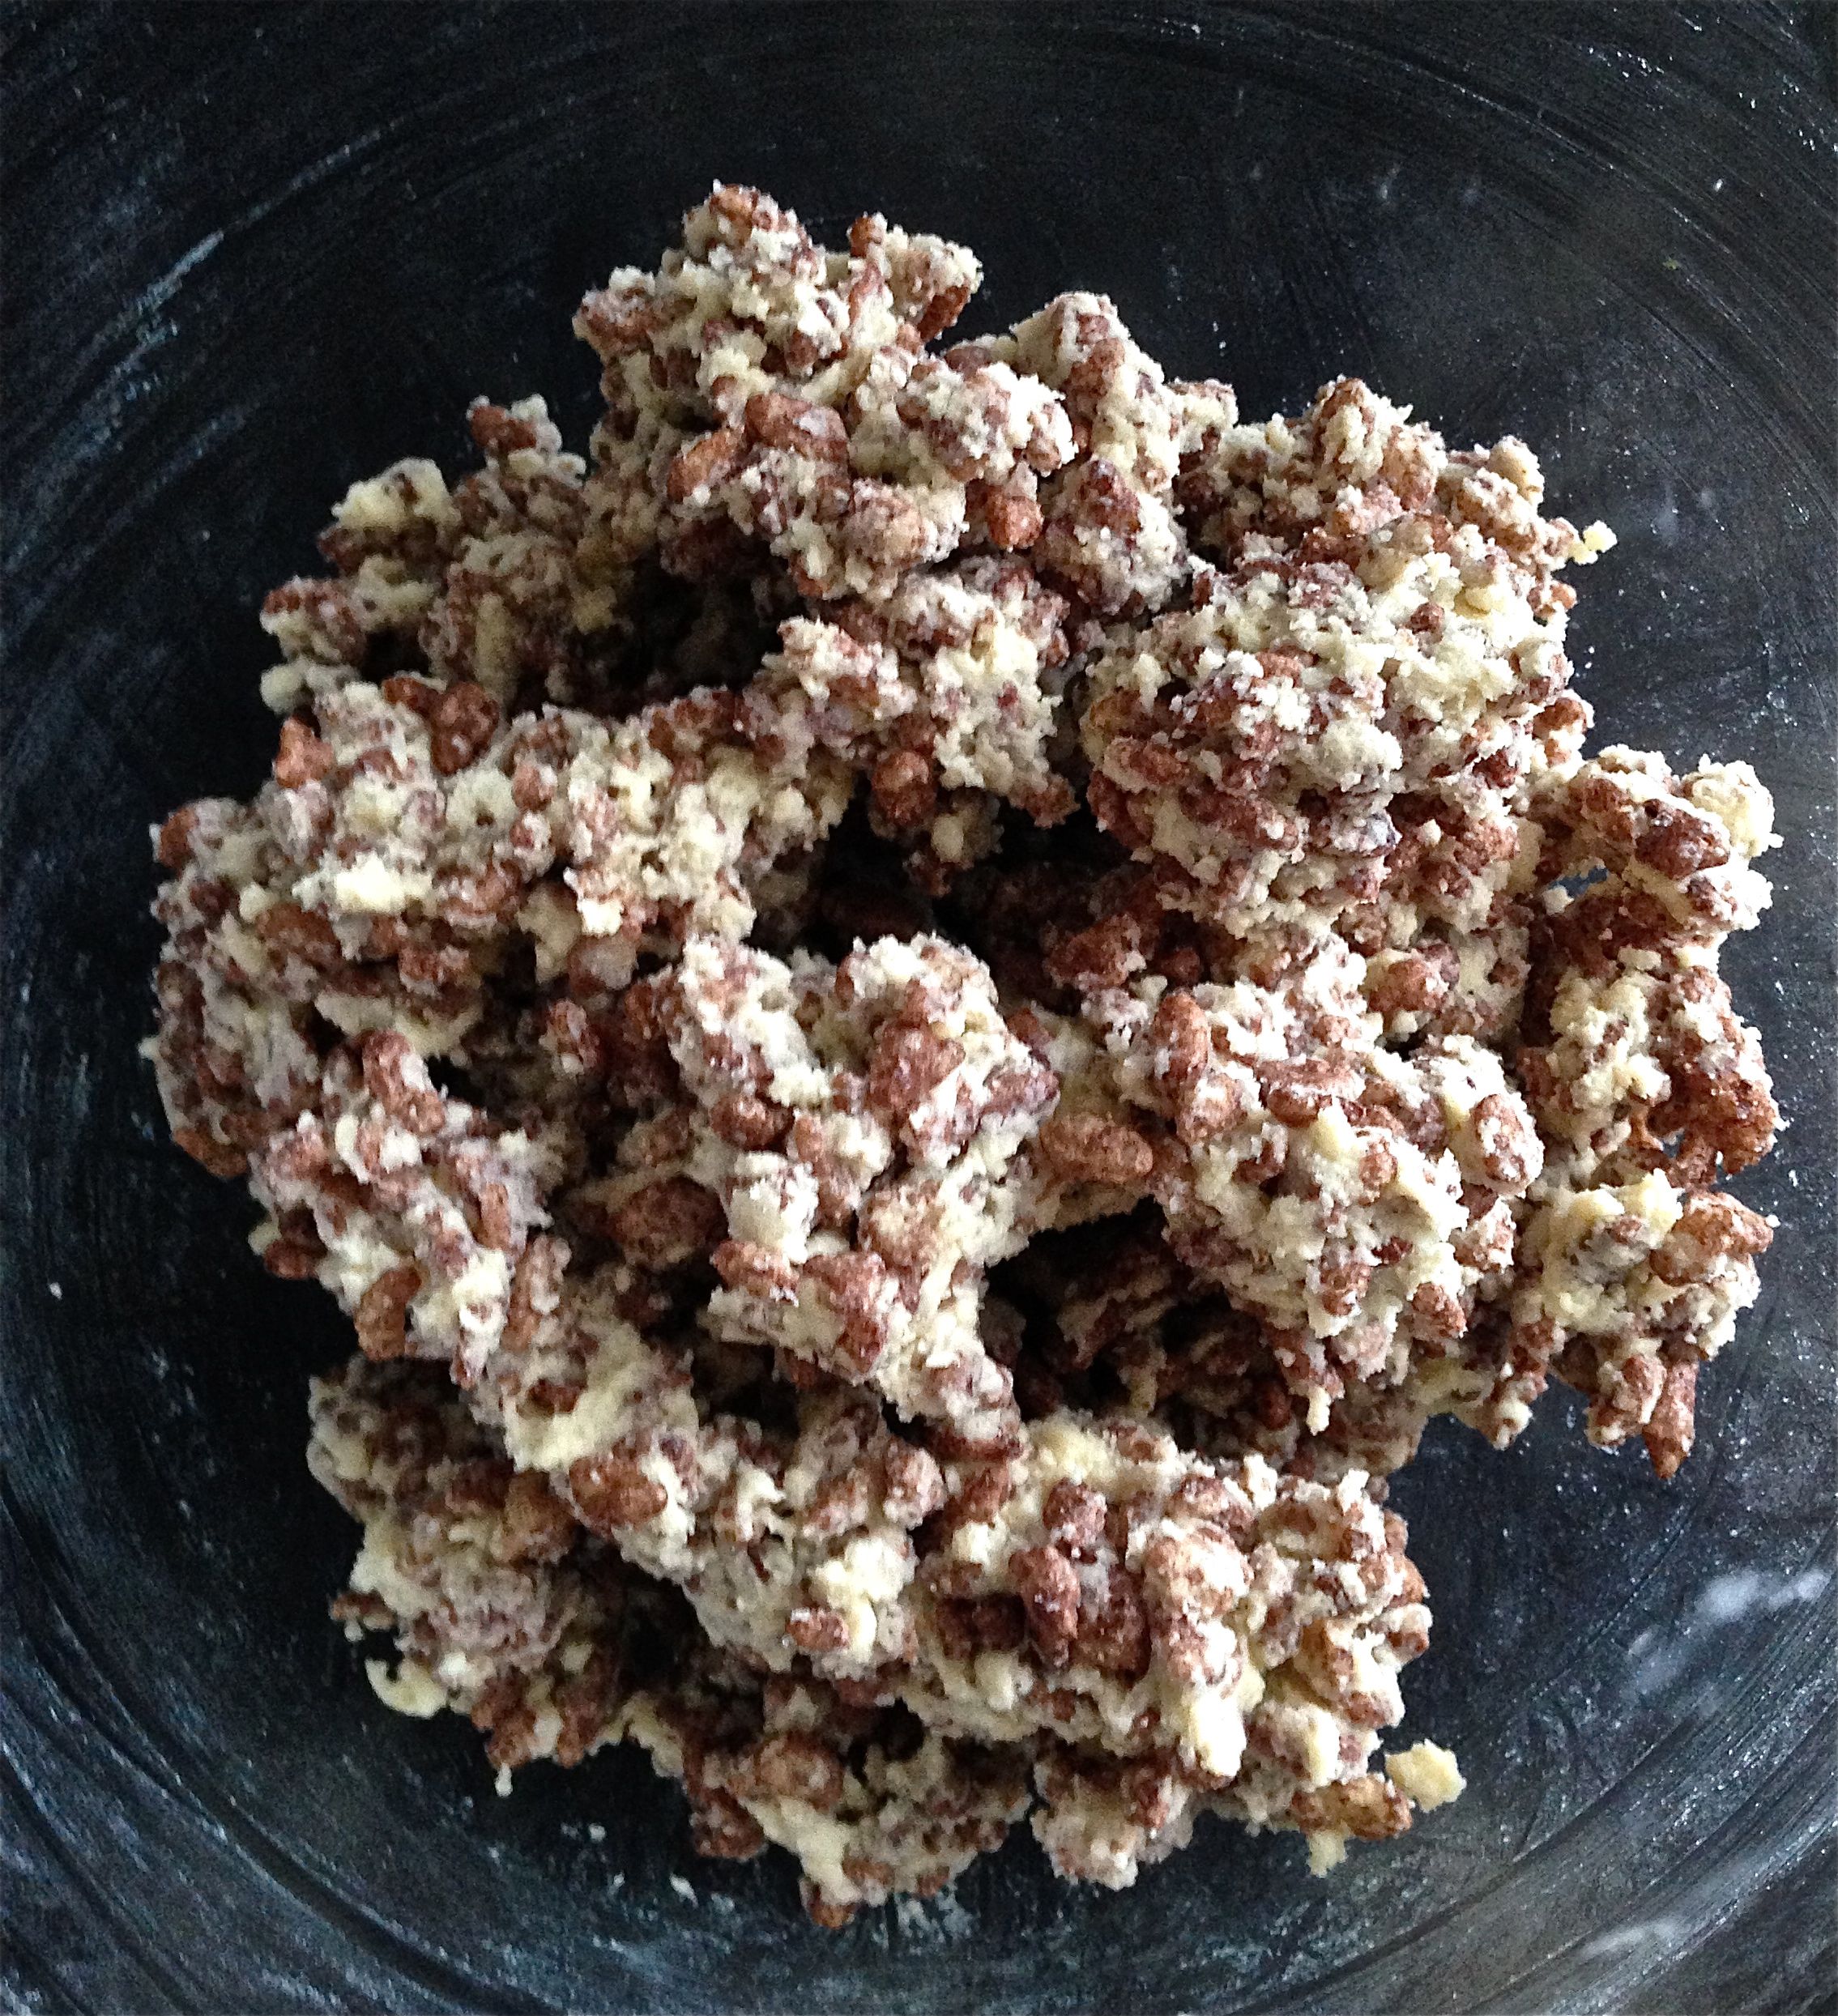
  1. Make the ice-cream by placing all the ingredients into a food processor and blitzing on high until the mix is completely smooth.
  2. Line a slice pan (lamington pan for best results) with plastic wrap, allowing for overlap.
  3. Pour the ice-cream mix in the slice pan and place the pan into the freezer to set for at least 4 hours.
  4. Meanwhile, pre-heat the oven to 180c degrees and line 2 large baking trays with baking paper.
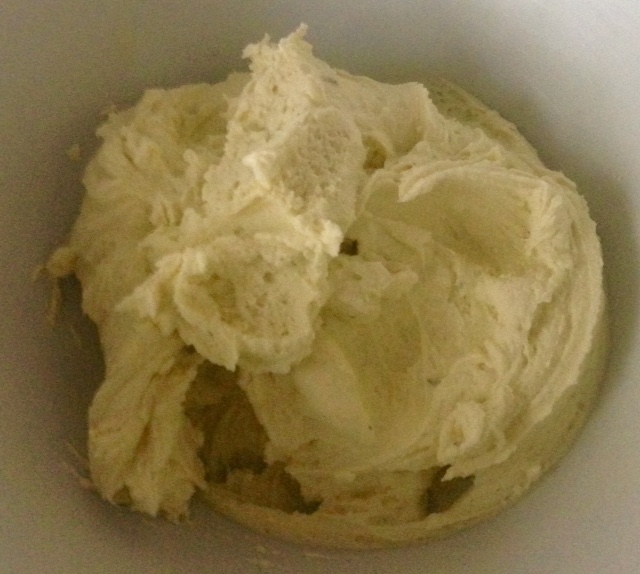
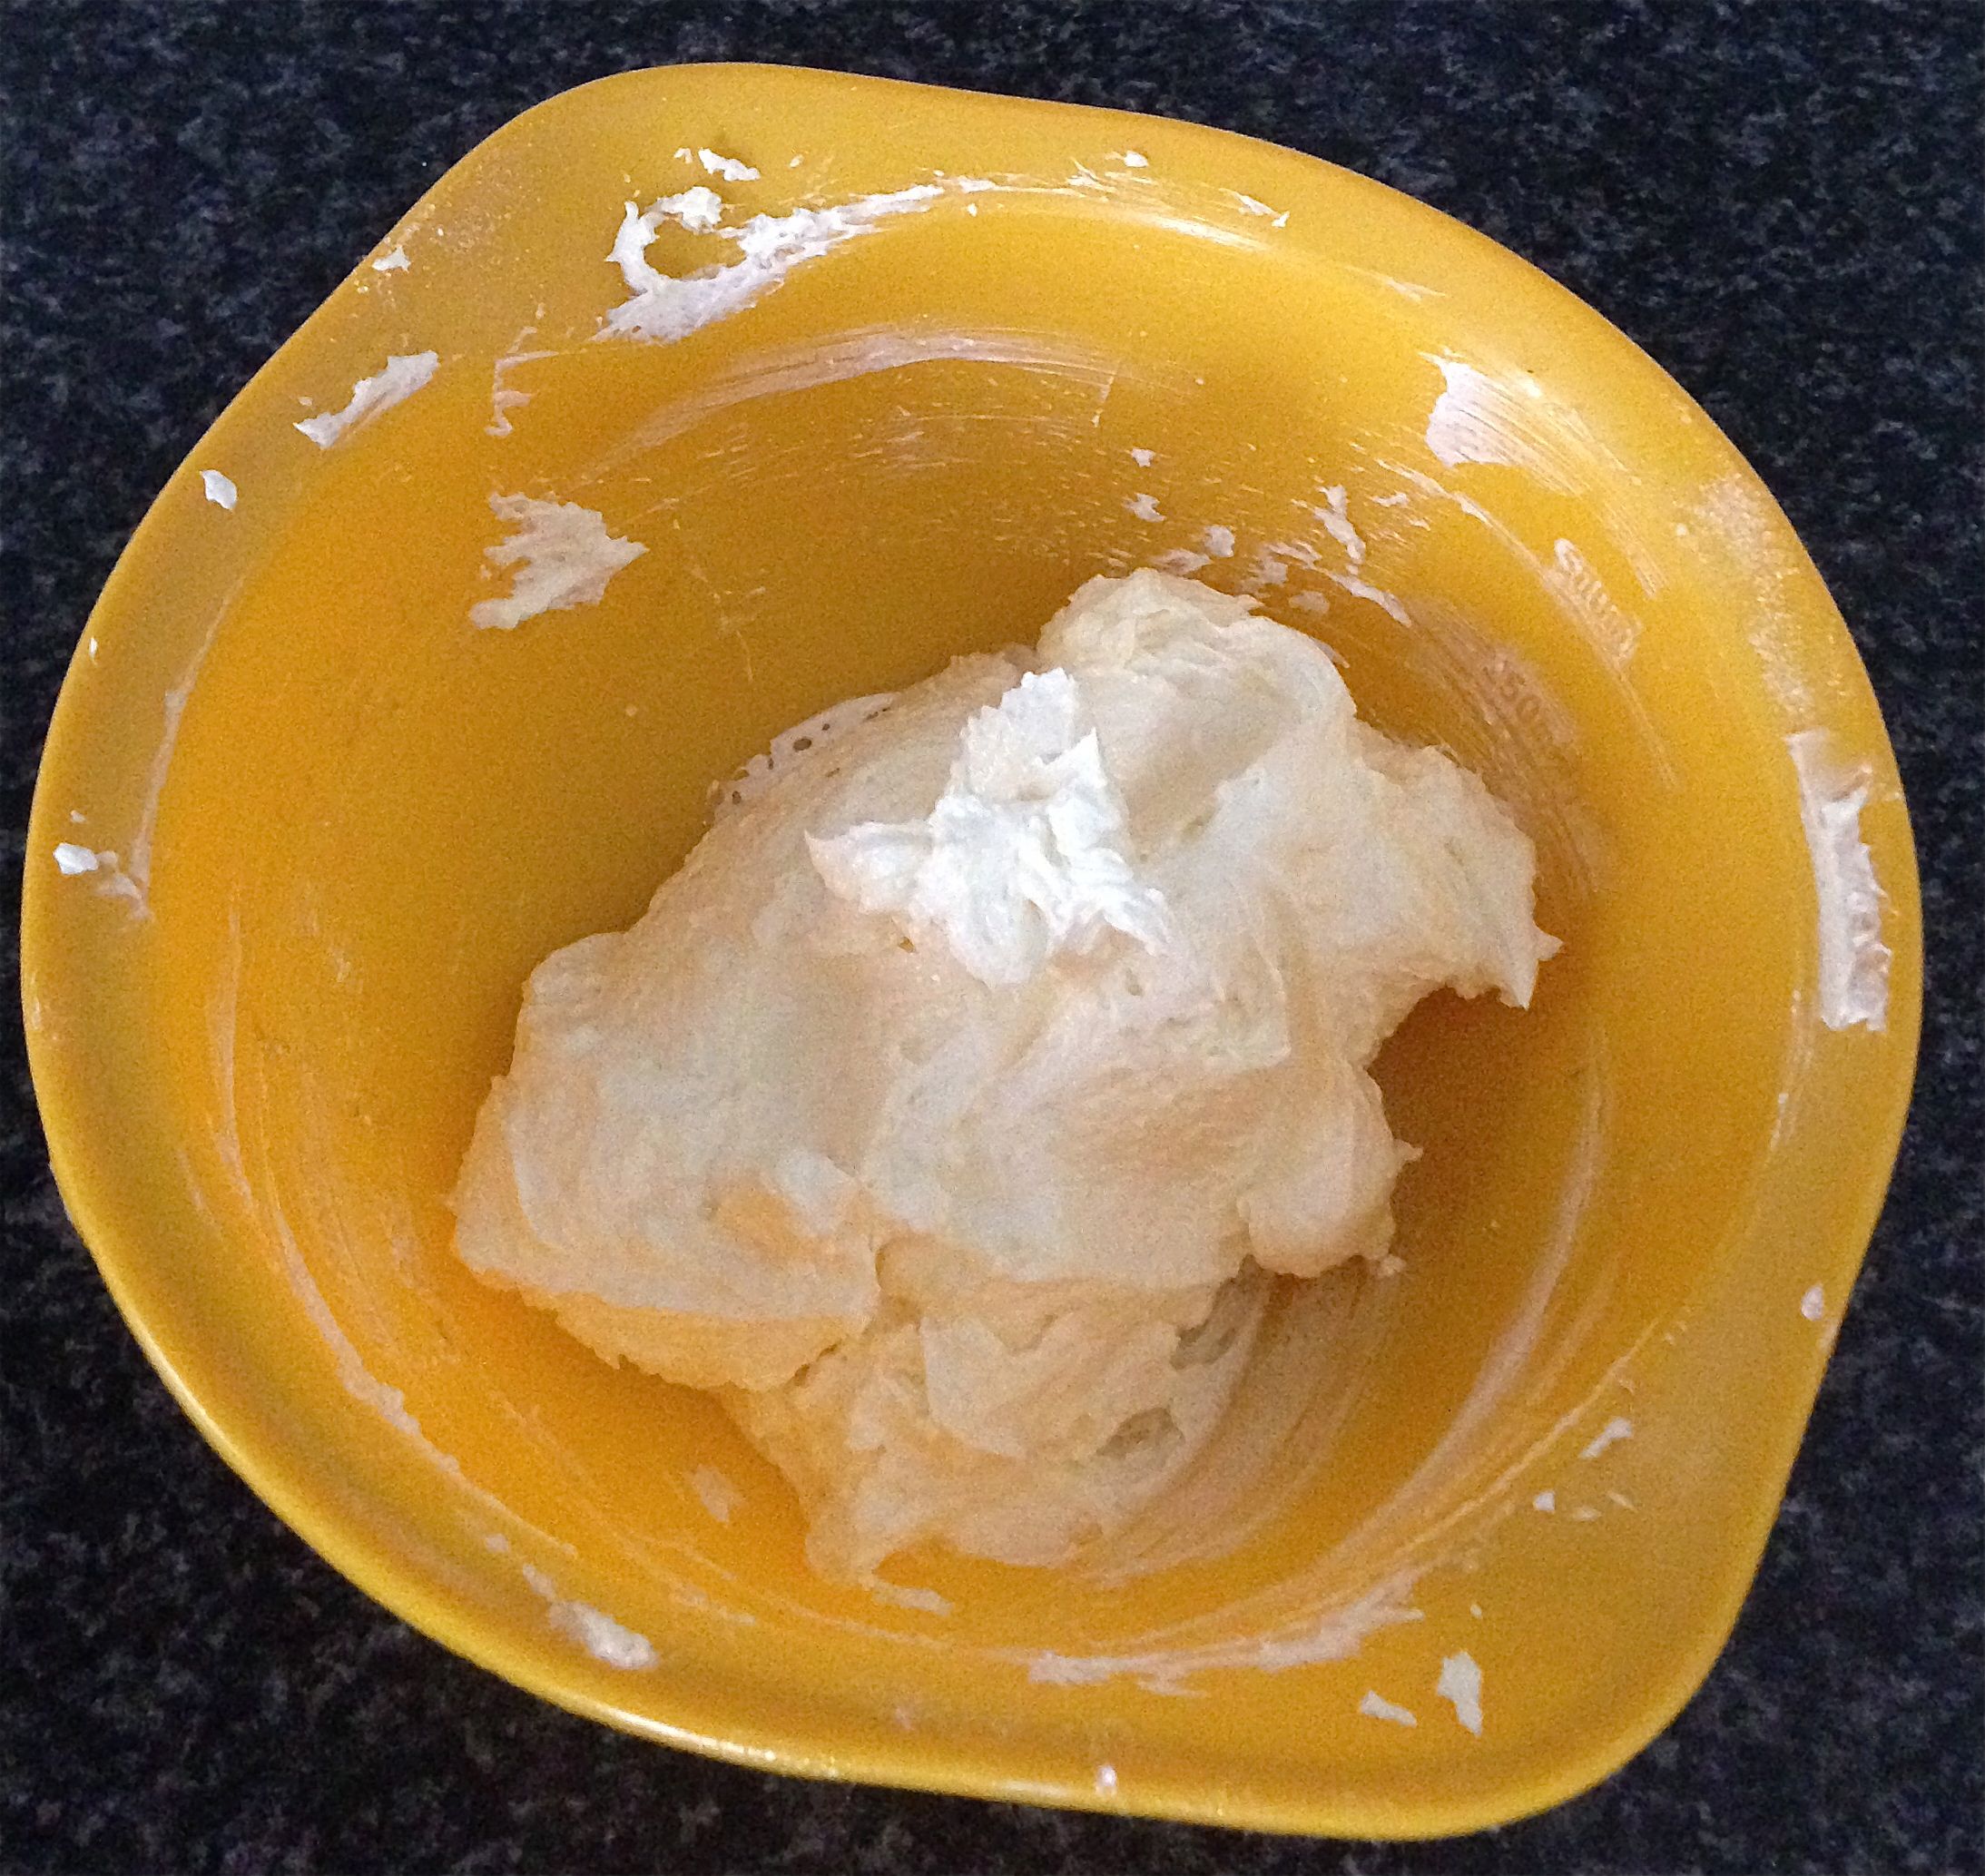
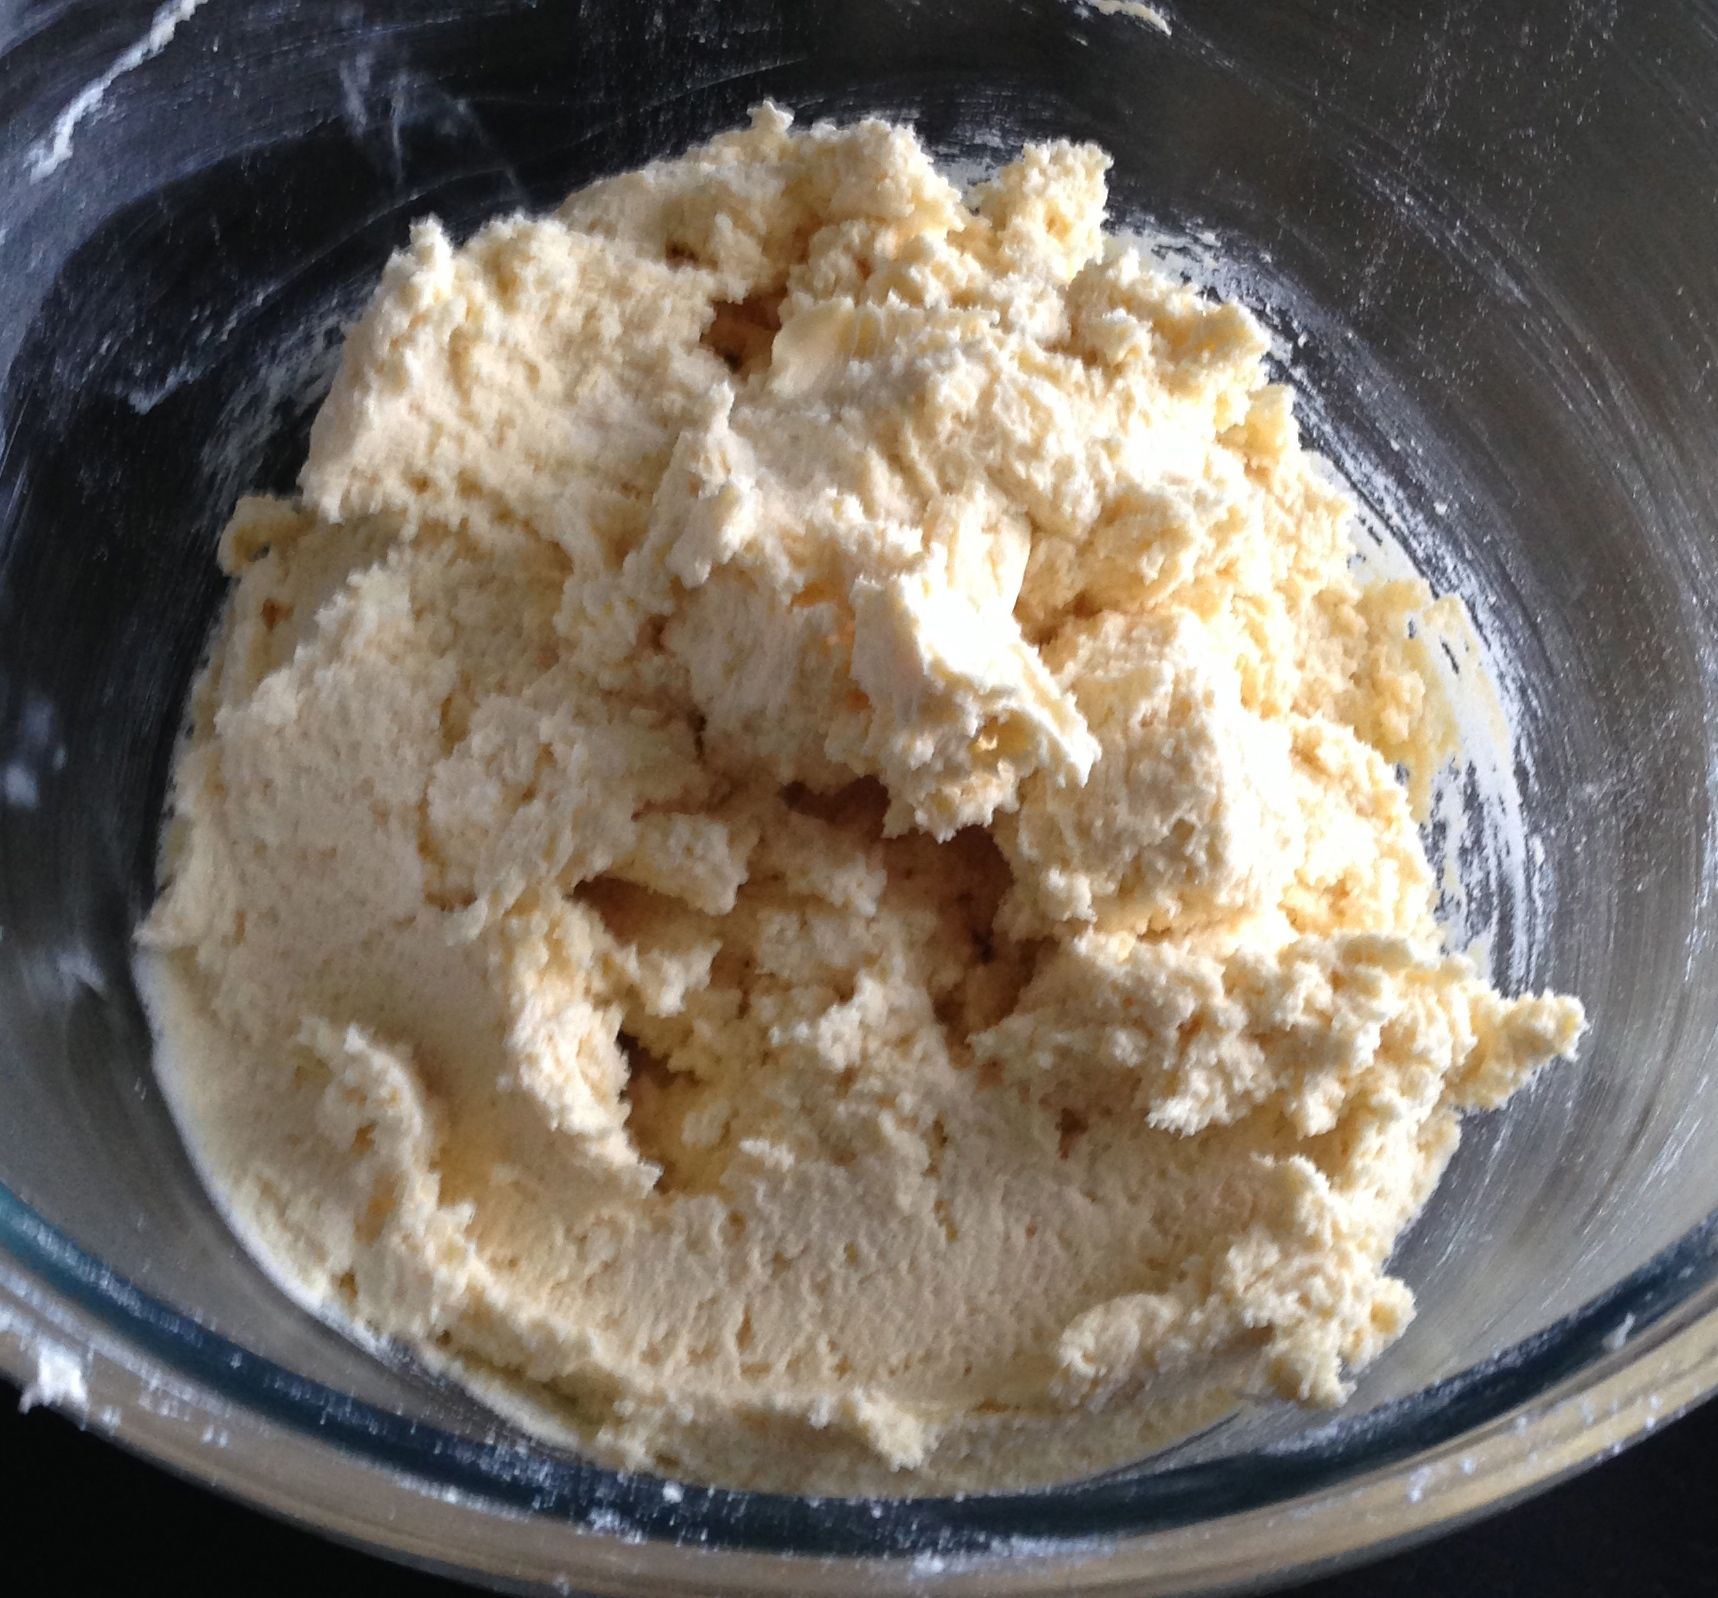
  5. Place the butter in a bowl and using electric beaters whisk for 3 minutes or until the butter is light and fluffy.
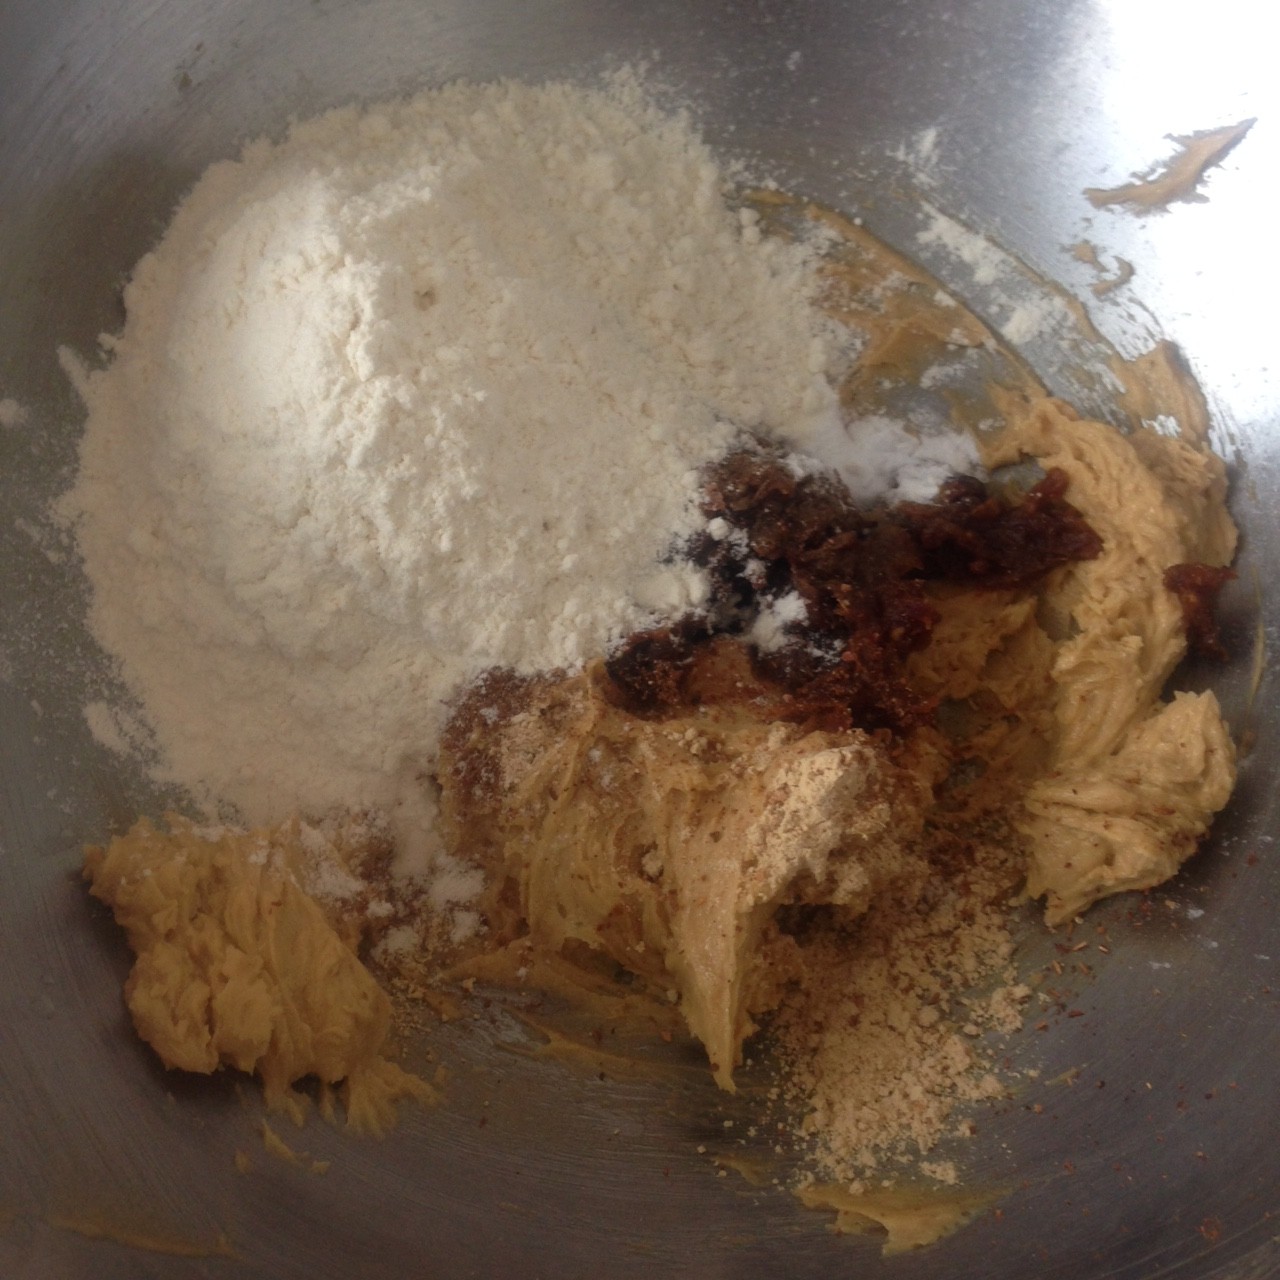
  6. Add the lemon zest, essence, custard powder and sugar and whisk until well combined.
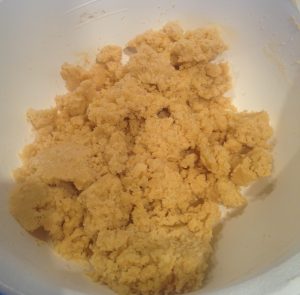
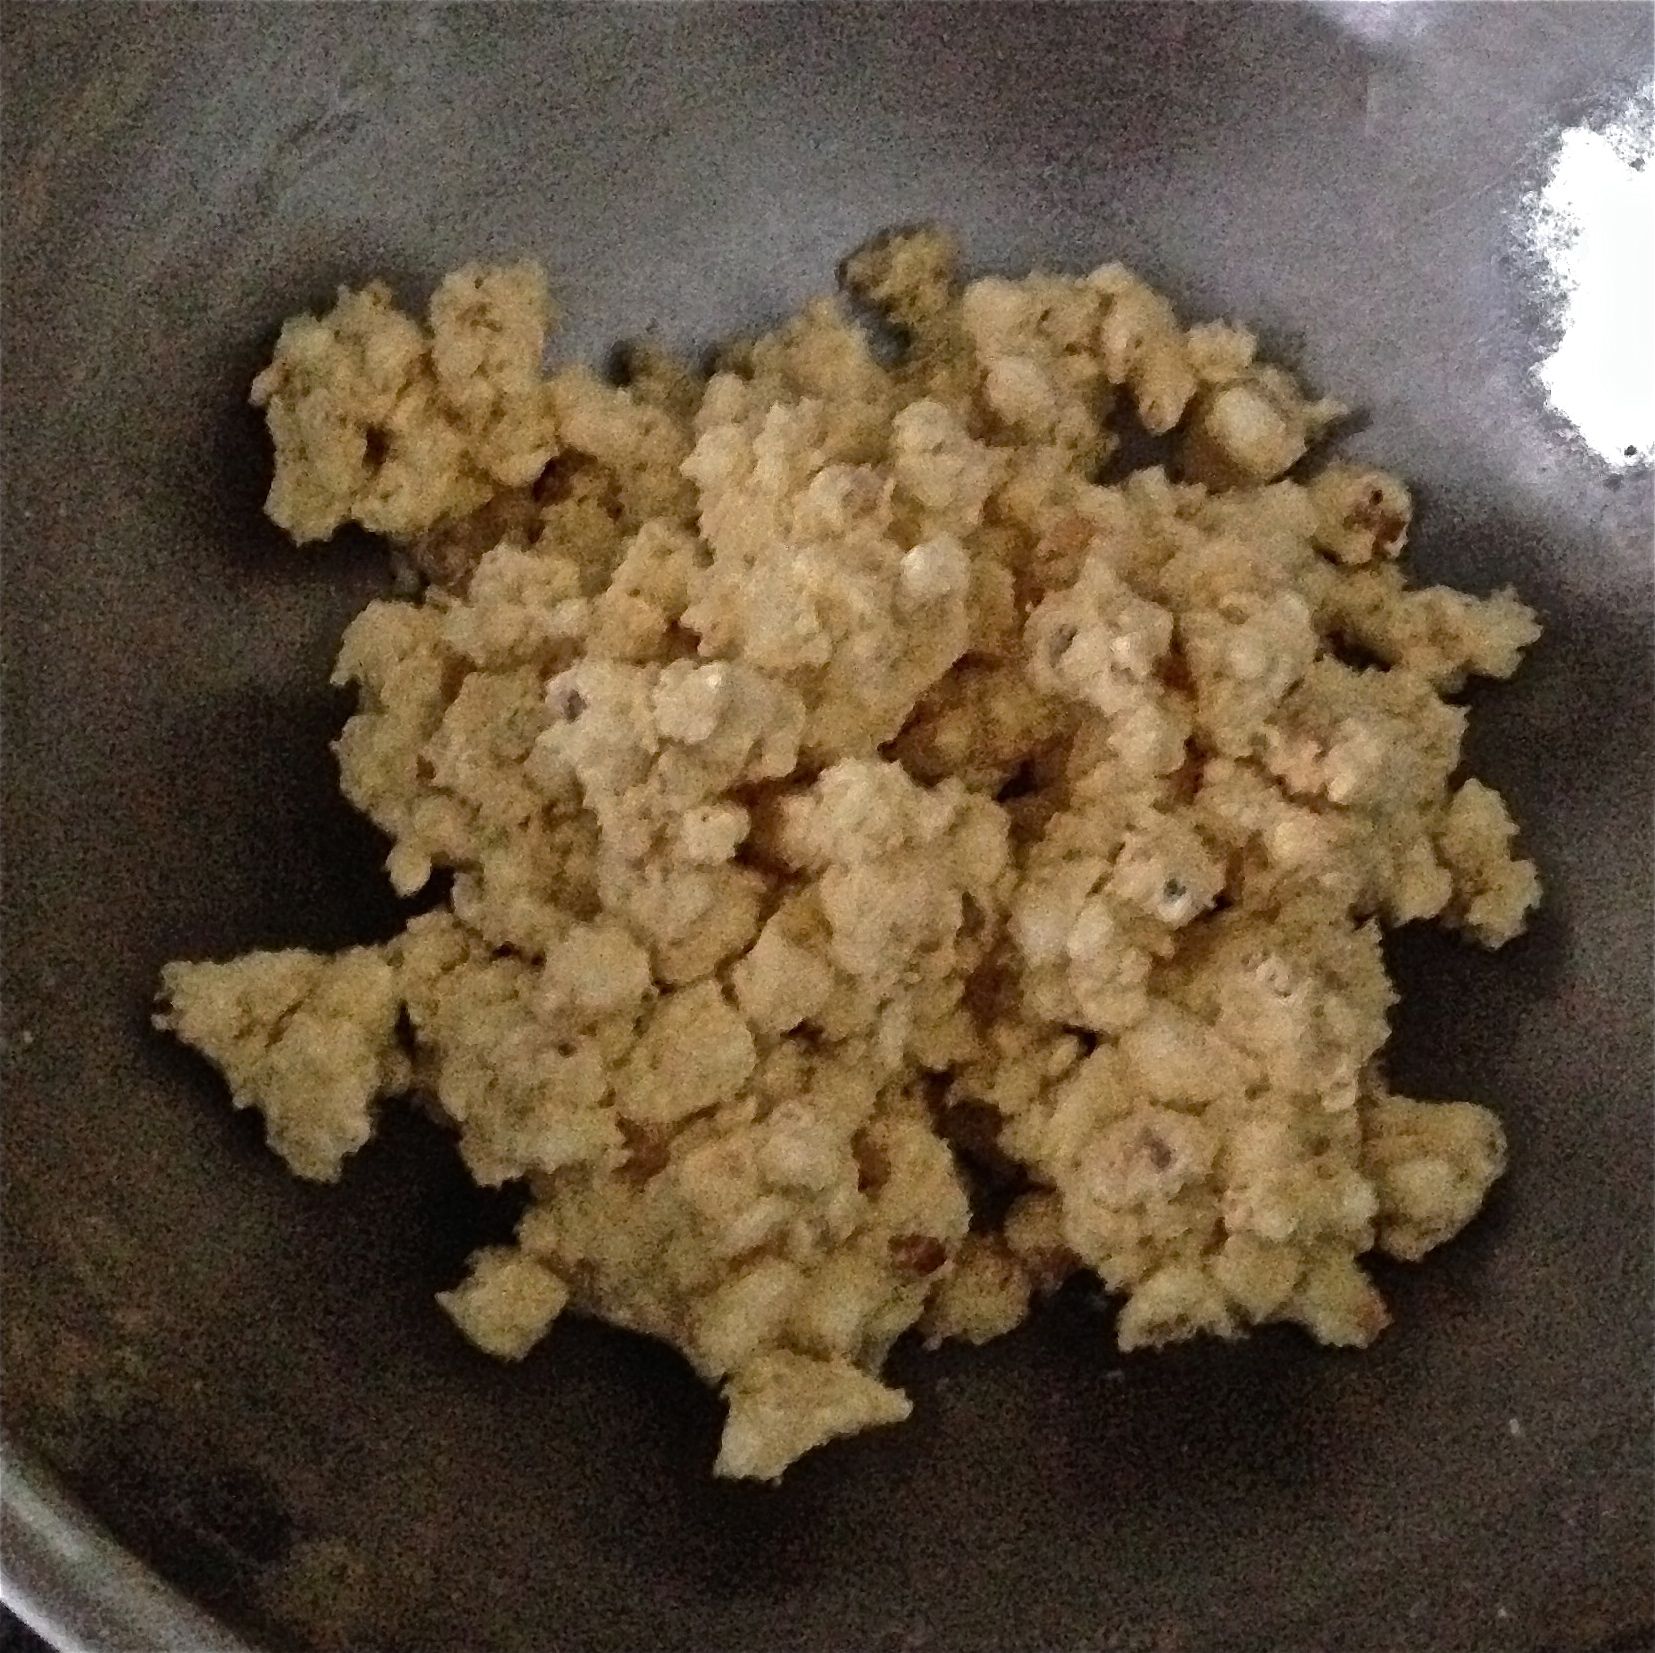
  7. Add the flour, baking powder and salt to the butter mix and whisk until just combined.
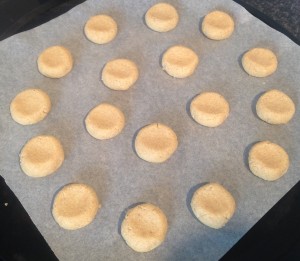
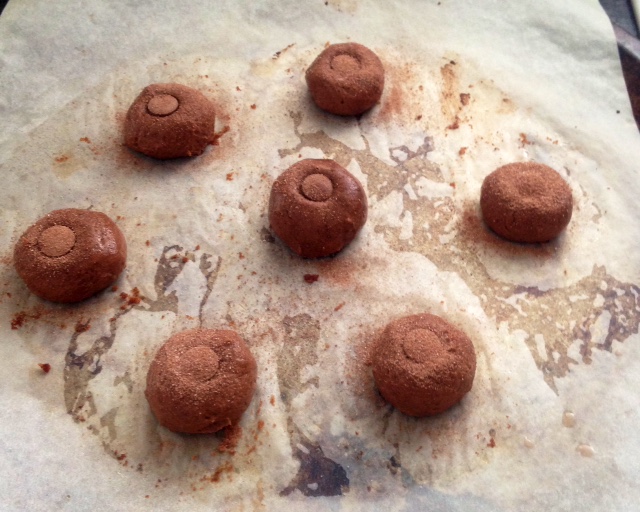
  8. Roll the mix into balls of 30g each and place on the trays (8 balls on each tray).
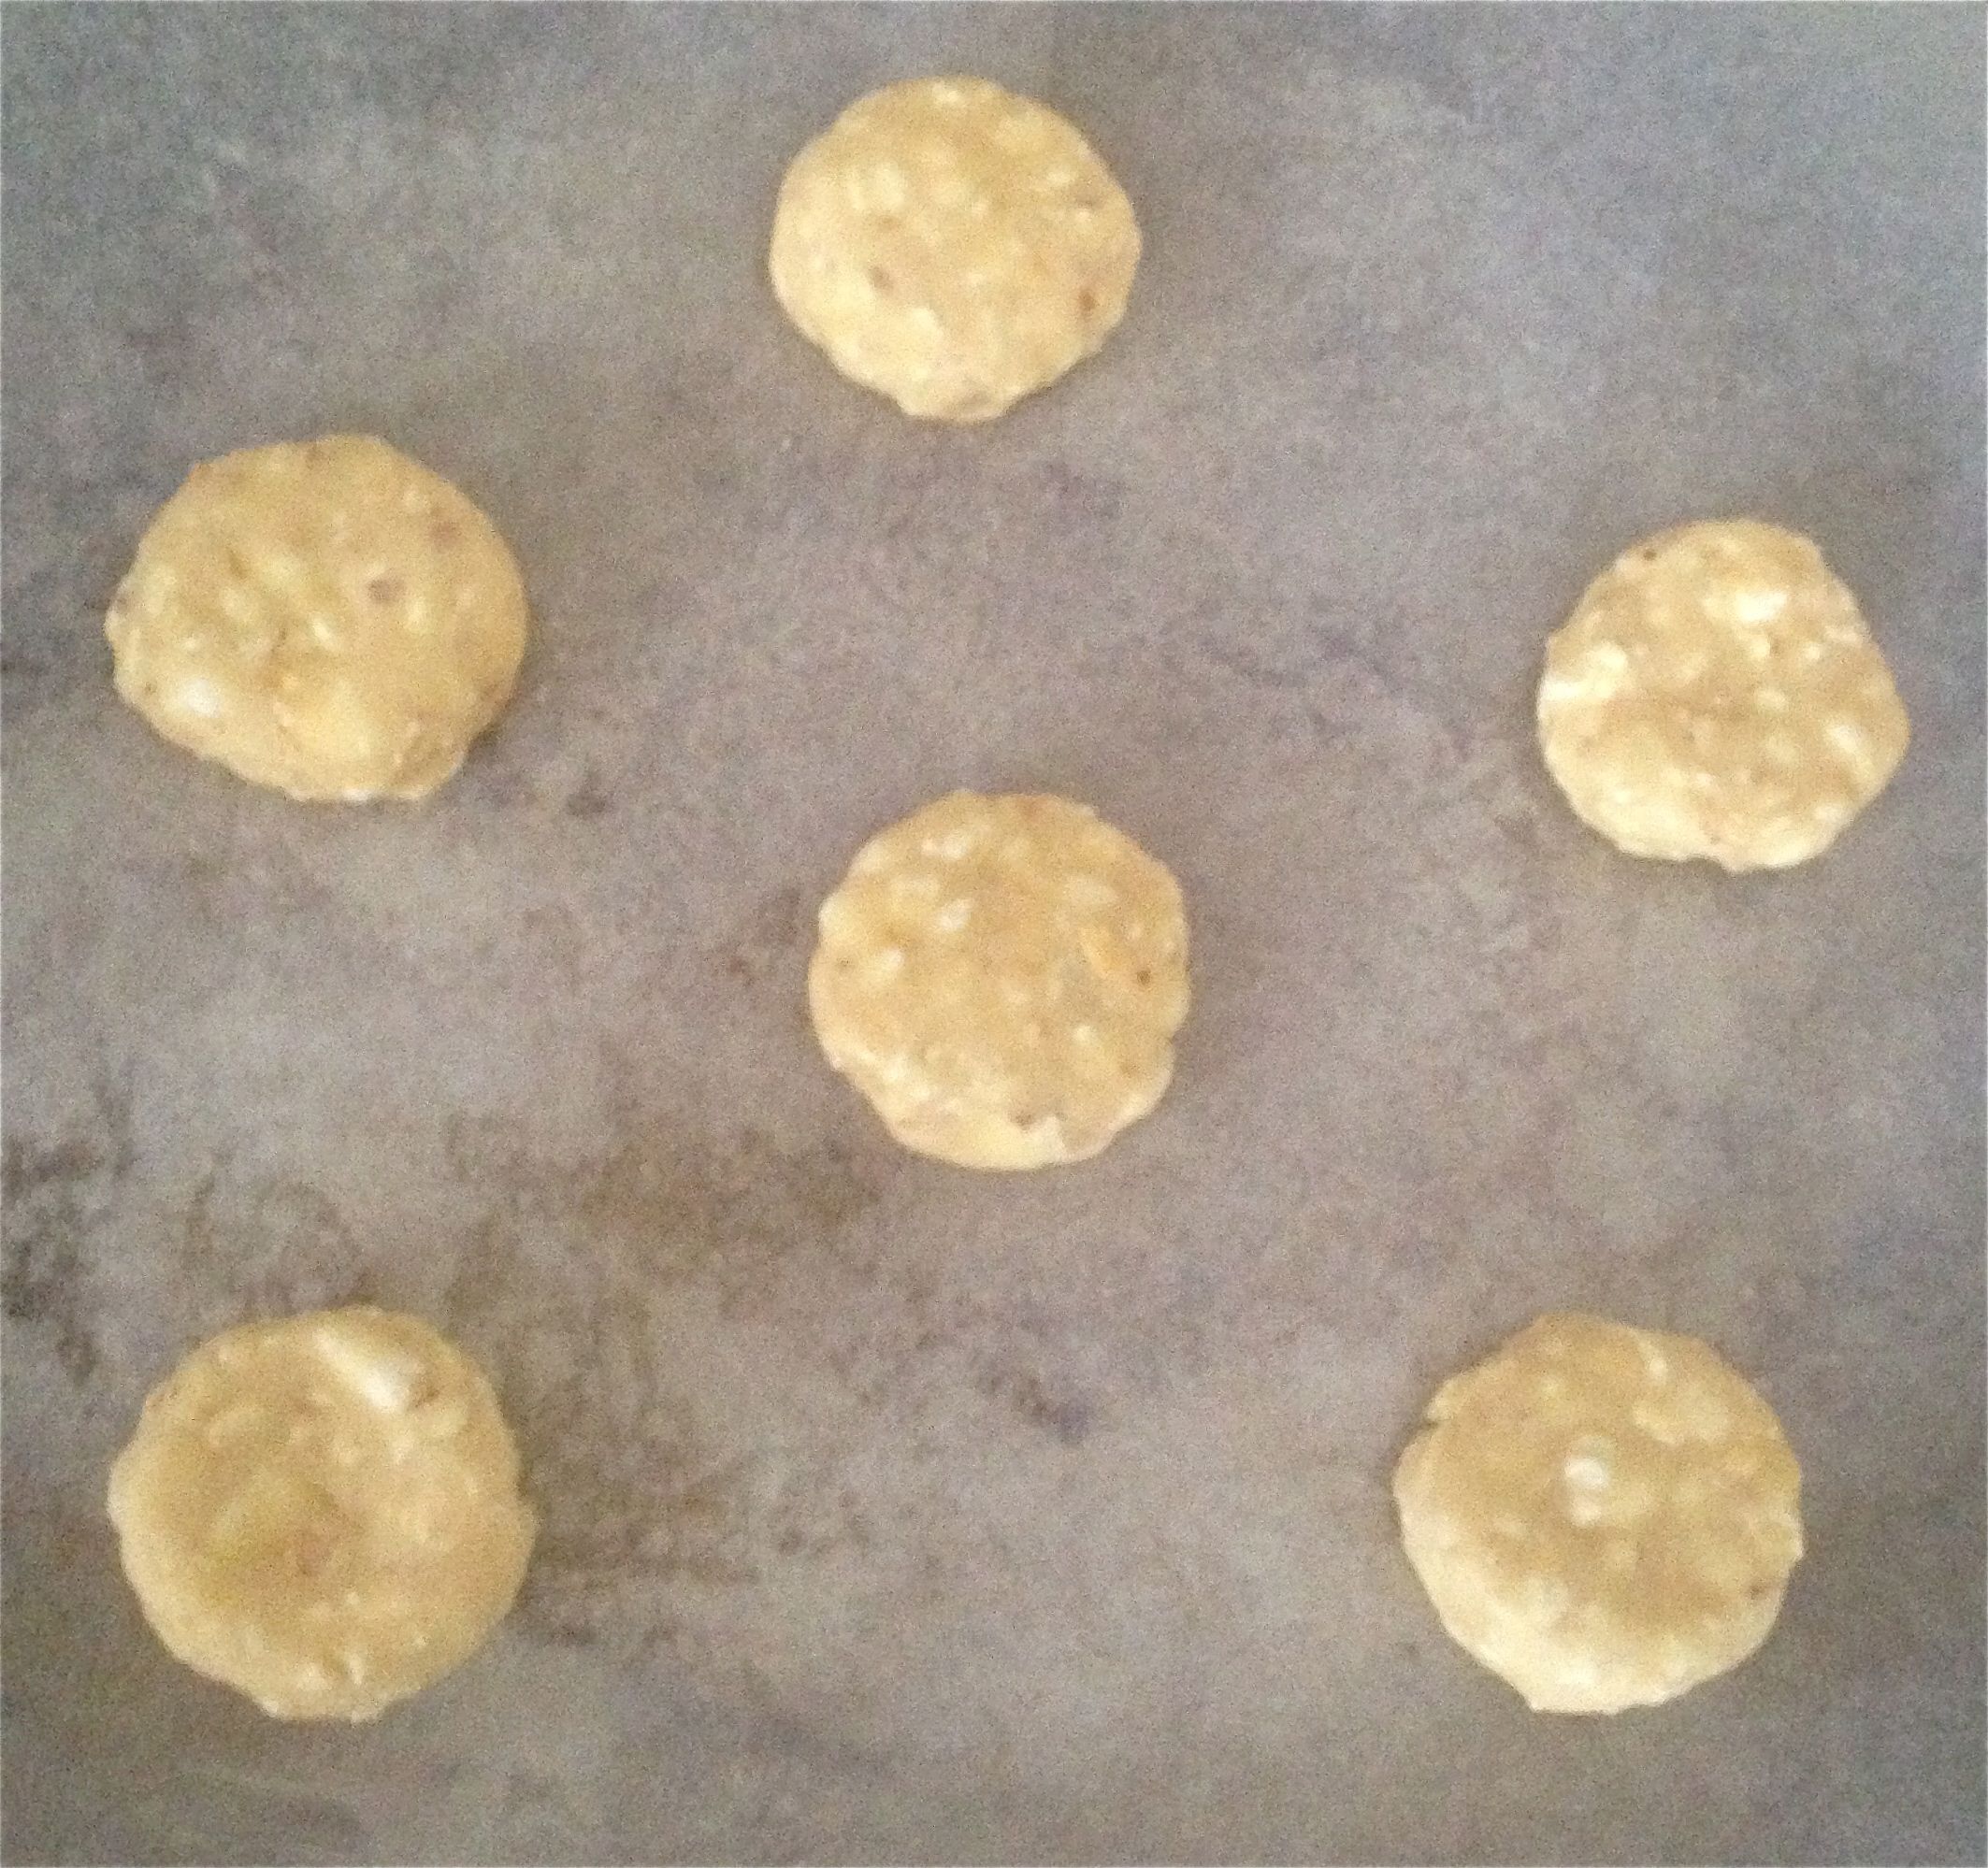
  9. Place a cookie cutter around the balls on the trays and using the back of a spoon press down to the sides of the cookie cutter.
  10. Remove the cookie cutter and repeat with all 16 balls ensuring 5cm between each biscuit.
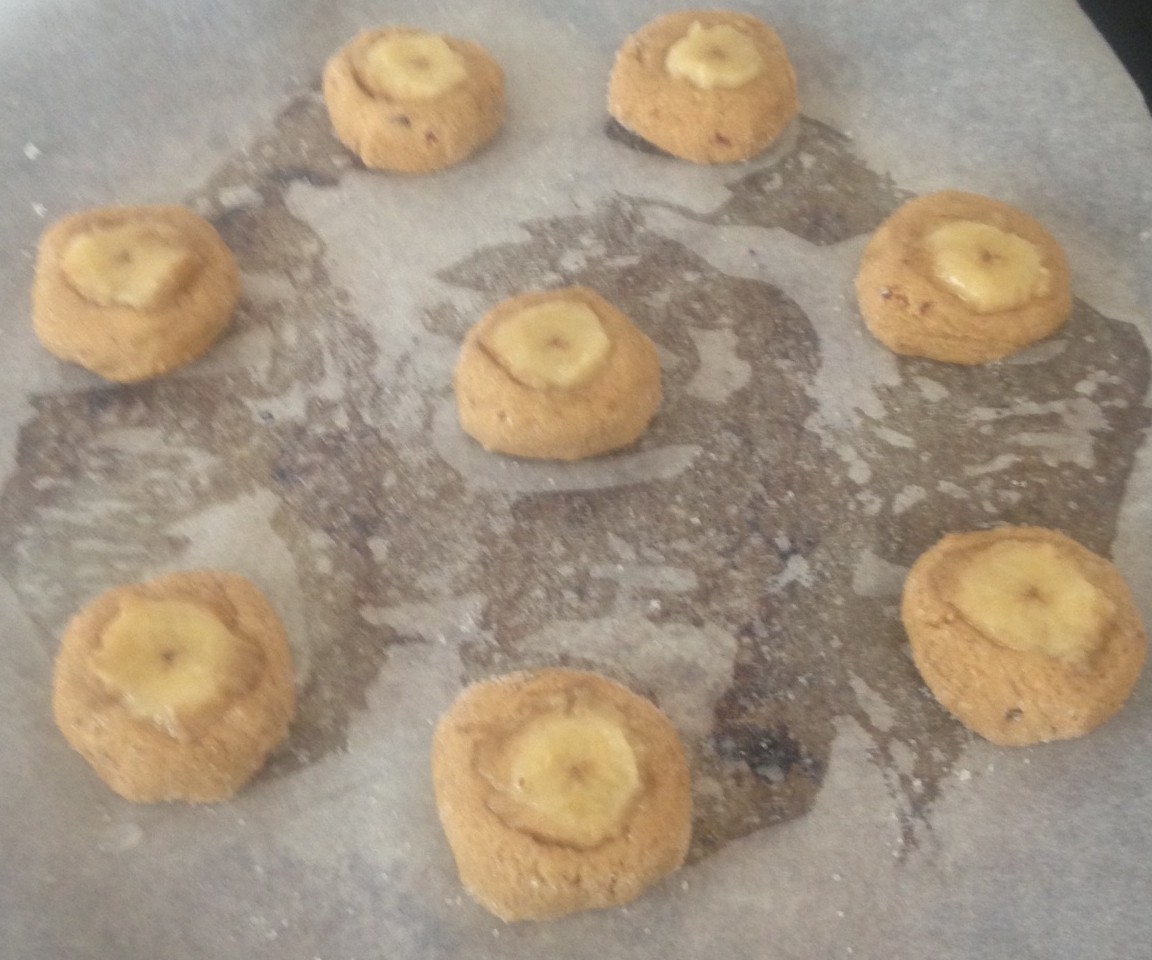
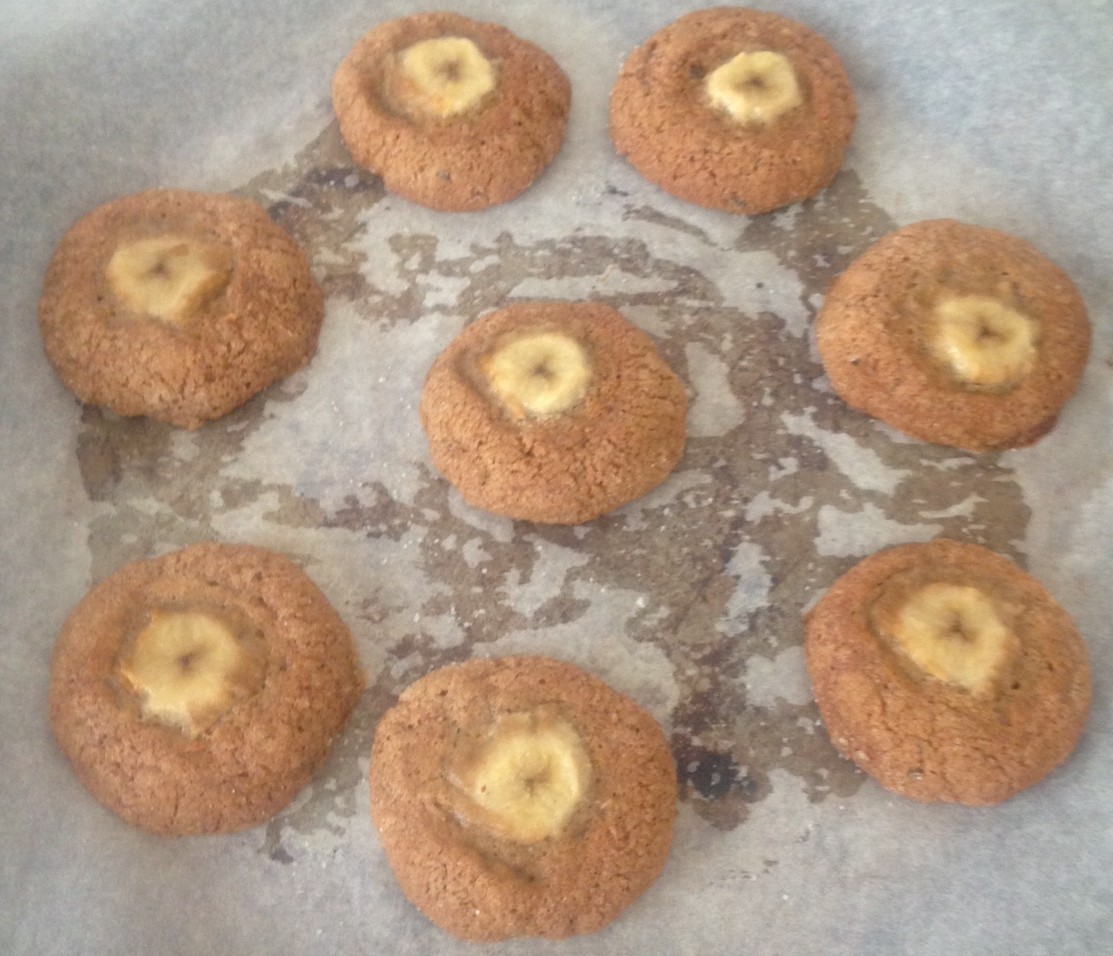
  11. Place the trays into the oven for 16 minutes or until lightly golden.
  12. Leave biscuits to cool on the trays for a few minutes then transfer onto a cooling rack until cold.
  13. Once the biscuits are cold place in the freezer for later use.
  14. To assemble, pull up the plastic wrap from the slice pan and place on the bench plastic wrap side down.
  15. Dip the cookie cutter into hot water and cut out an ice-cream circle.
  16. Place a biscuit on the bench, top with the ice-cream circle and finish with a second biscuit on top of the ice-cream circle, place completed ice-cream sandwich onto a plate.
  17. Repeat with the remaining ice-cream and biscuits until 8 ice-cream sandwiches are make.
  18. Place the plate into the freezer and freeze for at least 1 hour.
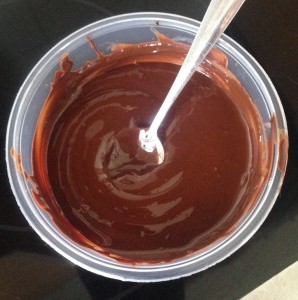
  19. To serve I topped the sandwiches with melted white chocolate and a small piping of royal icing. A dust of icing sugar will be just an nice.

Note: these sandwiches will melt if left out for a long period of time so take them out of the freezer when your ready for dessert.
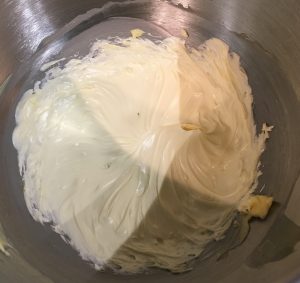
 

Banana Berry Lemon Ice-Cream Sandwich recipe

Step 5

Banana Berry Lemon Ice-Cream Sandwich recipe

Step 8

Banana Berry Lemon Ice-Cream Sandwich recipe

Step 10

Banana Berry Lemon Ice-Cream Sandwich recipe

Step 12

Banana Berry Lemon Ice-Cream Sandwich recipe

Step 15

Banana Berry Lemon Ice-Cream Sandwich recipe

Step 17

Like this recipe? Subscribe via RSS or email to get my new entries and more scrumptious recipes with reviews


Email, RSS Follow
Print
Leave a comment .
Tags: banana, Banana Berry Lemon Ice-Cream Sandwich, custard, ice-cream, ice-cream sandwich, lemon, rasberry, strawberry .

Pepparkakor

Posted on August 19, 2017 Posted in Biscuits, Swedish, Traditional .

Swedish Pepparkakor Spice Cookies

Swedish Pepparkakor Spice Cookies

The Pepparkakor cookie is a traditional Swedish Christmas cookie, commonly referred to as “ginger thins” or “gingernuts“ (however should not be mistaken for the US gingersnap biscuits in which are very different).

Swedish custom states you place a Pepparkakor cookie in the palm of your hand, then you make a wish while you use your index finger of your other hand to tap the cookie in the middle. If the Pepparkakor breaks into three pieces tradition states your wish will come true. As per most traditional treats there are many slightly varying recipes to these cookies. This was my favorite after trialing half a dozen.

To be honest I thought my gingerbread man recipe was the ultimate spiced treat, however this cookie has trumped my never fail absolutely amazing gingerbread recipe its that good.


Ingredients:

  • 225g plain flour
  • 1 tsn ground cinnamon
  • 1 tsn ground cloves
  • 1 tsn ground ginger
  • ¼ tsn ground cardamom
  • ½ tsn baking powder
  • ¼ tsn salt
  • 100g butter
  • 100g brown sugar
  • 75g golden syrup


Method:

  1. In a bowl sieve the flour, ginger, cinnamon, cloves, cardamom, baking soda, and salt. Stir.
  2. Place the butter, sugar and syrup into a saucepan on a medium heat and stir until melted and well combined.
  3. Take off the heat and leave aside to cool.
  4. Sieve the flour mix over the cooled butter mix and stir until well combined.
  5. Form the dough into a ball shape, wrap in plastic wrap and place in the fridge for at least 4 hours.
  6. Preheat the oven to 175c degrees and line 2 baking trays with baking paper.
  7. Using a lightly floured rolling pin roll out the dough to a 2cm thickness on a lightly floured surface.
  8. Use a cookie cutter to cut the dough into shapes and place cookies onto the prepared baking tray.
  9. Place the trays in the oven for 7 minutes or until the cookies are lightly golden brown.
  10. Leave the cookies on the trays for 5 minutes before placing on to a wire rack to cool completely, durst with icing sugar.


Swedish Pepparkakor Spice Cookies

Step 2

Swedish Pepparkakor Spice Cookies

Step 5

Swedish Pepparkakor Spice Cookies

Step 7

Swedish Pepparkakor Spice Cookies

Step 8

Swedish Pepparkakor Spice Cookies

Step 10

Like this recipe? Subscribe via RSS or email to get my new entries and more scrumptious recipes with reviews


Email, RSS Follow
Print
Leave a comment .
Tags: Pepparkakor, Spice Cookies, swedish, Swedish Pepparkakor Spice Cookies .

Spiked Oat Peanut and Chocolate Cookies

Posted on September 25, 2016 Posted in Biscuits .

Spiked Oat Peanut and Chocolate Cookies

Spiked Oat Peanut and Chocolate Cookies recipe

These cookies came from me experimenting with cookie ‘sandwich’ biscuit recipes. I made a few patches of a range of varying flavor combinations where to list a few includes;  peanut butter, almond, coconut, lime, butterscotch, caramel, Kahlua, chocolate…and the list goes on. The aim of making all the variations was to (a) have fun playing around with flavor pairings, but ultimately (b) I wanted to make up an epic recipe for a friends birthday to take to her gathering.

The best mix was peanut butter, chocolate and coconut with the addition of Kahlua to enhance and amplify the chocolate flavor, in which that it did!

This recipe you can say is not as out there as others I have made, BUT these cookies are pretty darn amazingly tasty.


Ingredients:

Biscuit:

  • 160g butter
  • 160g sugar
  • 90g peanut butter
  • 45ml Kahlua
  • 150g plain flour
  • 65g desiccated coconut
  • 1/8 tsn salt
  • 105g Oat bran

Filling:

  • 300g dark chocolate
  • 30ml cream
  • 90g peanut butter

Extra:

  • 60g desiccated coconut


Method:

  1. Preheat the oven to 160c degrees and line a 30 x 30cm baking tray with baking paper.
  2. Using electric beaters whisk the soft butter and sugar until creamy.
  3. Add the peanut butter and Kahlua and beat until well combined.
  4. Sift in the flour and add in the coconut, oats and salt. Stir to combine.
  5. Wet hands and roll mix into 15g balls, placing on the tray with 5cm between each ball.
  6. Once all balls are done use the back of a spoon to slightly flatten.
  7. Bake in the oven for 12-14 minutes then place on a cooling rack until cooled.
  8. Meanwhile, to make the filling place the chocolate with the cream in a bowl and microwave in 30 second intervals stirring in between until melted and smooth.
  9. Set the chocolate aside in the fridge for 30 mins of until the chocolate is at a spreadable consistency (similar to peanut butter)
  10. Spread each cooled biscuit on the baked side down with the chocolate mix.
  11. On half the biscuits drop a small amount of peanut butter into the center of the biscuit on top of the ganache.
  12. Sandwich the biscuits together.
  13. Roll each of the biscuits on their side into the extra desiccated coconut and roll to cover all the chocolate filling until all biscuits are done.


Pumpkin Vanilla and Cinnamon Scrolls recipe

Step 2

Spiked Oat Peanut and Chocolate Cookies recipe

Step 4

Spiked Oat Peanut and Chocolate Cookies recipe

Step 6

Spiked Oat Peanut and Chocolate Cookies recipe

Step 7

Spiked Oat Peanut and Chocolate Cookies recipe

Step 8

Spiked Oat Peanut and Chocolate Cookies recipe

Step 13


Like this recipe? Subscribe via RSS or email to get my new entries and more scrumptious recipes with reviews.

Email, RSS Follow
Print
Leave a comment .
Tags: biscuits, chocolate, coconut, cookies, dark chocolate, dessicated coconut, kahlua, oat bran, peanut butter, Spiked Oat Peanut and Chocolate Cookies .

Grape Jelly Melting Moments

Posted on July 17, 2016 Posted in Biscuits .

Grape Jelly Melting Moments

Grape Jelly Melting Moments recipe

You may have noticed if you read my blog frequently that I use jelly crystals for flavoring very often from home-made fondant to cheesecakes. So when I wanted to make my never-fail-always complemented melting moments recipe with a twist and unusual flavor of course my first thought was to use jelly crystals for this and use the crystals to replace the sugar in the biscuits.

After reviewing the jelly isle in the supermarket I landed on purple grape as my chosen flavor (blue heaven, bubblegum and creamy soda have already featured in my past recipes).

After some tweaking and playing around with the recipe I was able to get the ratios perfect and created a brand new deliciously tasting biscuit.

Ingredients:

Biscuit:

  • 150g butter
  • 64g custard powder
  • 60g jelly crystals
  • 160g flour
  • 1 tsn baking powder

Filling:

  • 80g butter
  • 140g icing sugar
  • 50g jelly crystals


Method:

  1. Pre-heat the oven to 180c degrees and line a large baking tray with baking paper.
  2. Place the butter and jelly crystals in a bowl and using electric beaters whisk until the butter is light and fluffy.
  3. Add the custard powder and whisk until combine.
  4. Add the flour and baking powder and using a spoon stir until the mix until well combined.
  5. Roll the mix into balls of 20g each and place on the tray.
  6. Press each ball with the back of a fork and place in the oven for 16 minutes or until lightly golden.
  7. Place biscuits on a cooling rack until cold.
  8. Meanwhile make the icing by placing the ingredients into a bowl and whisk using electric beaters until well combined.
  9. Spoon the icing onto half the biscuits on the bottom side and sandwich with the remaining biscuits.
  10. Dust with a little icing sugar and enjoy.


Grape Jelly Melting Moments recipe

Step 3

Grape Jelly Melting Moments recipe

Step 4

Grape Jelly Melting Moments recipe

Step 5

Grape Jelly Melting Moments recipe

Step 7

Grape Jelly Melting Moments recipe

Step 8


Like this recipe? Please subscribe via RSS or email to get my new entries and more scrumptious recipes with reviews.


Email, RSS Follow
Print
Leave a comment .
Tags: grape, grape jelly, grape melting moments .

Sticky Date and Spiced Banana Cookies

Posted on June 15, 2015 Posted in Biscuits .

Sticky Date and Spiced Banana Cookies

Sticky Date and Spiced Banana Cookies recipe

What do you do when you have left over dates and banana? You get your bake on of course! Though this recipe is for biscuits I did have to flip a coin as to if I would create a cake or biscuits.

Two of my signature dishes are my Sticky Date Pudding with Butterscotch Sauce and my Spiced Banana Cake so it only made sense to take the best of both worlds and produce a sticky date and spiced banana biscuit. Why reinvent the wheel as they say…outcome, my new favorite biscuit.

Ingredients:

  • 150g pitted dates
  • 180g butter
  • 150g brown sugar
  • 1 tsn vanilla essence
  • 1 egg
  • 256g plain flour
  • 1 tsn bi-carbonate of soda
  • 2 tsn ground ginger
  • 2 tsn mixed spice
  • ½ tsn ground star anise
  • 1 large banana

Method:

  1. Pre-heat the oven to 180c degrees and line 2 large baking trays with baking paper.
  2. Boil some water and place into a bowl. Add the dates and allow the dates to plumb up for 10 minutes in the water.
  3. Drain the dates and place into a food processor and process until smooth.
  4. Using electric beaters beat the butter and brown sugar until light and creamy.
  5. Add the vanilla and egg yolk and beat for a further 2 minutes.
  6. Add the flour, bi carb, ginger, mixed spice, star anise and pureed dates to the butter mix.
  7. Beat the mix for 3 minutes until fully combine and creamy.
  8. With wet hands roll the dough into balls of 20g in size.
  9. Once the balls are rolled place them onto the baking trays.
  10. Cut the banana into 5mm round pieces and place in the center of each ball.
  11. Using your hand push the banana into the top, slightly flattening the cookie.
  12. Bake in the oven for 20 minutes or until the biscuit is hard on touch.
  13. Leave on the tray for 5 minutes then transfer the cookies onto a cooling rack.


Sticky Date and Spiced Banana Cookies recipe

Ingredients

Sticky Date and Spiced Banana Cookies recipe

Step 6

Sticky Date and Spiced Banana Cookies recipe

Step 11

Sticky Date and Spiced Banana Cookies recipe

Step 13


Like this recipe? Subscribe via RSS or email to get my new entries and more scrumptious recipes with reviews.

Email, RSS Follow
Print
Leave a comment .
Tags: banana, biscuits, cookies, spiced, sticky date, Sticky Date and Spiced Banana Cookies .

Green Tea Melting Moments

Posted on December 8, 2014 Posted in Biscuits .

Green Tea Melting Moments

Green Tea Melting Moments recipe

For a long time now I have attempted to bake with green tea. I have made multiple cakes, shortbread, cupcakes, even a slice and nothing has turned out to satisfactory results or expectations.

I have a feeling this latest attempt is green tea attempt #6 and I am pleased to say  I have finally come up with the goods!

Now usually when baking with green tea I would use Matcha (green tea powder), however this ingredient can be very difficult to come by (definitely for me) and I was not about to travel all the way to the city to buy it! Therefore I decided to use green tea leaves. In the past when I have used loose green tea the results have not been great so instead of adding the tea to the recipe I decided to infuse the liquid ingredients with the tea to bring out the flavour (the same way hot water does with a cup of tea).

This may seem weird but it definitely works and actually has a better green tea flavour than using Matcha (green tea powder).

Therefore finally…after a few years of attempting… introducing  my Green Tea Melting Moments!

Green Tea Melting Moments recipe

Ingredients:

Biscuit:

  • 300g butter
  • 37g loose green tea (or 15 green tea bags if you don’t have loose)
  • ½ cup custard powder
  • 1/3 cup icing sugar
  • 1 + ¼ plain flour
  • 1 tsn baking powder
  • 1 cup + 1 tbsn icing sugar


Method:

  1. Preheat the oven to 180c and line 2 large baking trays with baking paper.
  2. Place the 300g butter in a saucepan on the stove on medium until bubbling.
  3. Turn to low, add the green tea leaves (if using bags cut and pour in the butter) and let the ingredients simmer for 10 minutes to allow the butter to infuse the flavor.
  4. Once simmered pour through a sieve into a bowl and place in the fridge to harden again.
  5. Place 180g of the butter into a bowl once the butter is set again and using electric beaters beat on high for 2 minutes.
  6. Add the custard powder and icing sugar beating for 2 minutes until light and fluffy.
  7. Add the flour and baking powder and beat until combine.
  8. Spoon the mix into a piping bag with a star nozzle and pipe onto the baking paper in 4 cm rounds.
  9. Bake in the oven for 16 minutes or until golden.
  10. Allow the biscuits to cool on the tray for 5 minutes then you may transfer onto a cooling rack.
  11. For the filling beat with electric beaters the remaining butter (this should be 100g) and icing sugar on high for 5 minutes until fluffy and light.
  12. Using a spoon place 1 tsn of filling on a cooled biscuit and sandwich with another biscuit on top.


Notes:

  • You will notice I have listed 300g of butter but the recipe only calls for 280g. This is due to the tea soaking up some of the butter when infusing, therefore resulting in some butter lost. If you still need more butter just top up with standard butter to hit the required amount.
  • If you would prefer to use Matcha powder instead of the loose green tea what you will need to do is:
    • Omit steps 2, 3 and 4 of this recipe.
    • Use 200g butter for the biscuit (increase of 20g).
    • Add 3 tbsn of Matcha when you add in the flour and baking powder.
    • Add 1 tbsn of Matcha to the filling mix and omit the extra 1 tbsn of icing sugar for the filling.
    • Beat the Matcha with the butter and icing sugar all at the same time.


Green Tea Melting Moments recipe

Ingredients

Green Tea Melting Moments recipe

Step 4

Green Tea Melting Moments recipe

Step 7

Green Tea Melting Moments recipe

Step 8

Green Tea Melting Moments recipe

Step 9

Green Tea Melting Moments recipe

Step 11

Green Tea Melting Moments recipe

Step 12


Like this recipe? Subscribe via RSS or email to get my new entries and more scrumptious recipes with reviews.

Email, RSS Follow
Print
Leave a comment .
Tags: Green tea, Green Tea Melting Moments, melting moments, shortbread biscuits .

Ovaltine Biscuits

Posted on October 20, 2014 Posted in Biscuits .

Ovaltine Biscuits

Ovaltine Biscuits

In the milk flavoring isle of the supermarket I noticed a product that reminded me of my childhood, that I had actually forgotten still existed.

As a primary schooler I do remember getting a packet of Ovaltines in my lunchbox as a treat, however since then have not come across this malt product. Seeing this product and recalling the flavor made my decide I had to bake with this product as a feature ingredient.

So I made an Ovaltine cake, how ever I was not  happy with the end result as the Ovaltine made the cake too dense and quite flat.

As a secondary trial with the ingredient I attempted Ovaltine icing, this was good but I wanted to make something more robust.

Therefore as a third attempt I decided to make biscuits. As the Ovaltine made the cake too dense in texture I though the Ovaltine would make the biscuits nice and chewy (like Anzac biscuits). Finally success and yes they are deliciously chewy with a lovely Ovaltine malt taste!


Ingredients:

  • 200g brown sugar
  • 200g butter
  • 2 eggs
  • 2 tsn vanilla essence
  • 1 tbsn milk
  • 150g Ovaltine
  • 270g plain flour
  • 1 tsn baking powder


Method:

  1. Preheat oven to 180c and line 2 baking trays.
  2. Using electric beaters beat the sugar and butter until light and fluffy.
  3. Add in the eggs, beating in between each addition until pale and creamy.
  4. Add the vanilla and milk, beating in between each addition.
  5. In a separate bowl combine the Ovaltine, flour and powder, whisk to mix.
  6. Sift the dry ingredients into the wet mix and using a spatula folder the dry ingredients into the wet until combine.
  7. Roll ½ tbsn of mix into balls with wet hands and place on the trays.
  8. Bake for 8 minutes then allow biscuits to cool on the tray.

Notes:

  • If you don’t like Ovaltine you can replace with Milo or Nesquick milk flavouring products. But this is an Ovaltine recipe so have a go with Ovaltine first! Trust me!


Ovaltine Biscuits recipe

Ingredients

Ovaltine Biscuits recipe

Step 7


Like this recipe? Subscribe via RSS or email to get my new entries and more scrumptious recipes with reviews.


Email, RSS Follow
Print
Leave a comment .
Tags: malt biscuits, milk flavouring, ovaltine, ovaltine biscuits .

Popcorn Biscuits

Posted on July 16, 2014 Posted in Biscuits .

So before I go into the next recipe post I wanted to take the time to acknowledge all the amazing people out there that have communicated to me via commenting on my blog.

There have been moments where the beautiful feedback has really been refreshing for me to continue experimenting further to new levels and puts a massive smile on my face.

Therefore as you encourage me I encourage you to continue the beautiful feedback as well as ideas on ingredients you would like me to experiment with.

Generally I focus on an ingredient or 2 that I go crazy coming up with recipes around until I finally construct a gem that is blog-worthy. It’s generally an ingredient that I have not incorporated in cooking before. At the moment is lavender and pomegranate (stay tuned on this – my lavender recipe will wow your socks off). So without futher ado…


Popcorn Biscuits

Popcorn Biscuits recipe


I have been noticing that the supermarket has started to stock salty and sweet popcorn. This got me thinking back to the salty and sweet trend again and how I trial with this again.

Now I have cooked with popcorn before (see my popcorn slice recipe), but not in the sense of highlighting salt and sweet so I decided to use this ingredient and produce a tasty treat. I contemplated a cake but figured the popcorn would disintegrate while in a moist long cooking period (maybe something I can revisit and experiment with at a later date)…

Therefore below is my recipe for the ever so simple and quick Popcorn Biscuits.


  • 250g butter
  • 130g sugar
  • 80g condensed milk
  • 300g plain flour
  • 1 + ½ tsn baking powder
  • 5 cups popped butter flavor popcorn

Method:

  1. Pre-heat oven to 160c and line 3 big baking trays with baking paper.
  2. With electric beaters beat the butter and sugar for 5 minutes until light and creamy.
  3. Add the milk and beat for another few minutes until smooth.
  4. Add the flour and baking powder to the mix and stir.
  5. Add the popcorn to the mix, crumbling into small popcorn pieces as you add.
  6. Using hands mix until well combine.
  7. Roll mix into balls with hands to small golf ball sizes (30g in size).
  8. Place balls on the trays and slightly flatten with hands.
  9. Bake for 18 minutes or until golden.
  10. Once cooked place on a rake to cool.

Notes:

  • If your not a fan of the sweet and salty you can use plain popcorn but you will loose a layer of the biscuit flavor.


Popcorn Biscuits recipe

Popcorn Biscuits recipe

Step 2

Popcorn Biscuits

Step 5

Popcorn Biscuits

Step 8
Like this recipe? Subscribe via RSS or email to get my new entries and more scrumptious recipes with reviews.


Email, RSS Follow
Print
26 Comments .
Tags: biscuits, popcorn, popcorn biscuits, salty and sweet .

Cocopop Biscuits

Posted on July 9, 2014 Posted in Biscuits .


Cocopop Biscuits recipe

Cocopop Biscuits

We see oats in traditional Australian Anzac biscuits, rice bubbles in Mars Bar slice and cornflakes in Florentine cookies that use popular everyday standard cereals that would appear in every families pantry.

So why can’t we go outside of standard cereals and bake with the more exciting and less mainstream breakfast favorites?

Me, I’m a massive chocolate fan and can’t seem to go past Cocopops to be a great cereal to experiment with. Therefore, if you’re a fan of Cocopops and feel like a unique biscuit you can’t go past my Cocopops biscuits.

Kids will loovve this!


Ingredients:

  • 250g butter
  • 130g sugar
  • 80g condensed milk
  • 300g plain flour
  • 1 + ½ tsn baking powder
  • 5 cups popped cocopops


Method:

  1. Pre-heat oven to 160c and line 3 big baking trays with baking paper.
  2. With electric beaters beat the butter and sugar for 5 minutes until light and creamy.
  3. Add the milk and beat for another few minutes until smooth.
  4. Add the flour and baking powder to the mix and stir.
  5. Add the cocopops to the mix.
  6. Using hands mix until well combine.
  7. Roll mix into balls with hands to small golf ball sizes (30g in size).
  8. Place balls on the trays and flatten well with hands.
  9. Bake for 18 minutes or until golden.
  10. Once cooked place on a rack to cool.


Notes:

  • Don’t be scared to use a little force to make the biscuit ball shapes. You won’t squash the cocopops as you may think.


Cocopop Biscuits recipe

Ingredients

Jelly Biscuits recipe

Step 4

Cocopop Biscuit recipe

Step 5

Cocopop Biscuits recipe

Step 7


Like this recipe? Subscribe via RSS or email to get my new entries and more scrumptious recipes with reviews.

Email, RSS Follow
Print
2 Comments .
Tags: cereal, cereal biscuits, chocolate biscuits, cocopop biscuits, cocopops .

Jelly Biscuits

Posted on June 29, 2014 Posted in Biscuits .

 Jelly Biscuits recipe

Jelly Biscuits

Ever notice how Jelly (Jello in America) has the most amazing flavor variations, from fruits to wine flavors to favorite drinks like Blue Heaven?

We use essence and extract to add flavor to our baking – vanilla, coconut, almond, mint and rosewater to name a few. So if we already add flavors why can’t we have the awesome favourite Jelly flavours in baking? Well there is no reason we can’t.

This then brought me to experiment with my 2 most favorite Jelly flavours  – Creamy Soda and Bubblegum. I made a batch of both of these biscuits and they were both so flavorsome and took me back to childhood!

Jelly Biscuits recipe


Ingredients:

  • 250g butter
  • 110g sugar
  • 80g condensed milk
  • 300g plain flour
  • 1 + ½ tsn baking powder
  • 100g Jelly powder (flavored gelatin)

Method:

  1. Pre-heat oven to 160c and line 3 big baking trays with baking paper.
  2. With electric beaters beat the butter and sugar for 5 minutes until light and creamy.
  3. Add the milk and beat for another few minutes until smooth.
  4. Add the flour, baking powder and the jelly powder to the mix and stir.
  5. Mix until well combine.
  6. Roll mix into balls with hands to small golf ball sizes (25g in size).
  7. Place balls on the trays and slightly flatten with hands.
  8. Bake for 16 minutes or until slightly golden.
  9. Once cooked place on a rake to cool.

Notes:

  • I have decorated by sprinkling pink decorating sugar to give the biscuits a special touch.

Jelly Biscuits recipe

Ingredients

Jelly Biscuits recipe

Step 5

Jelly Biscuit recipe

Like this recipe? Subscribe via RSS or email to get my new entries and more scrumptious recipes with reviews.

Email, RSS Follow
Print
2 Comments .
Tags: biscuits, bubblegum, creamy soda, jelly, jelly biscuits .
« Previous Page
Next Page »

Pages

  • About Me
  • Baking Metrics
  • Blogroll
  • Common Baking Questions
  • Recipe Index
  • Tips & Tricks
  • Contact

Archives

  • February 2022
  • October 2021
  • September 2021
  • August 2021
  • April 2021
  • February 2021
  • January 2021
  • December 2020
  • November 2020
  • October 2020
  • September 2020
  • August 2020
  • July 2020
  • June 2020
  • May 2020
  • September 2019
  • June 2019
  • May 2019
  • April 2019
  • March 2019
  • February 2019
  • January 2019
  • December 2018
  • November 2018
  • October 2018
  • September 2018
  • August 2018
  • July 2018
  • June 2018
  • May 2018
  • April 2018
  • March 2018
  • February 2018
  • January 2018
  • December 2017
  • November 2017
  • October 2017
  • September 2017
  • August 2017
  • July 2017
  • June 2017
  • May 2017
  • April 2017
  • March 2017
  • February 2017
  • January 2017
  • December 2016
  • November 2016
  • October 2016
  • September 2016
  • August 2016
  • July 2016
  • June 2016
  • May 2016
  • April 2016
  • March 2016
  • February 2016
  • January 2016
  • December 2015
  • November 2015
  • October 2015
  • September 2015
  • August 2015
  • July 2015
  • June 2015
  • May 2015
  • April 2015
  • March 2015
  • February 2015
  • January 2015
  • December 2014
  • November 2014
  • October 2014
  • September 2014
  • August 2014
  • July 2014
  • June 2014
  • May 2014
  • April 2014
  • March 2014
  • February 2014
  • January 2014
  • December 2013

Categories

  • America (5)
  • Arabic (1)
  • Australian (2)
  • Biscuits (24)
  • Brazil (1)
  • Bread (12)
  • Brownies (5)
  • Cakes (141)
  • Croatian (1)
  • Cupcakes (20)
  • Custard (1)
  • Doughnuts (6)
  • Flan (1)
  • France (5)
  • Fudge (3)
  • German (1)
  • Greece (2)
  • Hungary (1)
  • Ice-cream & Sorbet (15)
  • Ice-cream cake (6)
  • Icing (18)
  • Italy (4)
  • Jam (1)
  • Jamaican (1)
  • Lebanese (1)
  • Marshmallows (2)
  • Mexican (1)
  • Morocco (1)
  • Mousse (2)
  • Muffins (1)
  • Panna Cotta (1)
  • Pastries (2)
  • Pies (7)
  • Portugal (1)
  • Pudding (12)
  • Roulade (1)
  • Russia (1)
  • Slice (27)
  • Souffle (1)
  • Sweden (1)
  • Swedish (1)
  • Syrup (1)
  • Tarts (13)
  • Traditional (17)
  • Trifile (1)
  • Truffles (5)
  • Turkey (1)
  • Uncategorized (1)
  • Unique (10)

WordPress

  • Register
  • Log in
  • WordPress

Subscribe

  • Entries (RSS)
  • Comments (RSS)

CyberChimps WordPress Themes

© Sweet Tooth Experiments