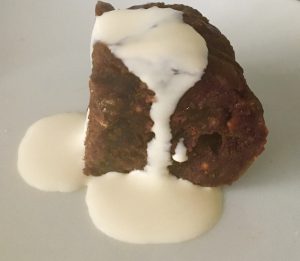
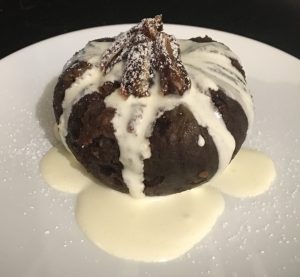
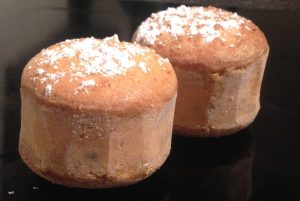
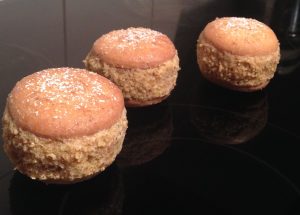
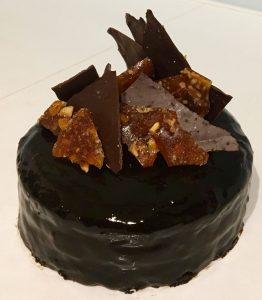
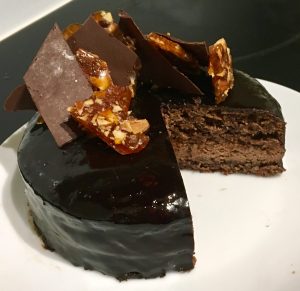
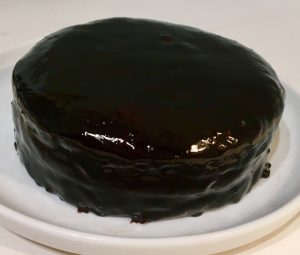
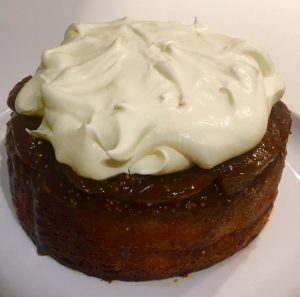
Caramelised Banana Chocolate Rice Cake
Think of the best flavor combo you can that is robustly complementary and succulently delicious. For me, (and I would anticipate a lot of other people) I think chocolate and caramel. And how do you mix these flavors up with a curious twist and give it personality? You add banana (caramelised Banana OMG).
As this flavor combo is nothing ground breaking I wanted to mix it up and produce a cake that is definitely not the norm.
Originally this bake was produced as a layered polenta pancake ‘cake’ with caramelized bananas in the layers covered by a chocolate ganache. However, the caramelized banana was too soft and ran out the sides of the cake, making the ganache then spill off the cake (such a shame – this could have been an epic recipe).
My next experiment with these flavours was inspired by my Orange and Poppy Seed Rice Cake , where I figured I could make a chocolate risotto cake with caramelised bananas on the top.
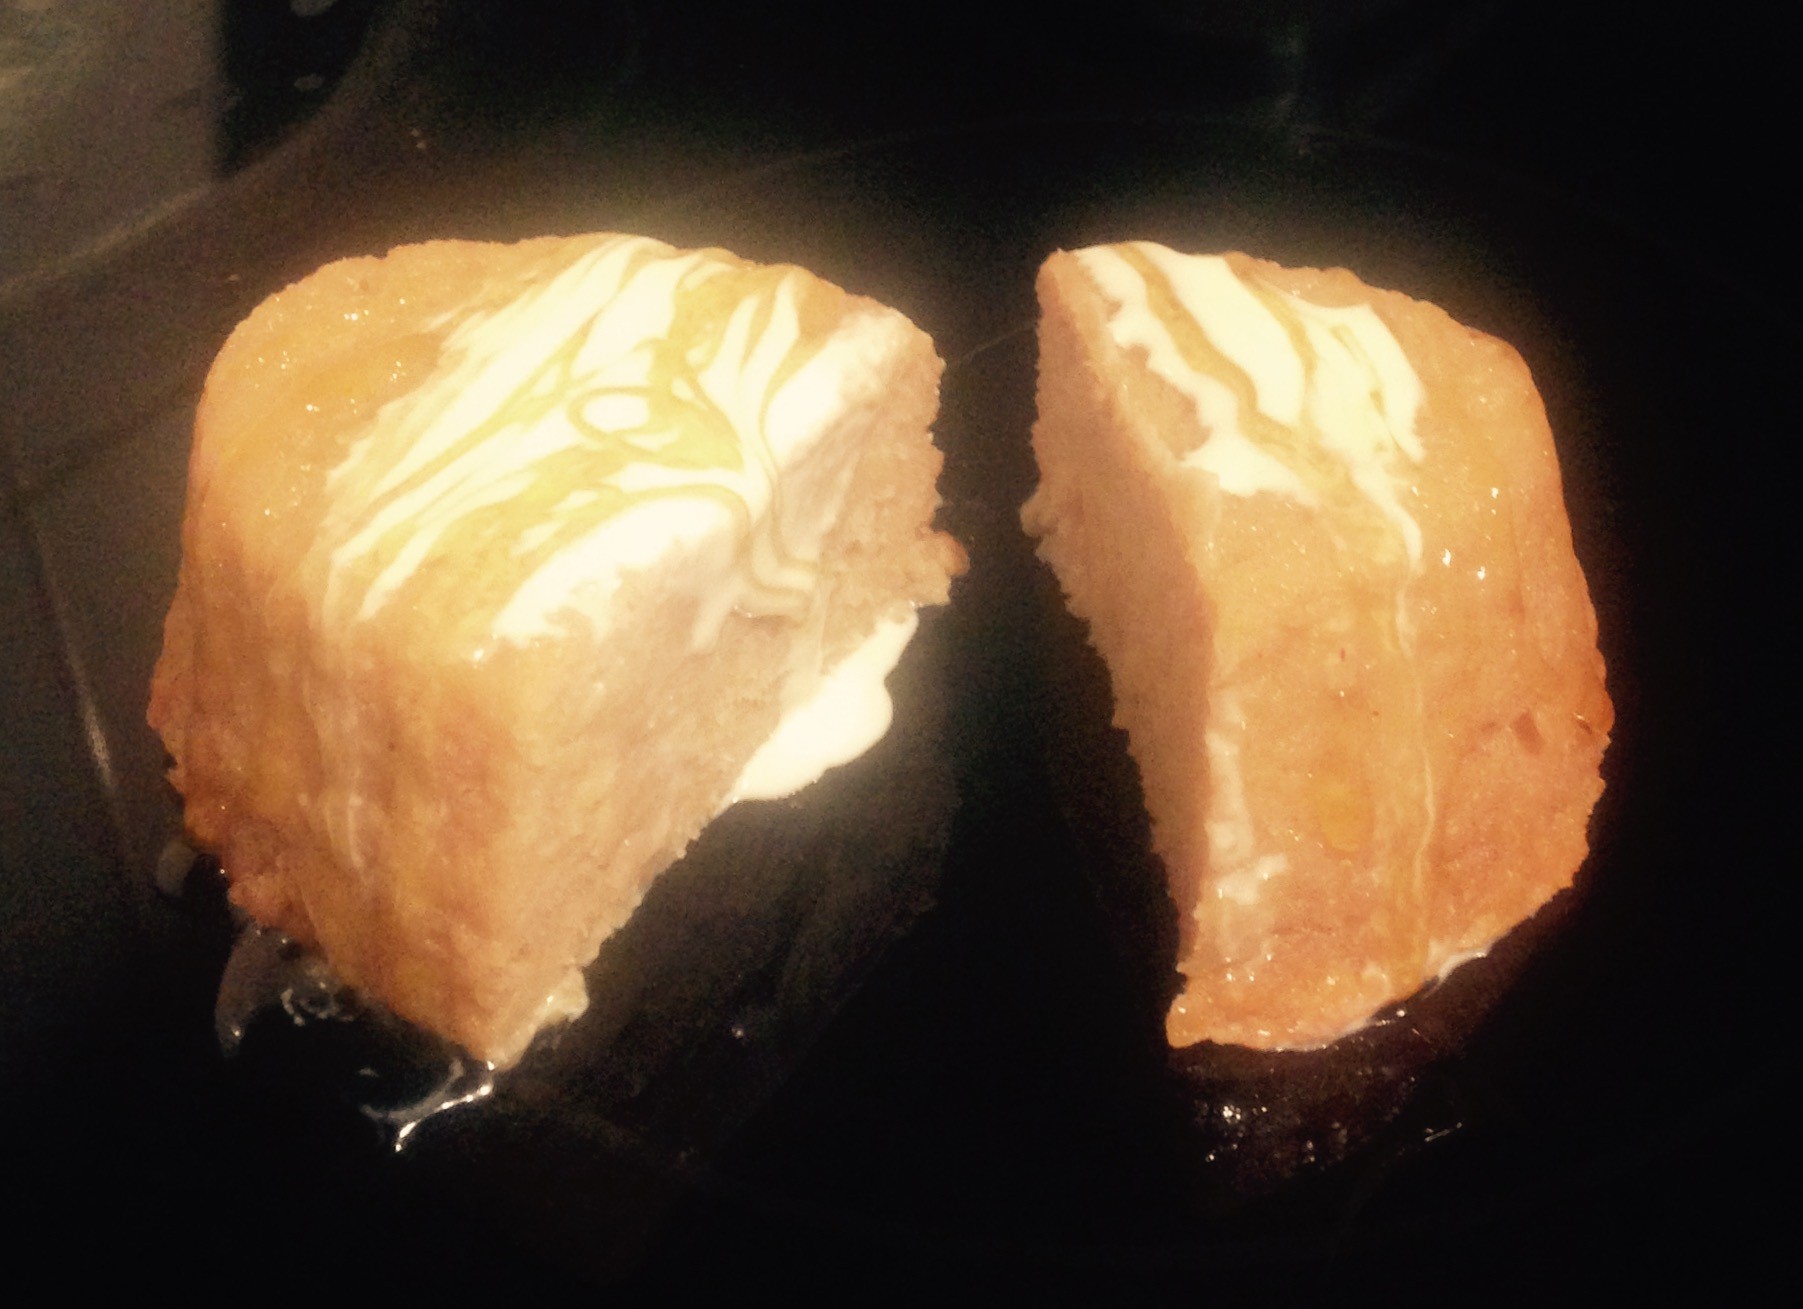
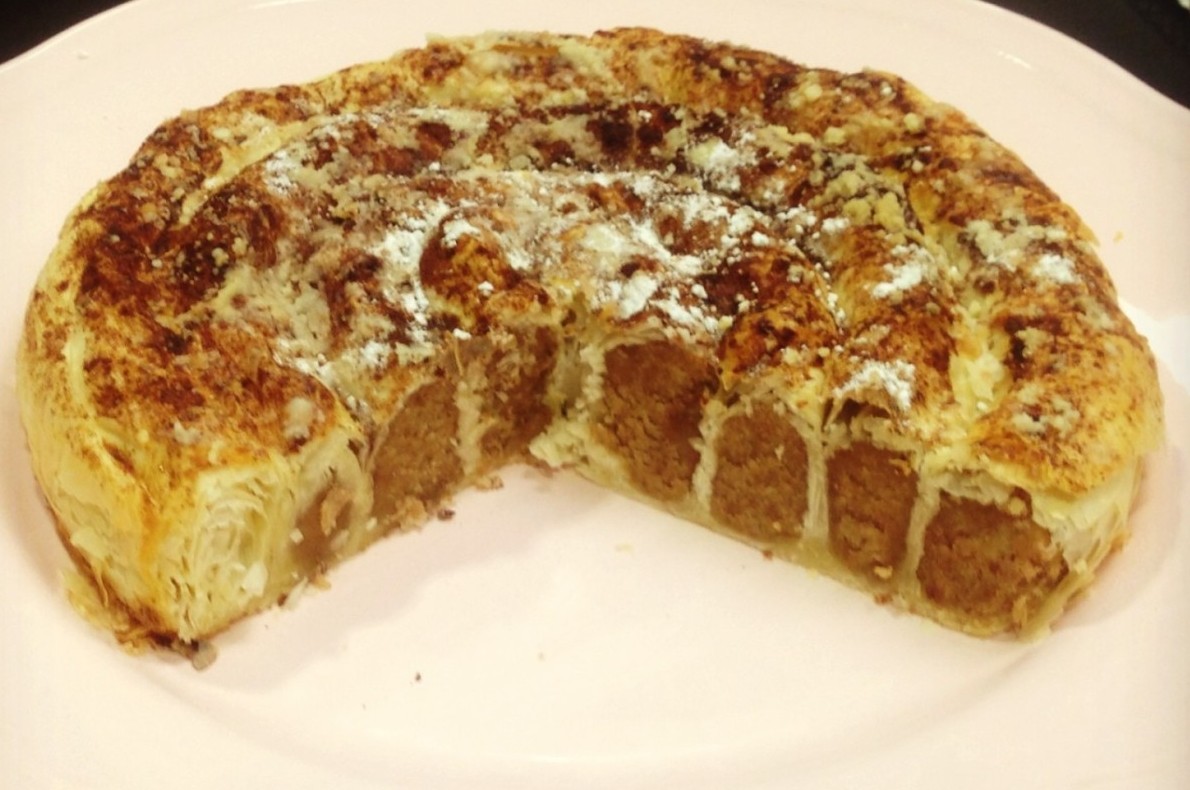
To get the banana to stay and not spill like my last attempt I decided to make this like an upside down cake and bake the caramelised banana into the cake (not as a layer filling).
After some playing around with the batters consistency I must say this cake has very interesting textures and addictive flavor!
Ingredients:
Caramelised Banana:
- 150g sugar
- 75g butter
- 90ml cream
- 2 large bananas
Rice Batter:
- 1 tsn vanilla essence
- 240g aborto rice
- 240ml cream
- 520ml milk
- 160g brown sugar
- 2 eggs
- 40g flour
- 20g cocoa powder
- 240g dark chocolate
Method:
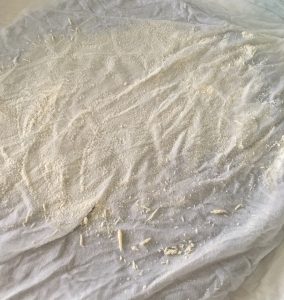
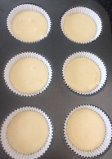
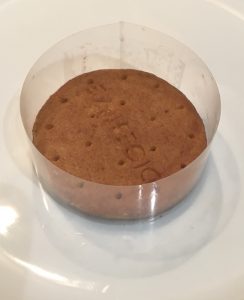
- Line a 25cm cake tin with baking paper and pre-heat the oven to 180c degrees.
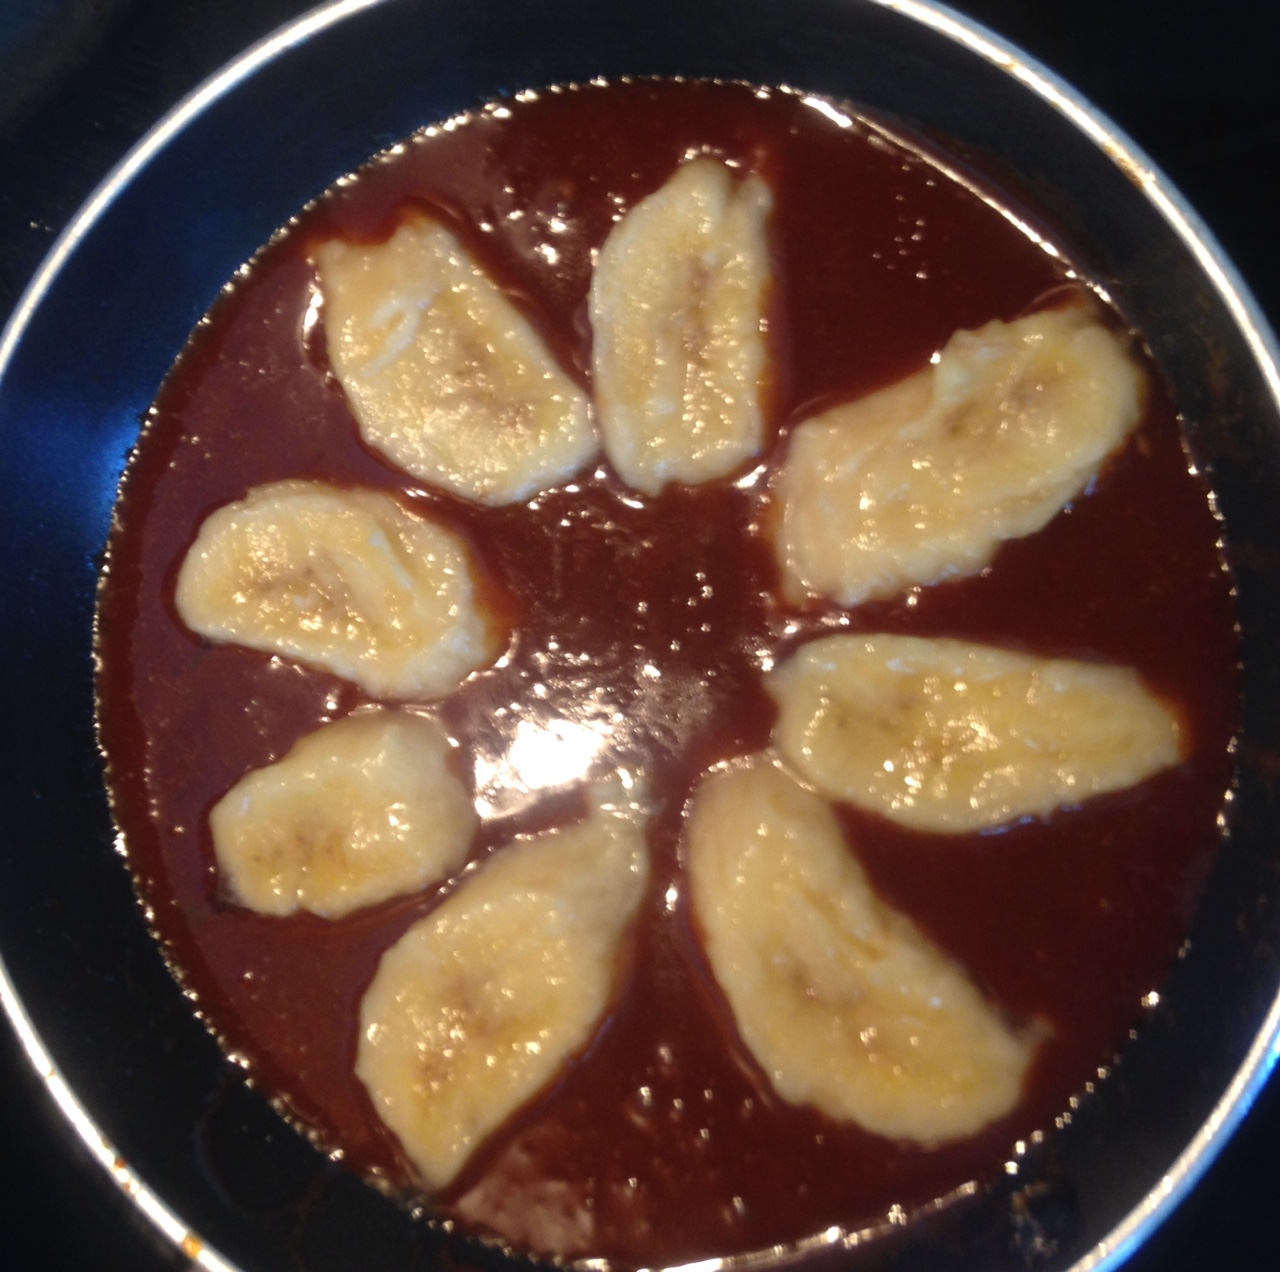
- Cut up the banana into slices, short ways (they will be the size of 20cent coin pieces) and leave aside.
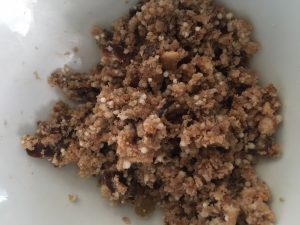
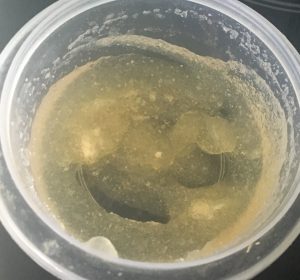
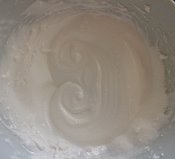
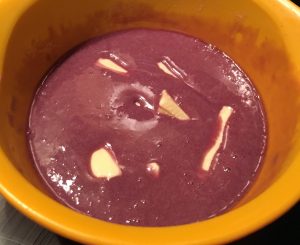
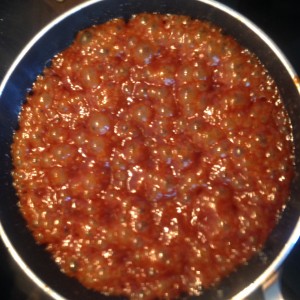
- Place the white sugar in a saucepan on a high heat and stir until the sugar melts and starts to brown.
- Add the butter, being careful with the splatter and mix with a wooden spoon until combine.
- Add the cream again being careful with the splash and stir until smooth and silky.
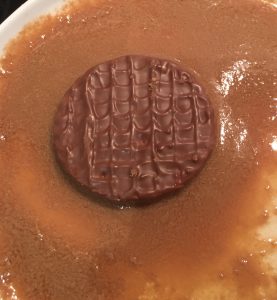
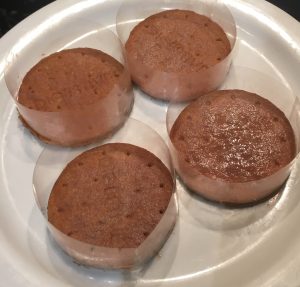
- Add the banana slices and stir to coat them in the mix until they slightly soften.
- Place the banana sliced in the base of the prepared cake tin with no overlap.
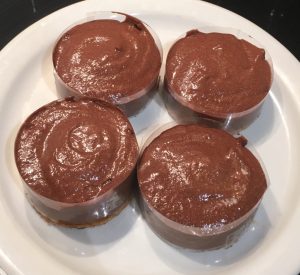
- Pour the remaining caramel over the top to evenly cover the banana and place the tin in the freezer to harden slightly.
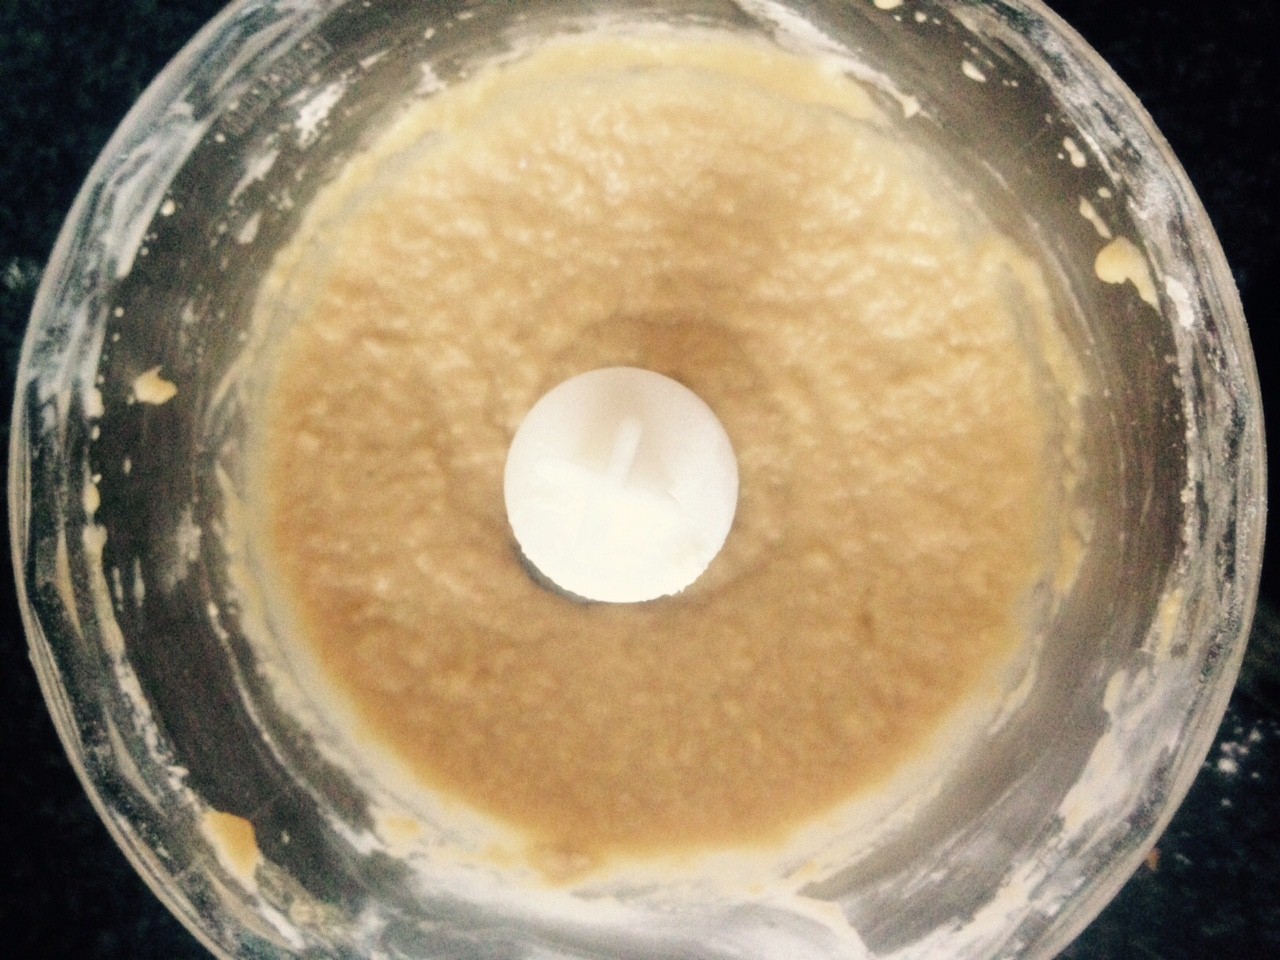
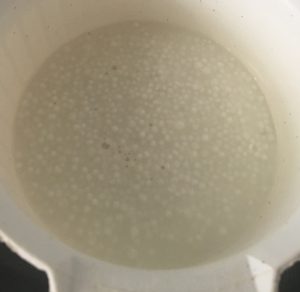
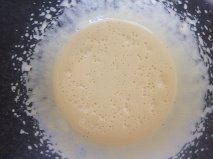
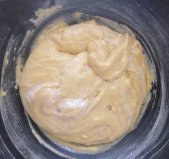
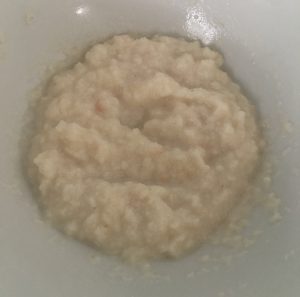
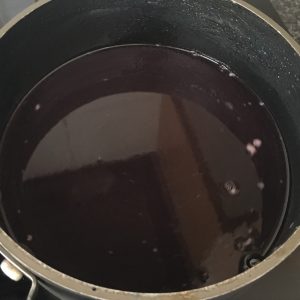
- Meanwhile, place the vanilla essence, rice and cream into a saucepan on a simmering heat, stirring until the cream is absorbed.
- Place the brown sugar into a bowl with the milk and stir until dissolved.
- Slowly add the milk mix to the rice mix, 100ml at a time it’s until absorbed. Continue this process until all the milk has been absorbed and the rice resembles a creamy risotto like consistency.
- Leave the mix aside until cool.
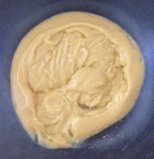
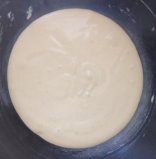
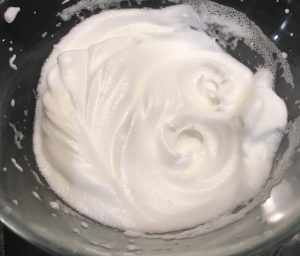
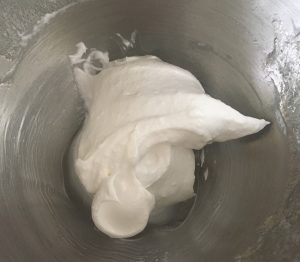
- Place the eggs, one at a time into the rice mix, whisking each addition with a hand whisk.
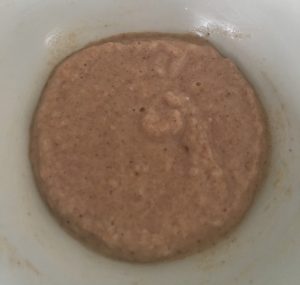
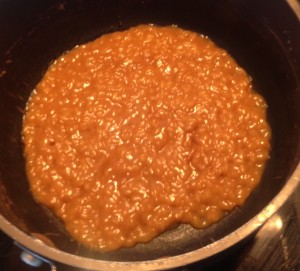
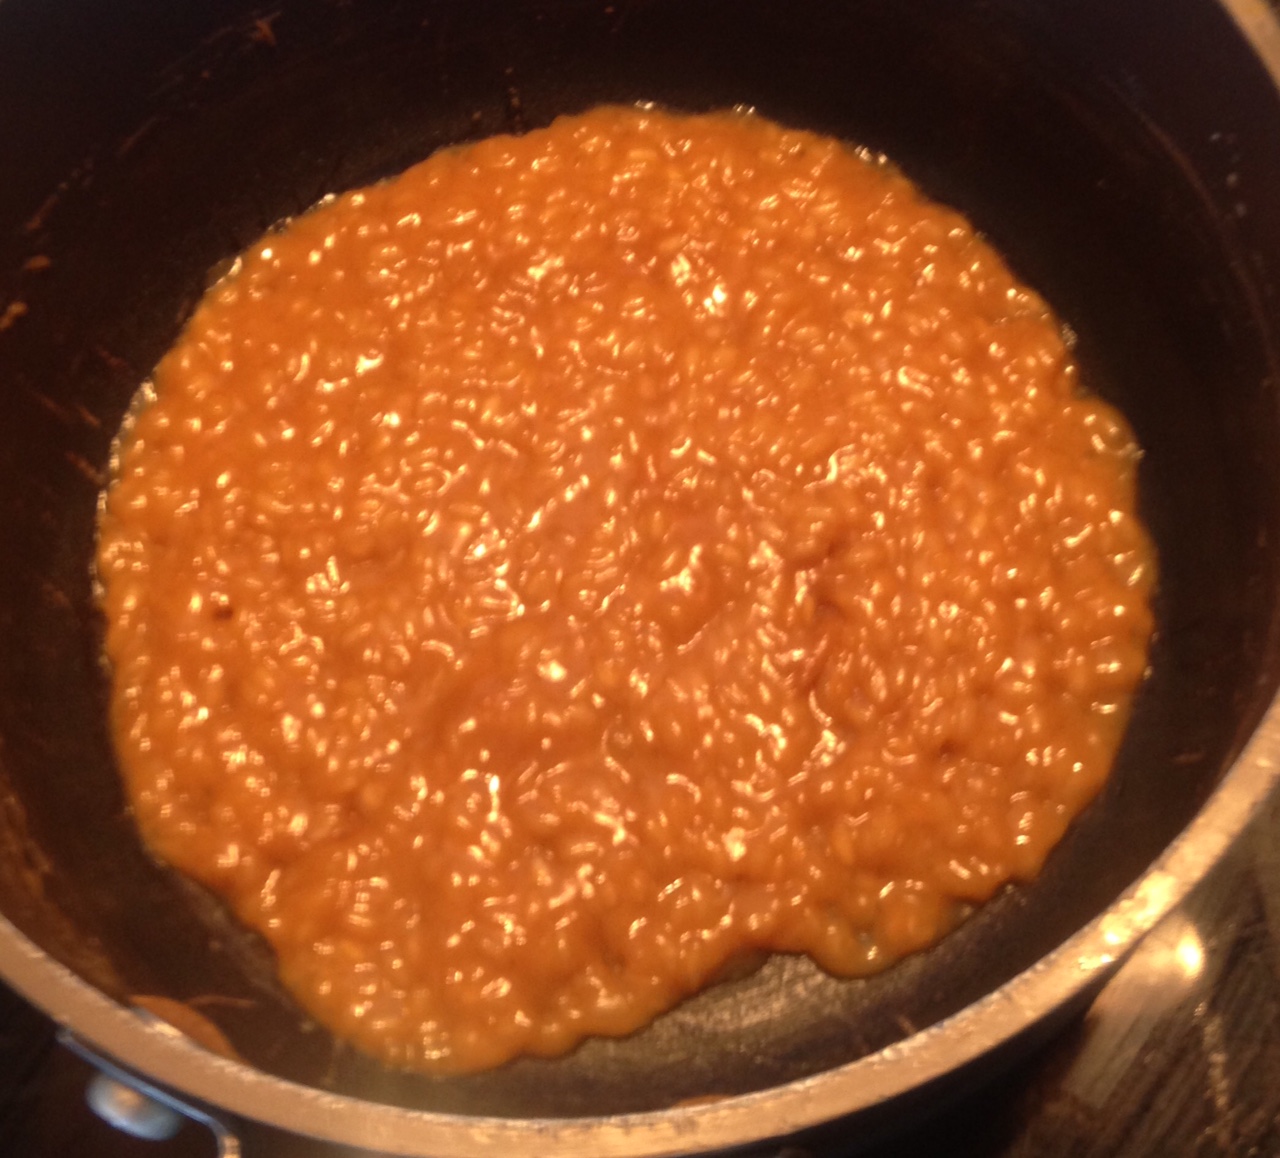
- Add the flour and cocoa powder to the mix and whisk until well combine.
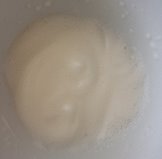
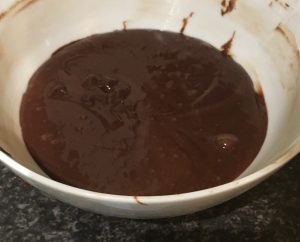
- Place the chocolate in a bowl over a saucepan of simmering water on the stove, stir the chocolate until just melted and smooth.
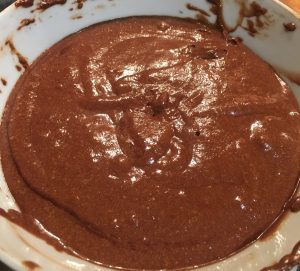
- Add the melter chocolate to the mix and whisk with a hand whisk until combine.
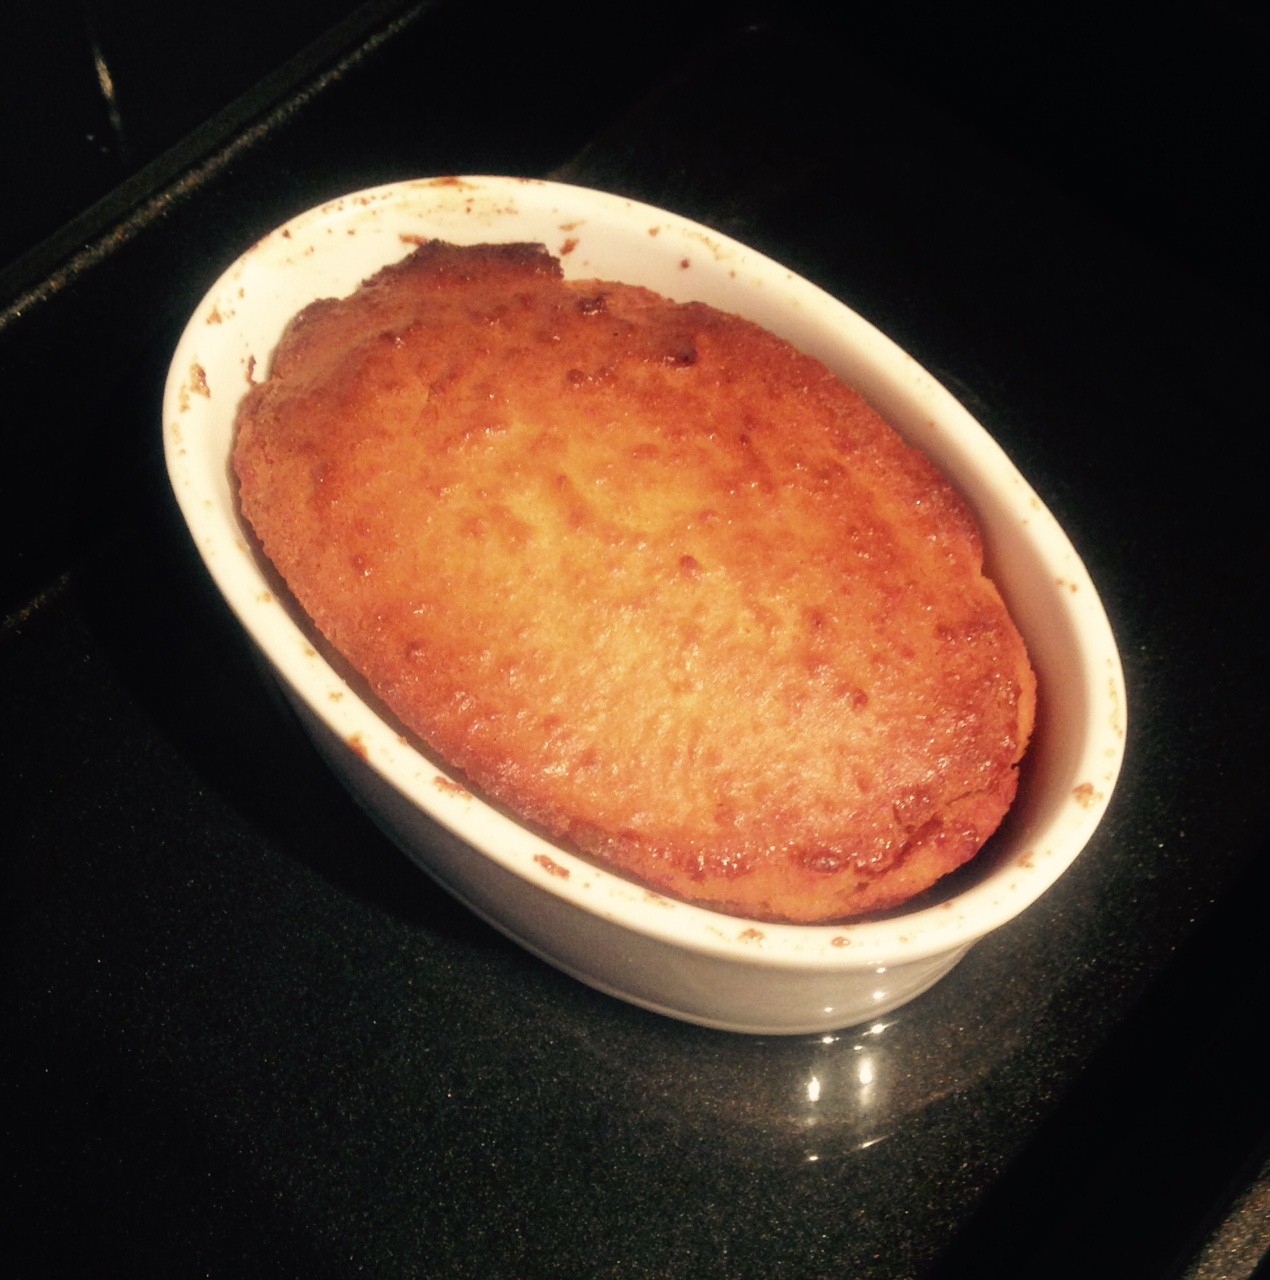
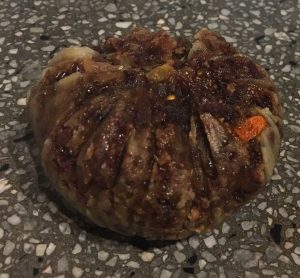
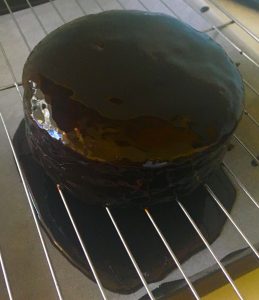
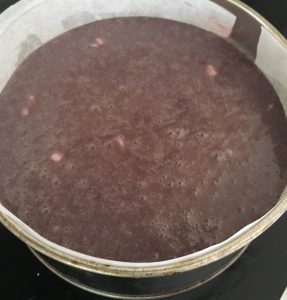
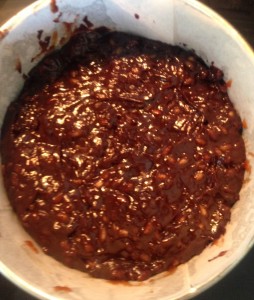
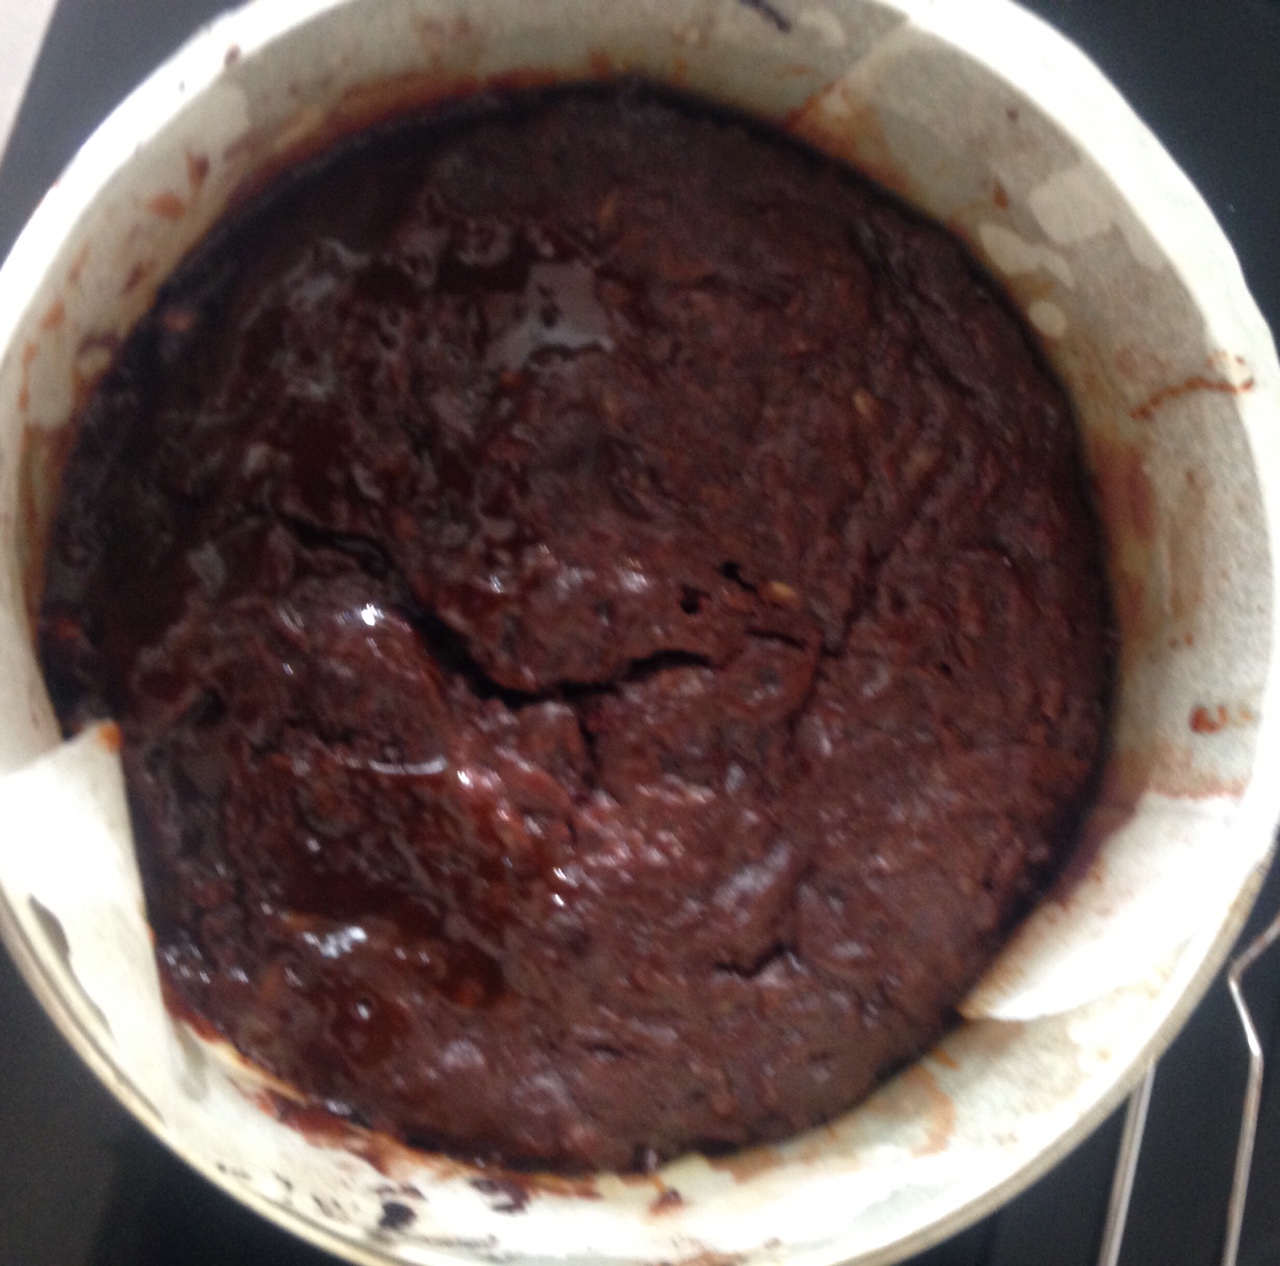
- Spoon the mix over the top of the caramel bananas and place in the oven for 45 minutes or until a skewer inserted in the center comes out just clean.
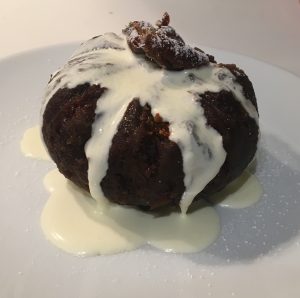
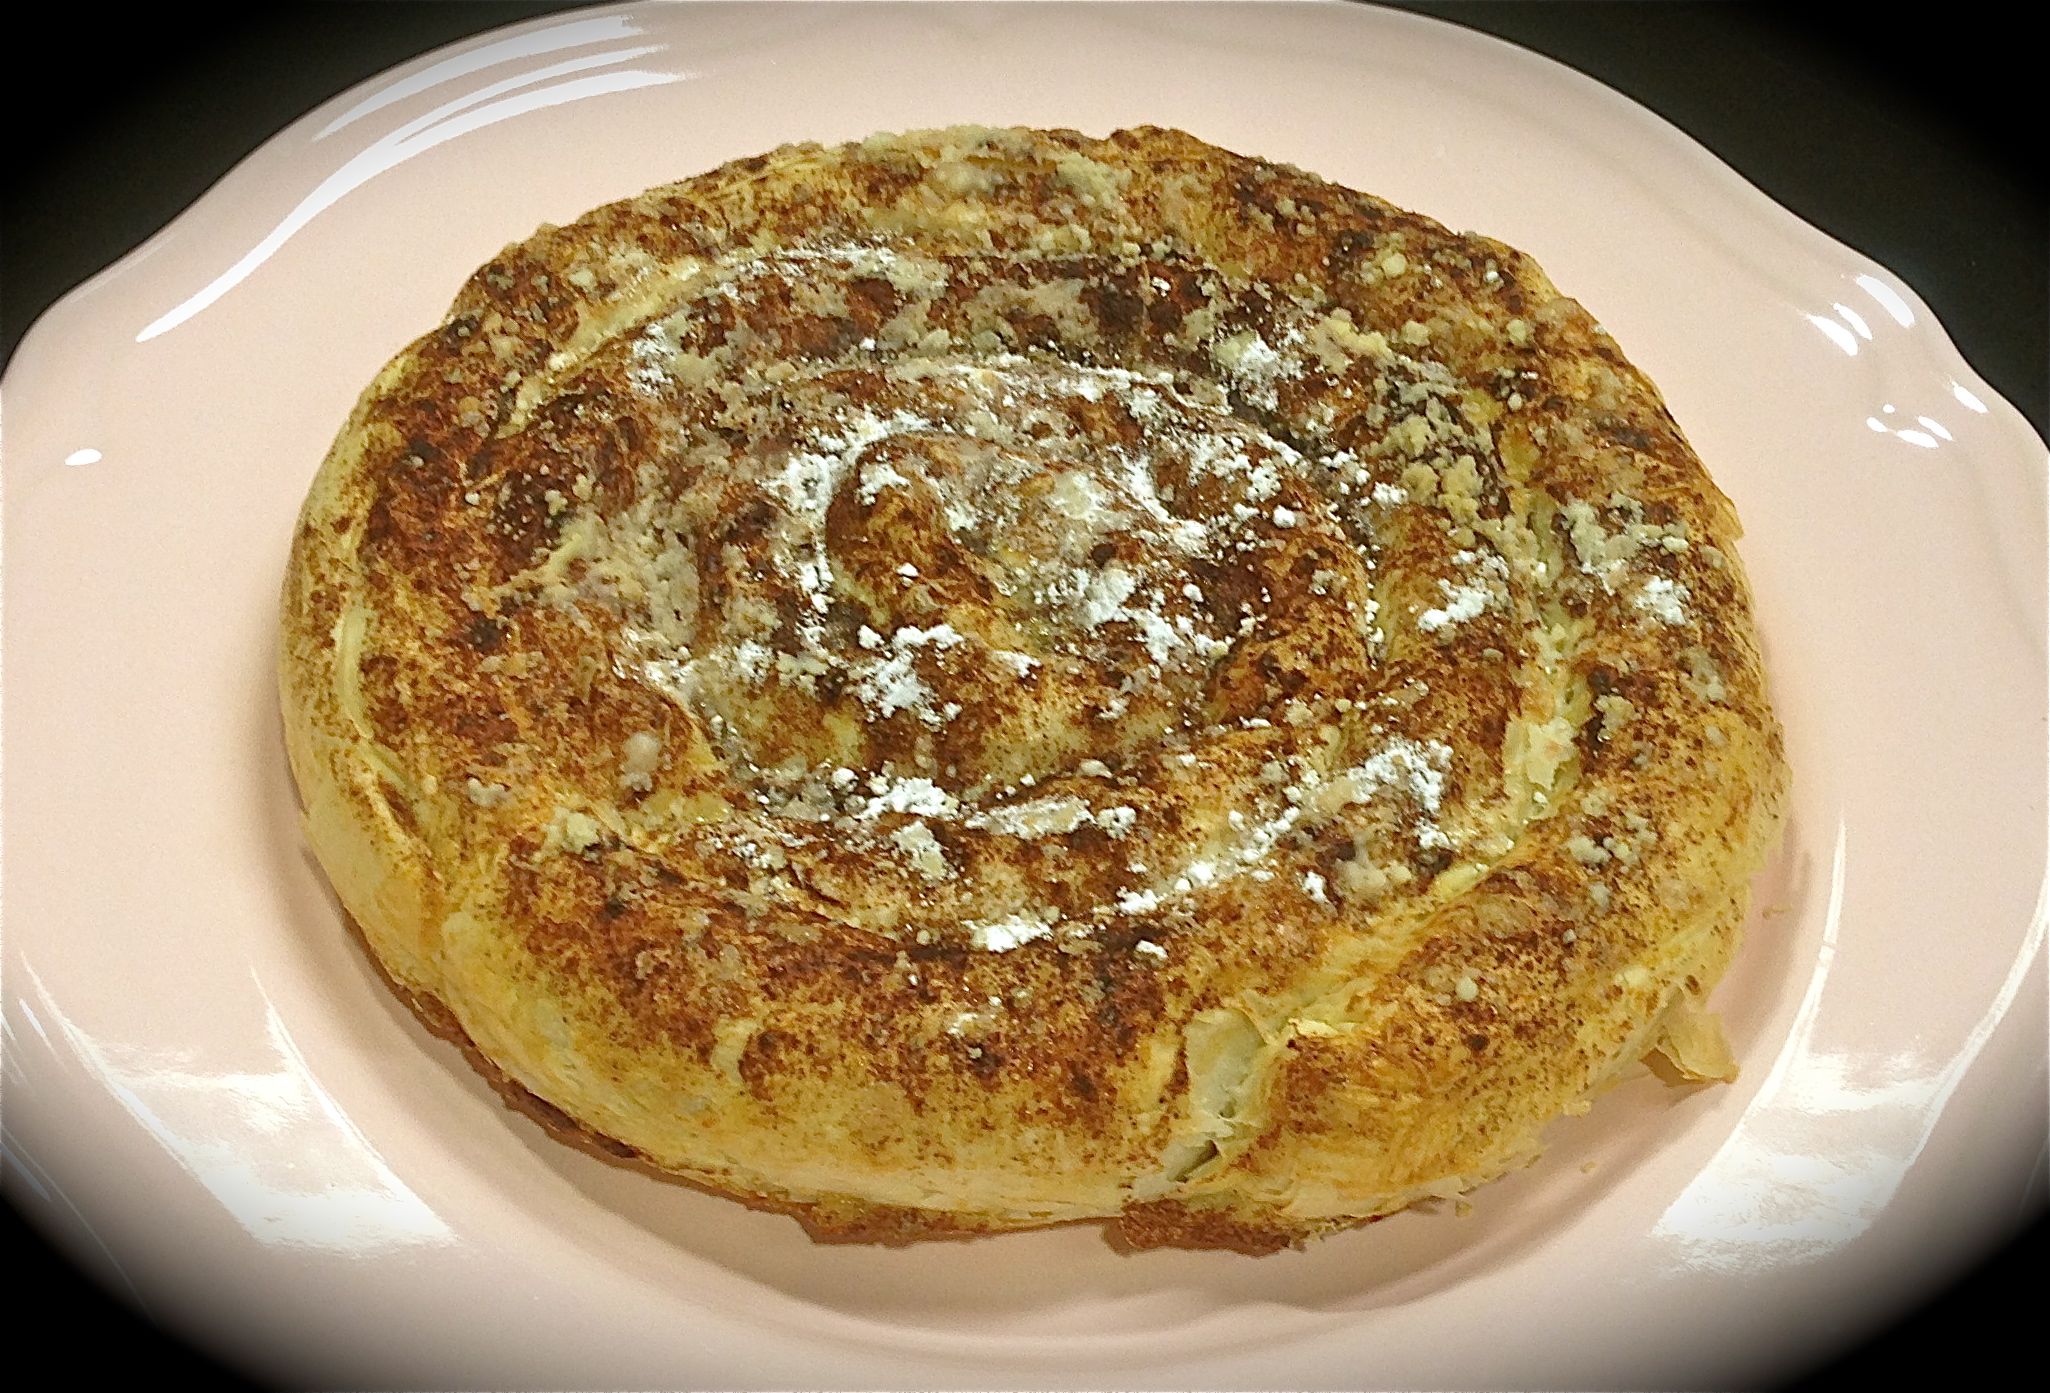
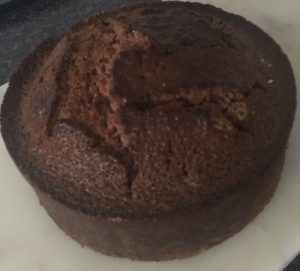
- Leave the cake in the tin for 20 minutes then invert onto a plate.
- Step 5

- Step 7

- Step 8

- Step 12
- Step 16

- Step 18
Like this recipe? Subscribe via RSS or email to get my new entries and more scrumptious recipes with reviews.
 Follow