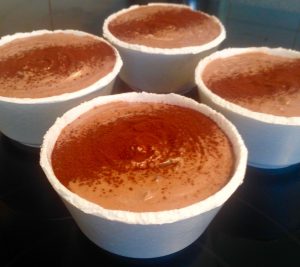
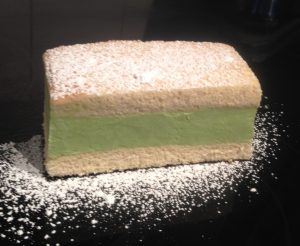
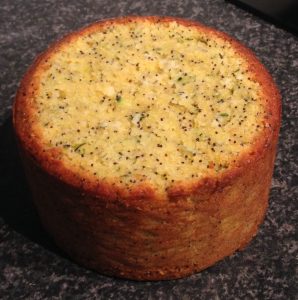
Zucchini Polenta Orange and Poppy Seed Cake
This cake was inspired by wanting to hide green veggies in a sweet treat as well as use a grain to replace some of the flour quantity, thus the zucchini and polenta in this cake.
I thought orange and poppy seed would be a great addition and work well with texture of the cake. The polenta would soak up the juice and take on the taste of the orange as well as soak up the liquid of the zucchini, ensuring the cake will not be gooey or sticky.
The cake is subtle, lovely and delicate.
Ingredients:
Cake:
- 280 zucchini, grated
- 230g butter
- 300g sugar
- 4 eggs
- 40g poppy seeds
- 2 tbsn orange rind
- 2 tsn baking powder
- 270g flour
- 160g polenta
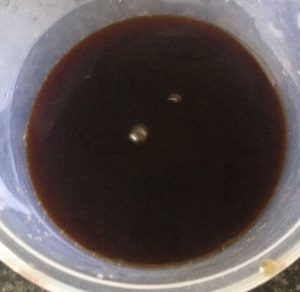
- 90ml orange juice
Icing:
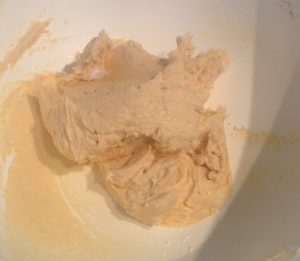
- 300g cream cheese
- 100g icing sugar
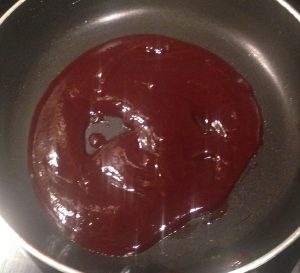
- 4 tsn orange juice
- 1 tsn orange zest
Method:
- Preheat the oven to 180c degrees and line a 20cm cake tin with baking paper.
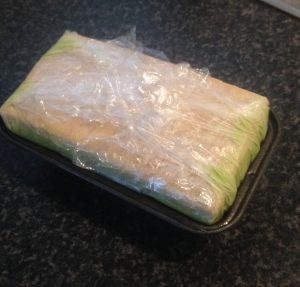
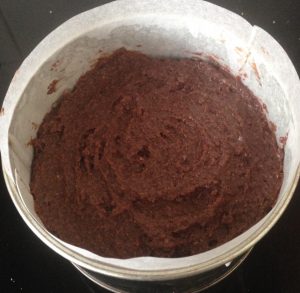
- Grate the zucchini until you have 280g in volume.
- Give the zucchini a good squeeze to remove excess liquid, place in a bowl.
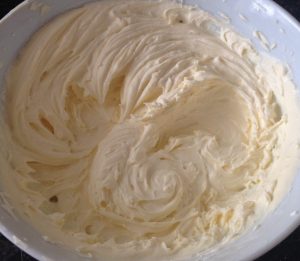
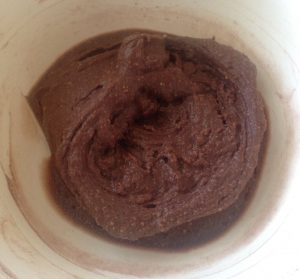
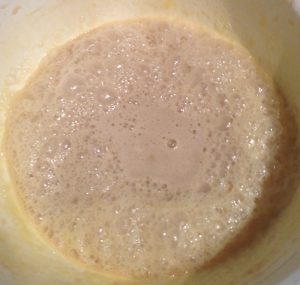
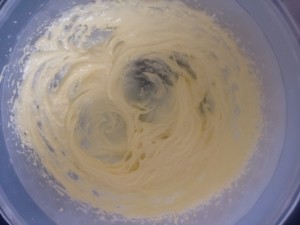
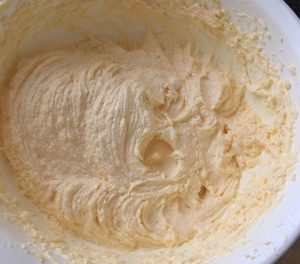
- Place the butter and sugar in a bowl and using an electric beater whisk until the mix is creamy and fluffy.
- Add the eggs, one at a time beating in between each addition.
- Add the poppy seeds and zest and beat until well combined.
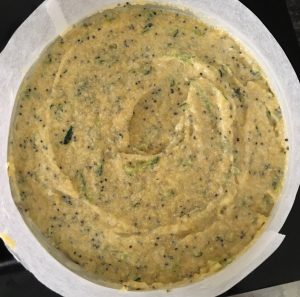
- Add the zucchini and beat until well combined.
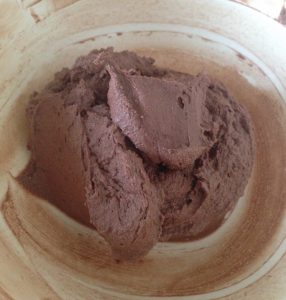
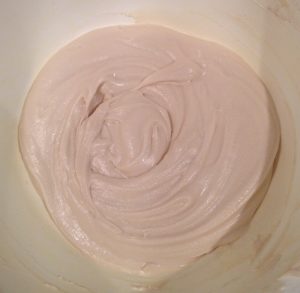
- Add in the powder, flour, polenta and orange juice and beat until just combine, but smooth.
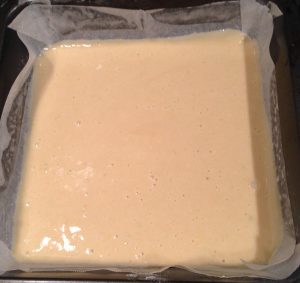
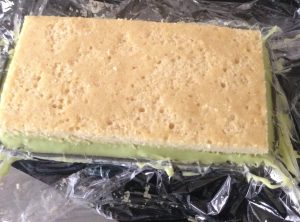
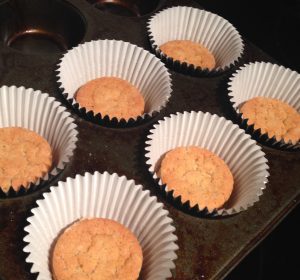
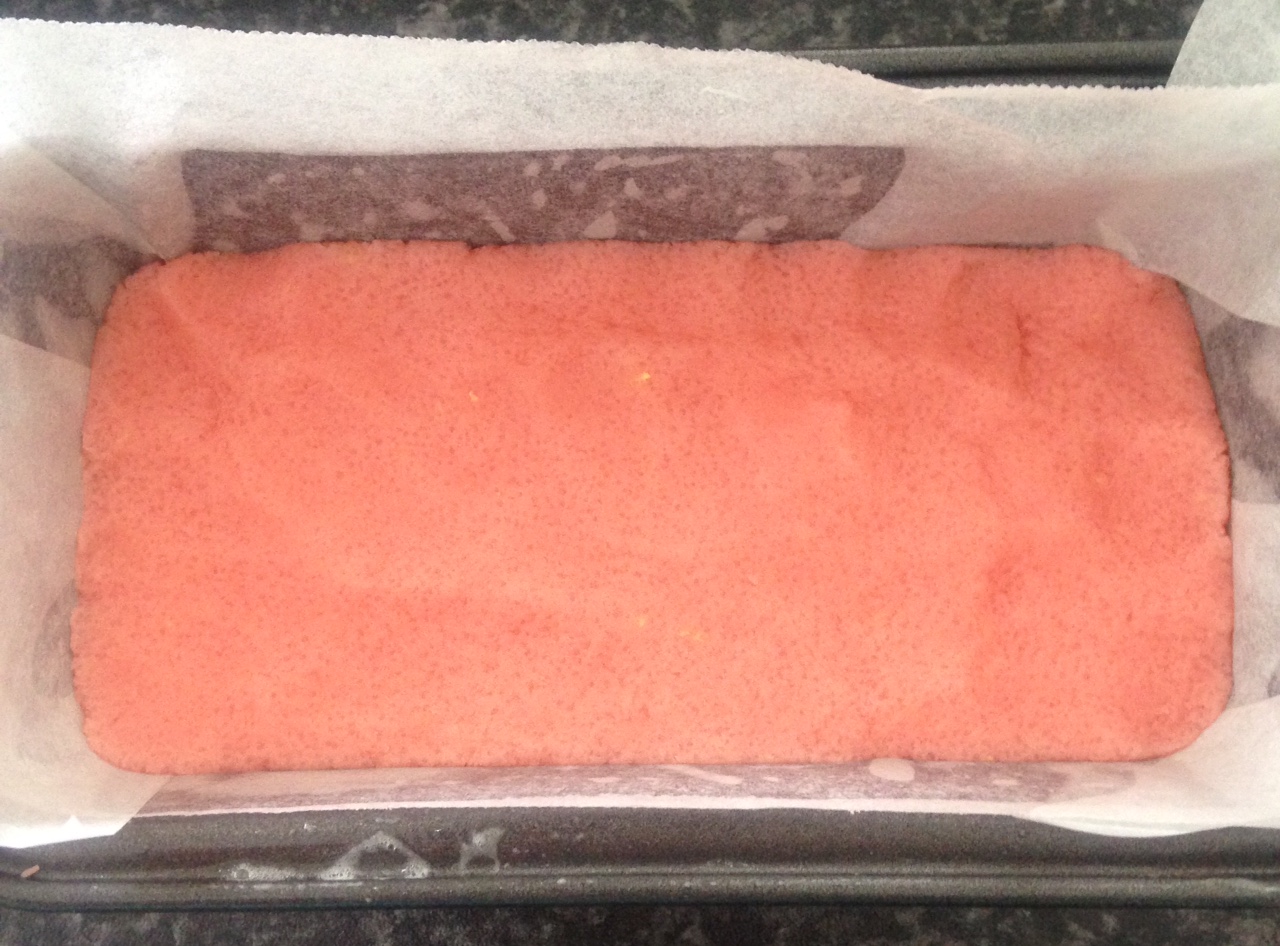
- Pour the mix into the cake tin and bake for 1 hour of until a skewer inserted in the center comes out clean.
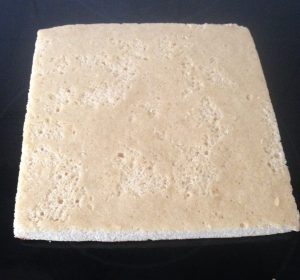
- Place the cake on a cooling rack to completely cool.
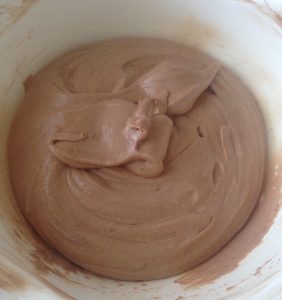
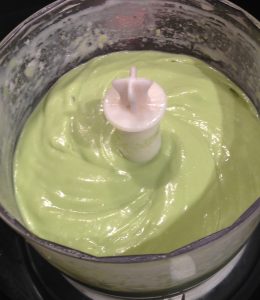
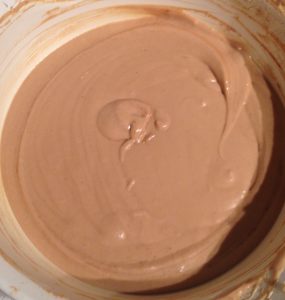
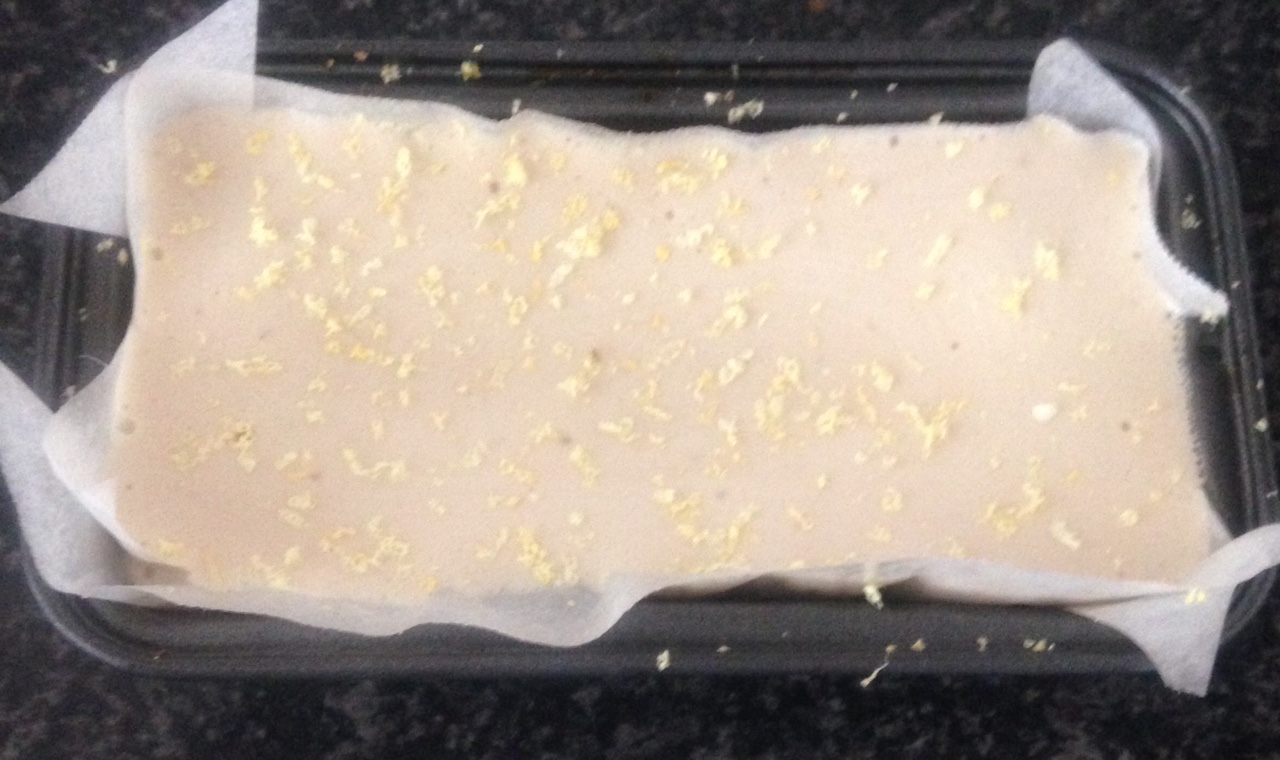
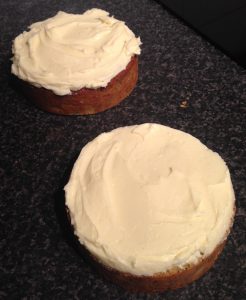
- Meanwhile, make the icing by placing all the ingredients into a bowl and beat with the electric beaters until smooth and fluffy.
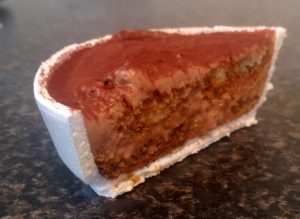
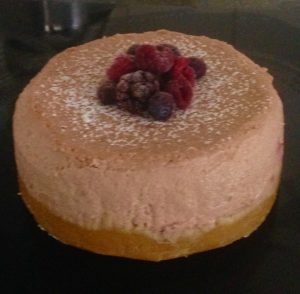
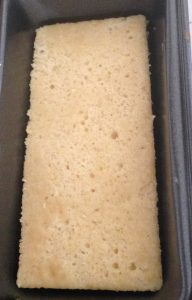
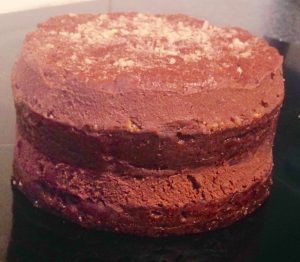
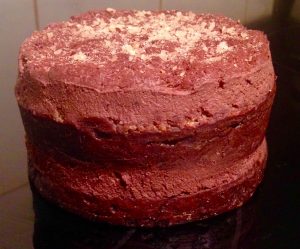
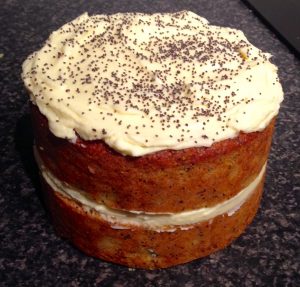
- Once the cake is cooled cut in half horizontally.
- Cover each layer with the icing on the top.
- Place one cake layer on top of the other.
- Enjoy.
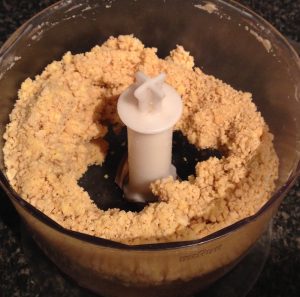
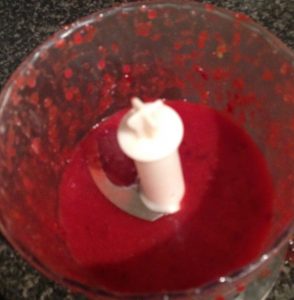
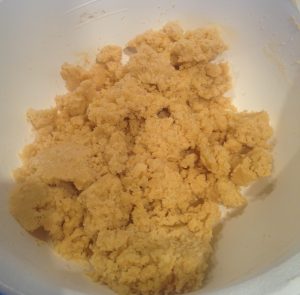
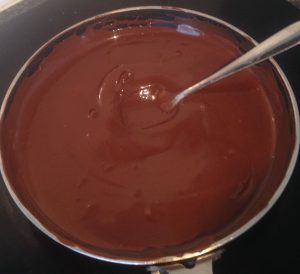
Step 4
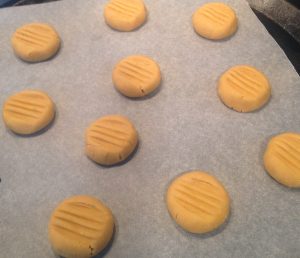
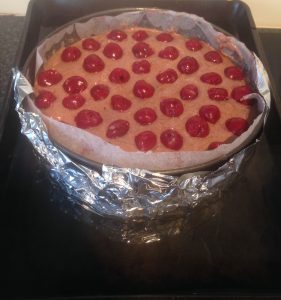
Step 9
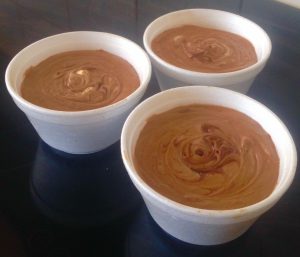
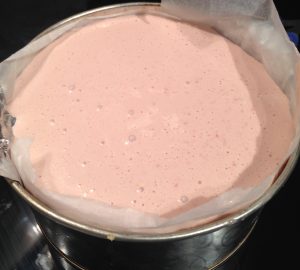
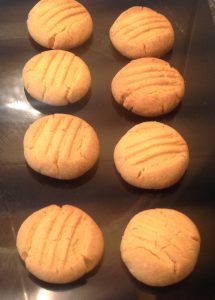
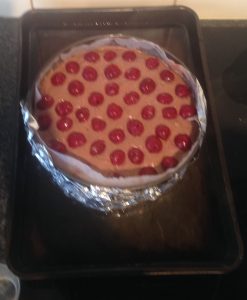
Step 10

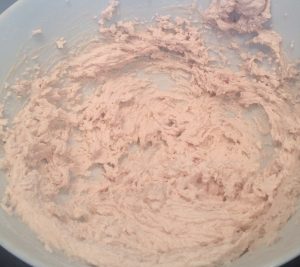
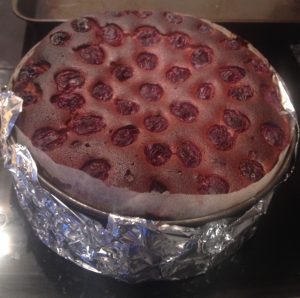
Step 11
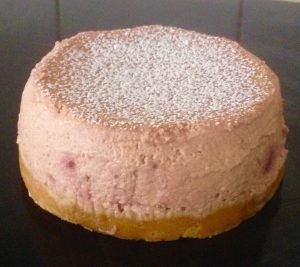
Step 13
Step 14
Like this recipe? Please subscribe via RSS or email to get my new entries and more scrumptious recipes with reviews.
 Follow