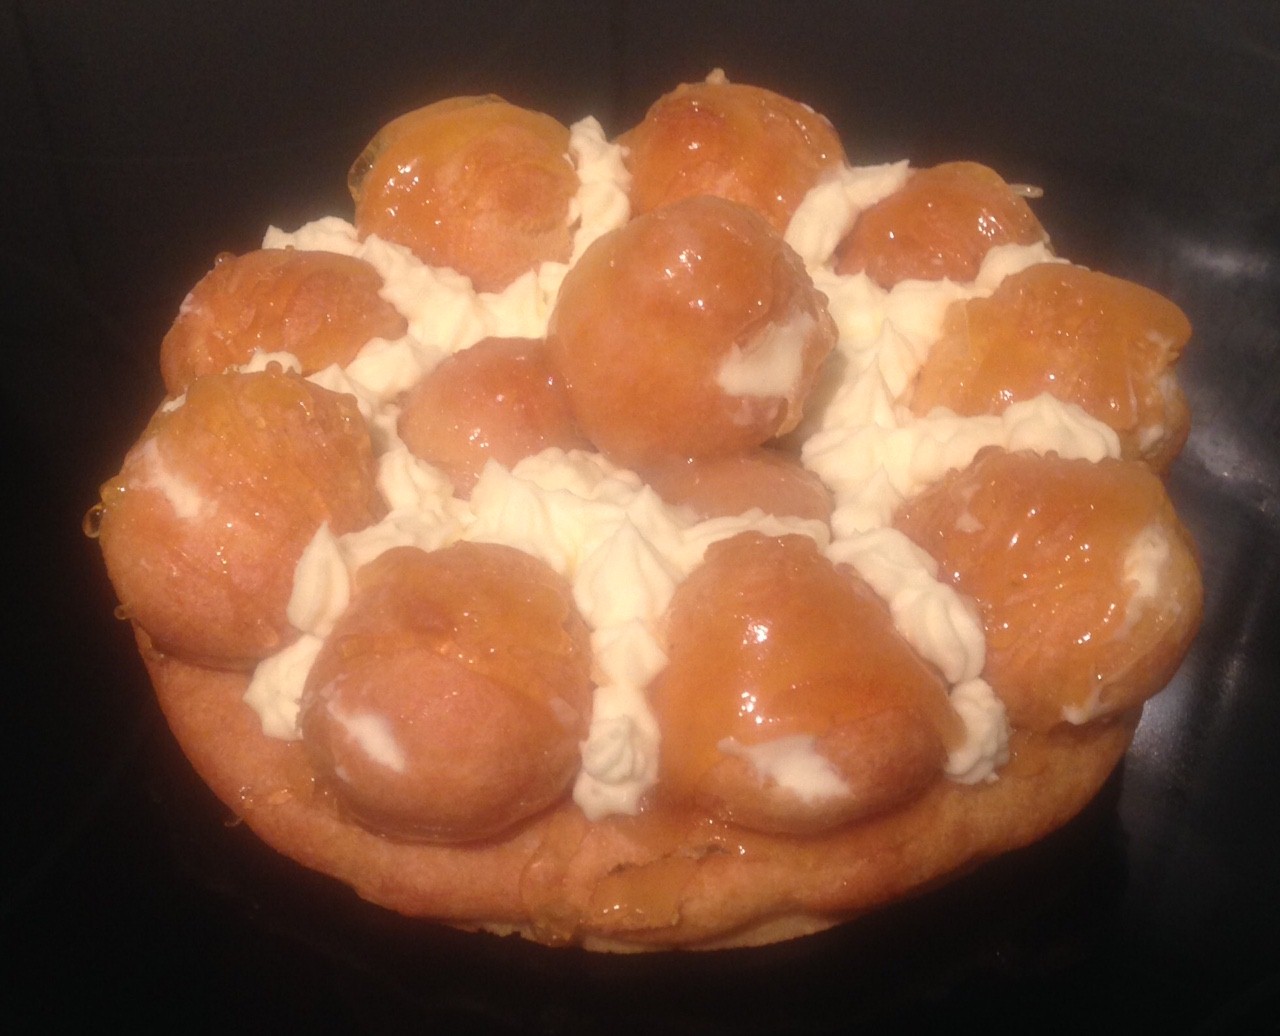
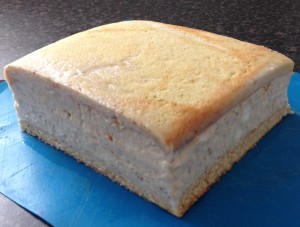
Green Tea and Raspberry Slice
I have no idea where this recipes inspiration came from. I believe I wanted to use up some Matcha powder I had left over from recent baking.
To mix things up from the norm I wanted to play around with weird and unusual flavors I could pair with the Matcha’s green tea taste that would surprisingly work like partners in crime.
After a bit of experimenting it was the Green Tea and Raspberry pairing that was an interesting and tasty concoction of flavors.
Now if you are a follower of my blog you will note I have struggled in the past with green tea, which was a frenemy ingredient of mine until my recent Green Tea Melting Moments. This influenced me to make the green tea cake base as simple as possible.
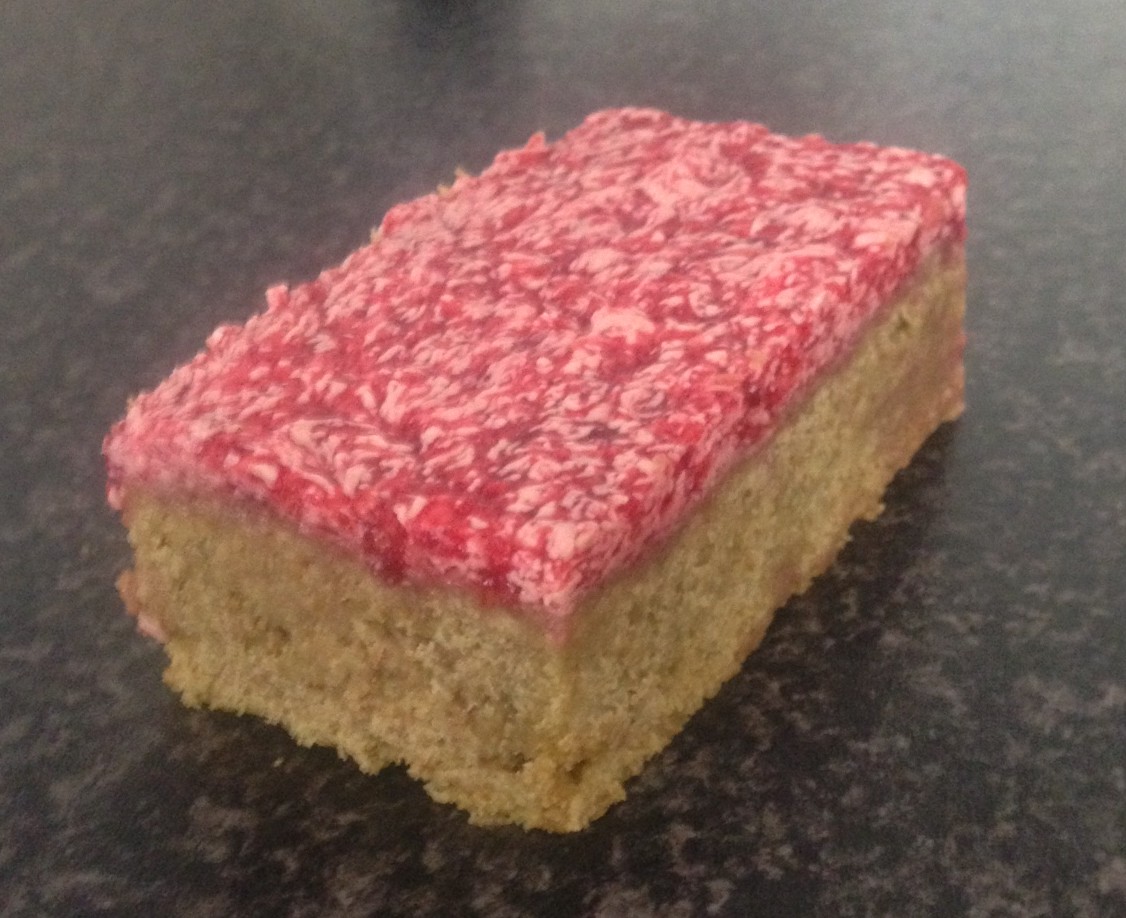
It’s the raspberry layer where I have added in my unusualness by making a somewhat jelly style raspberry icing layer.
Another creation that has succeeded in impressing 🙂
Ingredients:
Cake:
- 125g butter
- 115g sugar
- 1 tsn vanilla essence
- 1 egg
- 175g self raising flour
- 3 tbsn matcha
Icing:
- 200g raspberries
- 155g butter
- 80g icing sugar
- 2 tsn gelatine powder
- 75ml hot water
Method:
- Preheat the oven to 180c degrees and line a 20cm square cake tin.
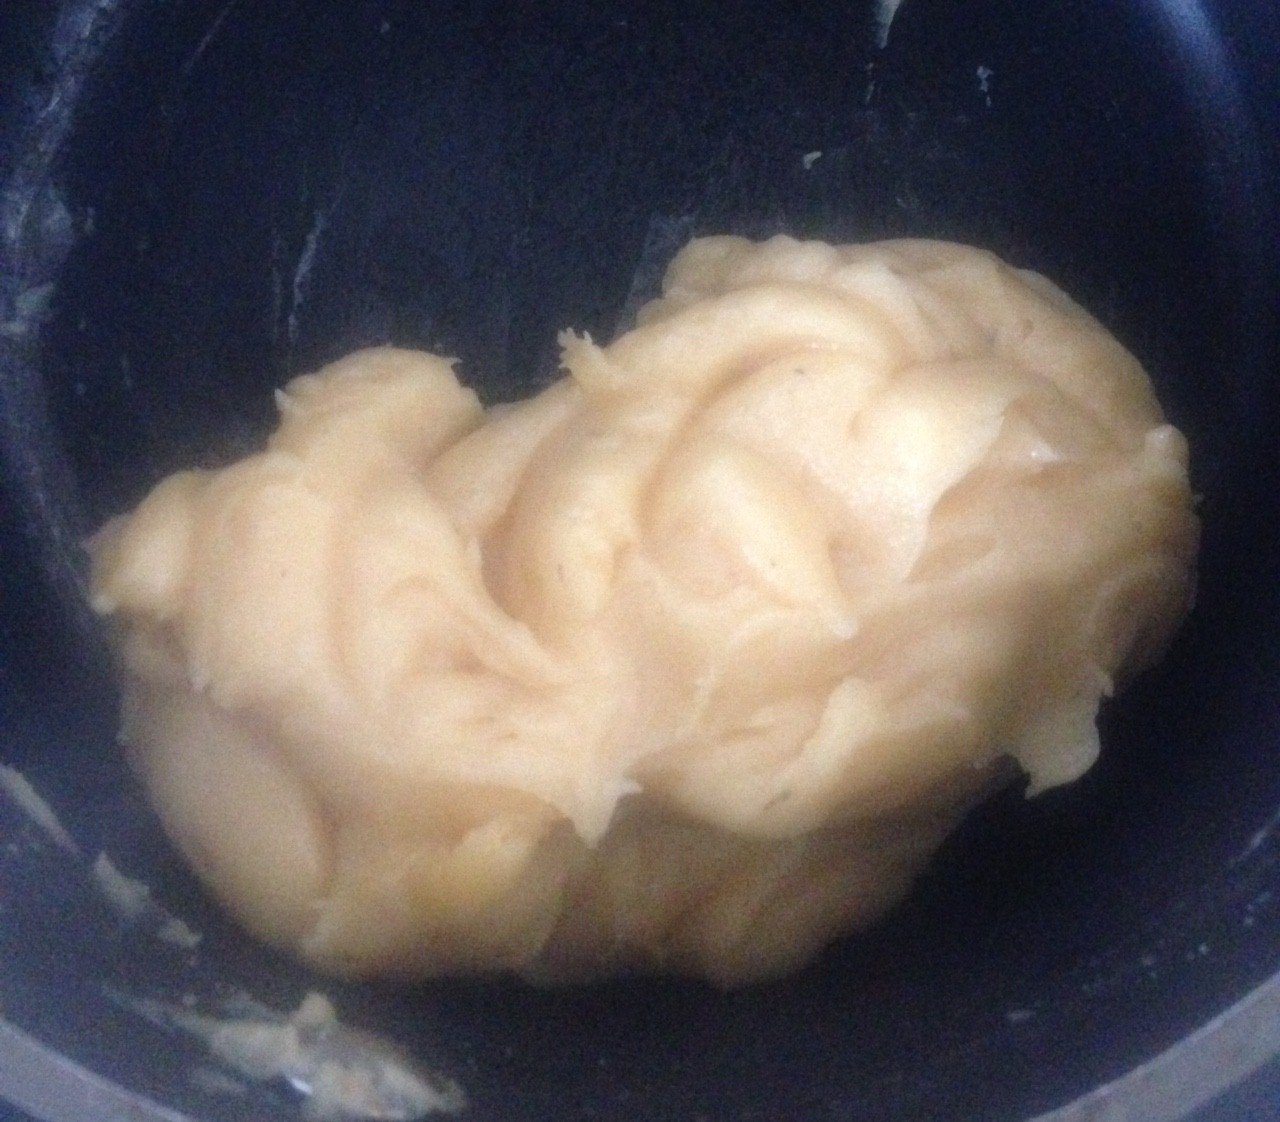
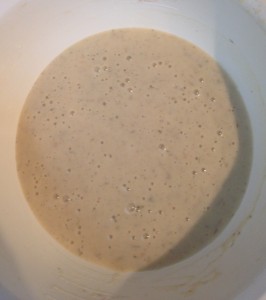
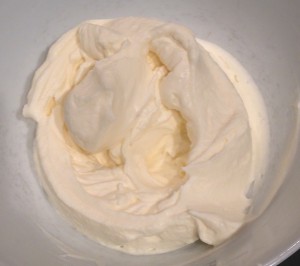
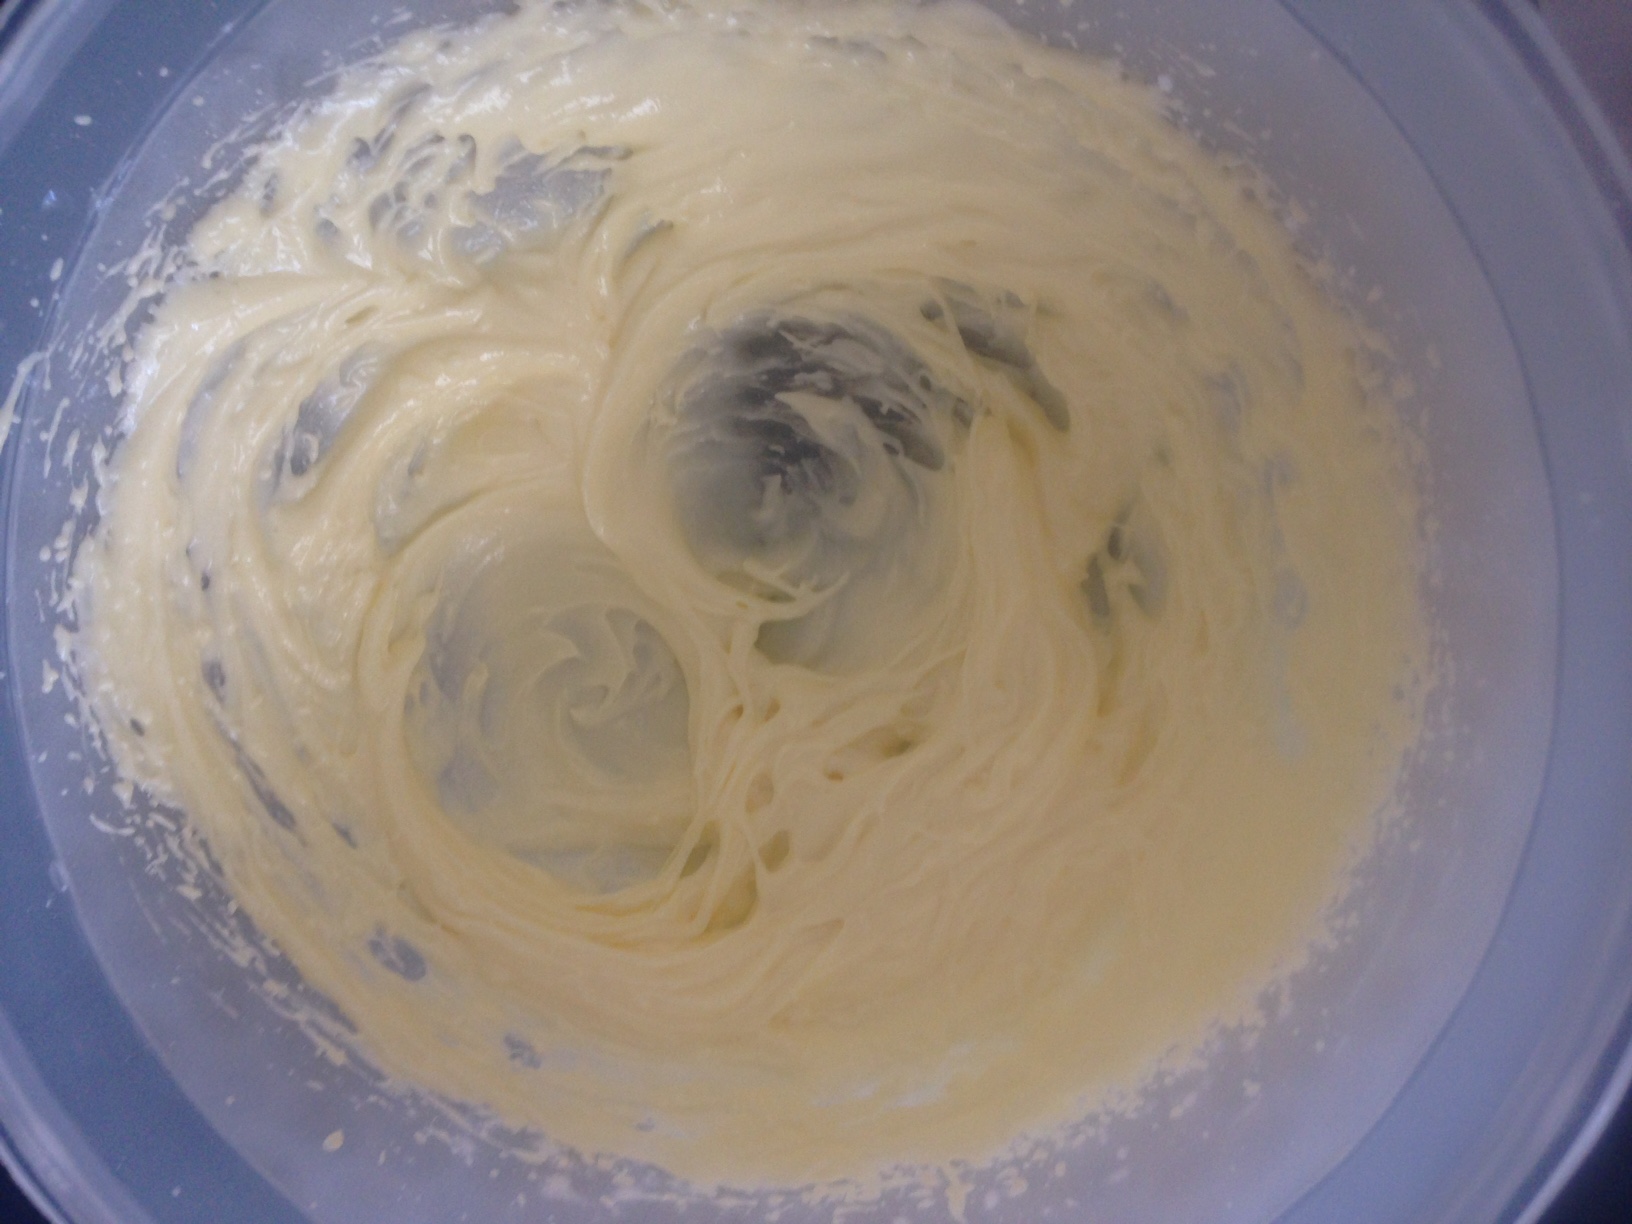
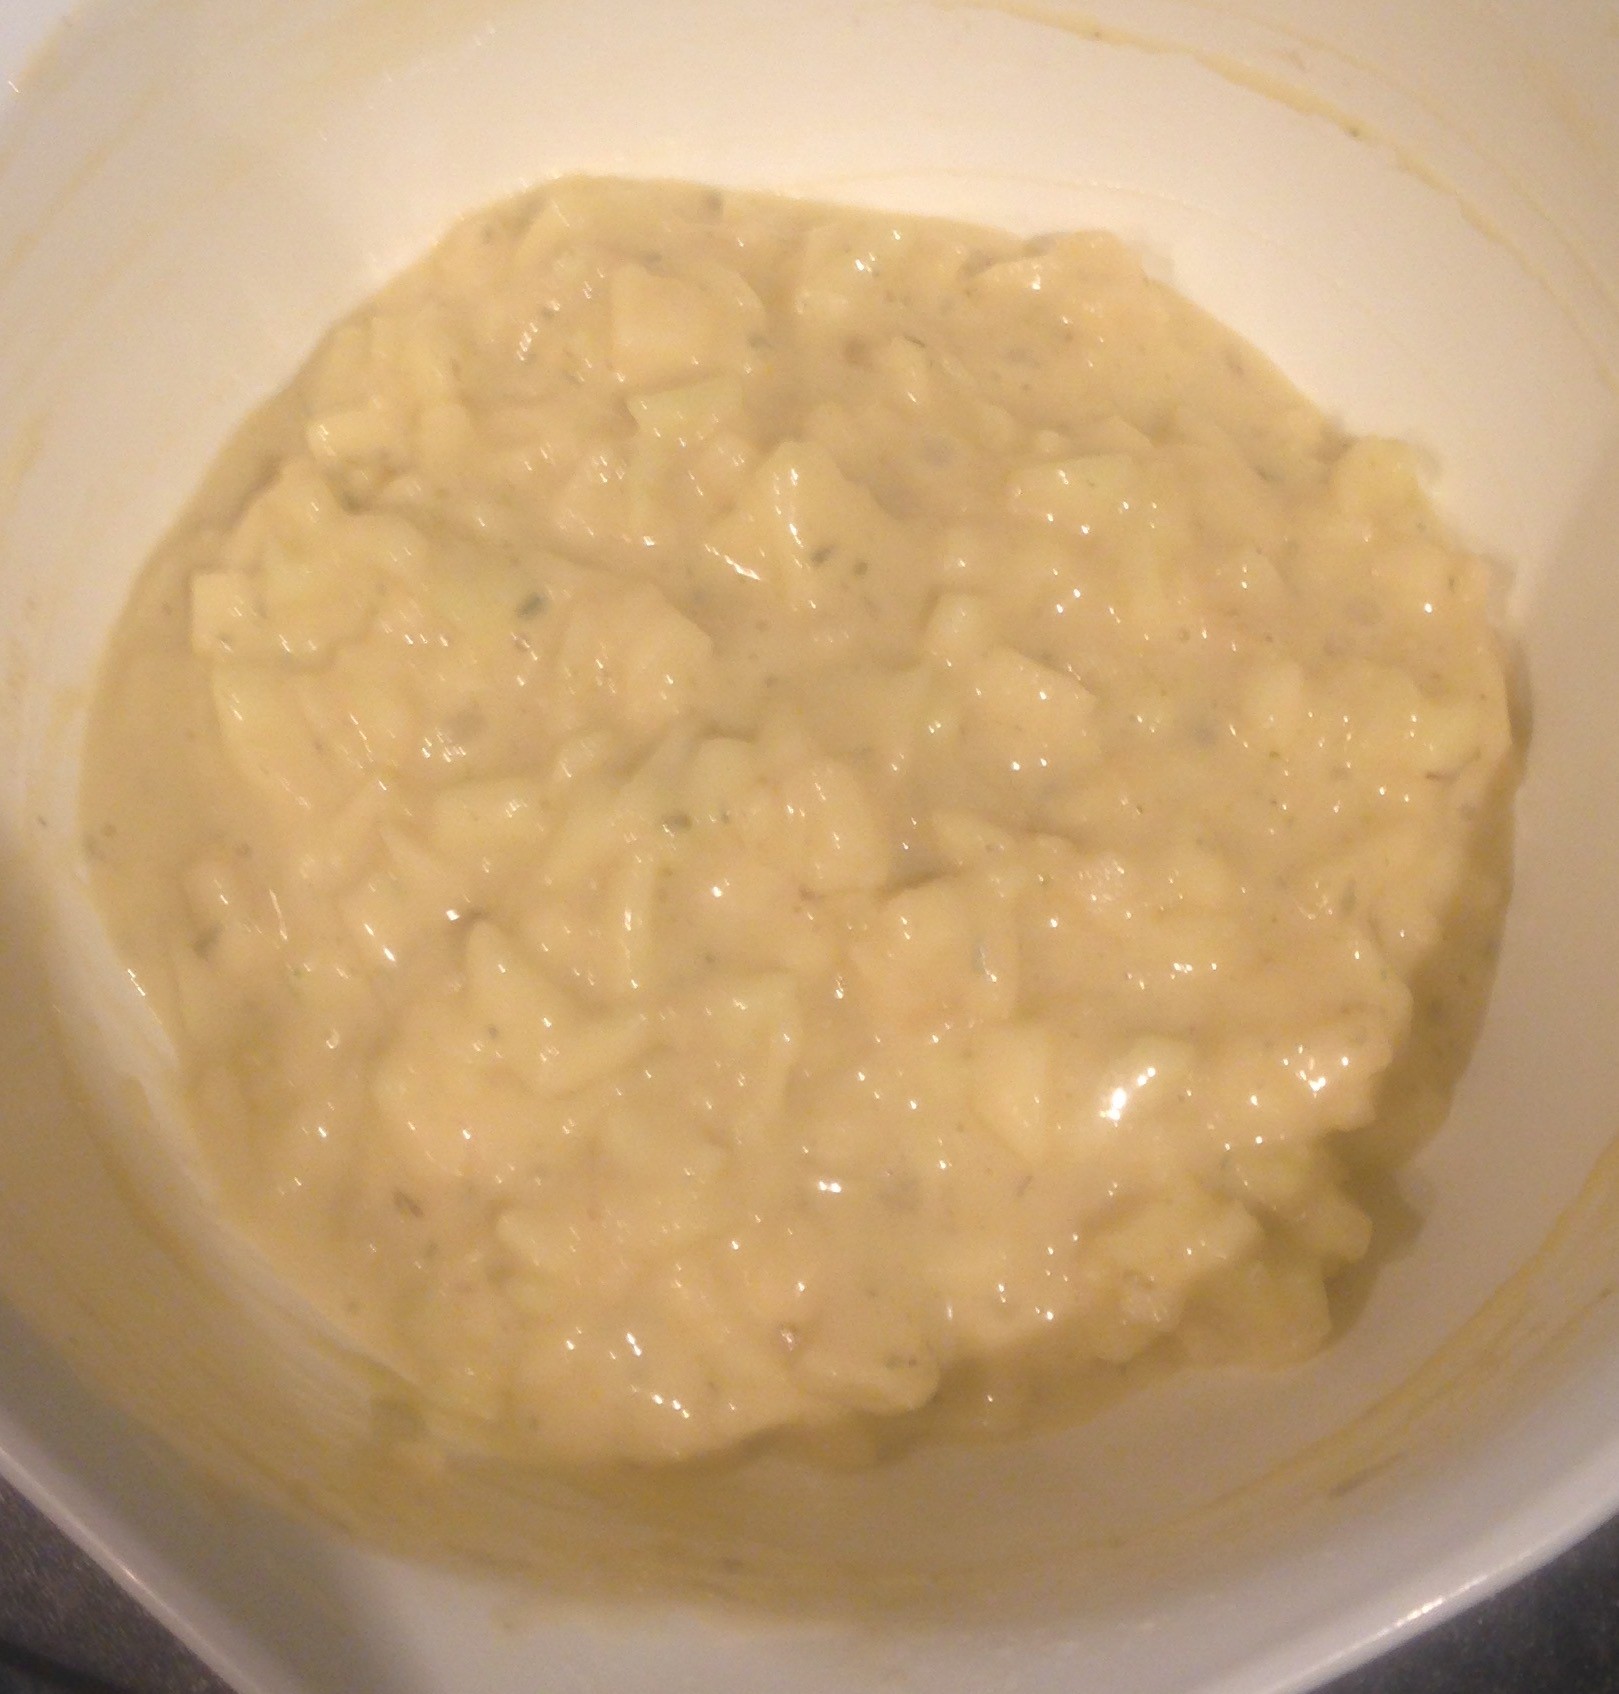
- Place the butter, sugar and vanilla in a bowl and beat with electric beaters for 5 minutes of until light and fluffy.
- Add the egg and beat for a further minute.
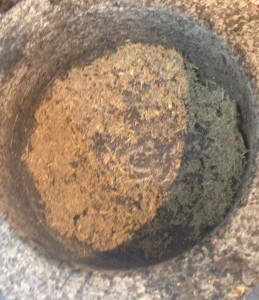
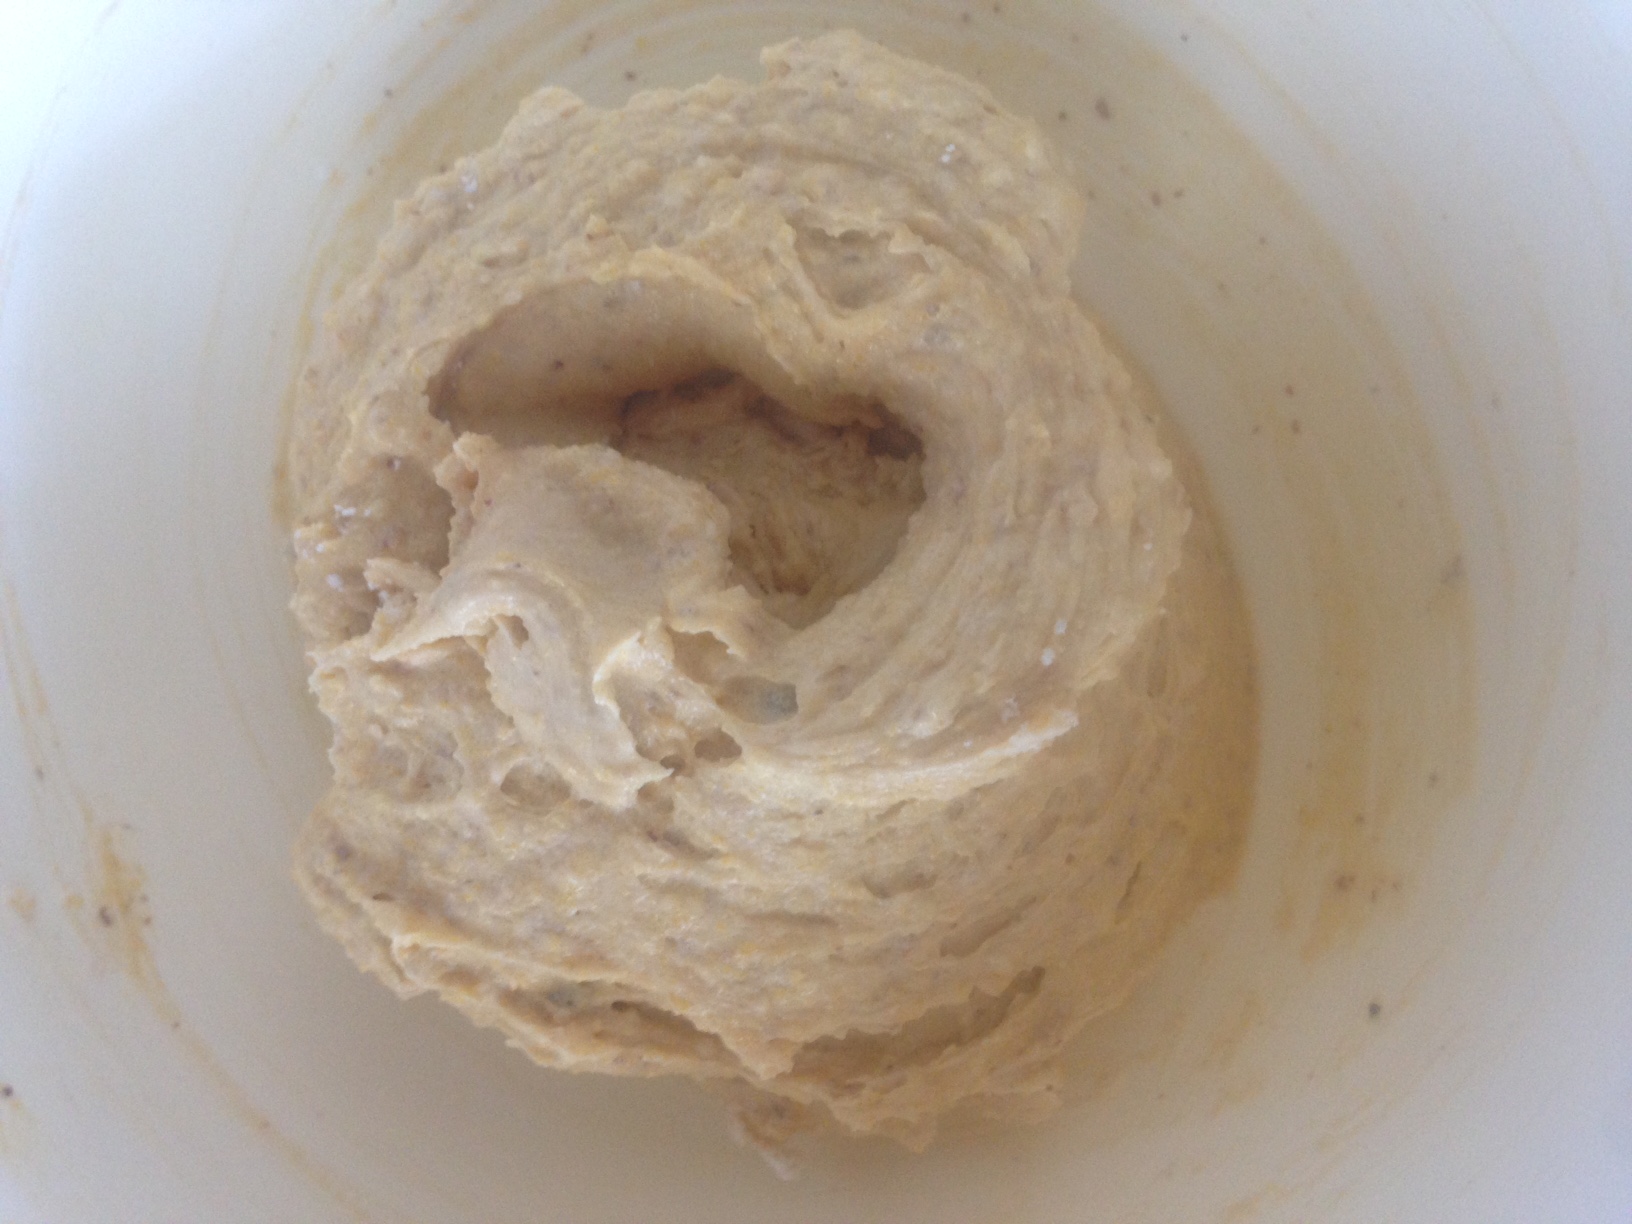
- Sift the flour and matcha and fold the mixture until combine.
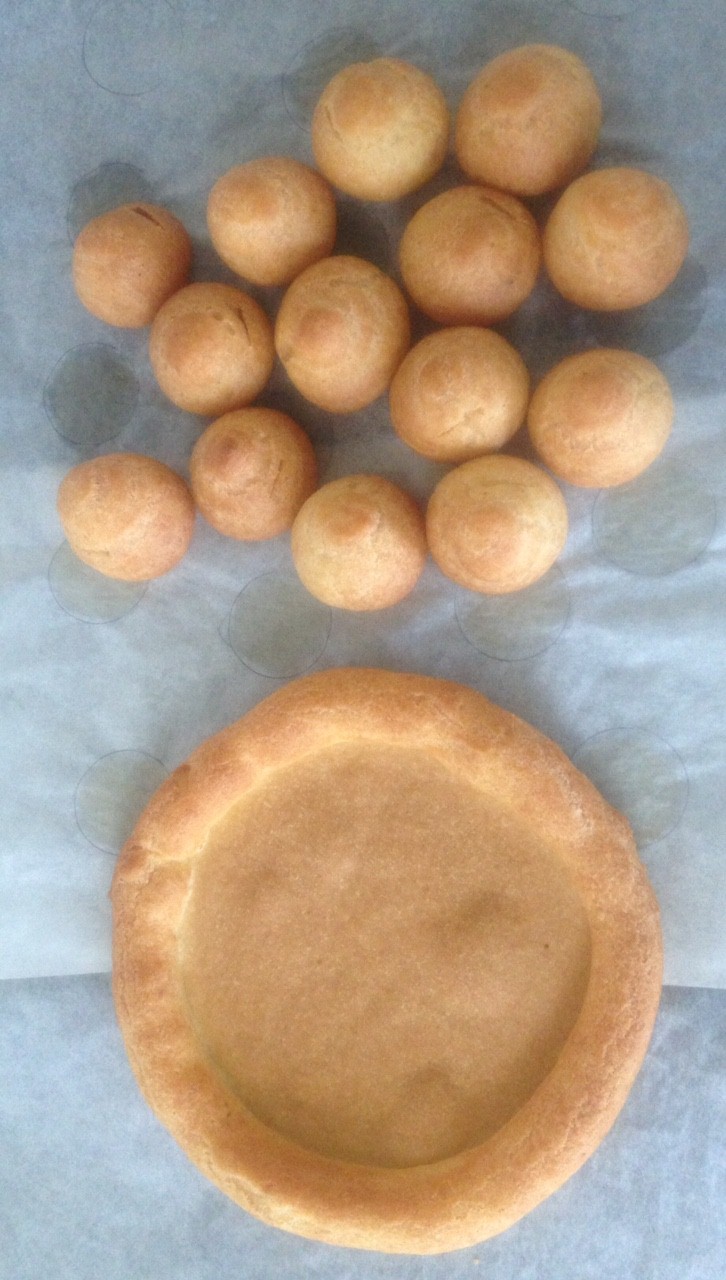
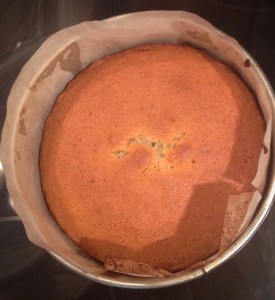
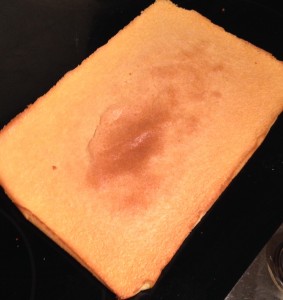
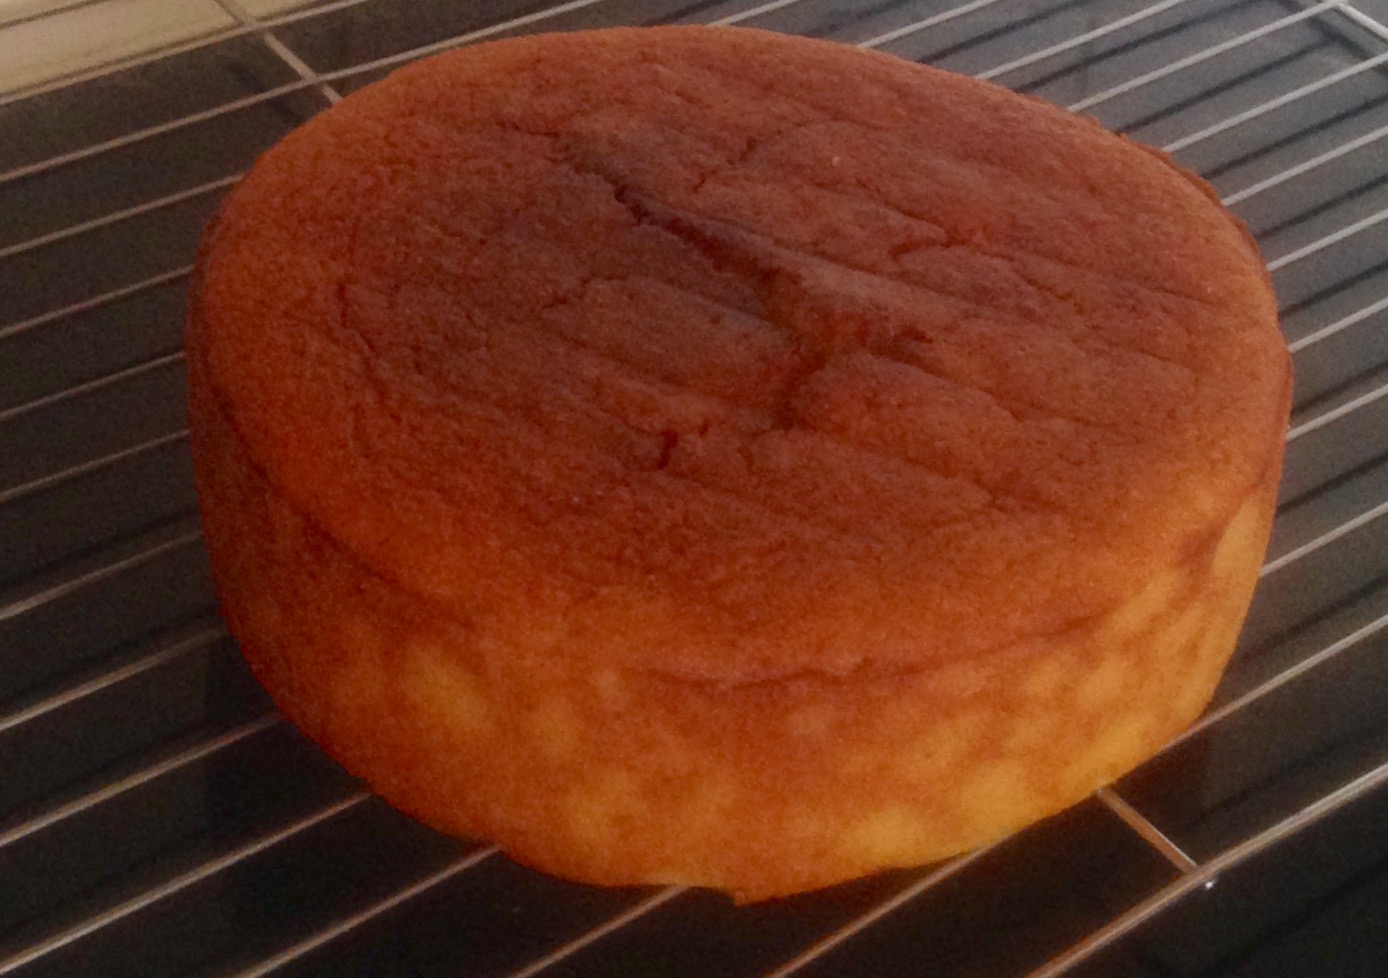
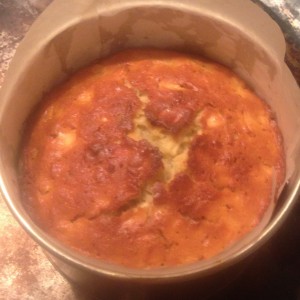
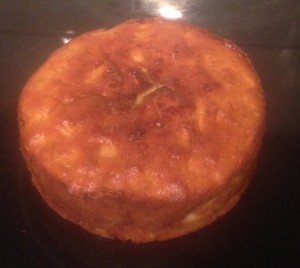
- Place the mix in the tin and bake in the oven for 25 minutes or until lightly golden on top.
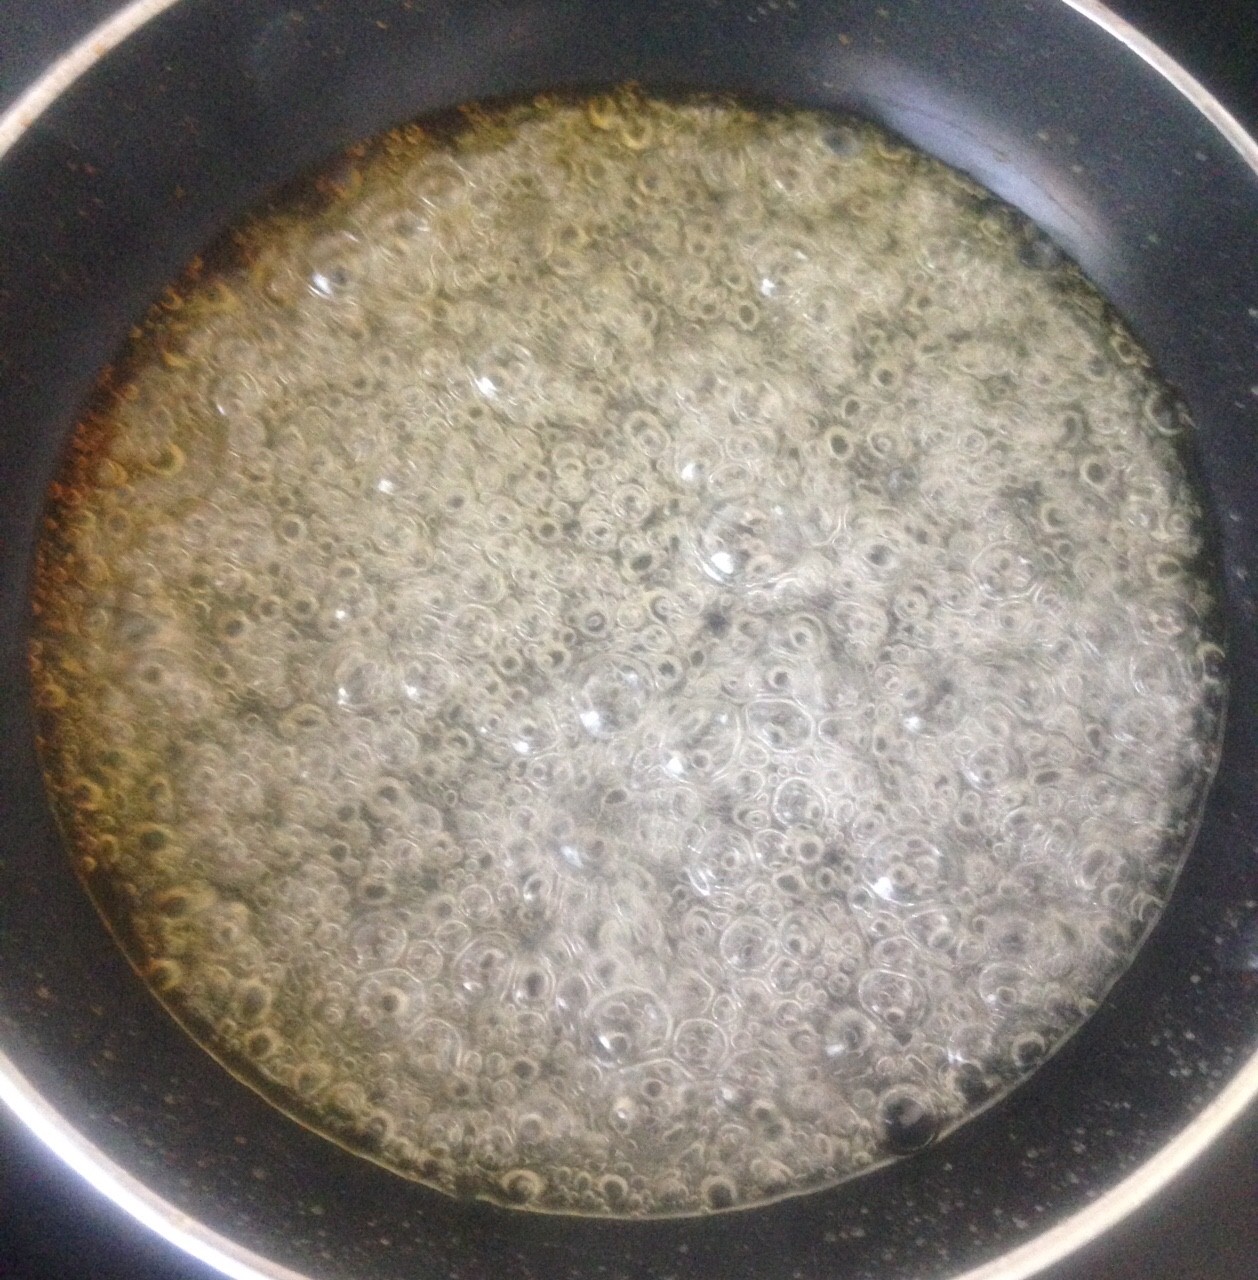
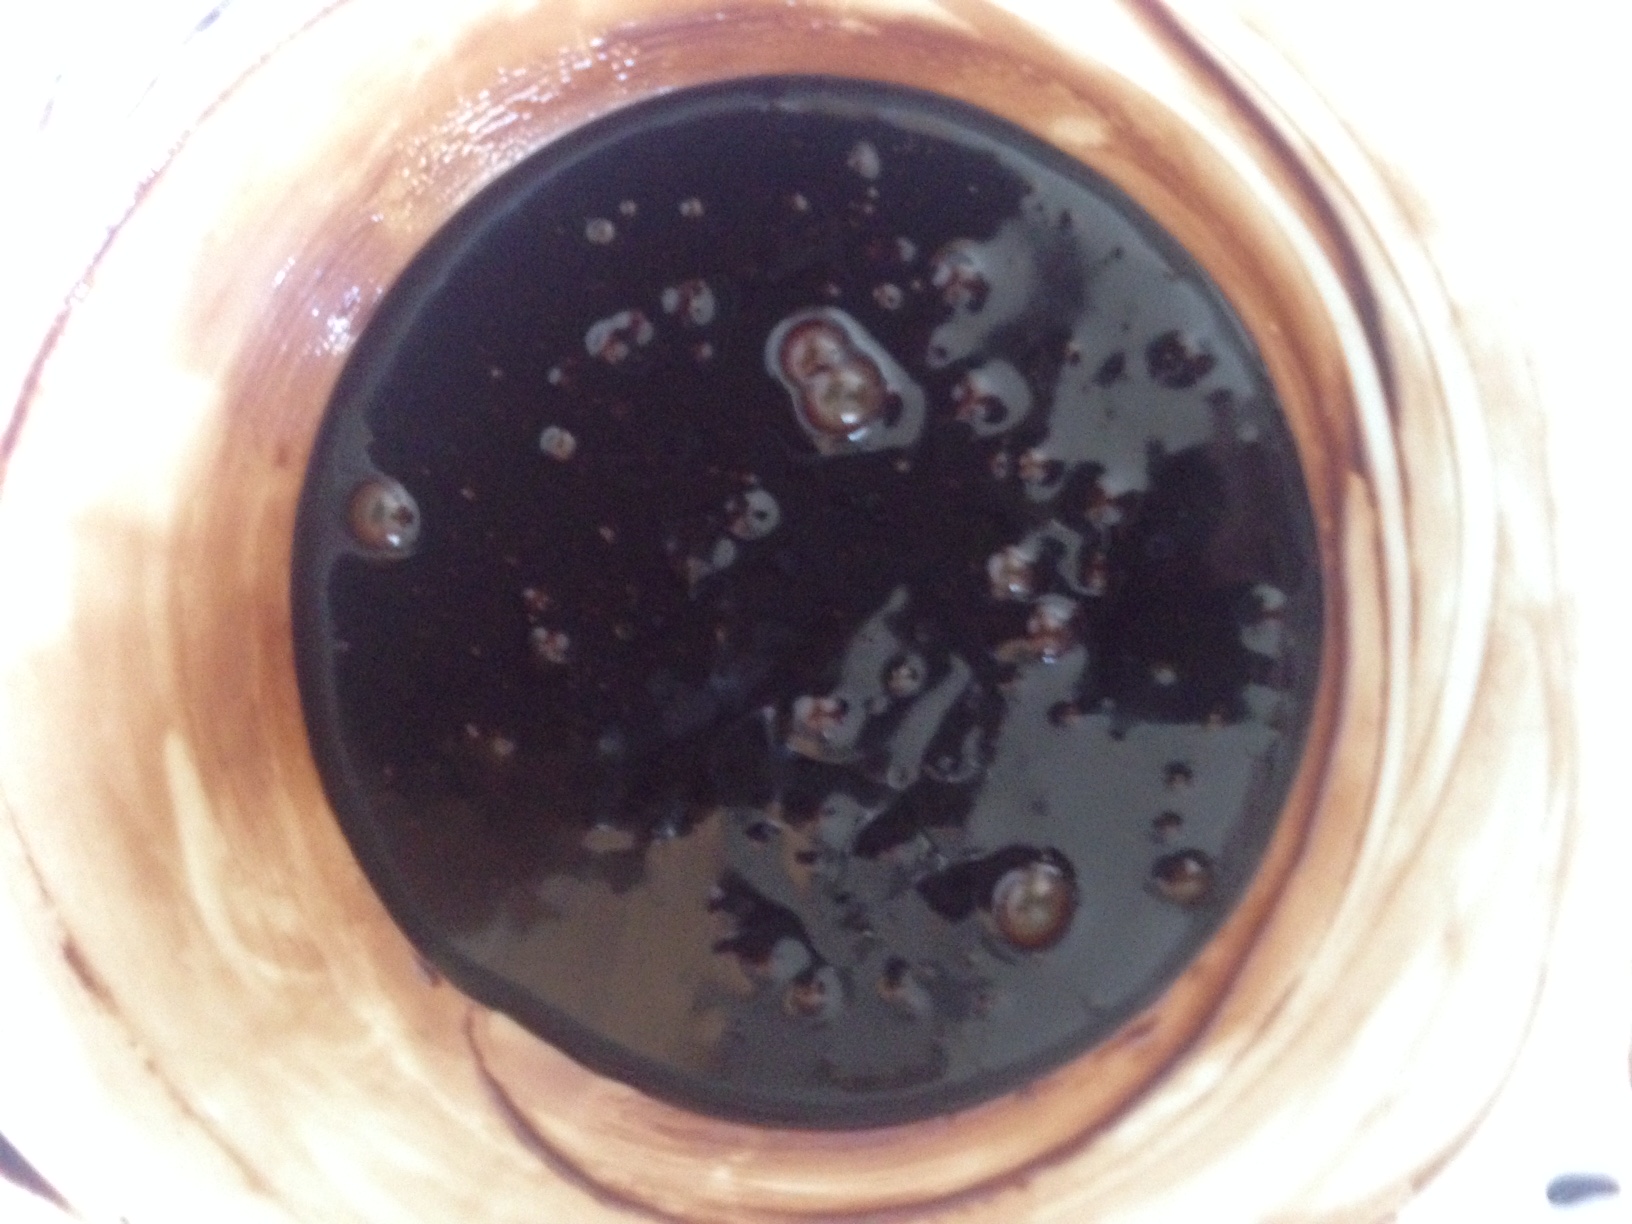
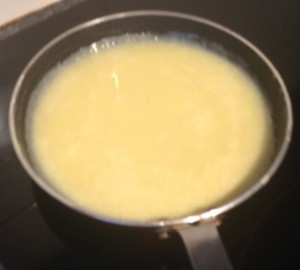
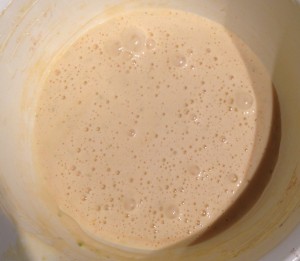
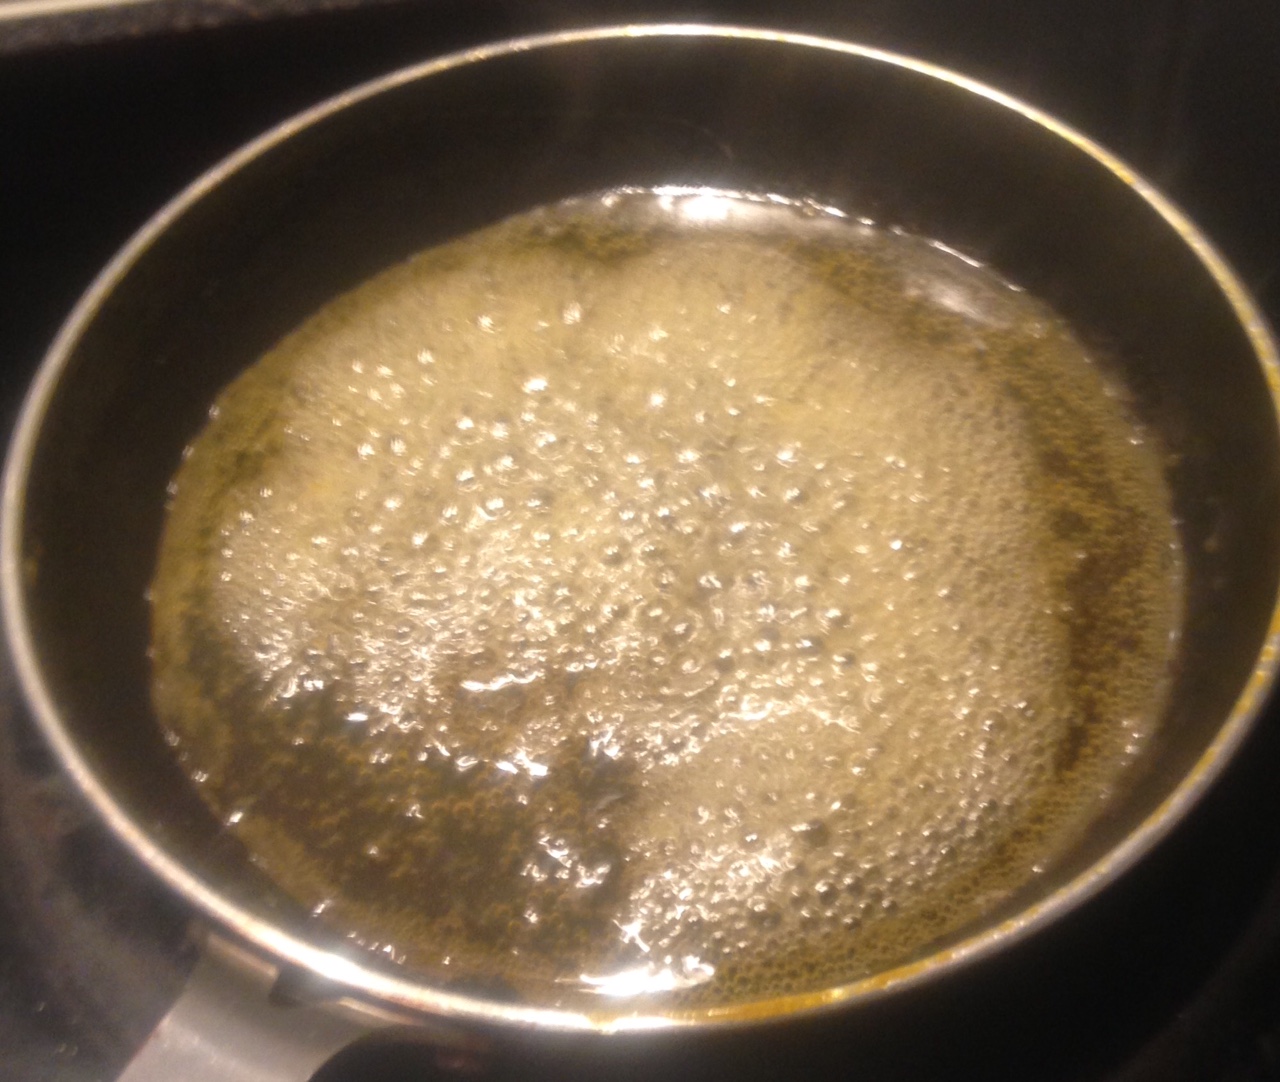
- To make the icing place the gelatine and 75ml of boiling water in a small bowl and whisk until the gelatine has dissolved and thickens.
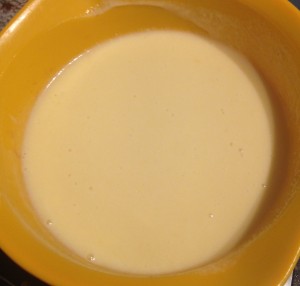
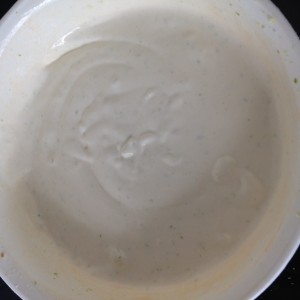
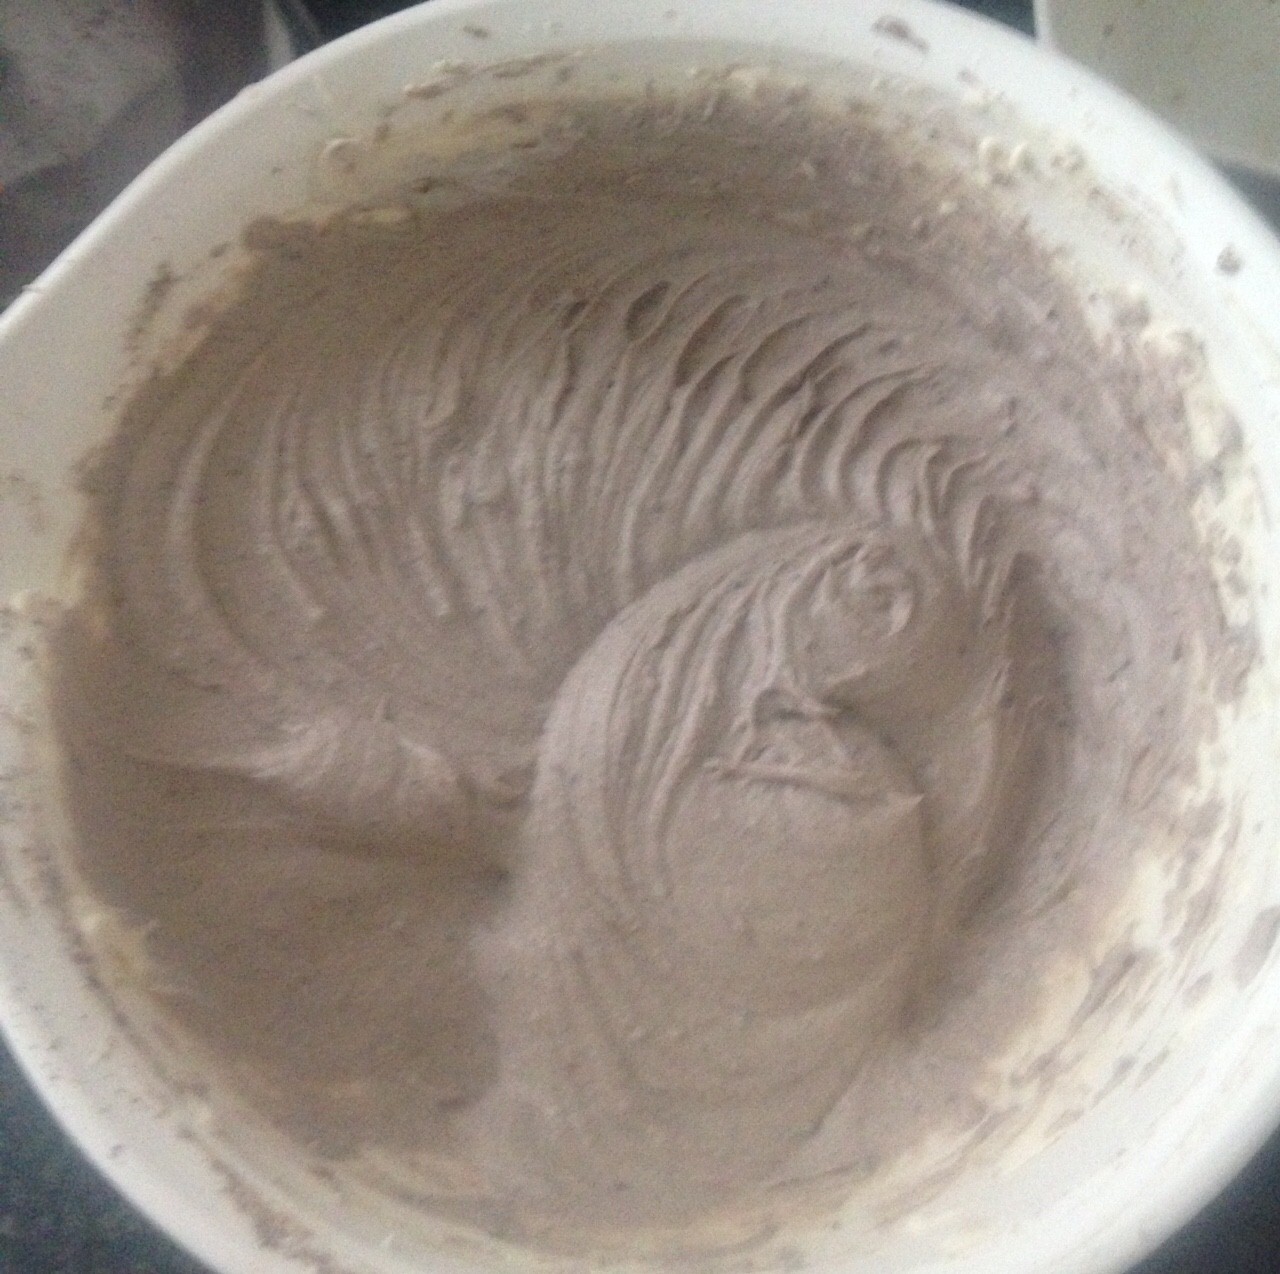
- In another bowl using electric beaters beat the butter and sugar until light and fluffy.
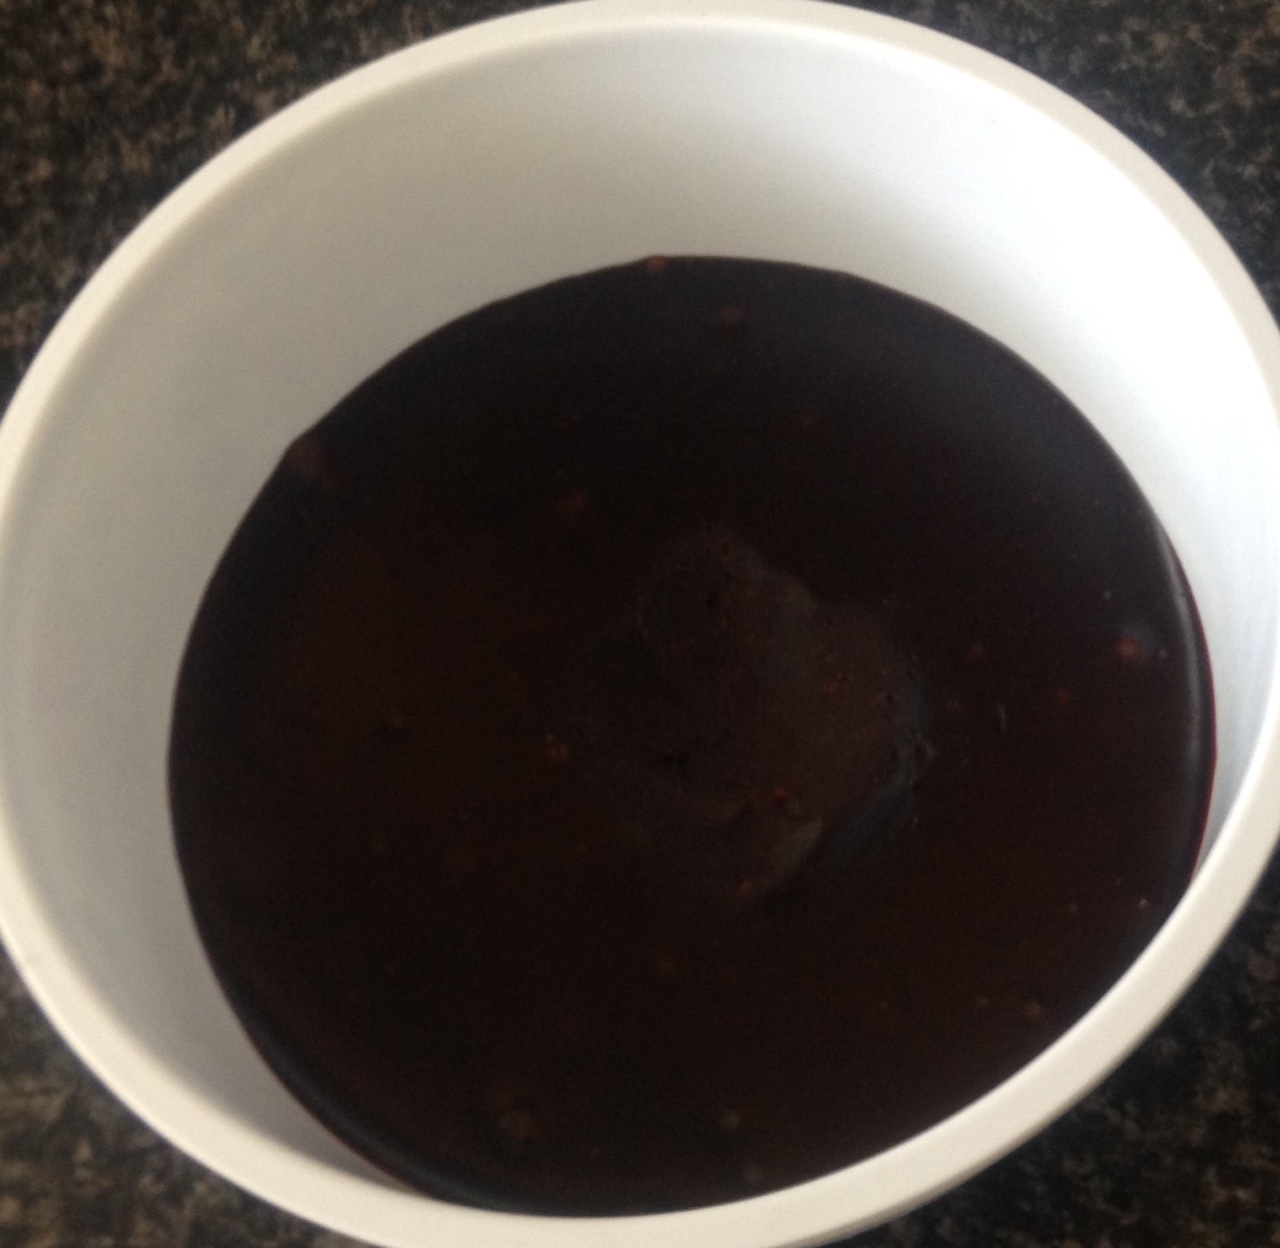
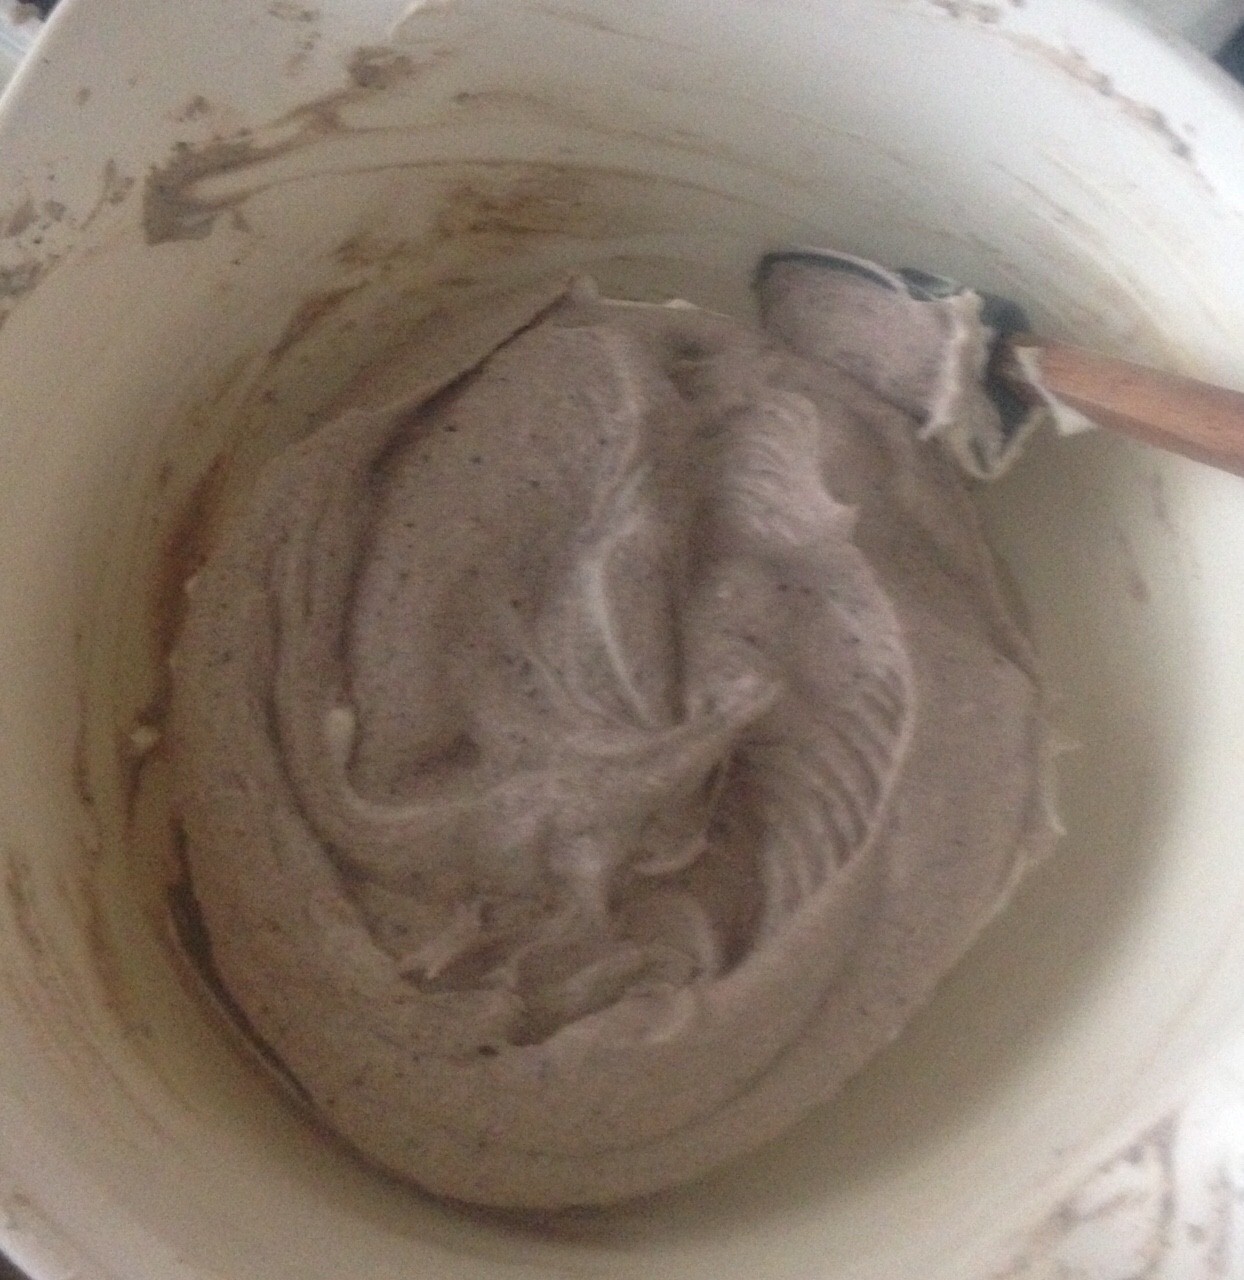
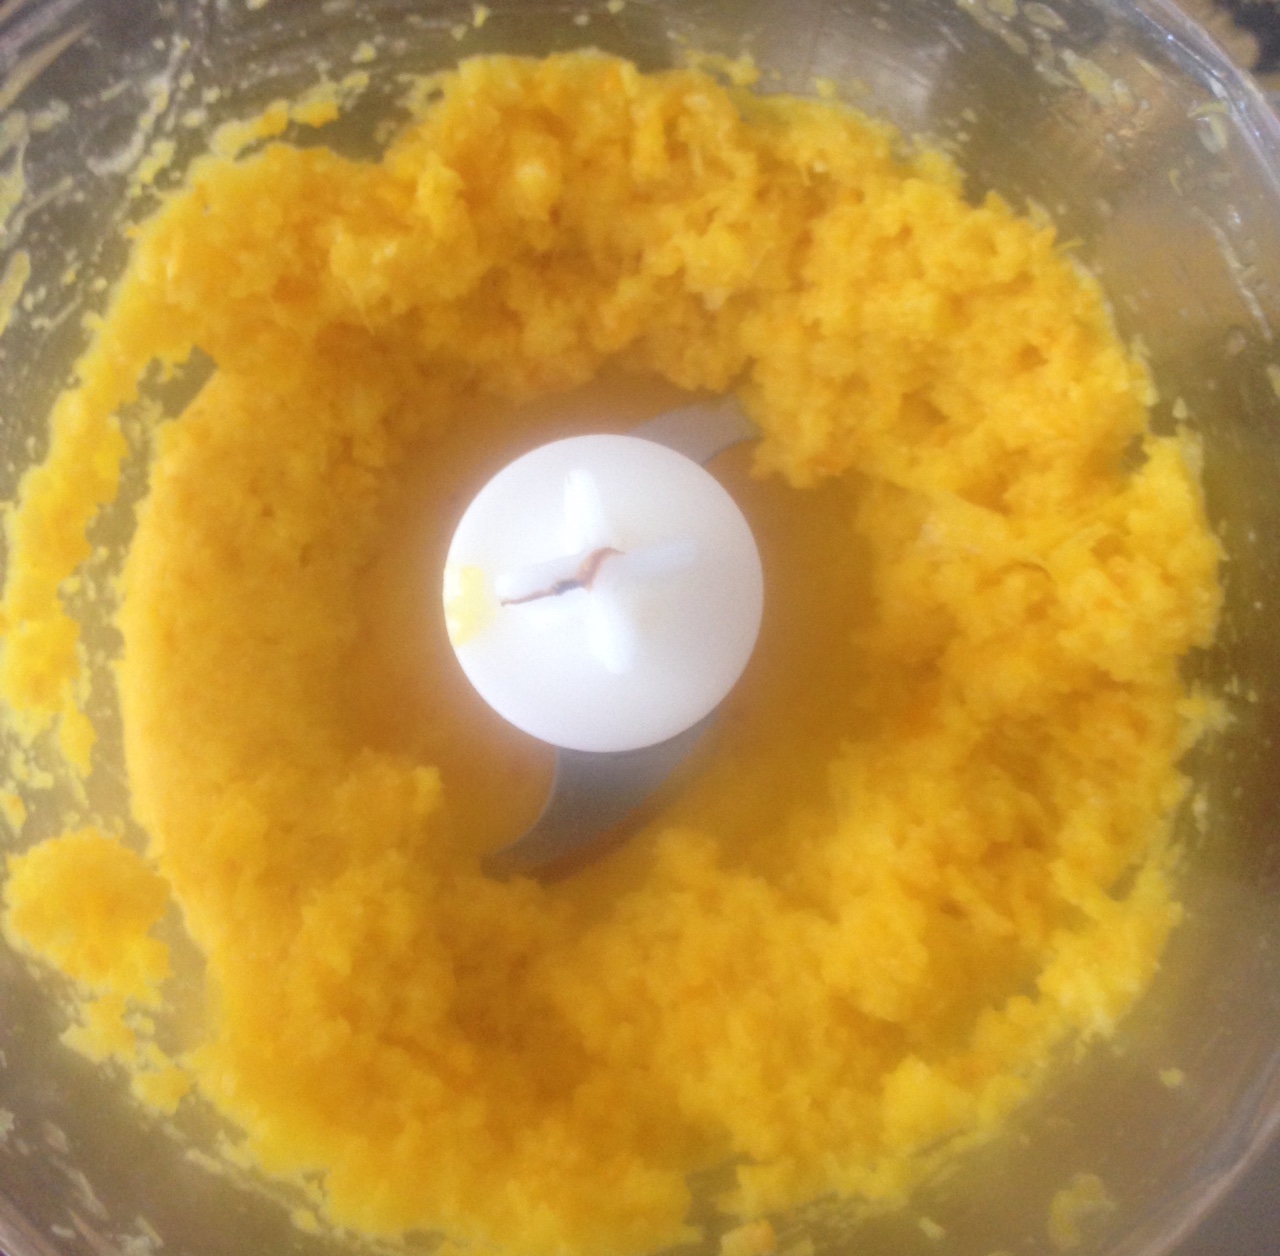
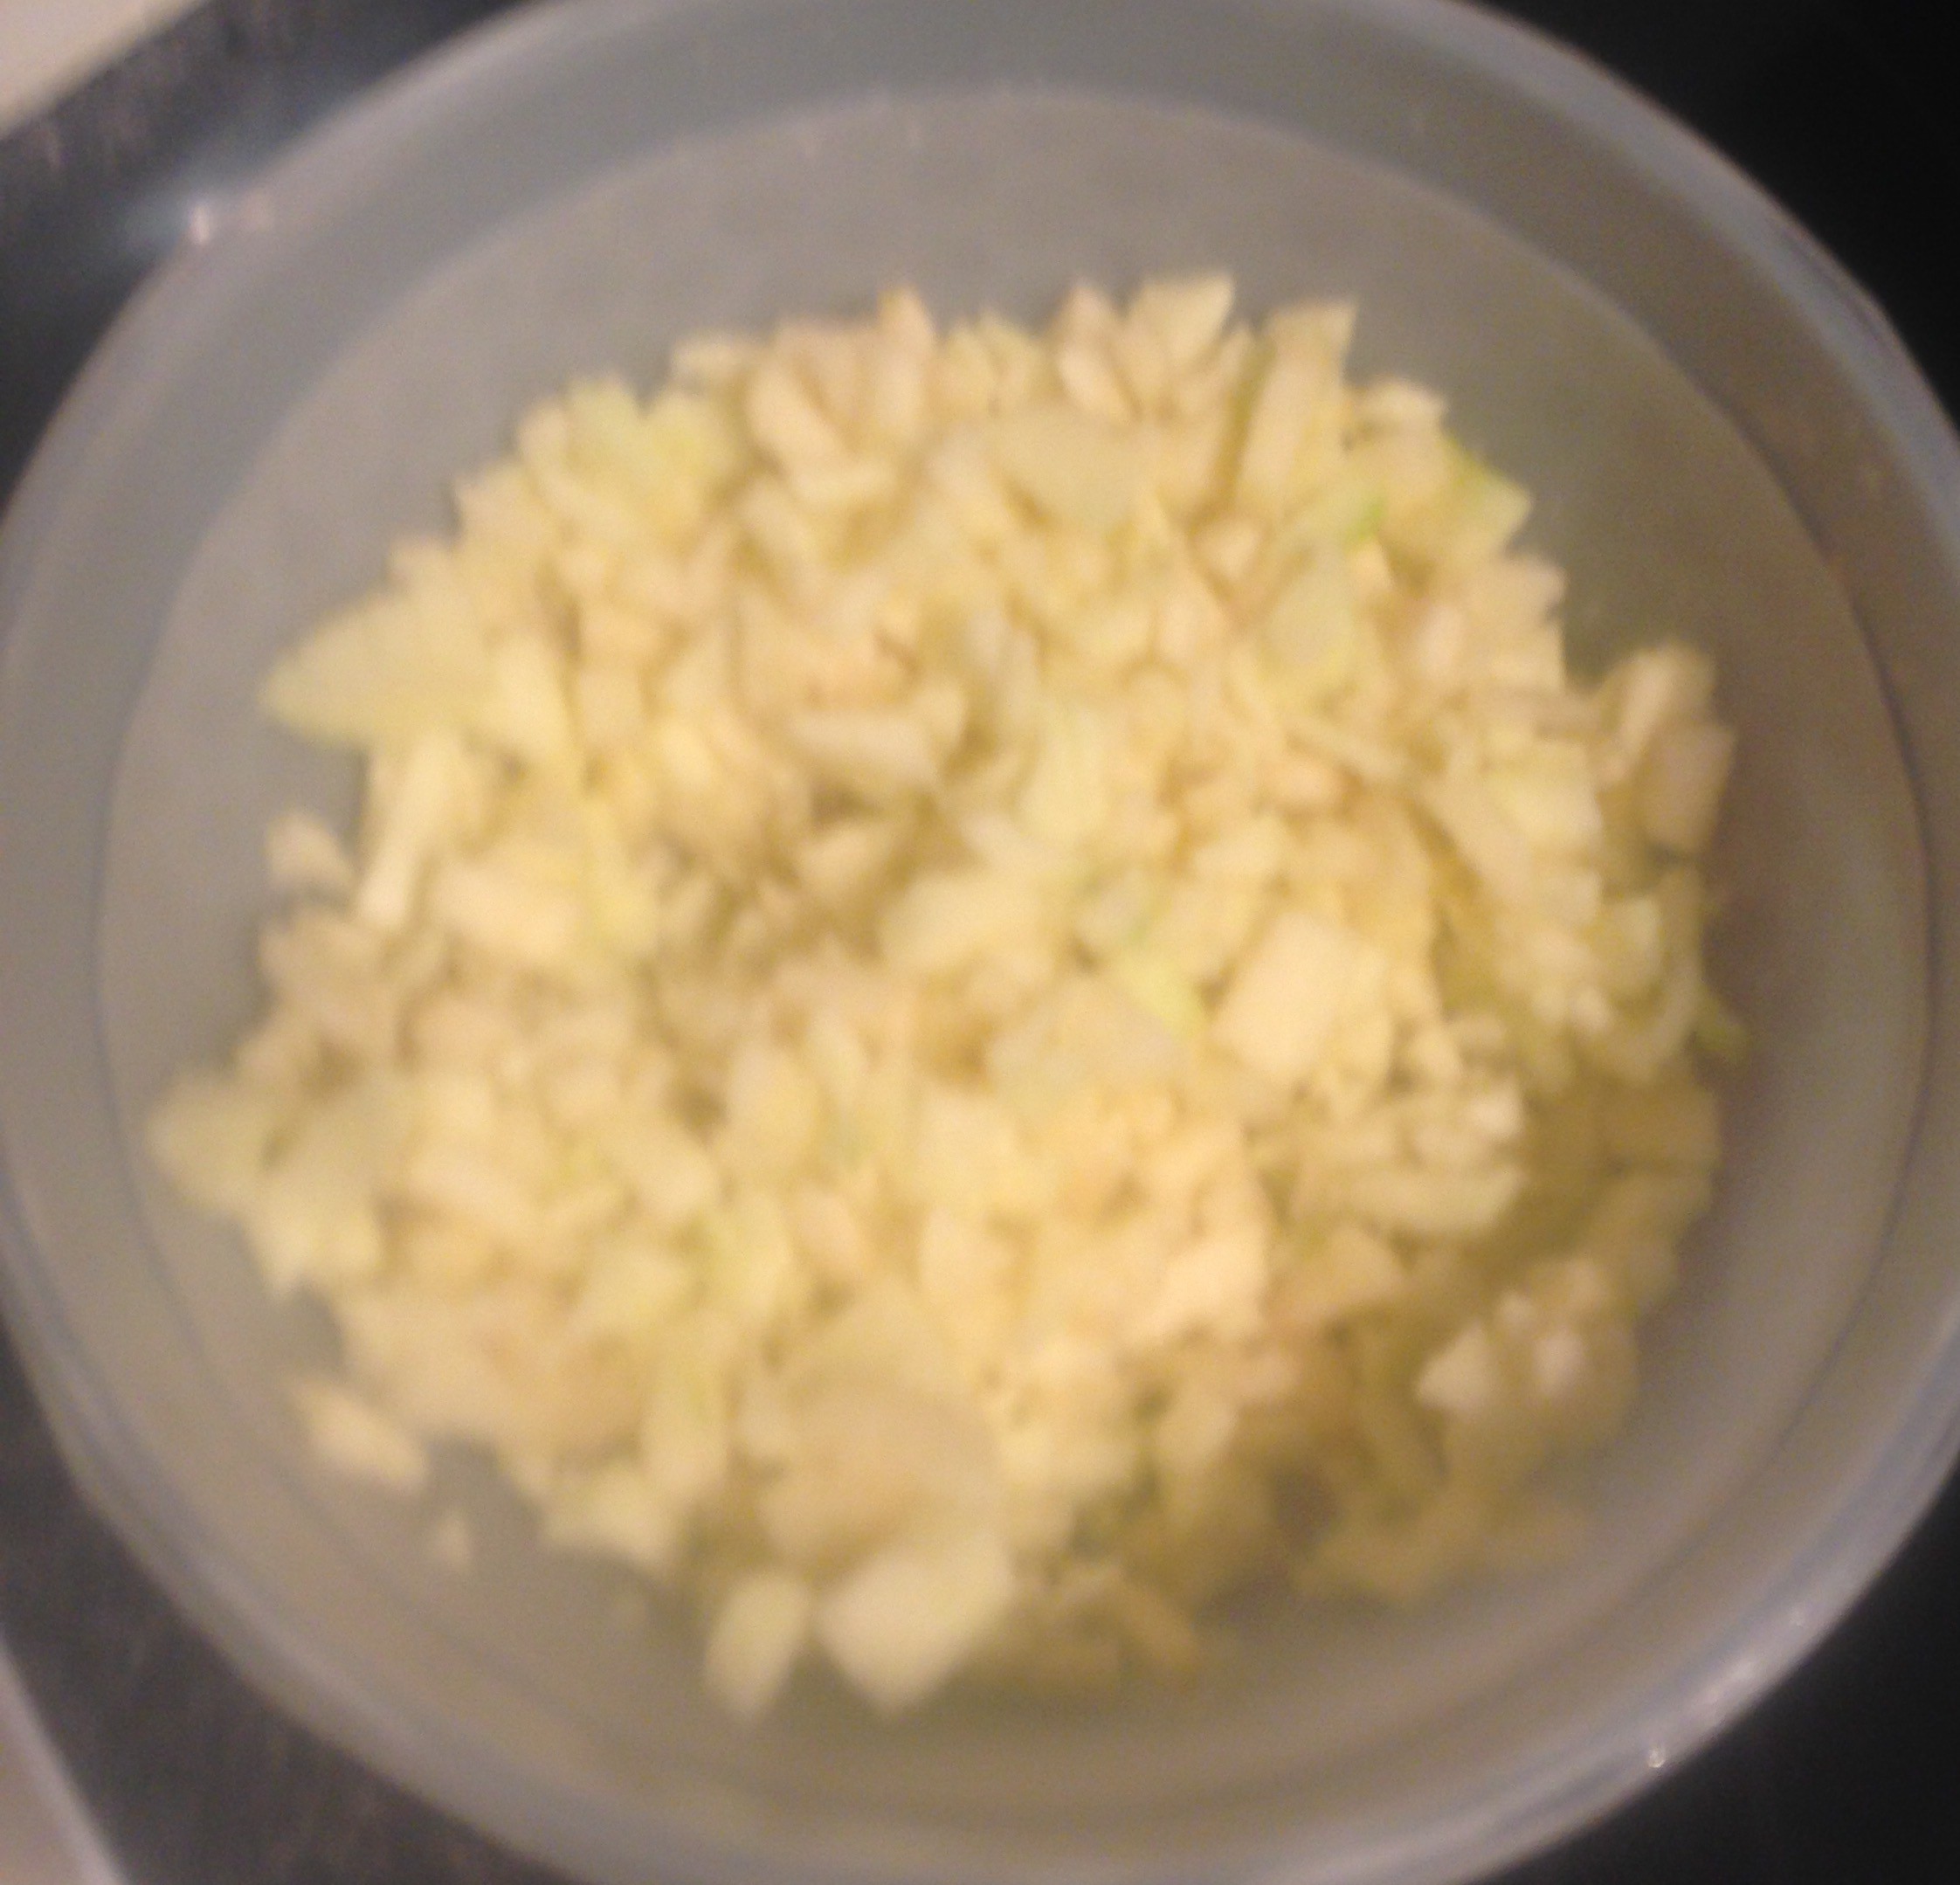
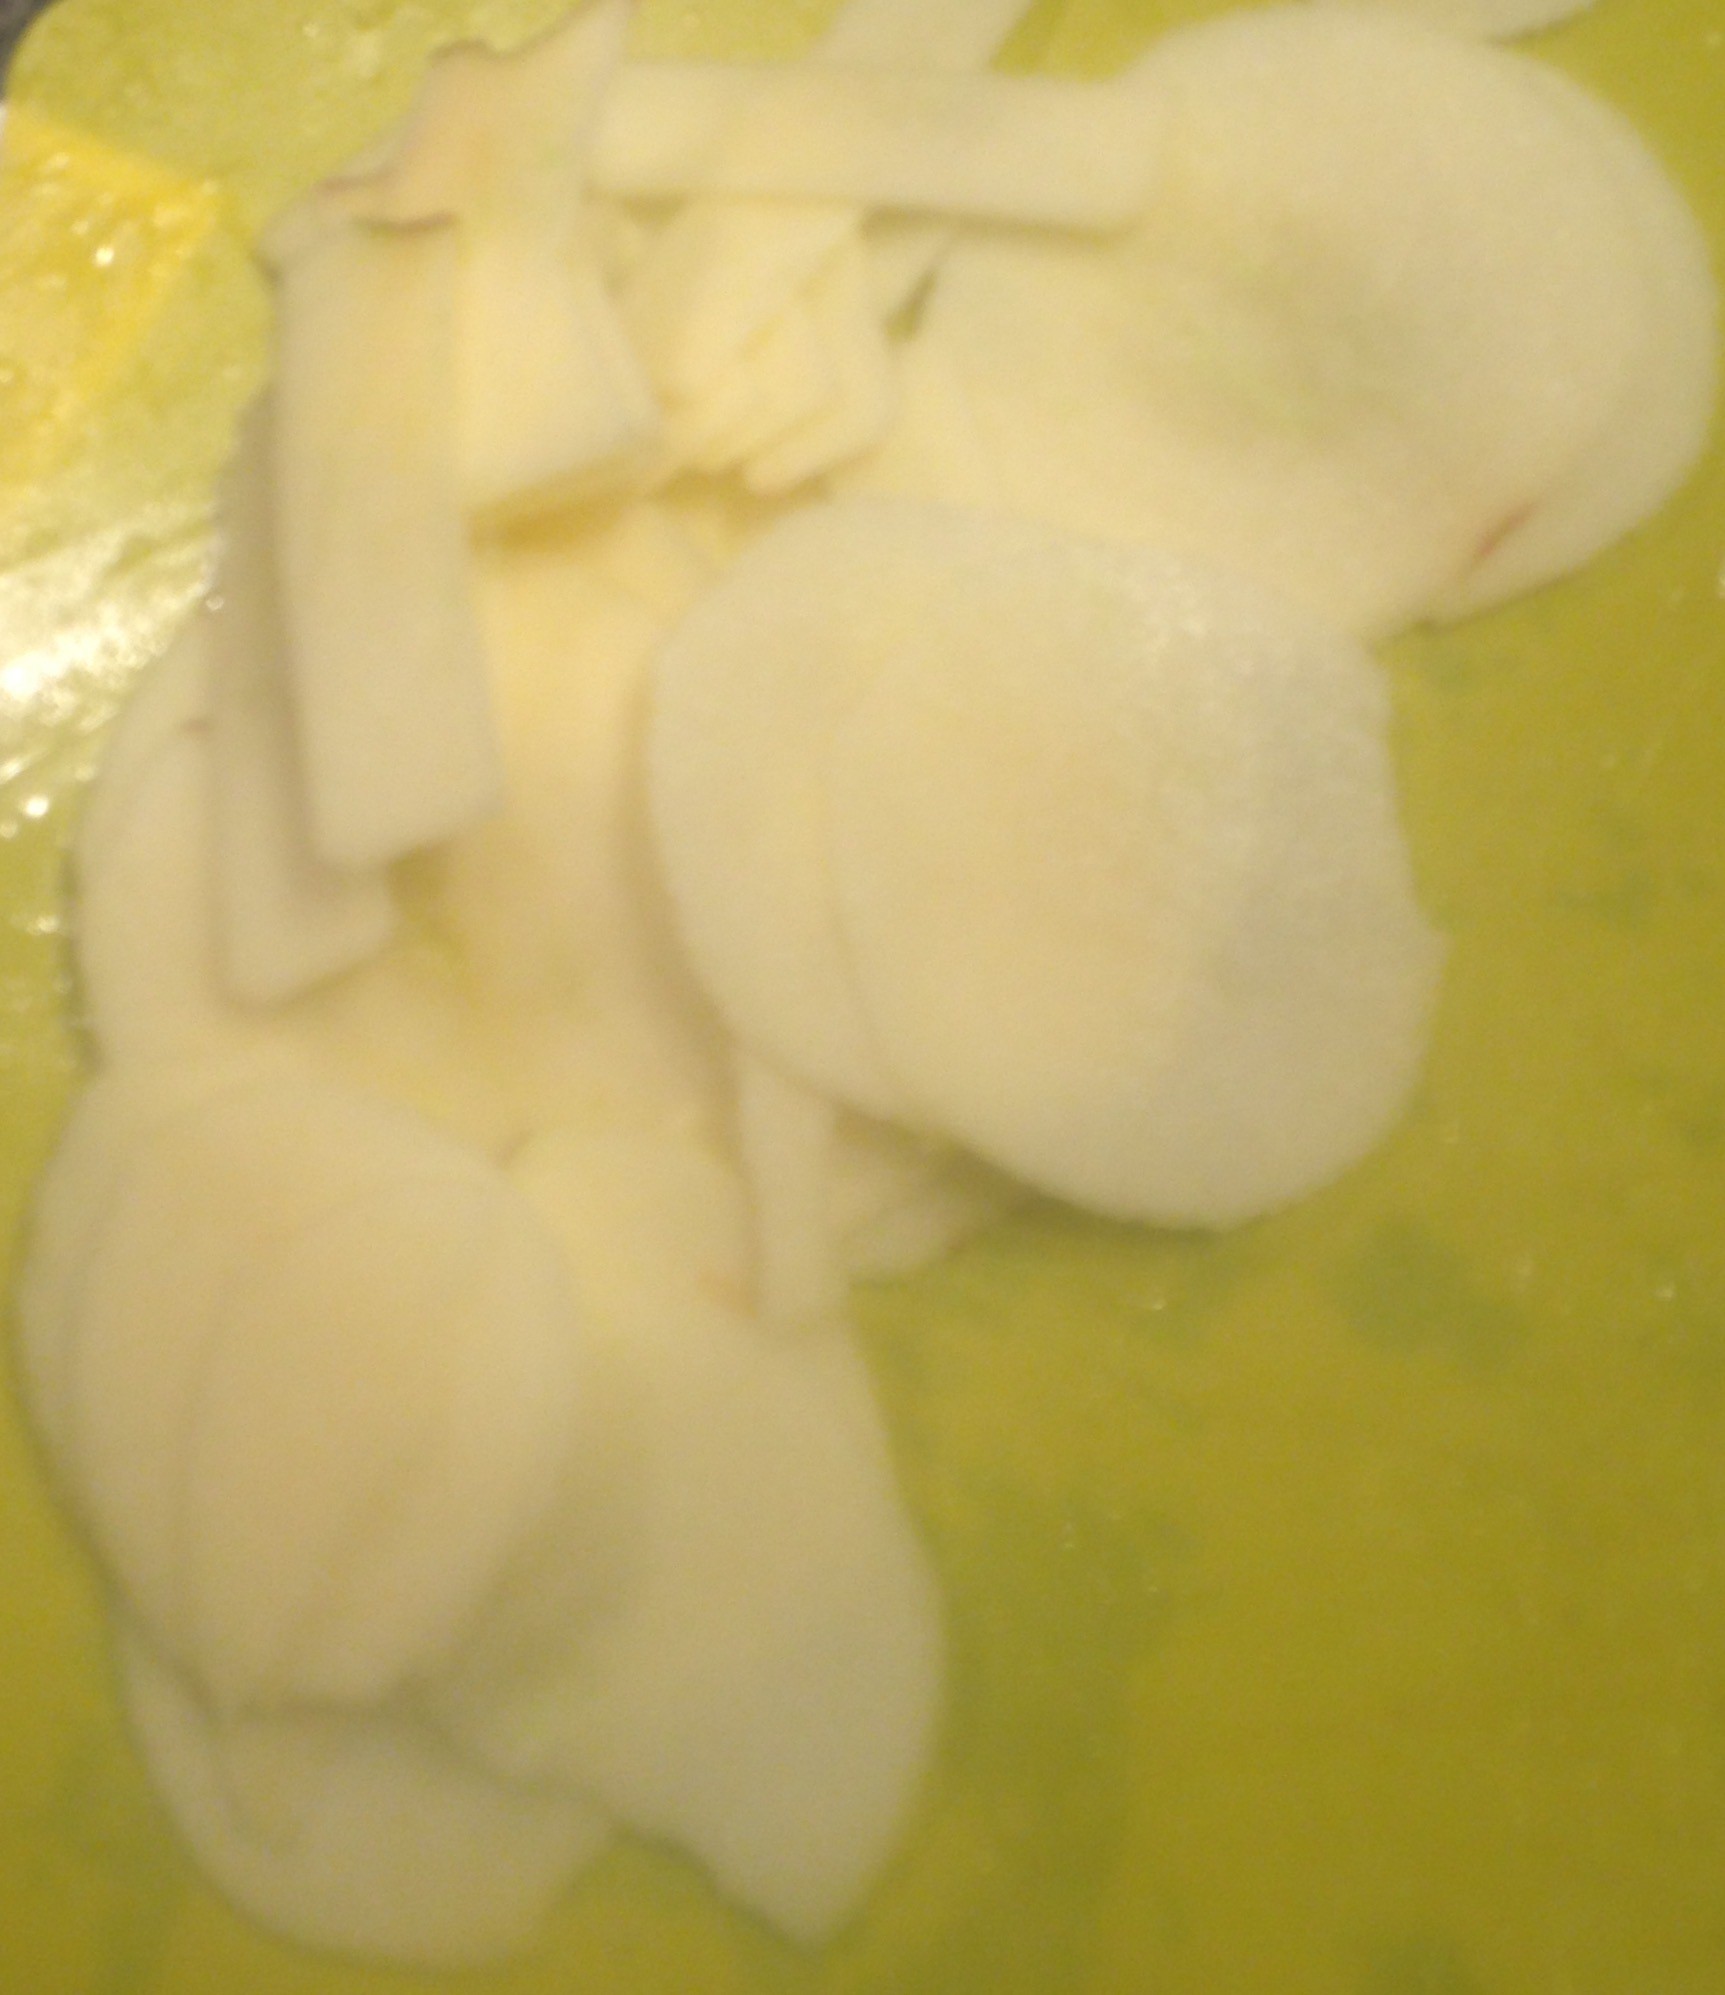
- Mash the raspberry with a fork then beat the raspberry until well combine.
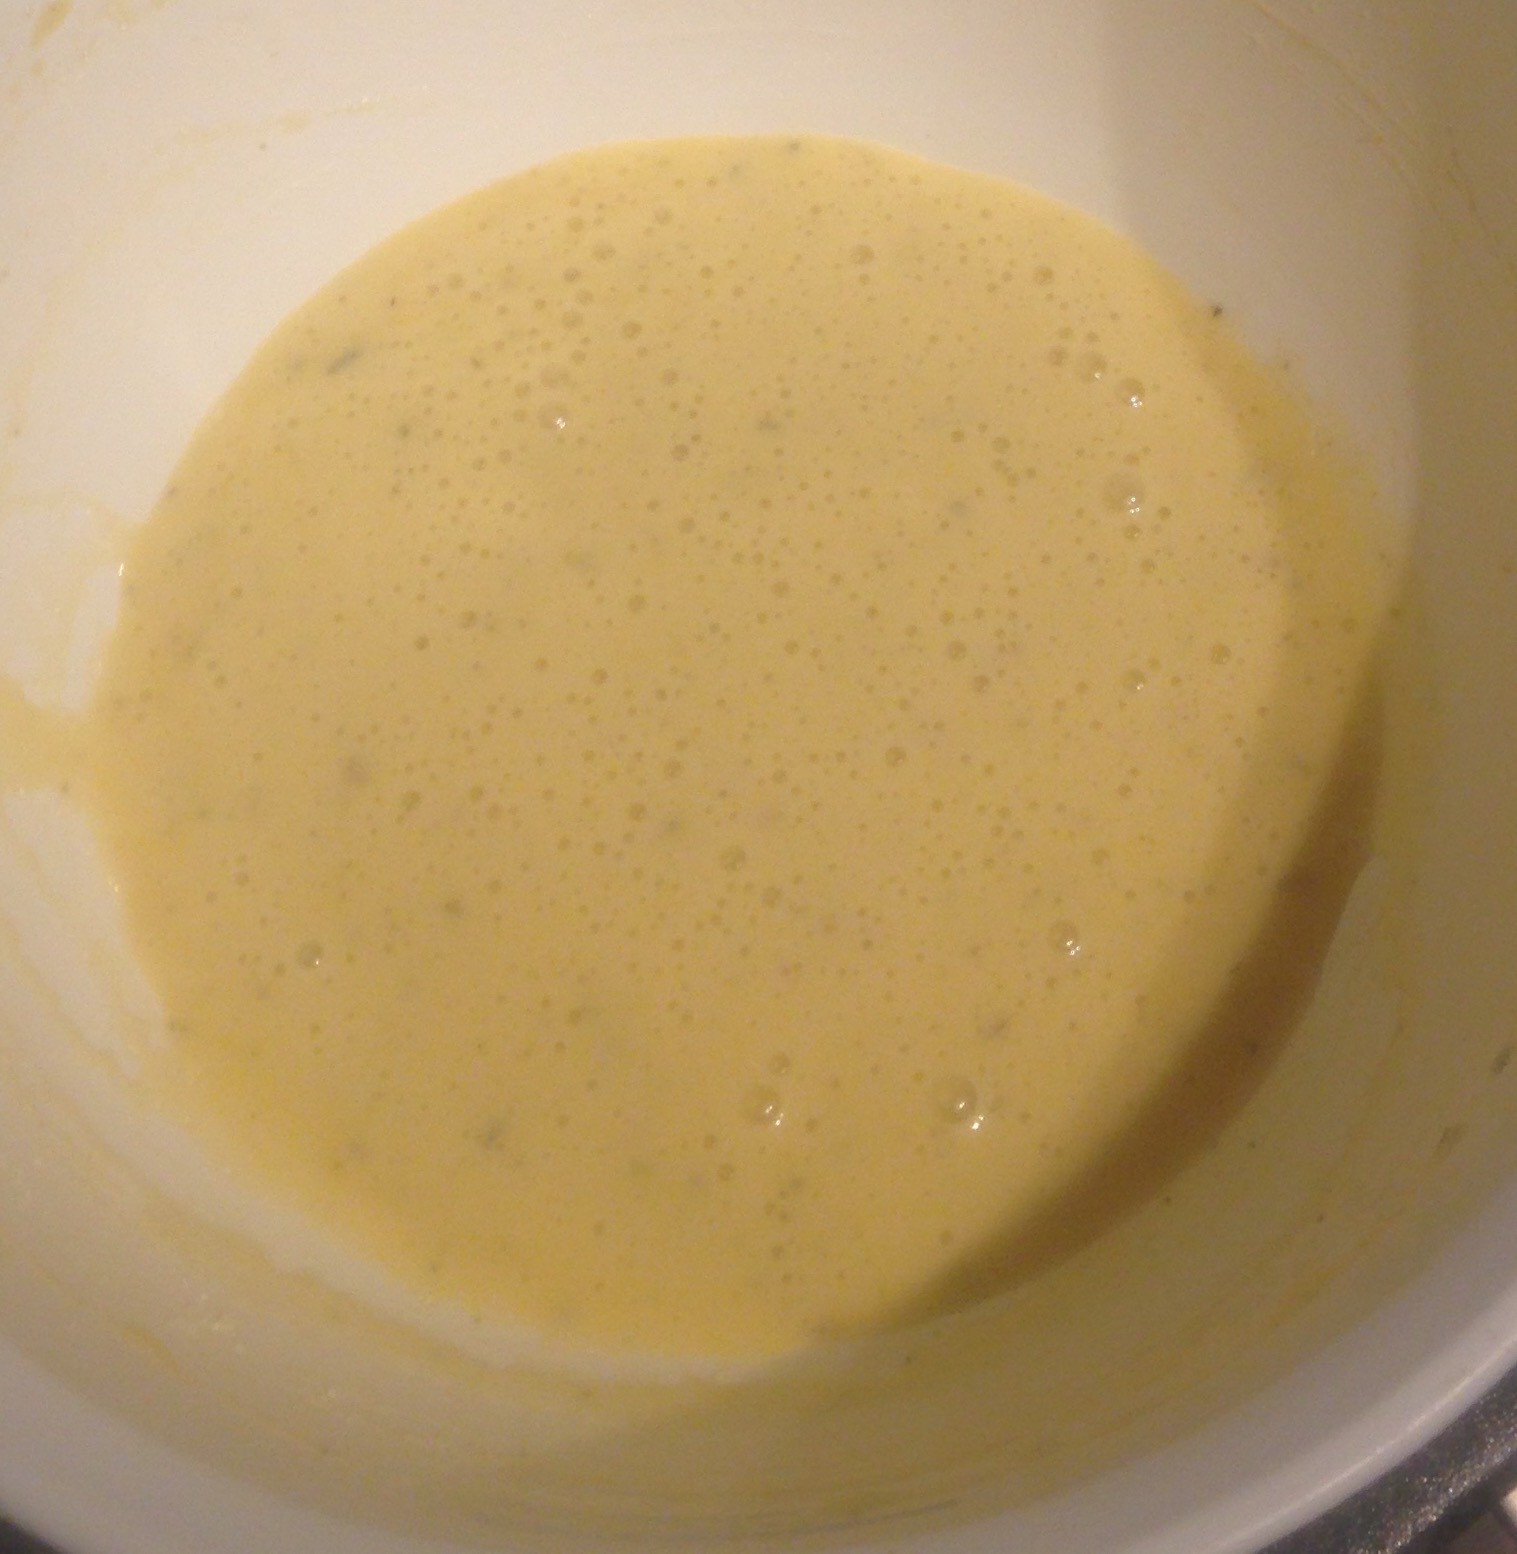
- Add the gelatine and beat until the mix is smooth and combine.
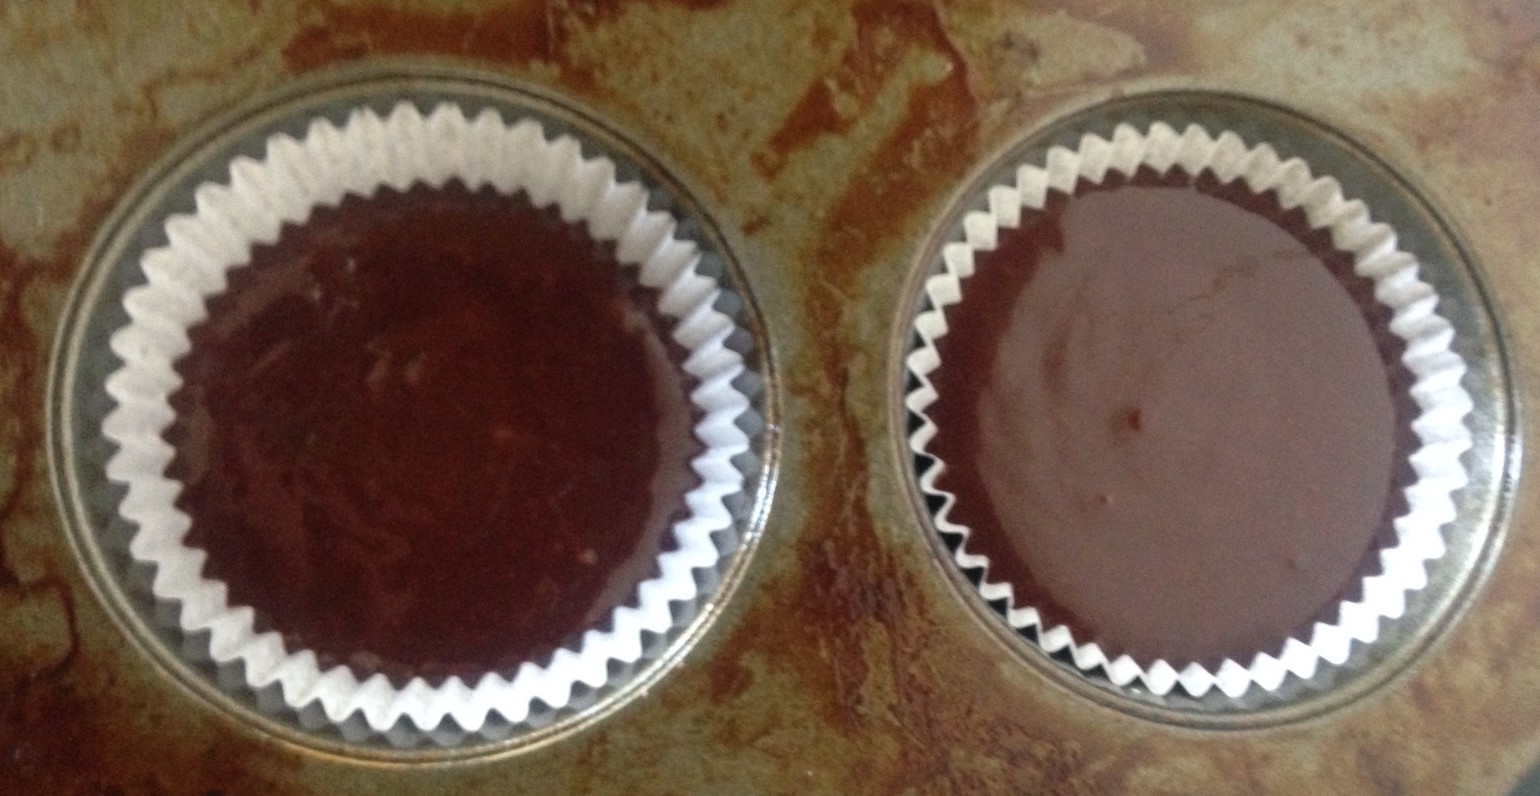
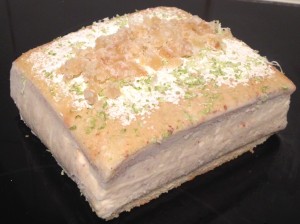
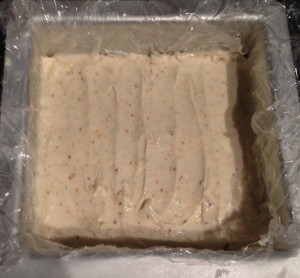
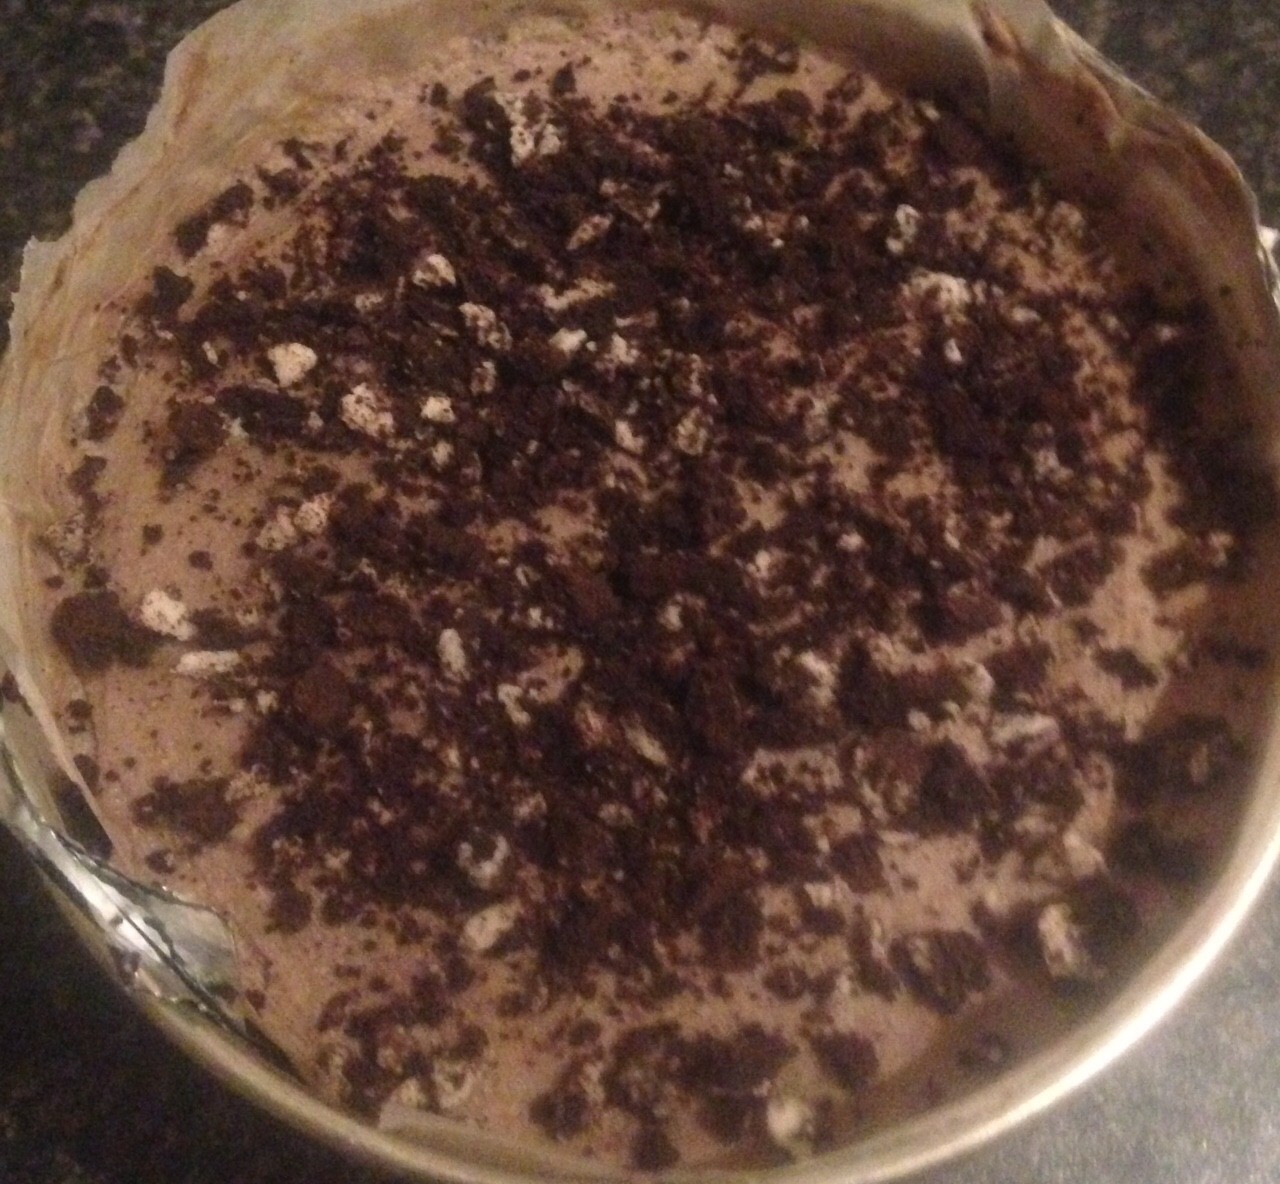
- Pour the icing mix over the cake base then place in the fridge for at least 3 hours to set.
Notes:
- Matcha is a green tea powder that can be found in Asian supermarkets or specialty stores.
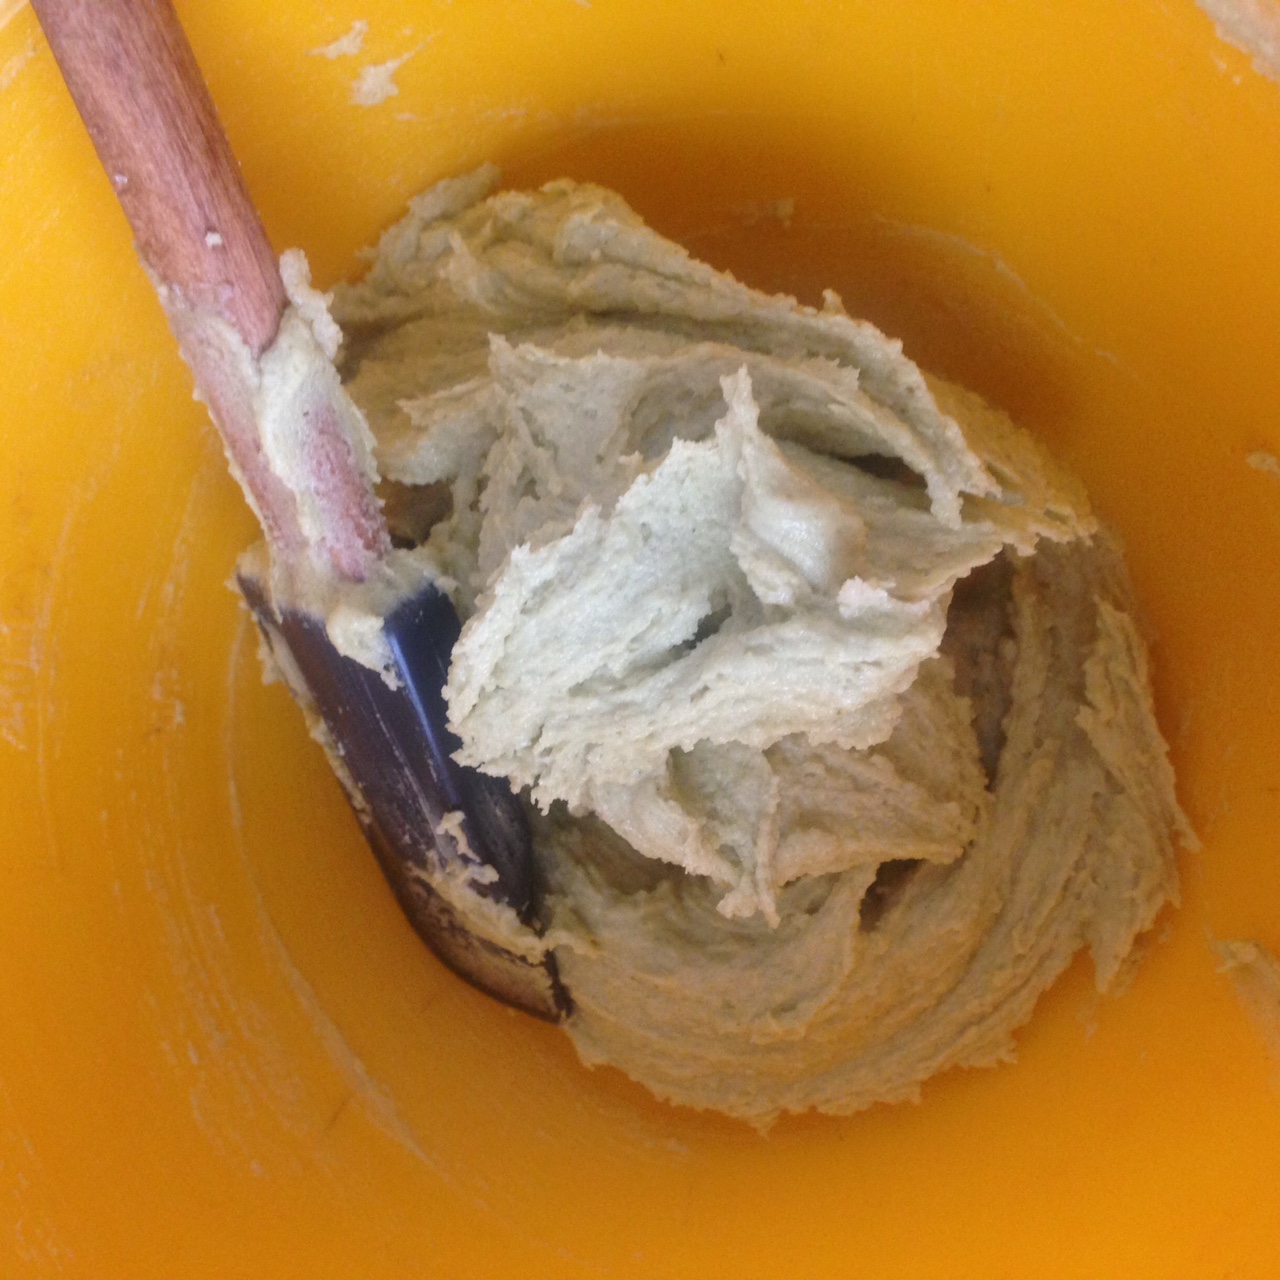
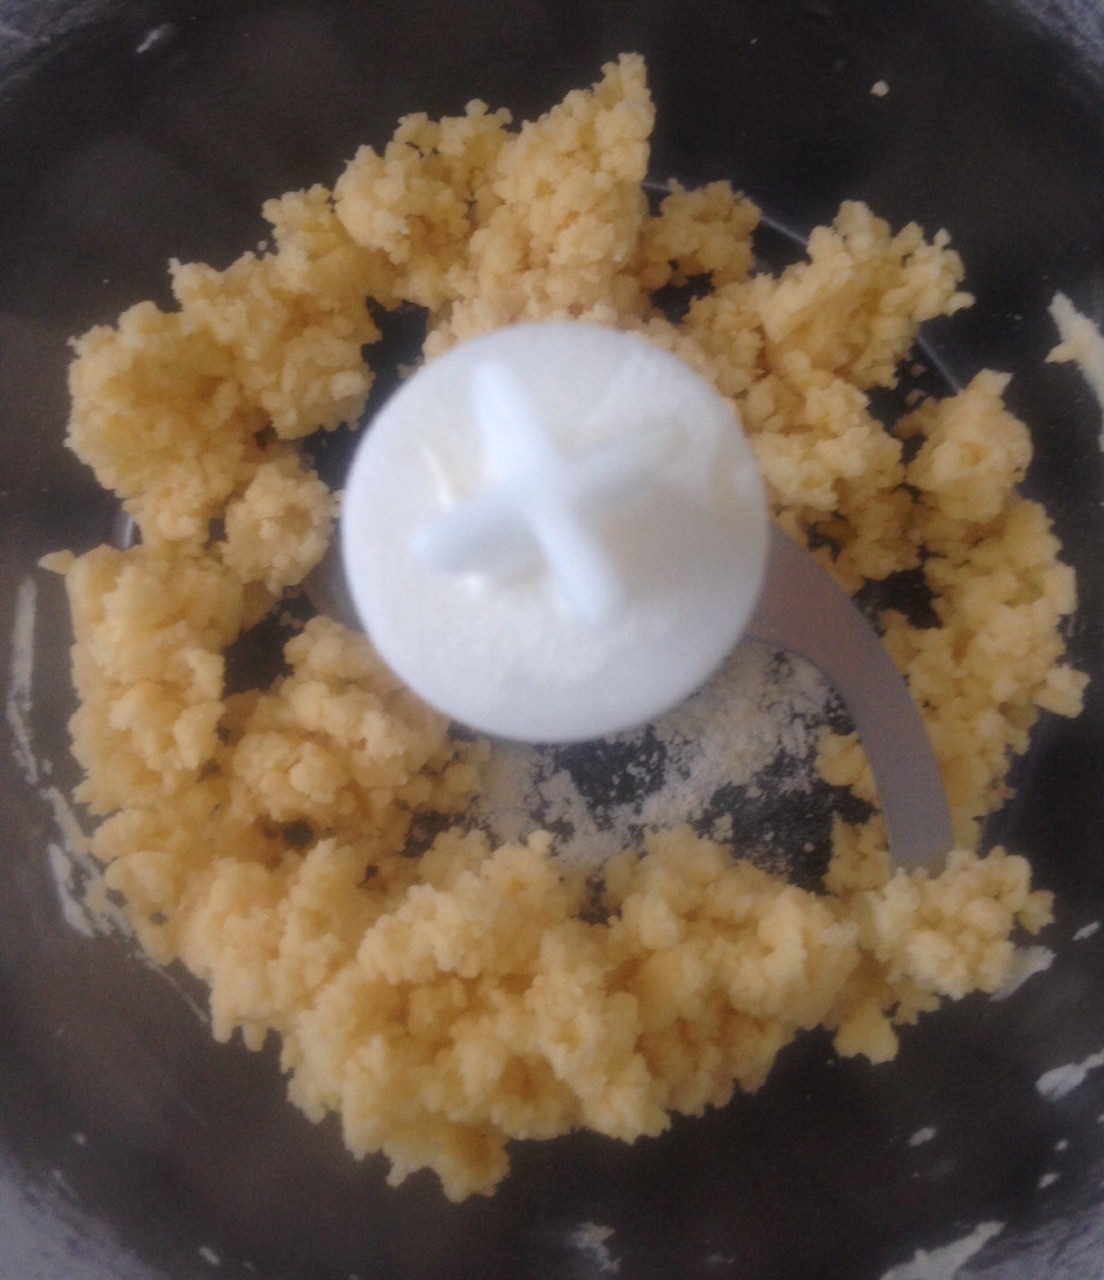
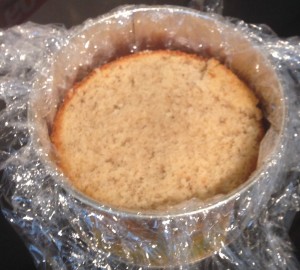
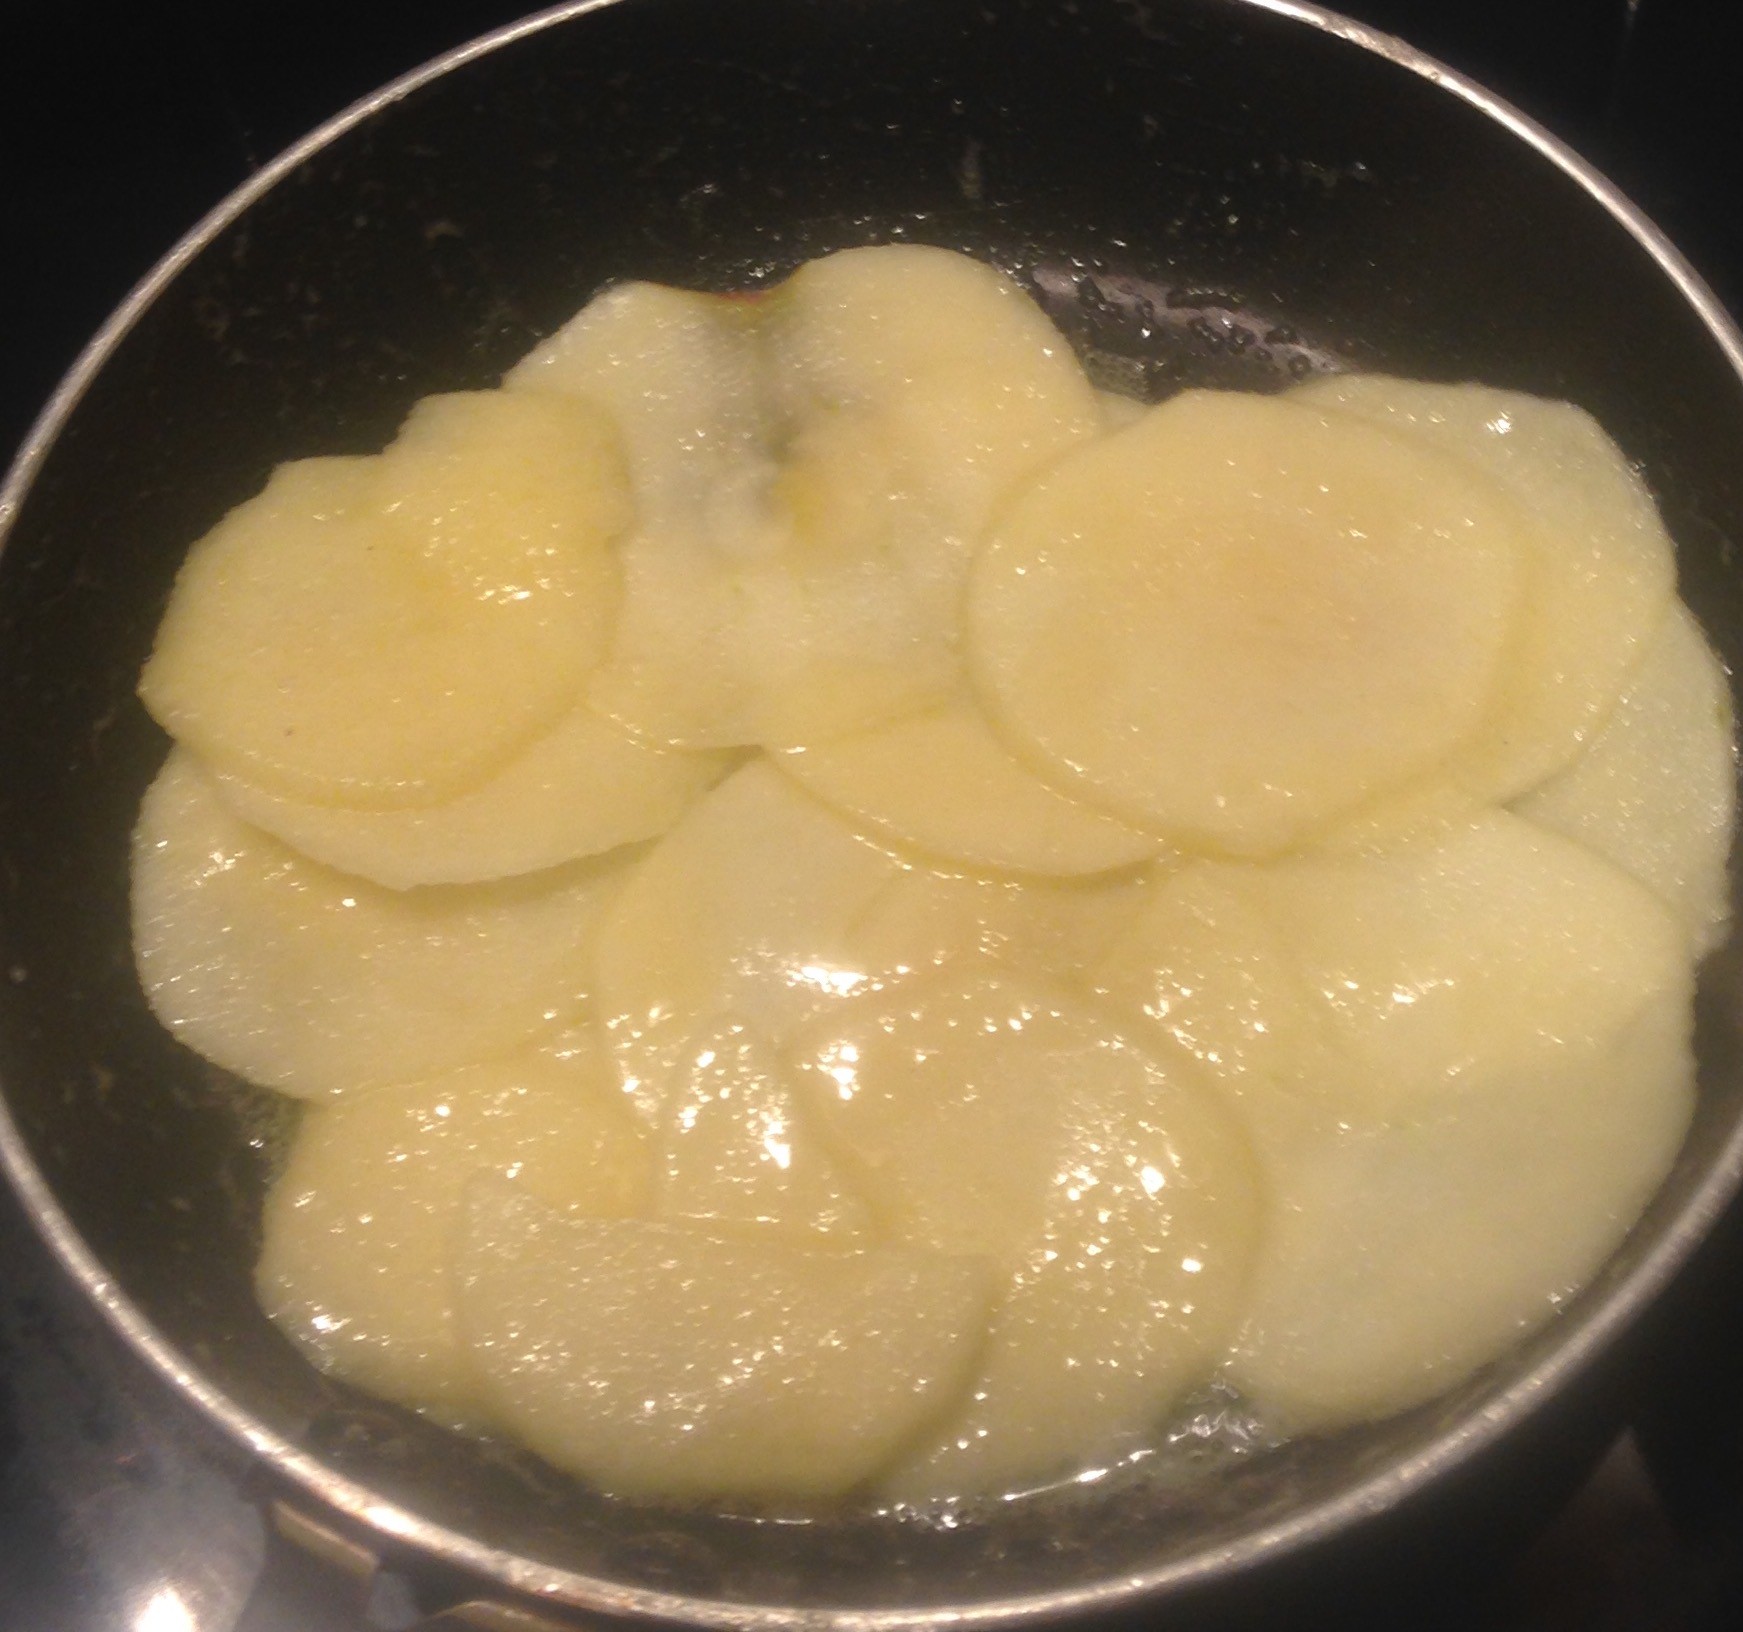
Step 4
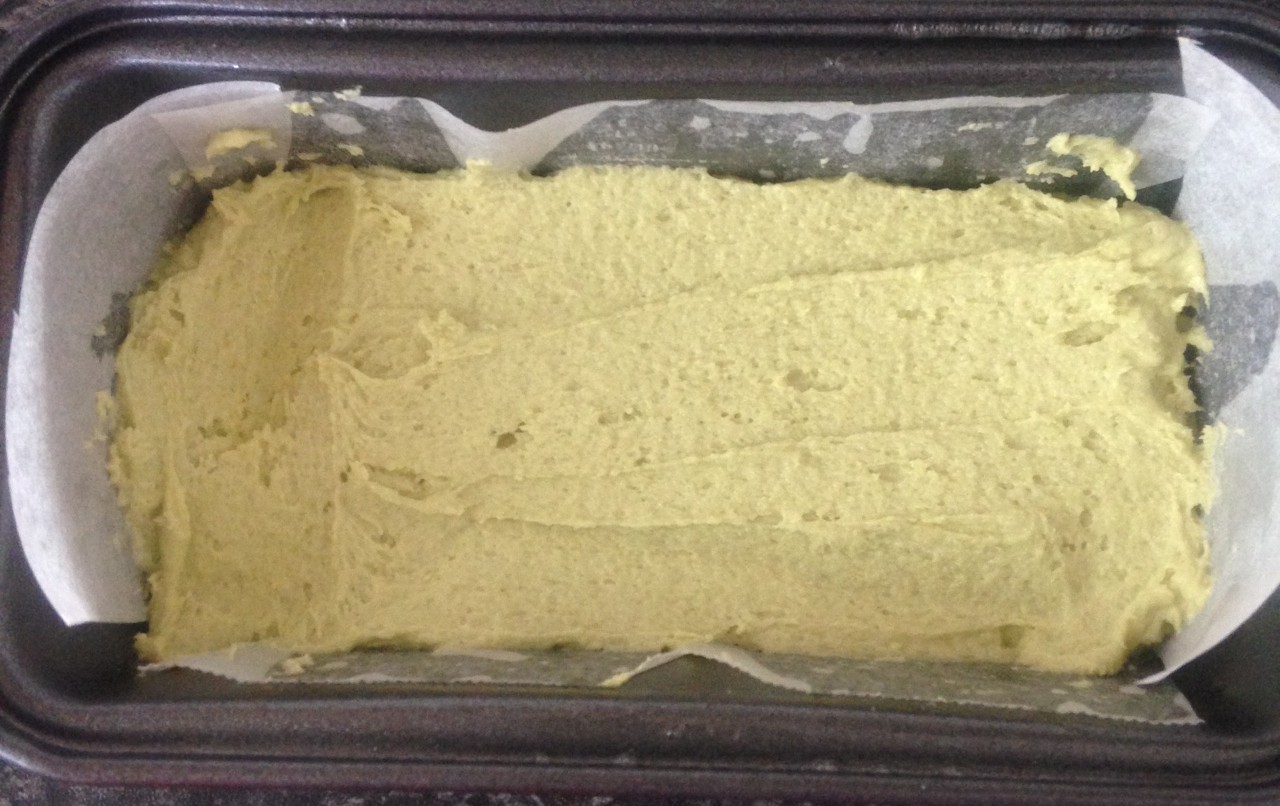
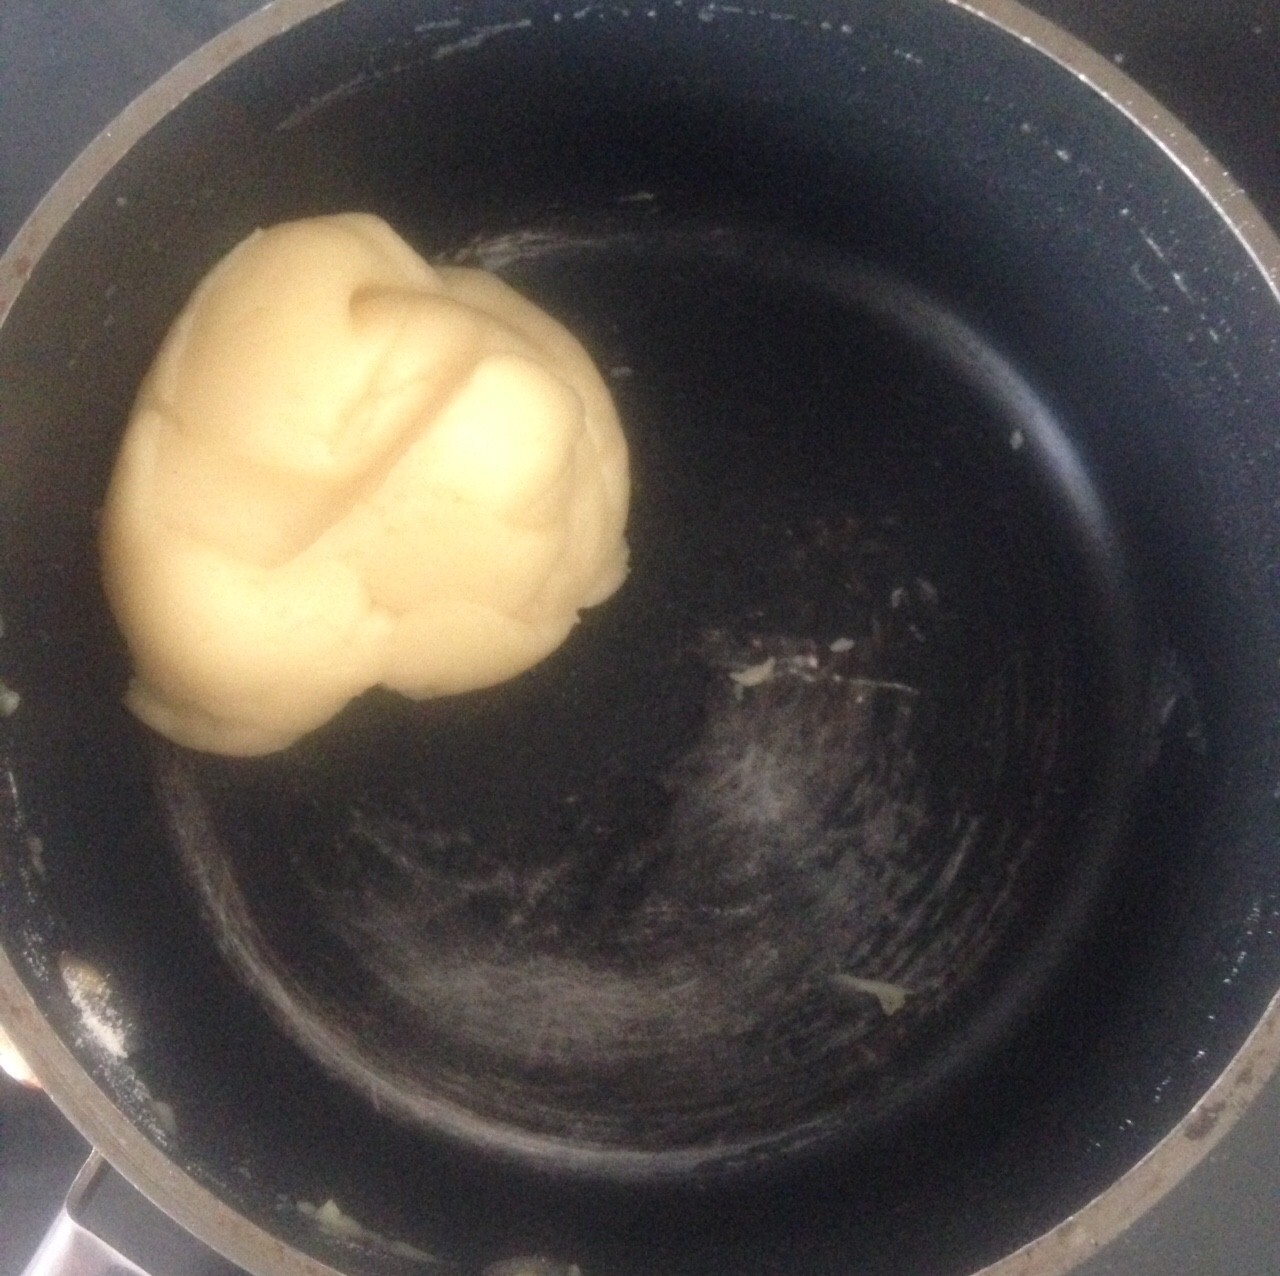
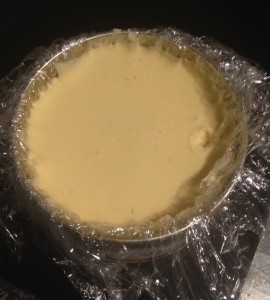
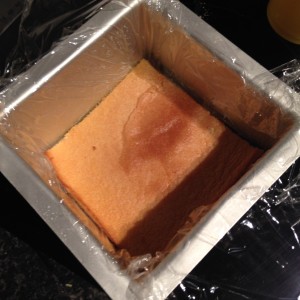
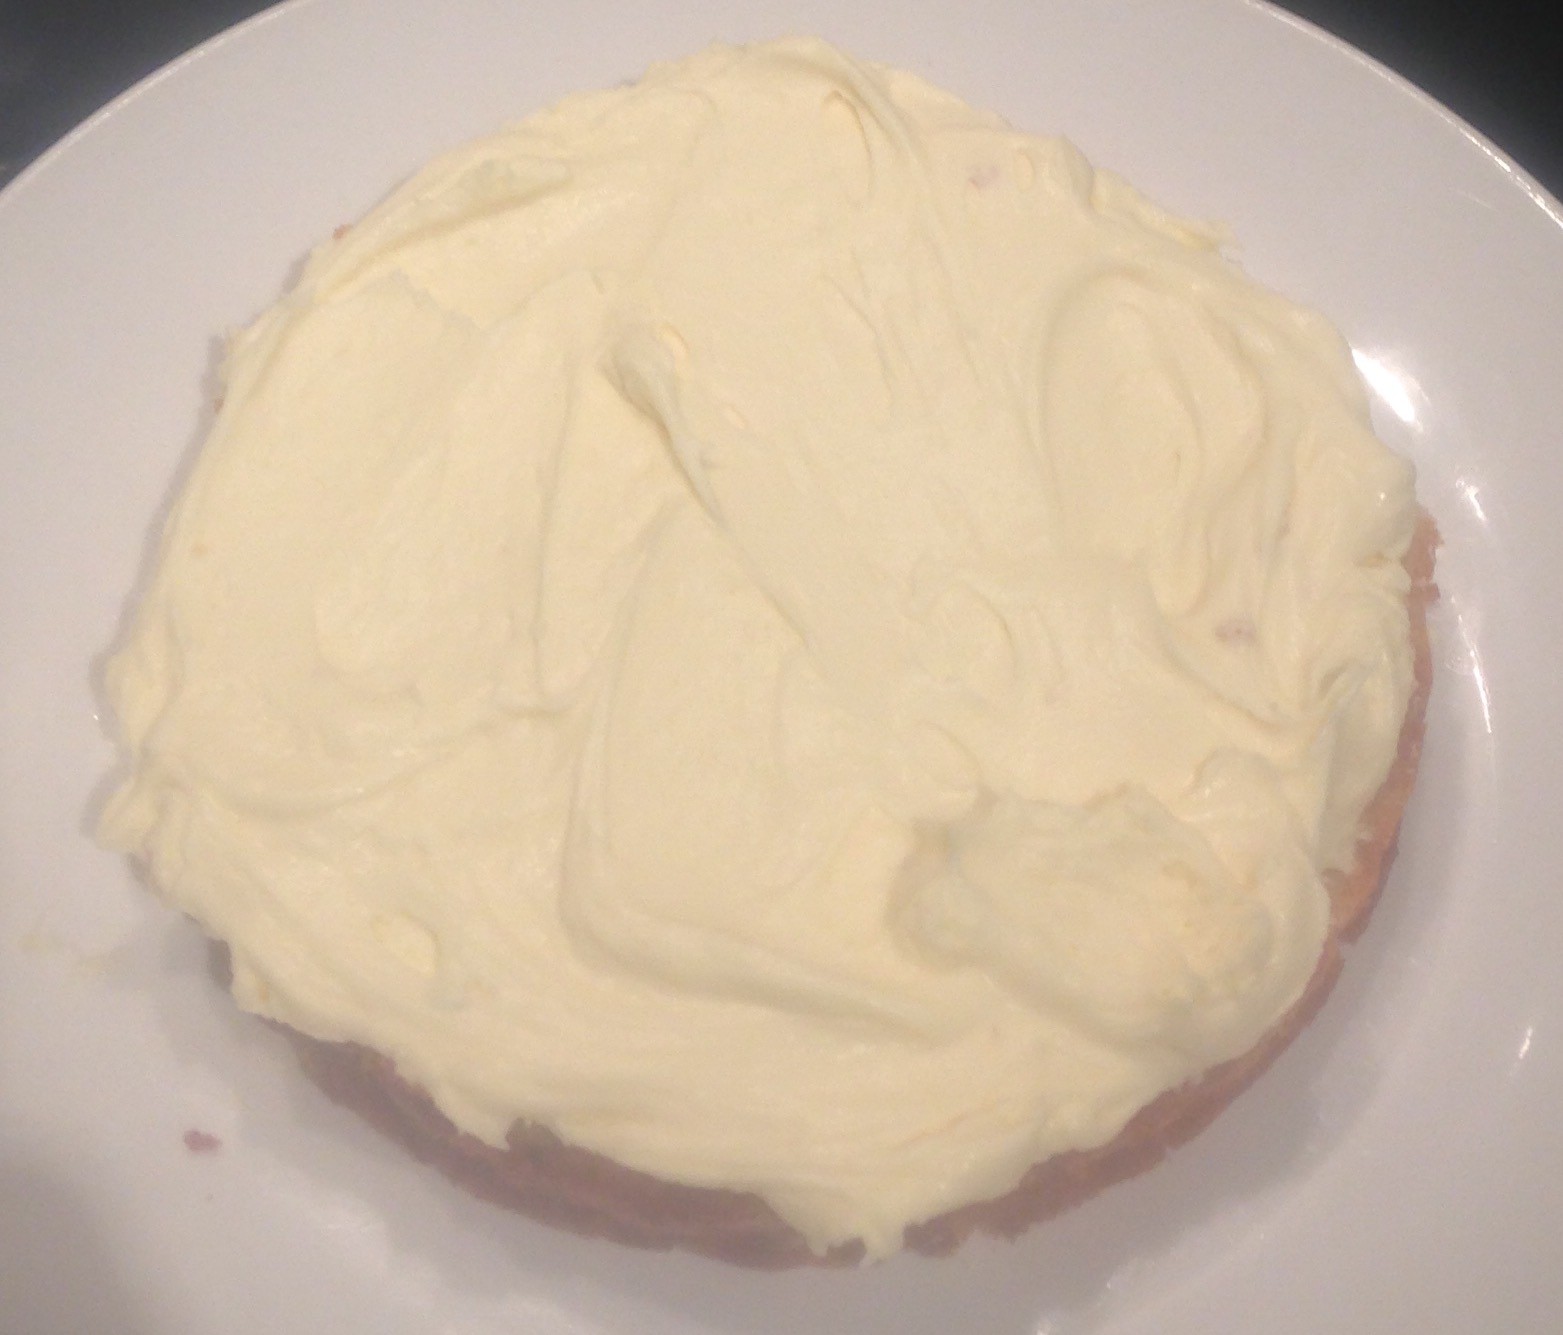
Step 5
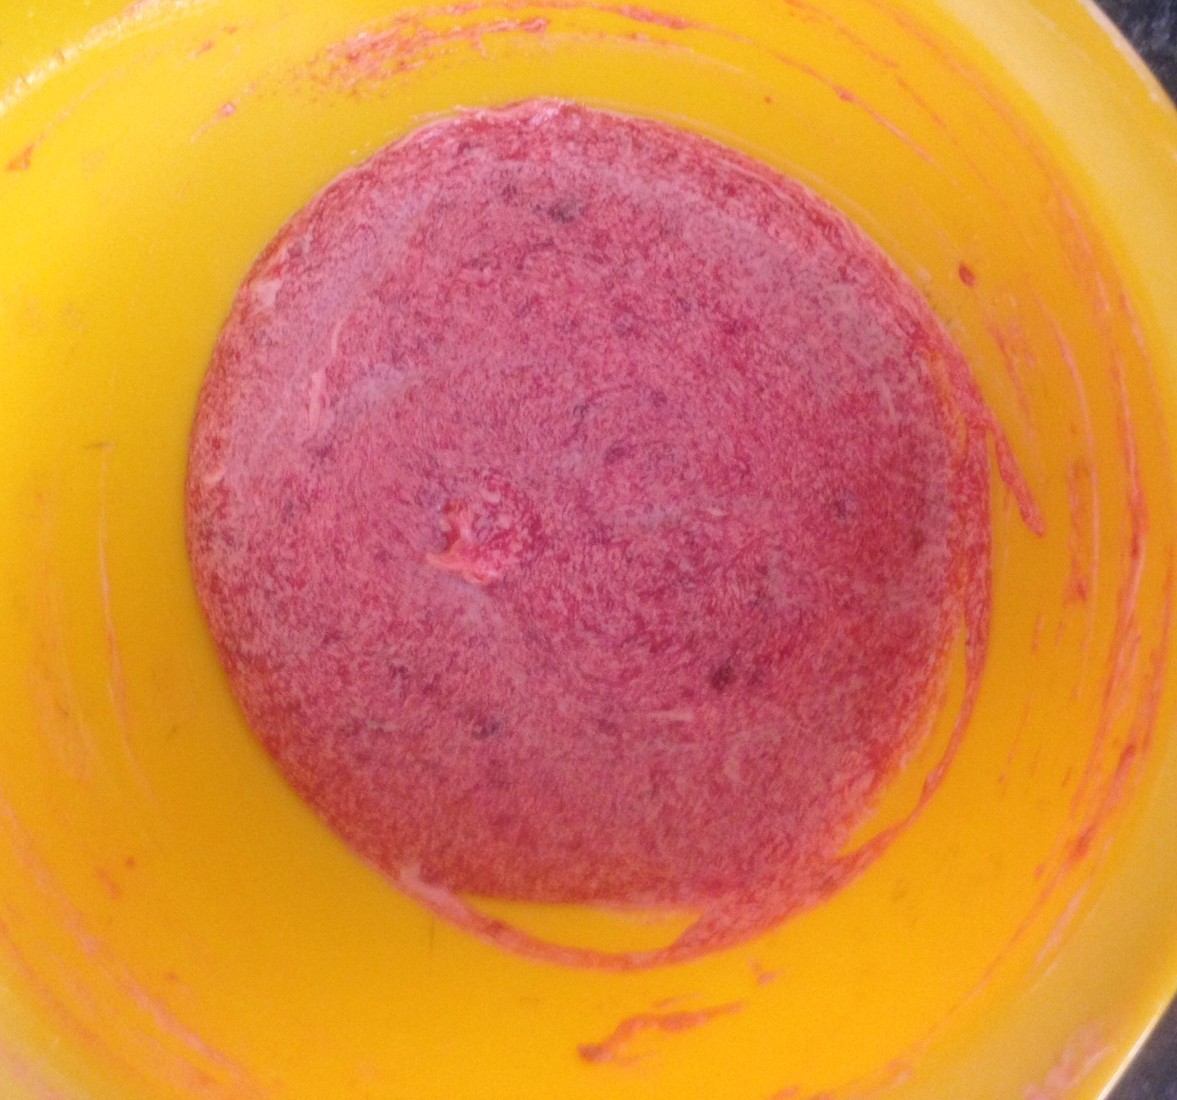
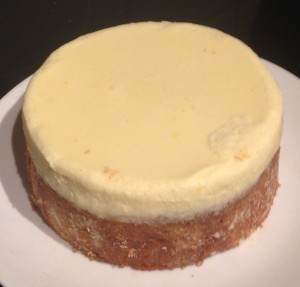
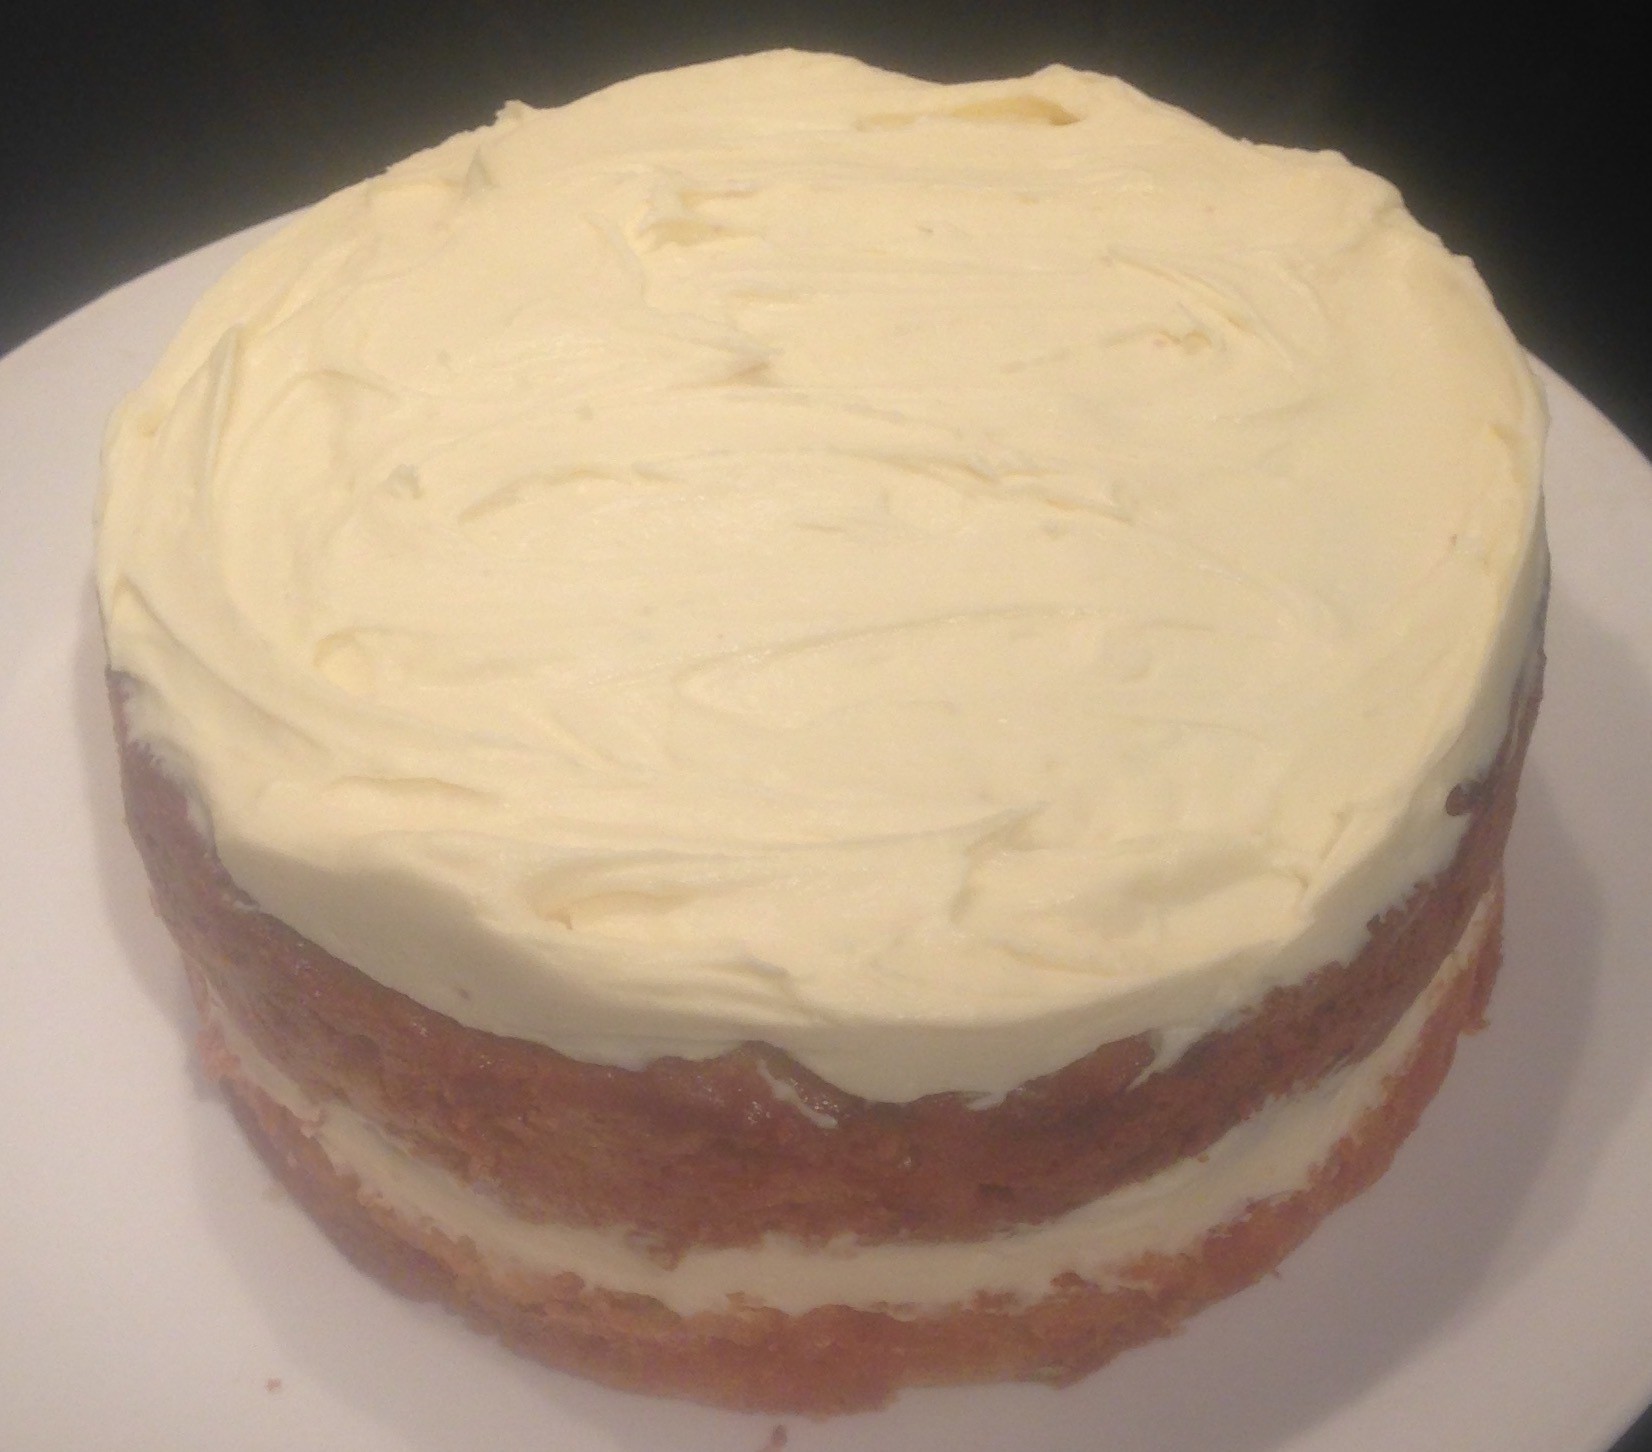
Step 9
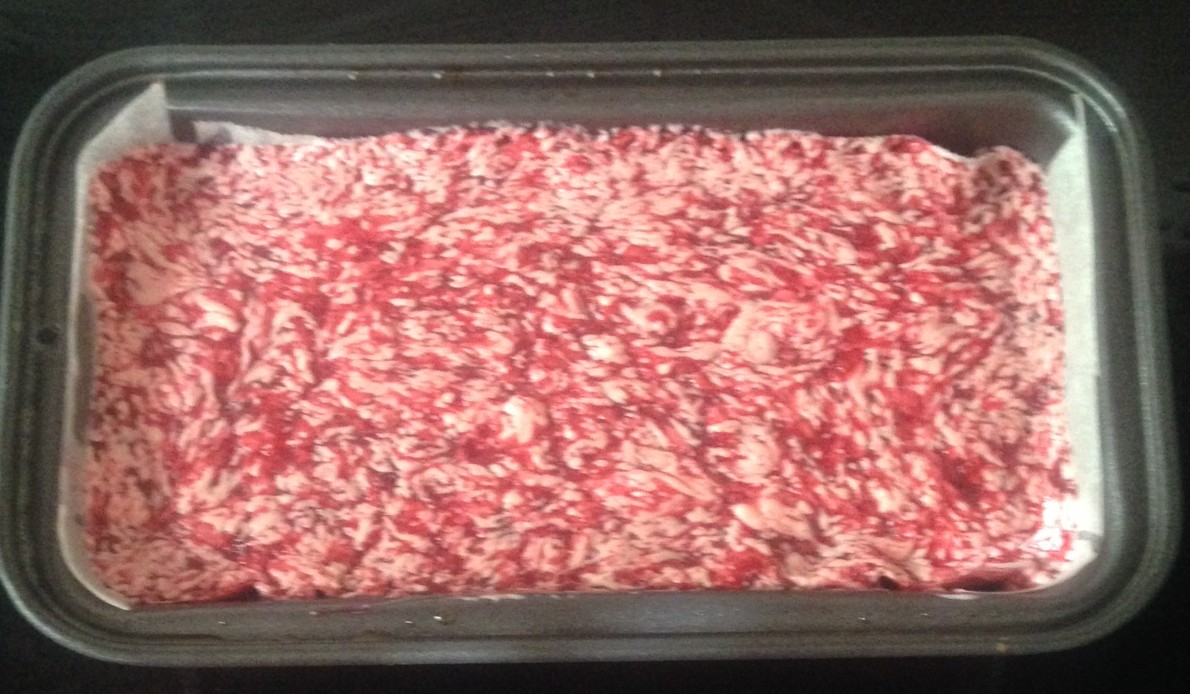
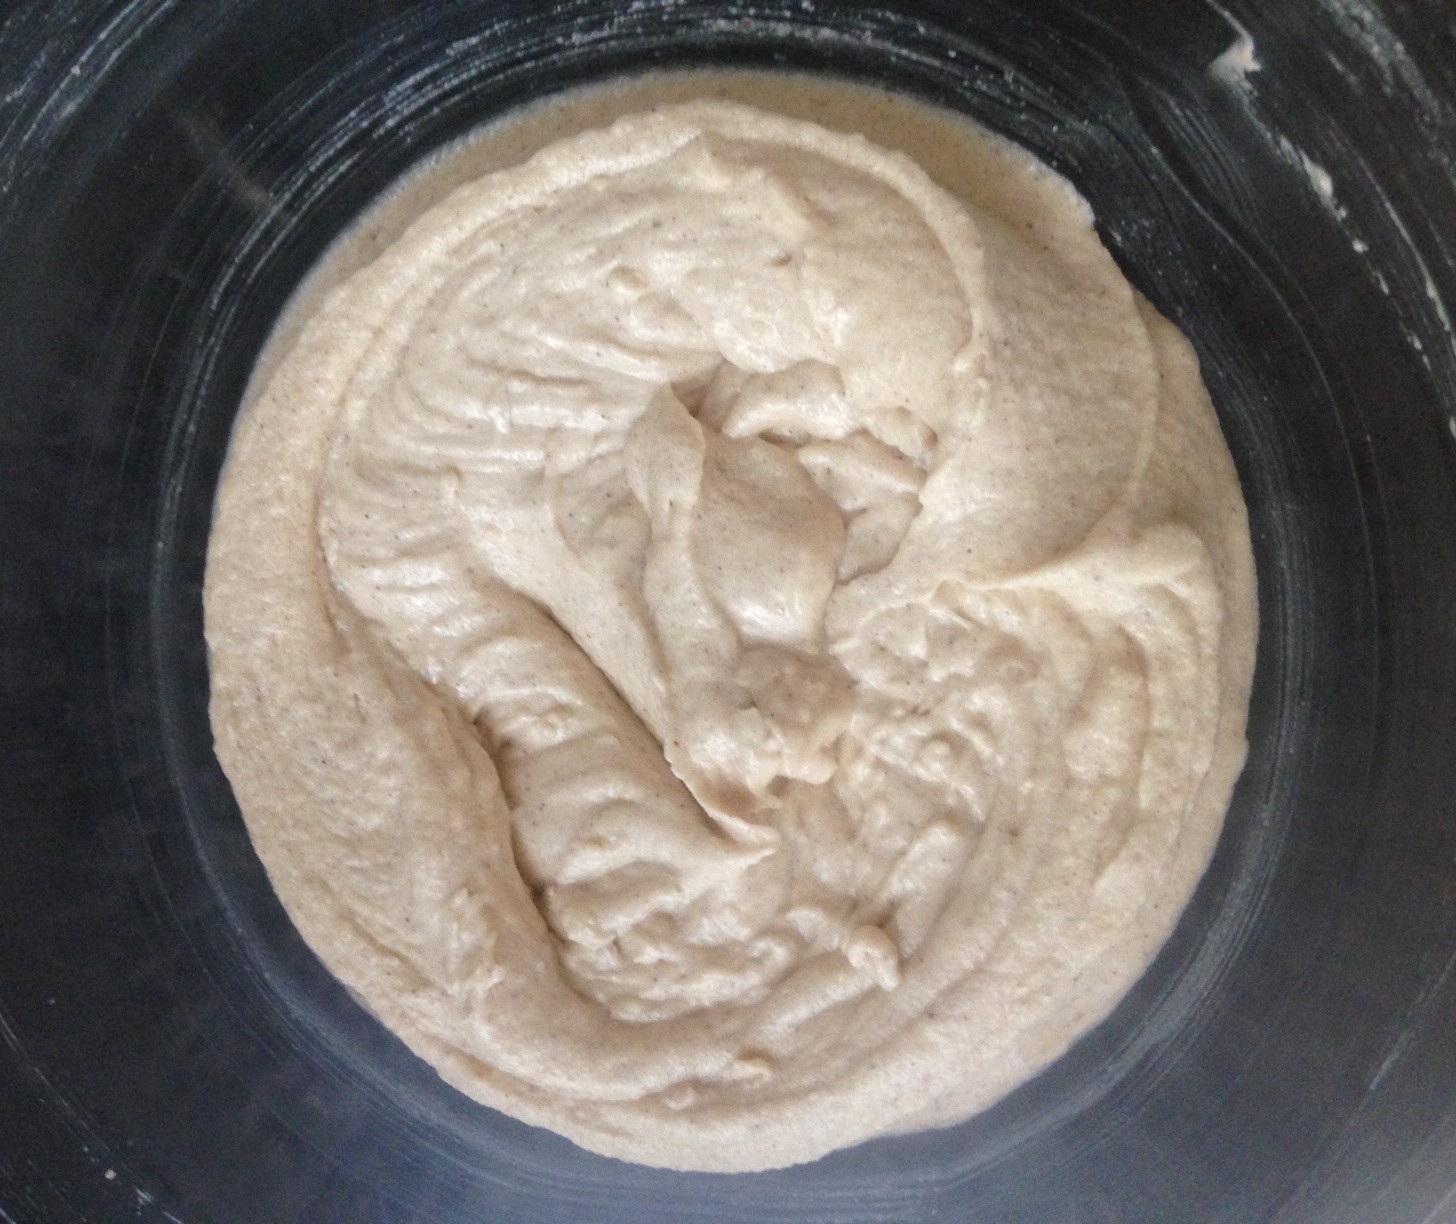
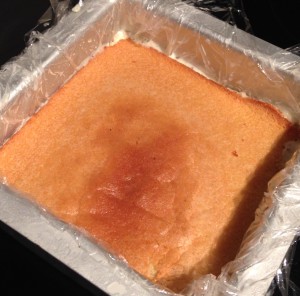
Step 10
Like this recipe? Subscribe via RSS or email to get my new entries and more scrumptious recipes with reviews.
 Follow