Ovaltine Biscuits
In the milk flavoring isle of the supermarket I noticed a product that reminded me of my childhood, that I had actually forgotten still existed.
As a primary schooler I do remember getting a packet of Ovaltines in my lunchbox as a treat, however since then have not come across this malt product. Seeing this product and recalling the flavor made my decide I had to bake with this product as a feature ingredient.
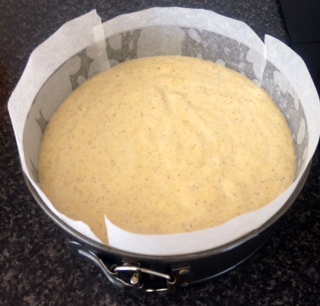
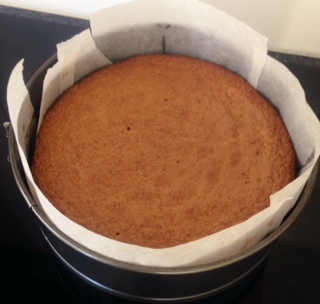
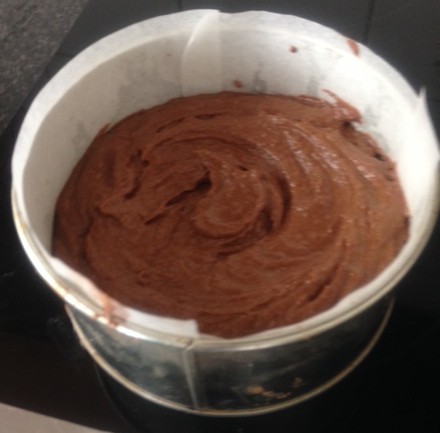
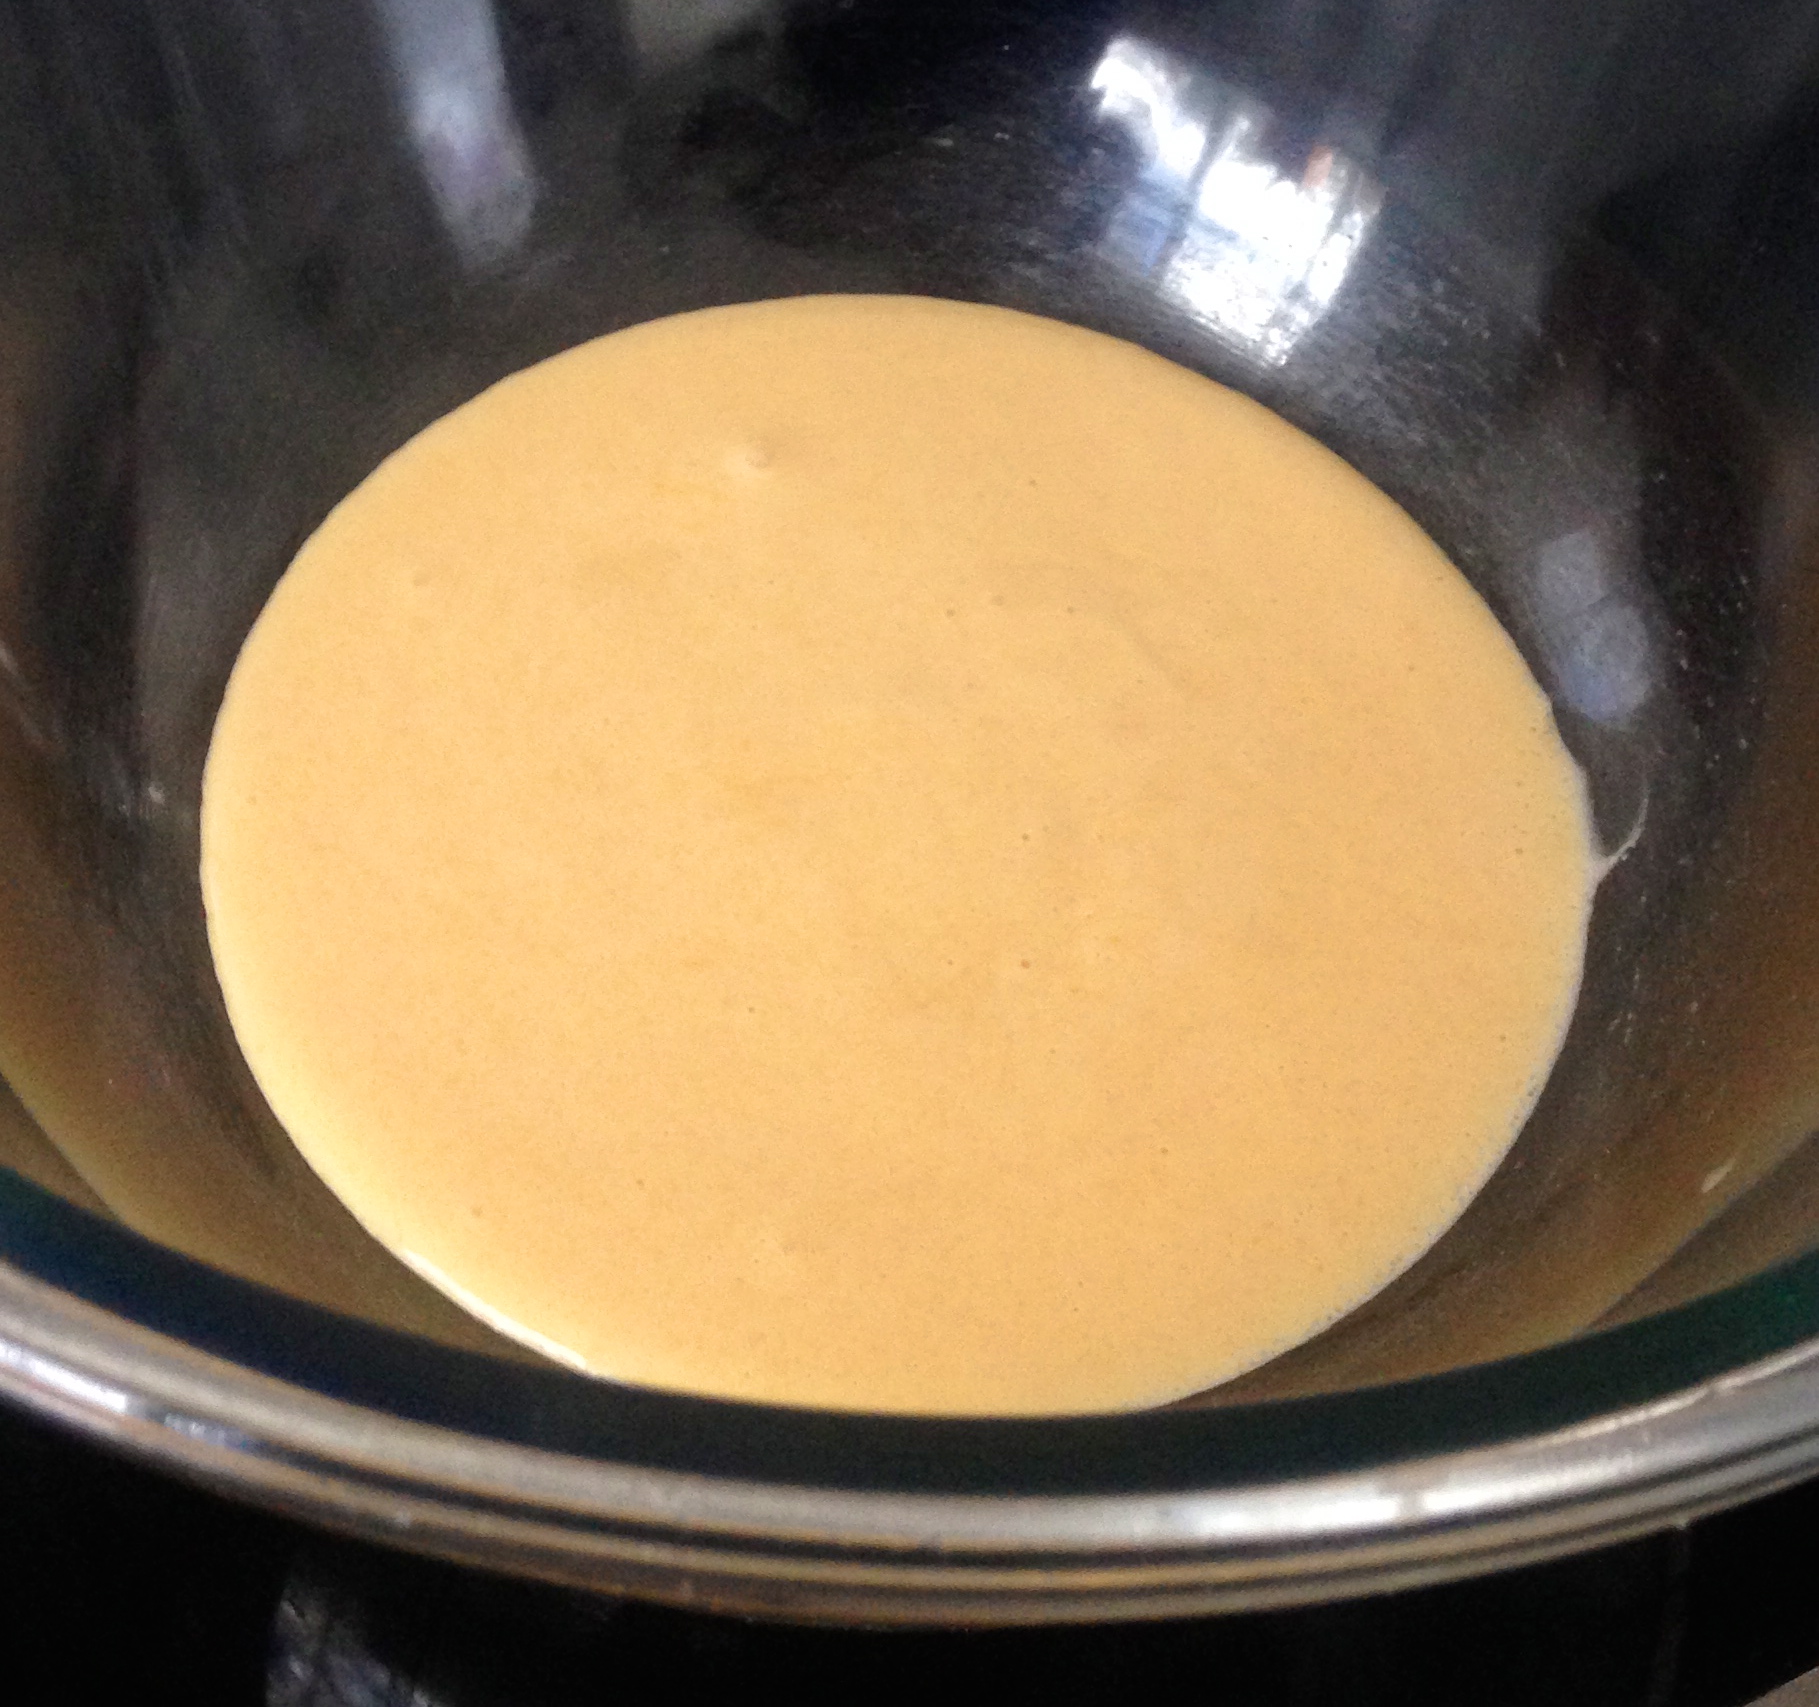
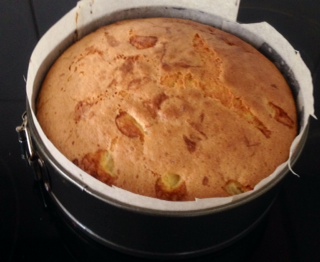
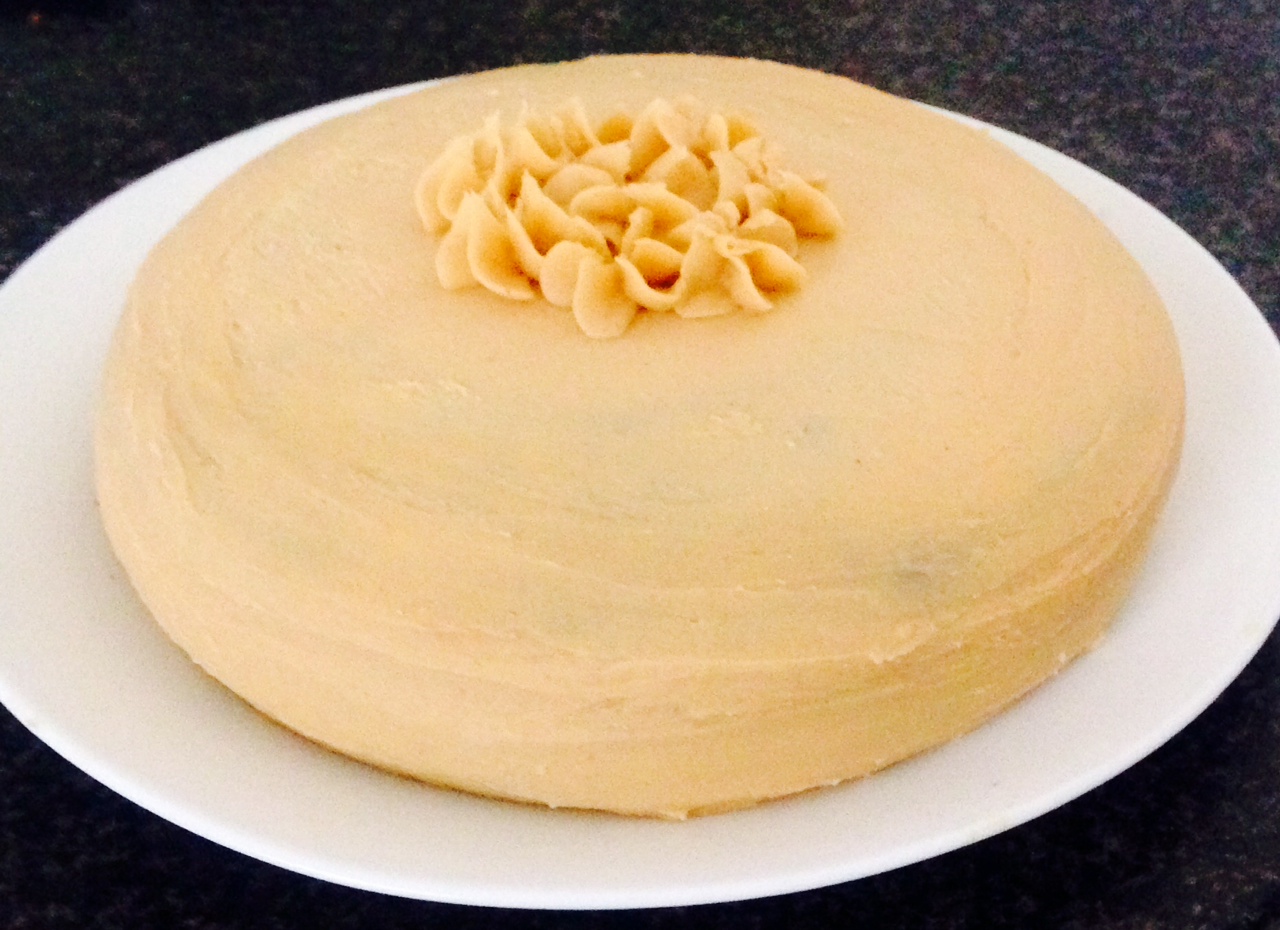
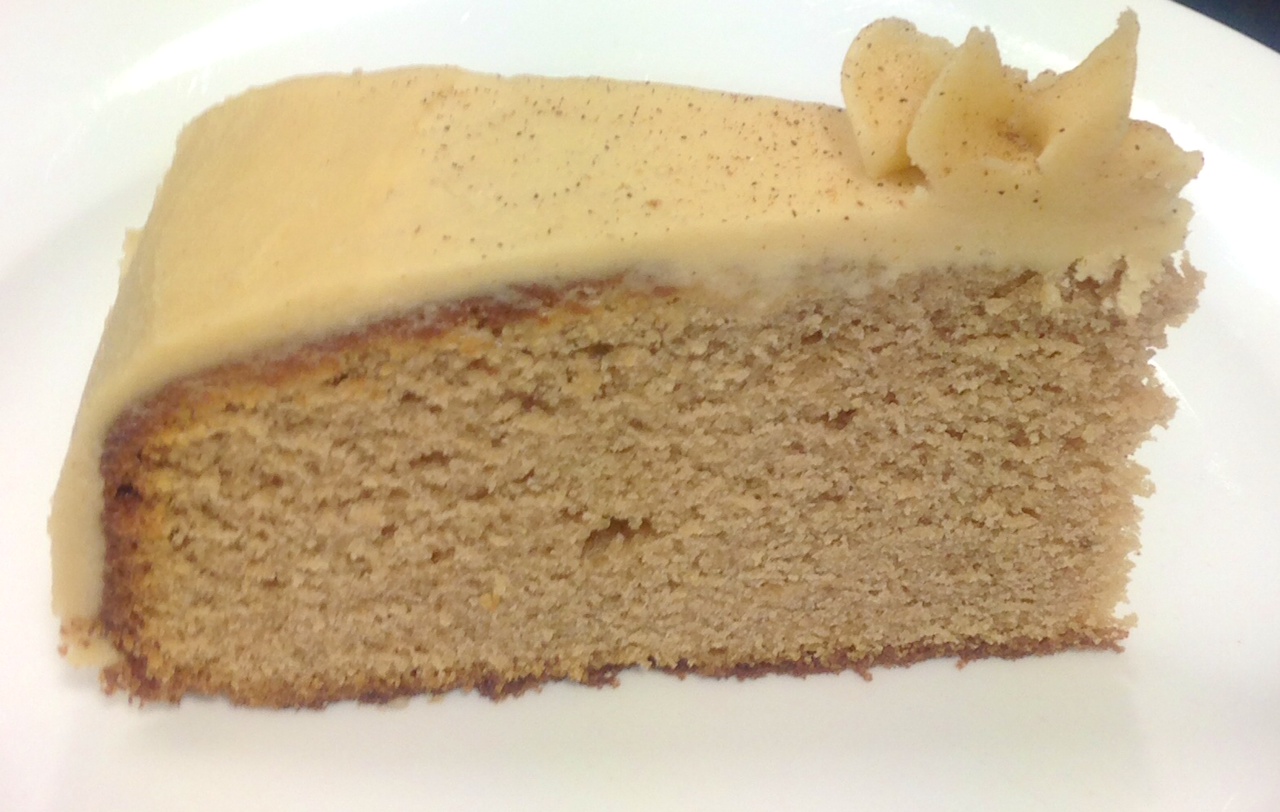
So I made an Ovaltine cake, how ever I was not happy with the end result as the Ovaltine made the cake too dense and quite flat.
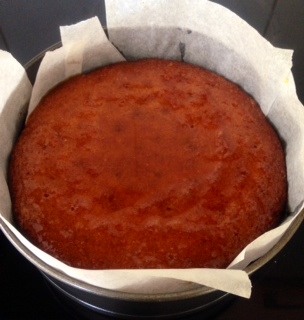
As a secondary trial with the ingredient I attempted Ovaltine icing, this was good but I wanted to make something more robust.
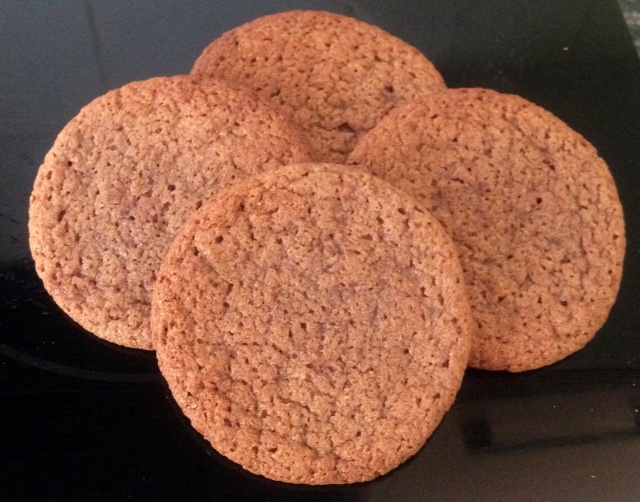
Therefore as a third attempt I decided to make biscuits. As the Ovaltine made the cake too dense in texture I though the Ovaltine would make the biscuits nice and chewy (like Anzac biscuits). Finally success and yes they are deliciously chewy with a lovely Ovaltine malt taste!
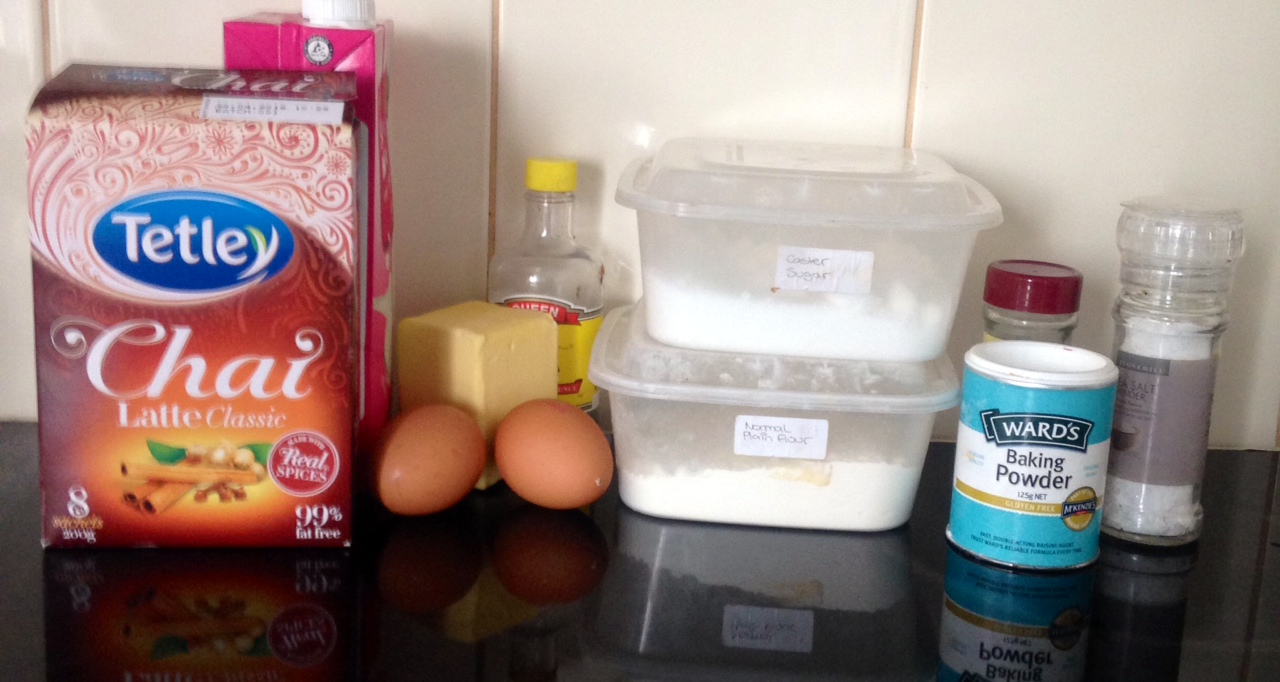
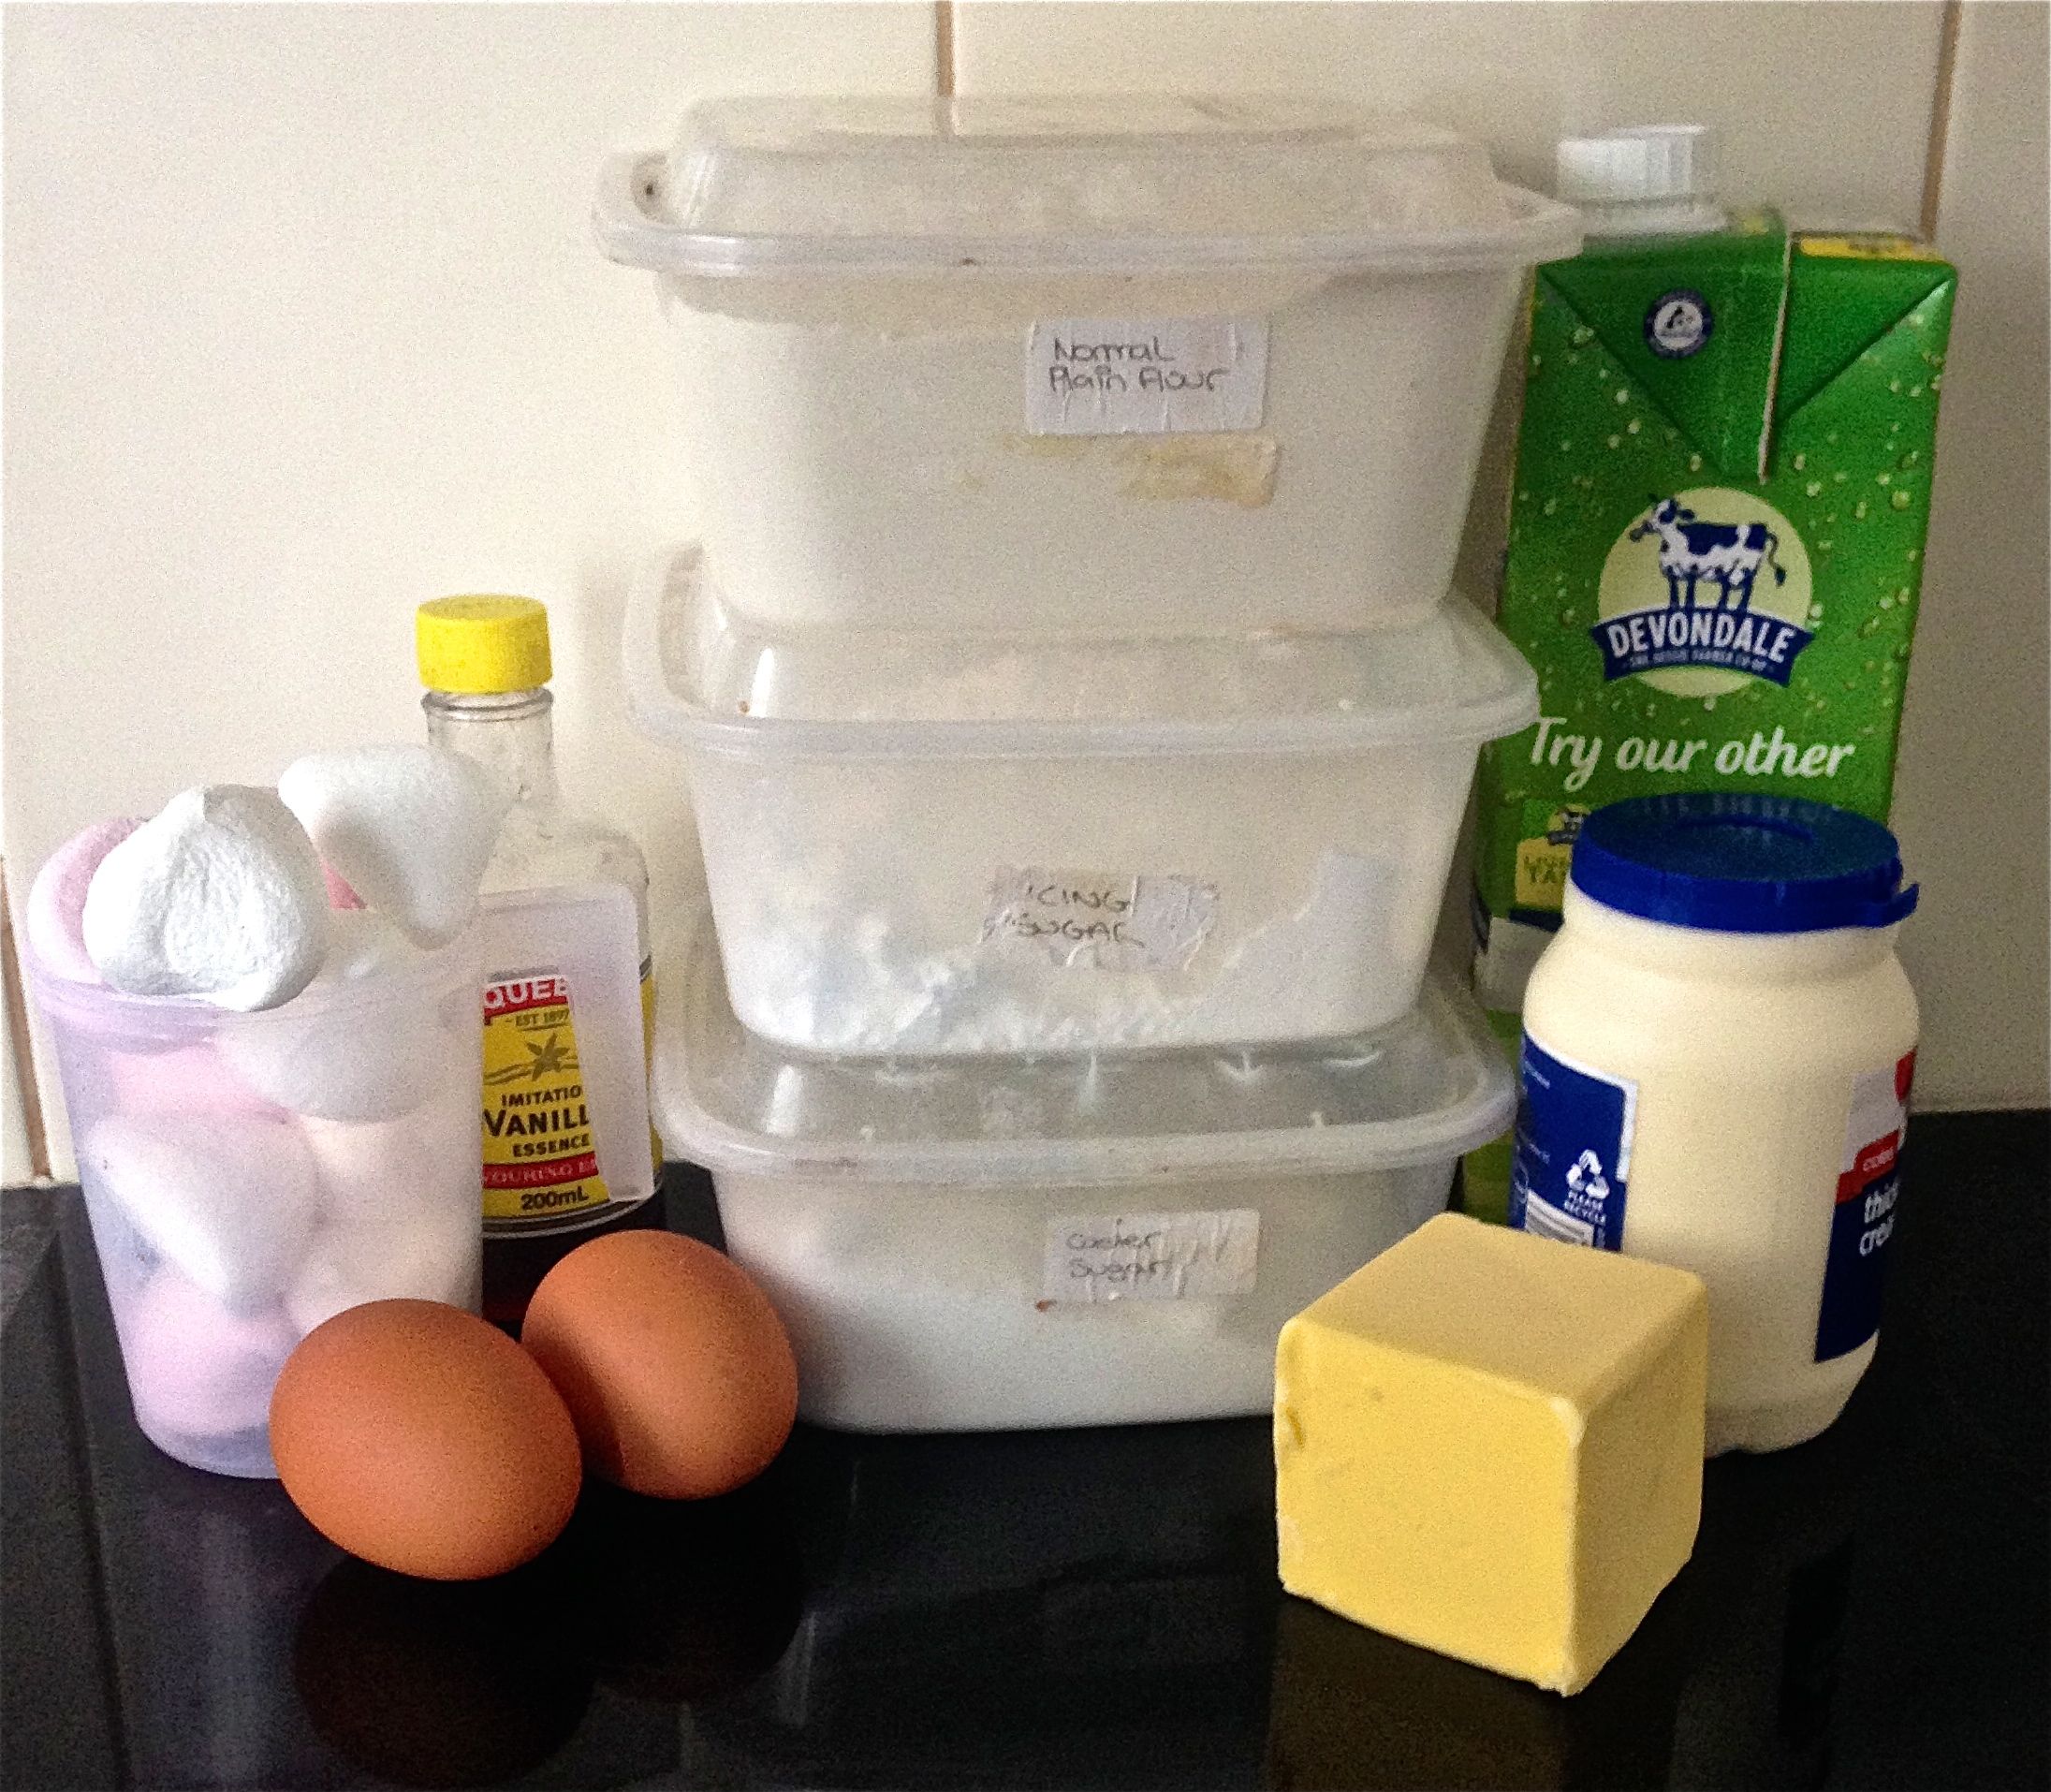
Ingredients:
- 200g brown sugar
- 200g butter
- 2 eggs
- 2 tsn vanilla essence
- 1 tbsn milk
- 150g Ovaltine
- 270g plain flour
- 1 tsn baking powder
Method:
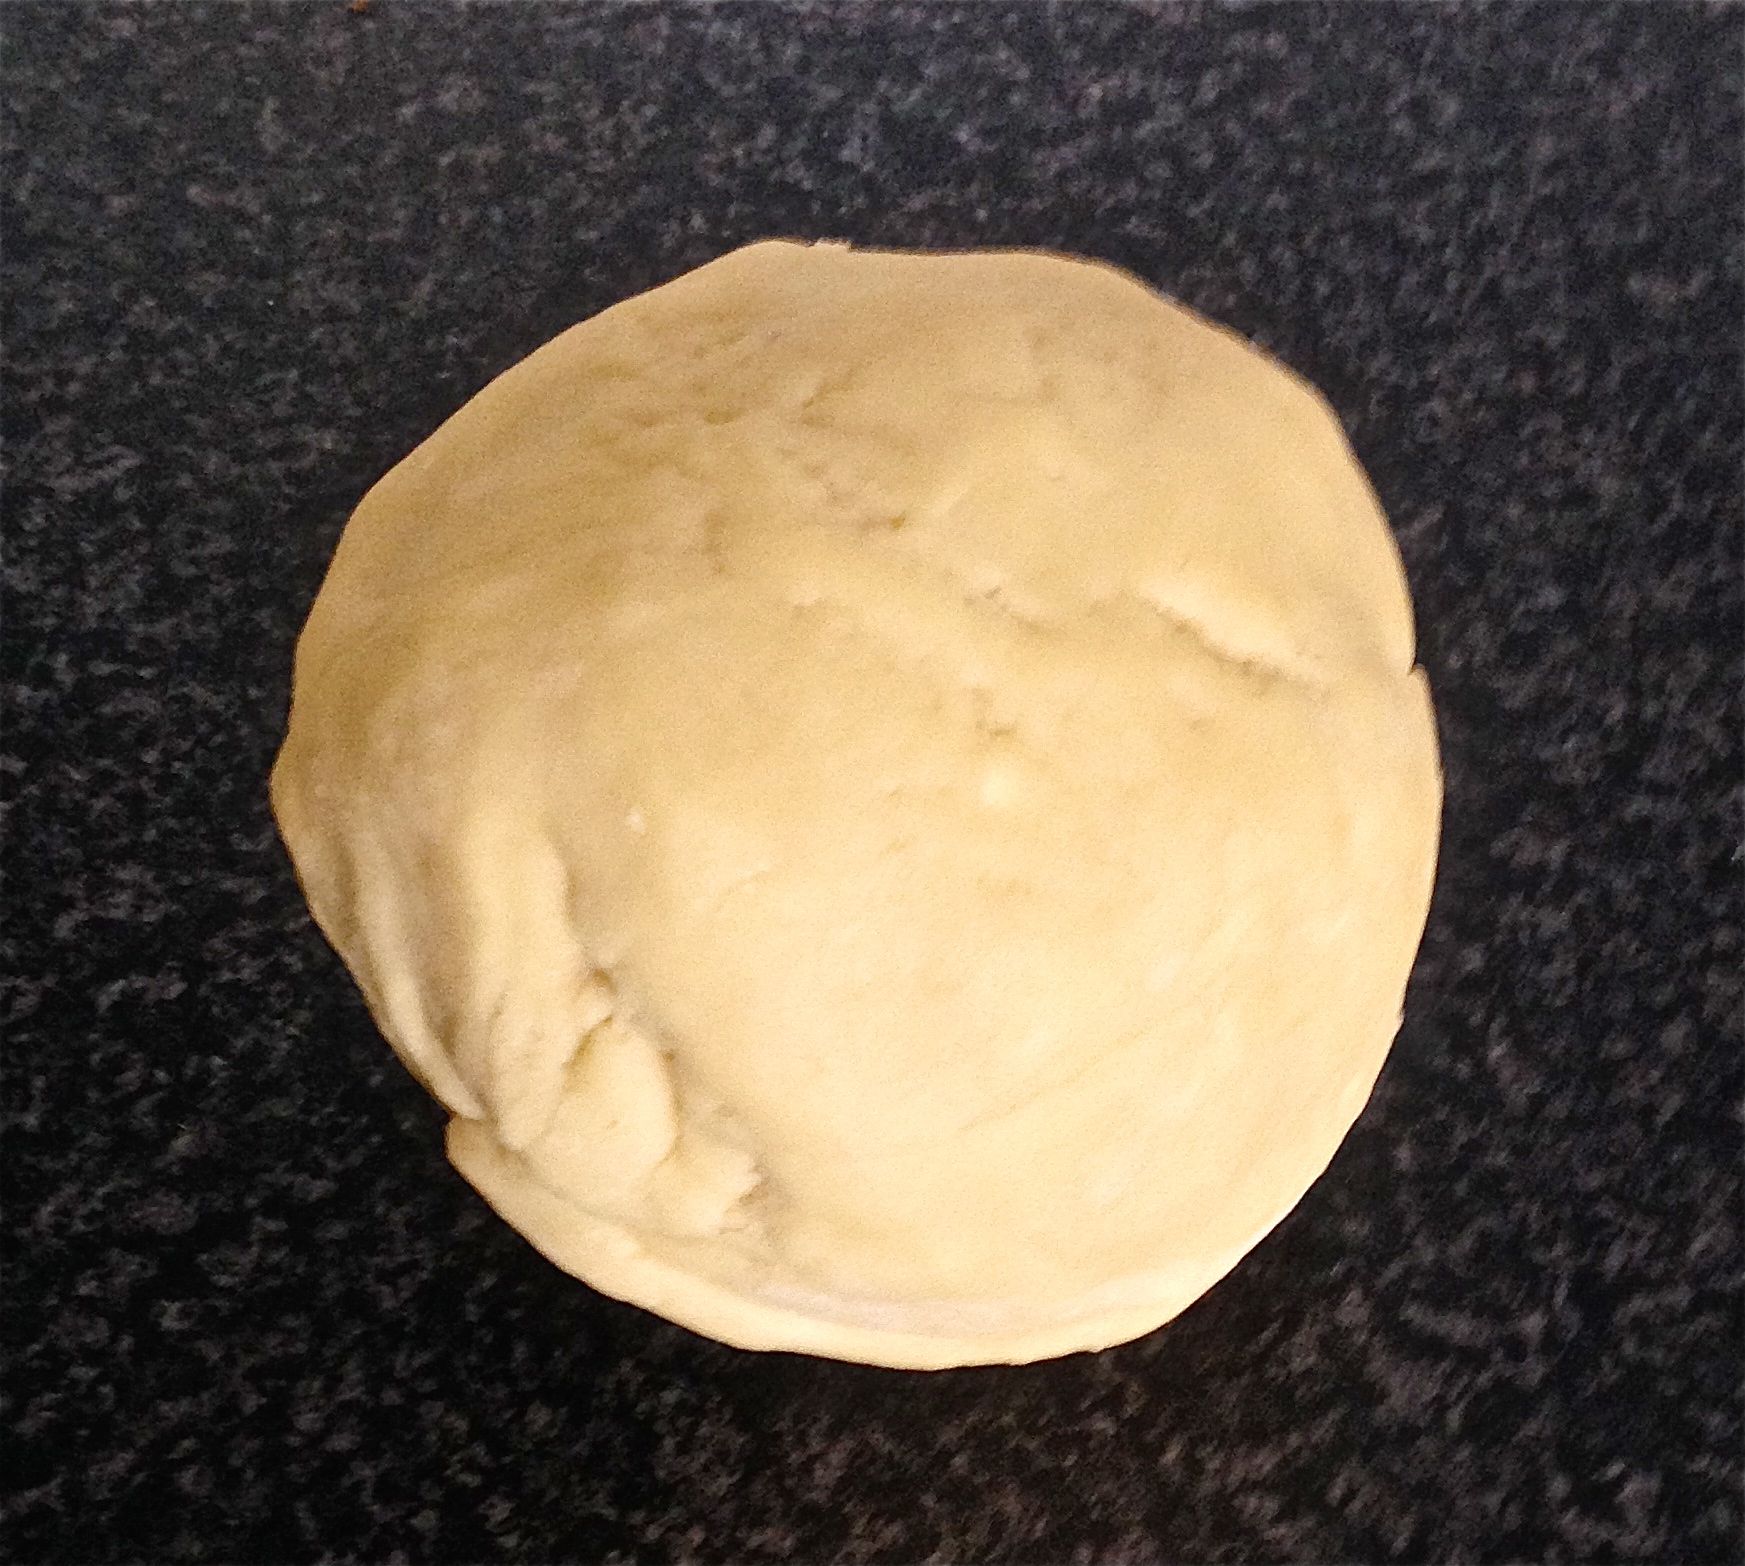
- Preheat oven to 180c and line 2 baking trays.
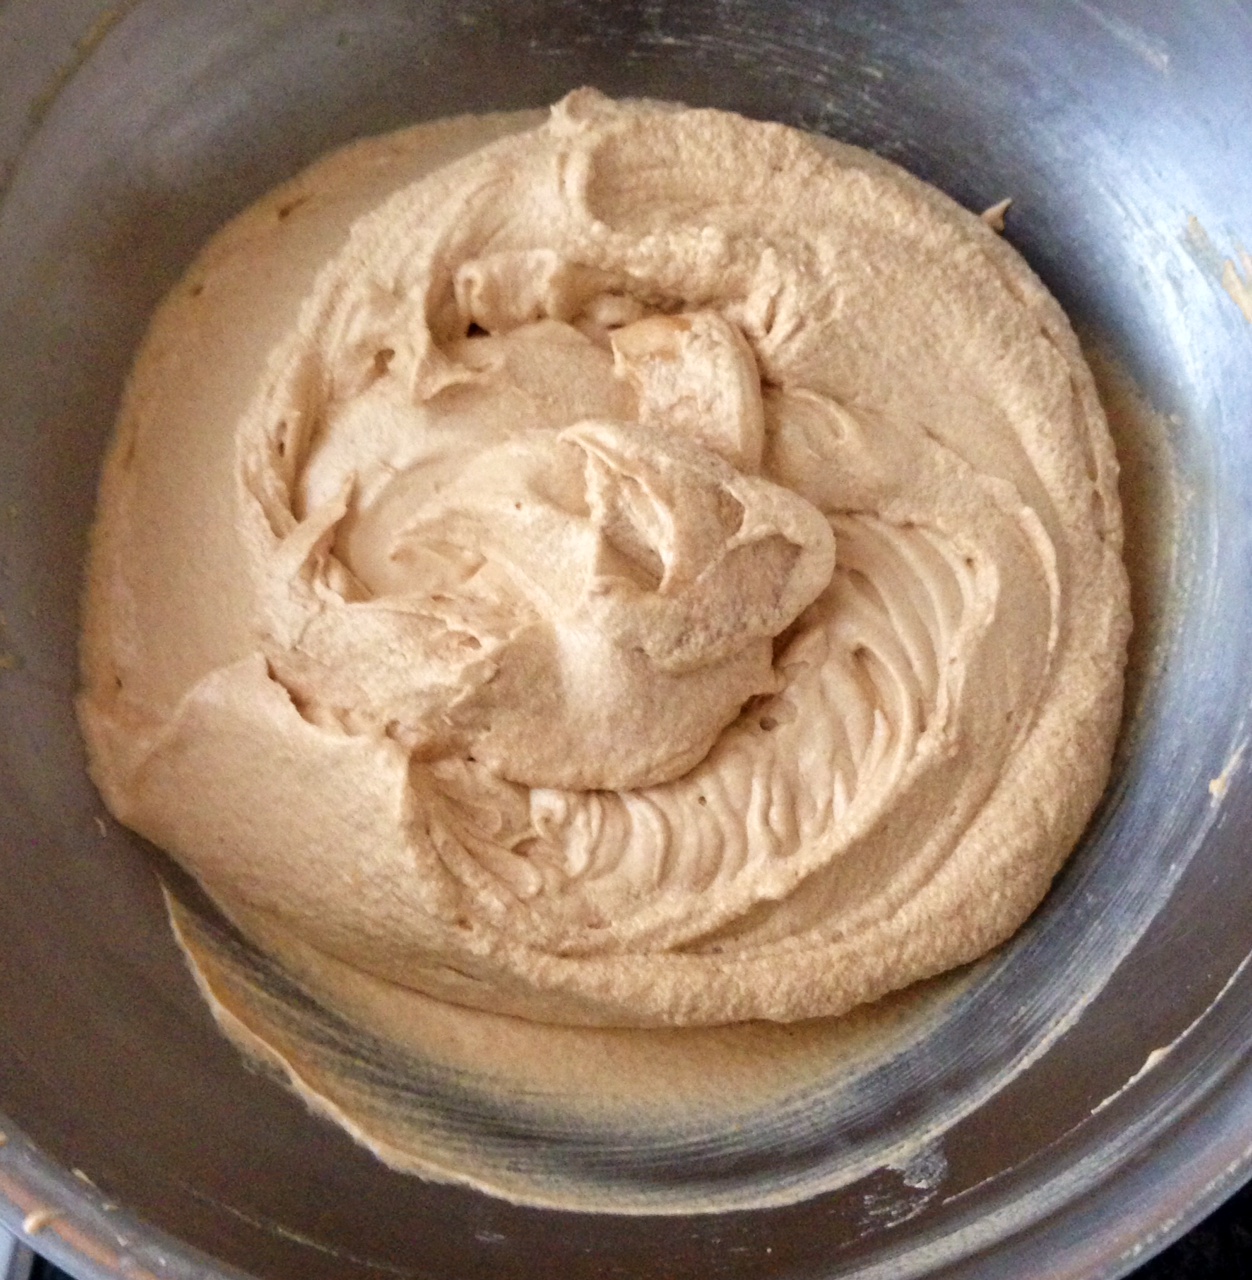
- Using electric beaters beat the sugar and butter until light and fluffy.
- Add in the eggs, beating in between each addition until pale and creamy.
- Add the vanilla and milk, beating in between each addition.
- In a separate bowl combine the Ovaltine, flour and powder, whisk to mix.
- Sift the dry ingredients into the wet mix and using a spatula folder the dry ingredients into the wet until combine.
- Roll ½ tbsn of mix into balls with wet hands and place on the trays.
- Bake for 8 minutes then allow biscuits to cool on the tray.
Notes:
- If you don’t like Ovaltine you can replace with Milo or Nesquick milk flavouring products. But this is an Ovaltine recipe so have a go with Ovaltine first! Trust me!
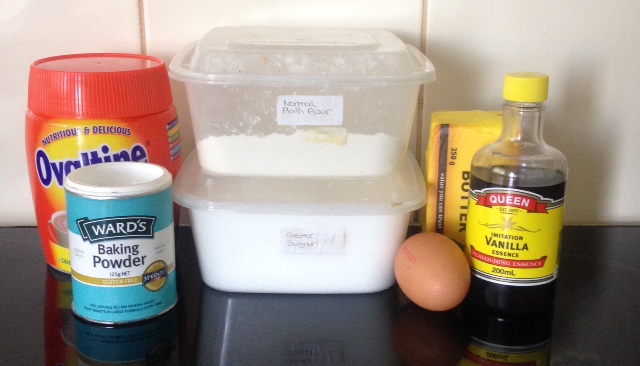
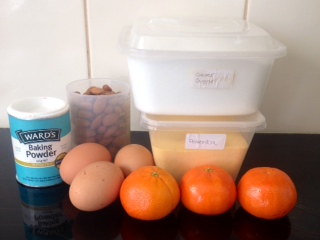
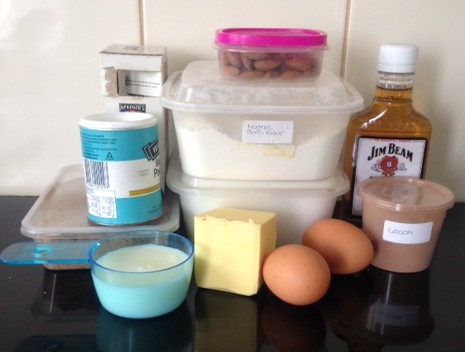
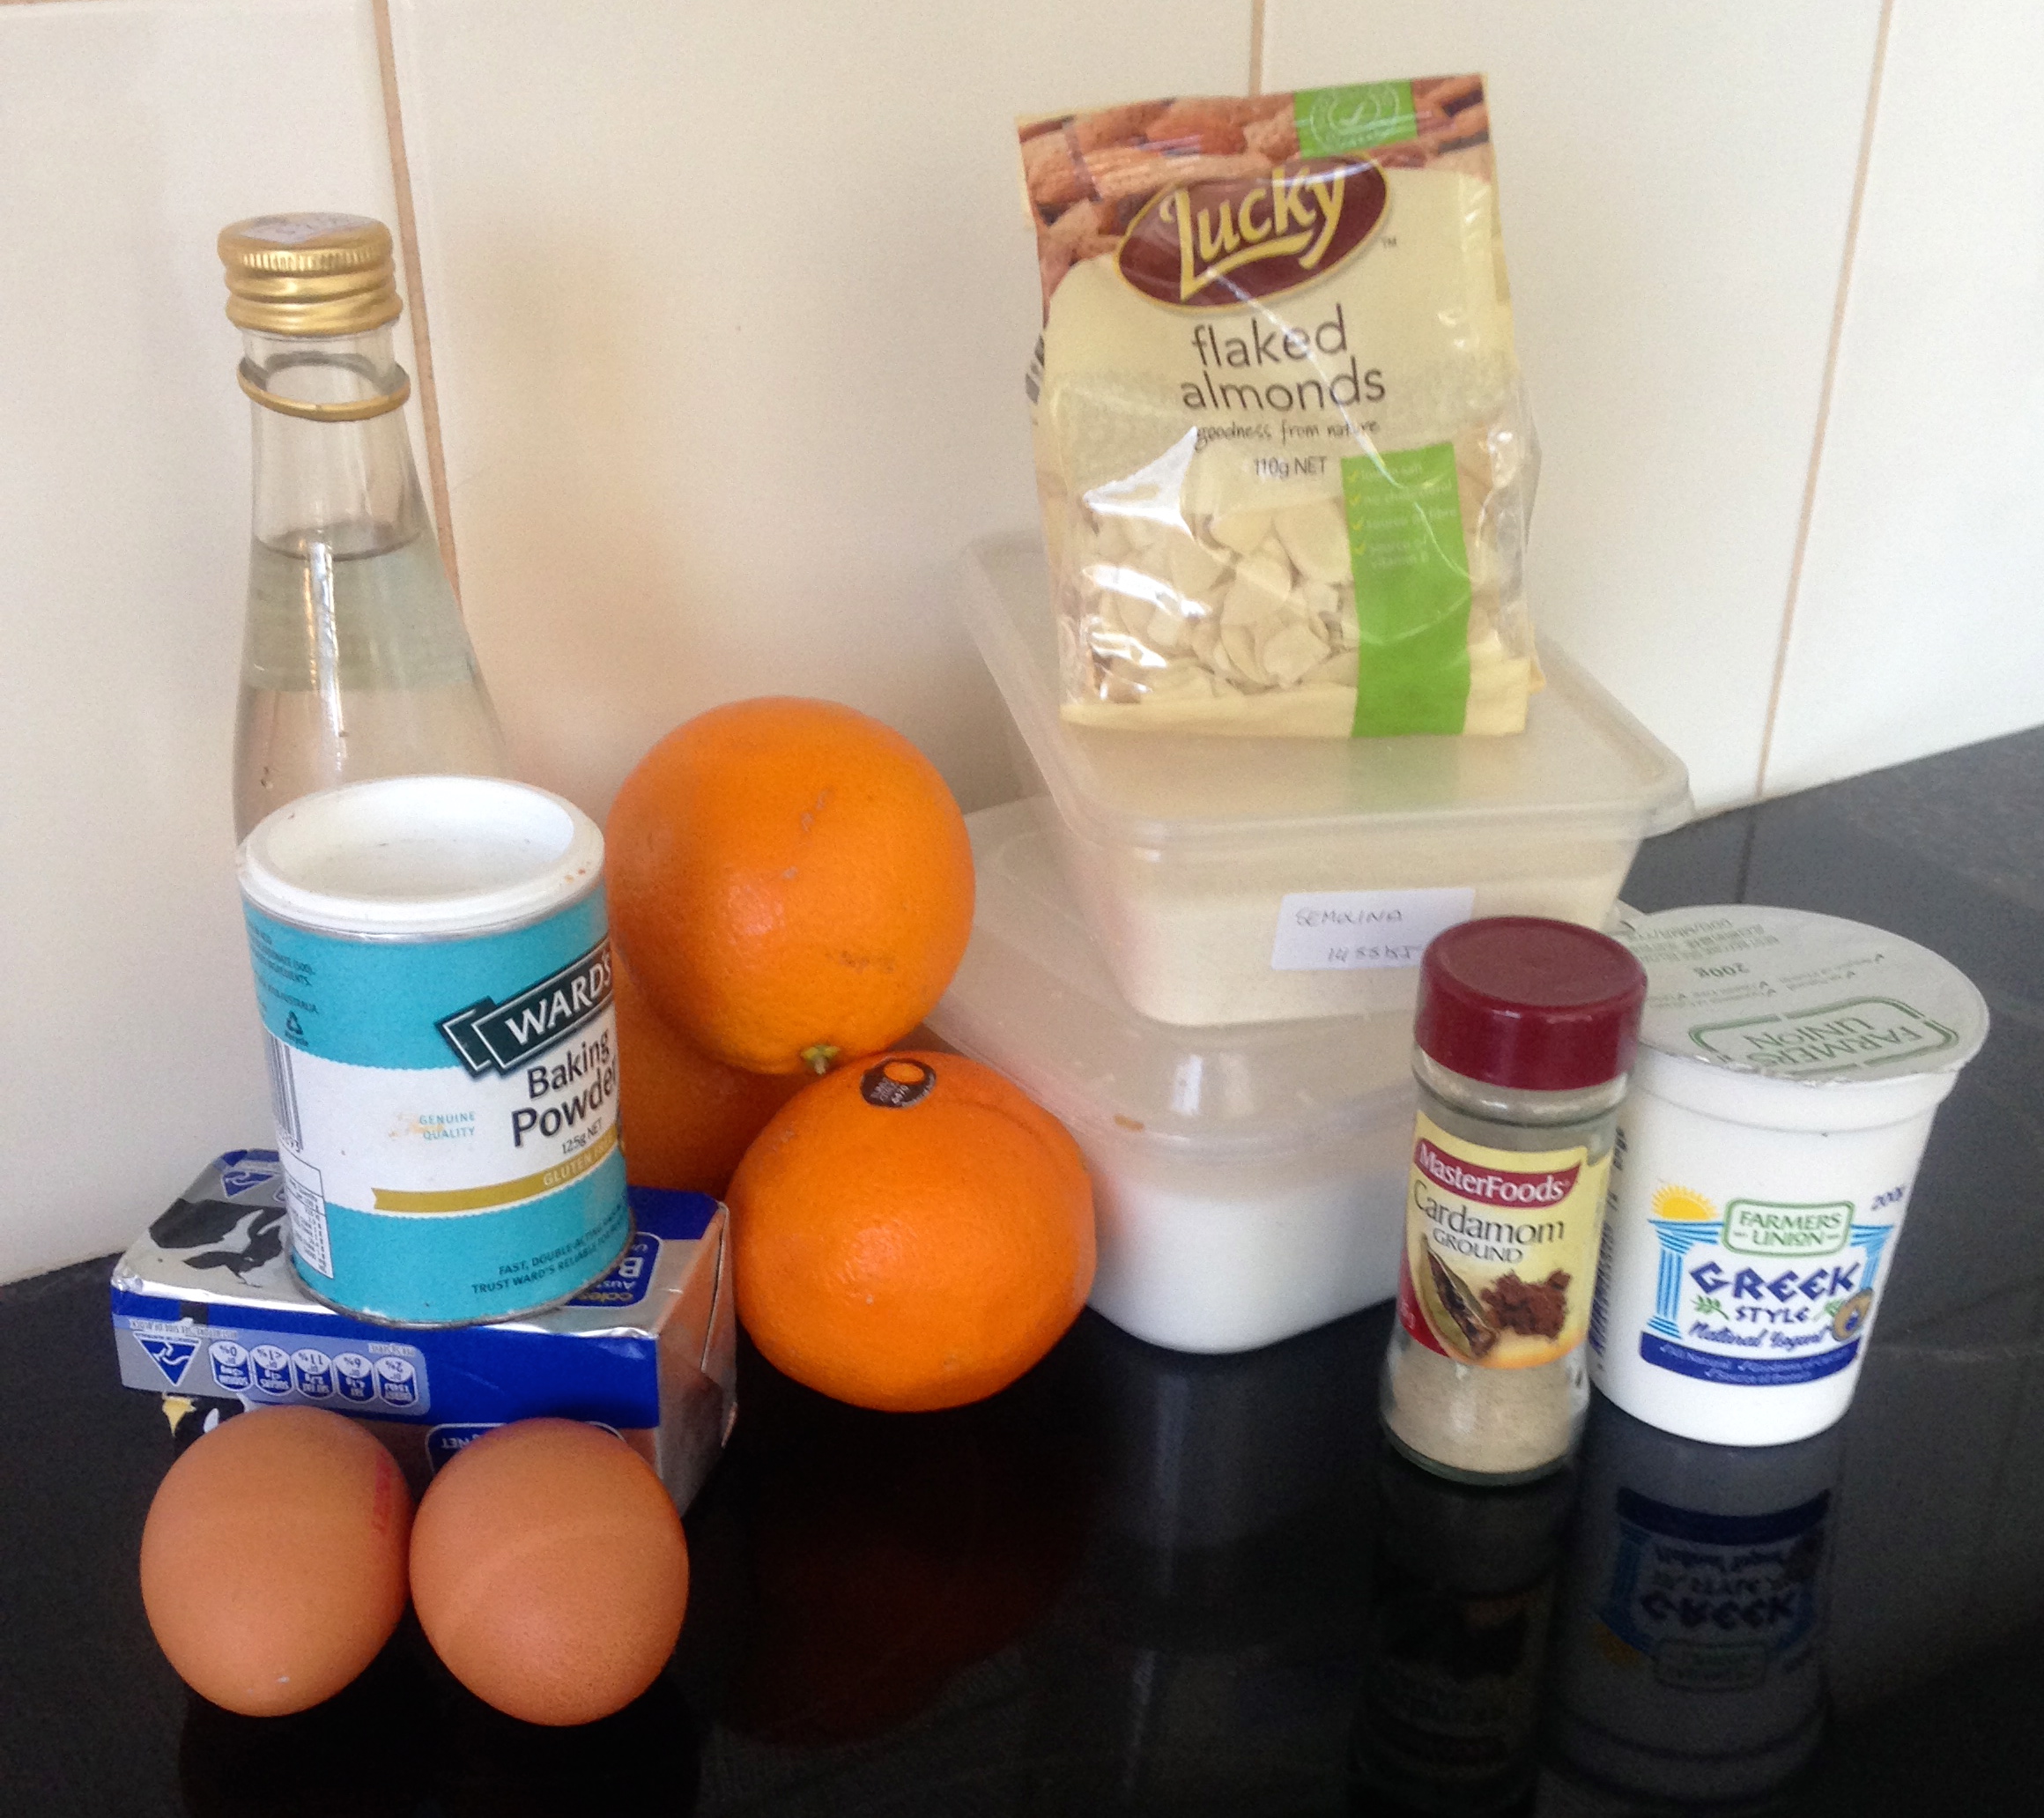
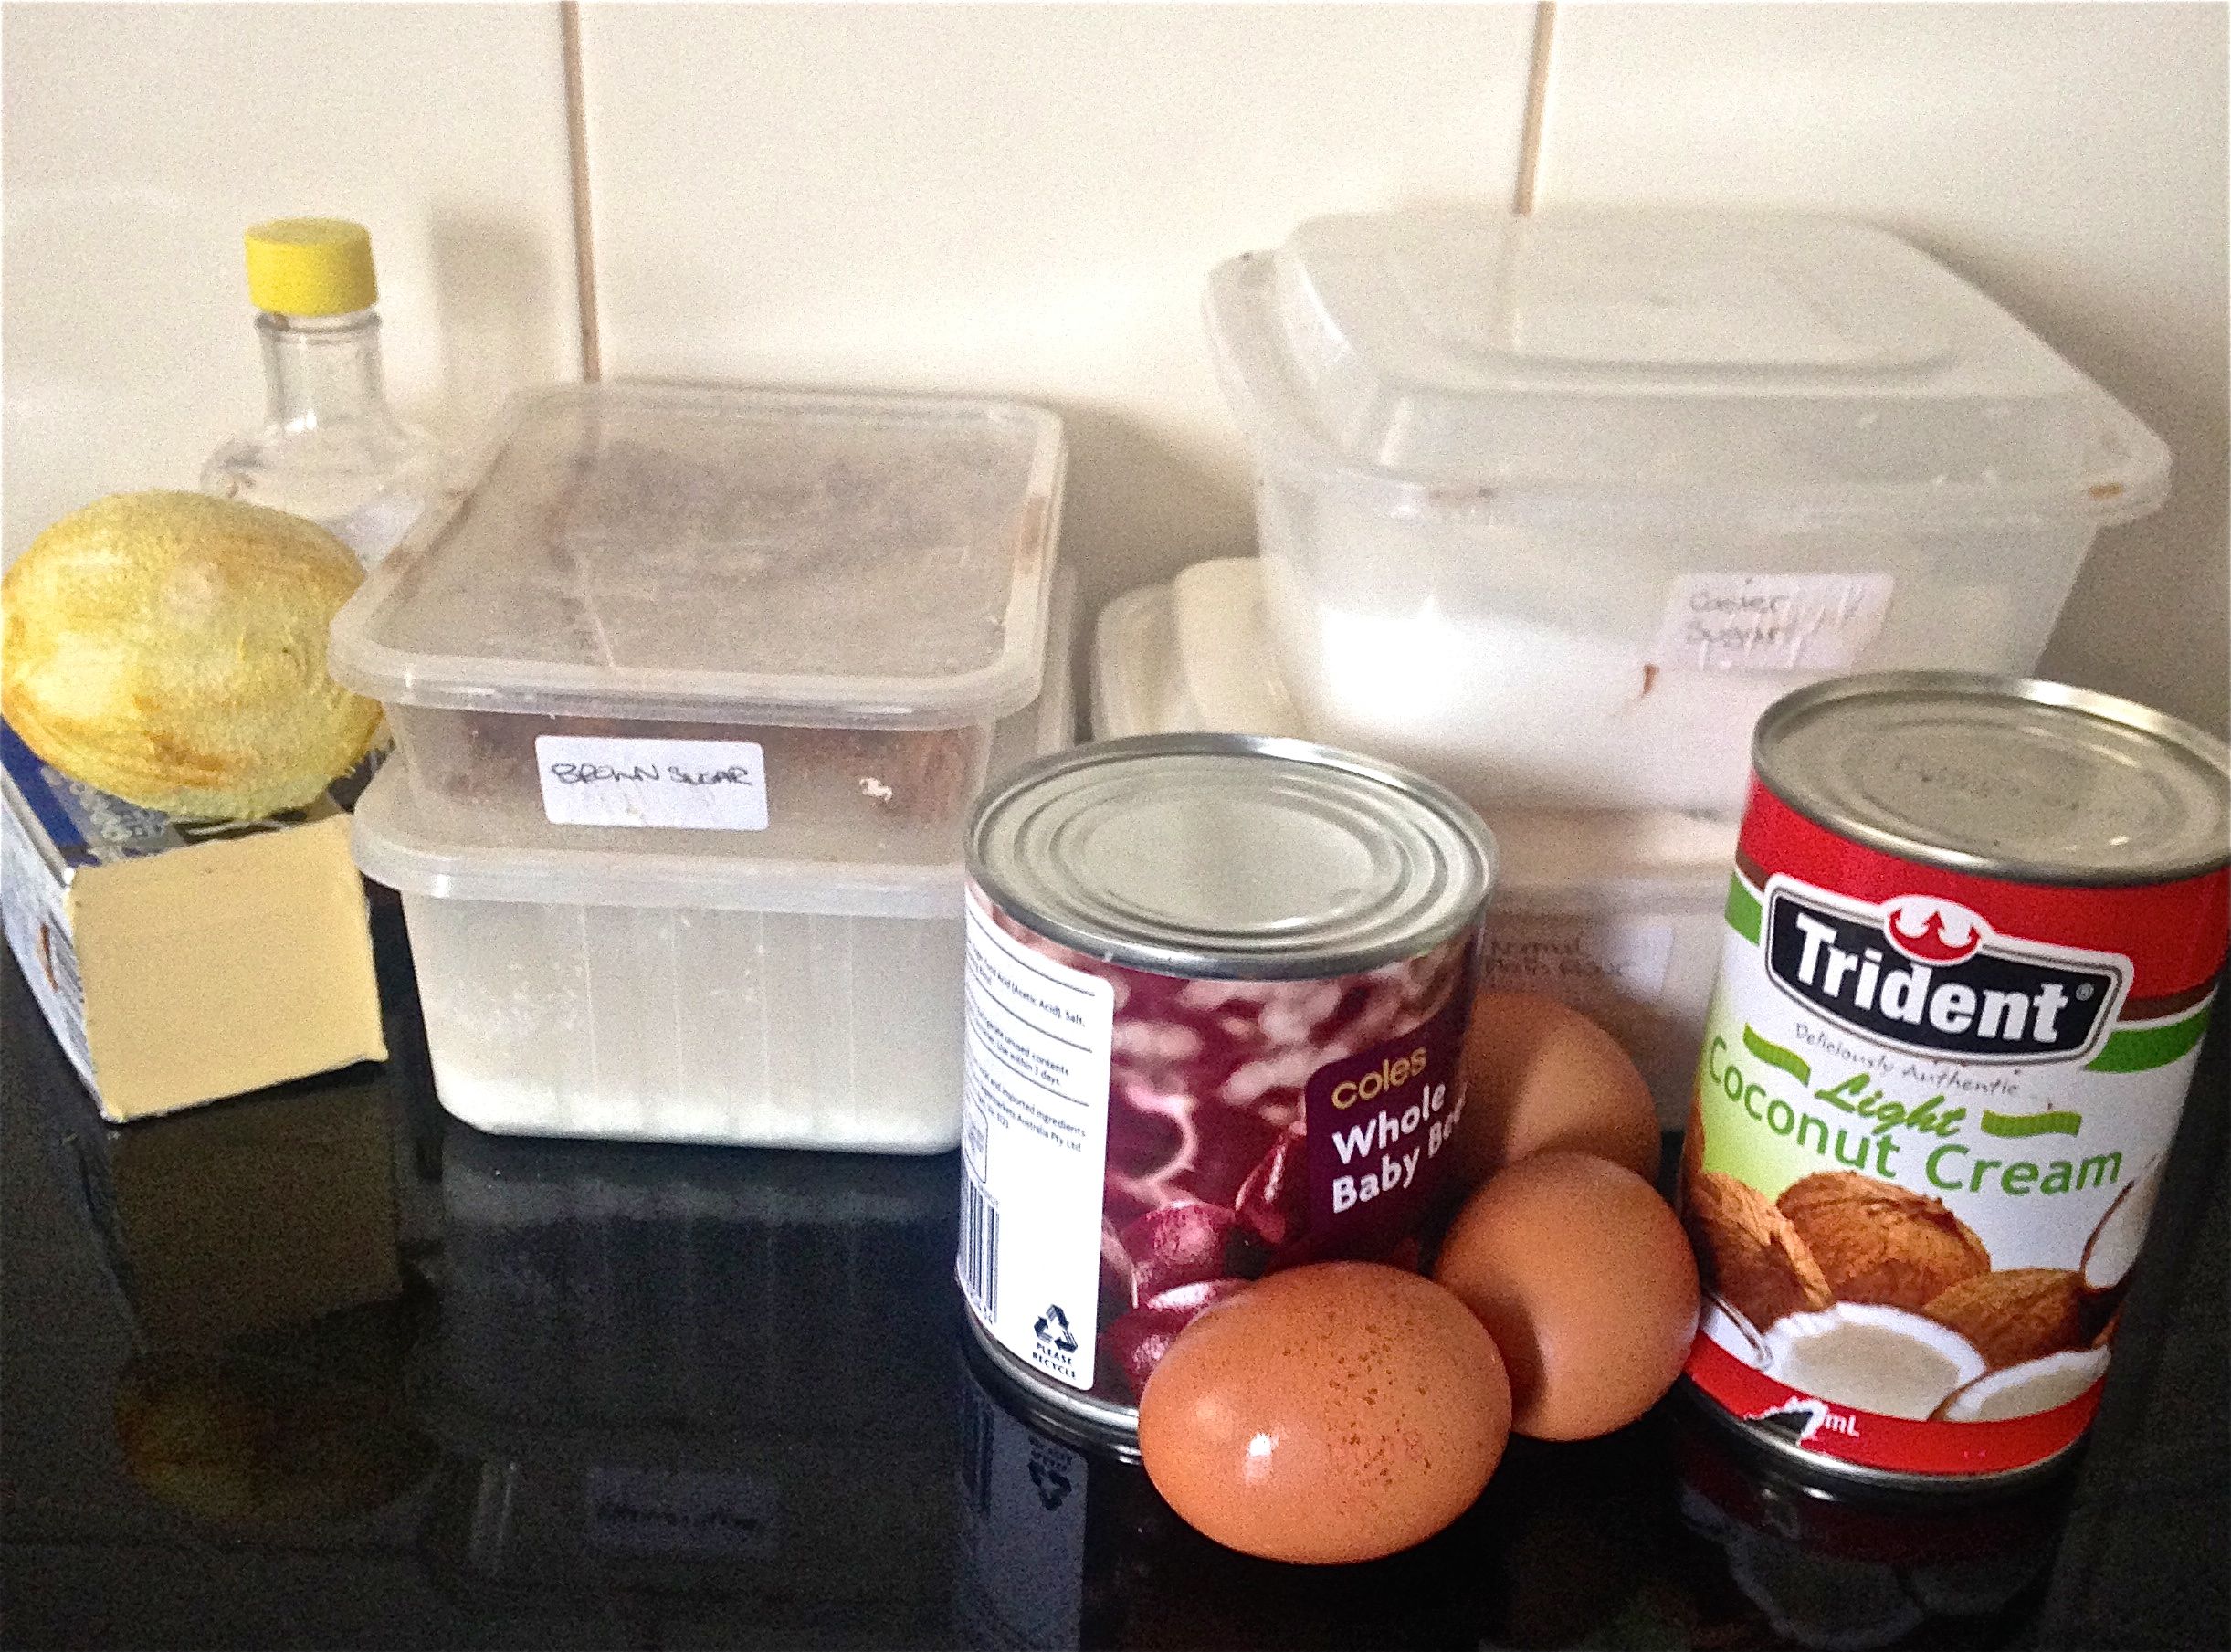
Ingredients
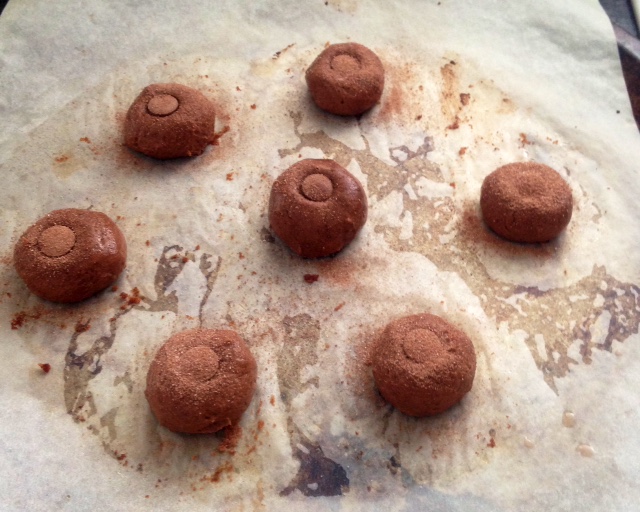
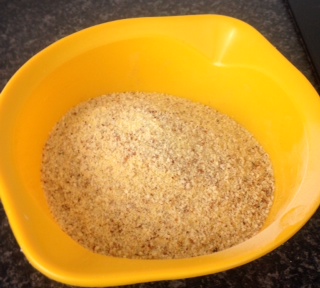
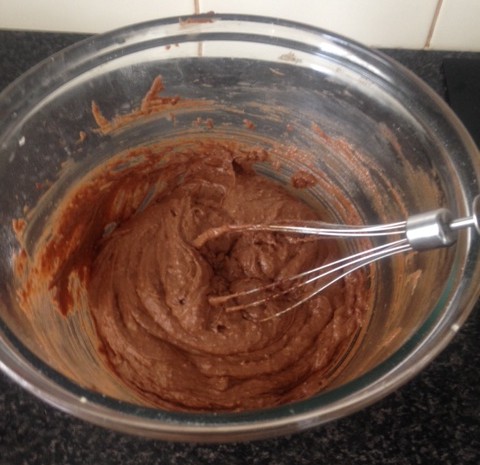
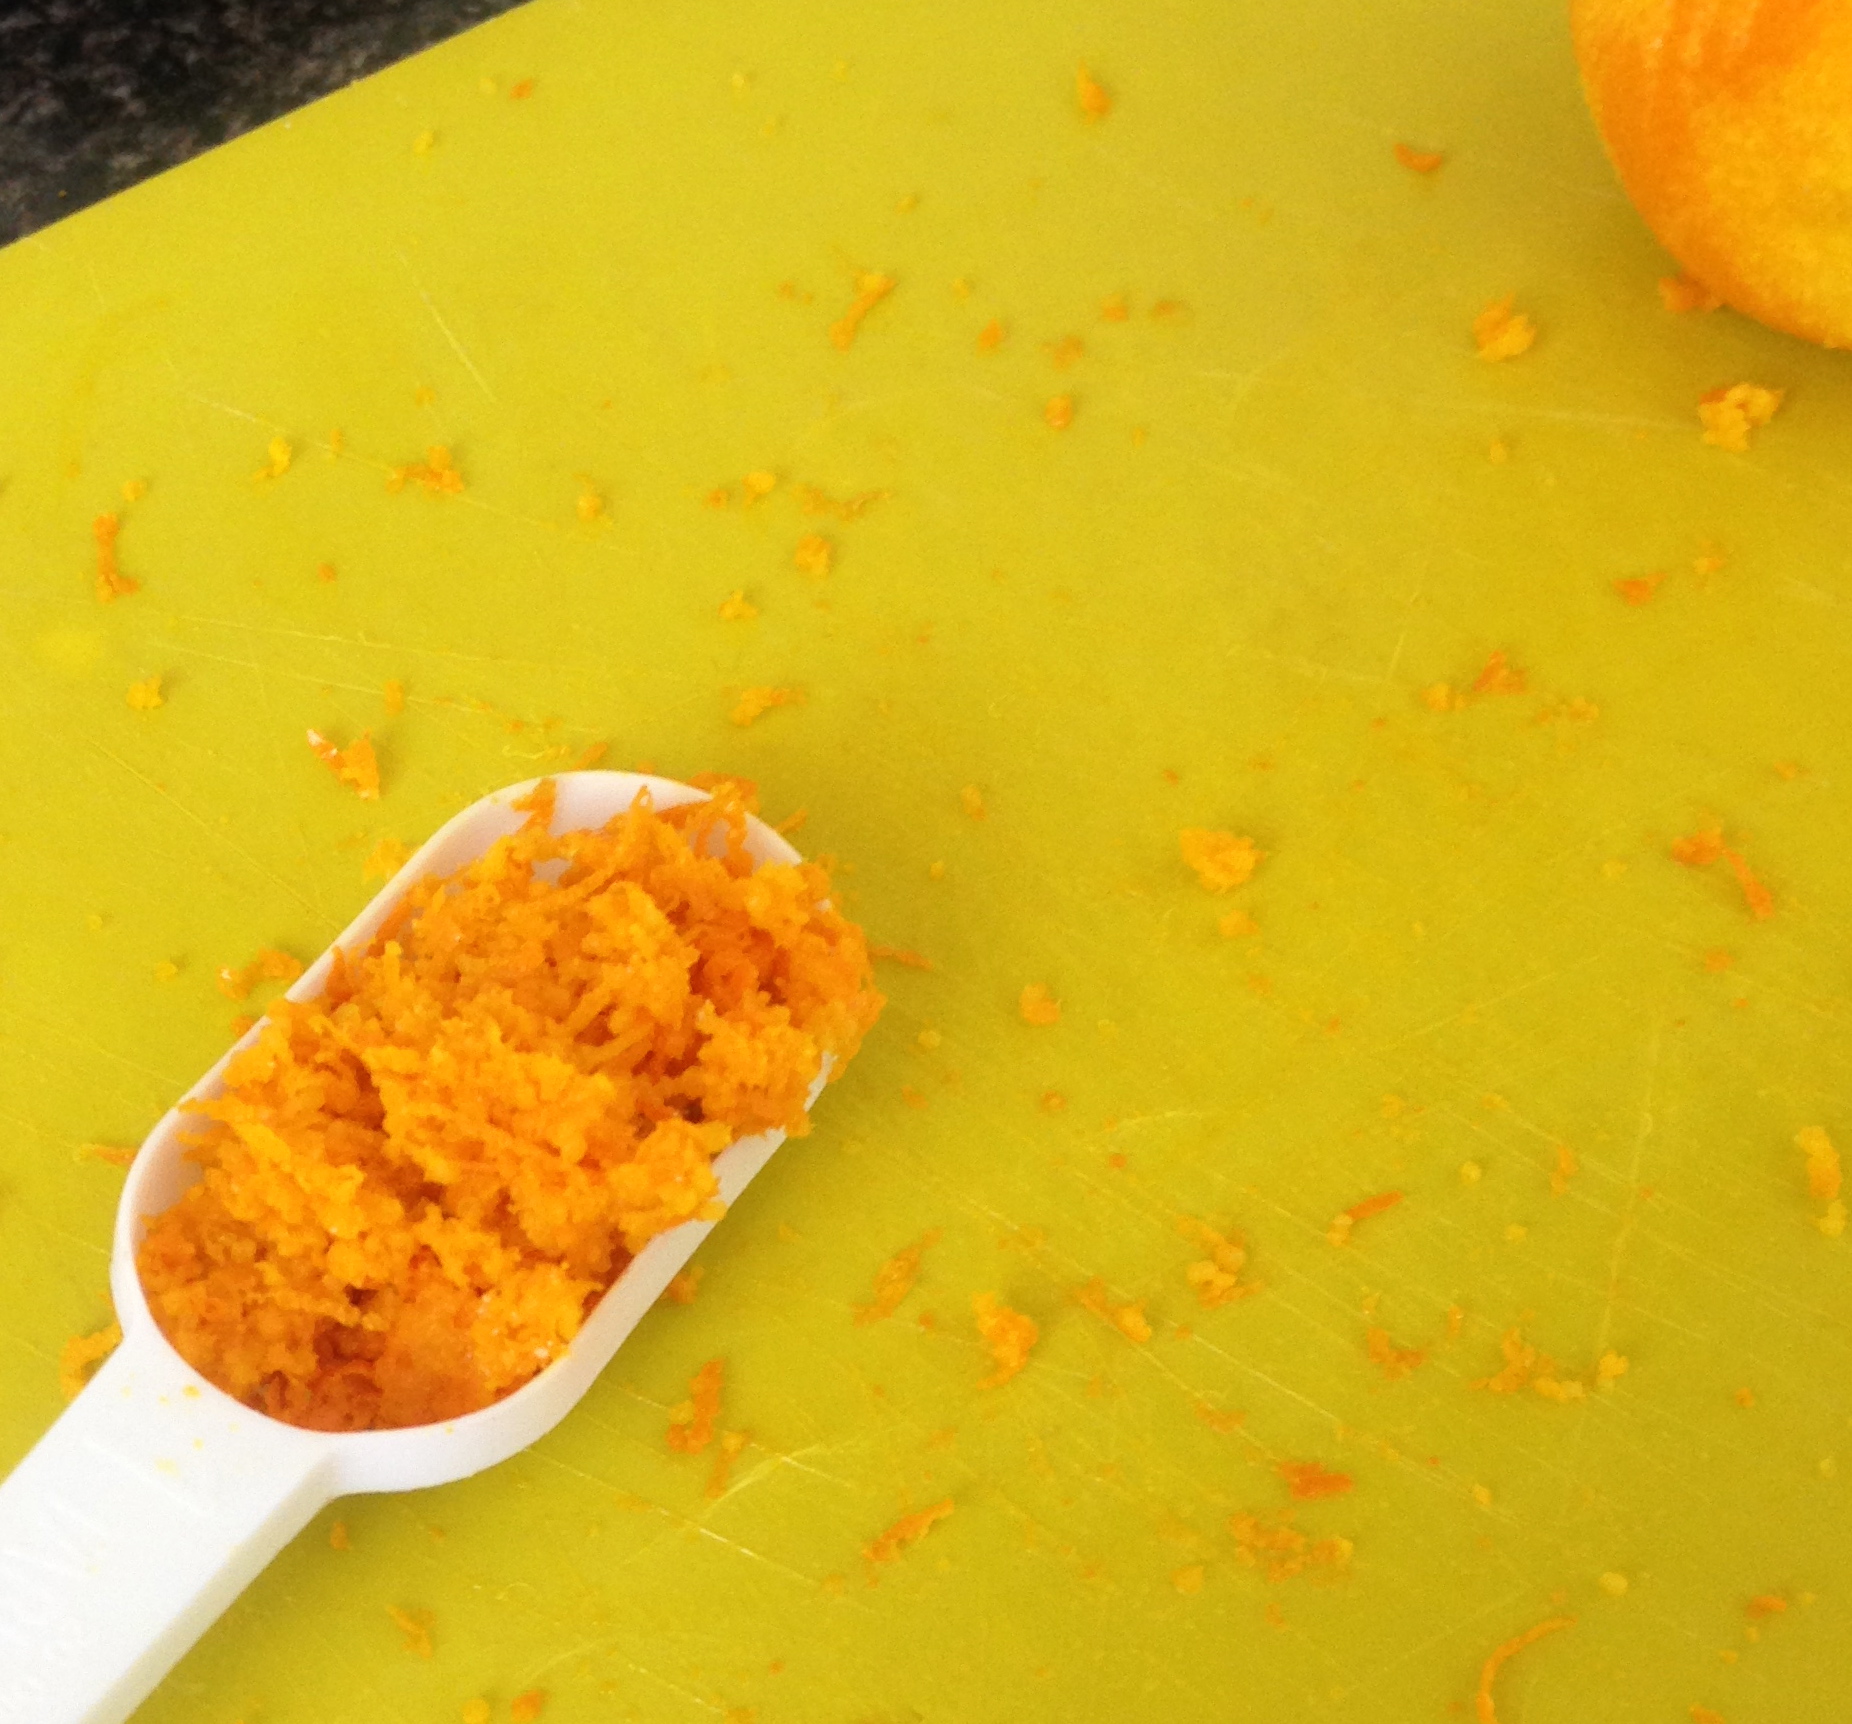
Step 7
Like this recipe? Subscribe via RSS or email to get my new entries and more scrumptious recipes with reviews.
 Follow