


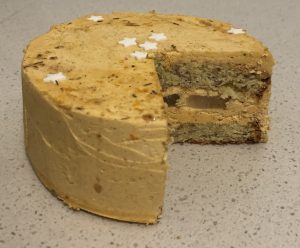
Rose Pistachio and Watermelon Sponge Cake

This recipe actually came from another bake where the watermelon layers were originally a watermelon jam. Instead of using strawberry jam a-la a traditional sponge cake I decided to use watermelon for a twist.
Outcome = I put way too much sugar in the jam originally and way too much jam in the sponge therefore the bake was a failure. On reflection I thought that a traditional sponge has cream and sliced strawberries so I could replace the strawberries with sliced watermelon. The cake was nice, and I was delighted at the crispness the sliced watermelon provided (originally thinking it would make the cake topple or crumble as soon as I cut into it – but it cut like a hot knife in butter).
Creaminess, crispness and fluffiness were all textures I had covered, but the crunch element was missing. This is what got me to think of adding pistachios and then rosewater (why rosewater? My usual pistachio combo always results in the inclusion of rosewater, they are just a lovely flavour pairing).
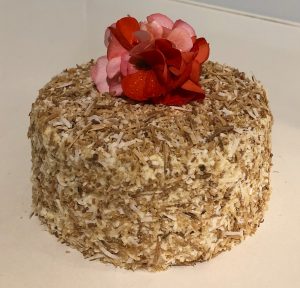
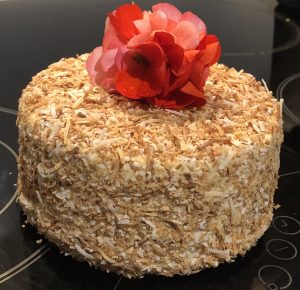
A refreshing cake that of course is delicious in taste AND textures.
I must also give credit where credit is due, the sponge cake recipe I have used is my base for all sponges, in which is a slight adaptation of Australian Women’s Weekly magazines prize winning Sponge recipe created by Natalie Dick.
Ingredients:
Sponge:
- 2 tsn plain flour
- ½ tsn bicarbonate of soda
- 1 tsn cream of tartar
- Cornflour
- 4 eggs
- 150g caster sugar
- ½ tsn rosewater essence
Extra:
- 1/4 seedless watermelon
- 1 tsn rosewater essence
- 300ml thickened cream
- 1 tbsn icing sugar
- 50g shelled pistachios
Method:
- Preheat the oven to 190c degrees and line a 20cm square cake tin with baking paper.
- Place the plain flour, bicarbonate of soda and cream of tartar in 1 cup.
- Top up the cup to the brim by adding the necessary amount of cornflour to fill the cup.
- Sift the flour mix 3 times.
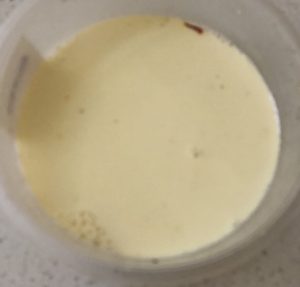
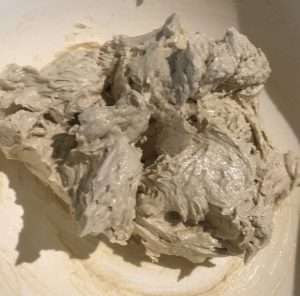
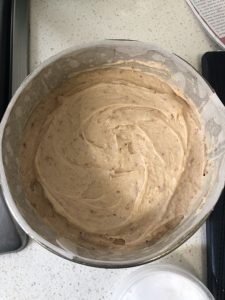
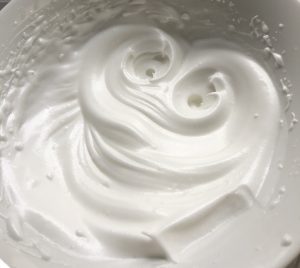
- Beat the egg, rosewater essence and sugar with electric beaters until light and pale.
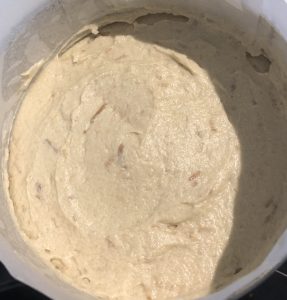
- Add the flour to the egg mix and beat for 20 seconds on low or until just combined.
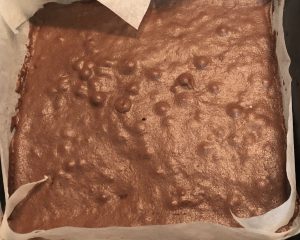
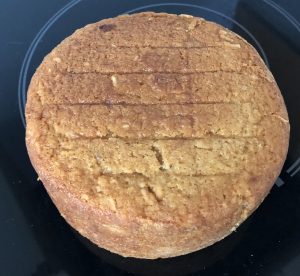
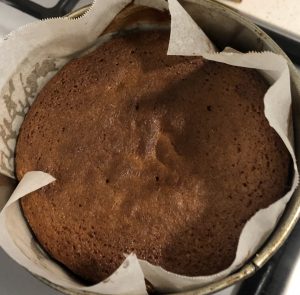
- Pour the mix into the cake tin and bake for 20 mins or until the cake bounces back after touching the top.
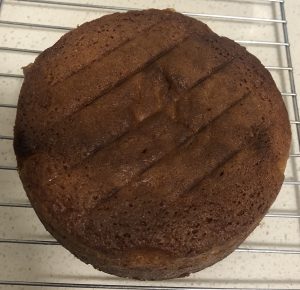
- Place the cake on a cooling rack until cold.
- Meanwhile thinly slice the watermelon and cut away the rind.
- Place the watermelon pieces onto paper towel to absorb excess moisture.
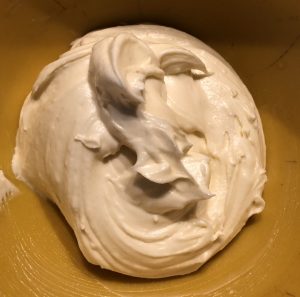
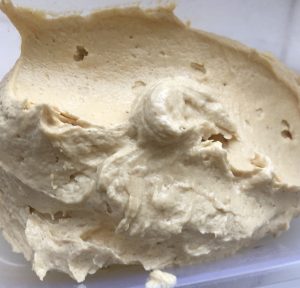
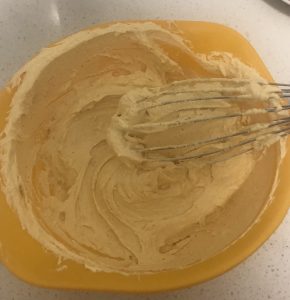
- Beat the cream, extra rosewater essence and icing sugar with electric beaters until stiff peaks form.
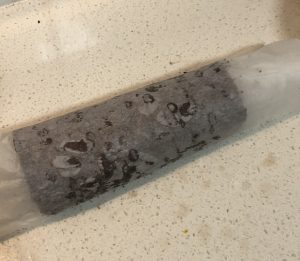
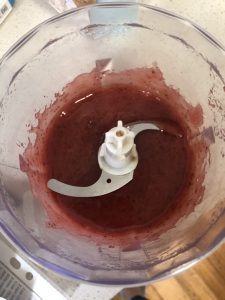
- Blitz up the pistachios in a food processor until they resemble breadcrumb consistency.
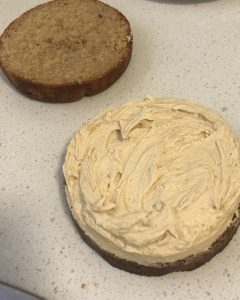
- Cut the cake in half horizontally and place a cake layer on a plate.
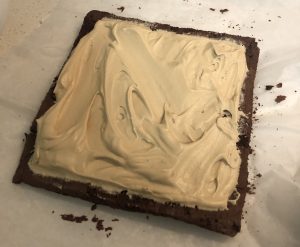
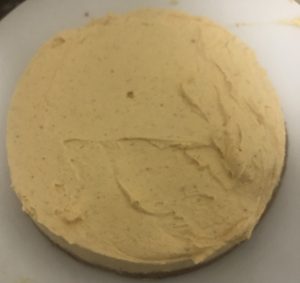
- Top the layer on the plate with ¼ of the cream.
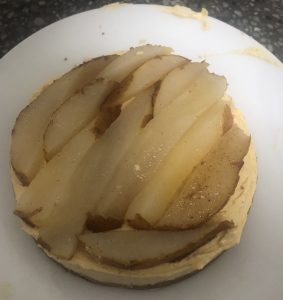
- Cut the watermelon to the same size as the cake layer and place on top of the cream.
- Sprinkle ½ the pistachio mix on top of the watermelon.
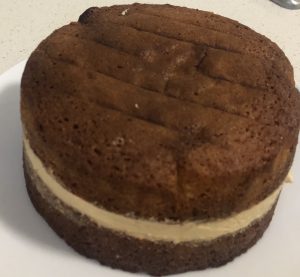
- Top the 2nd cake layer with ¼ cream and place cream side down into the watermelon.
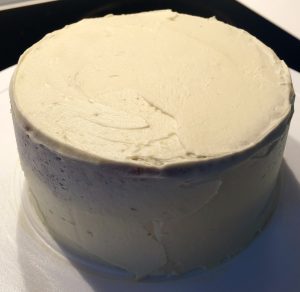
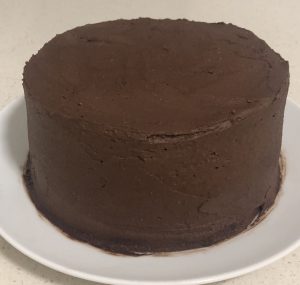
- Spread the remaining cream on top of the top sponge cake layer.
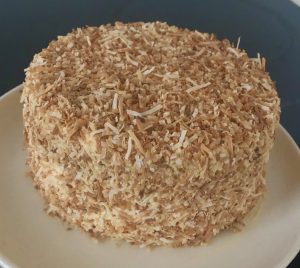
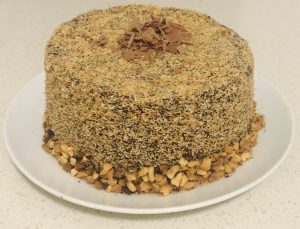
- Dice the remaning watermelon and sprinkle on top of the cream.
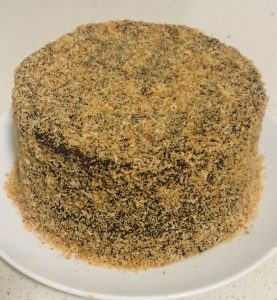
- Sprinkle the remaining pistachio over the cream.
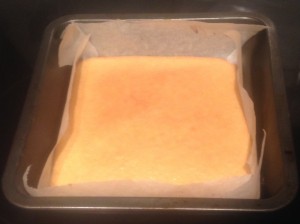
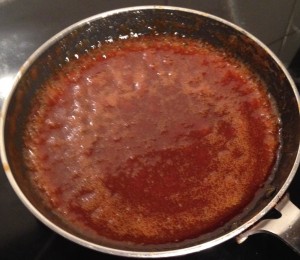
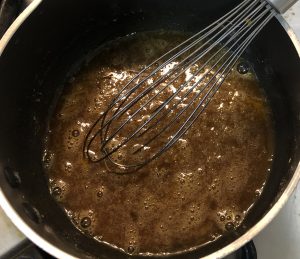
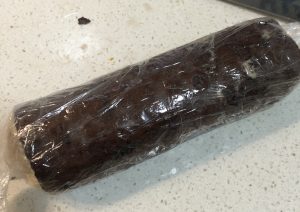
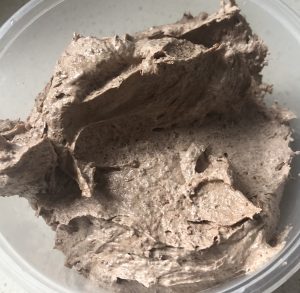
Step 7
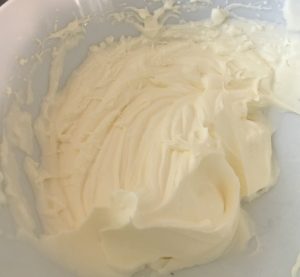
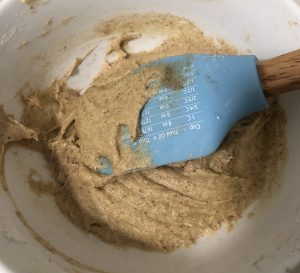
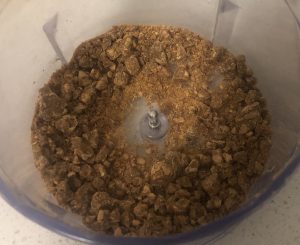
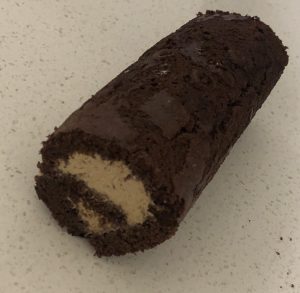
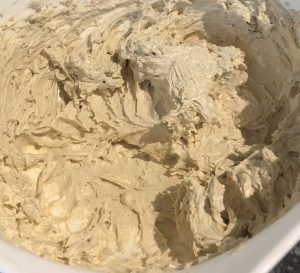
Step 11
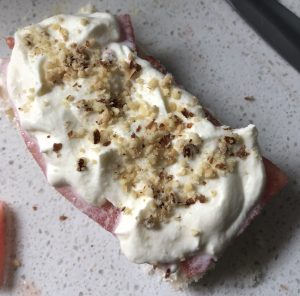
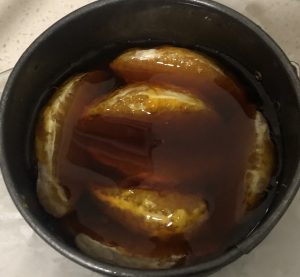
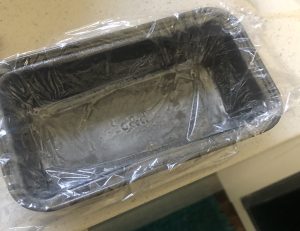
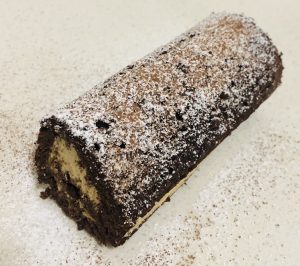
Step 16

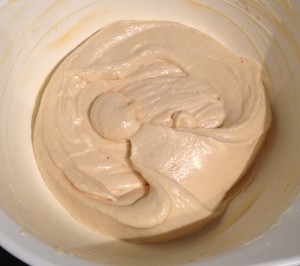
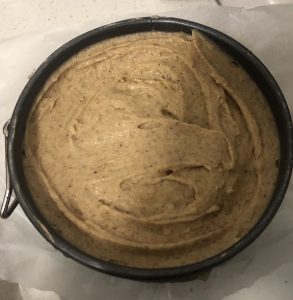
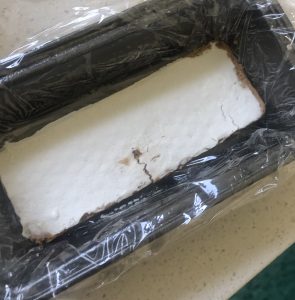
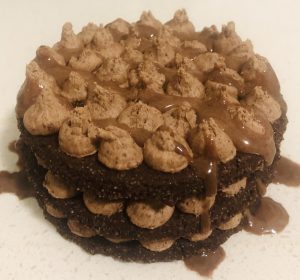
Step 20
 Follow


