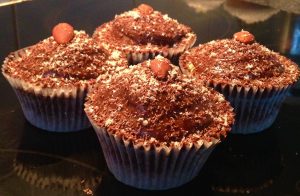
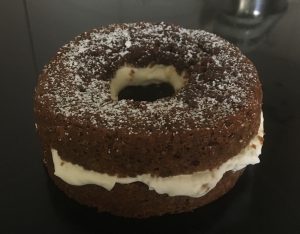
Rum Banana Ginger and Date Cake

This cake is actually a massive fluke. Originally I wanted to make a creamy soda cake and planned to use my Coca-Cola Chocolate Cake recipe and substitute the cola for creamy soda.
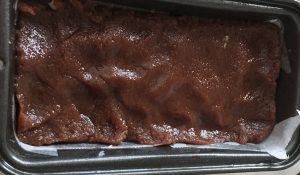
After I made this cake I soon realised that the creamy soda taste is so subtitle that it just tastes like a plan vanilla cake. As I was in the baking mood I then decided that this was a flop and I would make a new cake.
I still wanted to do a drink based cake so I took inspiration from the night before – Saturday nights drinks.
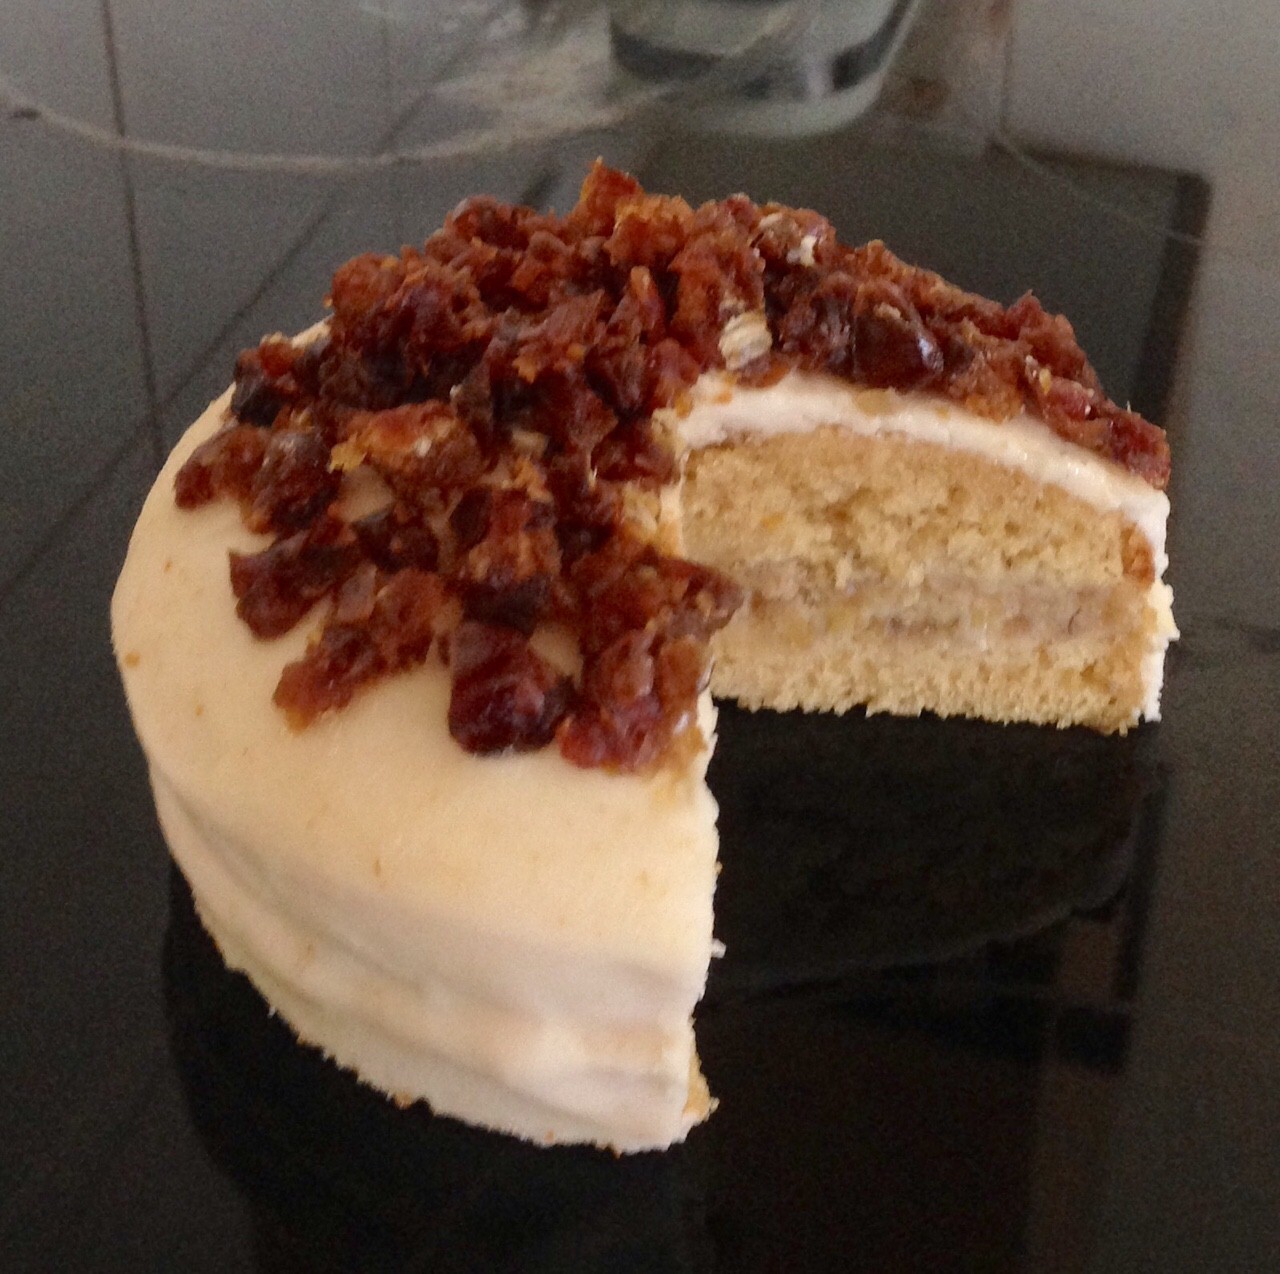
A friend was drinking spiced rum with ginger beer – so I thought of still using the coca-cola recipe as the base but replacing the cola with spiced Rum and added ground ginger to the mix. This though was still a little ordinary, therefore to add another layer I made ginger rum banana filling and topped the cake with some chopped dates. I figured the dates could play the same role as raisins do in the ‘rum & raisin’ combo. Additionally banana works well with ginger and rum so if could be a good inclusion.
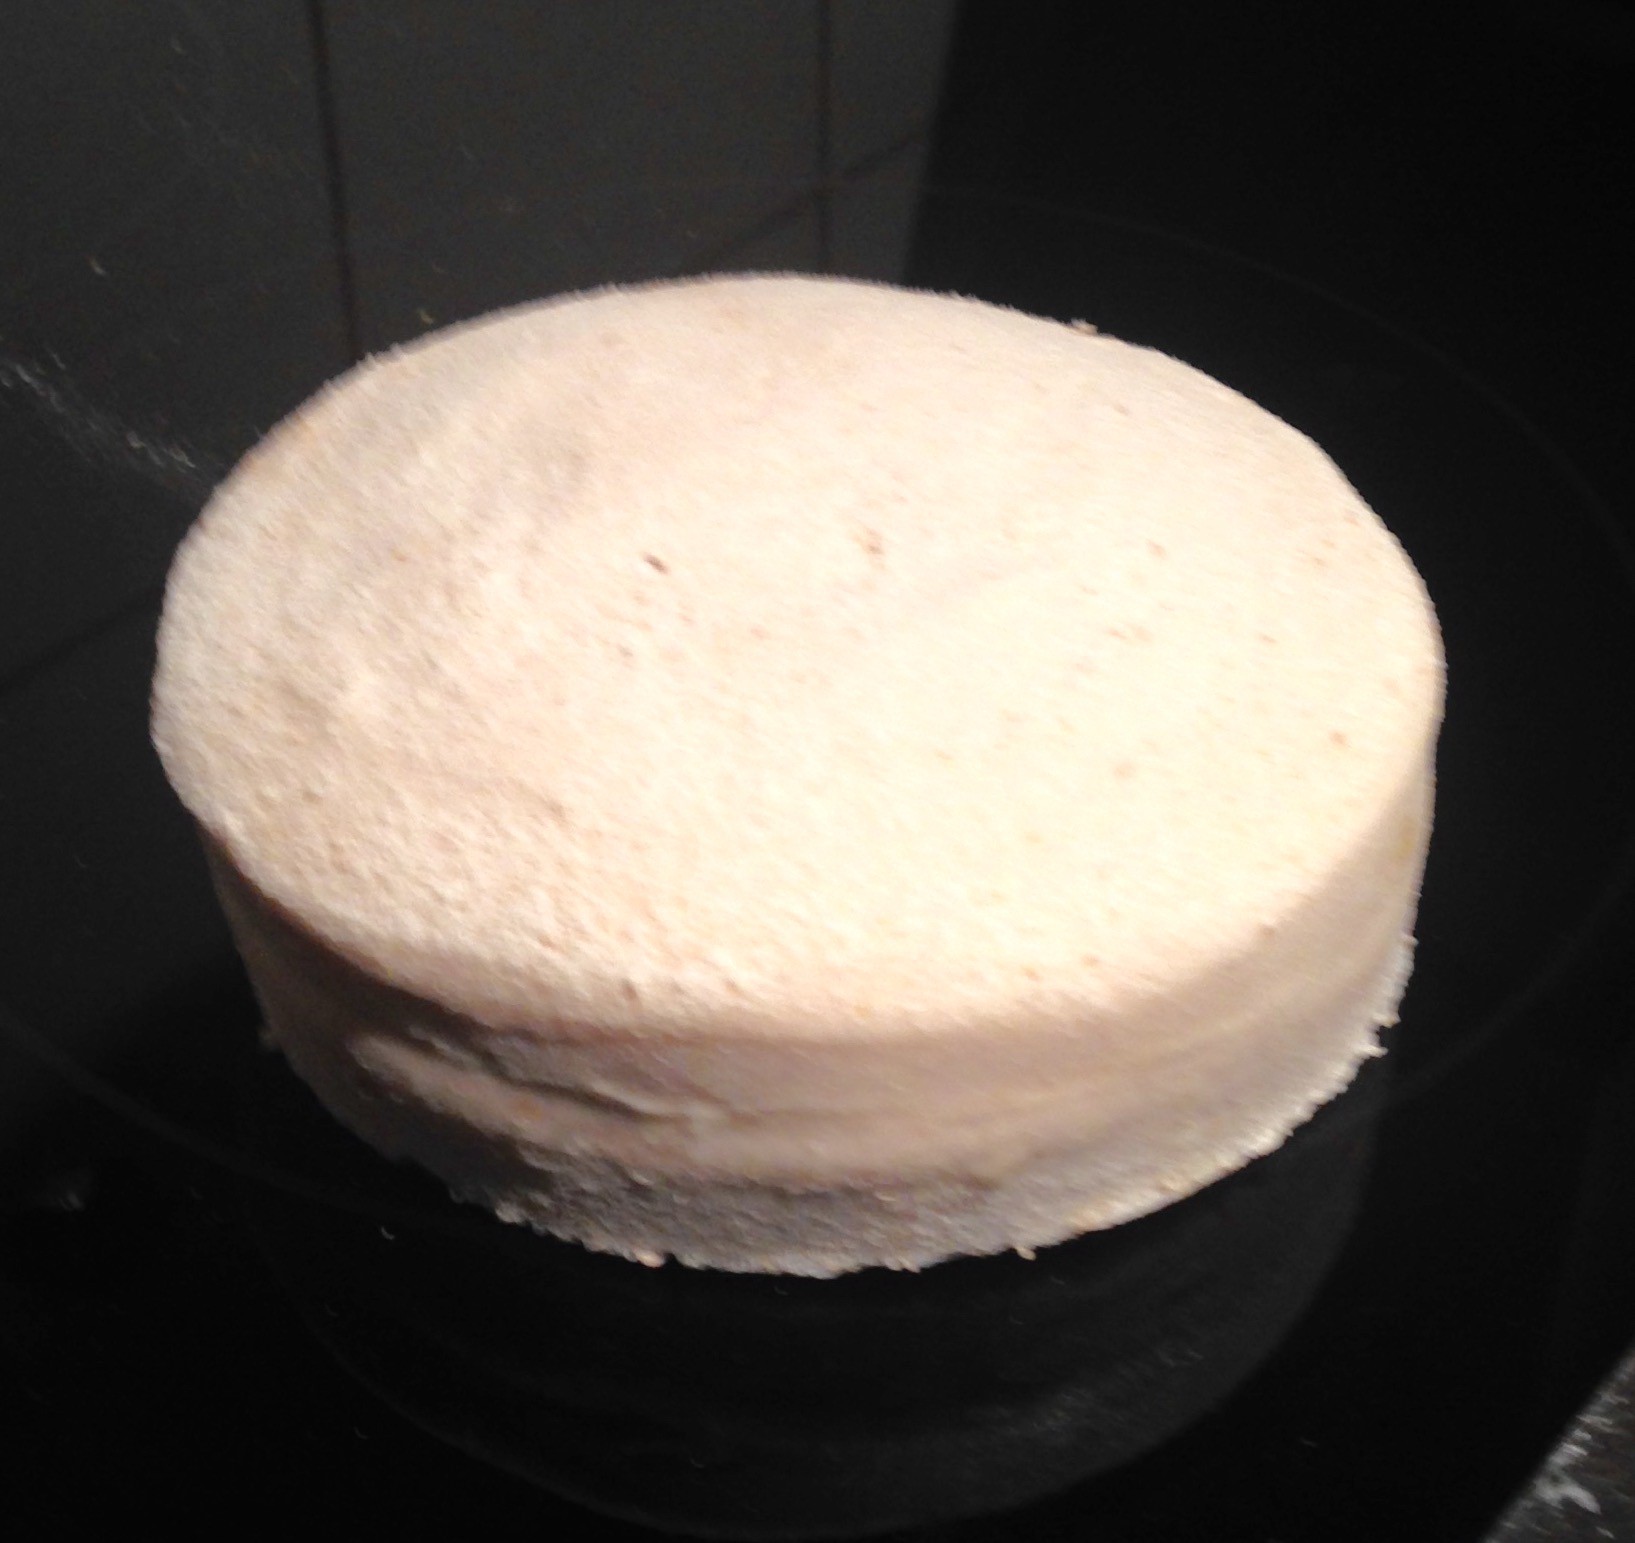
Outcome – this cake hits the spot!
Ingredients:
Cake:
- 260g self raising flour
- 300g brown sugar
- ¼ tsn salt
- 1 tsn ground ginger
- 1 egg
- 125ml milk
- 1 tsn vanilla
- 125g butter
- 180ml rum
Filling:
- 300g banana (3 banana’s)
- 60ml butter
- 1 tbsn rum
- 1 tsn ground ginger
Icing:
- 1 + 1/2 cup icing sugar
- 150g cream cheese
- 75g butter
- 2 tsn rum
- 1 tsn ground ginger
Extra:
- 150g dates, diced.
Method:
- Pre-heat the oven to 180c degrees and line a 23cm cake tin with baking paper.
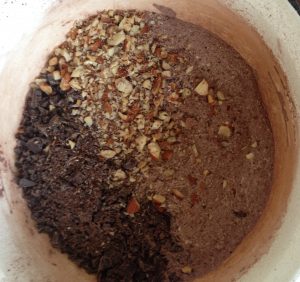
- Place the flour, sugar, salt and ginger into a bowl and stir until well combined.
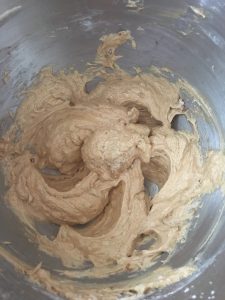
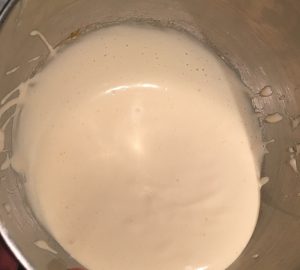
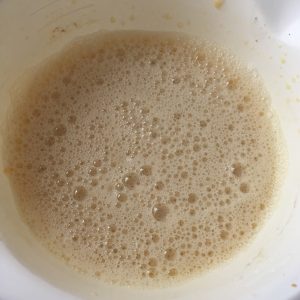
- Place the egg, milk and vanilla into a bowl and using electric beaters beat until light and fluffy.
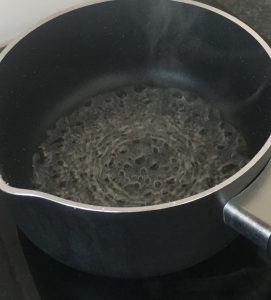
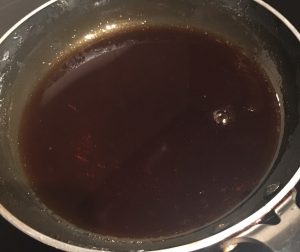
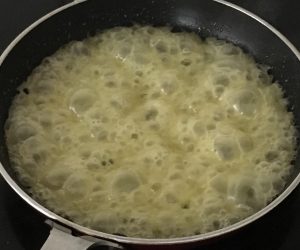
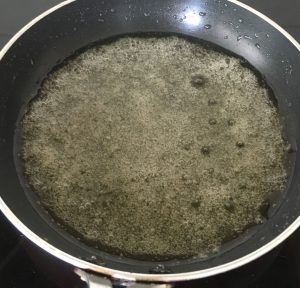
- Place the butter and rum into a saucepan and heat on low until the butter is melted, take off the heat.
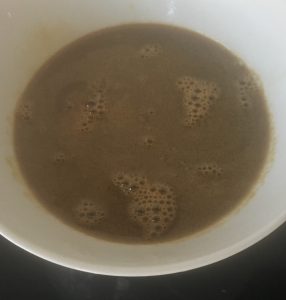
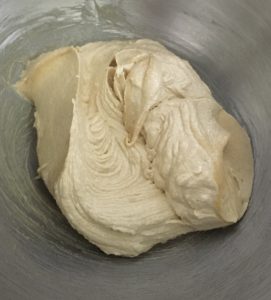
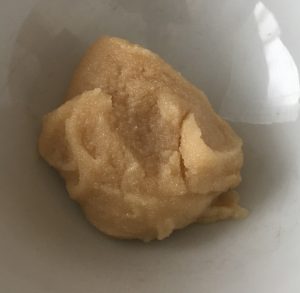
- Stir the egg mix into the dry mix until well combined.
- Add the rum mix and beat with electric beaters until smooth.
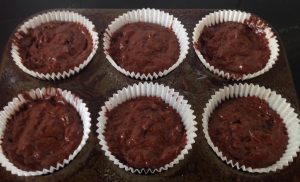
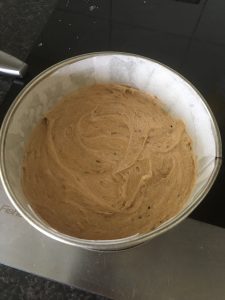
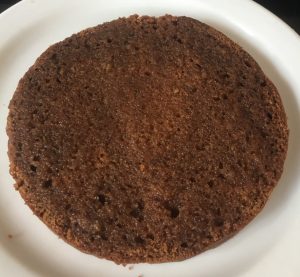
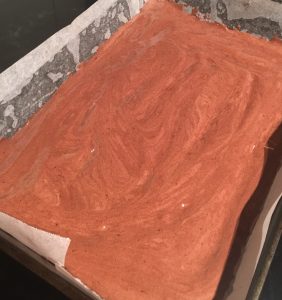
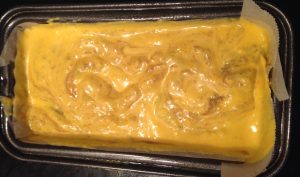
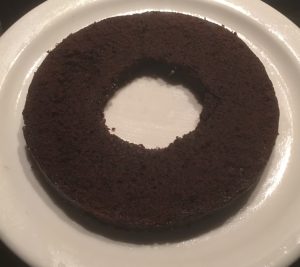
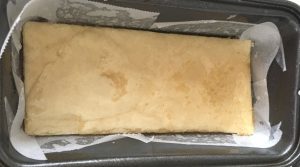
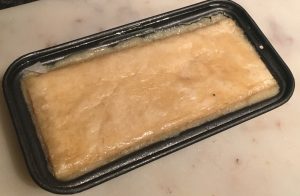
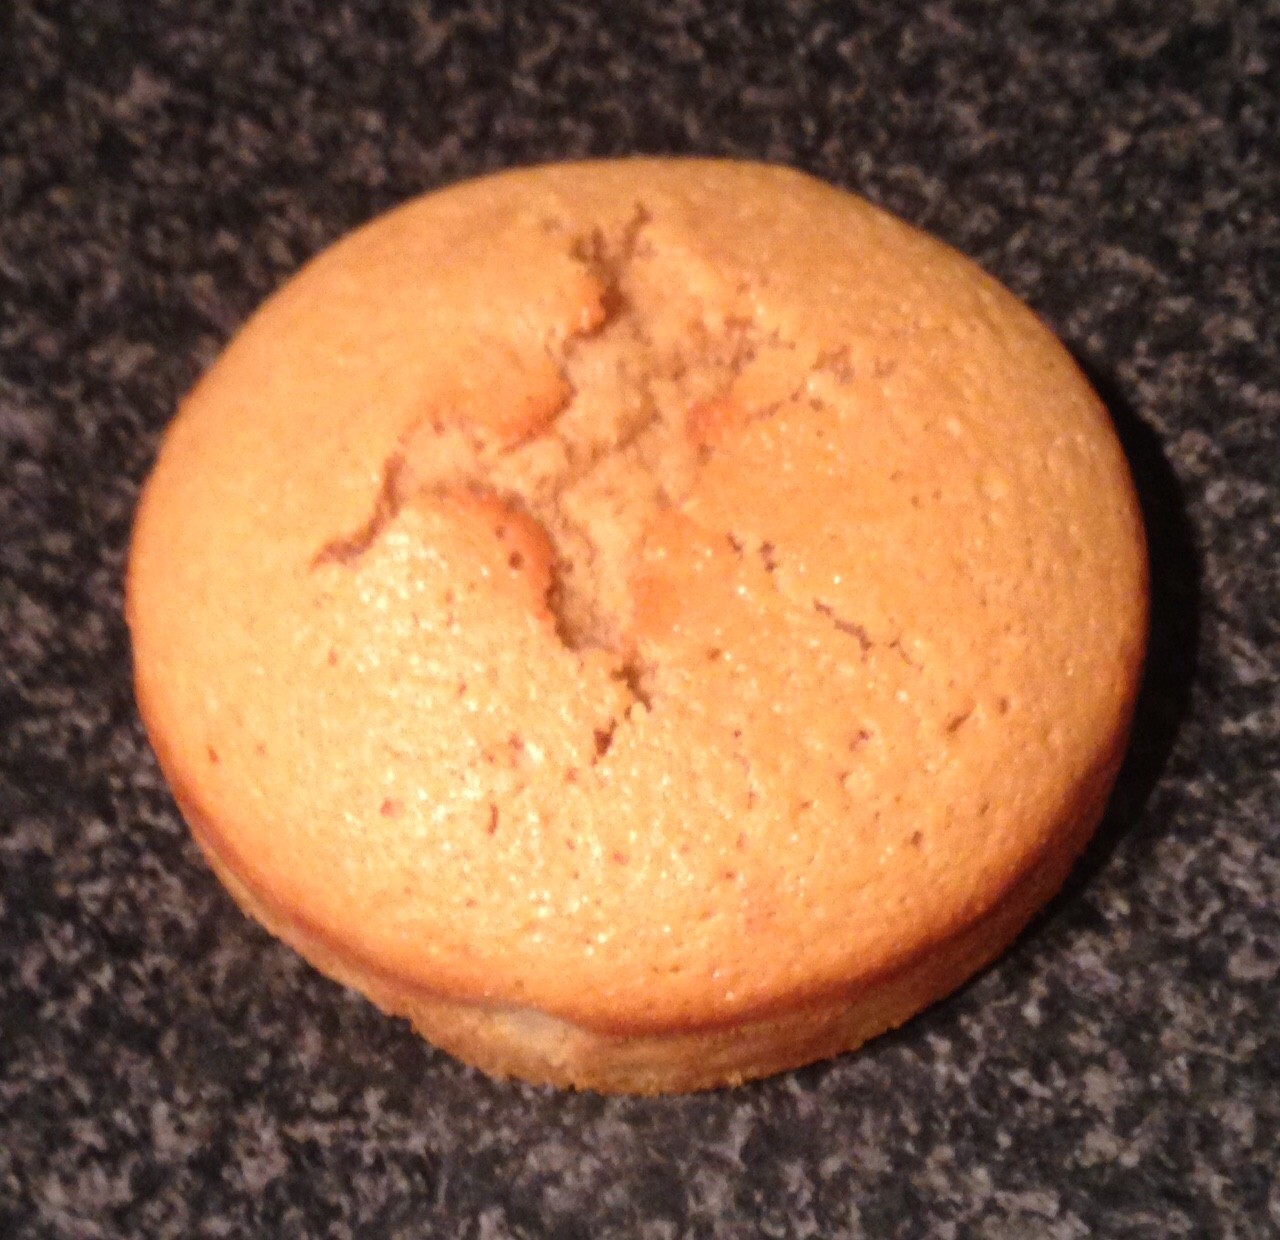
- Pour the cake mix into the tin and bake for 50 minutes or until a skewer inserted into the center comes out clean.
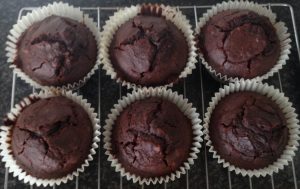
- Place on a cooling rack until cold.
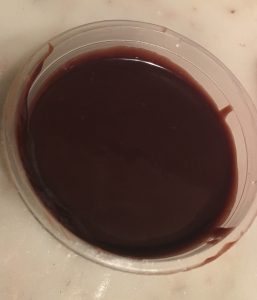
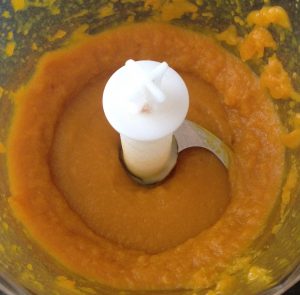
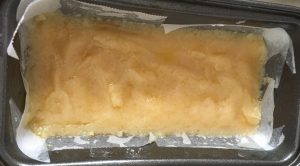
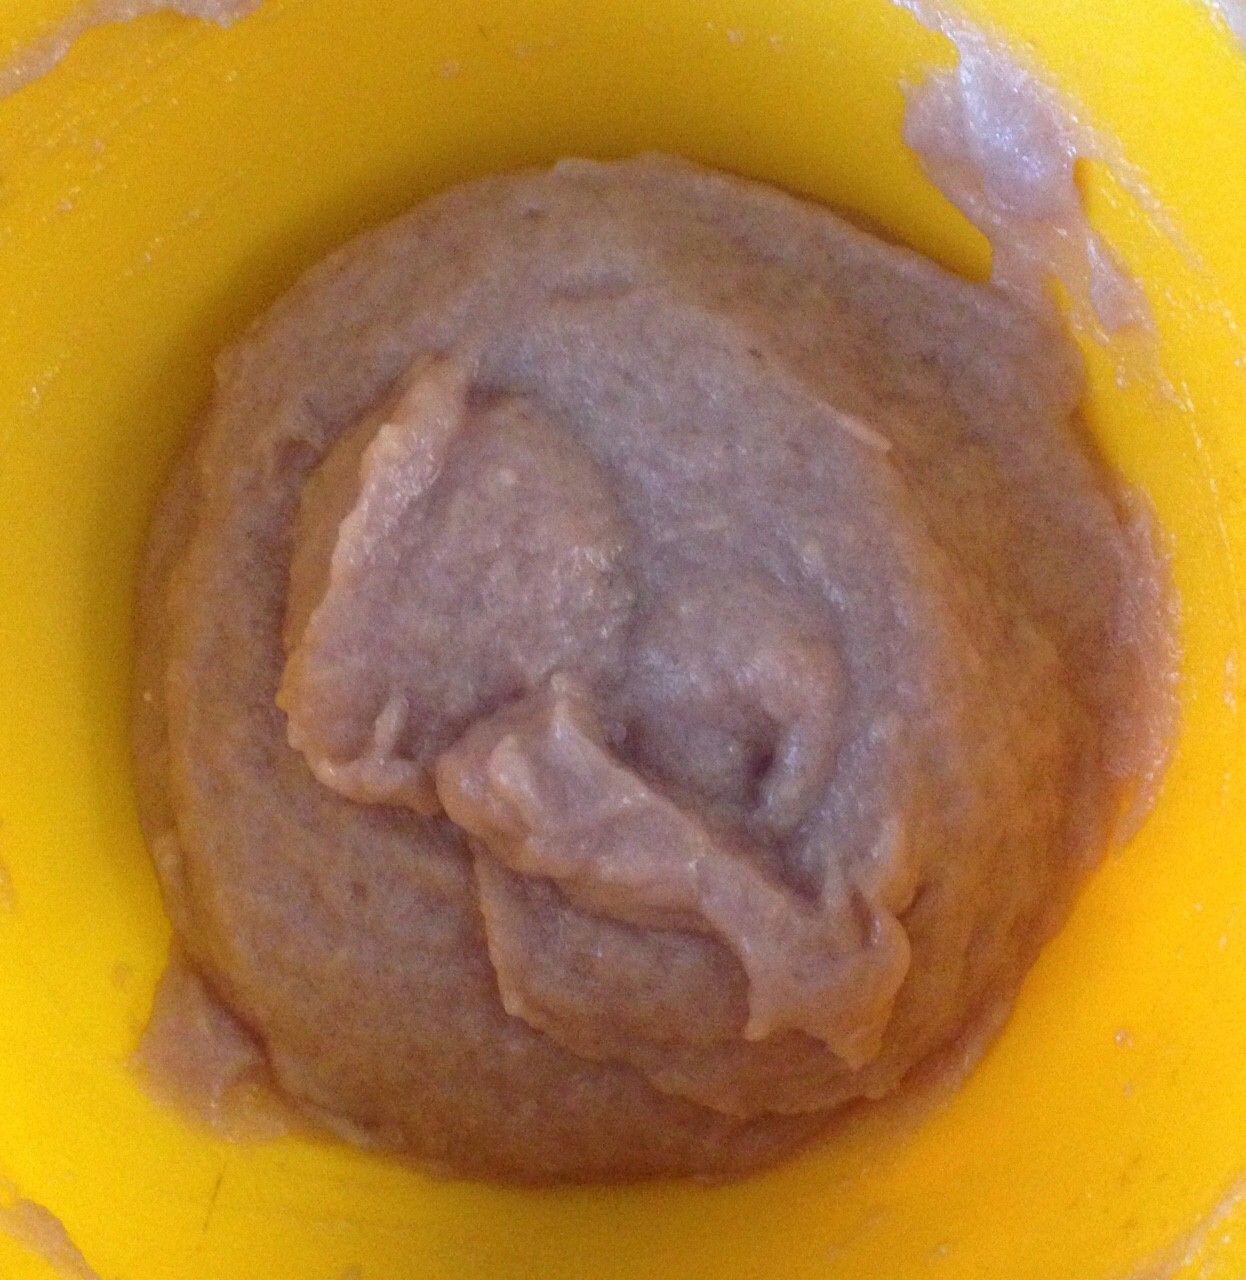
- Meanwhile to make the filling mash the bananas until smooth (if lumpy pass through a sieve).
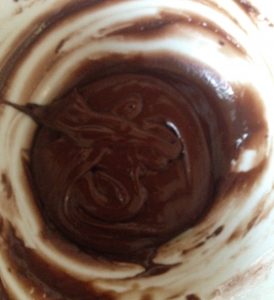
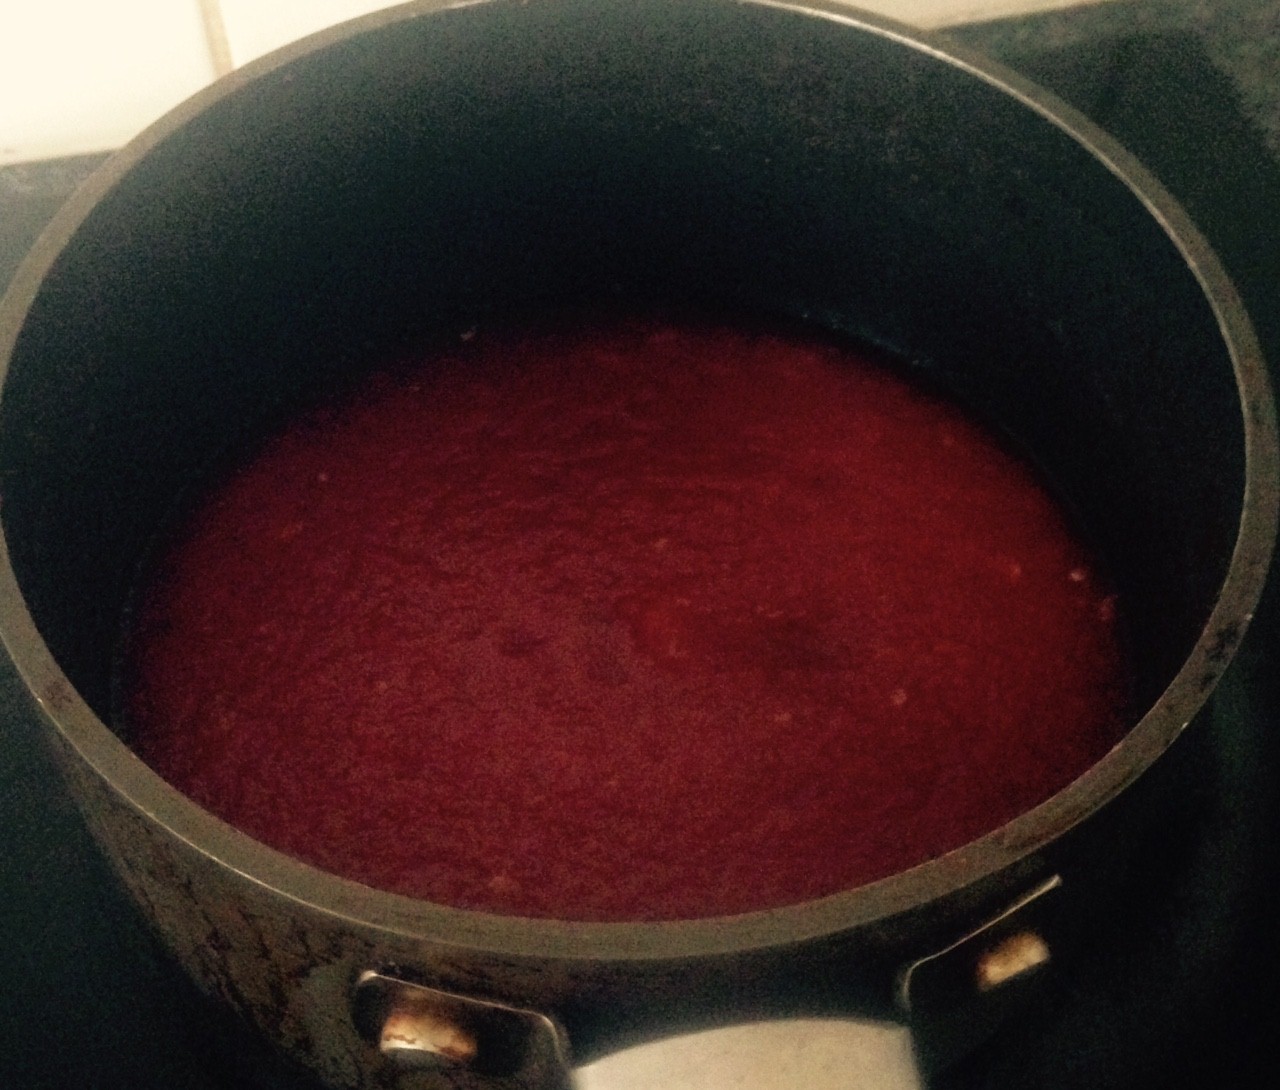
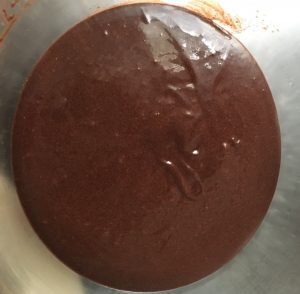
- Place the filling ingredients into a saucepan and stir on a medium heat until well combine and the bananas have absorbed the other ingredients. Set aside.
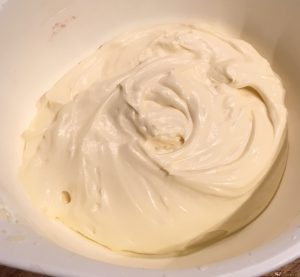
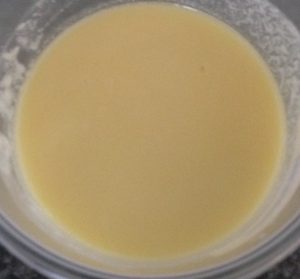
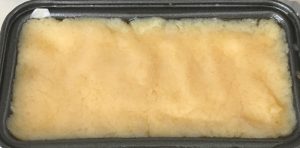
- To make the icing place all the ingredients into a bowl and using electric beaters whisk until smooth and creamy, set aside.
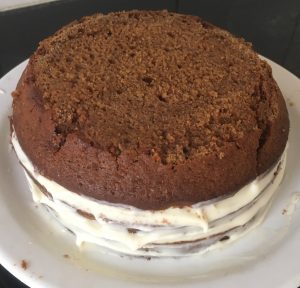
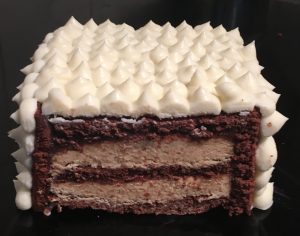
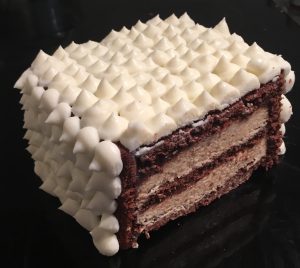
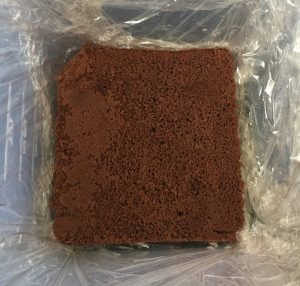
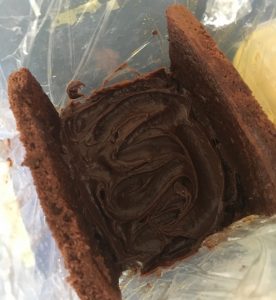
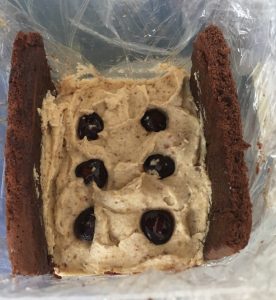
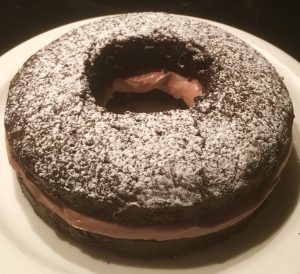
- Cut the cake in half horizontally and spread the banana mix evenly on the top of one cake layer.
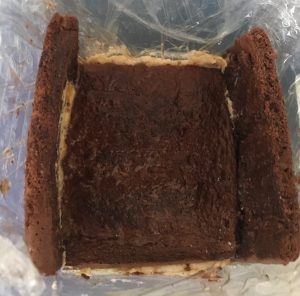
- Place the second layer onto the banana mix.
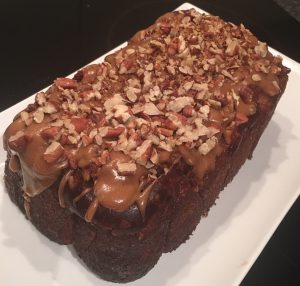
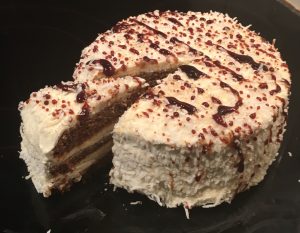
- Spread the icing over the top and sides of the cake.
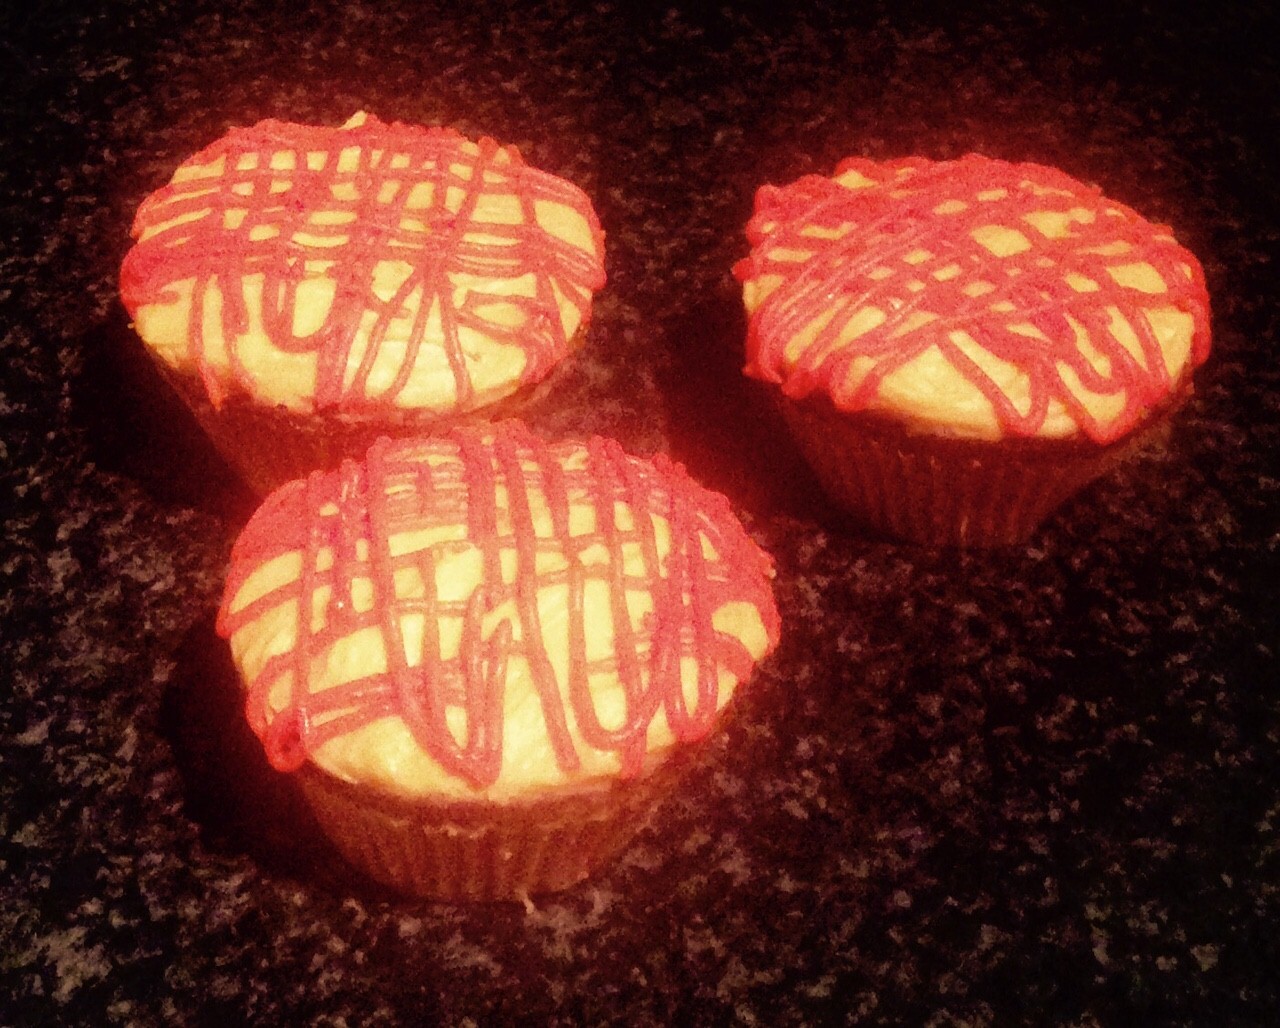
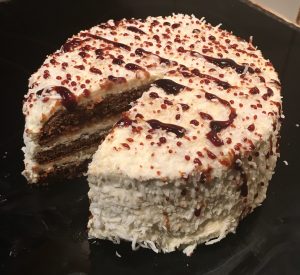
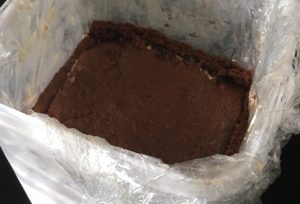
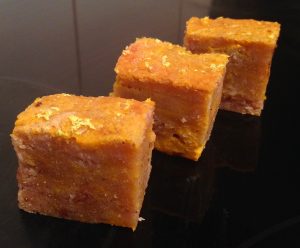
- Top with diced dates and serve.

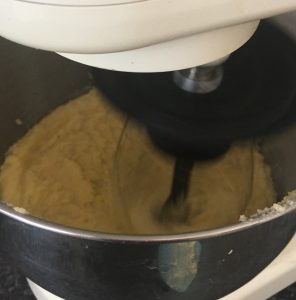
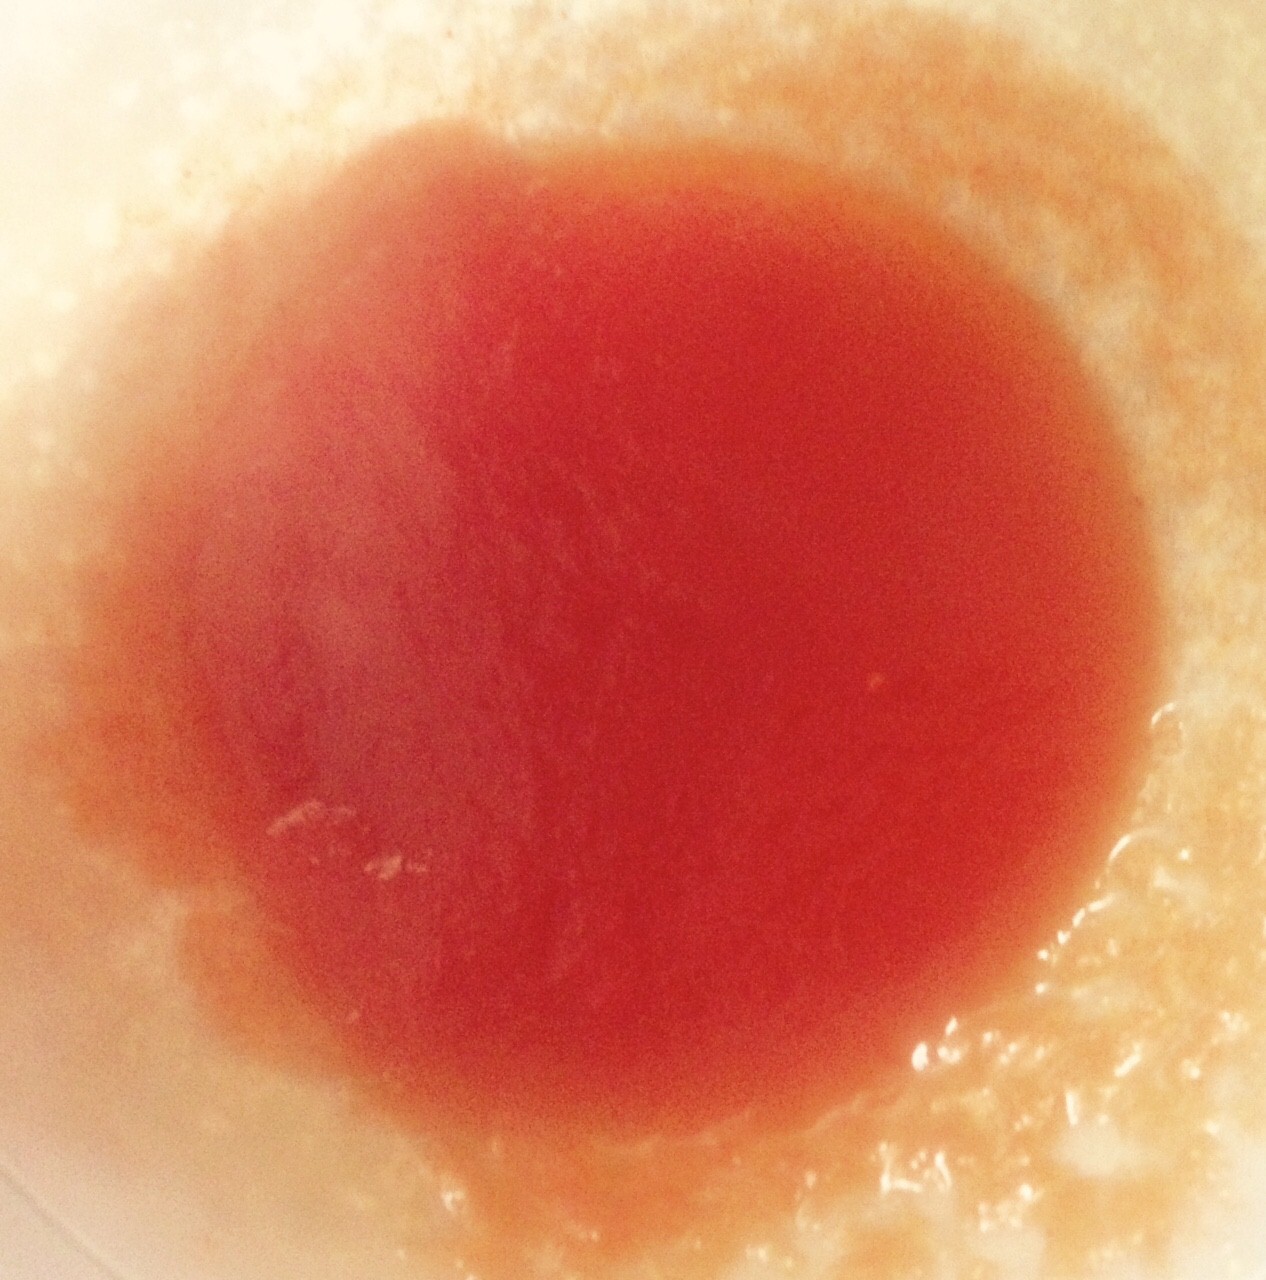
Step 3
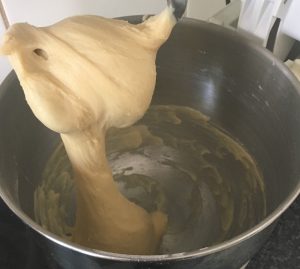
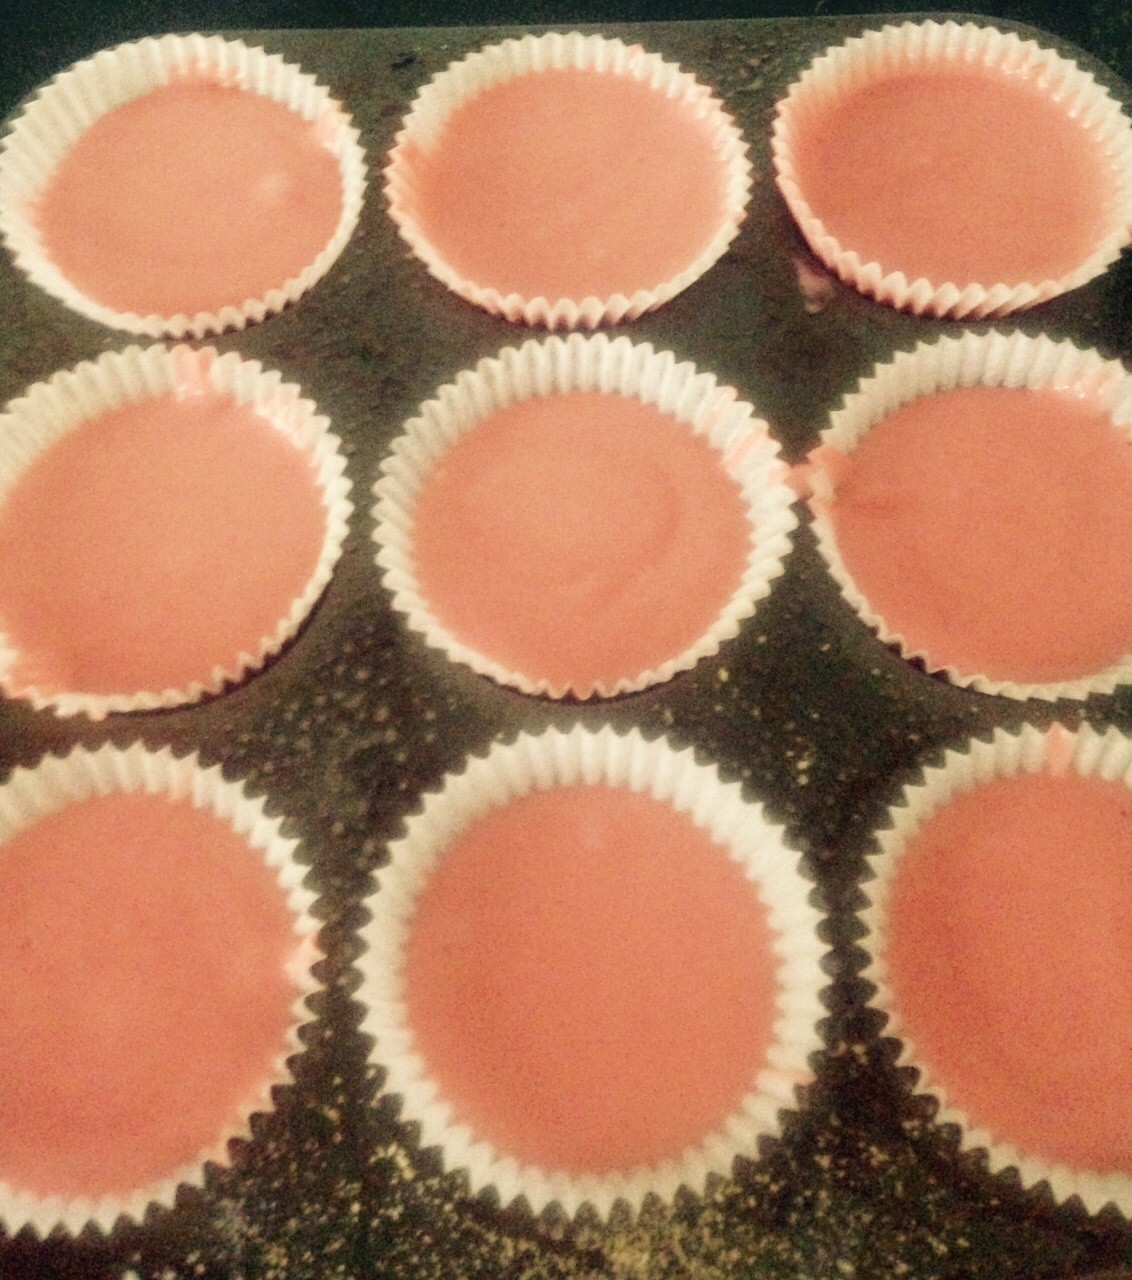
Step 5
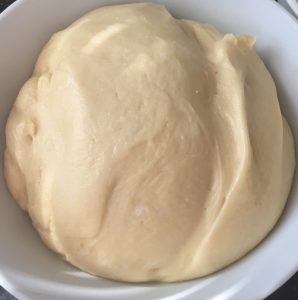
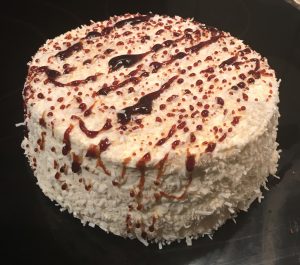
Step 7
Step 15
Like this recipe? Subscribe via RSS or email to get my new entries and more scrumptious recipes with reviews.
 Follow