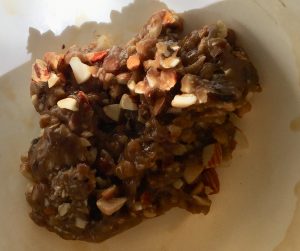
White Chocolate Golden Syrup Cranberry Florentines

- There are many many many versions of Florentine recipes that exist in magazines, recipe books, online etc so it’s quite rare for me to post a recipe that has so many variations and is so well known. Though most florentine recipes use the same standard base ingredients of cornflakes, condensed milk, milk chocolate and glaze cherries the secondary ingredients can span wide.
- So when I came across a florentine in a café that had no cornflakes and was completely addictive I decided to create my own version, though deliberately without the 4 base ingredients for a good challenge.
- I made a thin biscuit batter instead of the cornflakes, golden syrup instead of the condensed milk, dried cranberries instead of the glaze fruit, 4 different nuts instead of just focusing on 1 and lastly white chocolate instead of the traditional milk.
- I identified that the golden syrup provides a malty caramel flavour which with the nuts tastes absolutely delicious. The white chocolate allows the nuts, golden syrup and cranberries to shine as it’s not as overwhelming in flavour as milk chocolate.A warning, this biscuit is moreish-ly addictive!

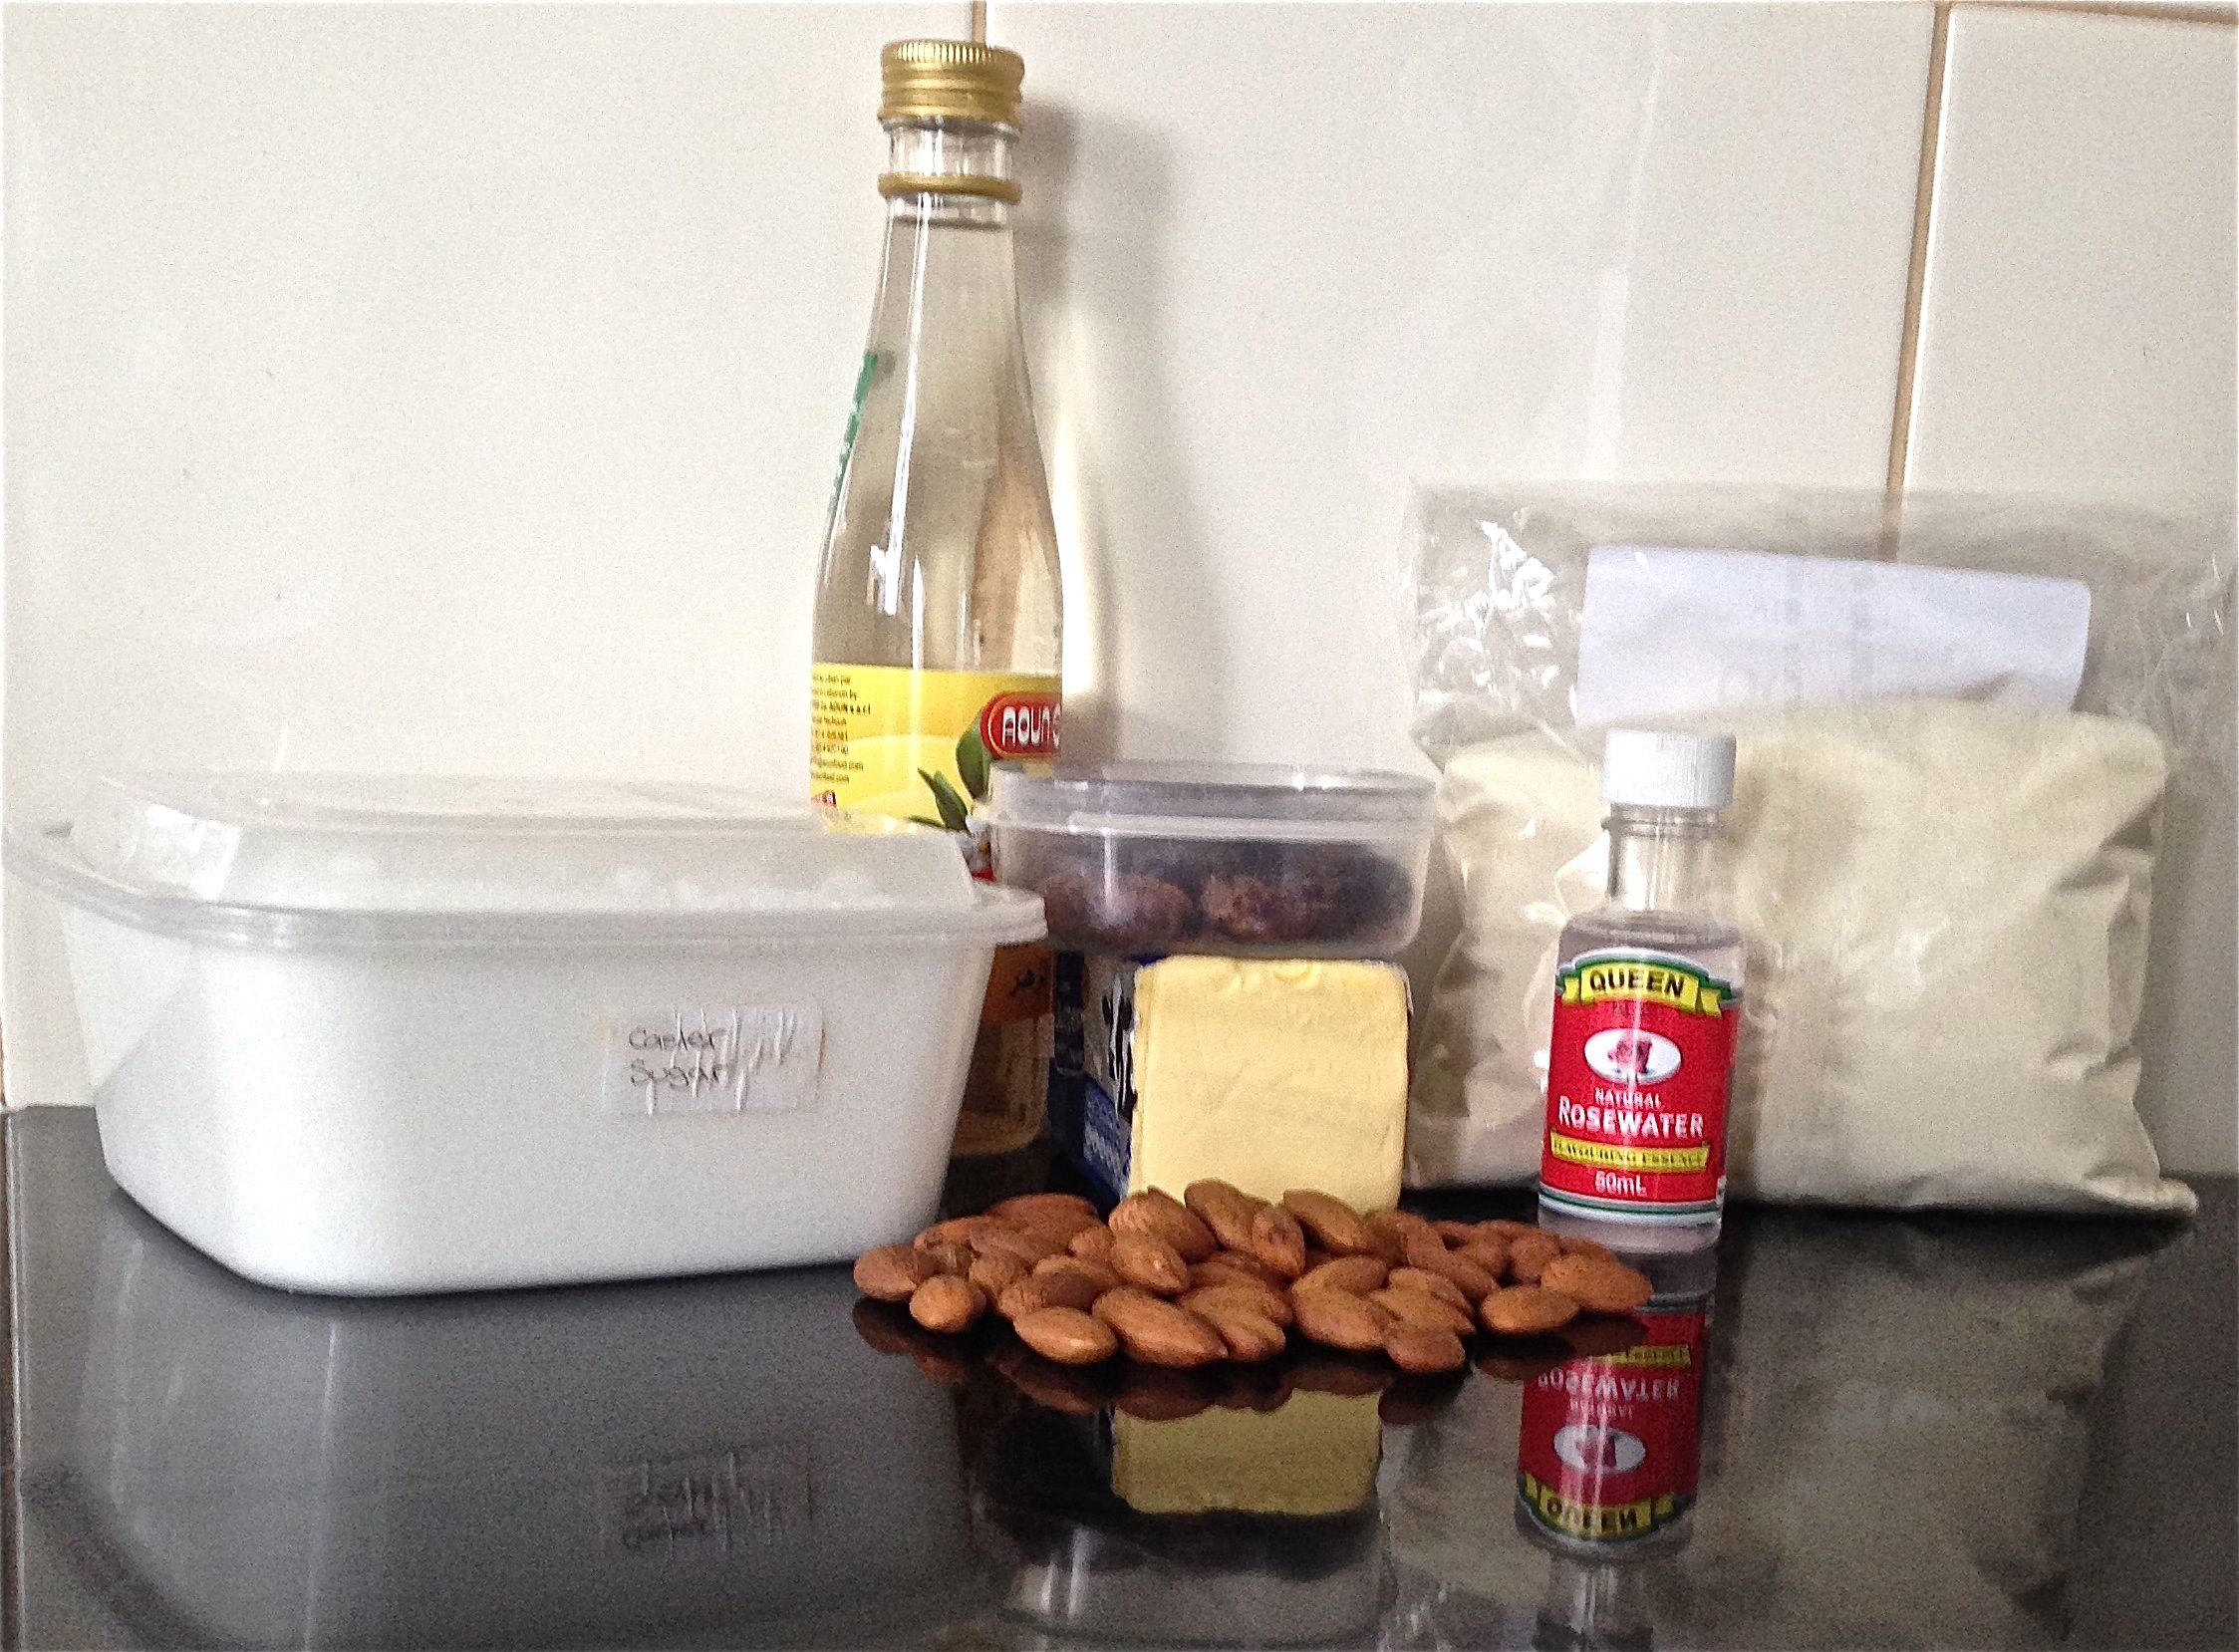
Ingredients:
- 50g brown sugar
- 50g butter
- 30ml golden syrup
- 45g plain flour
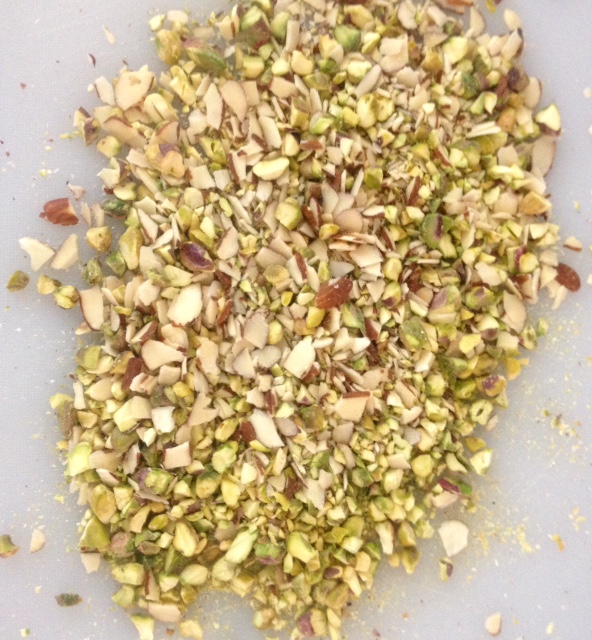
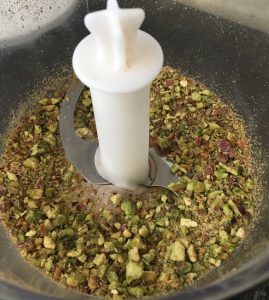
- 75g mixed roasted nuts (I used cashews, pecans, walnuts and almonds)
- 40g cranberries
- 90g white chocolate
Method:
- Preheat the oven to 180c degrees and line 2 baking trays with baking paper.
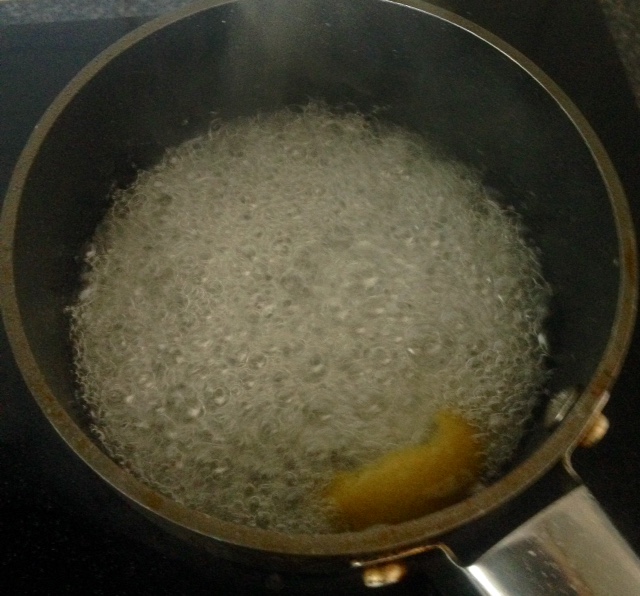
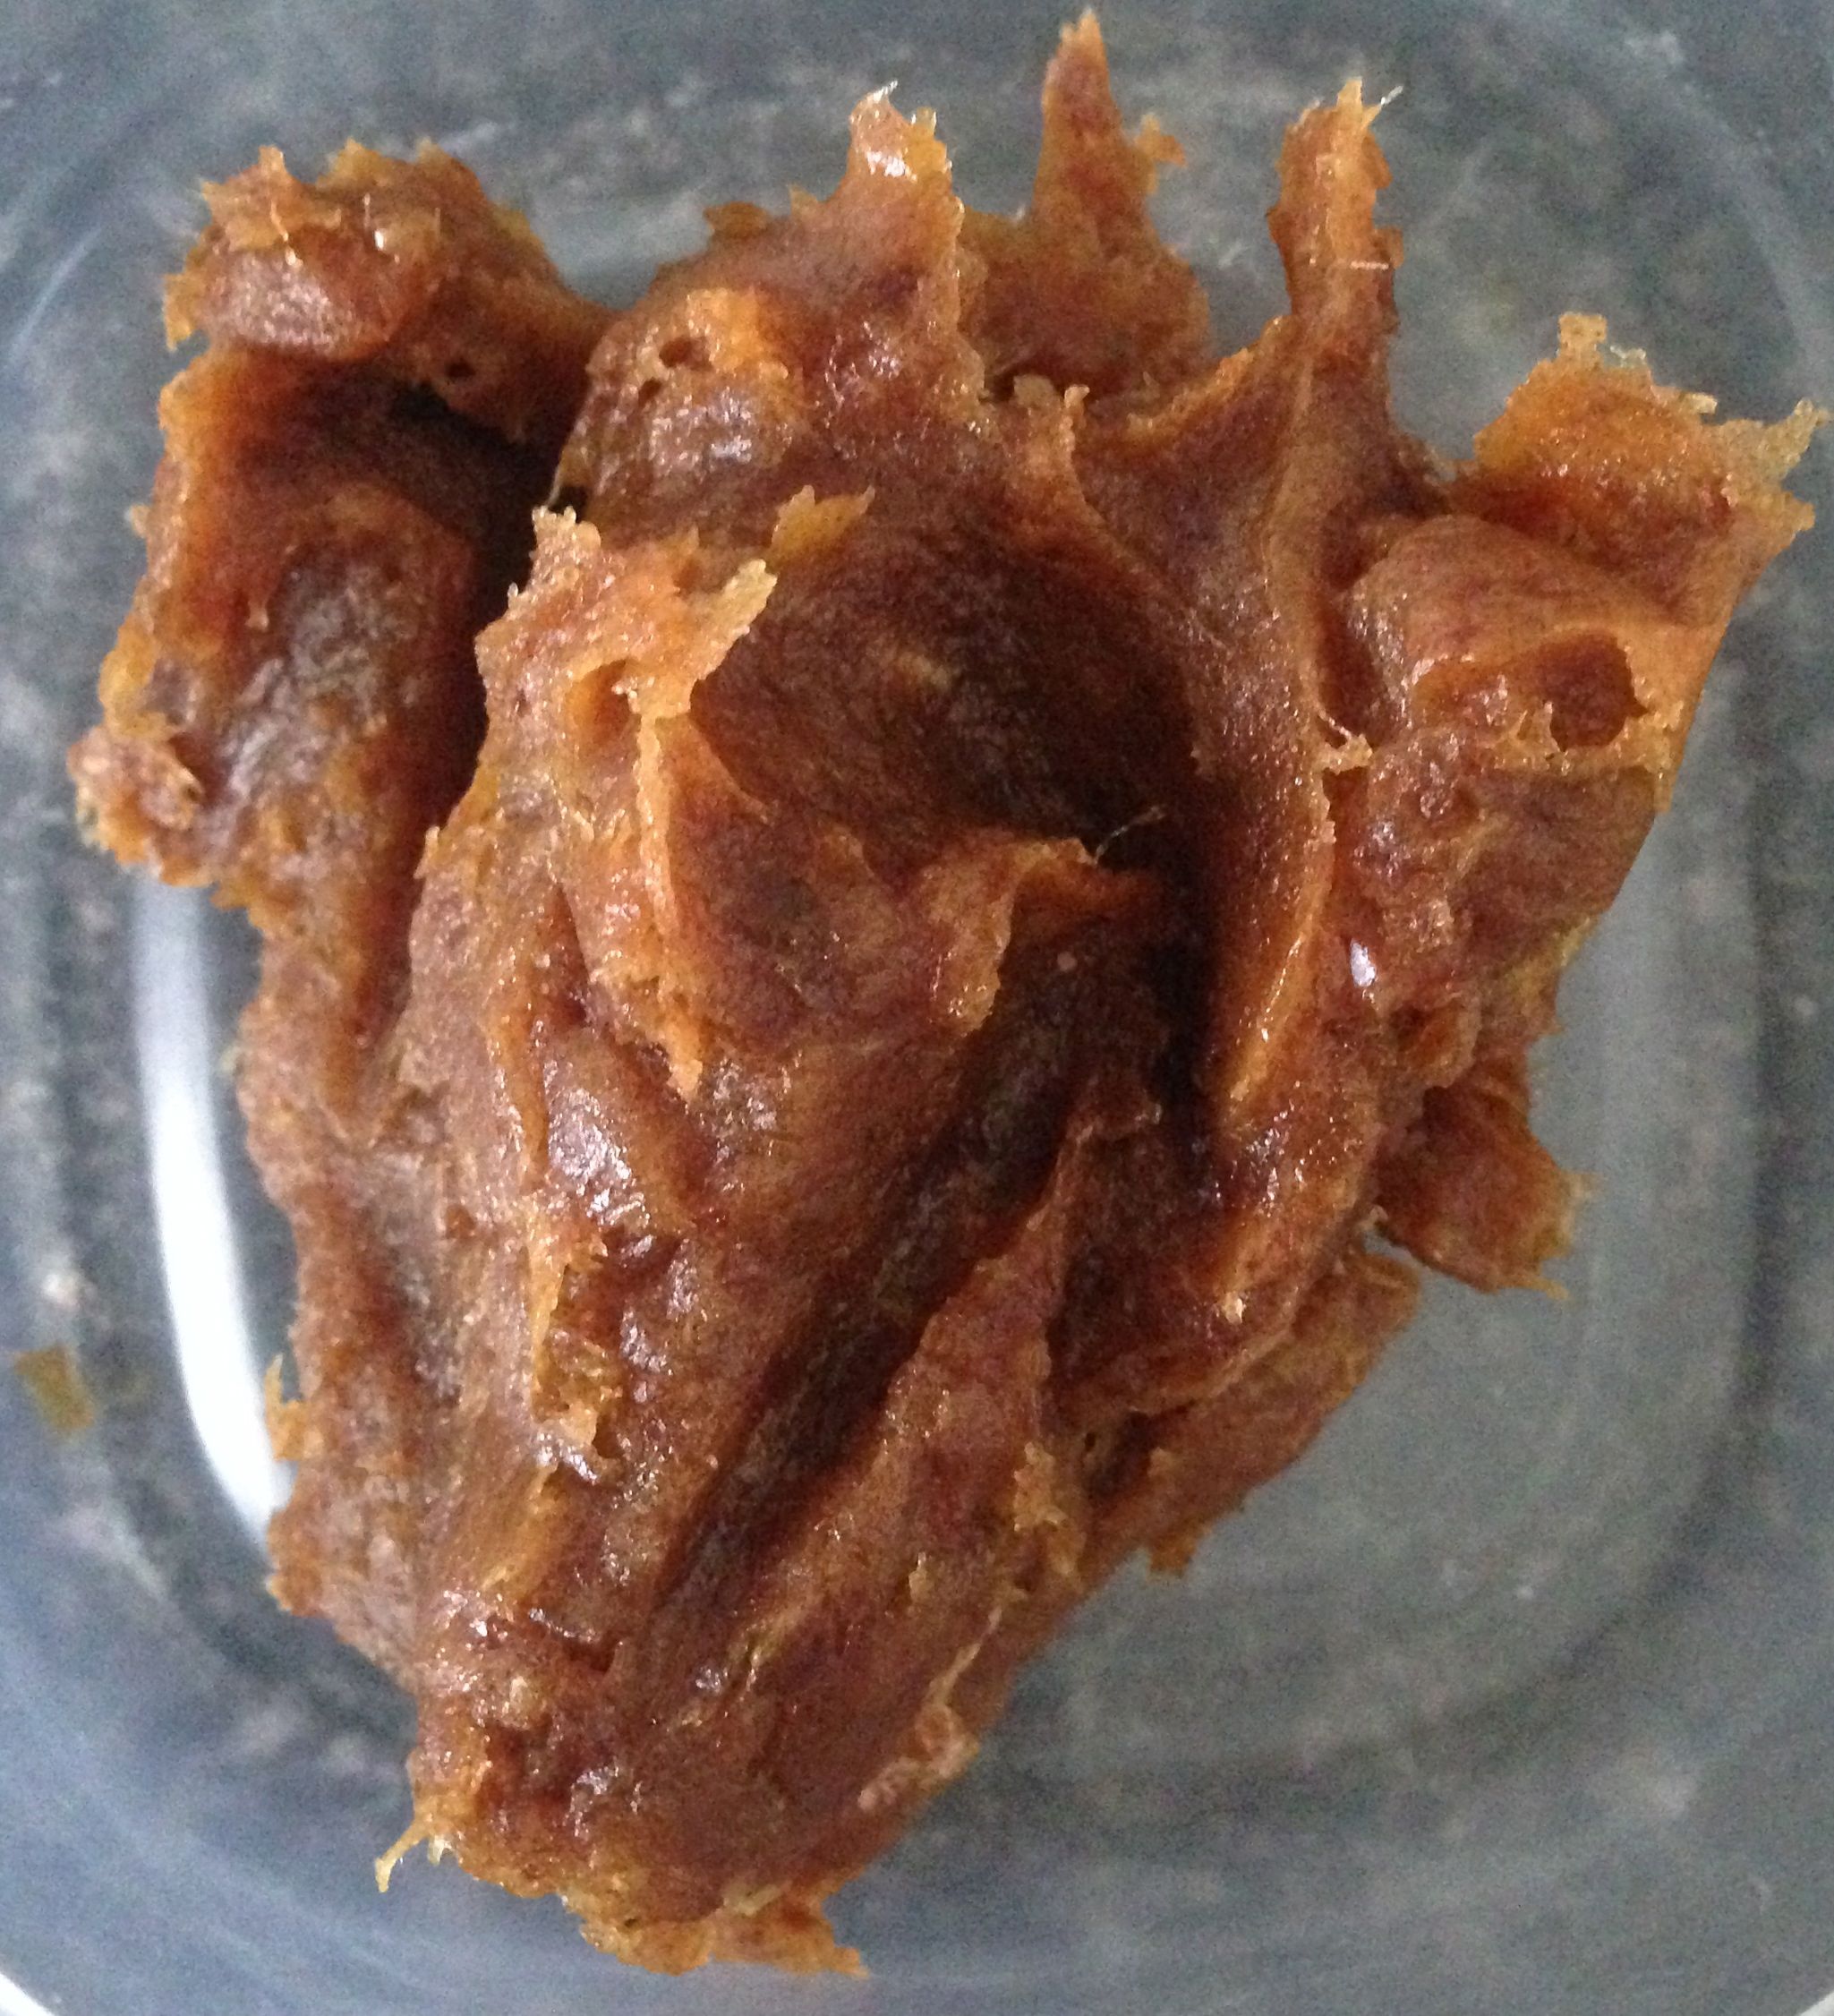
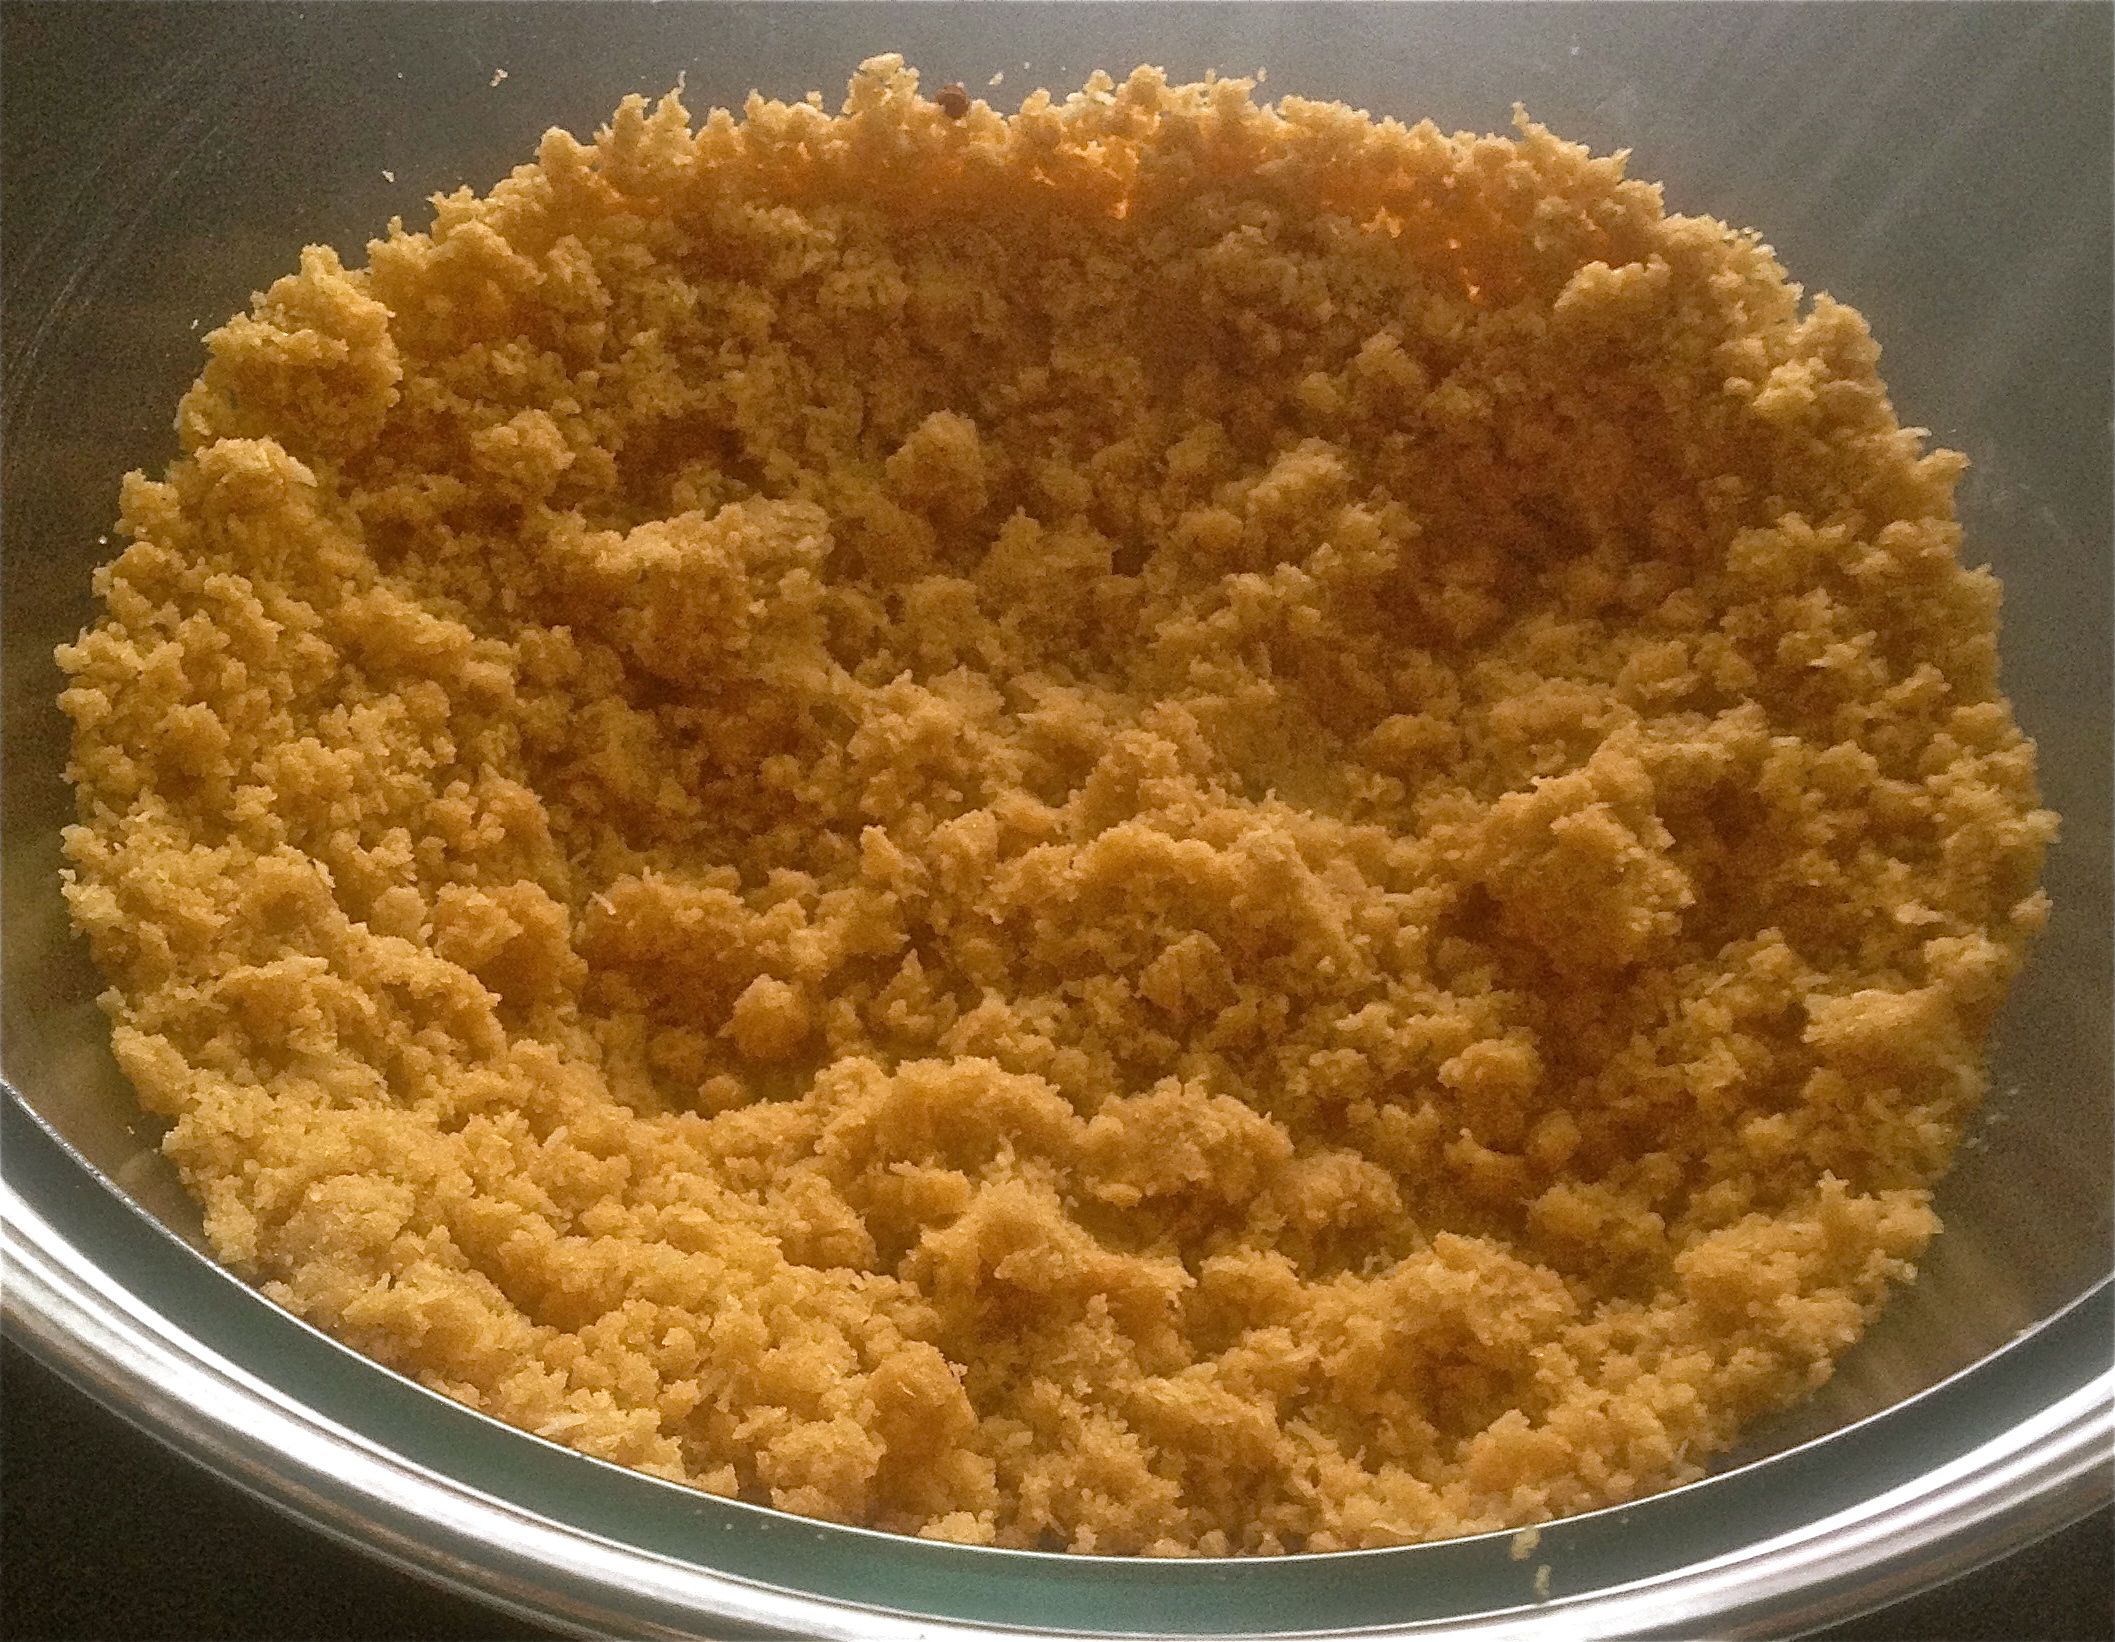
- Place the sugar, butter and golden syrup into a bowl and heat in the microwave until the mix bubbles.
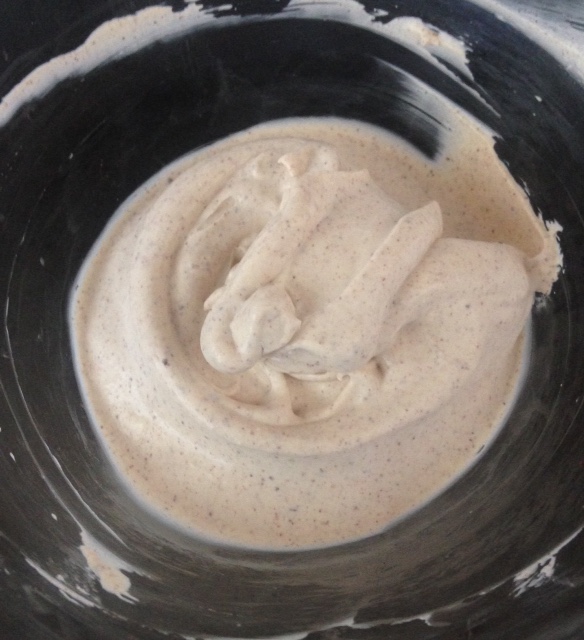
- Using a hand whisk beat until the mix is well combine.
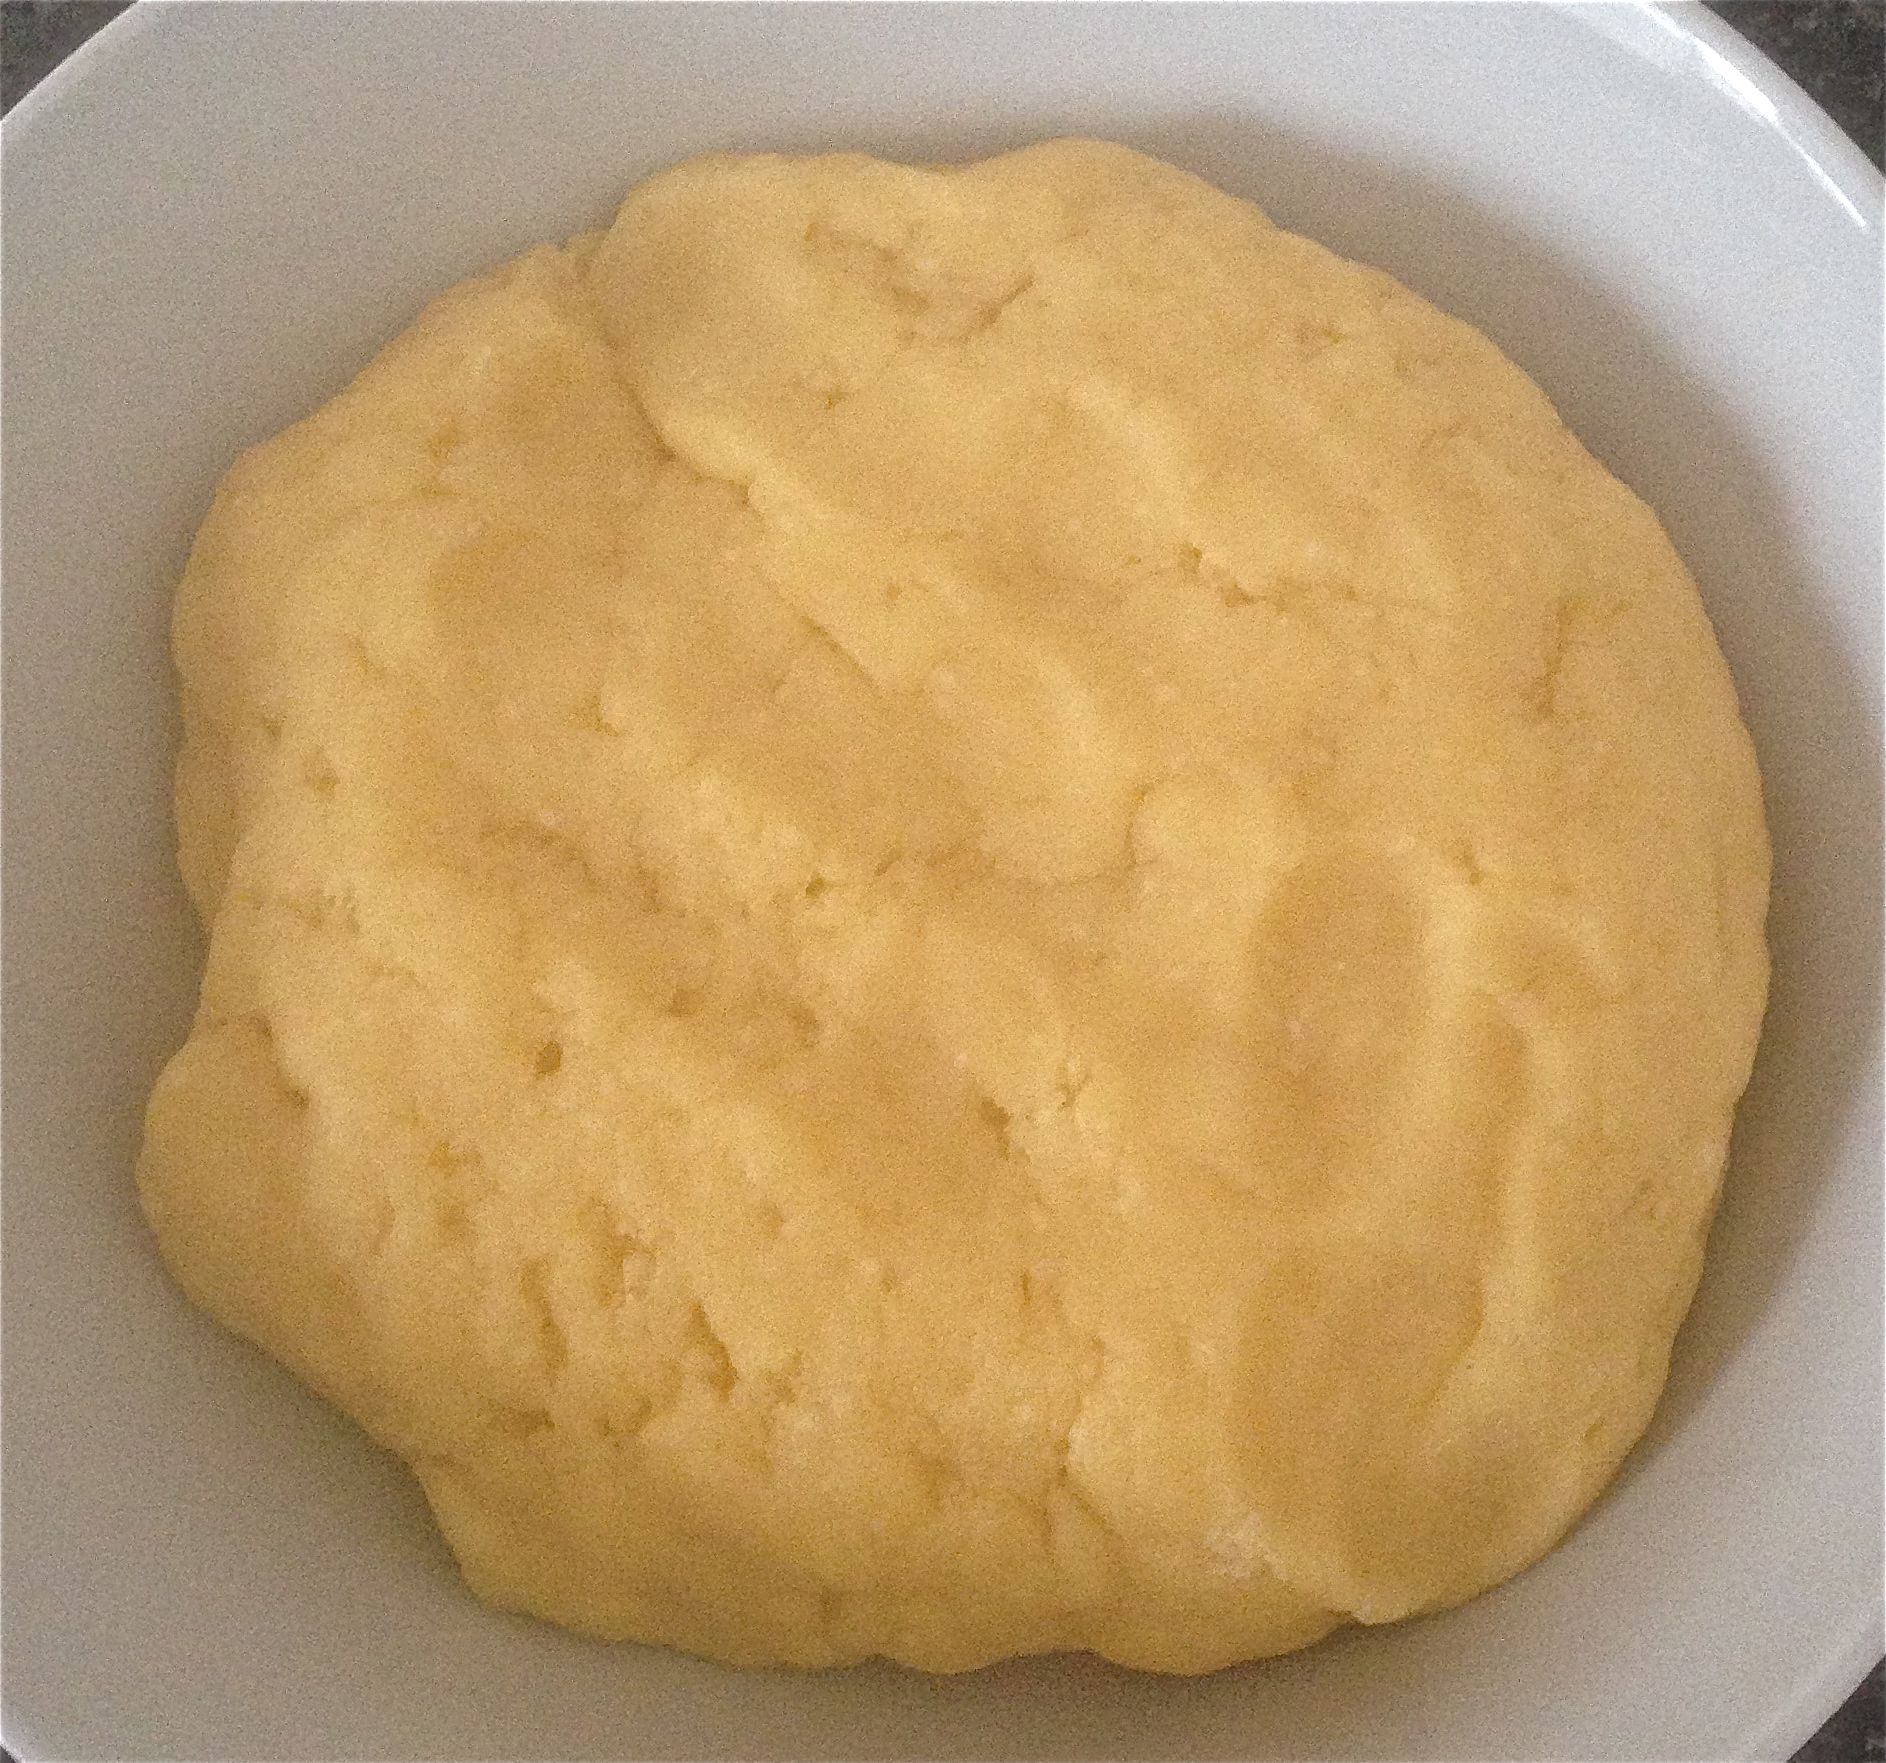
- Sieve the flour over the butter mix and beat until combine.
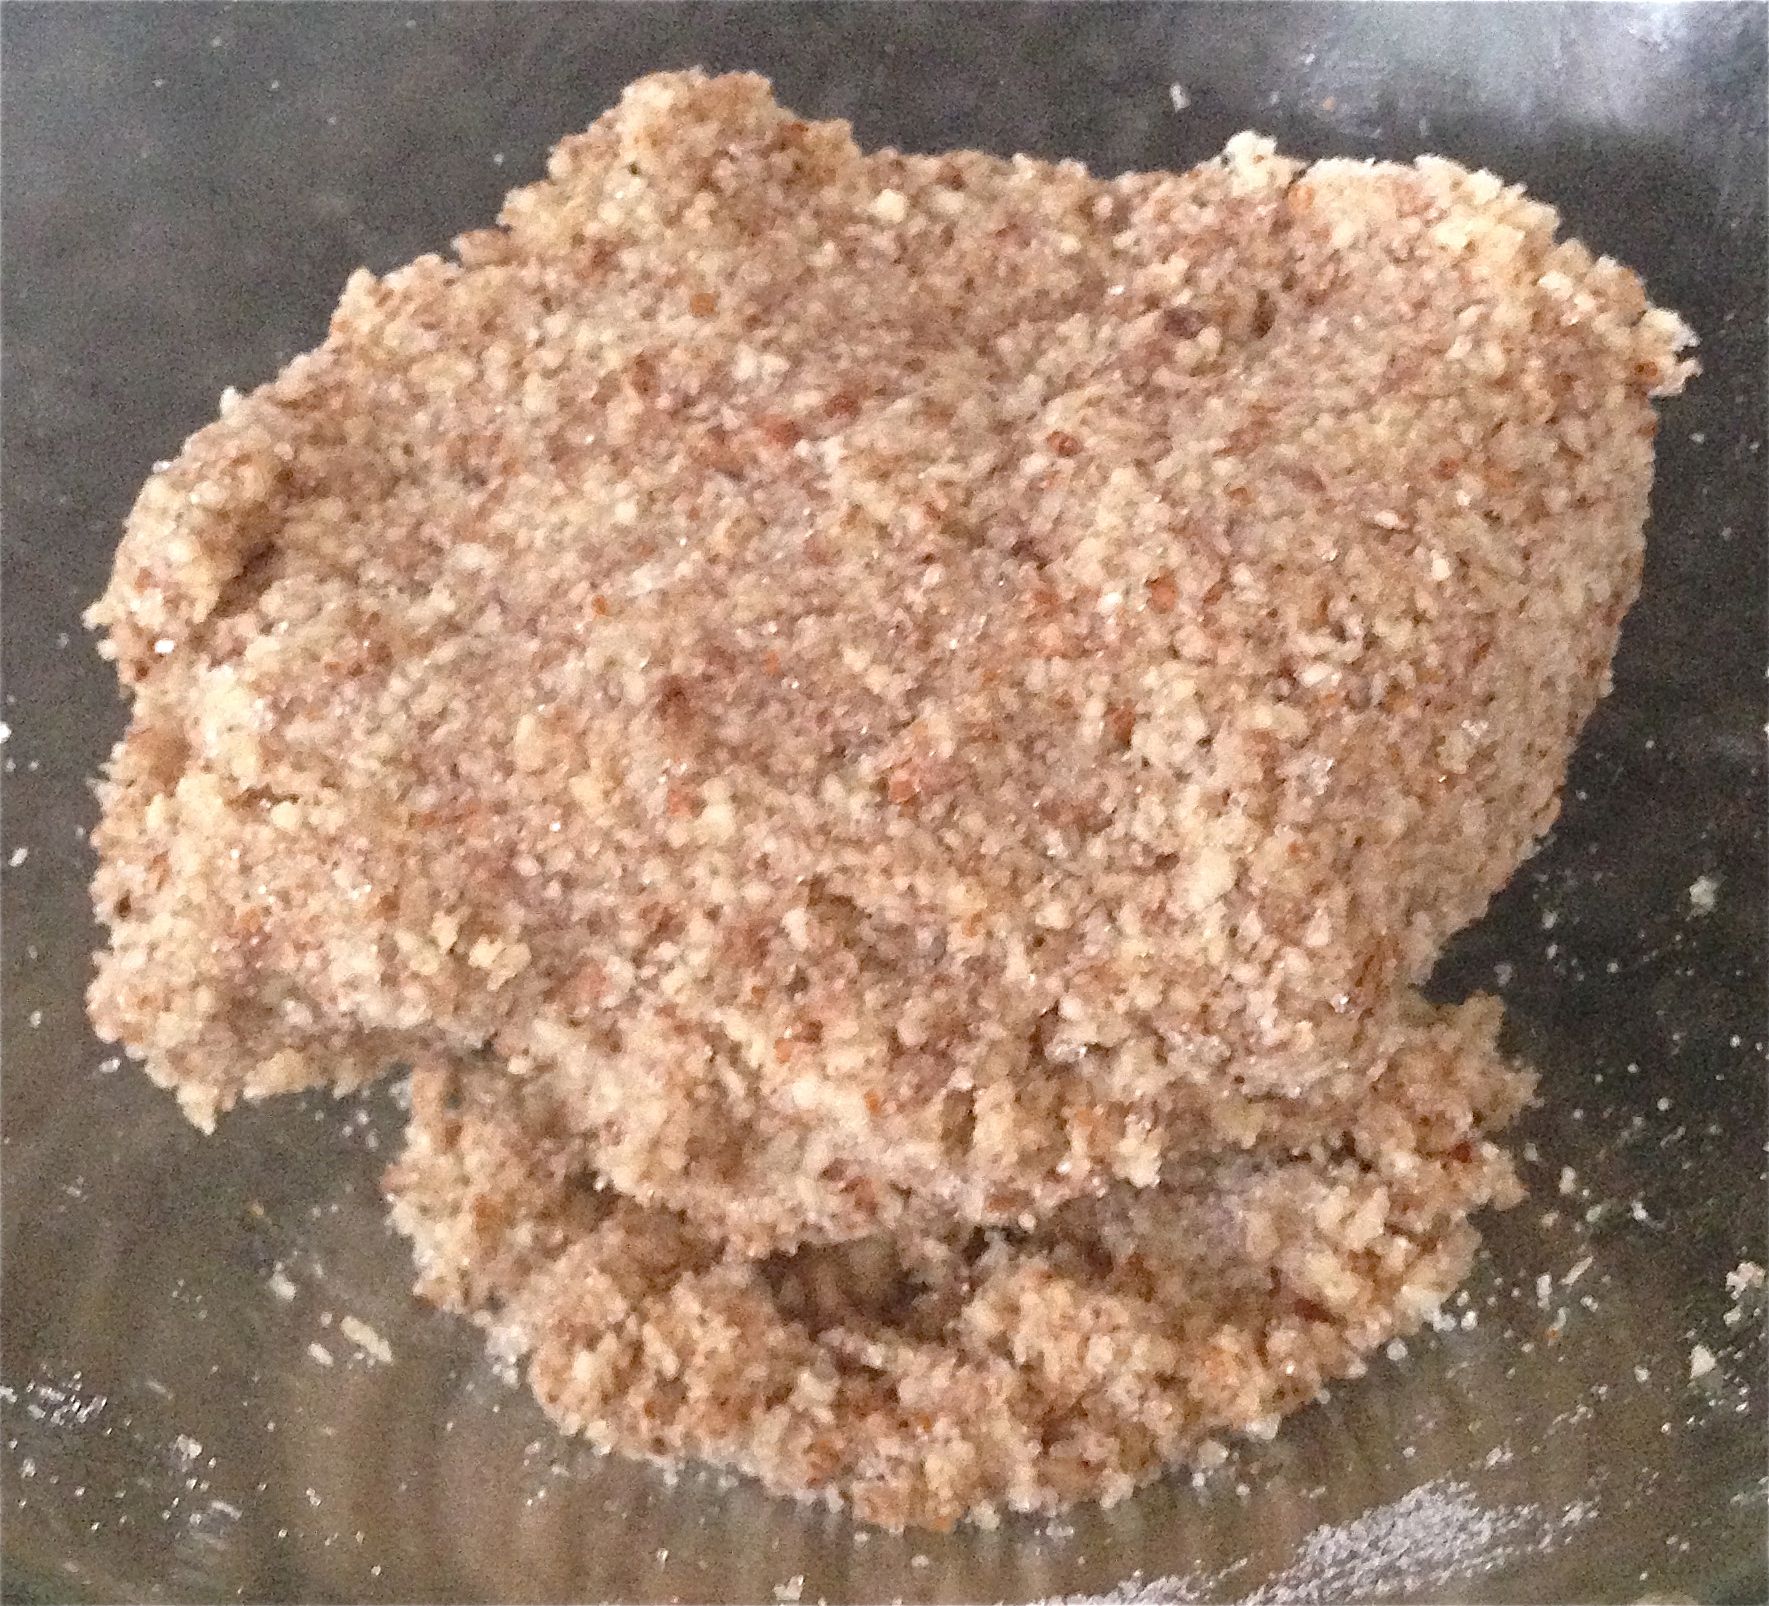
- Chop the nuts into small pieces and add to the sugar butter mix.
- Slightly dice up the cranberries and add to the butter mix.
- Stir the mix until all ingredients are combined.
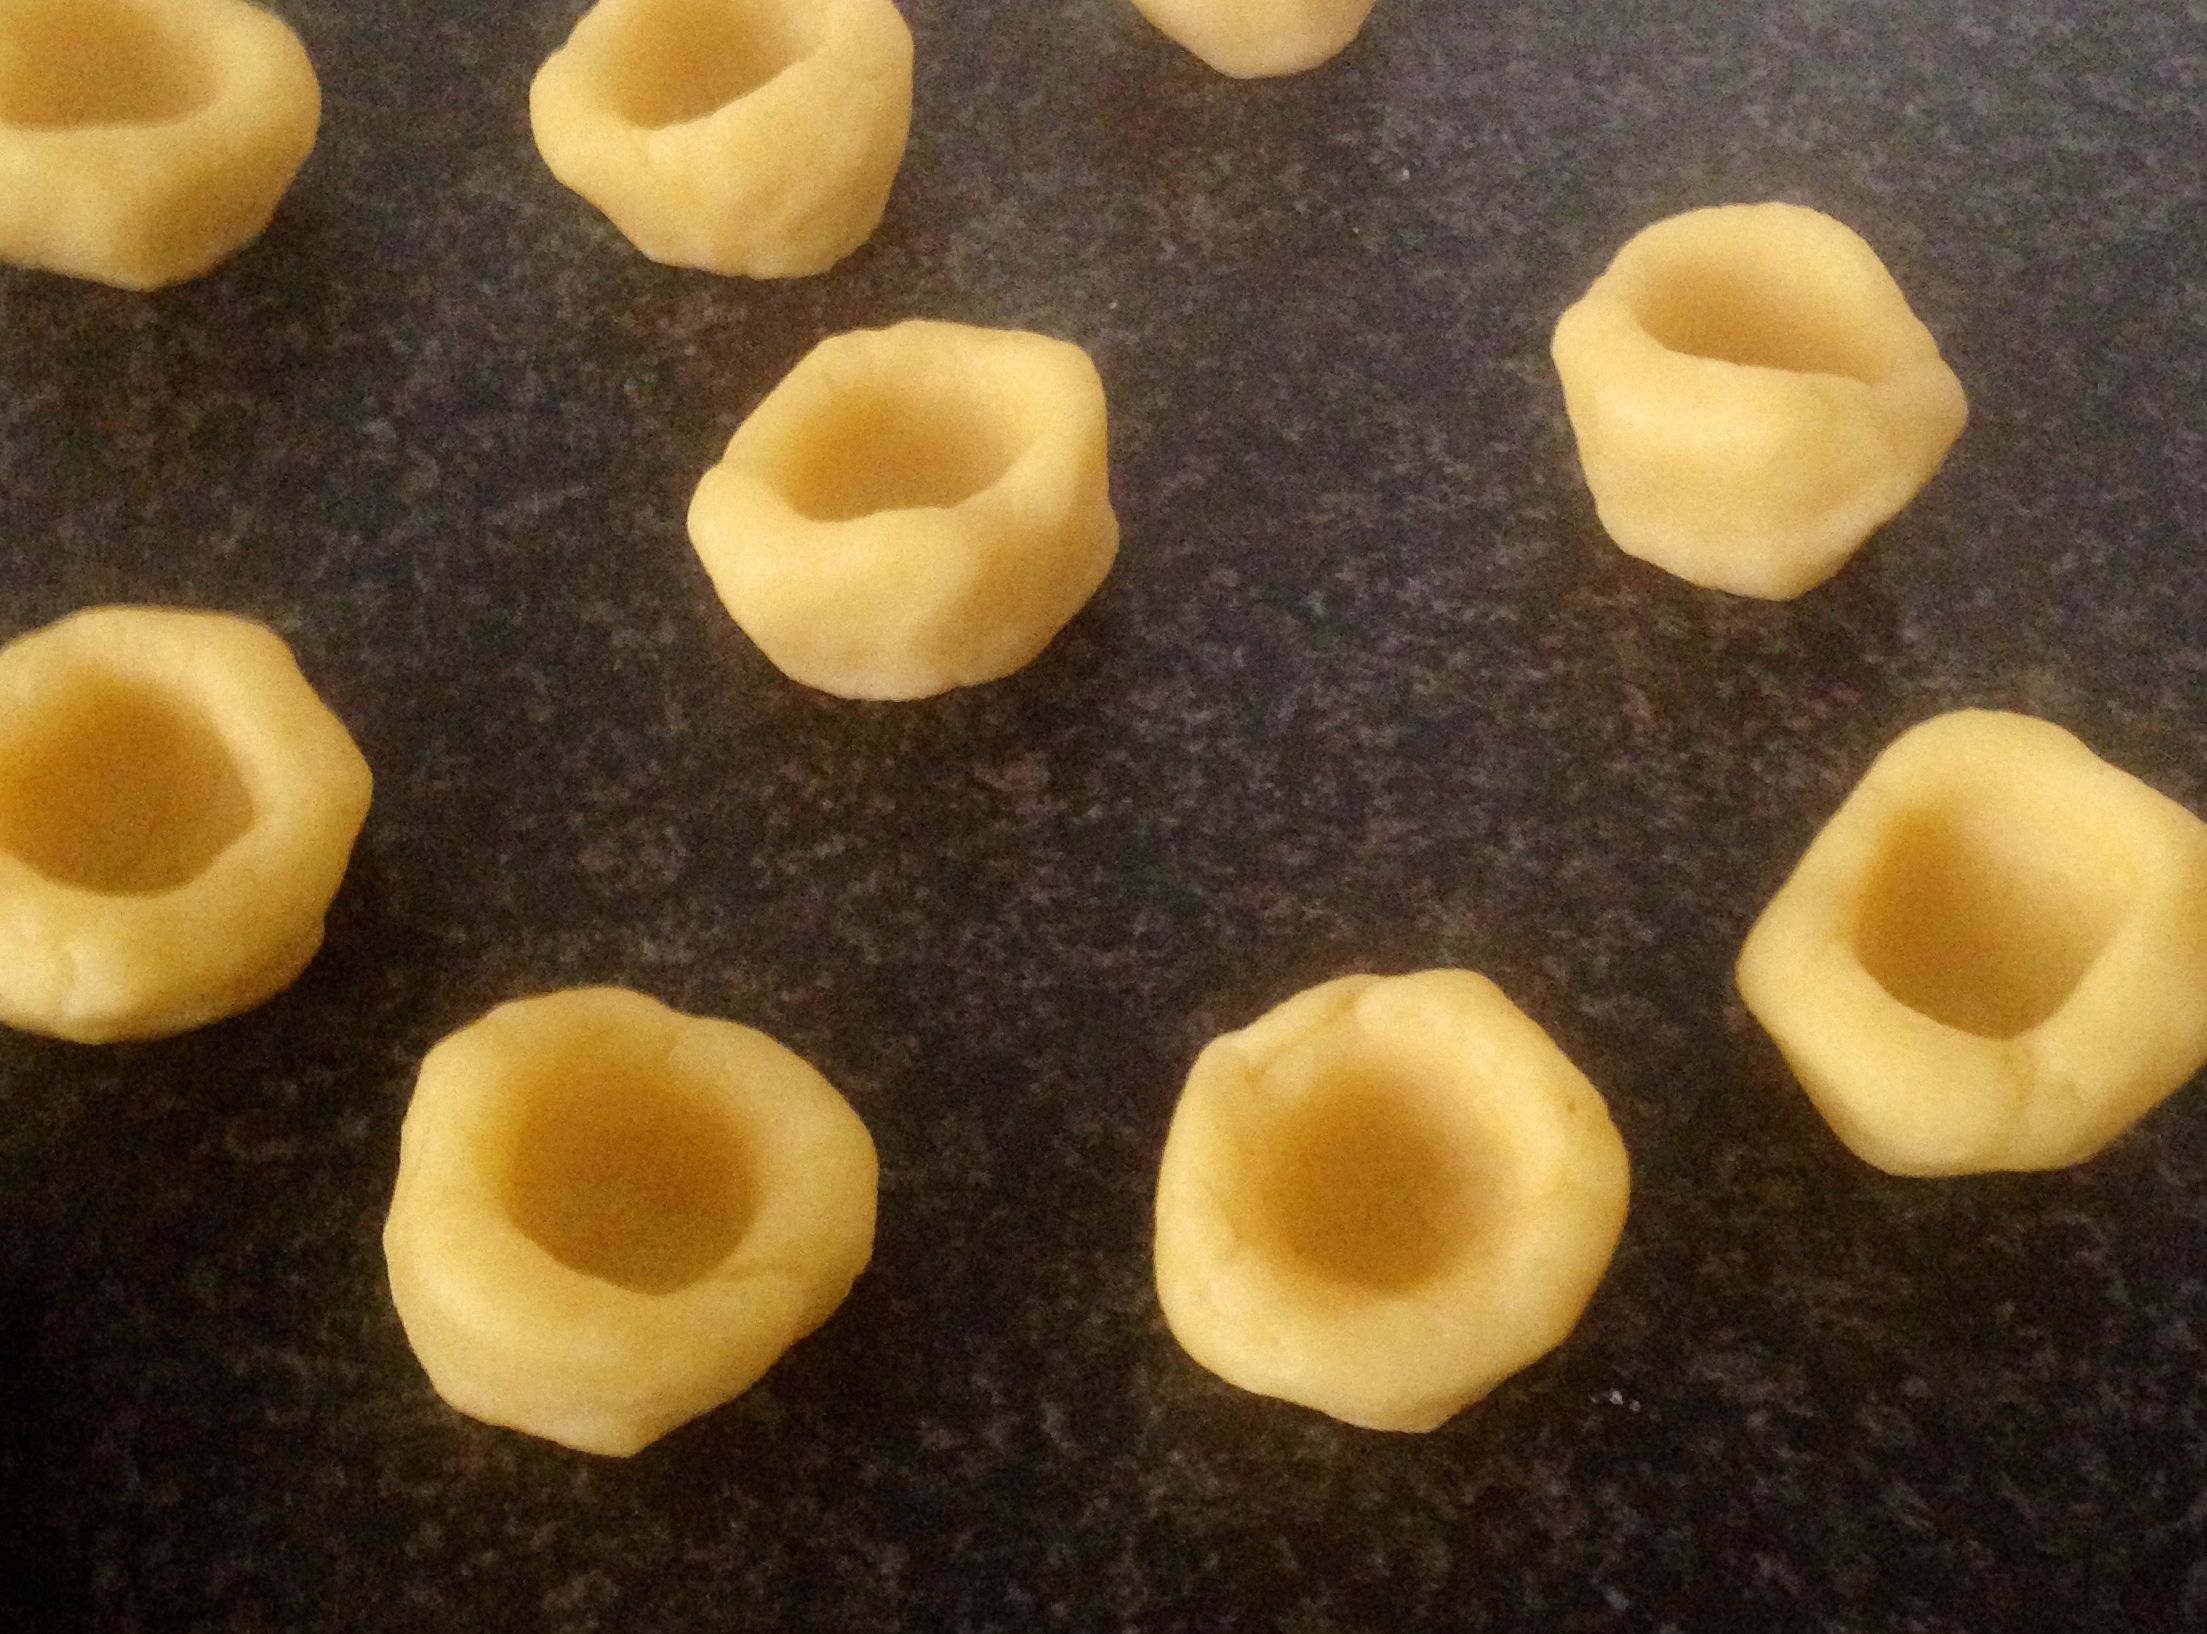
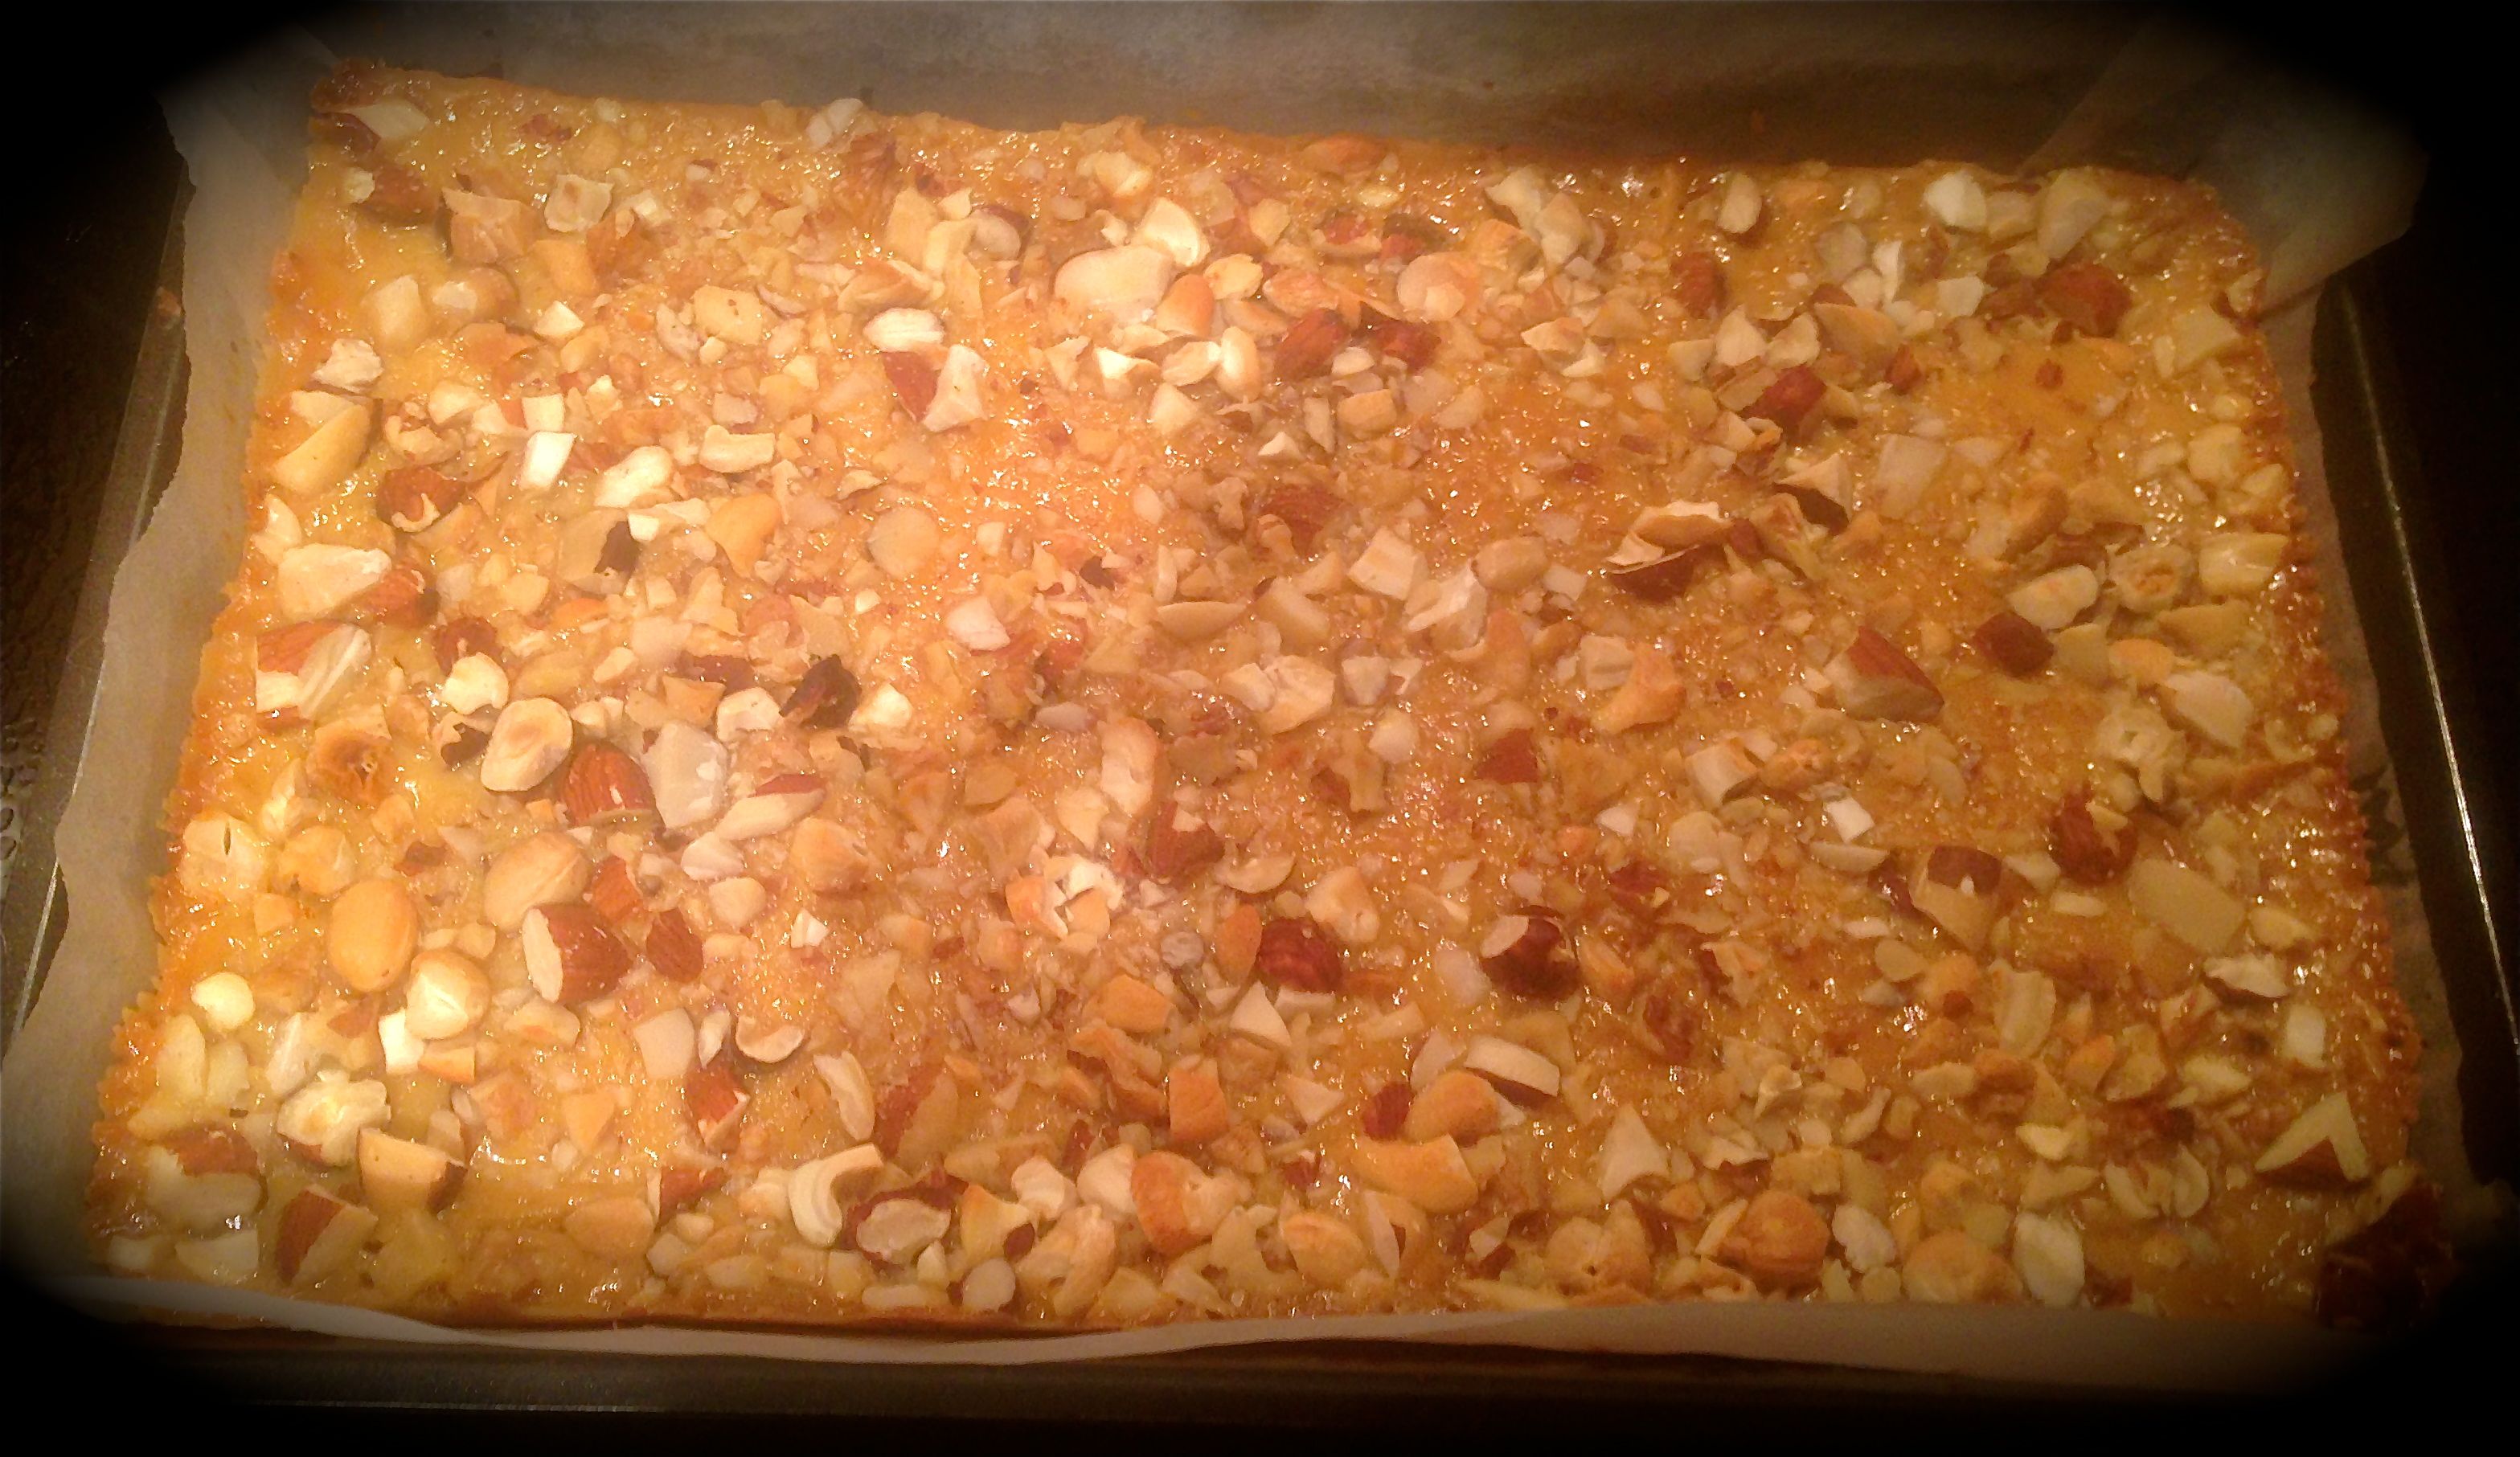
- Roll the mix into balls, 15g each and place them onto the baking paper ensuring at least 5cm between each ball.
- Place the trays in the oven and bake for 10 minutes or until golden brown.
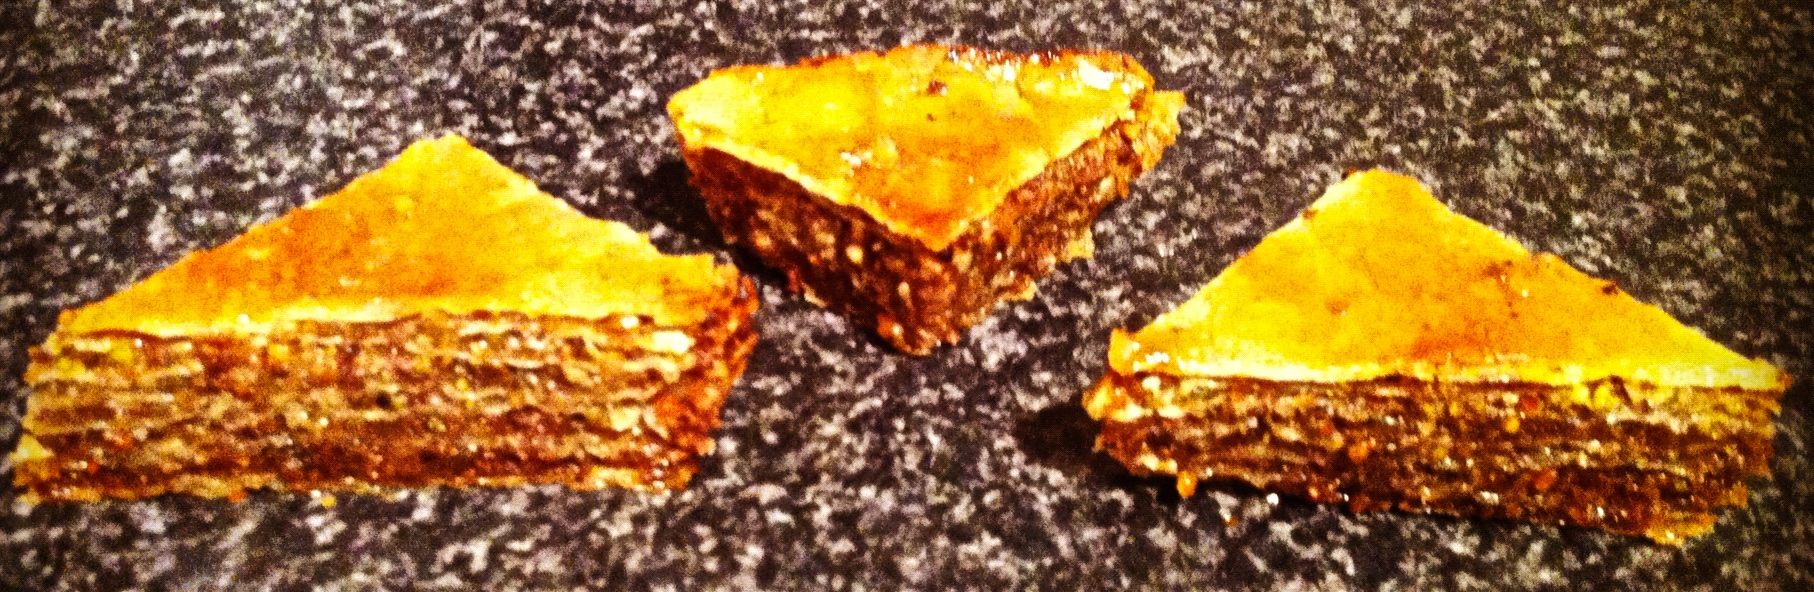
- Allow the biscuits to cool and harden on the trays.
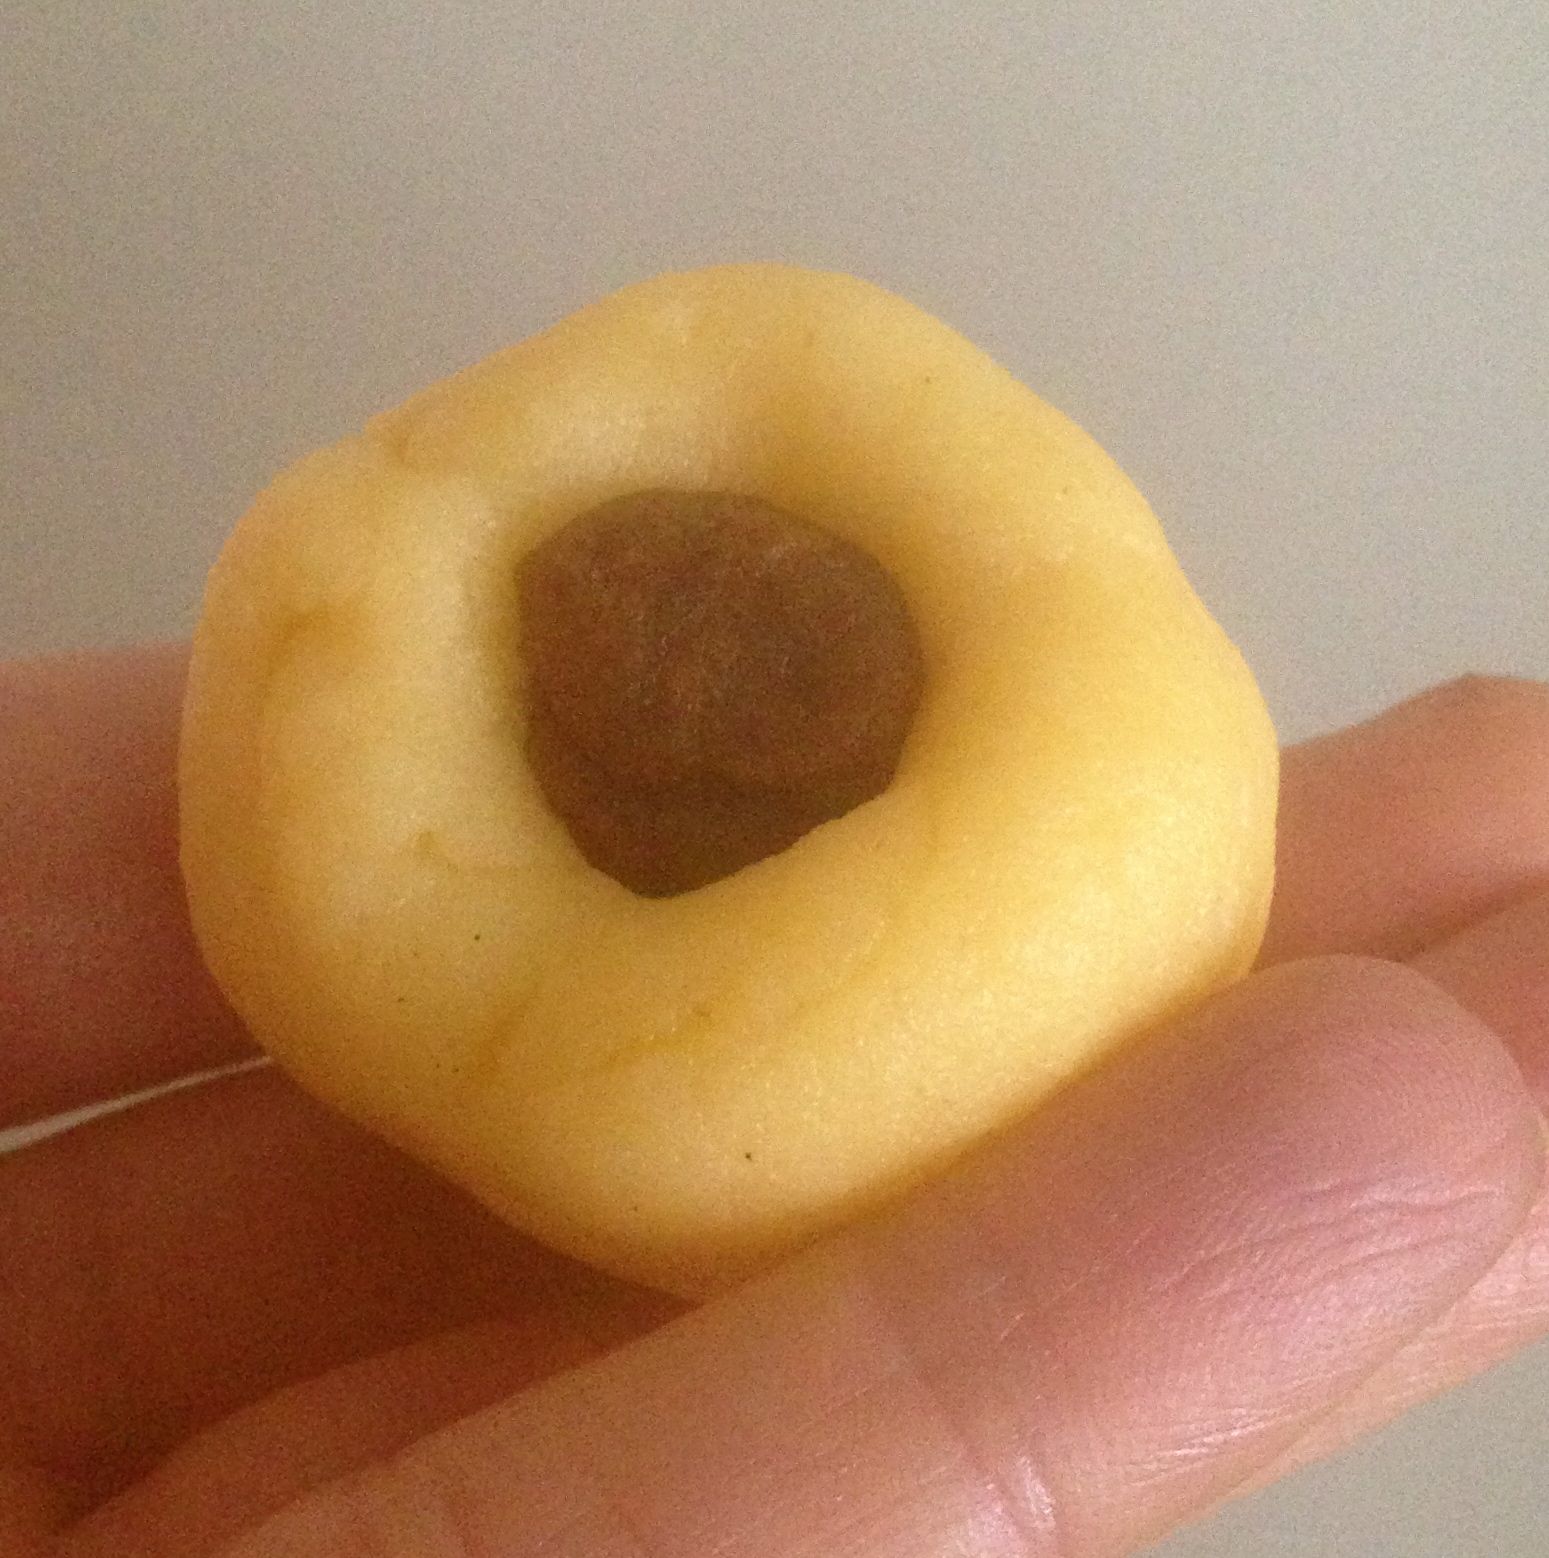
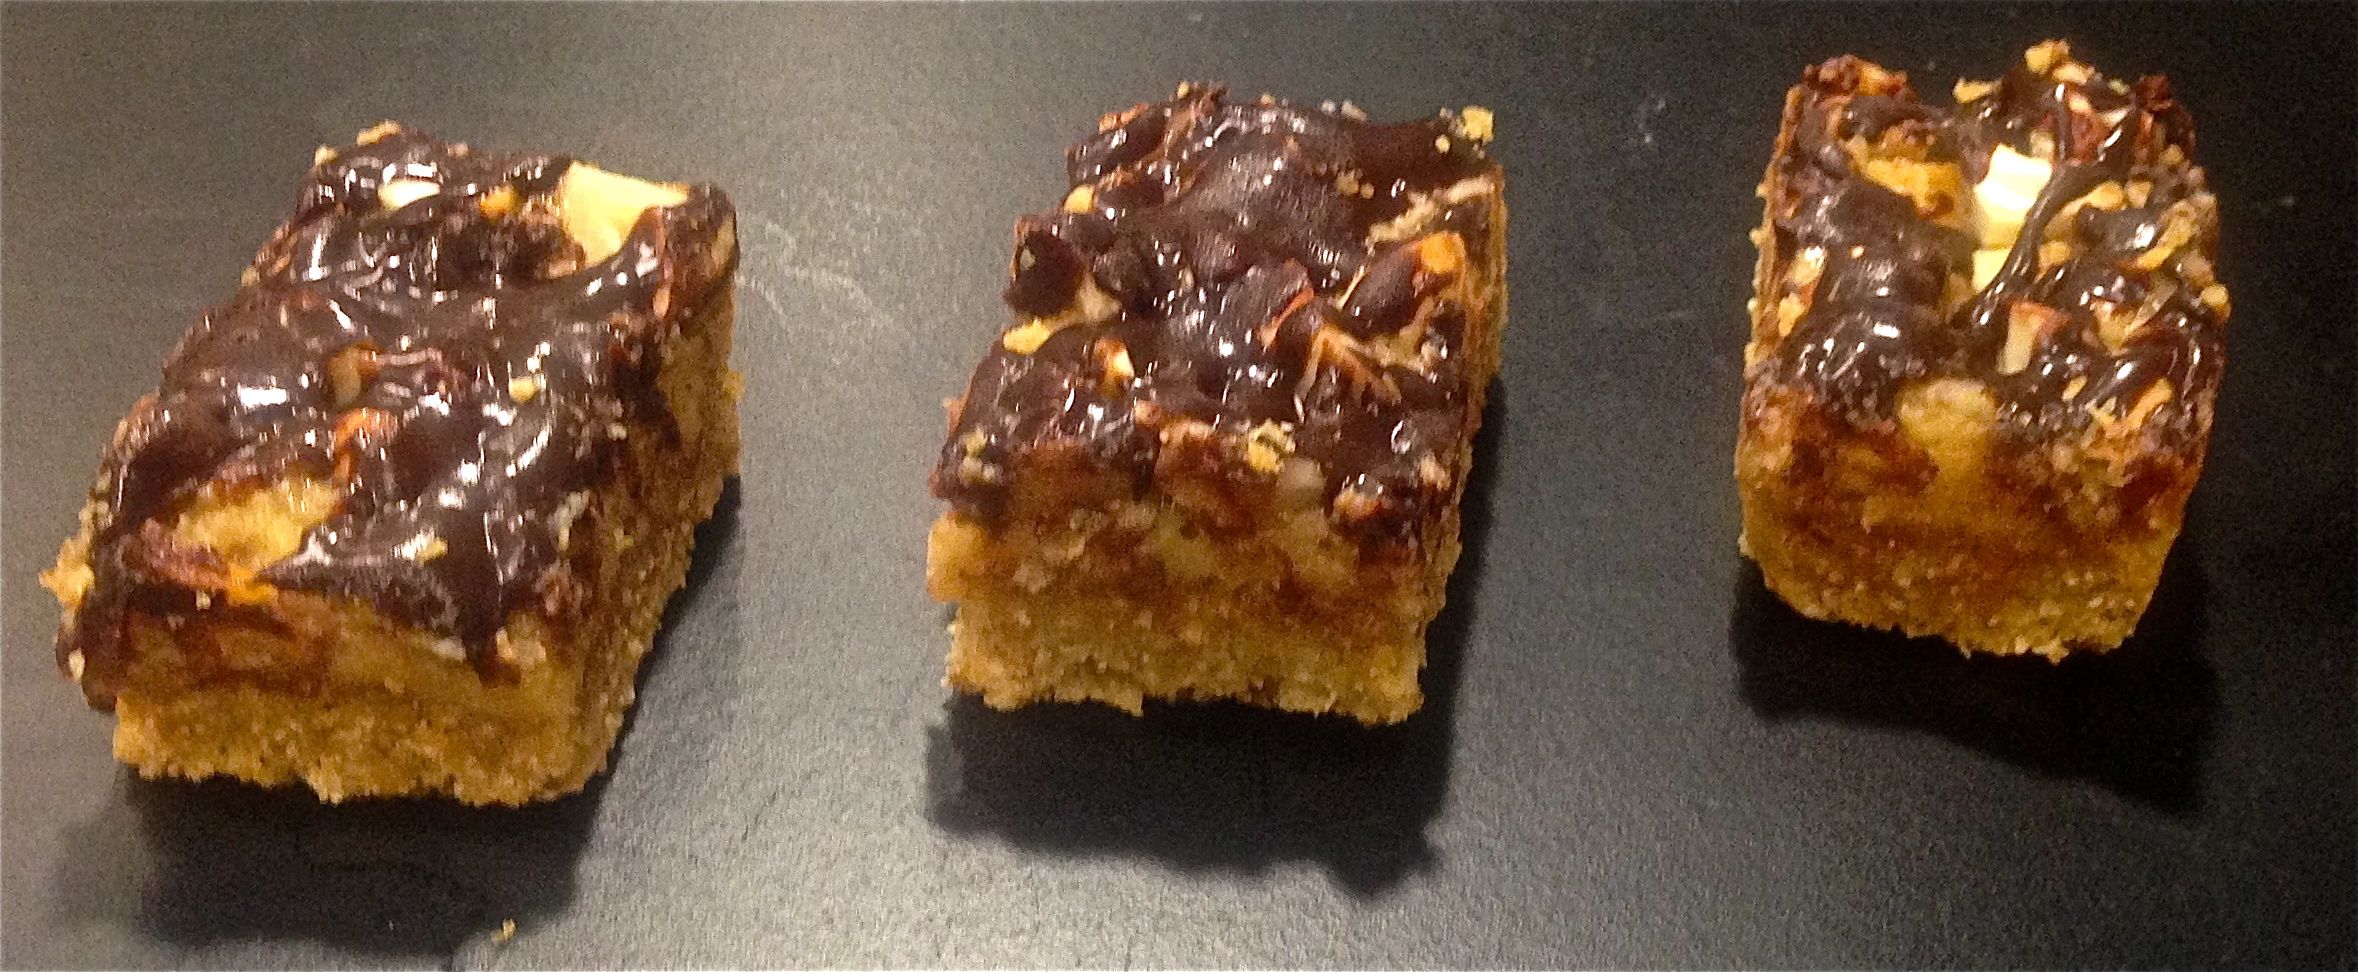
- Place the while chocolate into a bowl and on a low/medium level heat in the microwave in 1 minute intervals until the chocolate is melted.
- Use a bread knife or spatula spread the chocolate over the bottom of each cooled biscuits placing the biscuits chocolate side up onto a plate.
- Place the plate into the fridge until the chocolate has set hard.

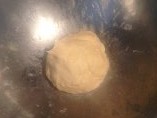
- Step 3
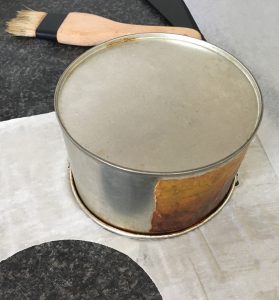
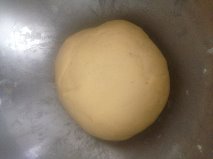
- Step 7

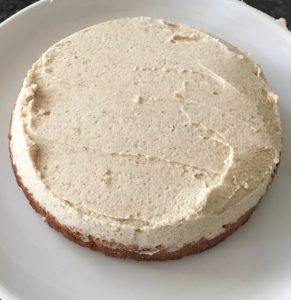
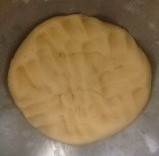
- Step 10

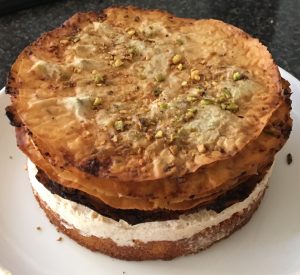
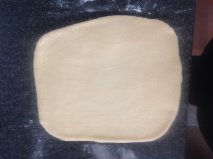
- Step 12
Like this recipe? Subscribe via RSS or email to get my new entries and more scrumptious recipes with reviews.
 Follow


