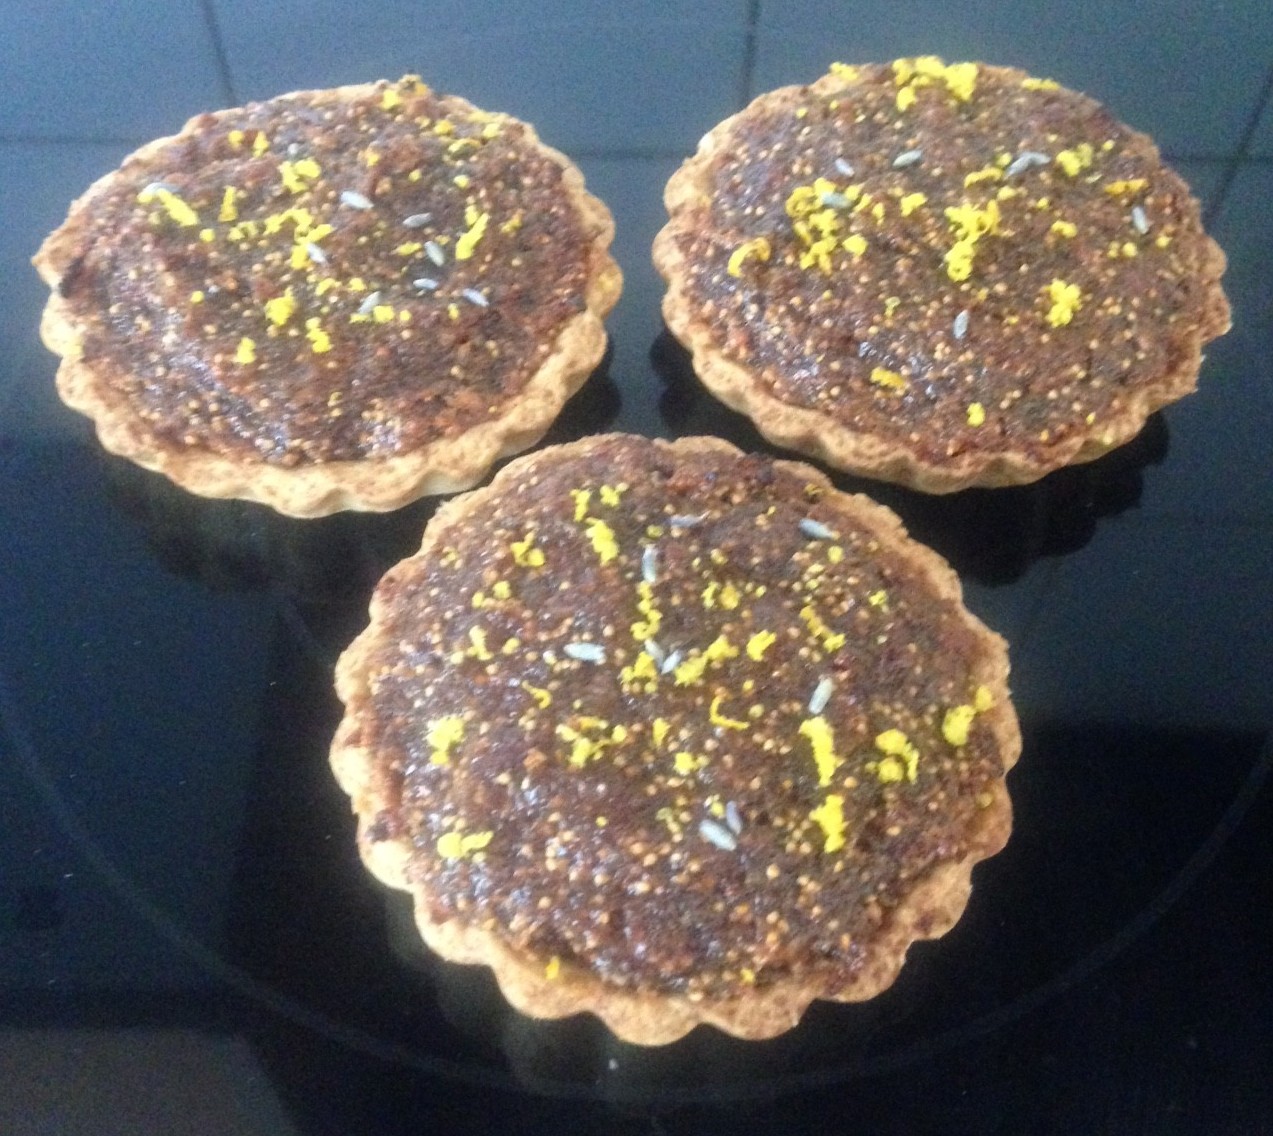
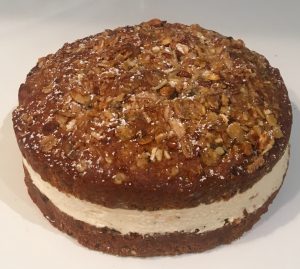
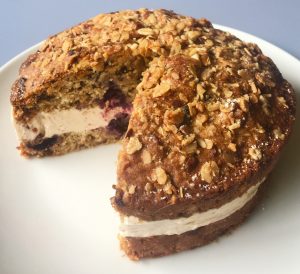
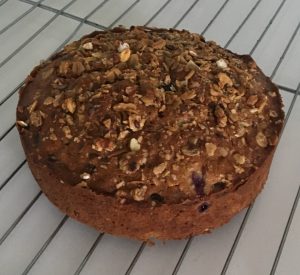
Apple Raspberry Cider Caramel Candy Cake
After recently enjoying a thirst quenching cider while out at the pub one Friday sunny lunch it got me thinking of baking a cake with cider as the key ingredient.
This particular cider was a raspberry flavor but I wanted to trial a few flavor combos, focusing on traditional cider flavors as well as the raspberry one I was enjoying.
The experimenting in the kitchen included raspberry cider, pear cider and apple cider, in which I played around with grated apples, grated pears and raspberries as complementary ingredients to the alcohol.
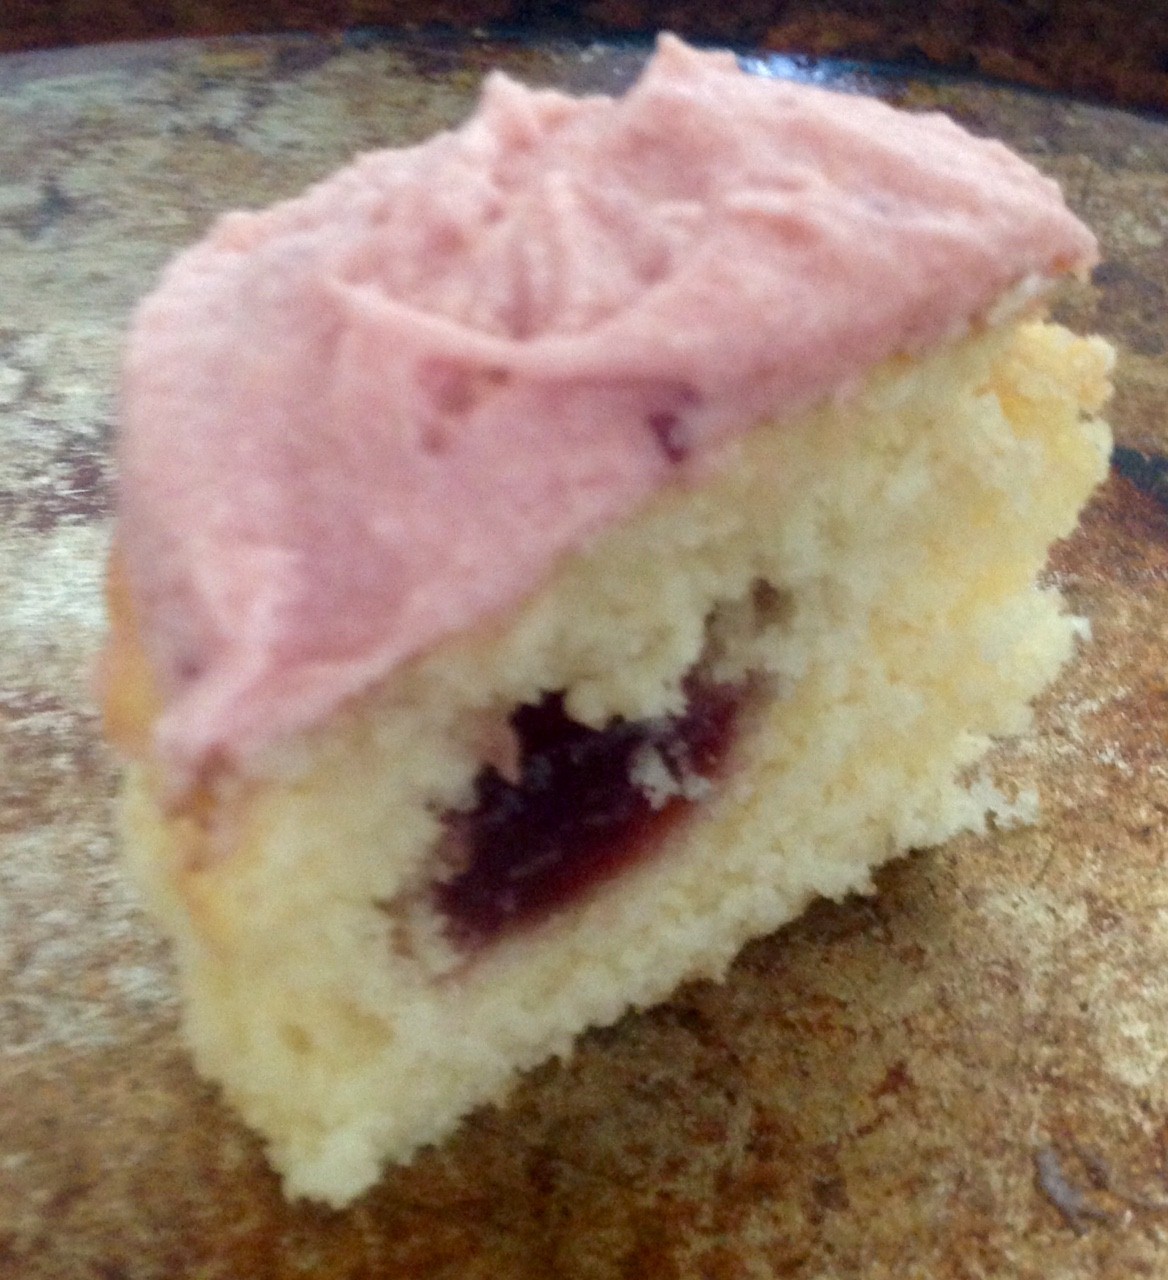
After around 7 different cake variations I ended up completely satisfied with the long-shot winner of apple cider, raspberries, apples and caramel chew candy. The candy being a bit of a last minute addition to this recipe, in which was added to gave the extra unusual twist I was looking for, unsurprisingly working hand-in-hand with the apple it also worked with the raspberry.
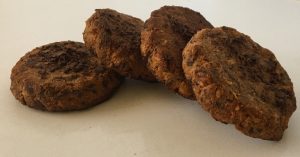
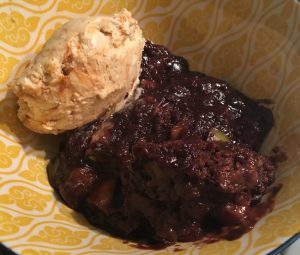
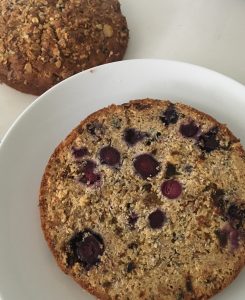
A delicious almost pudding like cake, one bite and you will be going back for a second piece…or if you are like me a third!
Ingredients:
Cake:
- 135g butter, softened
- 100g brown sugar
- 3 eggs
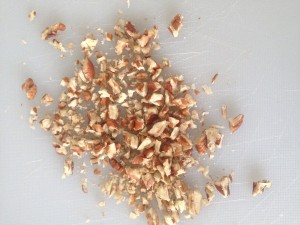
- 2 small apples, peeled and cored (135g apple)
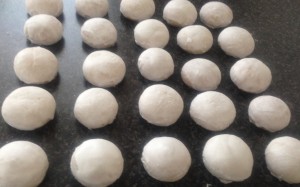
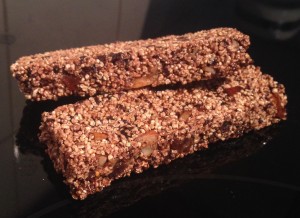
- 90g caramel chew candy
- 80ml apple cider
- 225g self raising flour
- 1+ 1/2 tsn baking powder
- 90g raspberries
Icing:
- 200ml apple or raspberry cider
- 100g caramel chew candy
- 90g butter, softened
Method:
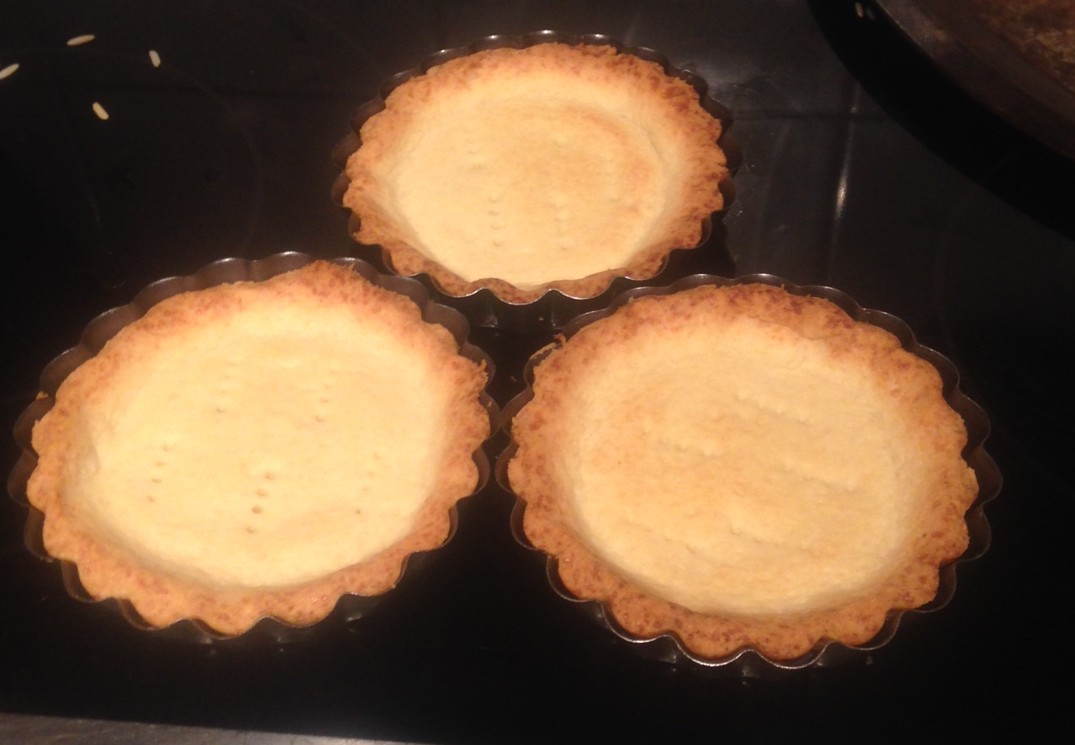
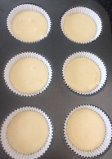
- Pre-heat the oven to 170c degrees and line a 30cm cake tin with baking paper.
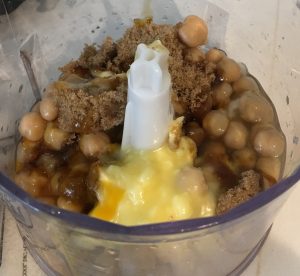
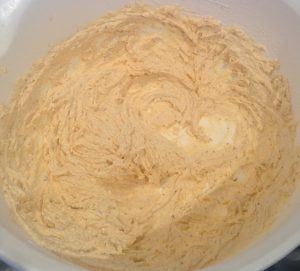
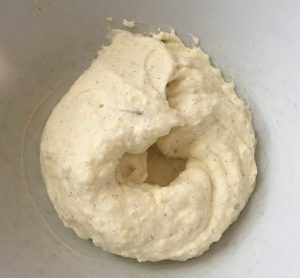
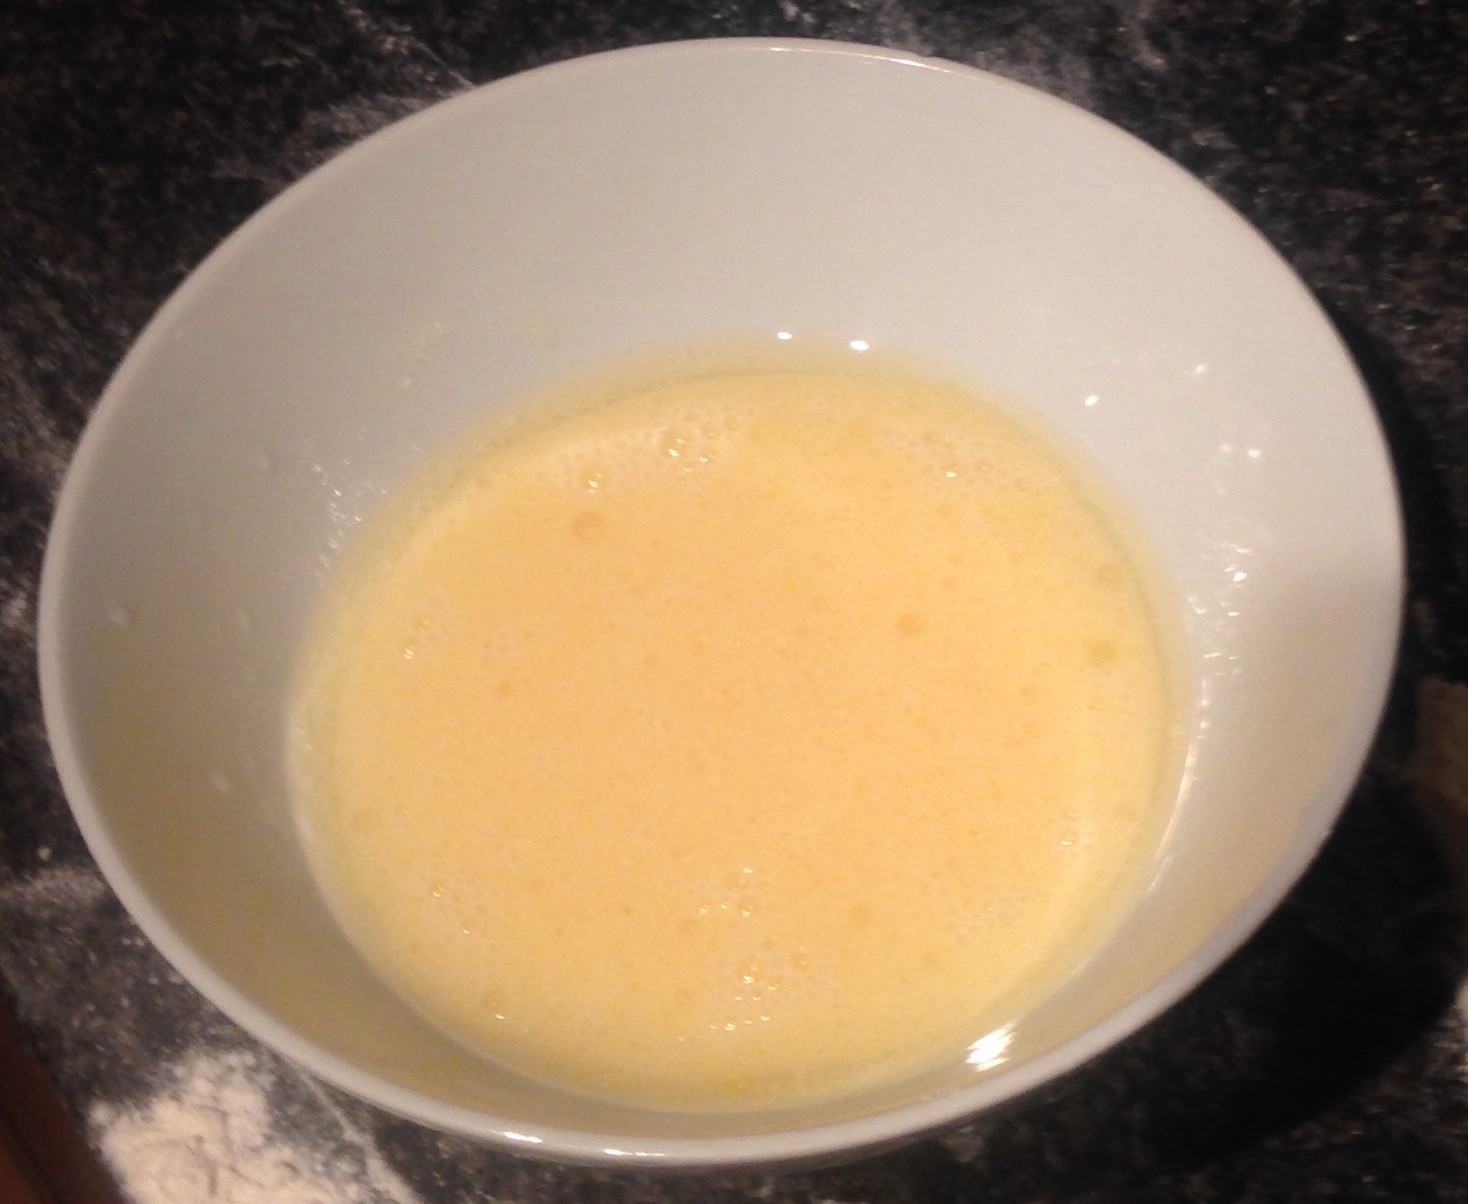
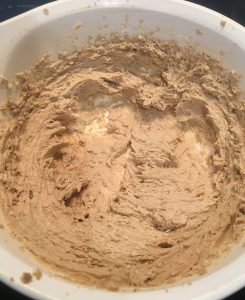
- Whisk the butter and sugar with electric beaters for 5 minutes or until pale and fluffy.
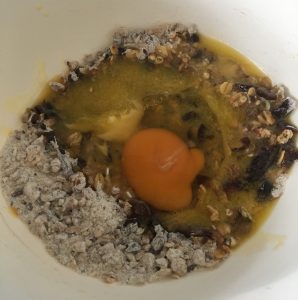
- Add the eggs one at a time, beating between each addition.
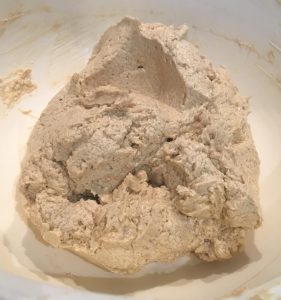
- Grate the apple and add to the egg mix.
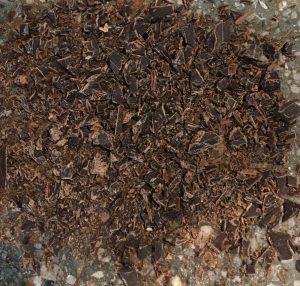
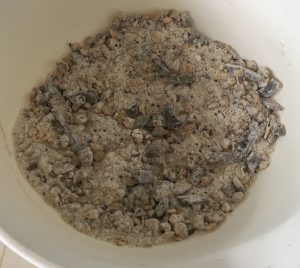
- Dice the caramel chews into small pieces, add to the egg mix and stir until combine.
- Pour the cider into the egg mix.
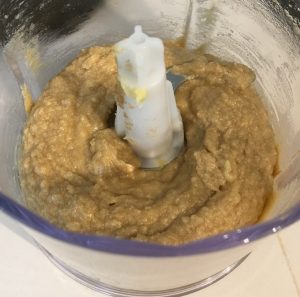
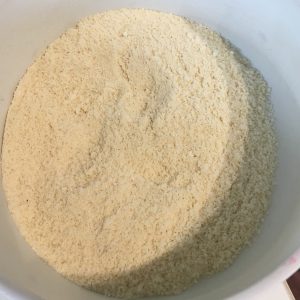
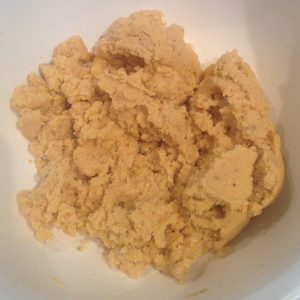
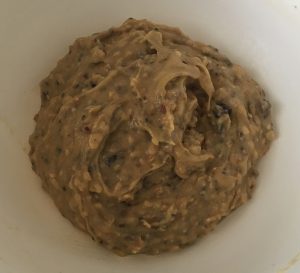
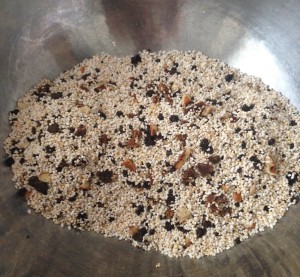
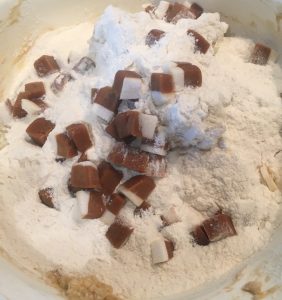
- Sieve the flour and baking soda into the egg mix and whisk on low with electric beaters for 30 seconds or until just combine.
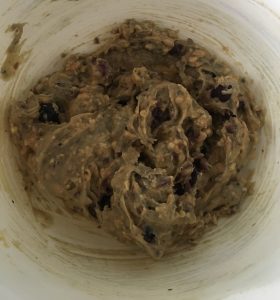
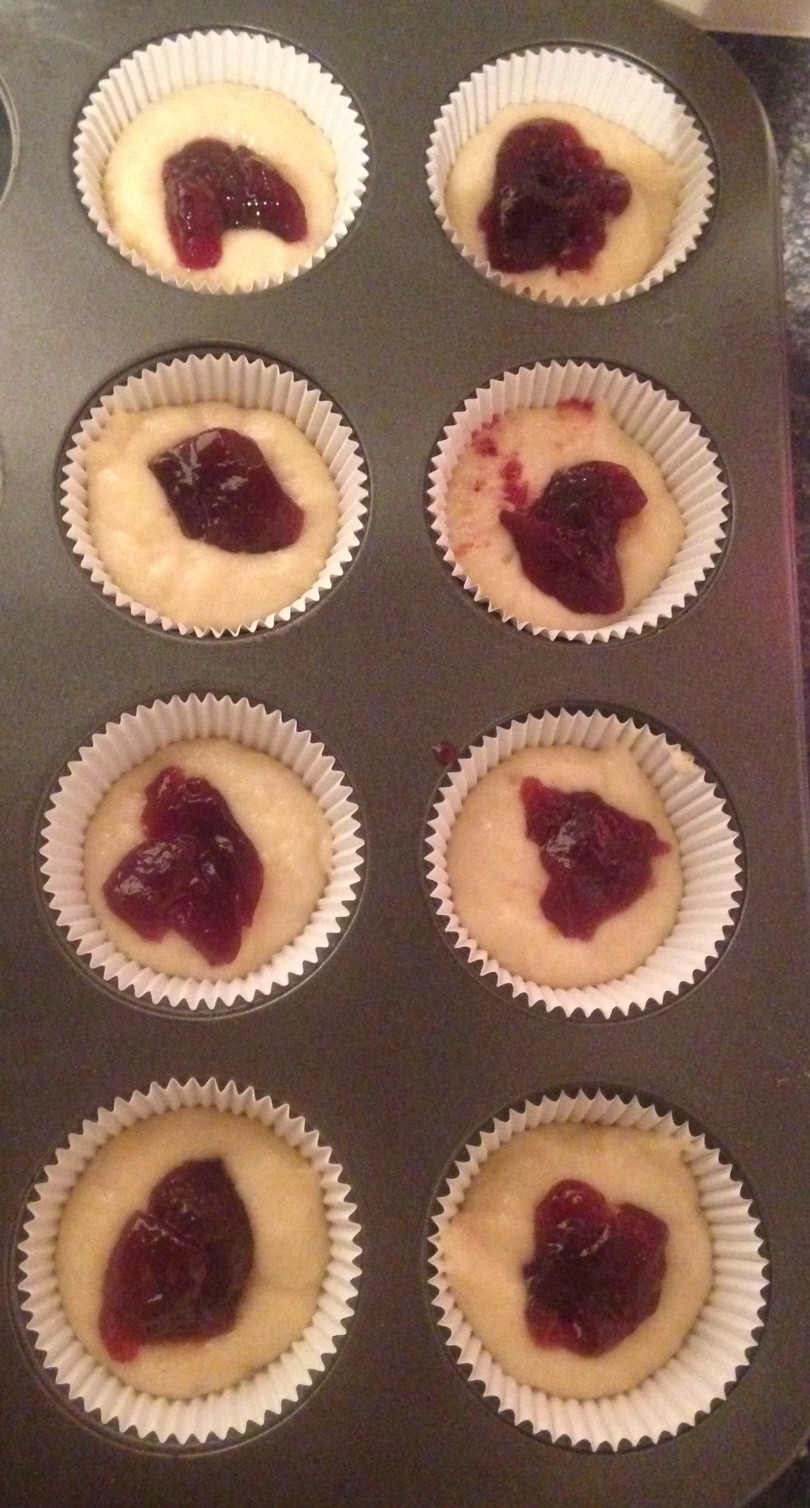
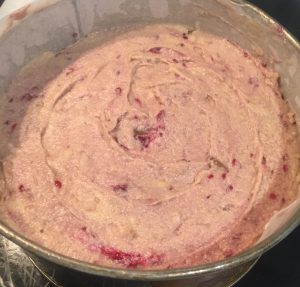
- Add the raspberries and fold through the mix until just evenly combine.
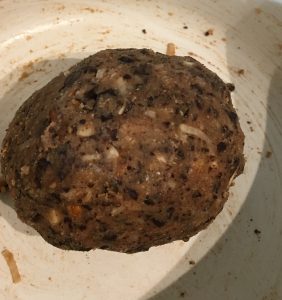
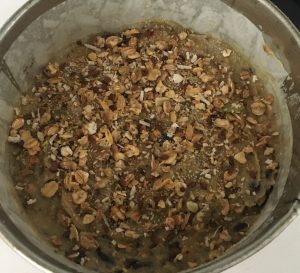
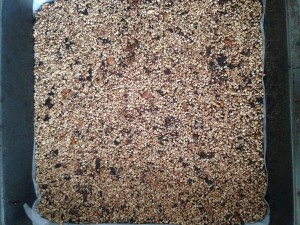
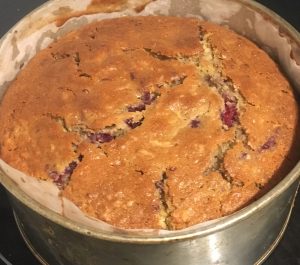
- Pour the mix into the cake tin and bake for 1 hour or until a skewer inserted into the center of the cake comes out clean.
- Allow the cake to cool in the tin for 5 minutes before inverting onto a cooling rack until cold.
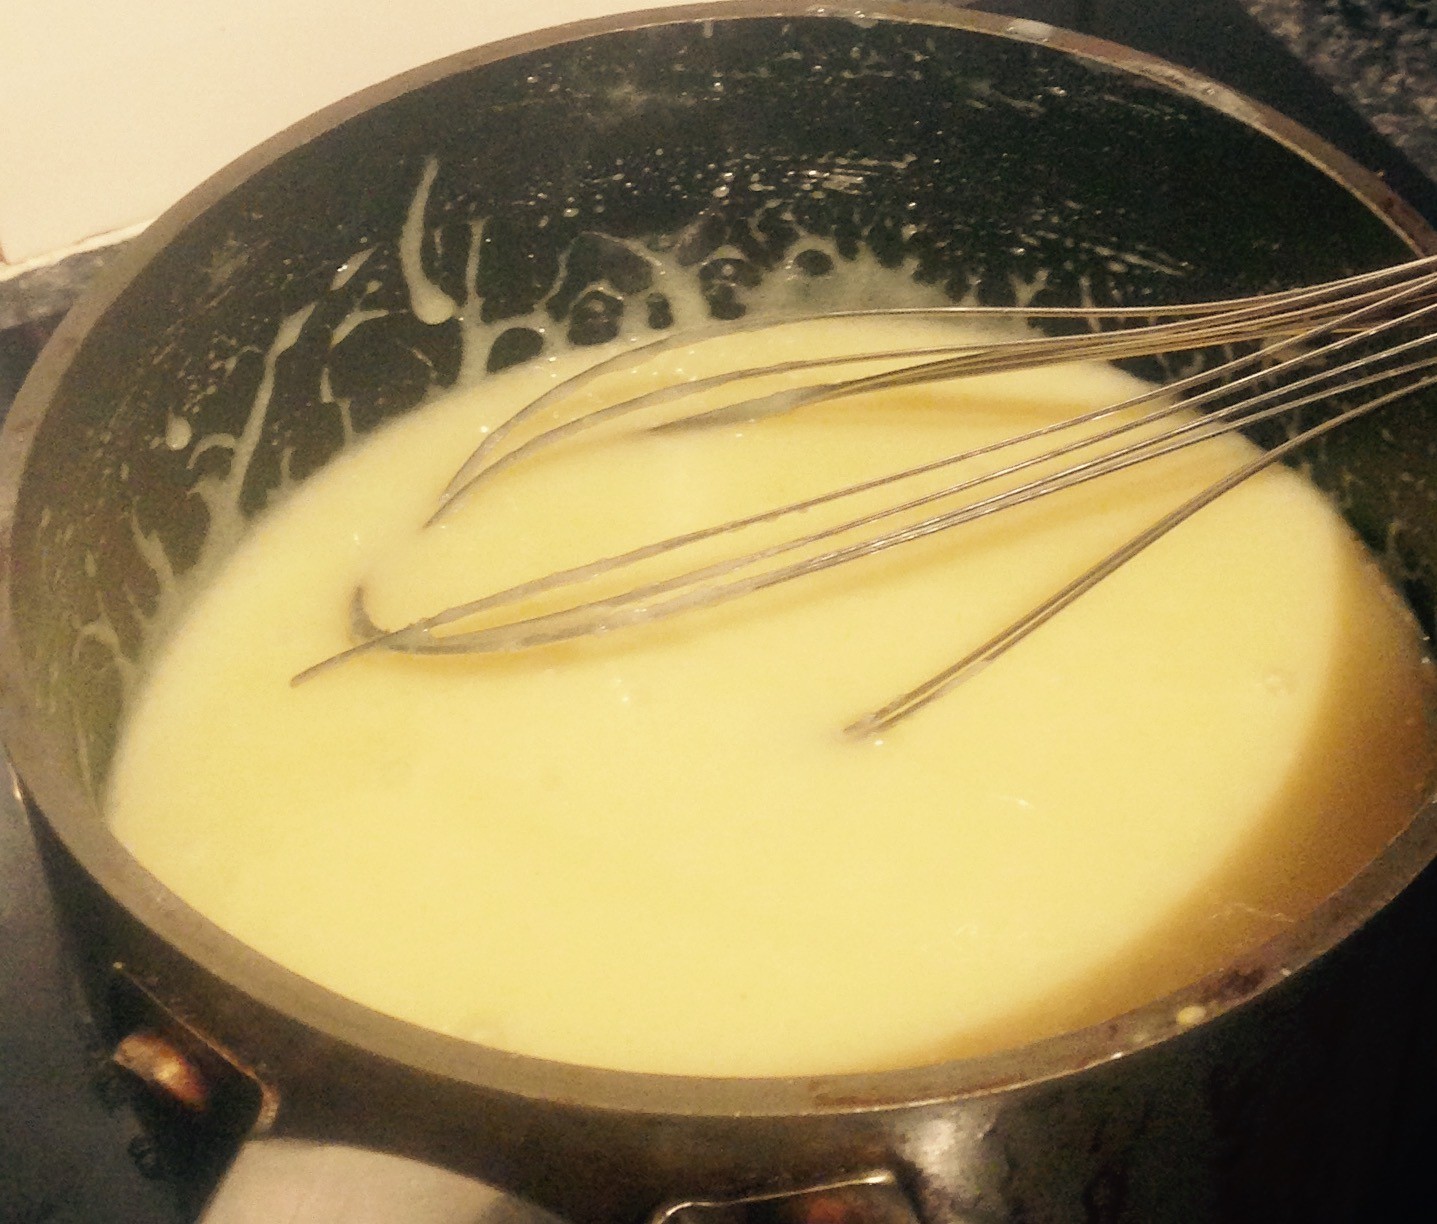
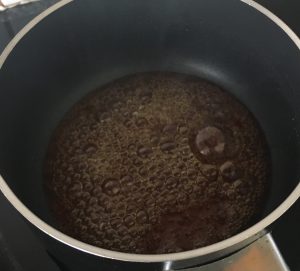
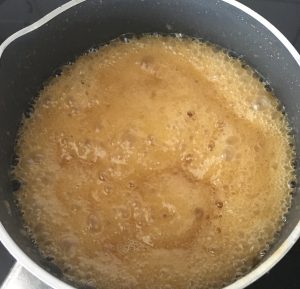
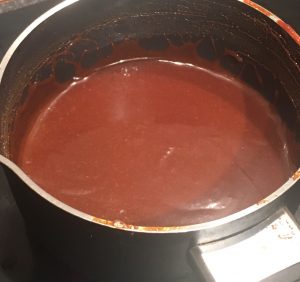
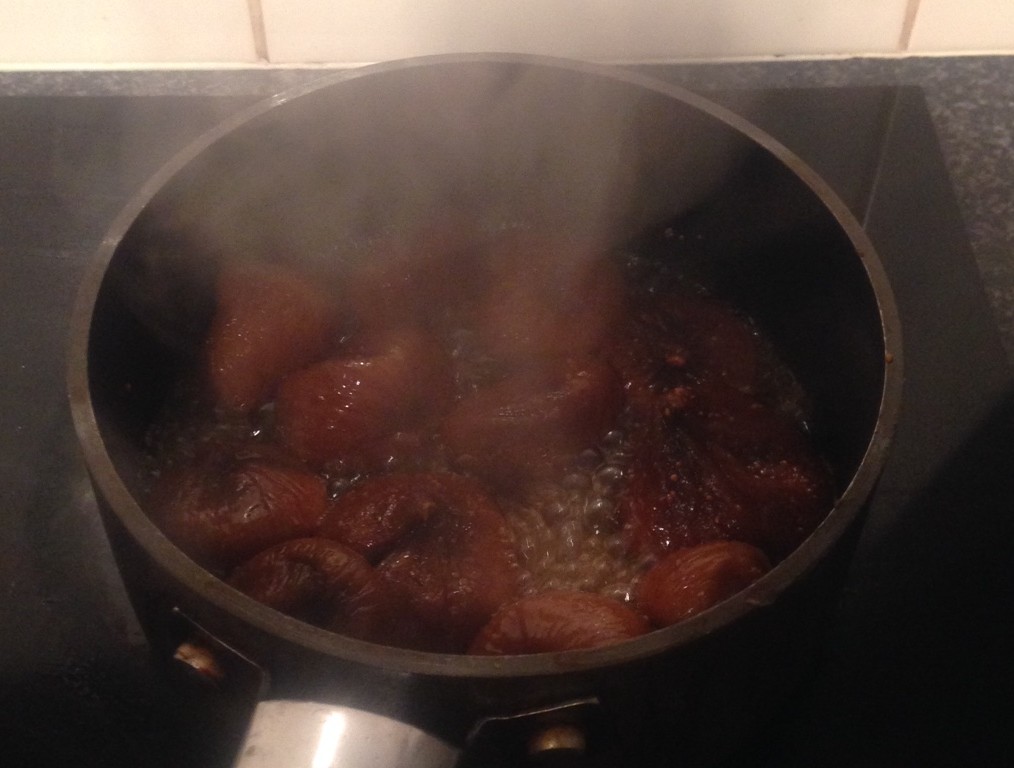
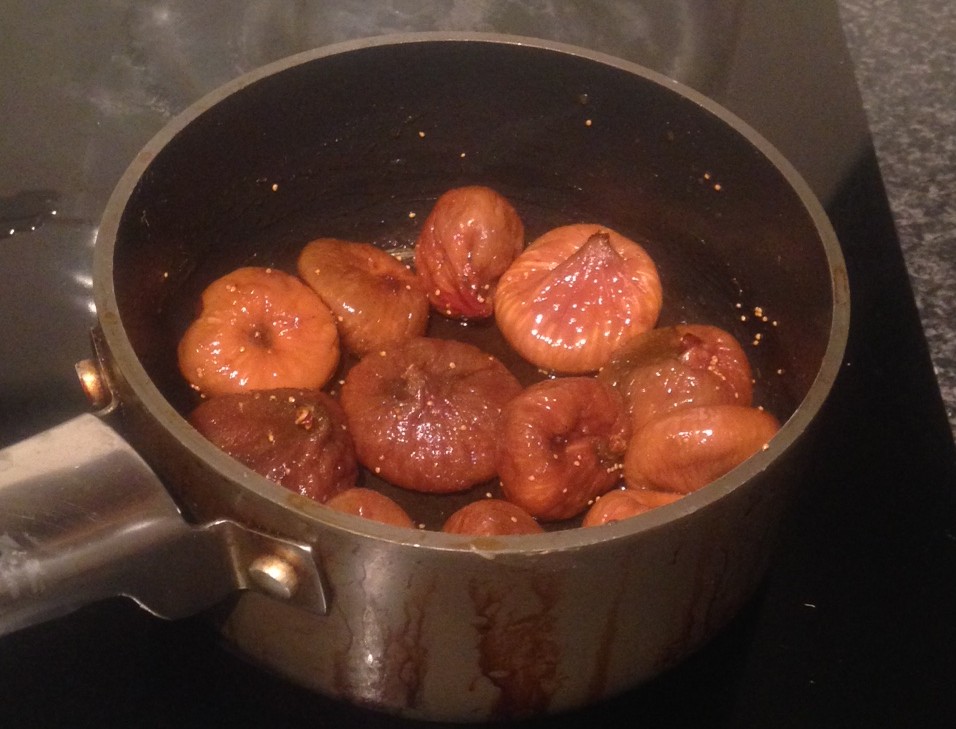
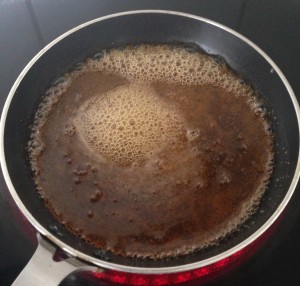
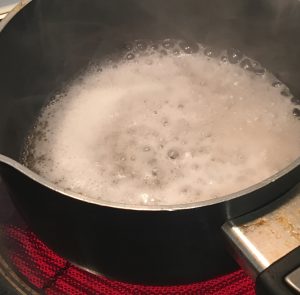
- Meanwhile make the icing by placing the 200ml of cider into a saucepan on a medium heat until reduced down to 80ml.
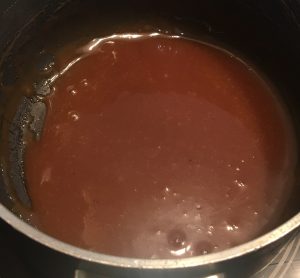
- Add the 100g of caramel chews and whisk with a hand whisk off the heat until smooth and glossy.
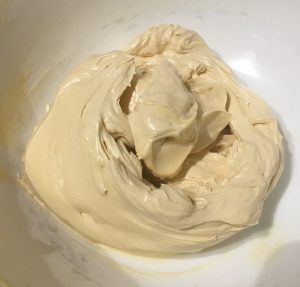
- Once the caramel mix has cool to room temperature whisk 100g of the caramel mix with the 90g butter with electric beaters until light and fluffy.
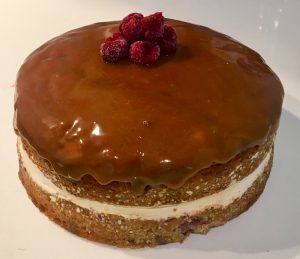
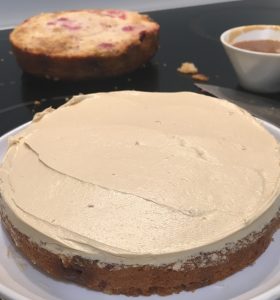
- Cut the cake in half horizontally, spread the caramel icing onto the top of the bottom cake layer, top with the second layer.
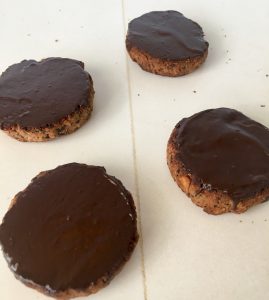
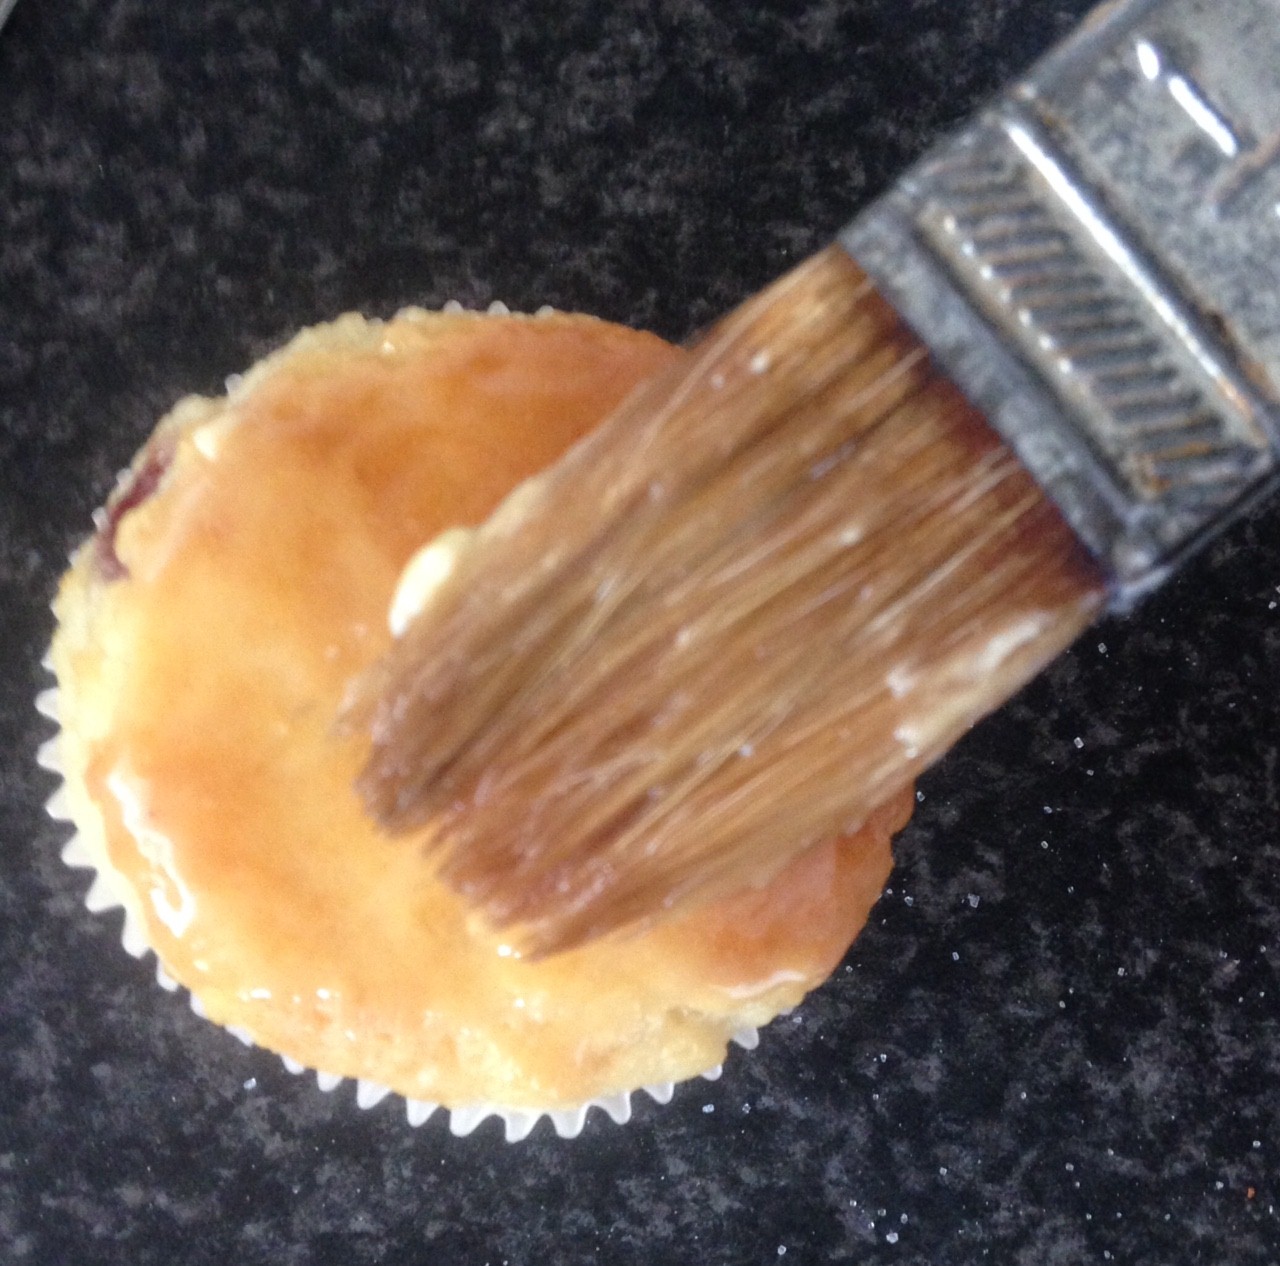
- Place the remaining caramel back on the saucepan until just lukewarm and pour over the top of the cake.
- Serve and enjoy!
Step 2
Step 3
Step 5
Step 9
Step 10
Step 11
Step 12
Step 13
Step 14

Step 15
Like this recipe? Subscribe via RSS or email to get my new entries and more scrumptious recipes with reviews.
 Follow