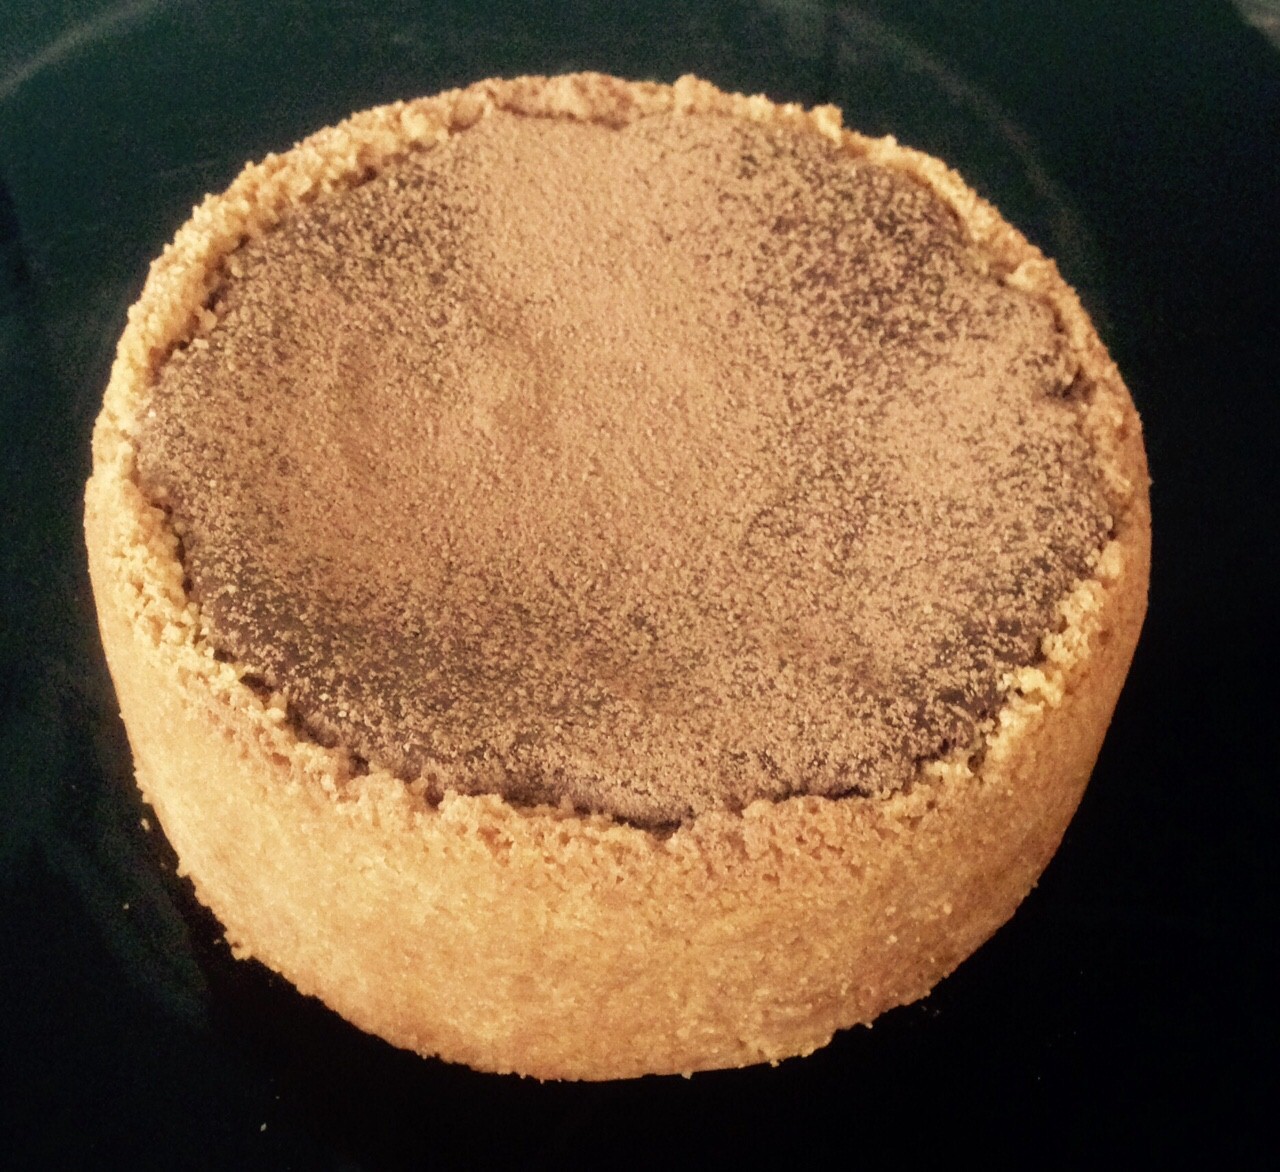
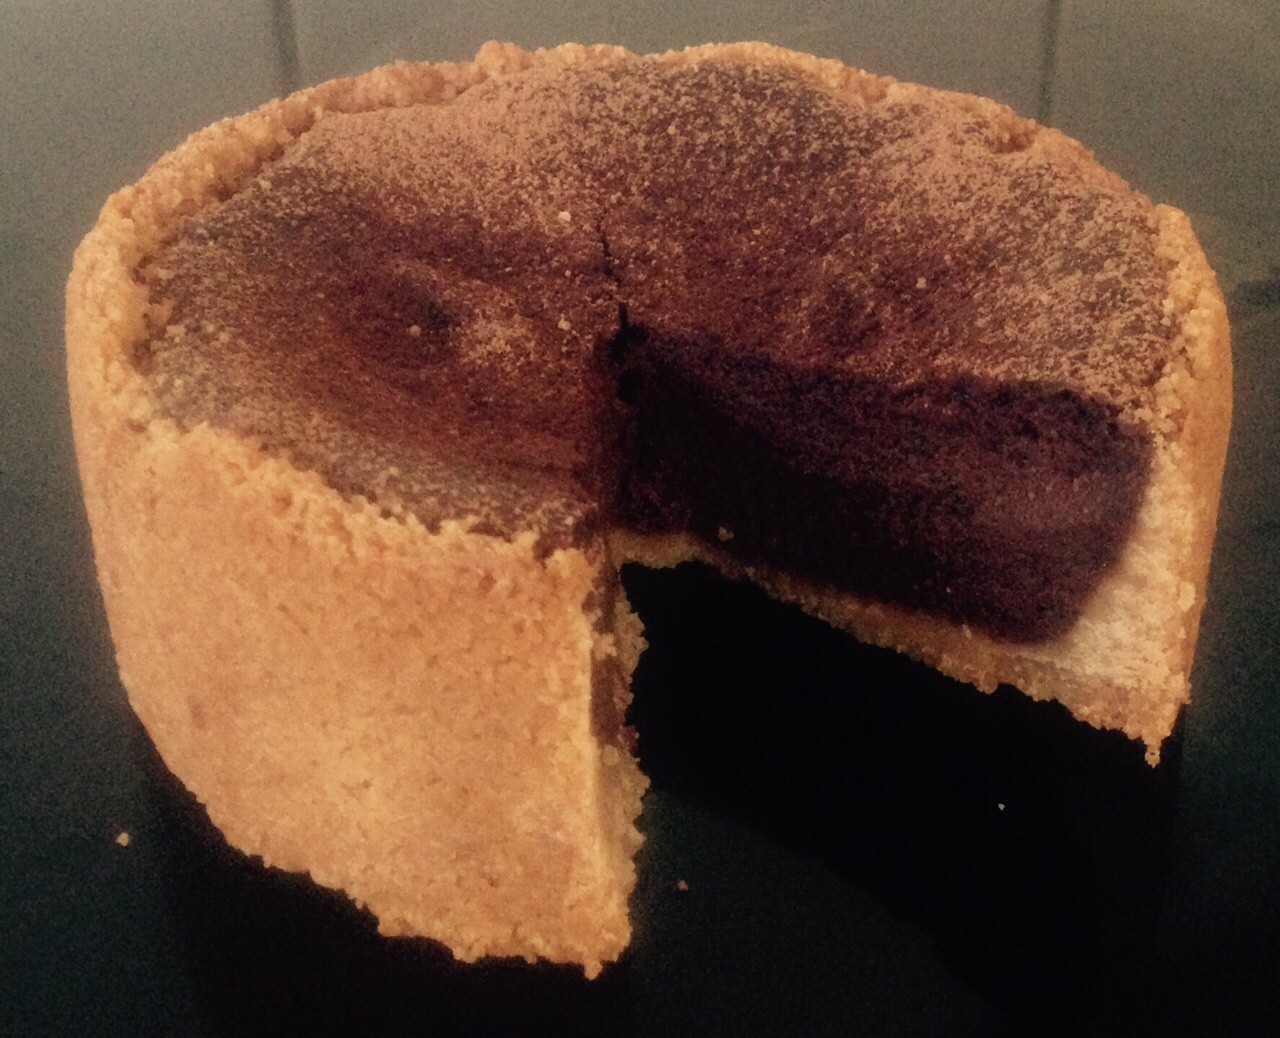
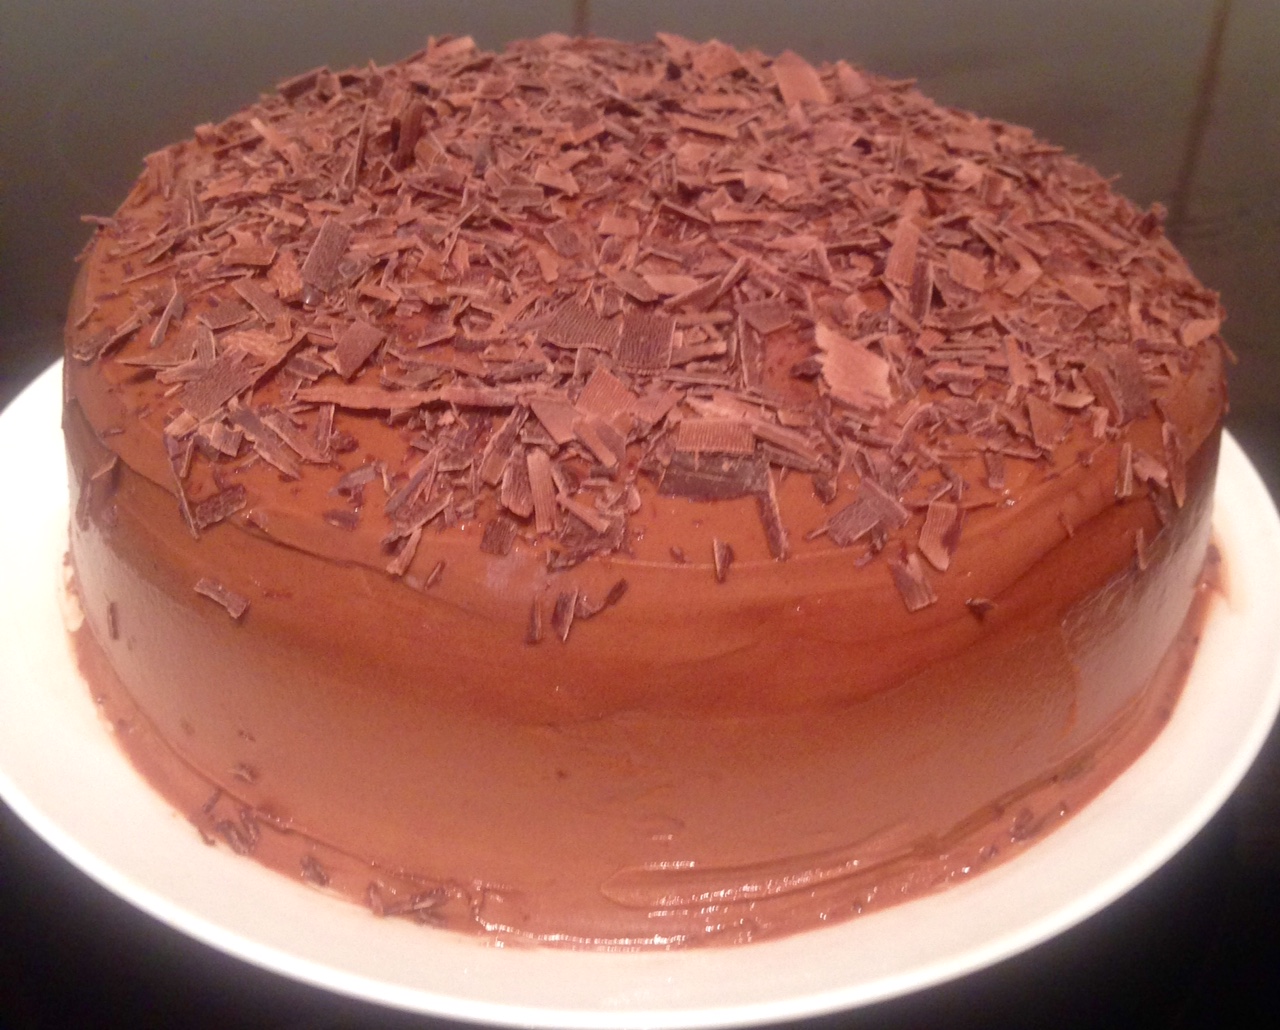
Marzipan Pear Chocolate and Almond Cake

I have never previously baked successfully with marzipan but absolutely love the flavour. Now this ingredient is one that you either love or hate. Its weird as I love the taste of marzipan and almond essence, but find plain almonds bland and boring in taste.
Marzipan and Almond clearly makes sense (as Marzipan is made from almonds). When thinking of a flavour combo I automatically through almonds and chocolate. On top of this, I was still to make up and post a pear recipe that I am actually really happy with, and chocolate and pear are a great flavour marriage.
Therefore I experimented with these 4 ingredients and just like I had expected they all work in harmony together.
A very different but satisfying, moreish cake indeed.
Ingredients:
- 250g butter
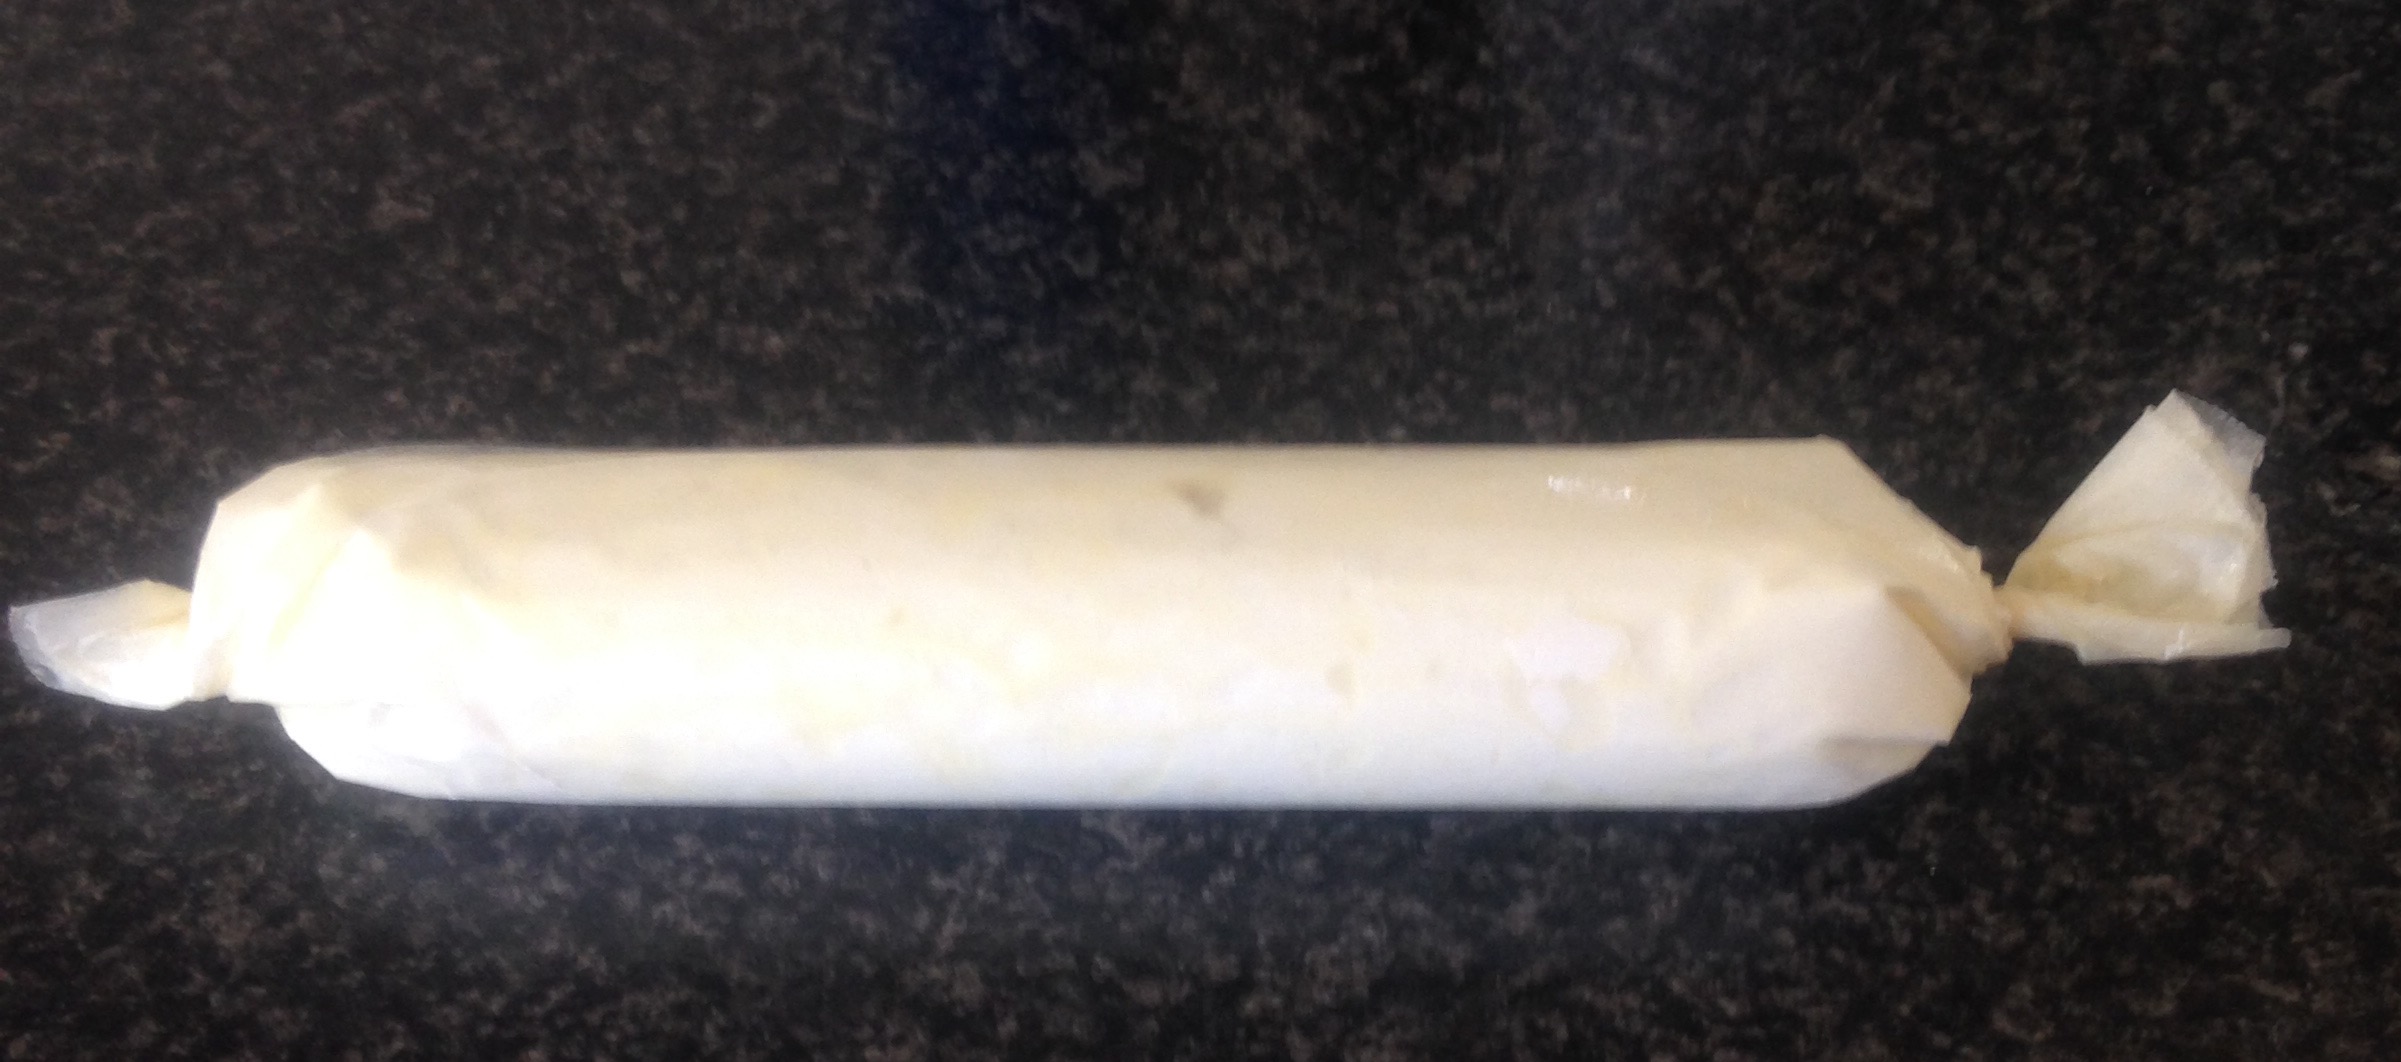
- 250g marzipan
- 150g sugar
- ½ tsn almond essence
- 6 eggs
- 450g pear
- 120g dark chocolate
- 150g self raising flour
- 120g almond meal
- ½ tsn ground cinnamon
- ½ tsn ground ginger
- ½ tsn ground cloves
Method:
- Preheat the oven to 170c degrees and line a 30cm cake tin with baking paper.
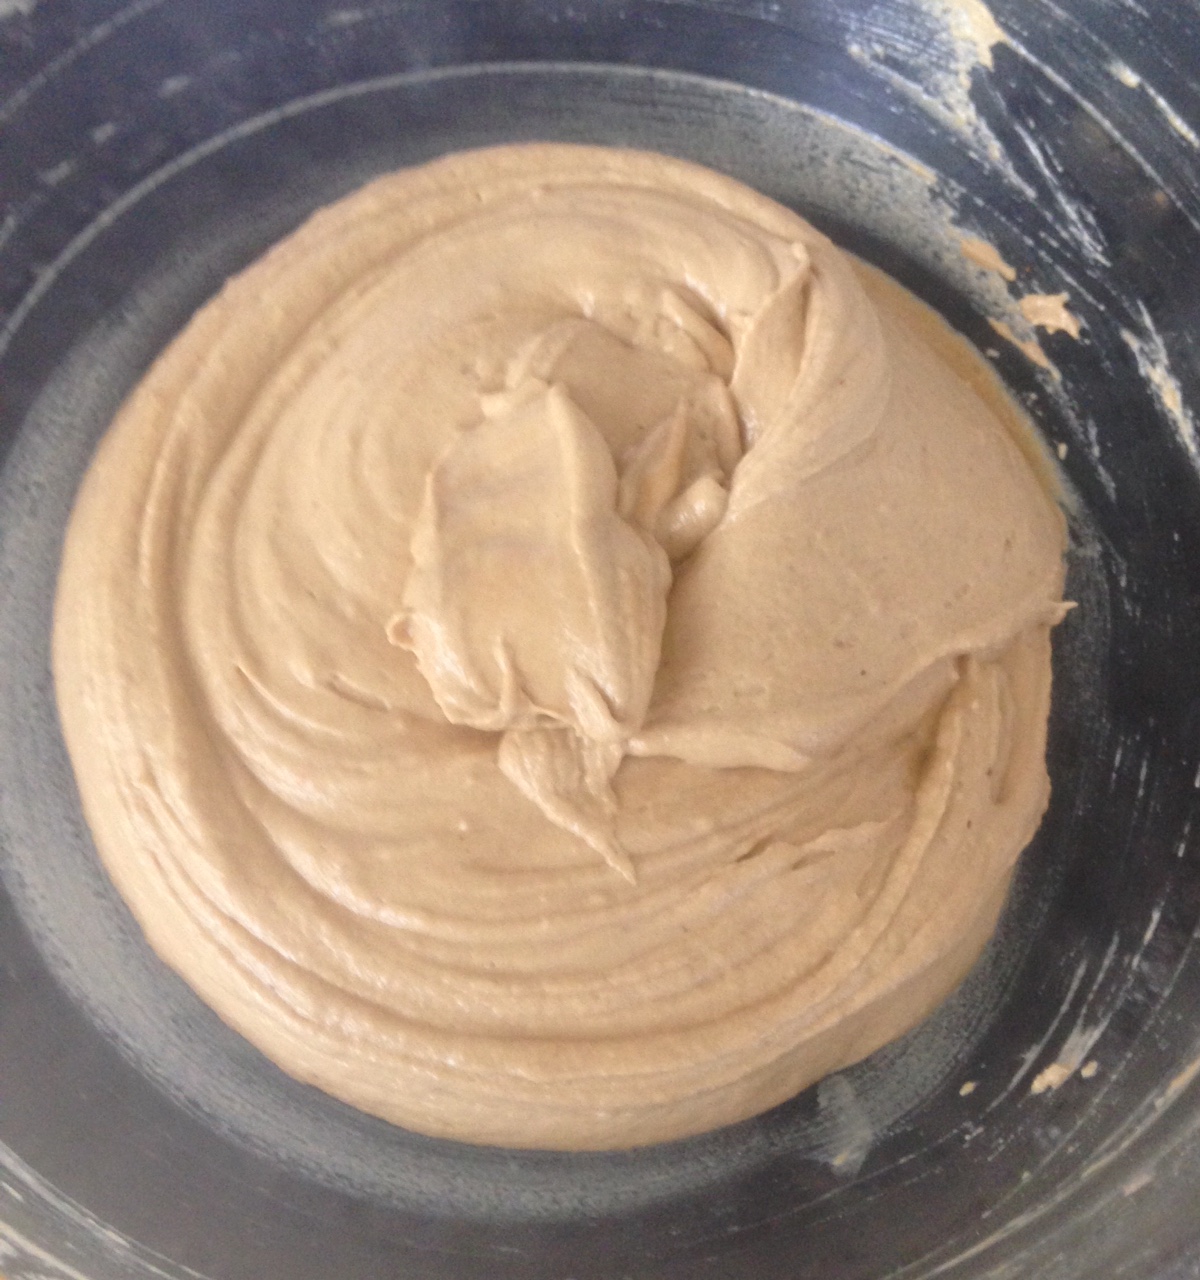
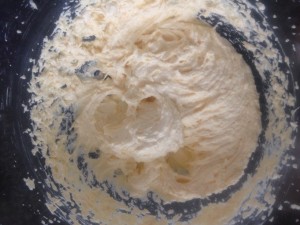
- Using electric beaters whisk the butter, marzipan and sugar until light and fluffy.
- Add the almond essence and beat.
- Add the eggs one at a time, beating in between each addition.
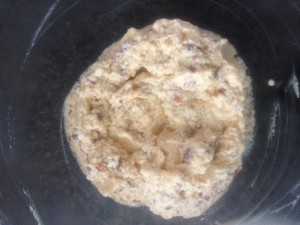
- Place the flour, almond meal, cinnamon, ginger and cloves in bowl and stir until mixed.
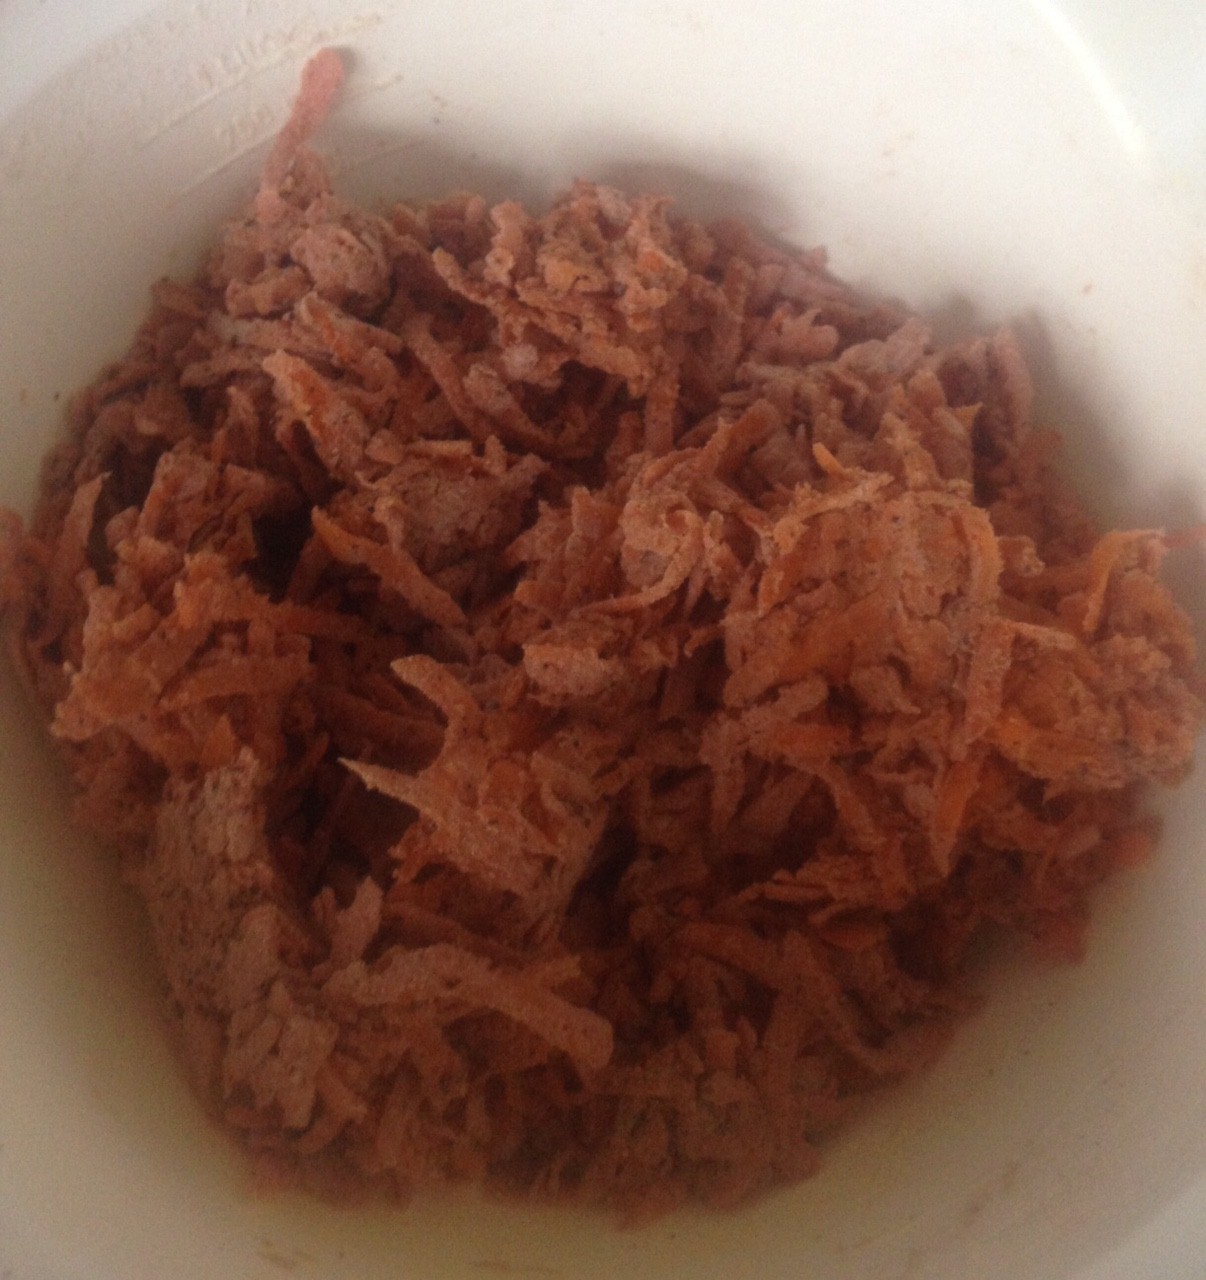
- Dice up the pear into small pieces.
- Cut up the chocolate into small pieces.
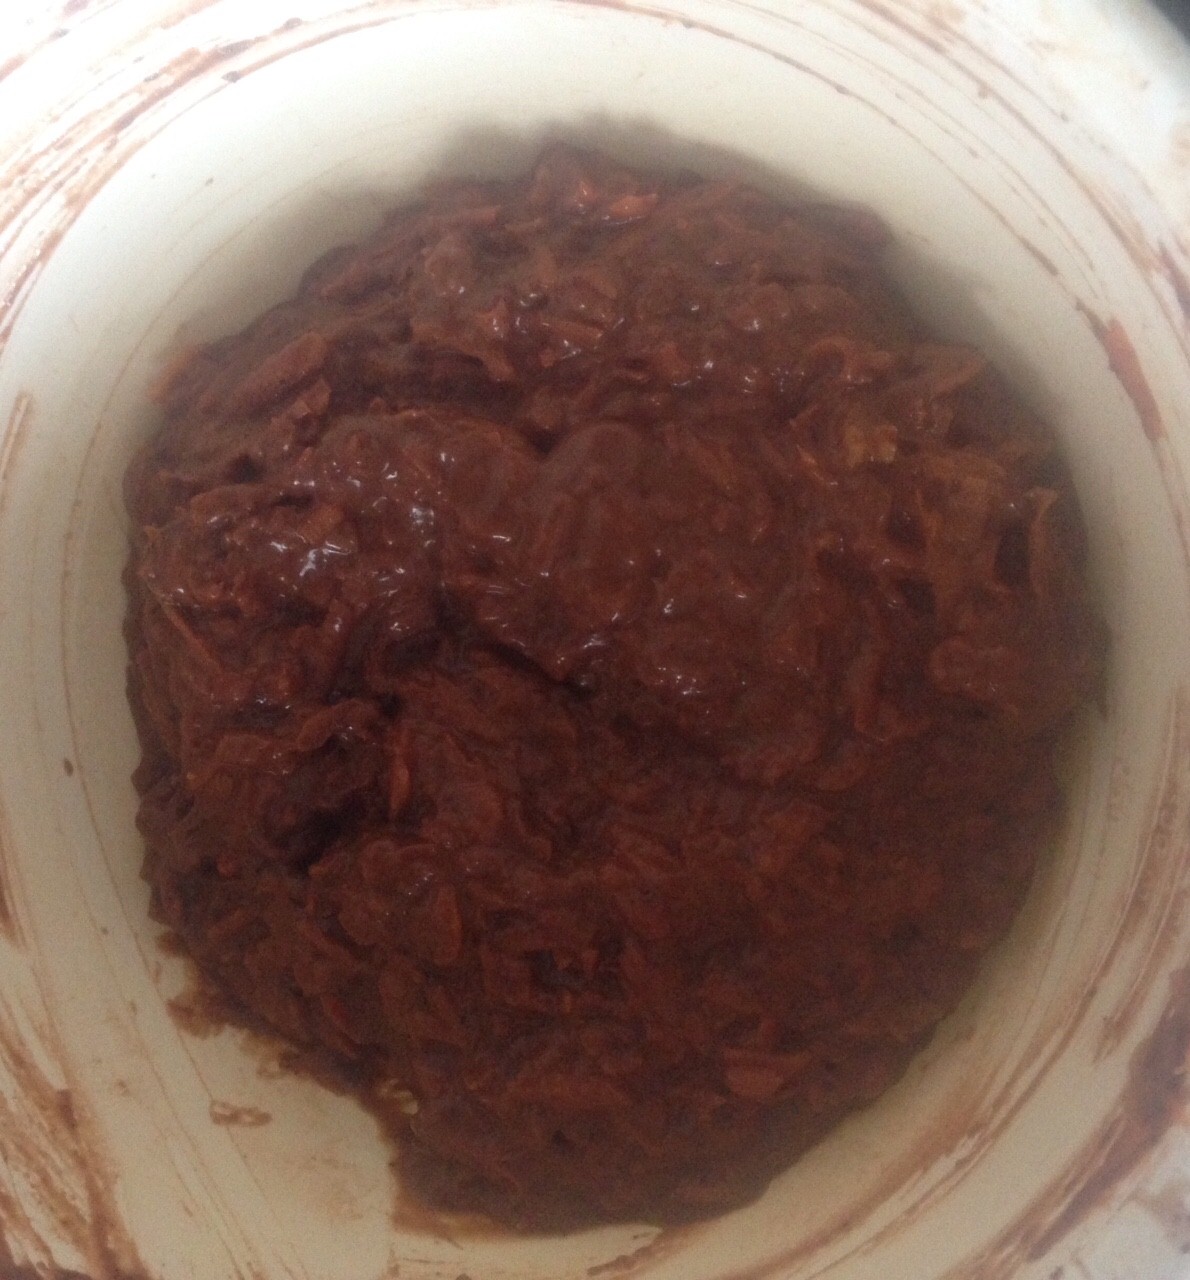
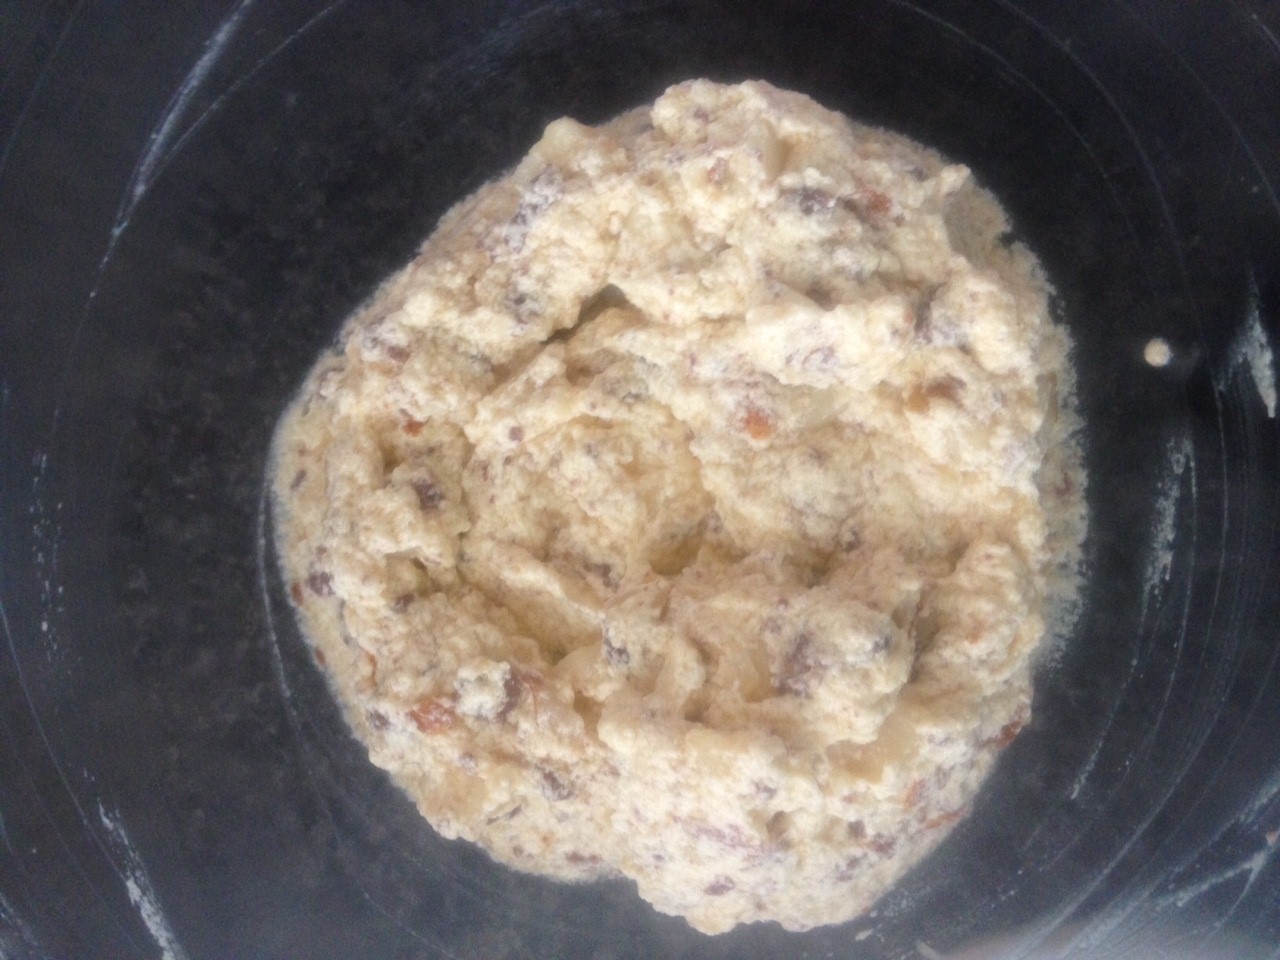
- Fold the pear and chocolate through the batter.
- Fold the flour mix into the batter until just combined.
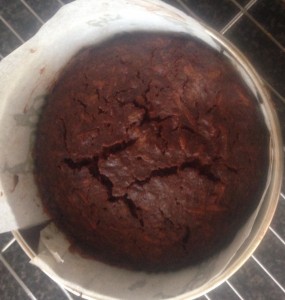
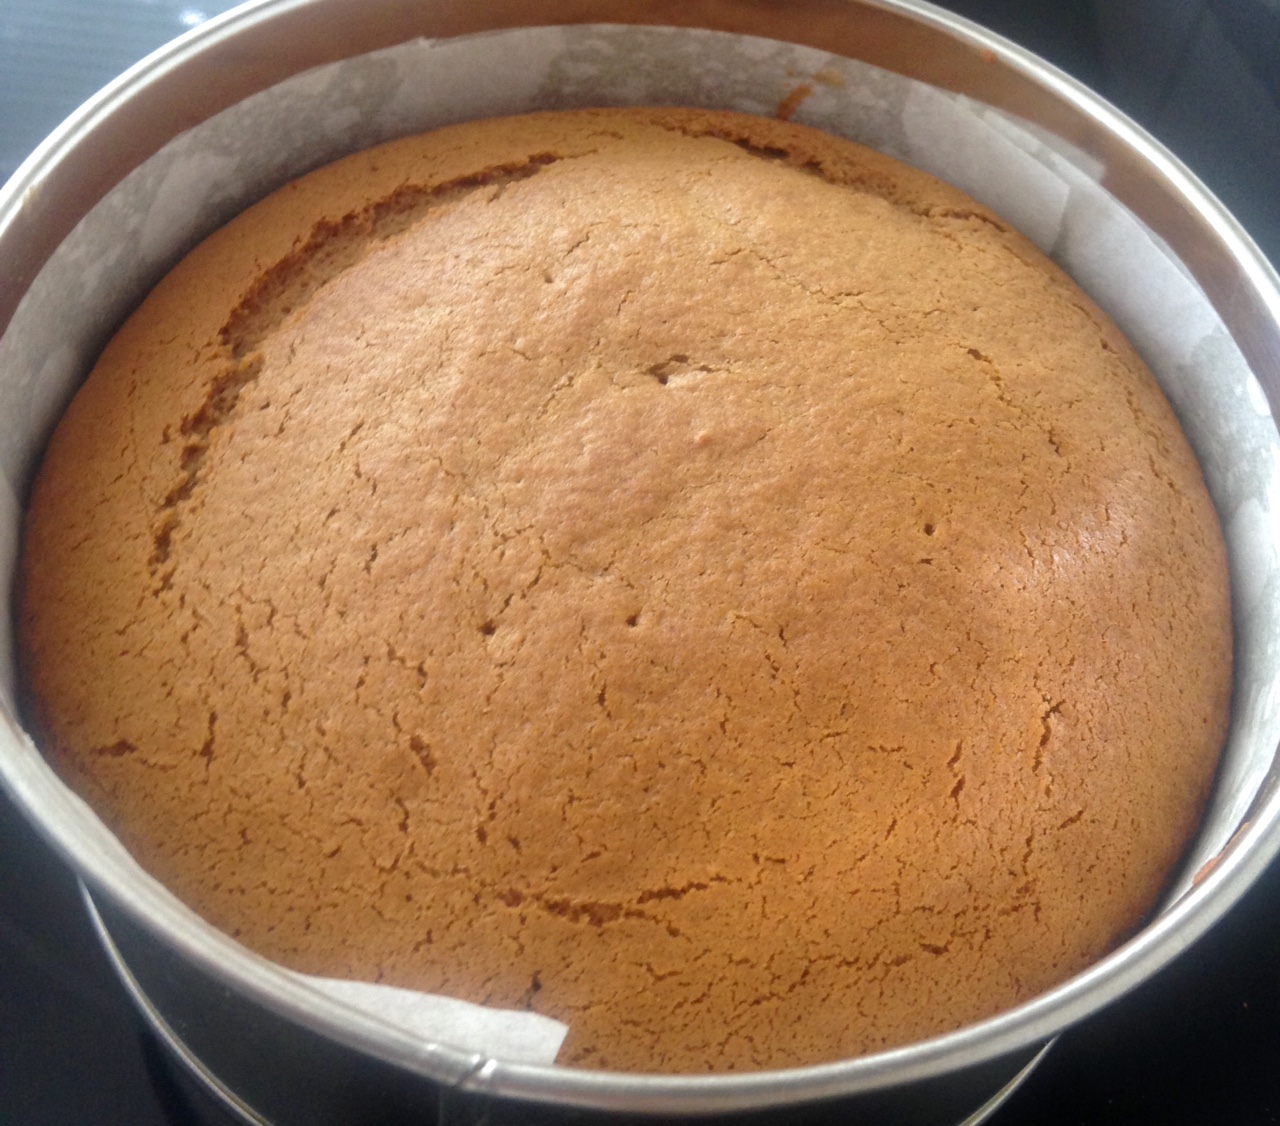
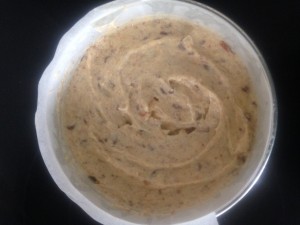
- Pour the mix into the prepared cake tin and bake for 45 minutes or until a skewer inserted in the center comes out clean.
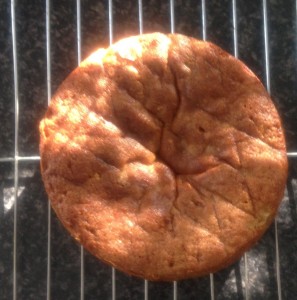
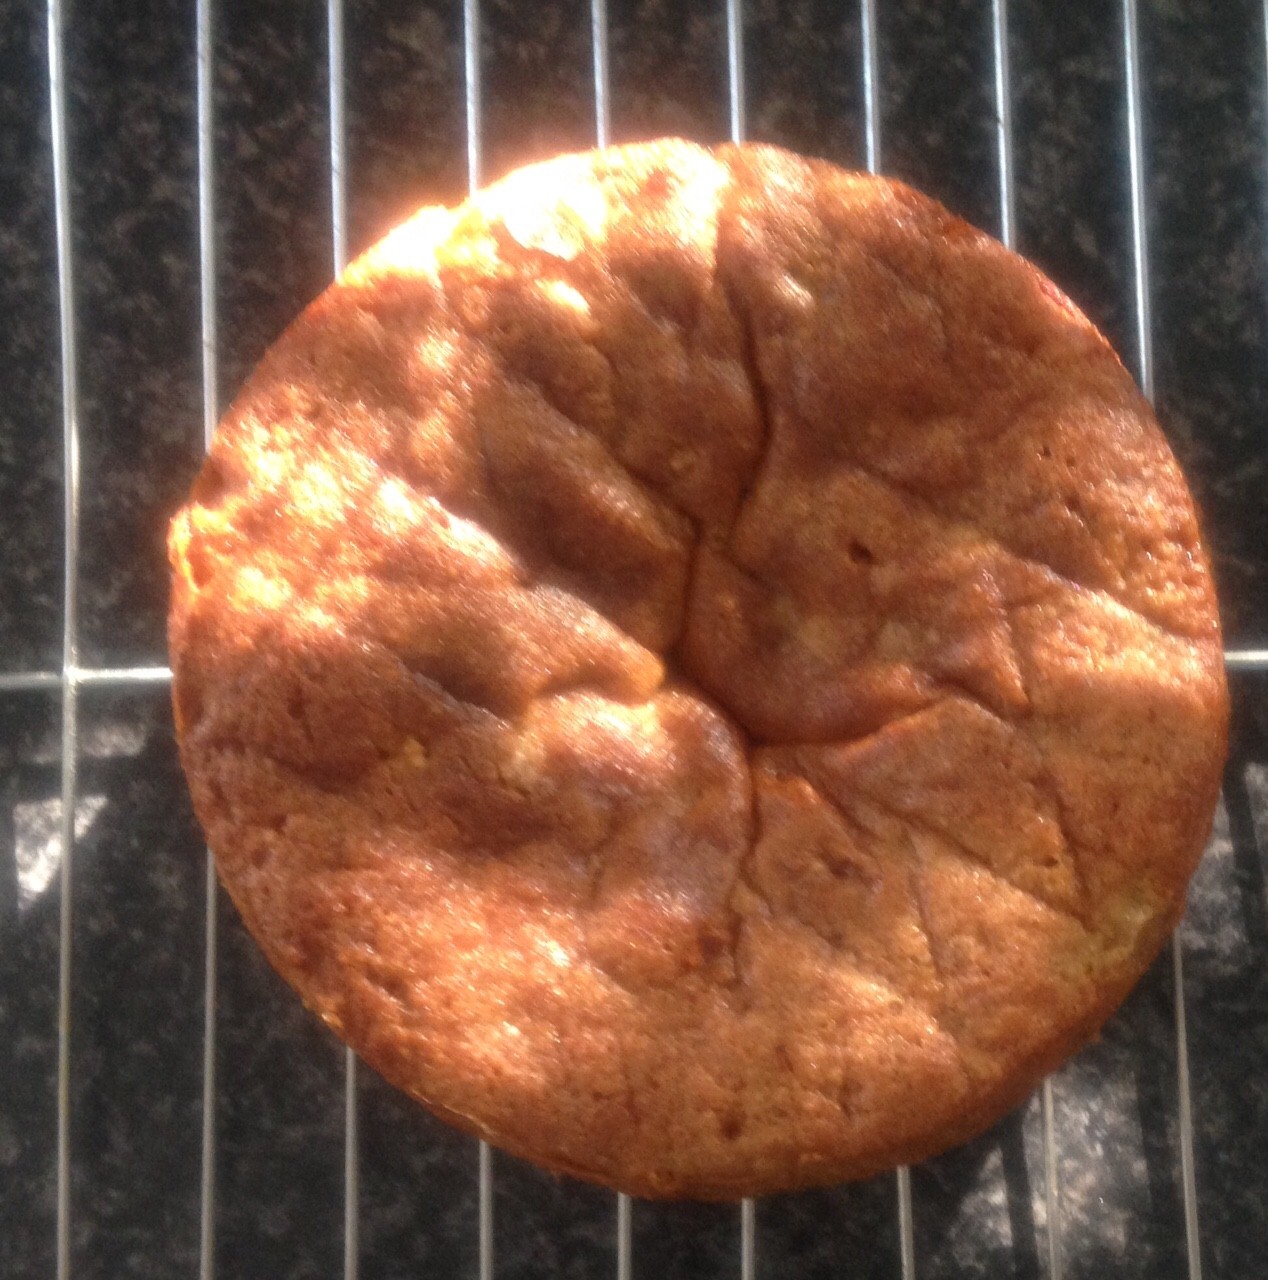
- Leave in the tin for 5 minutes then place on a cooling tray until cold.
Notes:
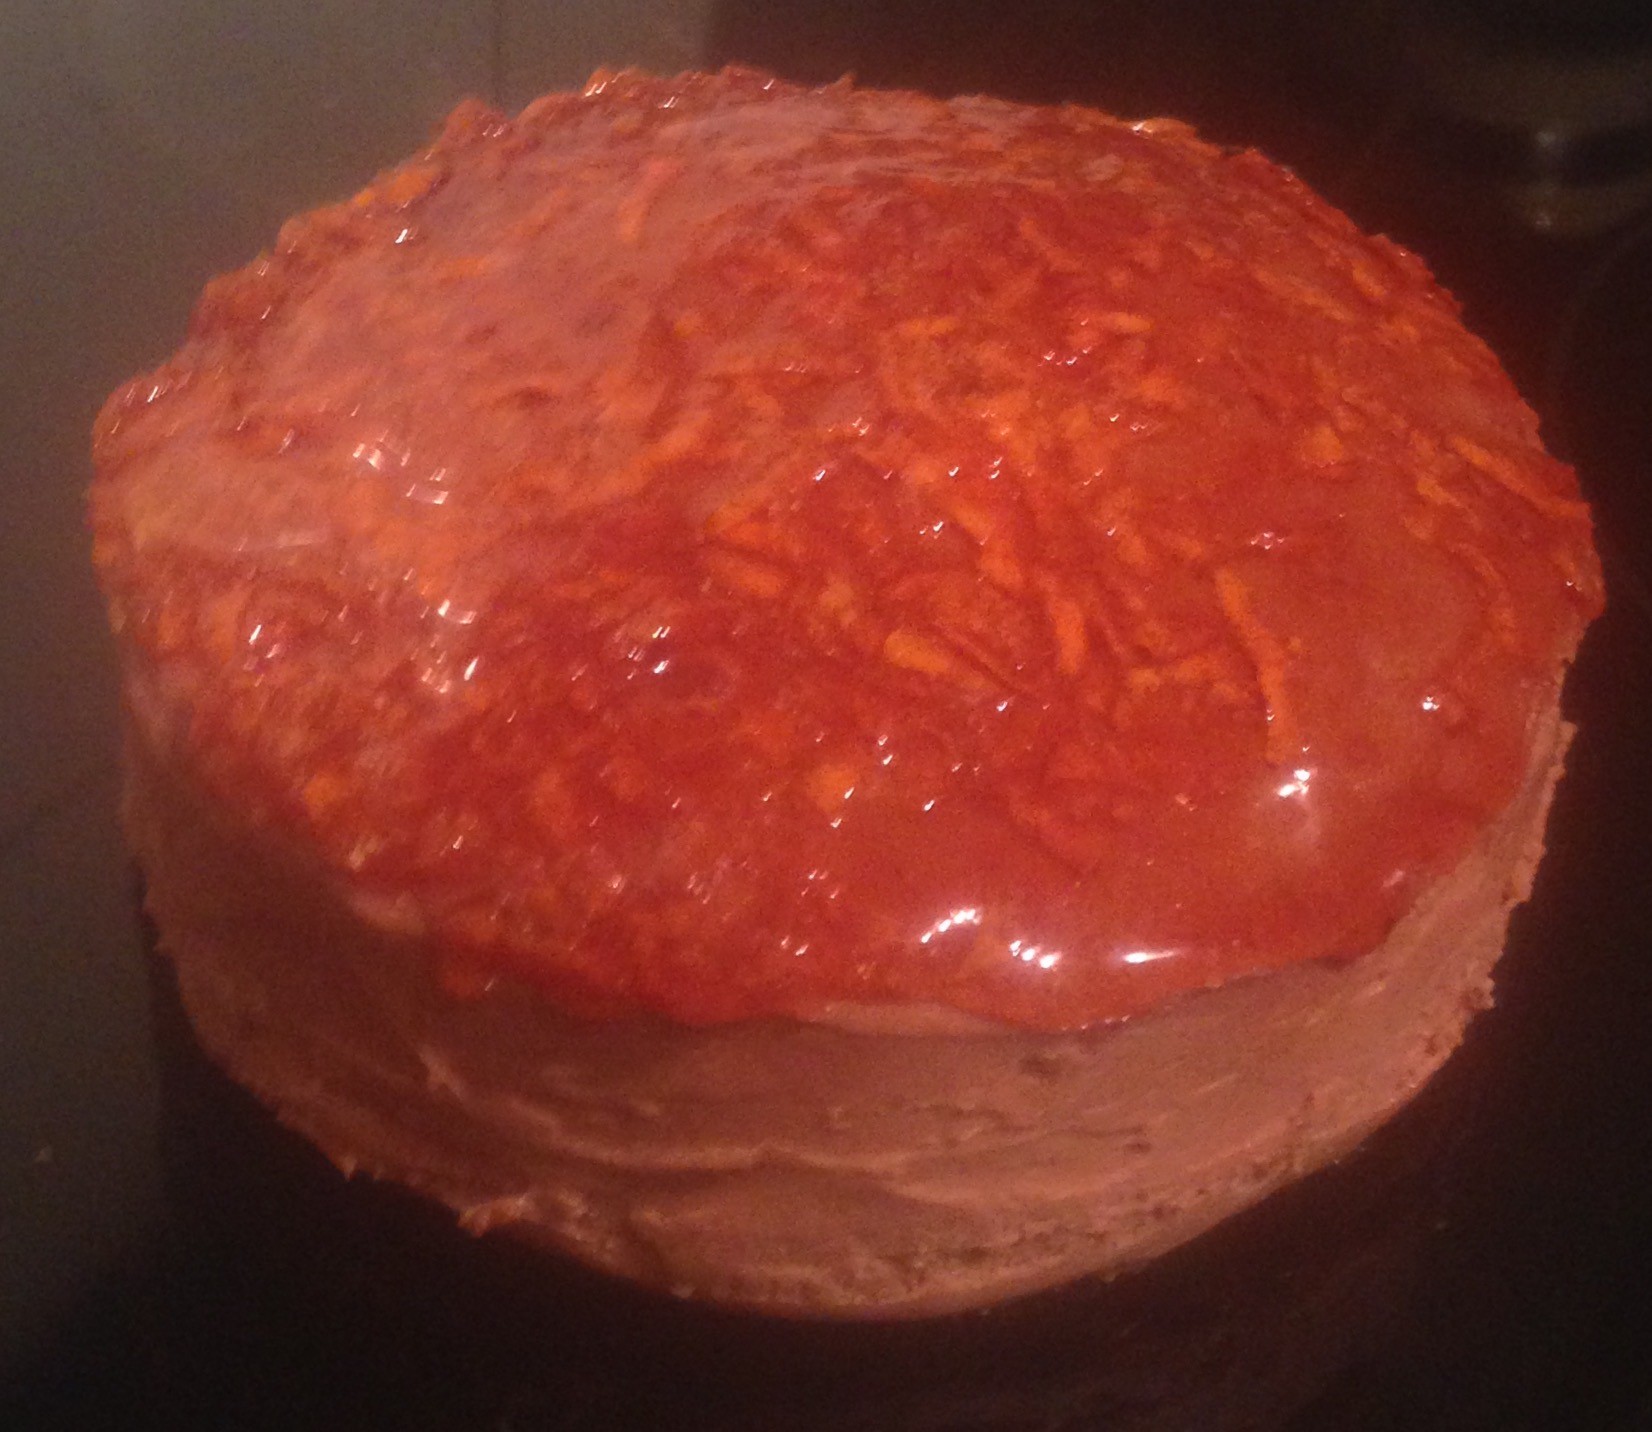
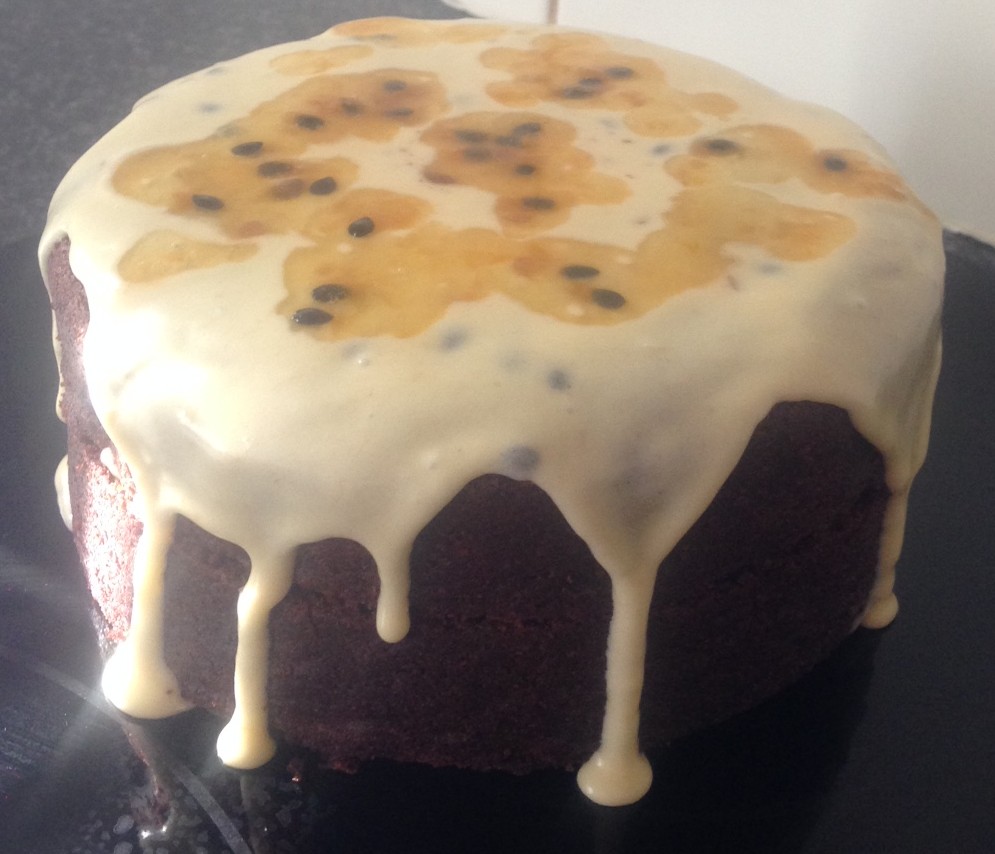
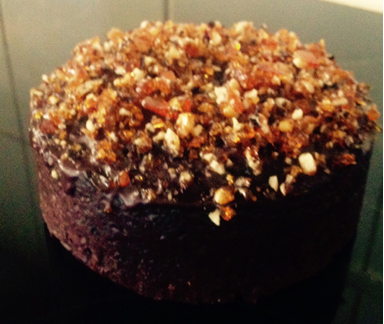
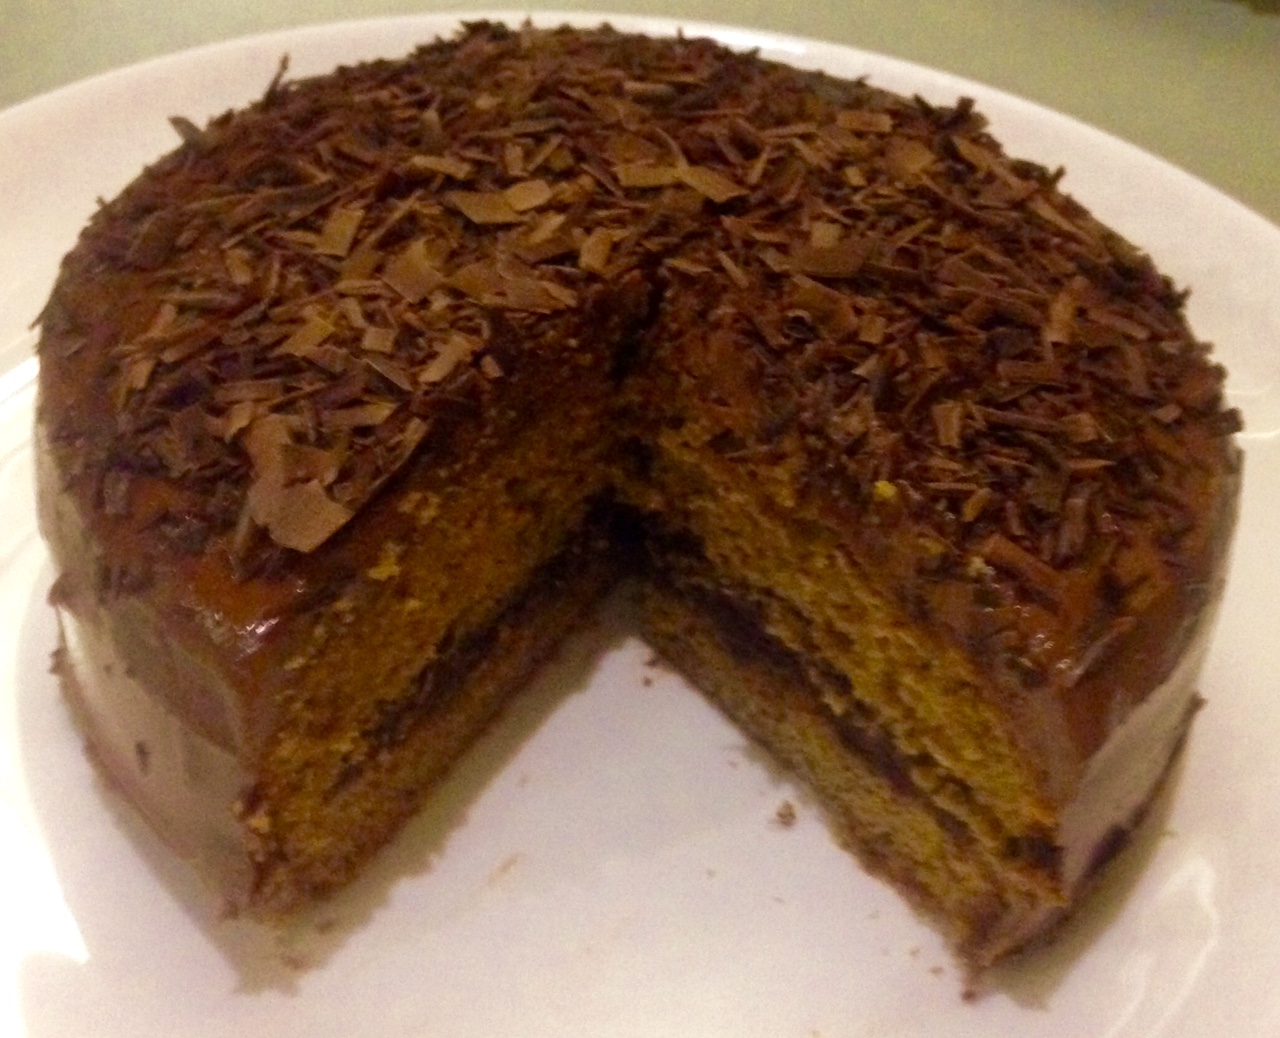
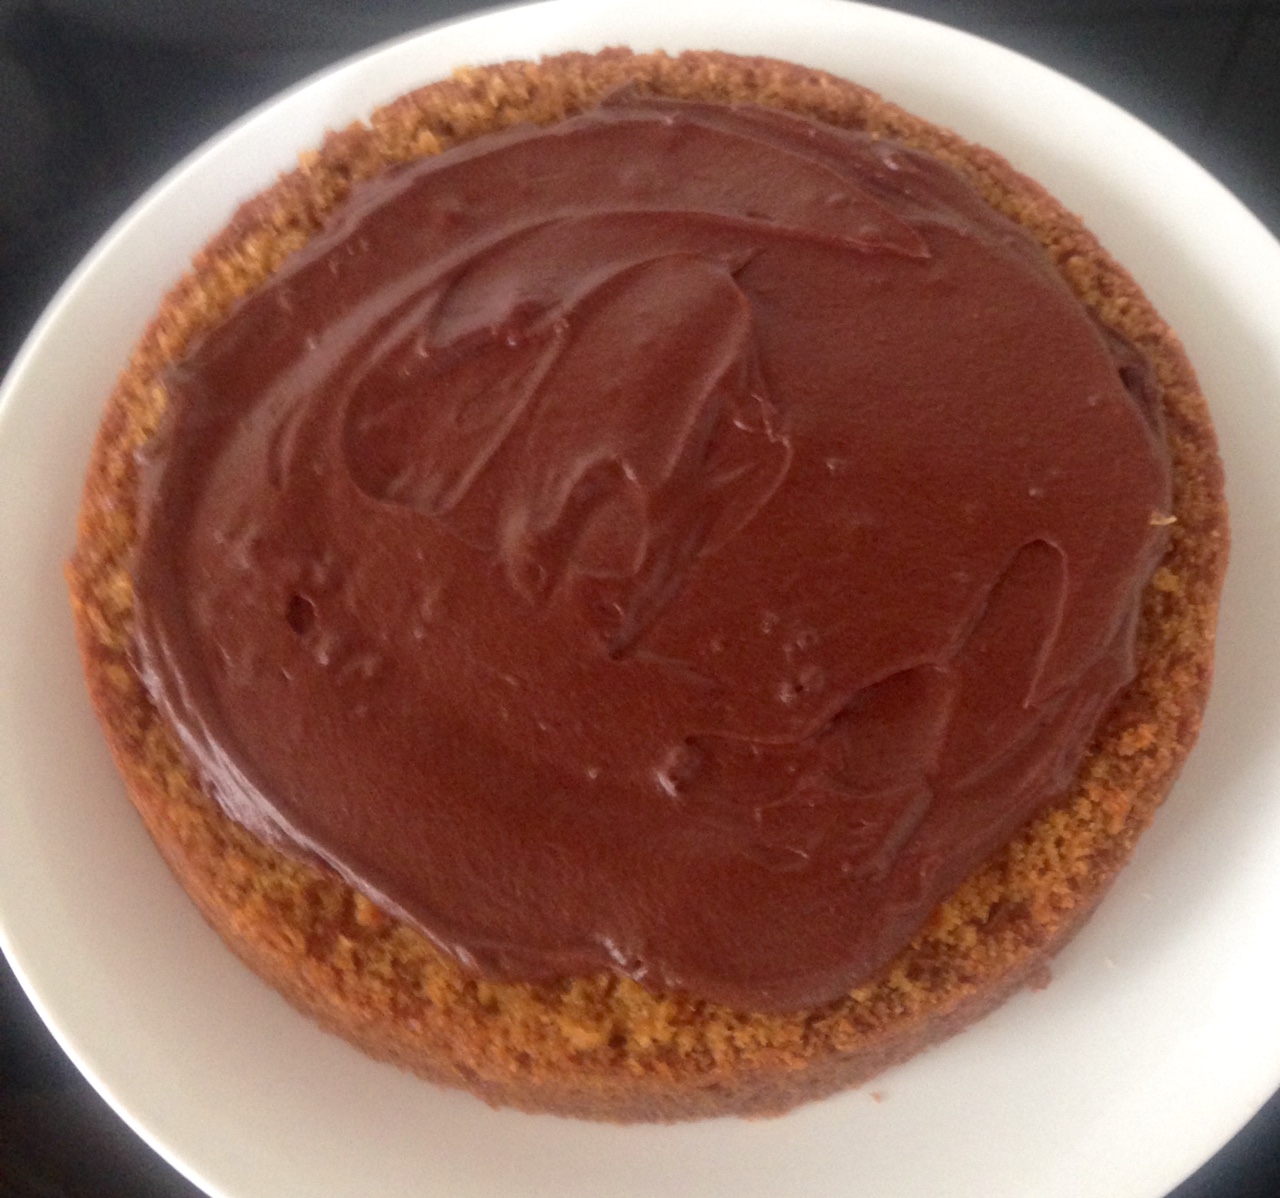
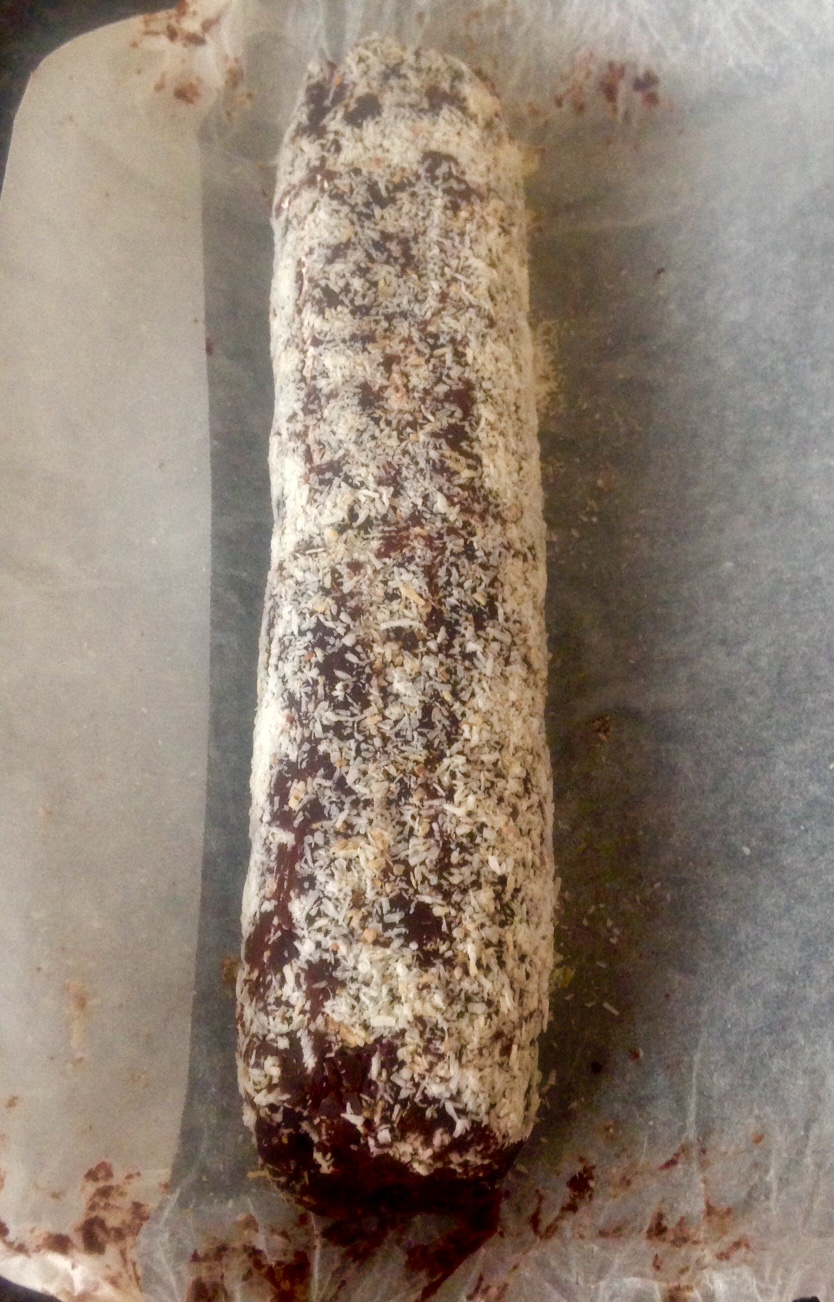
I decorated with extra pear slices and and shaved chocolate.
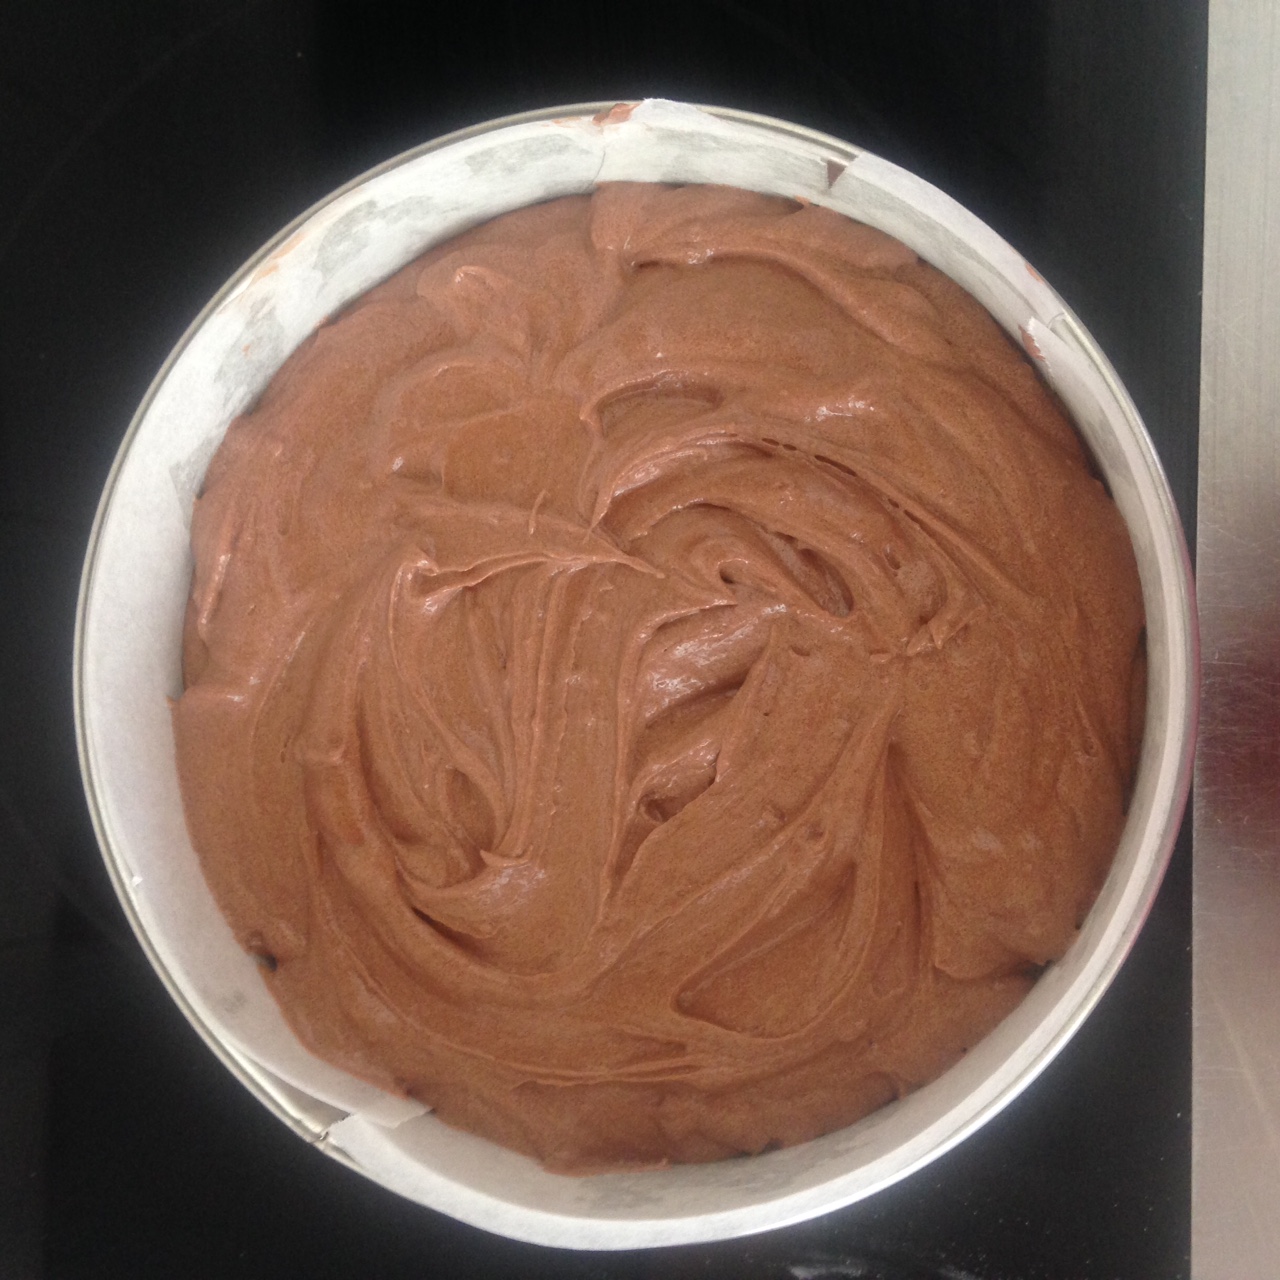
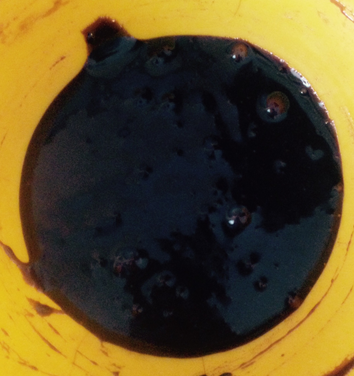
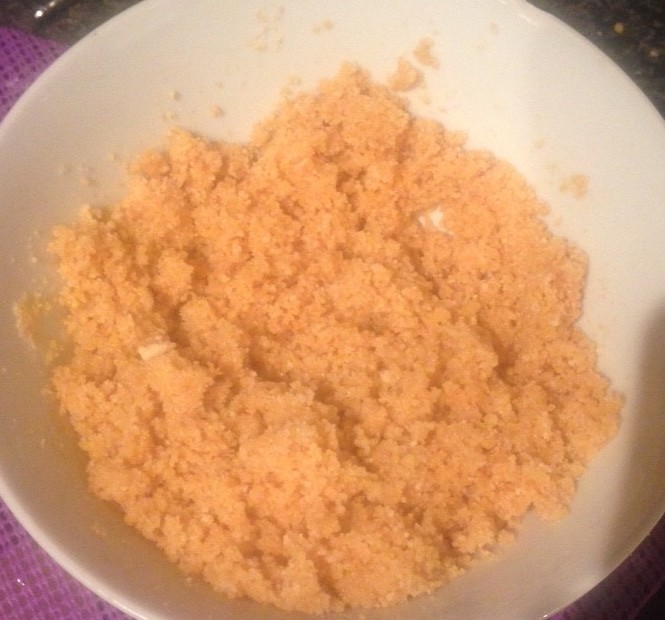
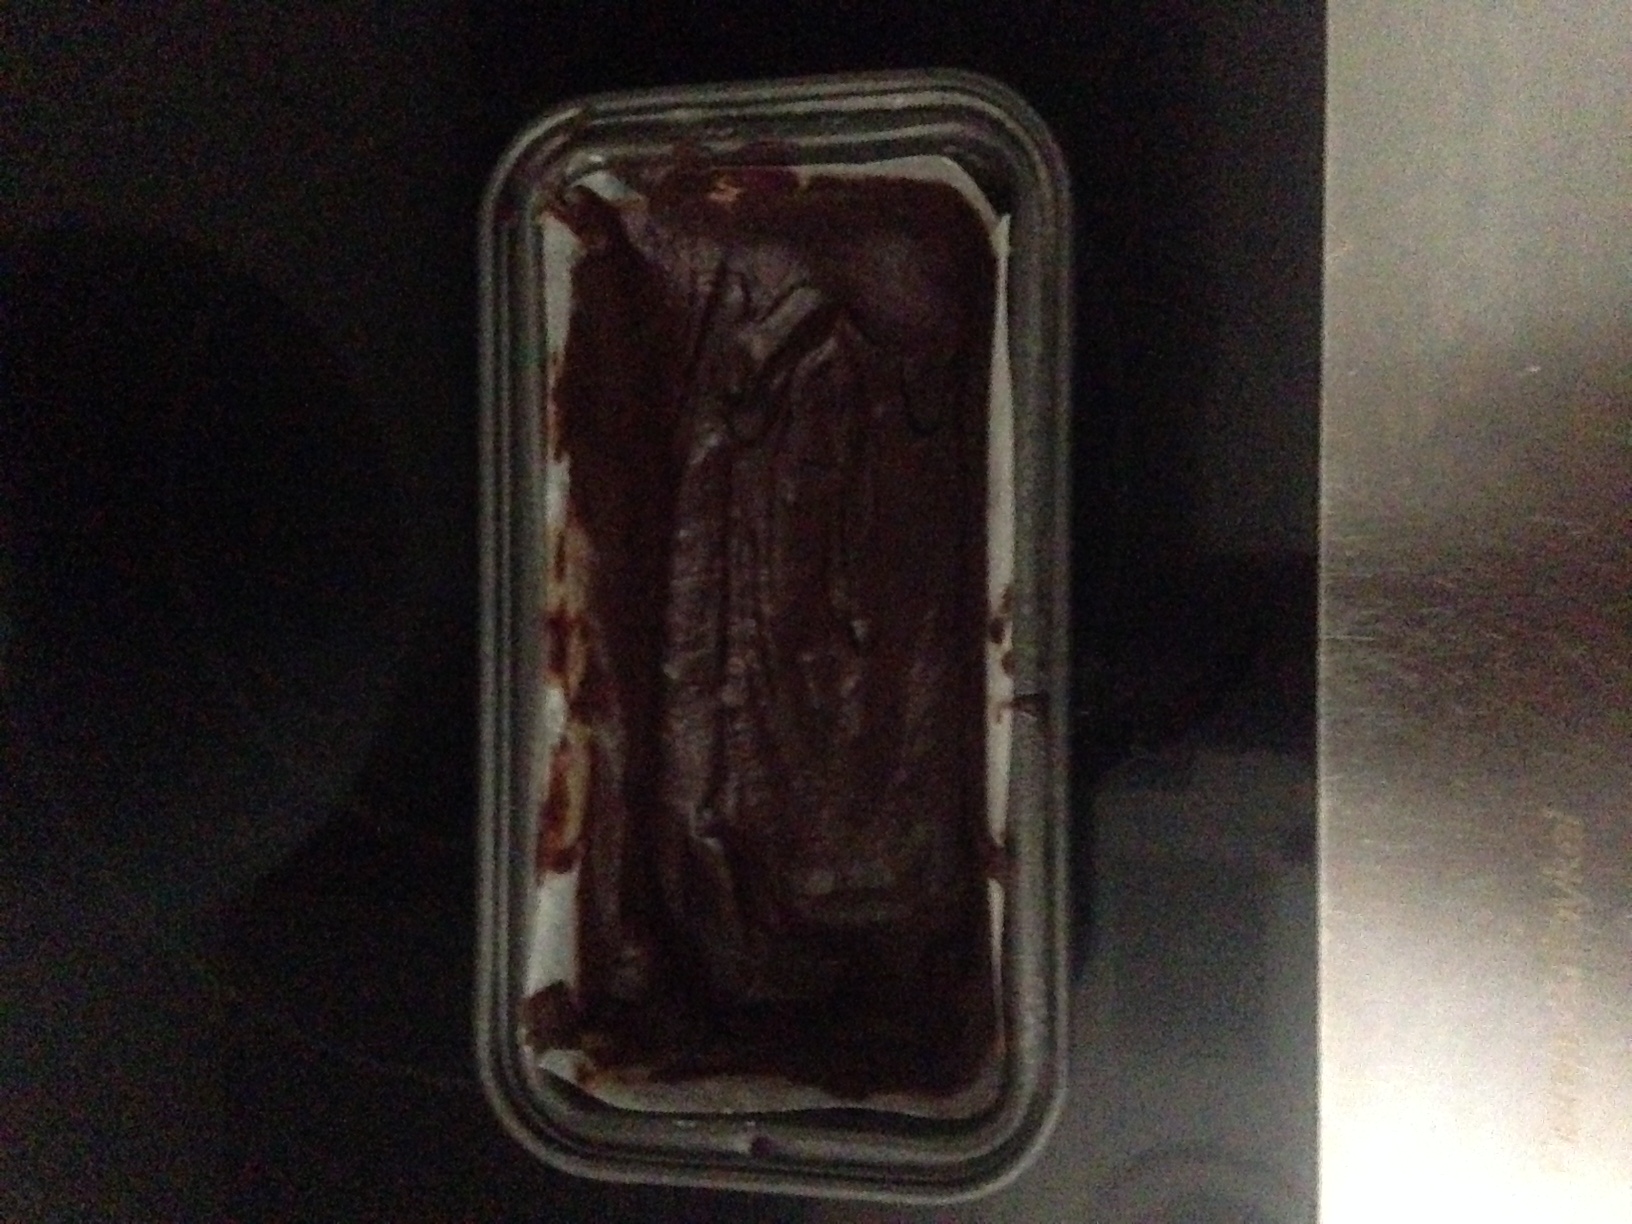
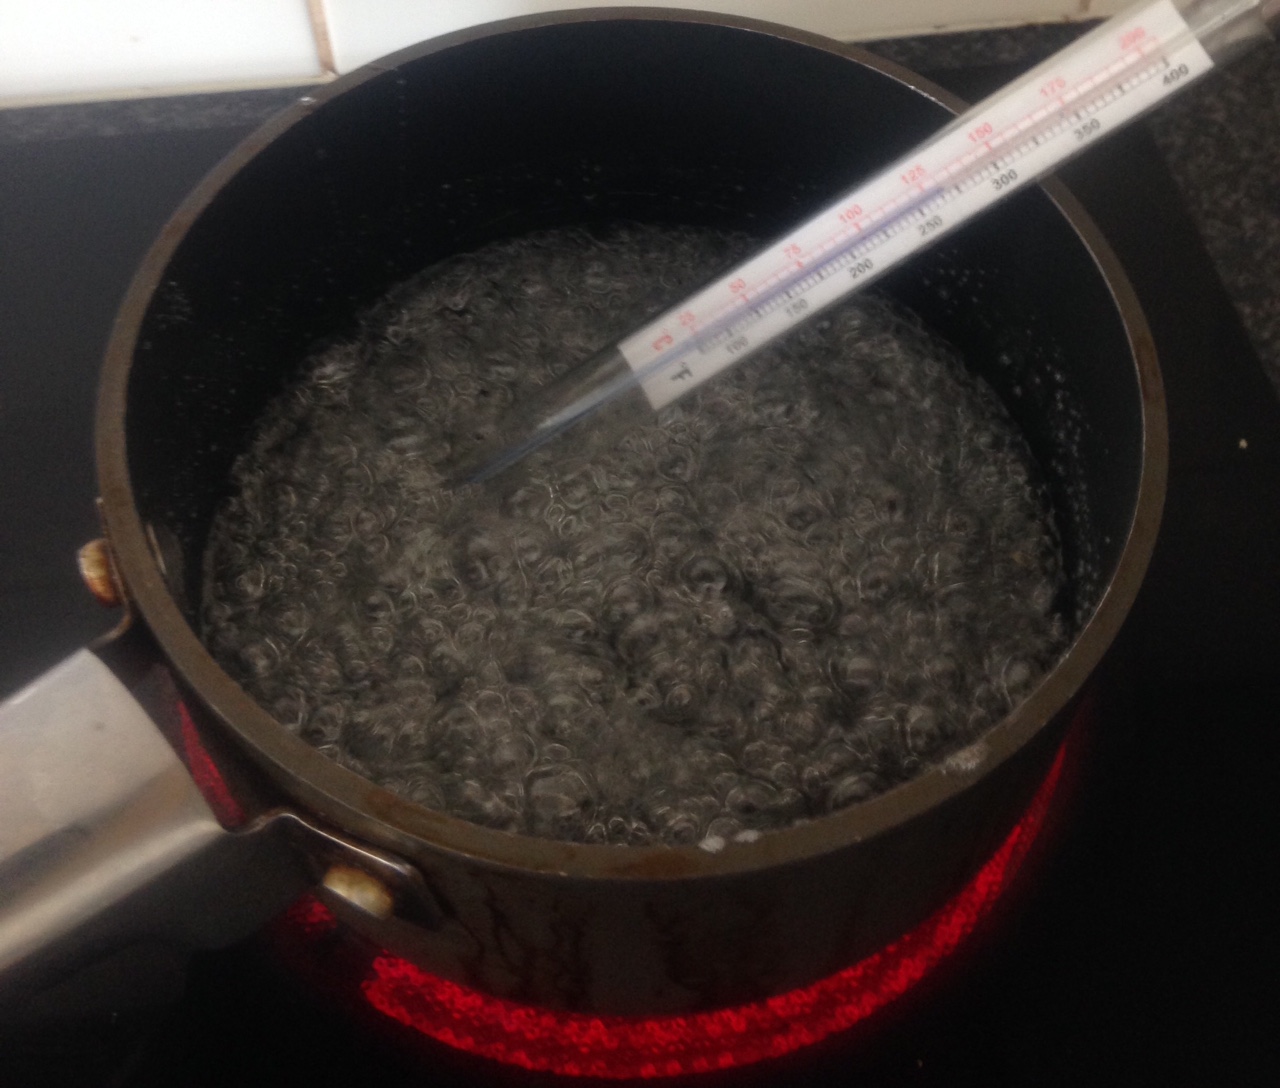
- Step 2
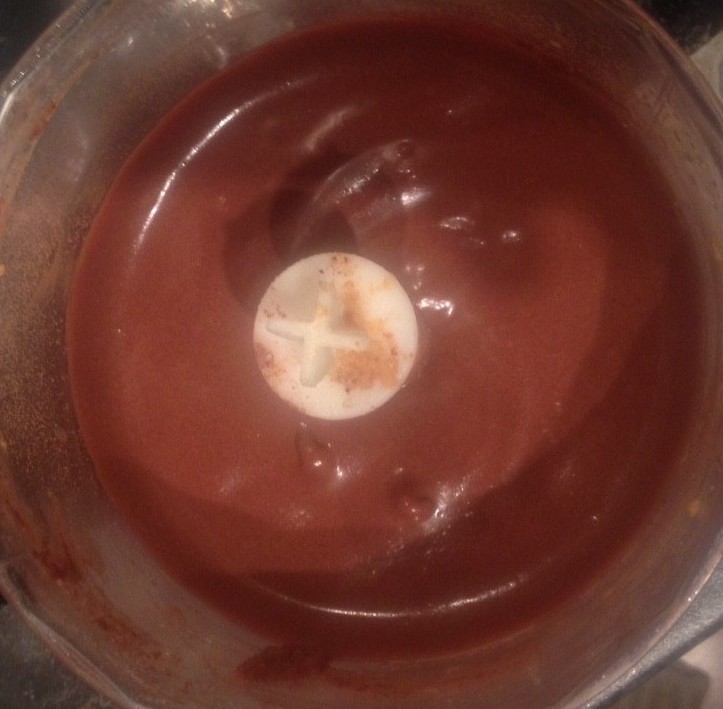
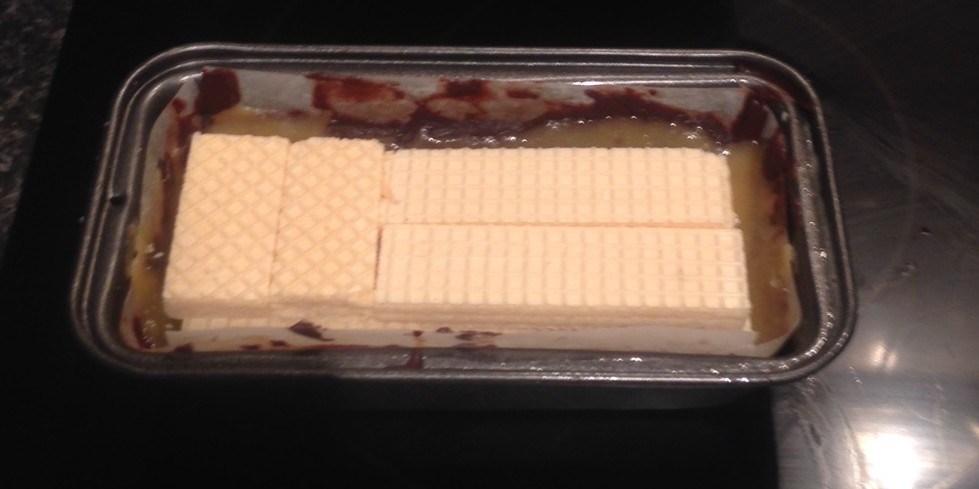
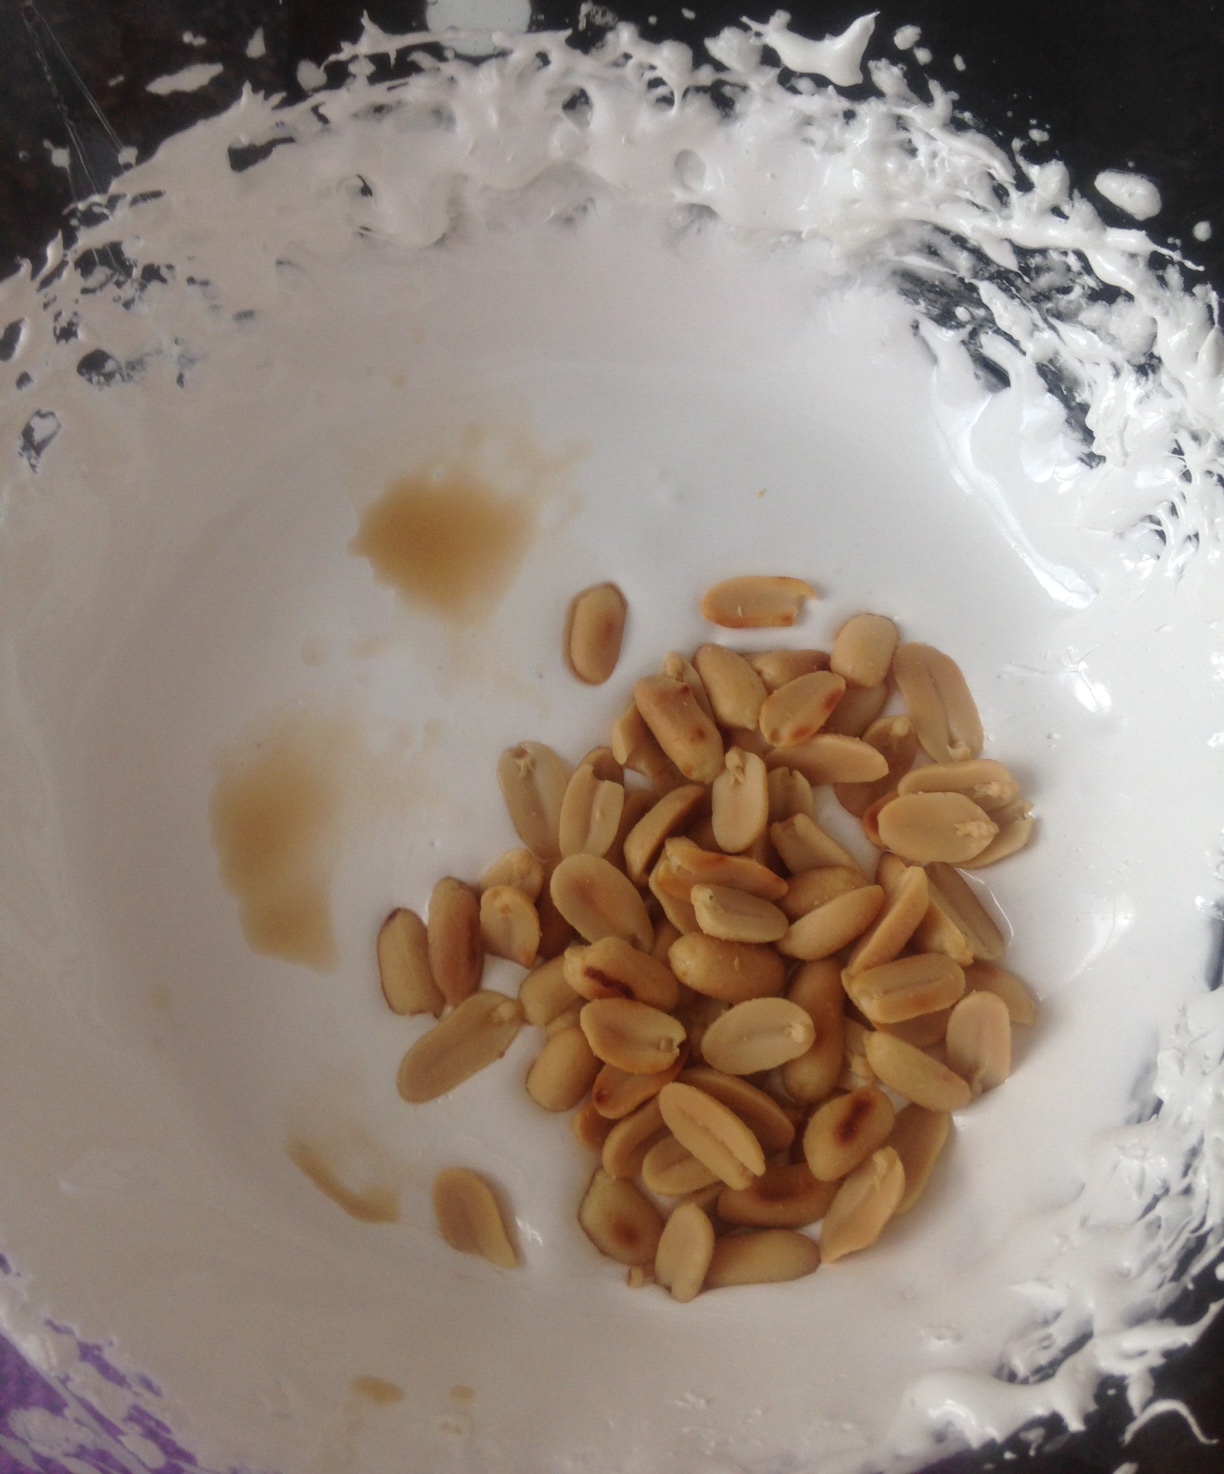
- Step 9

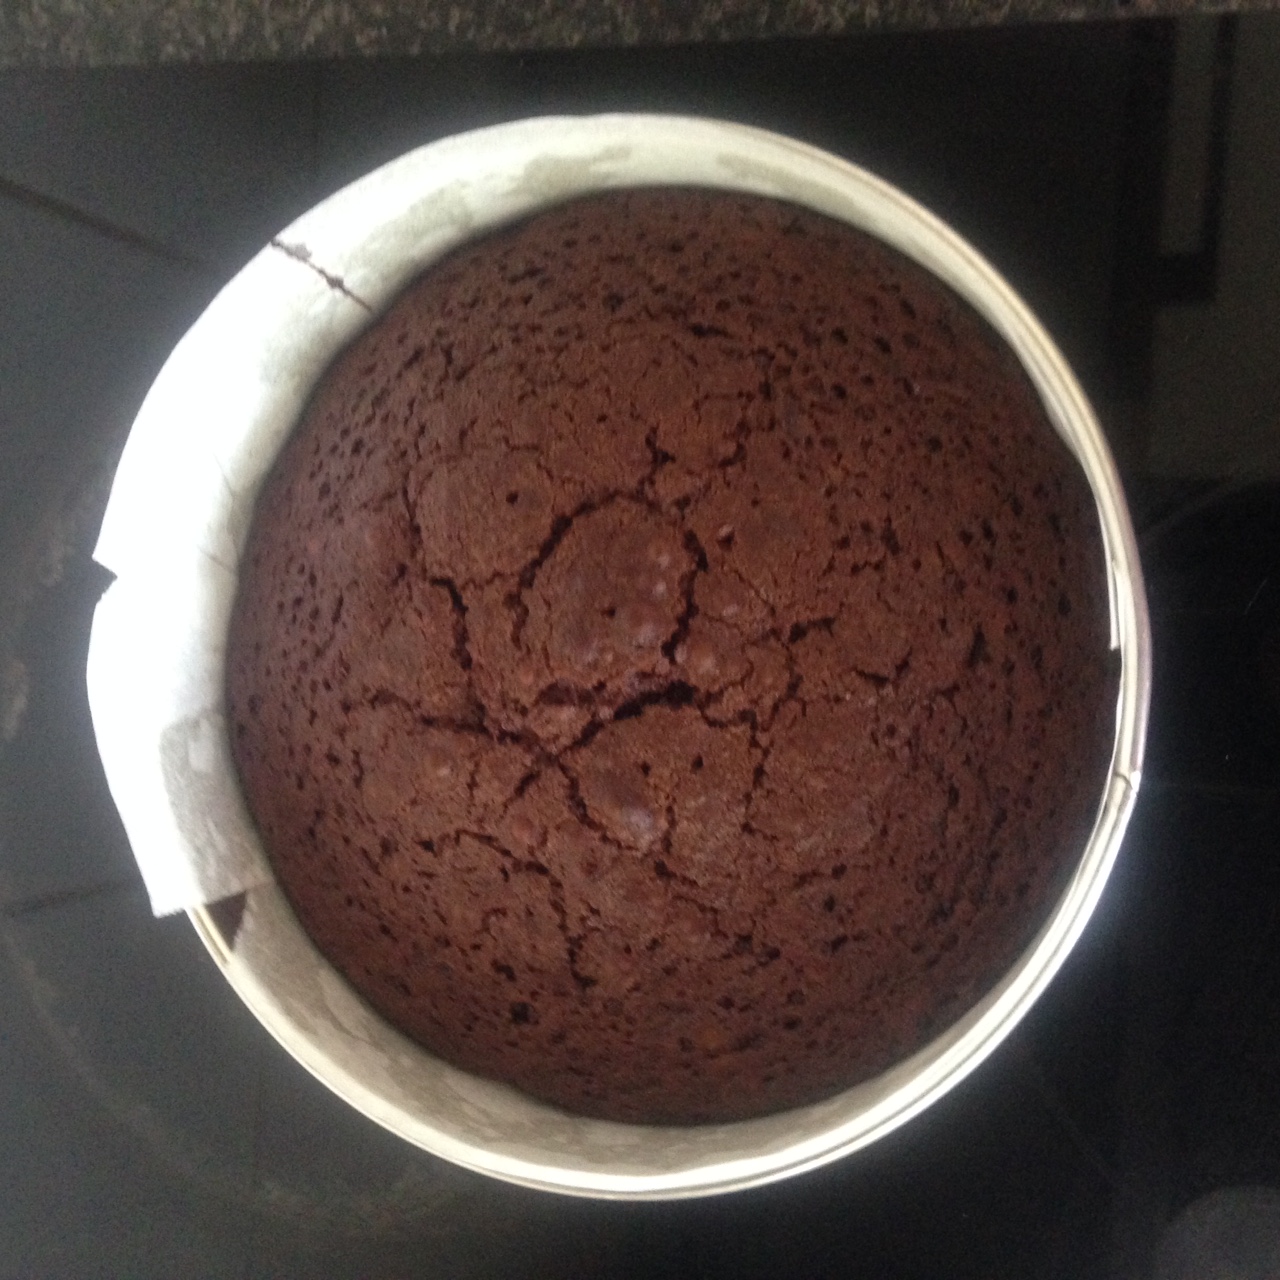
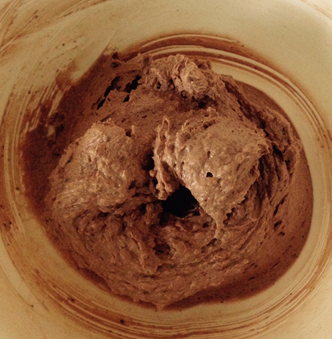
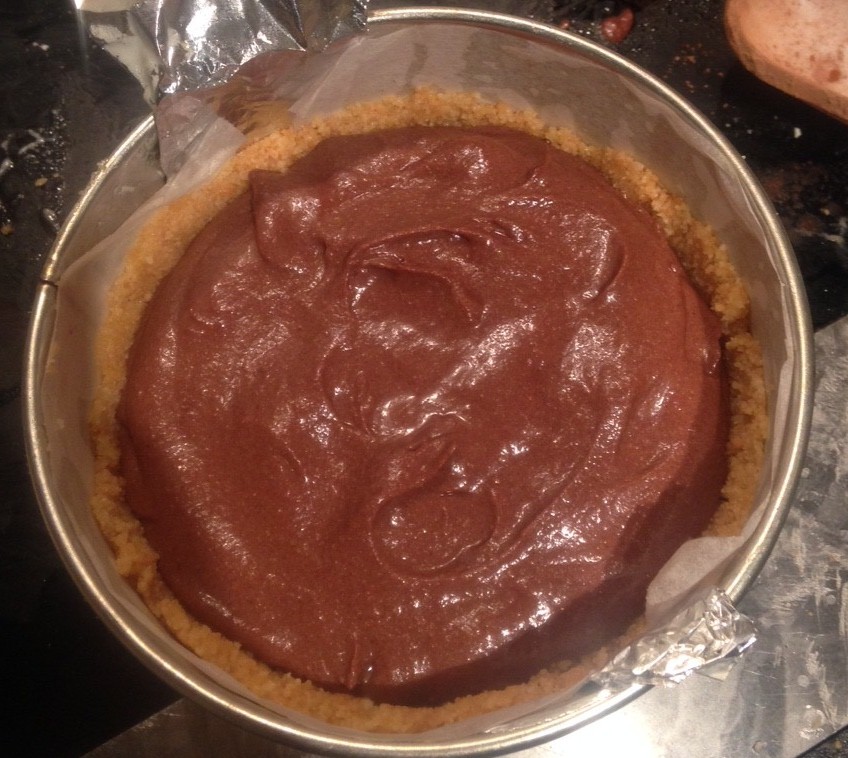
- Step 10

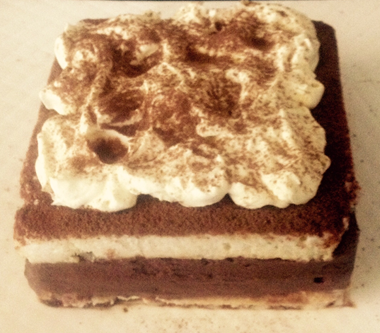
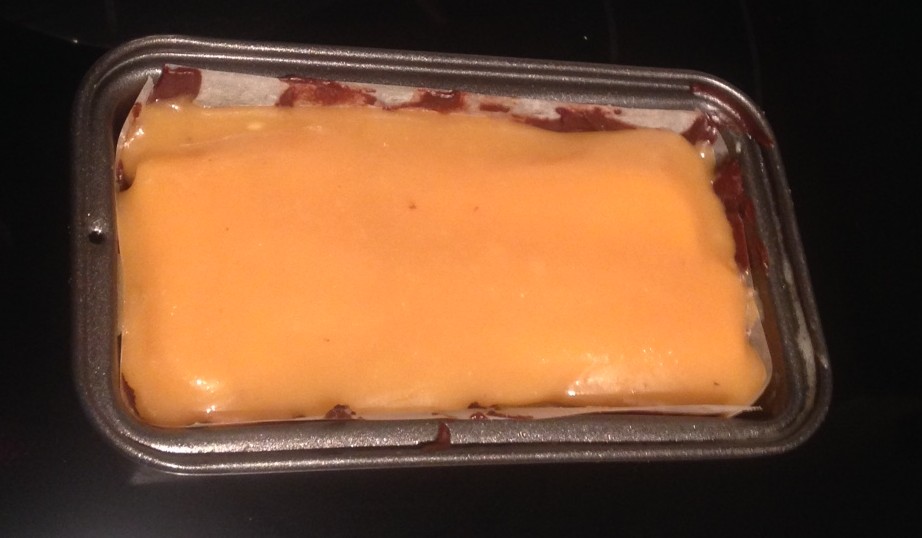
- Step 11
Like this recipe? Subscribe via RSS or email to get my new entries and more scrumptious recipes with reviews.
 Follow