Orange Lemon and Chocolate Cannoli Tart
I have this absolutely awesome Cannoli recipe where I usually cheat and buy the Cannoli shells from my Italian grocery down the road. I buy the shells as I’m not a fan of deep frying food and to be honest try to opt for the more healthier versions of sweets if I can.
Now, my Italian grocery has recently been taken over and I don’t like my chances of being able to get my hands on the usual traditional Italian products I have in the past. So I had a though…What would happen if I tried to make my awesome Cannoli’s in a tart instead of the fried shells?
Sweet pastry is quite simple to make (especially if you have a food processor) therefore by turning my Cannoli’s into a tart I won’t have to deep fry or make my own shells.
The outcome – This by far would have to be one of the best sweets I have made in a long time. The only difference from my Cannoli recipe is I added an egg and baked this version and OMG I had people telling me how much they adored my tart that had never commented on my baking before.
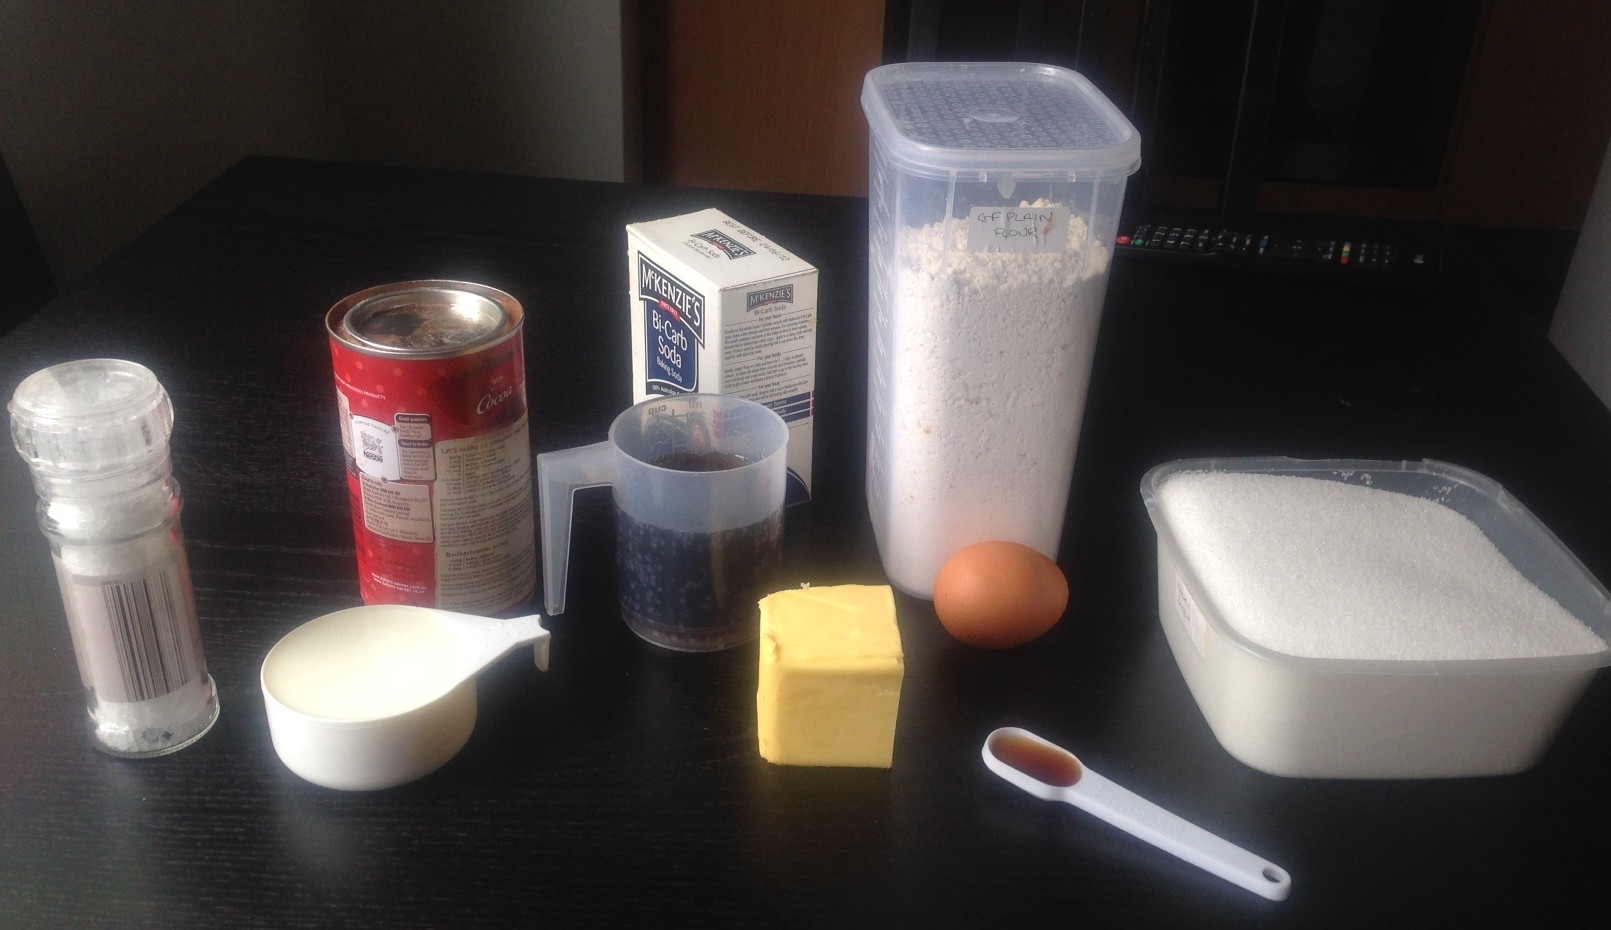
Ingredients:
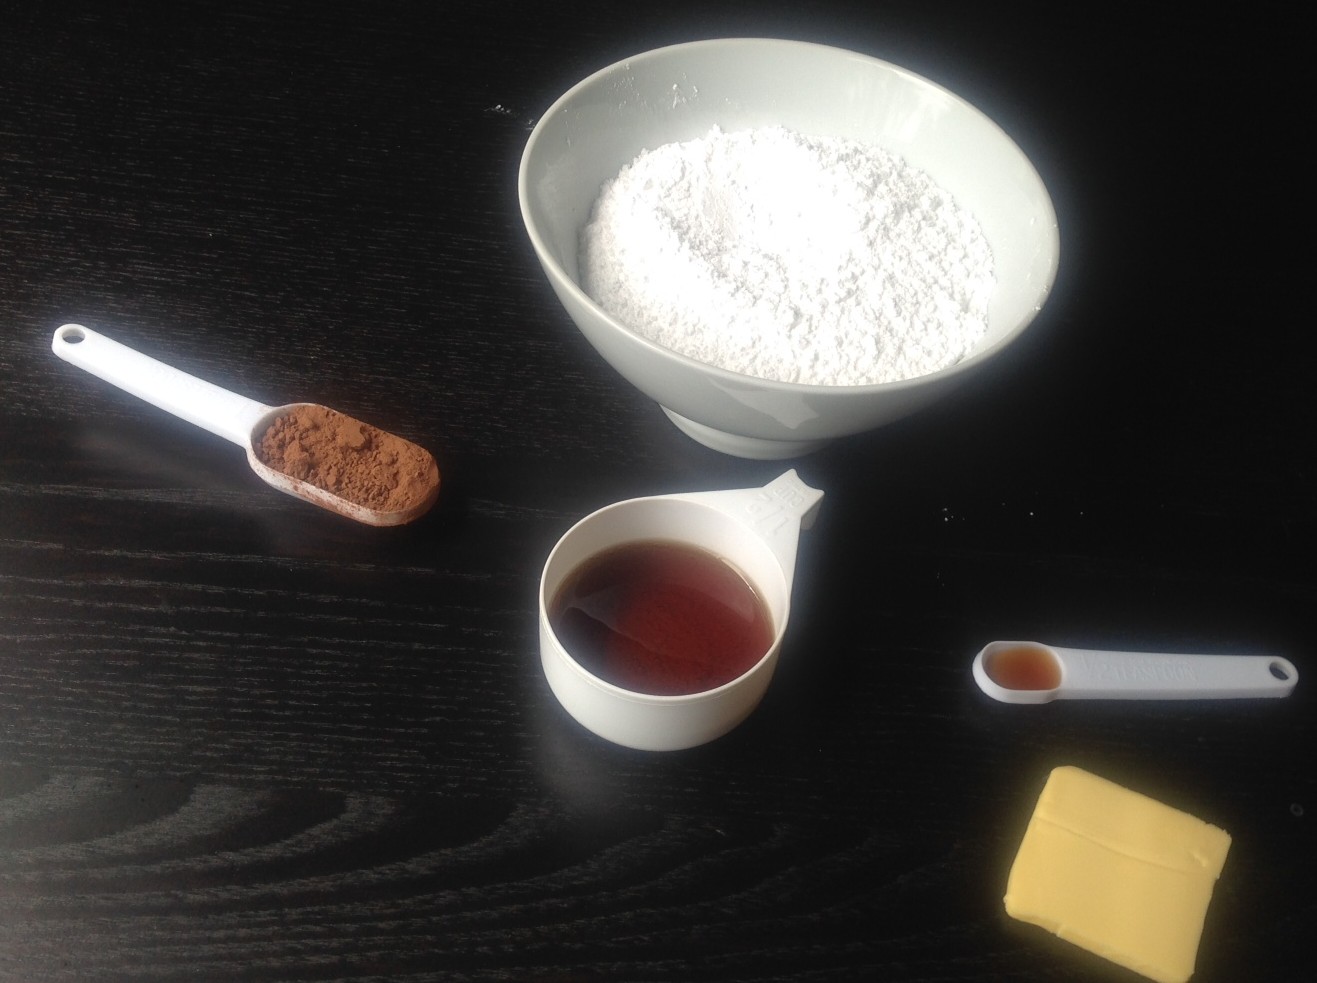
Pastry
- 2 cups flour
- ½ cup white sugar
- ½ tsn salt
- 2 tsn cocoa powder
- 100g butter
- 1 egg
- 1 tbns milk
Filling
- 375g ricotta
- 165g icing sugar
- 1 egg
- I lemon
- 1 orange
- 100g 70% cocoa dark chocolate
Method:
- Pre-heat the oven to 175c and spray a tart tin with oil.
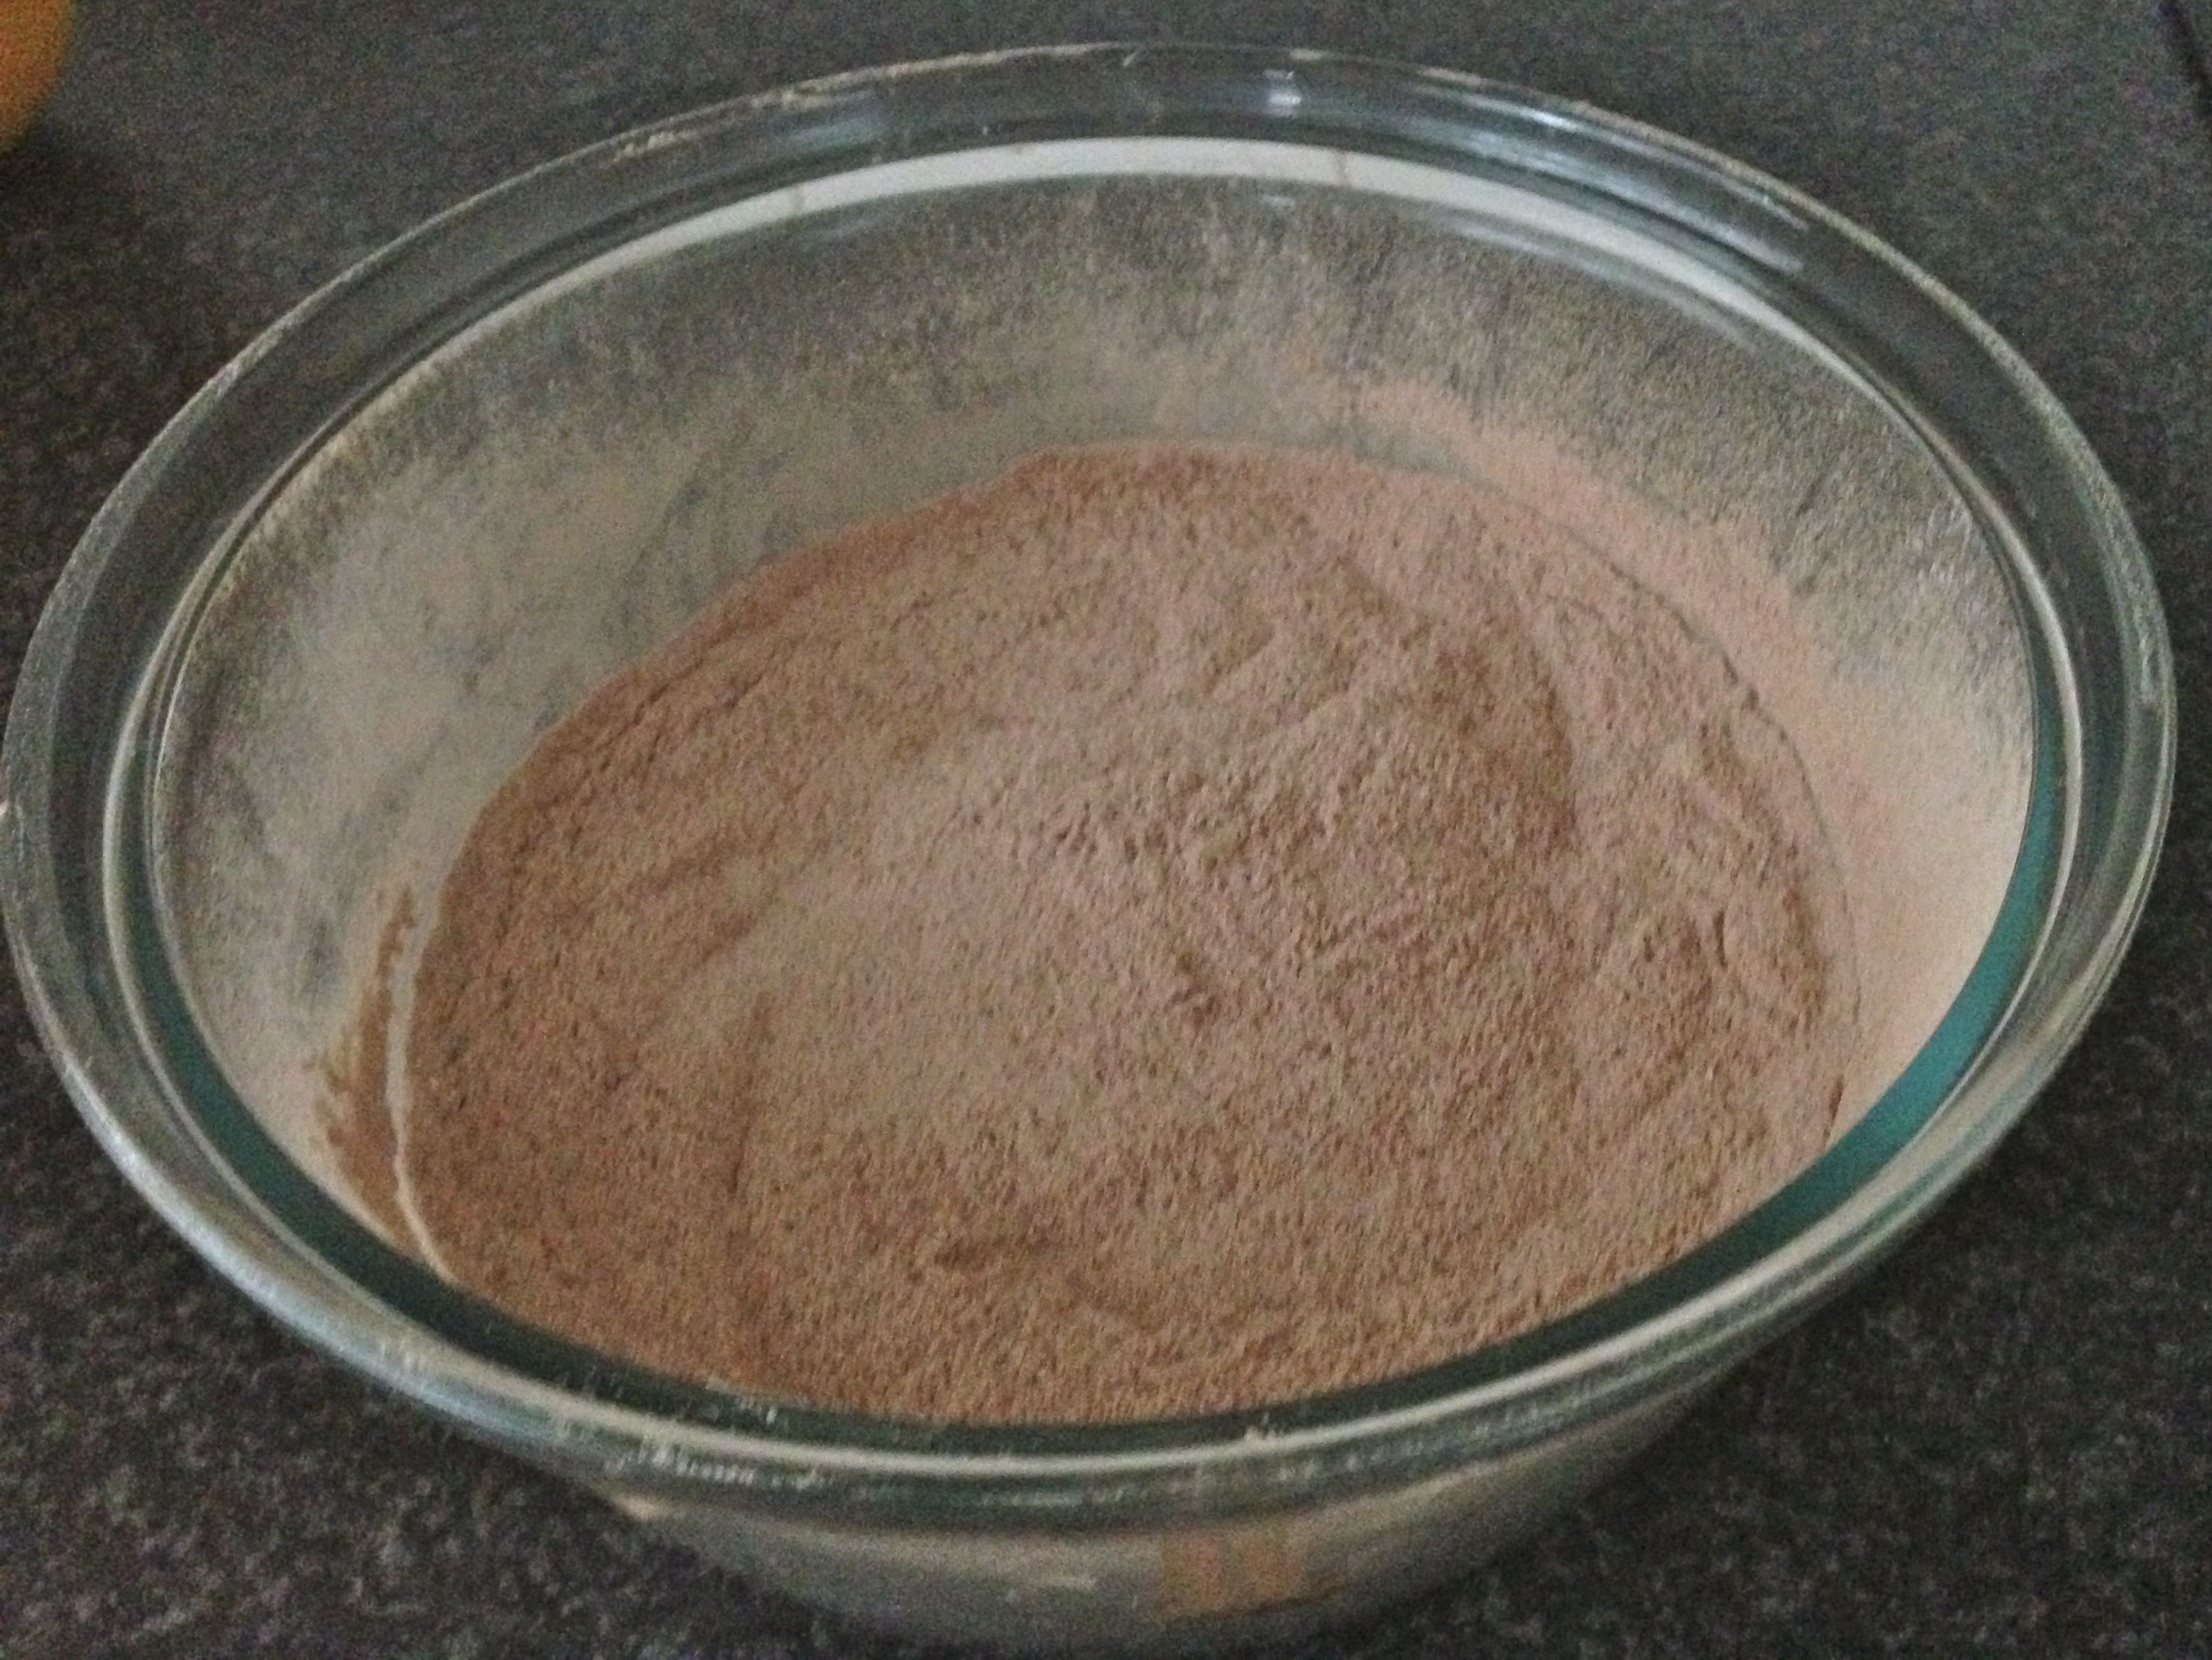
- Place the flour, sugar, salt and cocoa powder into a food processor and pulse a few times to mix.
- Dice the butter into small pieces and process until combined.
- Add the egg and milk and process until combined.
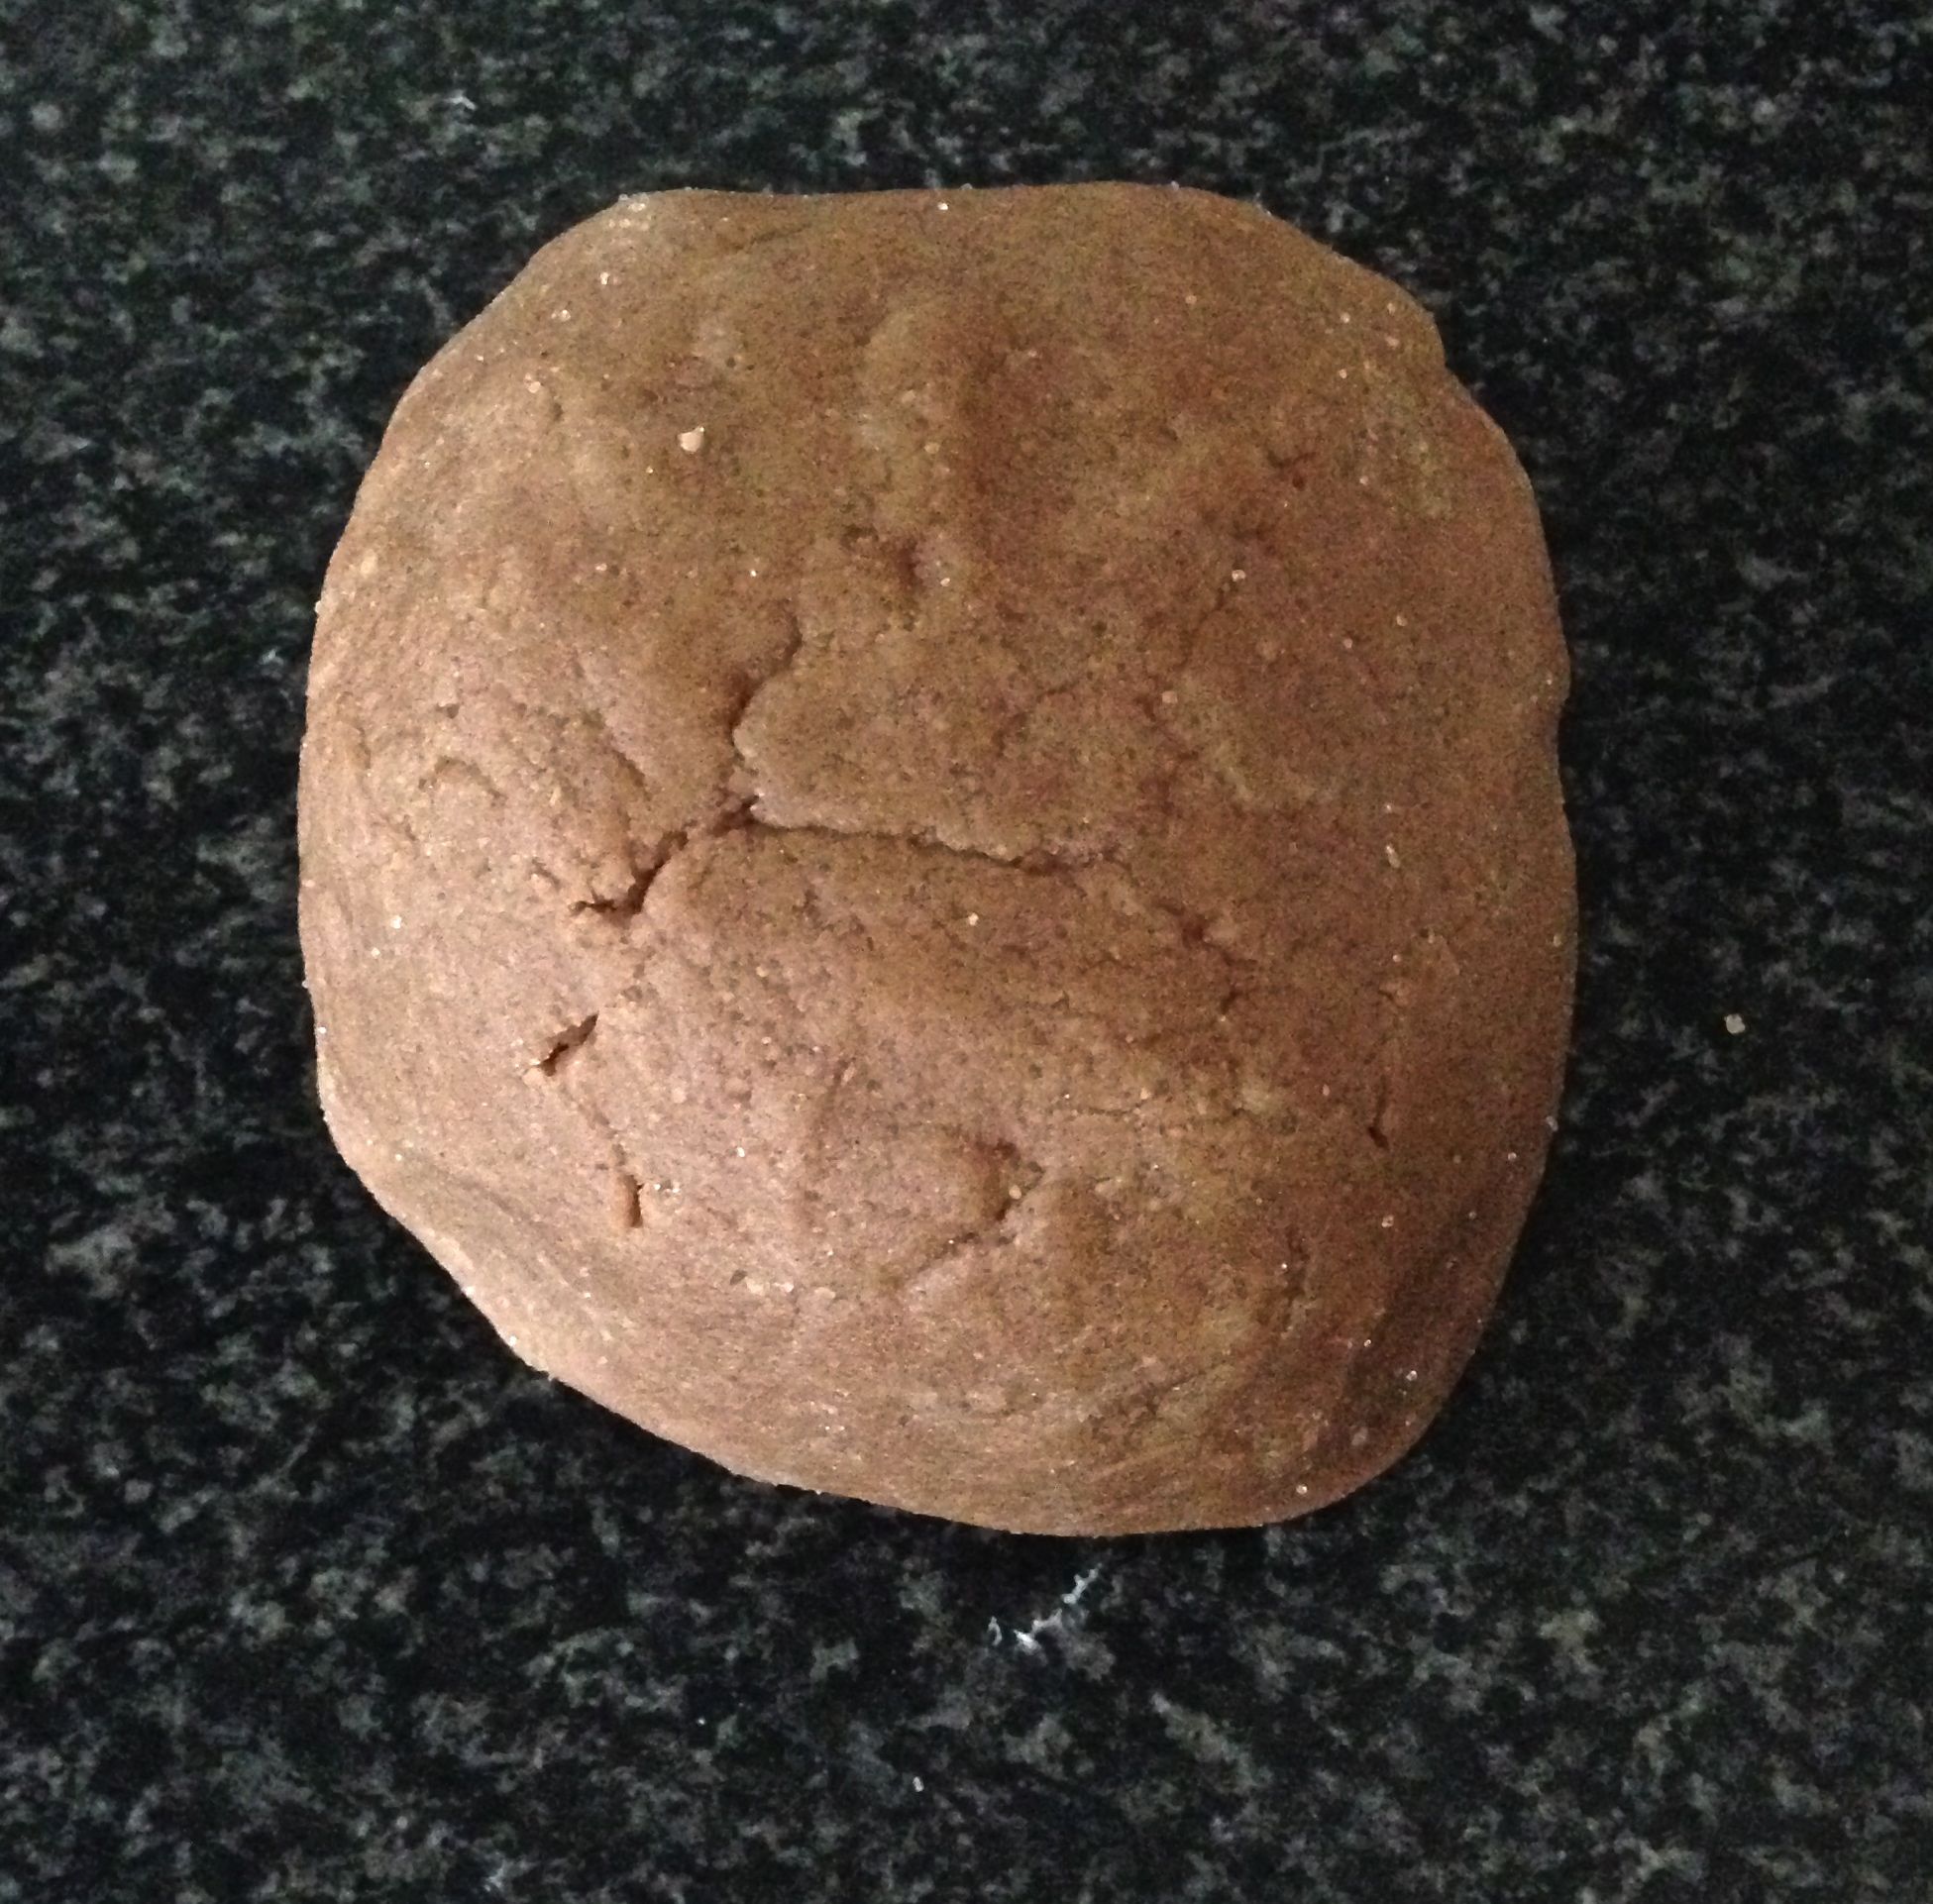
- Wash hands and turn dough out into a ball onto baking paper.
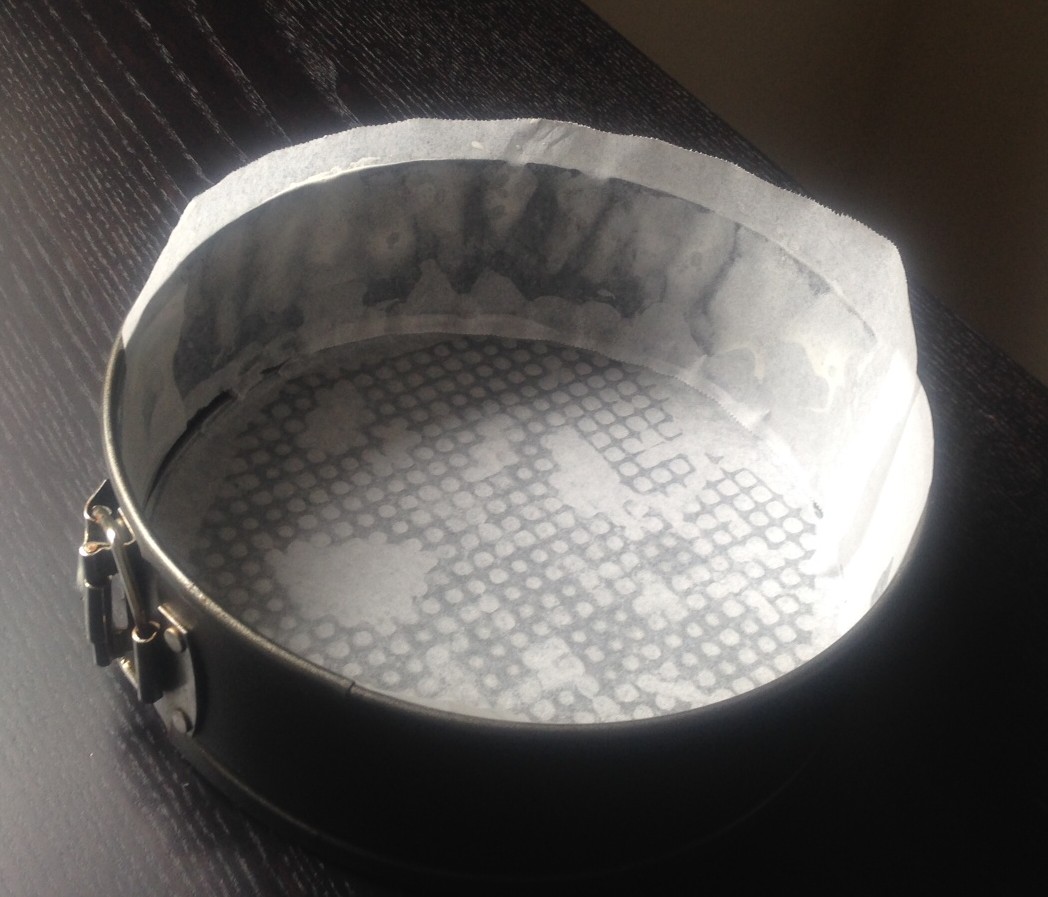
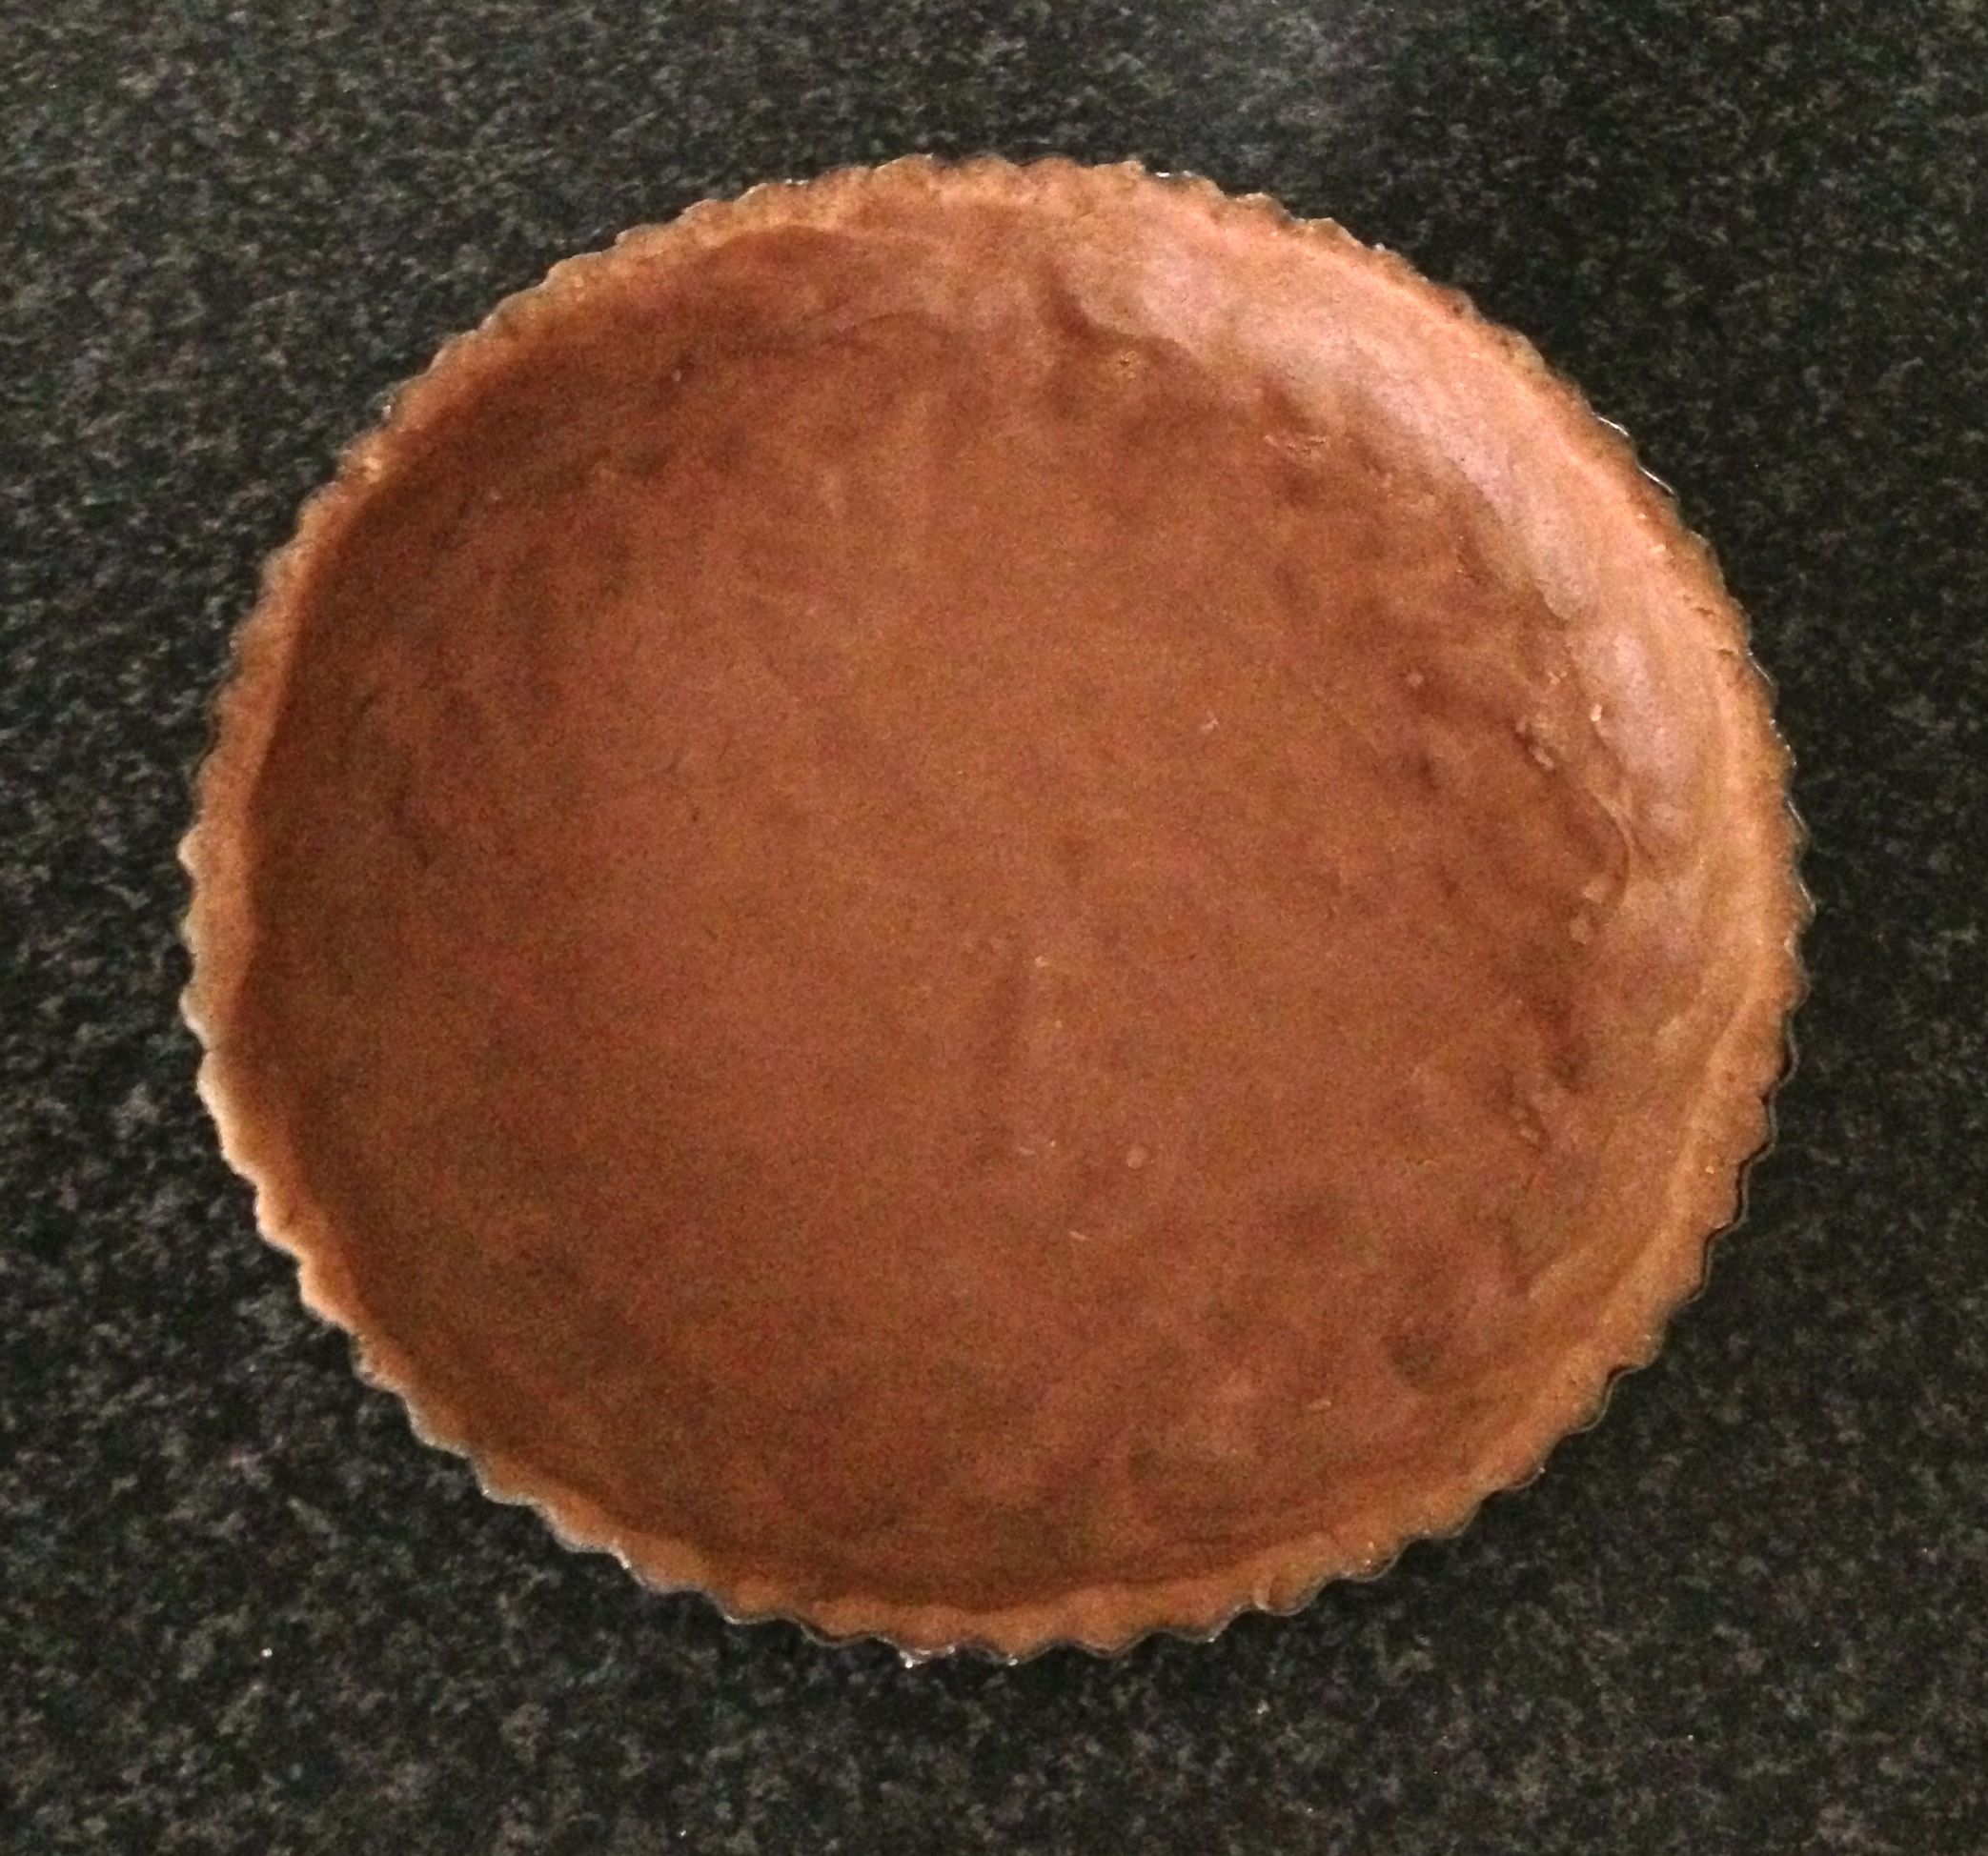
- Using a rolling pin roll the dough into a circle shape and place into the tart tin and place tin into the fridge for 20 mins.
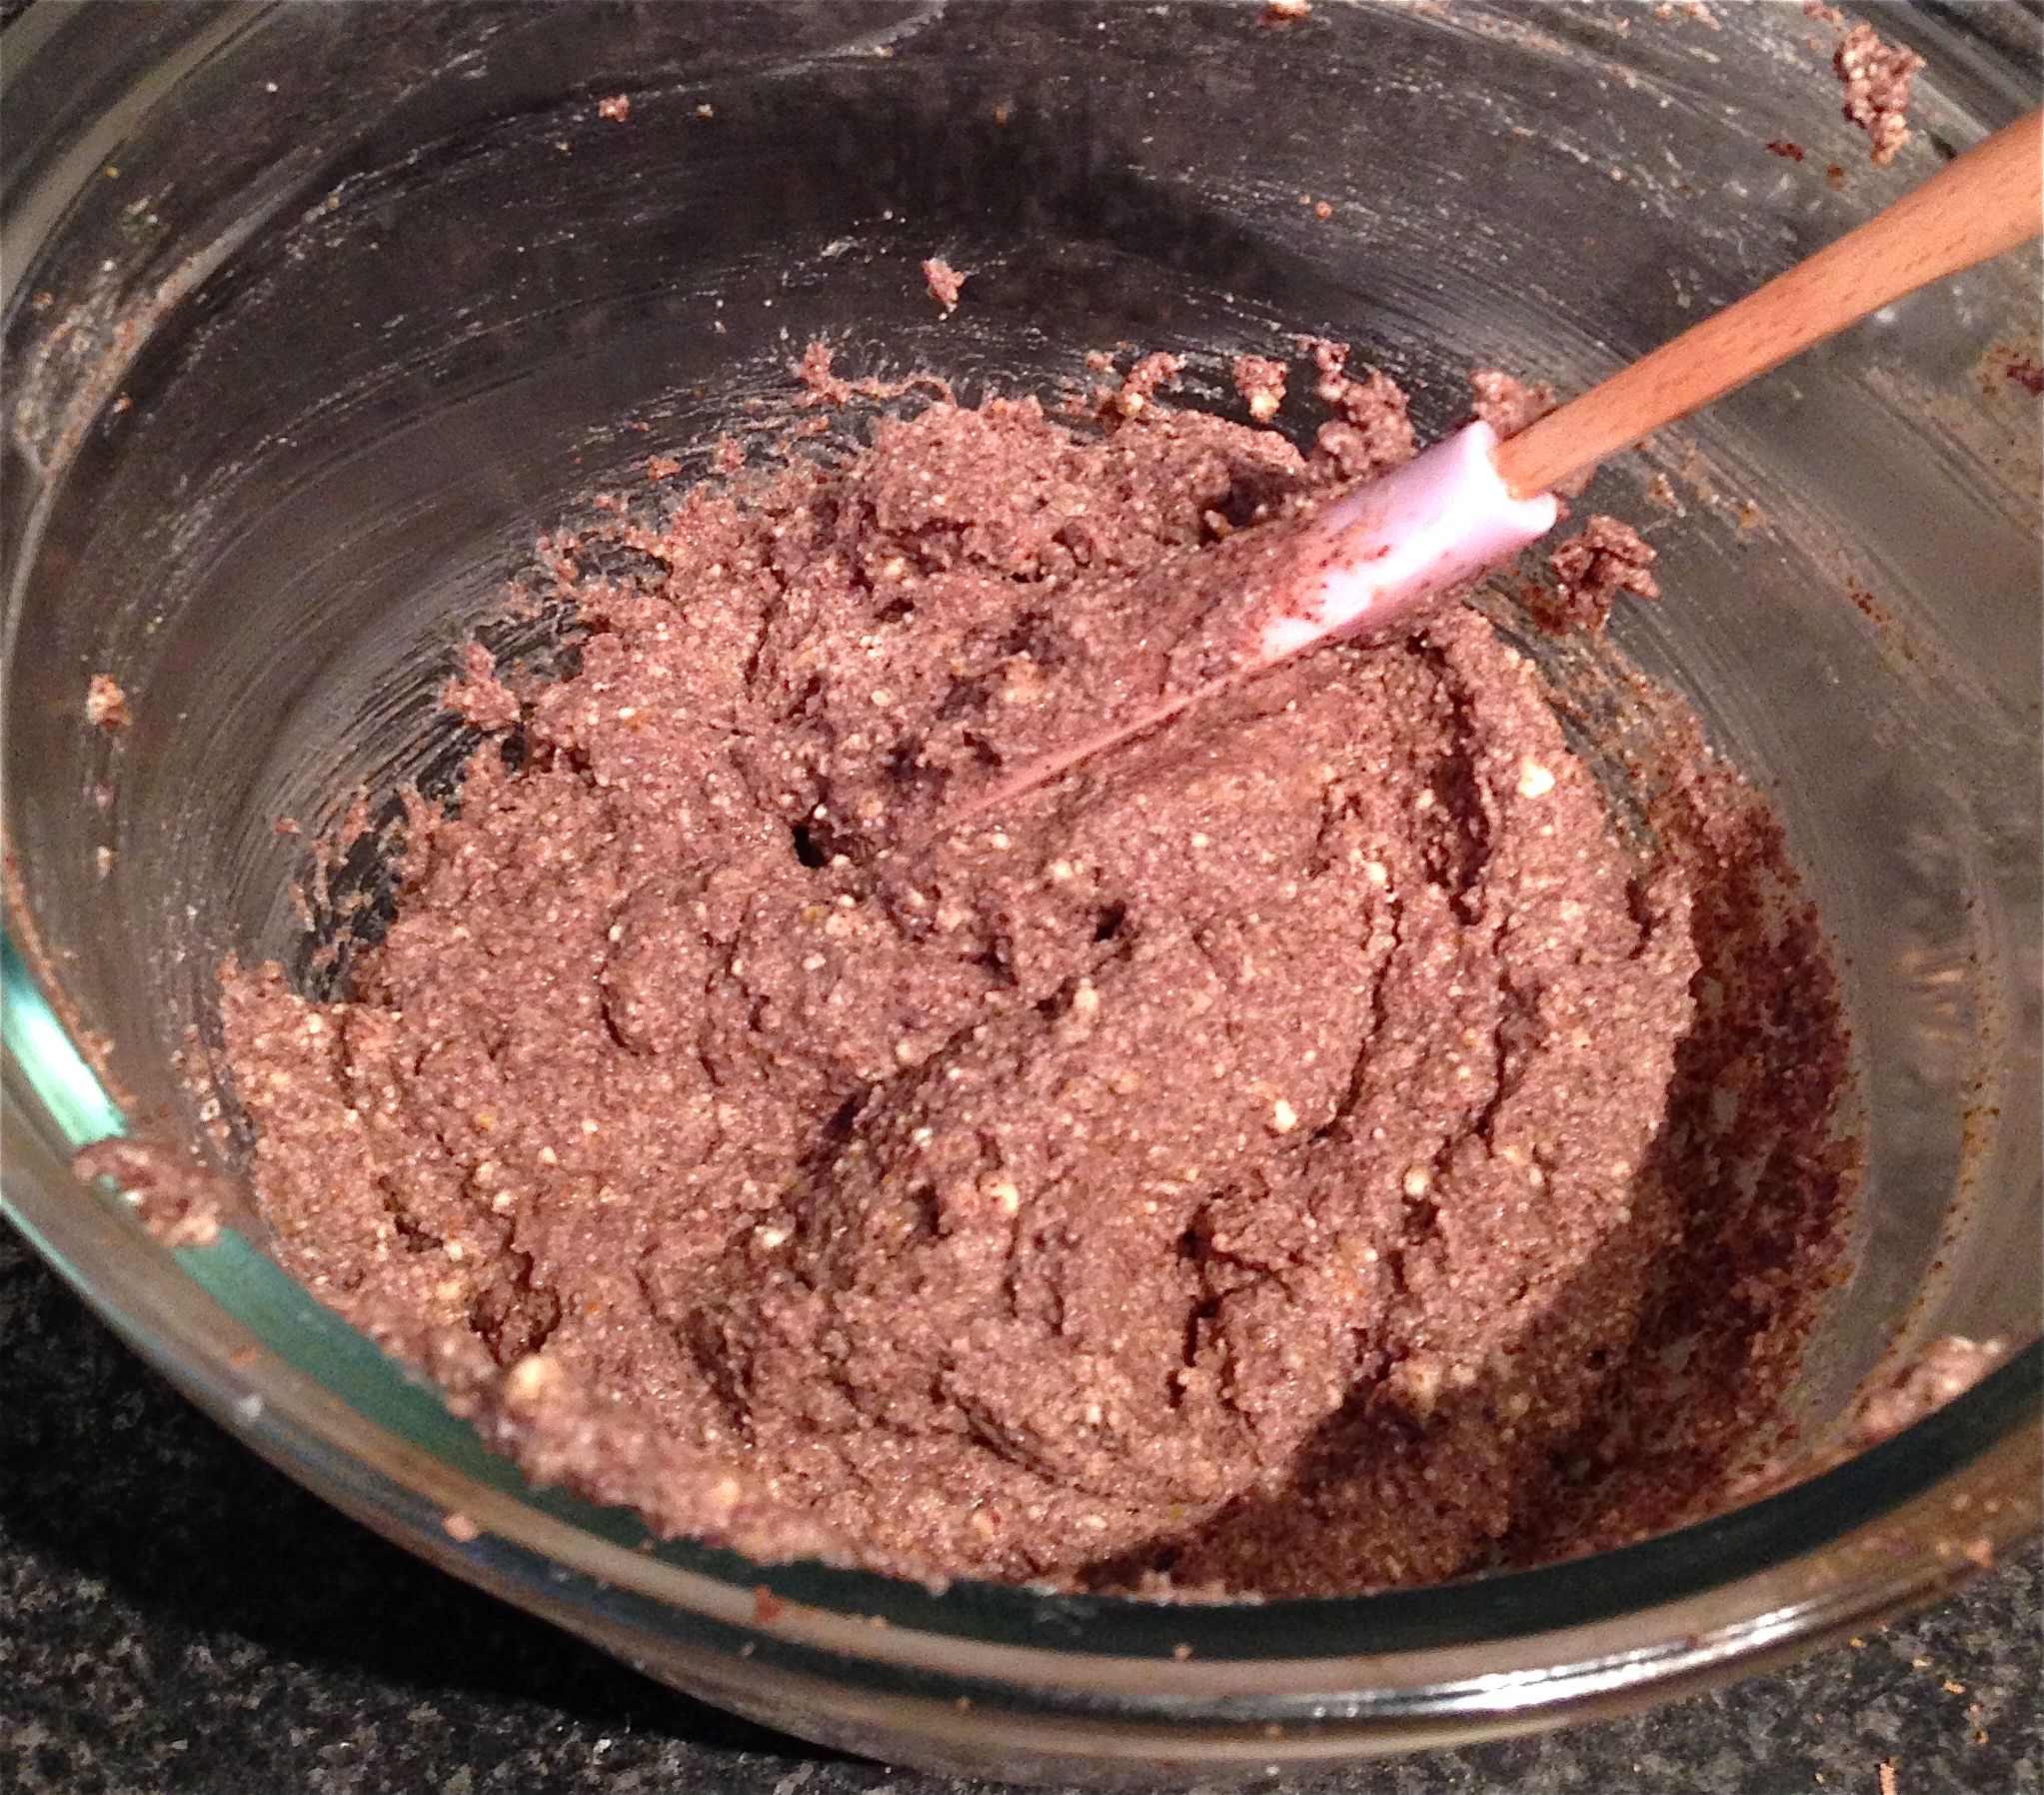
- Place the ricotta, egg and icing sugar into a bowl.
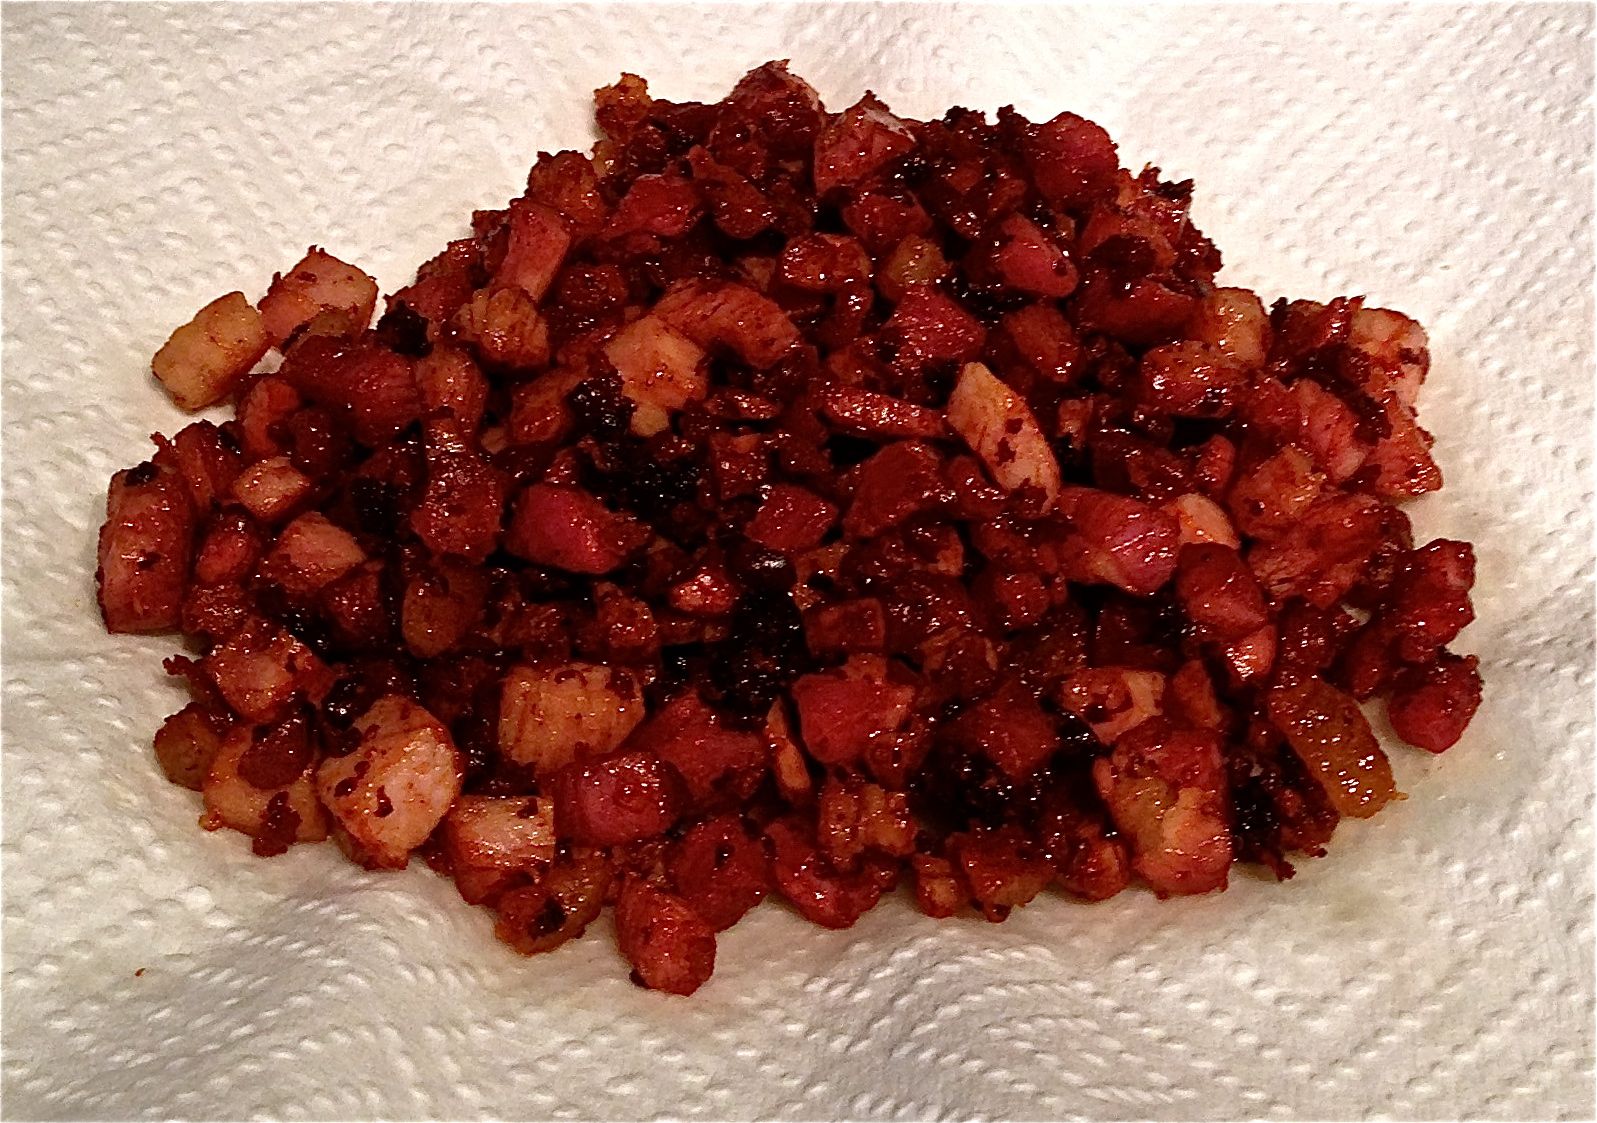
- Grate the chocolate, orange zest and lemon zest into the bowl.
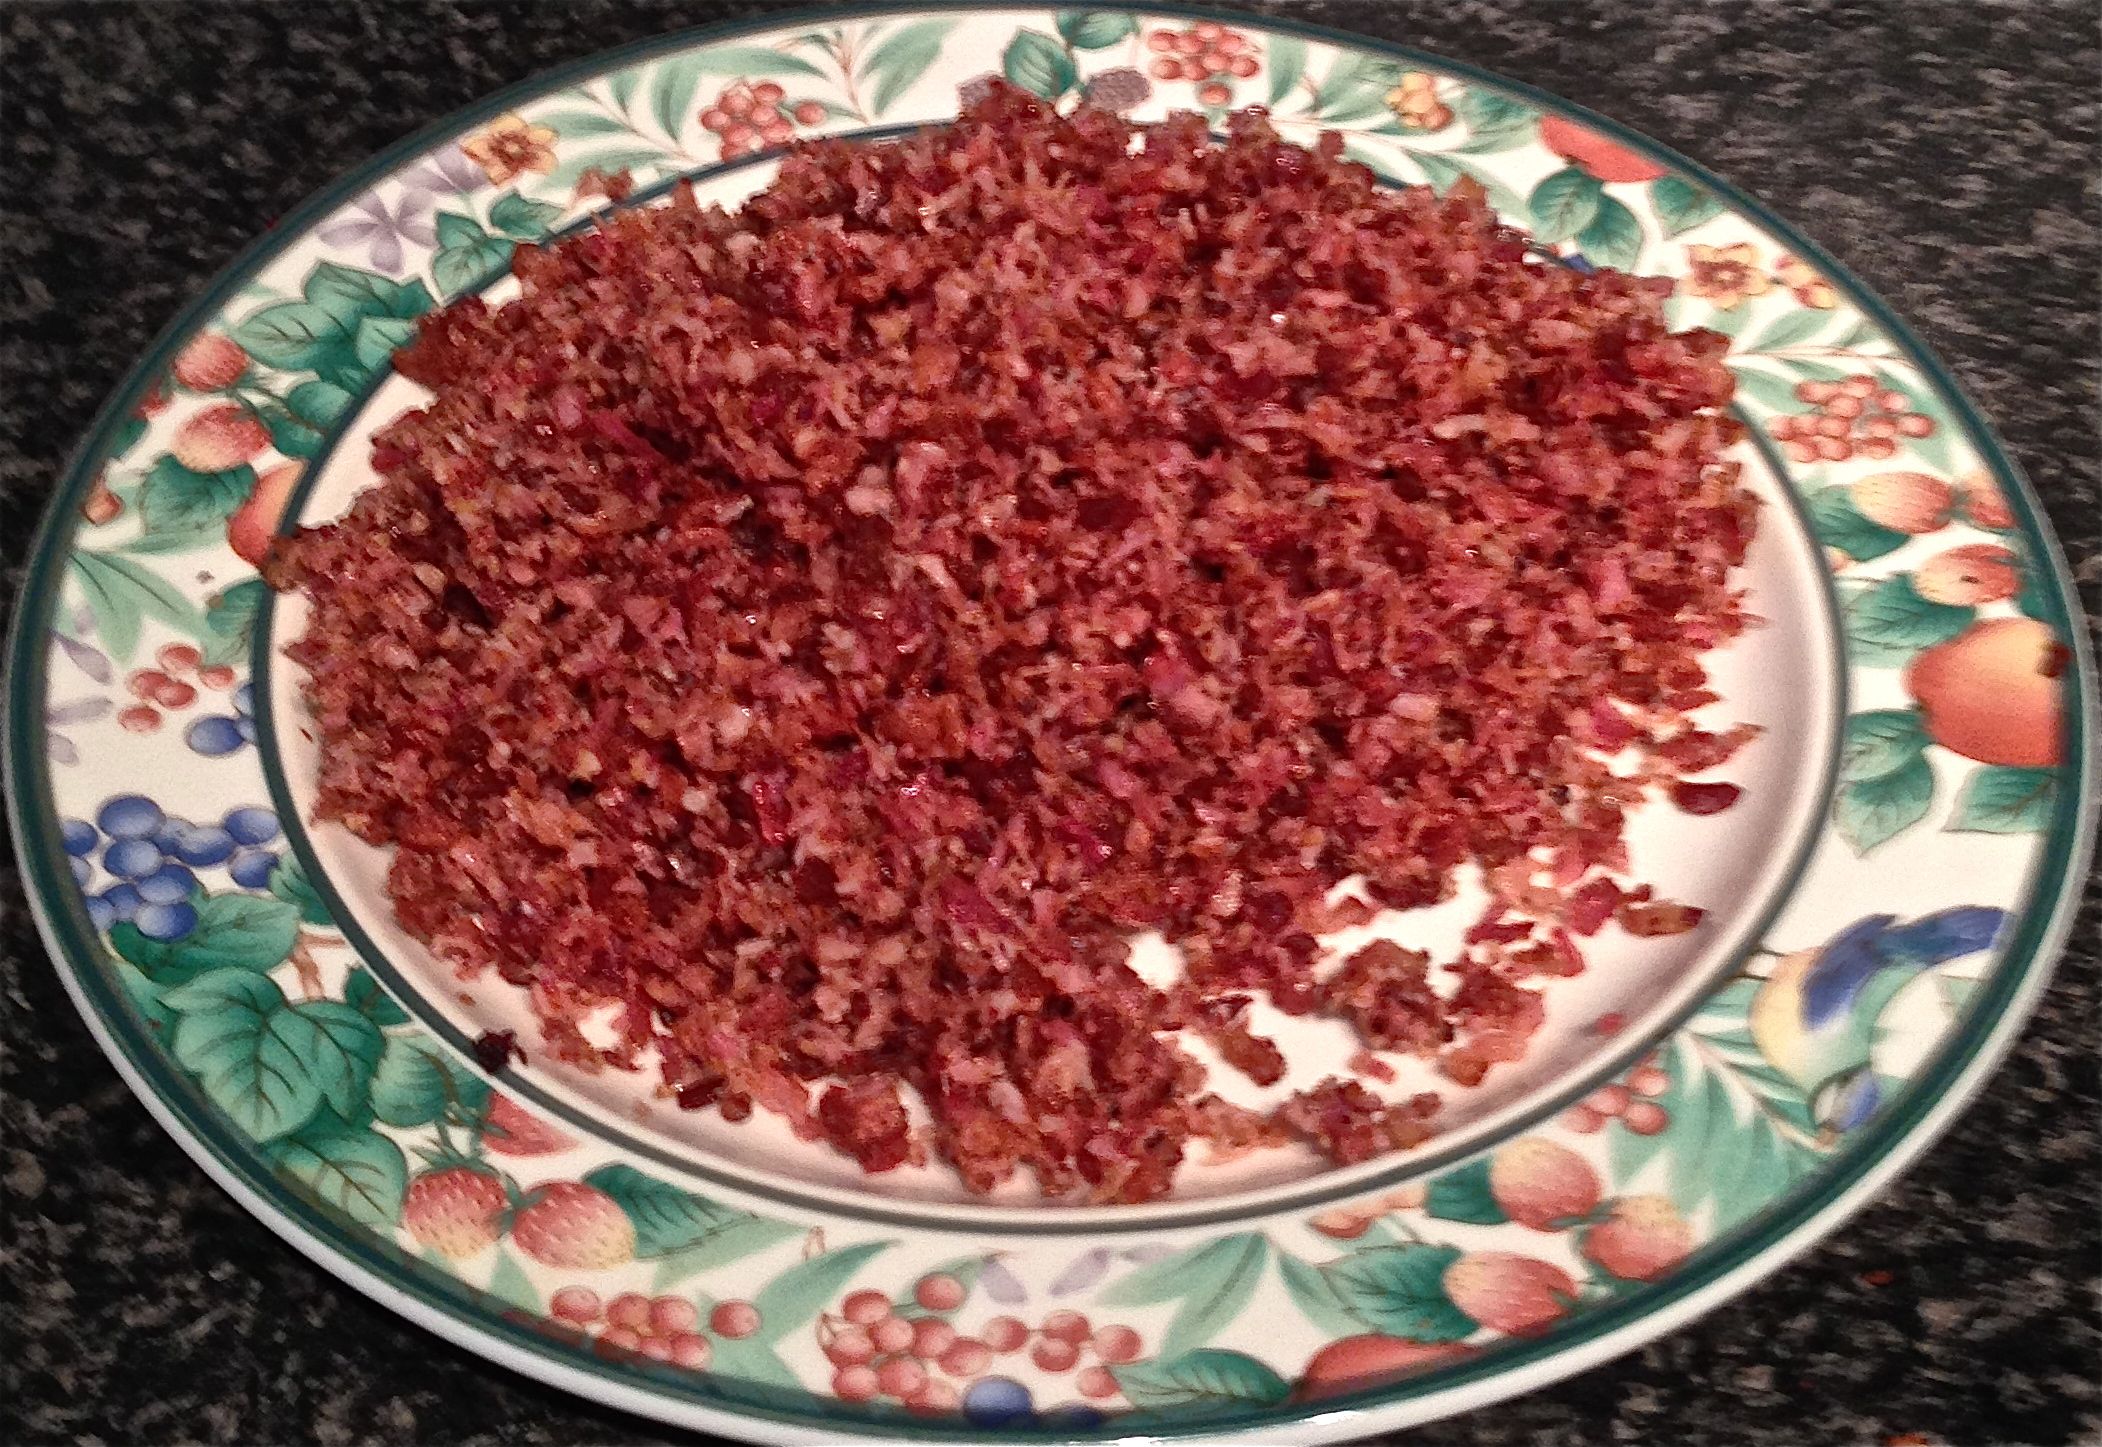
- Stir until all ingredients are combined well.
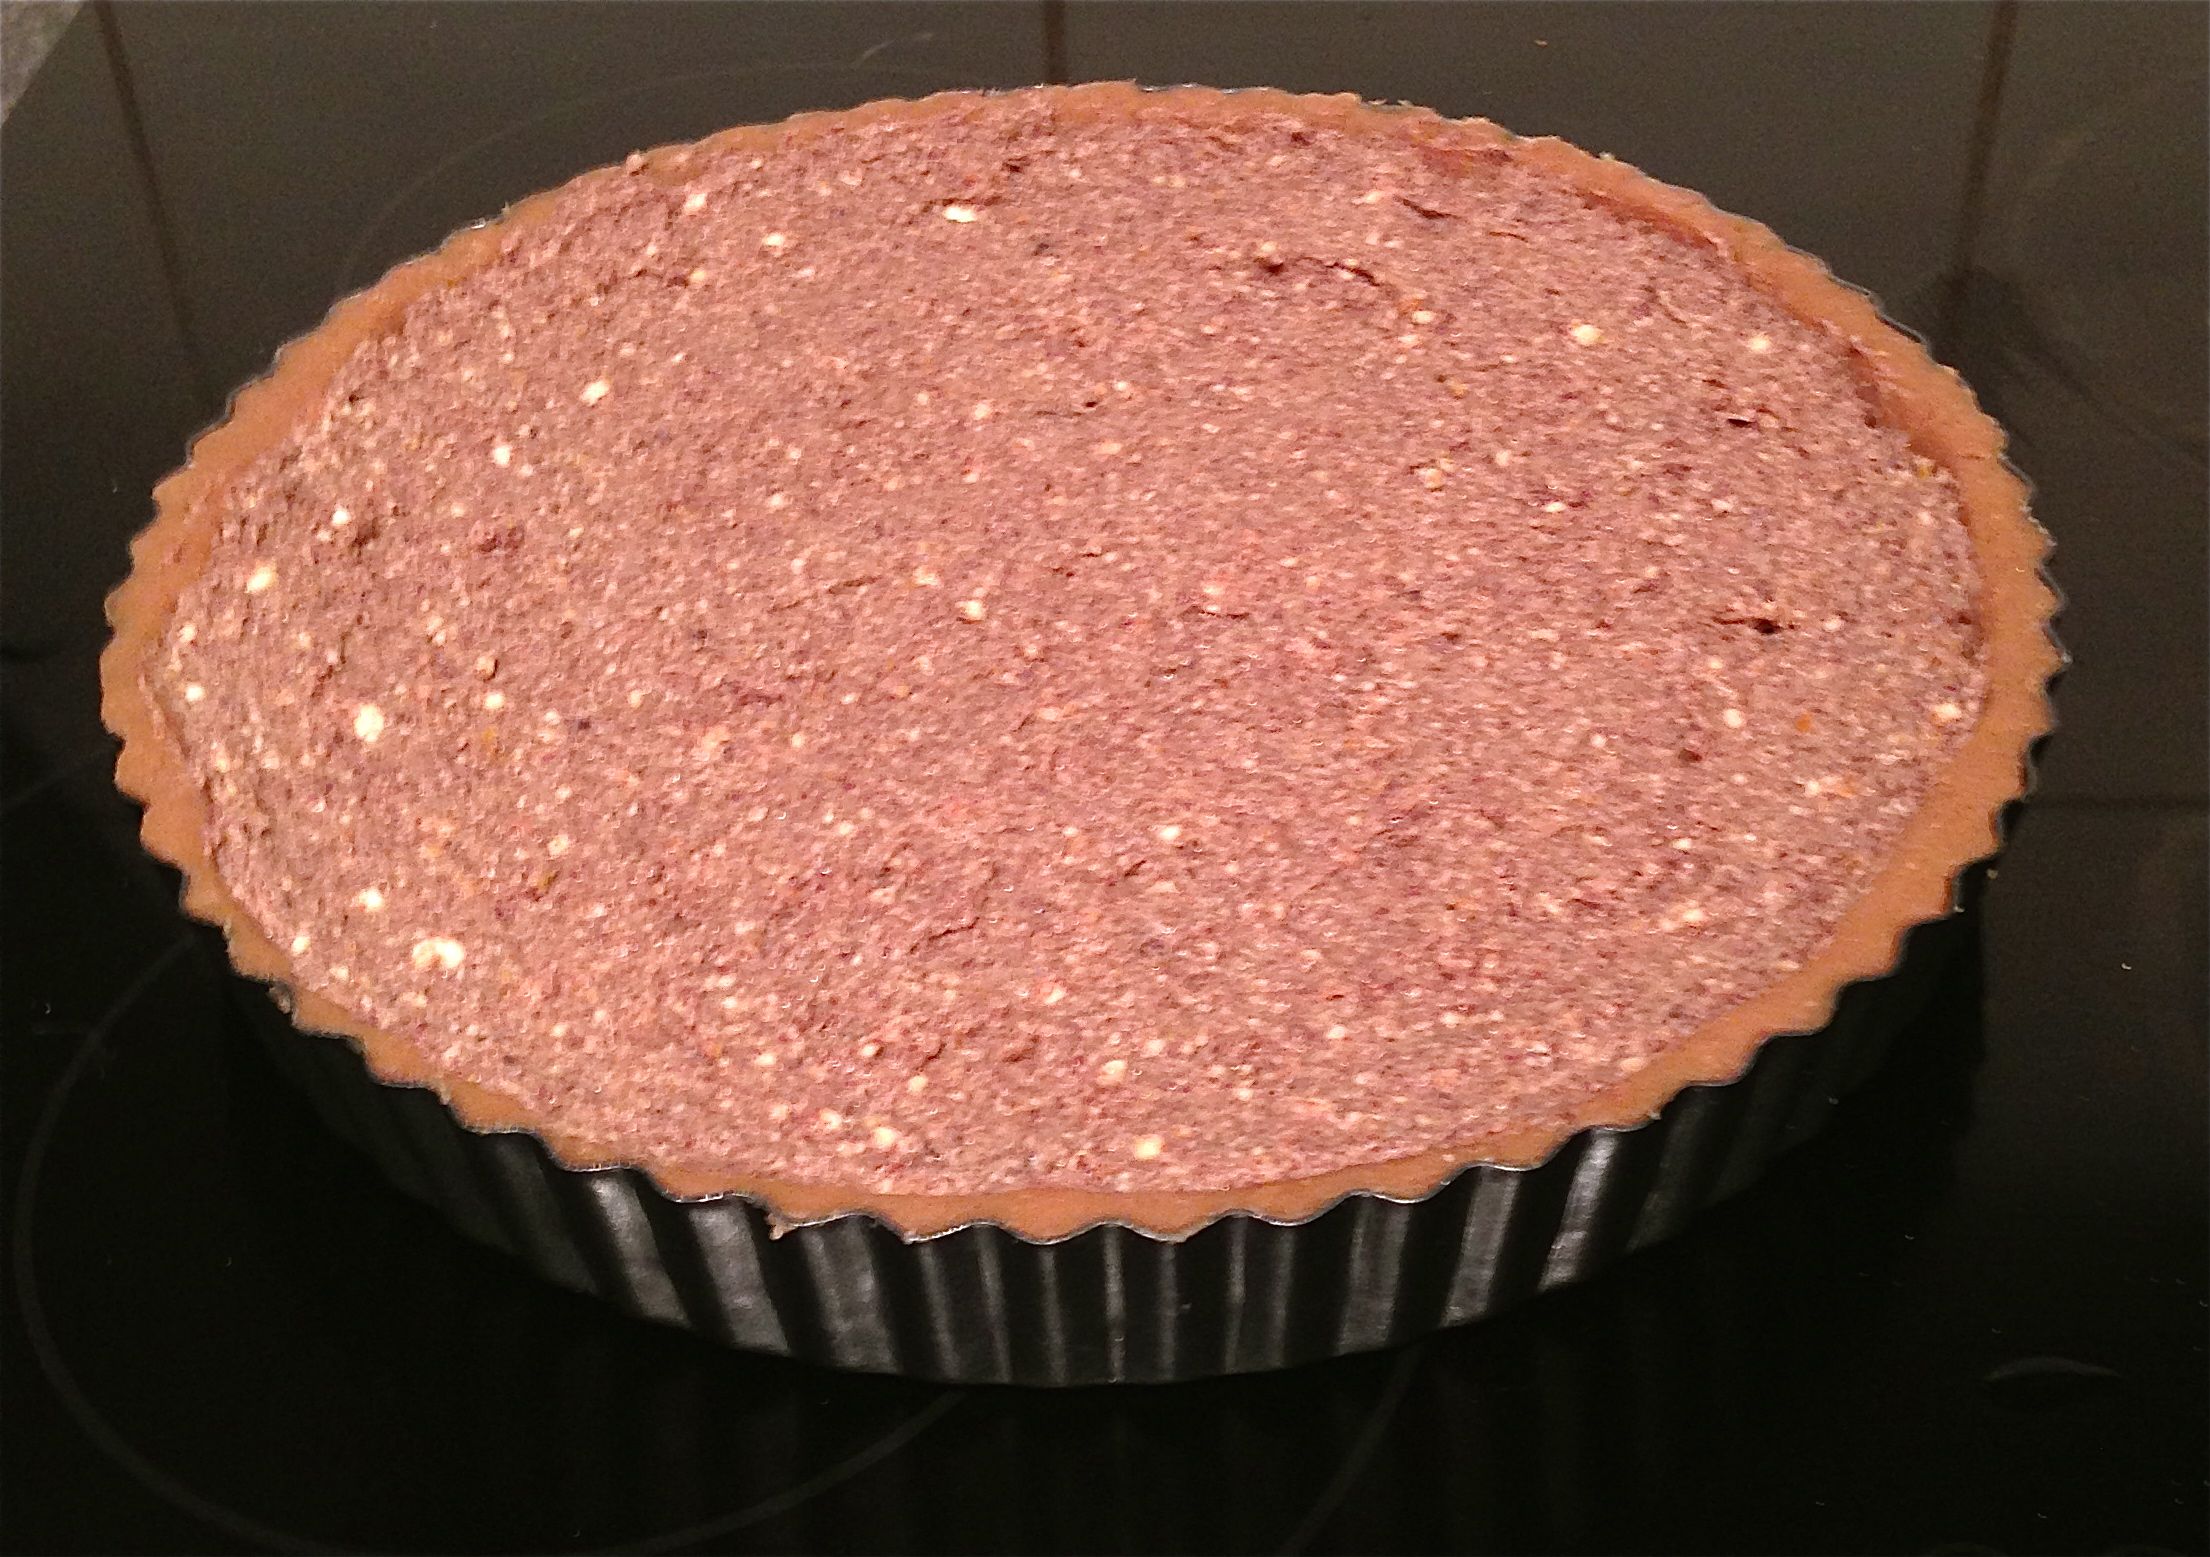
- Spoon the mix into the tart tin and smooth the top.
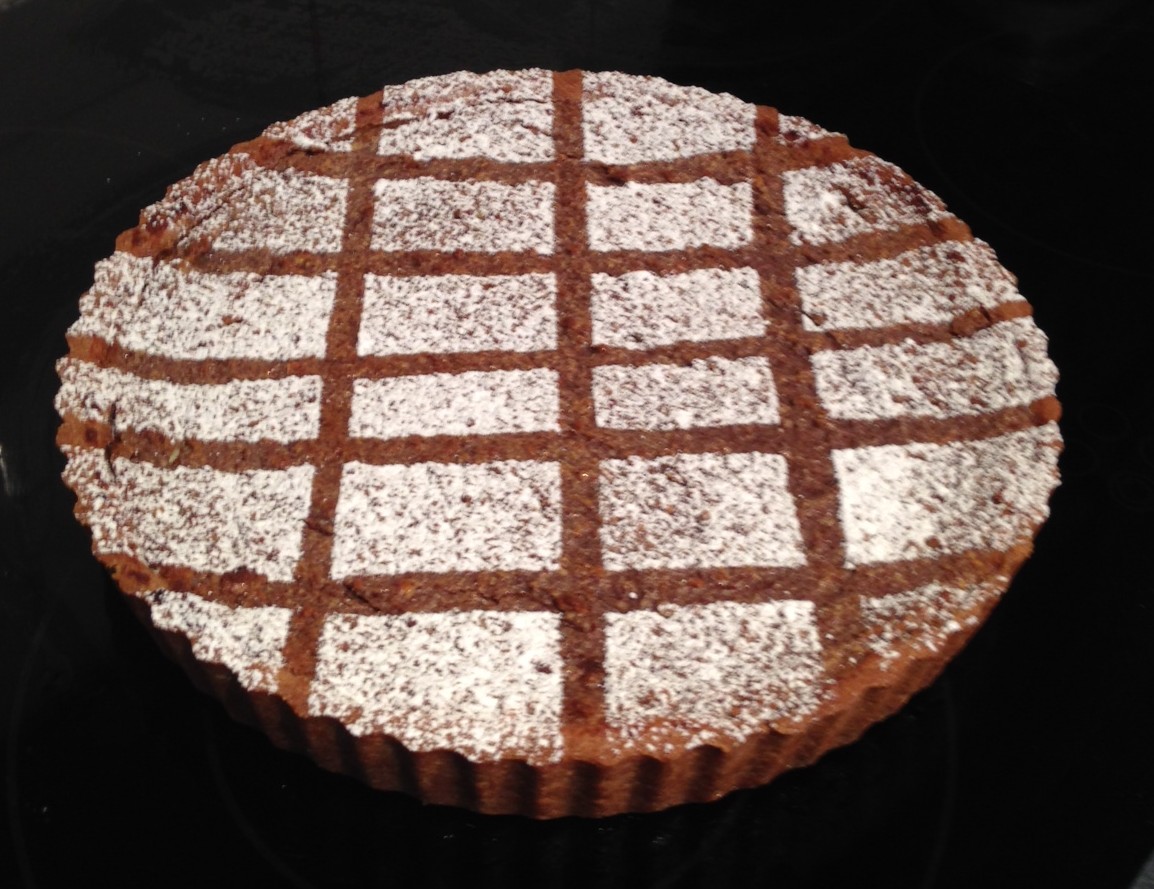
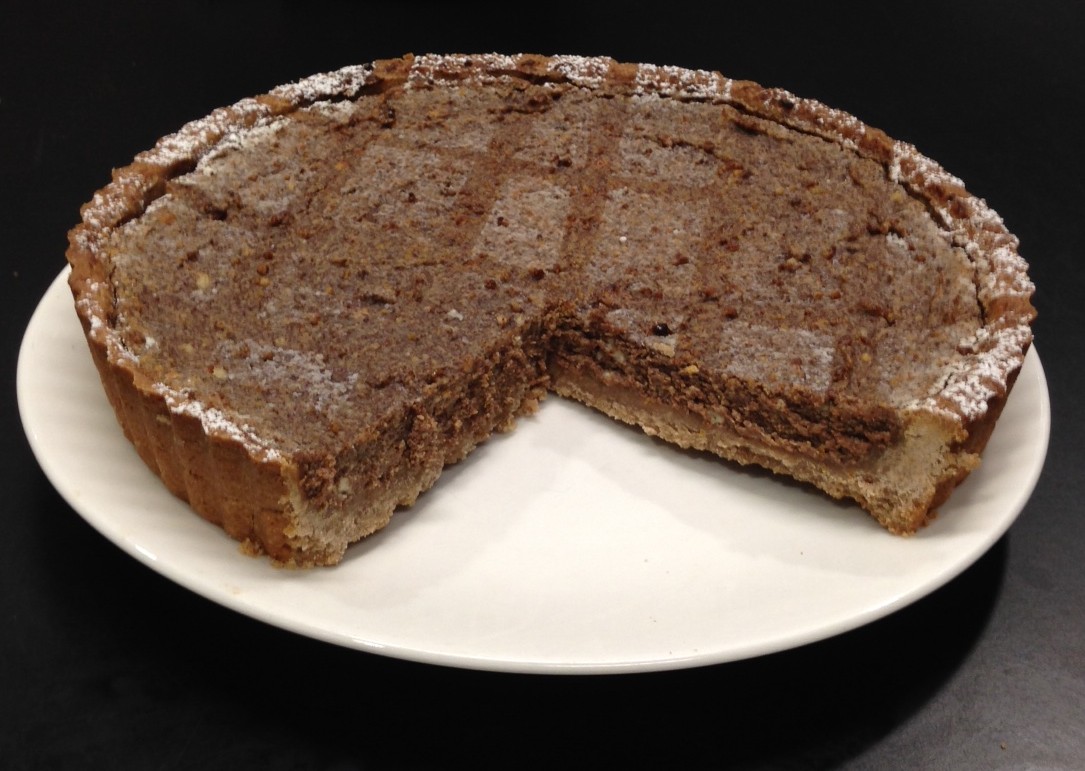
- Place into the oven and cook for 25 mins or until the party is browned and the filling has puffed up a bit.
- Once cooked let the tart cook before removing from tin.
Notes:
- If you don’t have a food processor combine flour, sugar, salt, cocoa ponder and diced butter in a bowl. Rub butter with dry ingredients until it resembles breadcrumbs. With your hands mix in the egg and milk until the dough is formed.
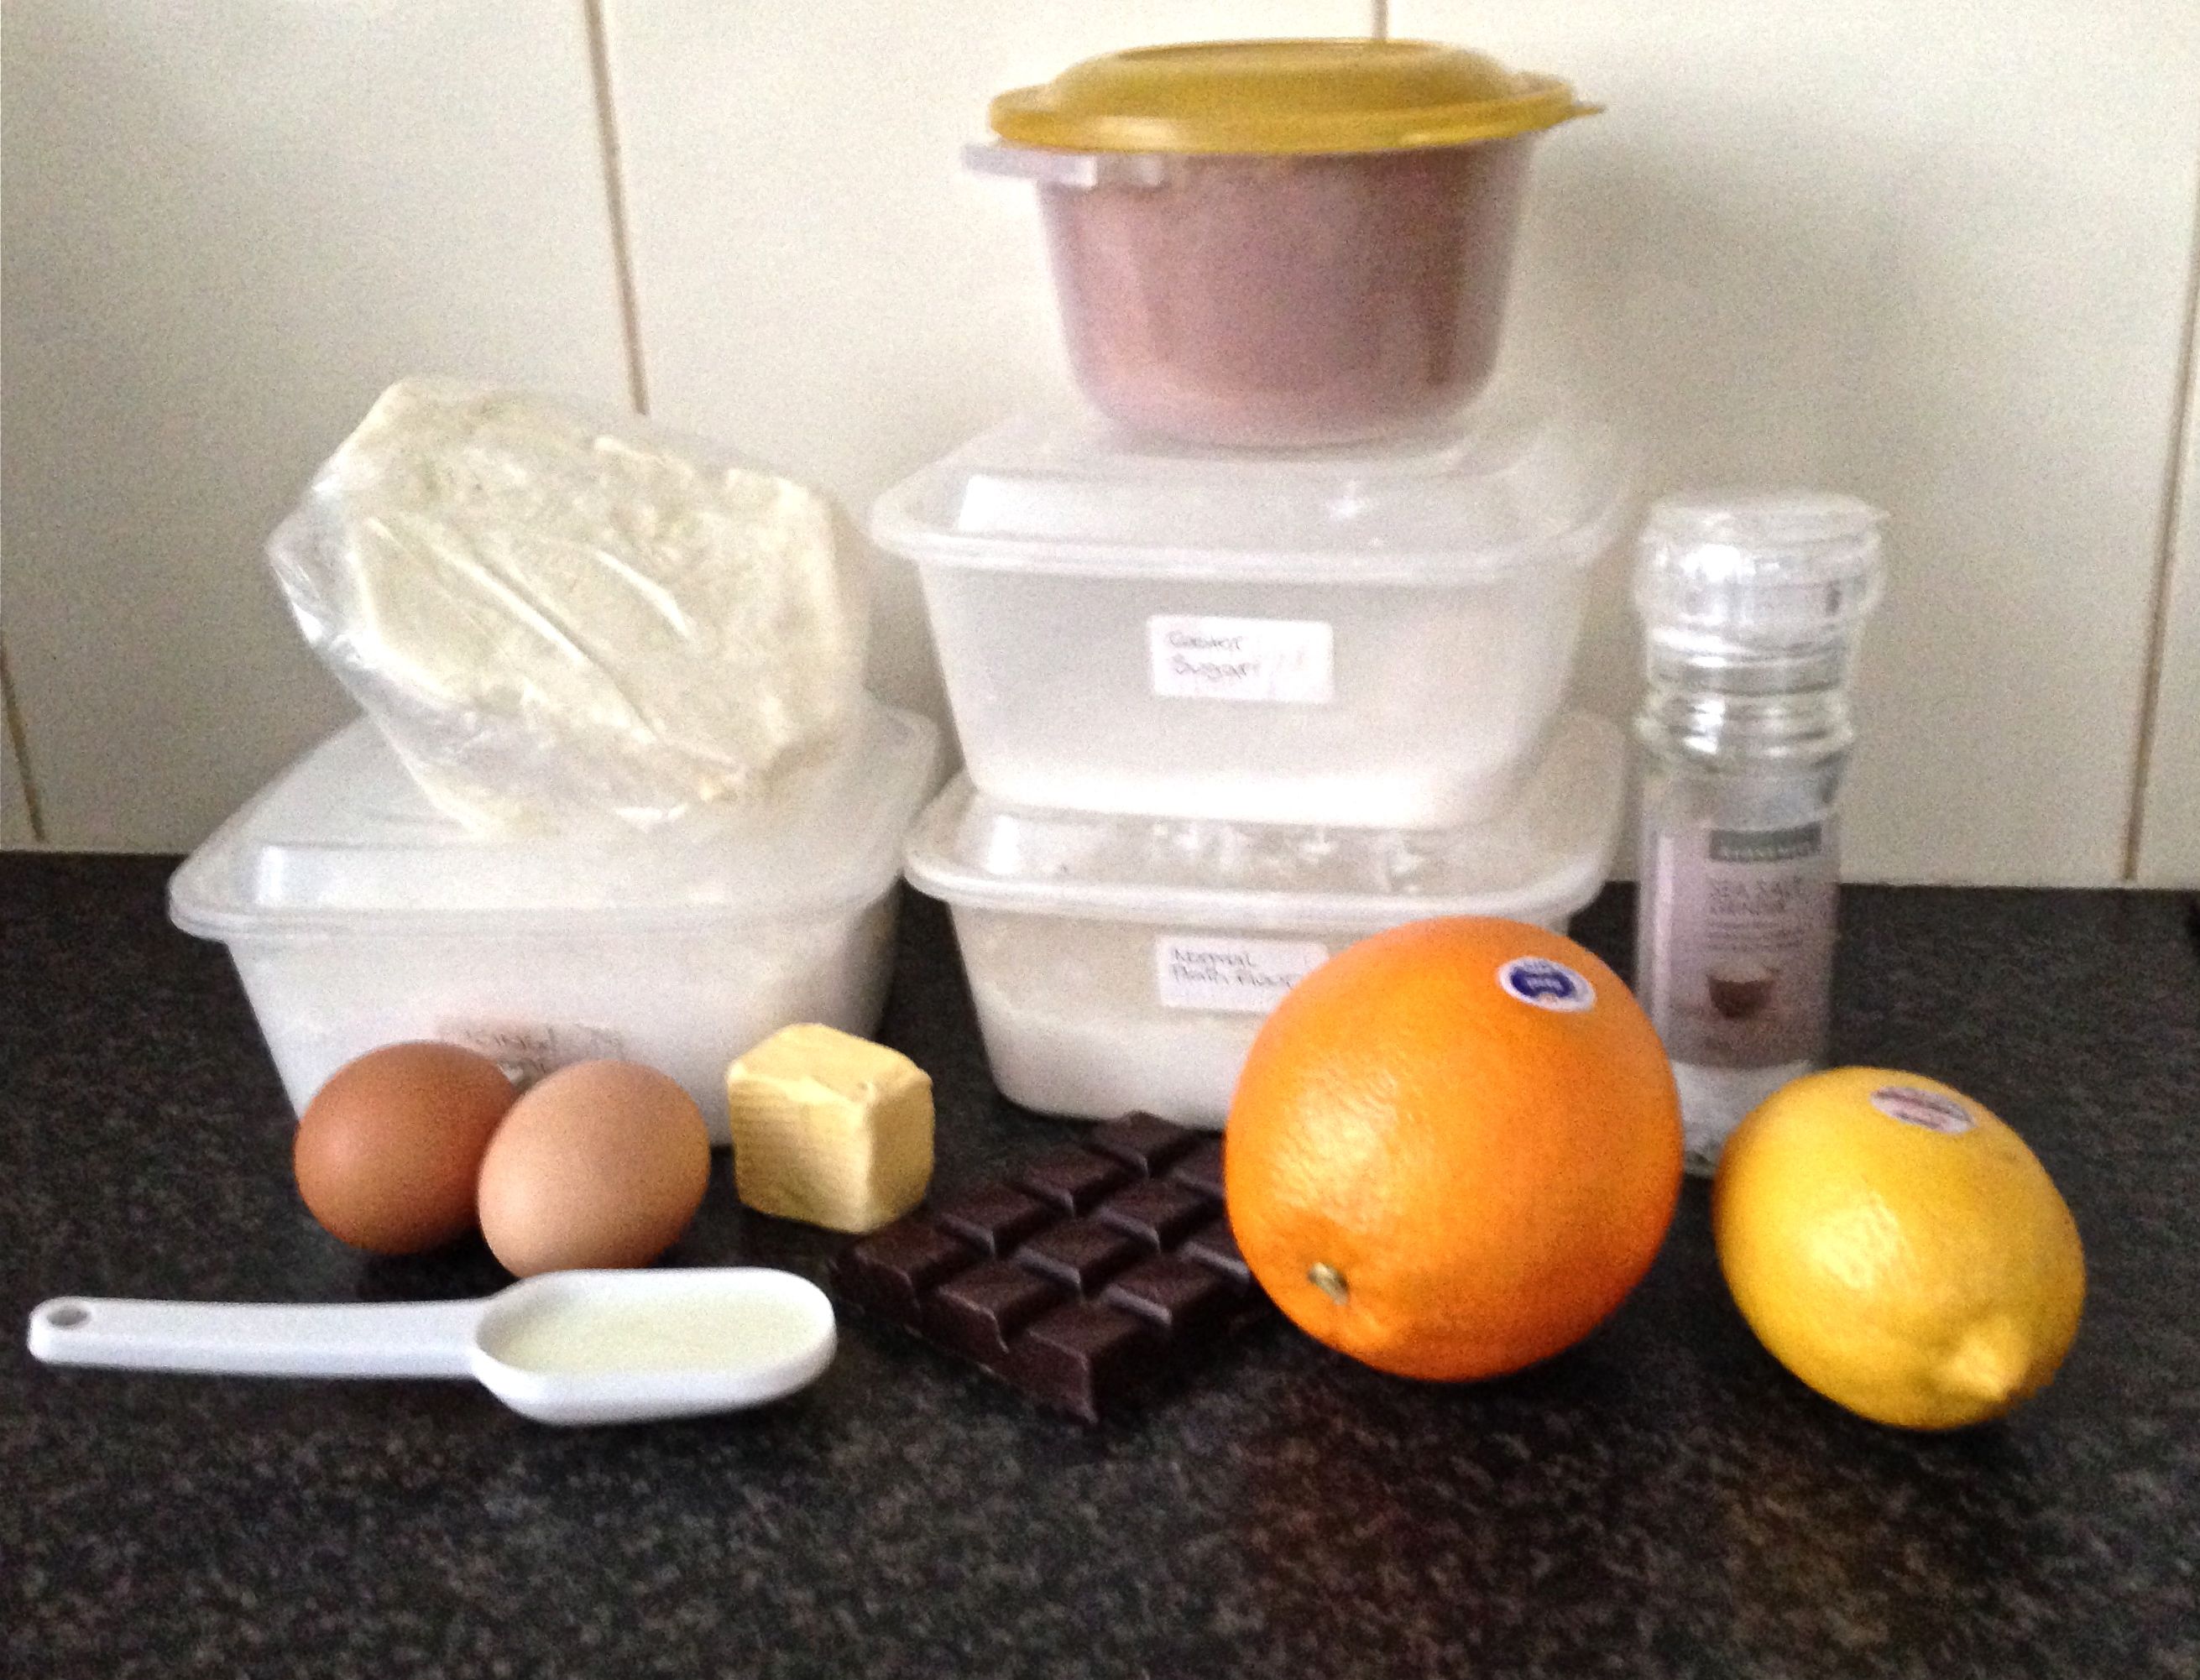
Ingredients
Step 5
Step 6
Step 9
Step 10
Like this recipe? Subscribe via RSS or email to get my new entries and more scrumptious recipes with reviews.
 Follow