Caramel Butterscotch Schnapps and Peanut Butter Bread Pudding
I recently made an ice-cream that featured the flavor combo of caramel sauce, butterscotch and peanuts in which was a tasty explosion success.
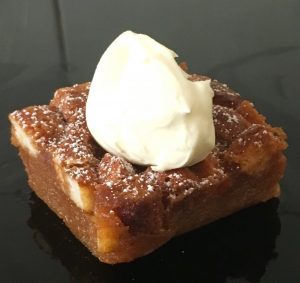
To give this flavor combo a spin and an uncommon depth I opted to experiment with the combo via making a slice, tart, flan and pudding. The winner, by far the pudding in which I used cubed bread as the base.
Drying out the bread meant that the caramel sauce could be soaked up to really take on the flavor profile.
This recipe is simple, easy and delightfully unique as a scrumptious alternative to the traditional cinnamon and sultana bread and butter pudding.
Ingredients:
- 120g of crust removed and cubed bread
- 235g brown sugar
- 40g butter
- 40ml cream
- ¼ tsn salt
- 140ml butterscotch Schnapps
- 110g crunchy peanut butter
- 2 eggs
Method:
- Preheat the oven to 170c degrees.
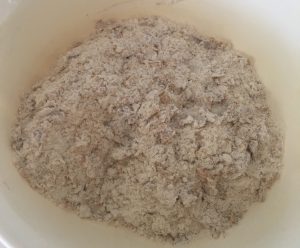
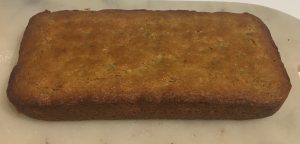
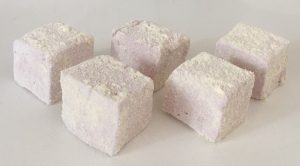
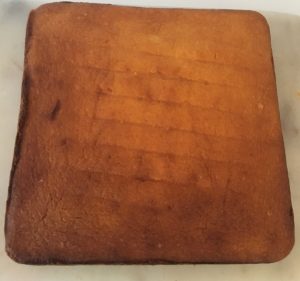
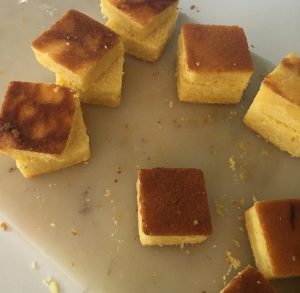
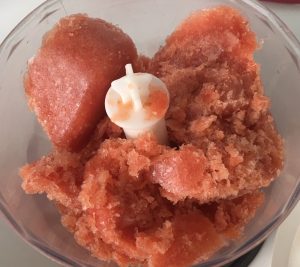
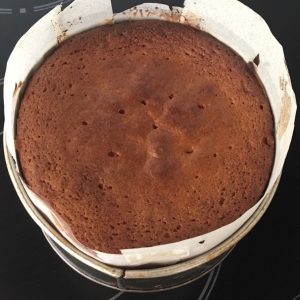
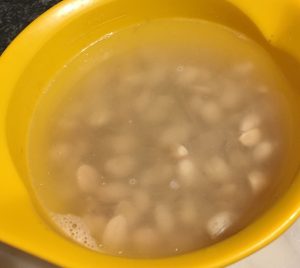
- Place the cubed bread into the oven and bake until golden brown, set aside to cool.
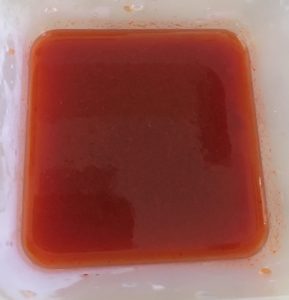
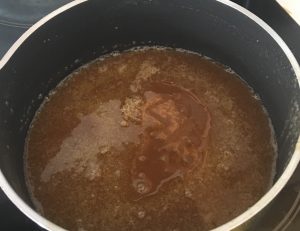
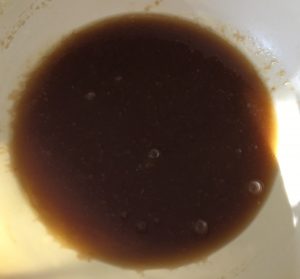
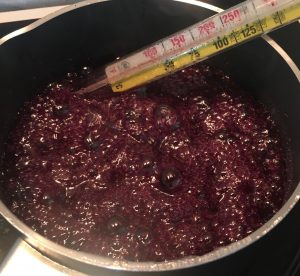
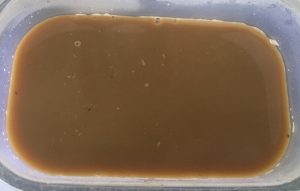
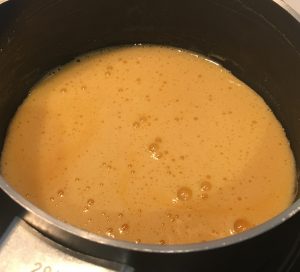
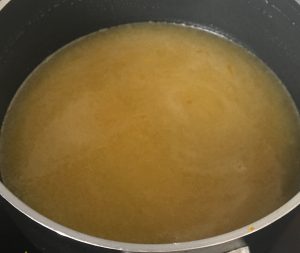
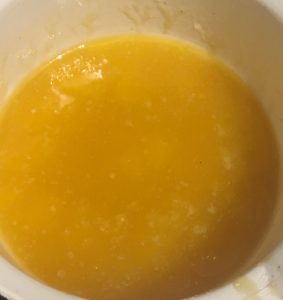
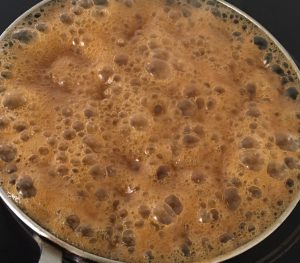
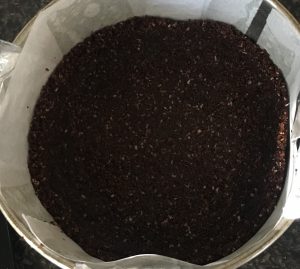
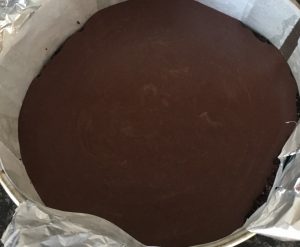
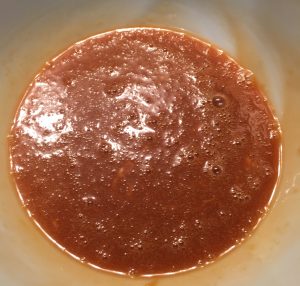
- To make the caramel place 160g of the sugar in a saucepan on a high heat until the sugar has melted and is bubbly and golden in colour.
- Add the butter and cream and stir until combine (be careful of any splash).
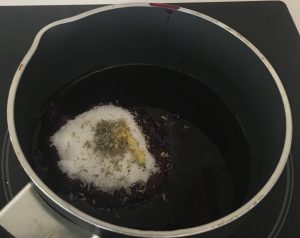
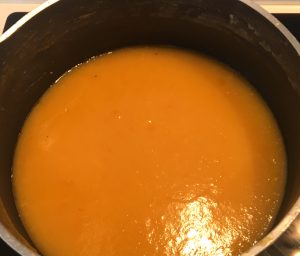
- Take the caramel off the heat, add the salt and butterscotch schnapps then use a hand whisk to combine until silky.
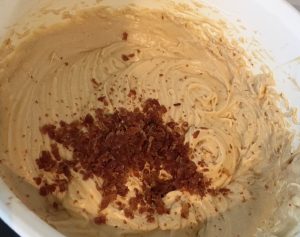
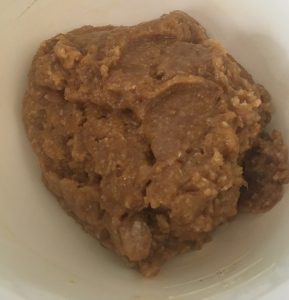
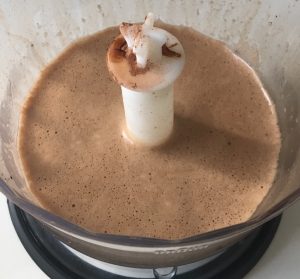
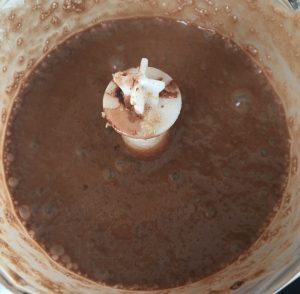
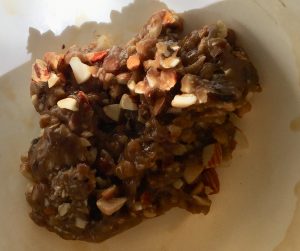
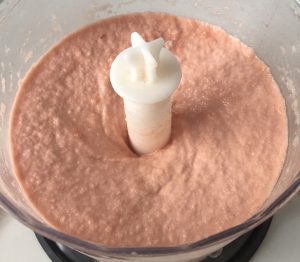
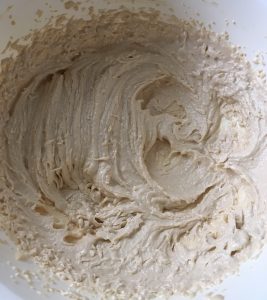
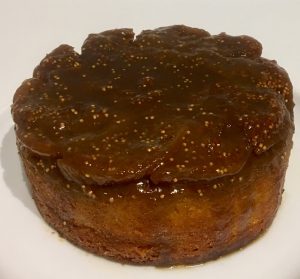
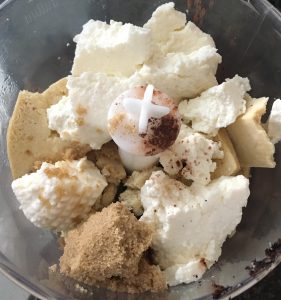
- Add the peanut butter and whisk again until well combined, leave aside to cool to room temperature.
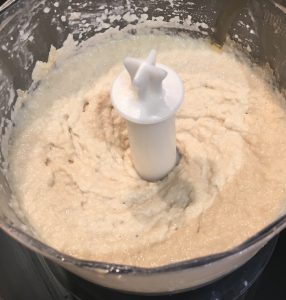
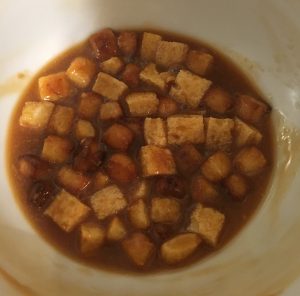
- Beat the eggs and the remaining 75g of sugar with the hand whisk.
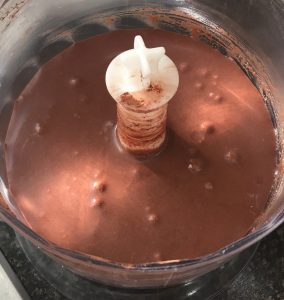
- Add the egg mix to the caramel mix and beat until combine.
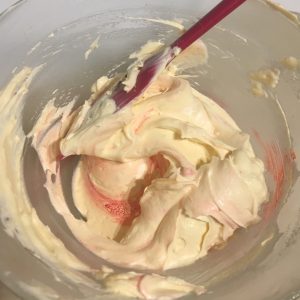
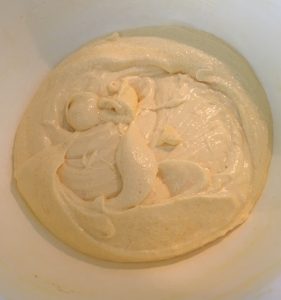
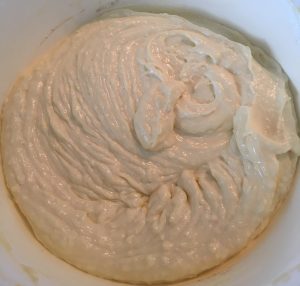
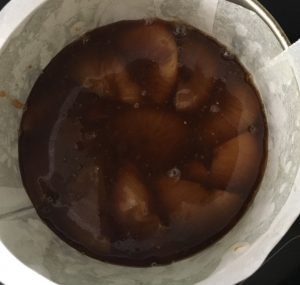
- Add the bread cubes and stir to the caramel mix, leave the mix aside to soak up the liquid for 1 hour, lightly folding the mix every 15 mins.
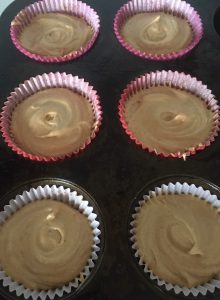
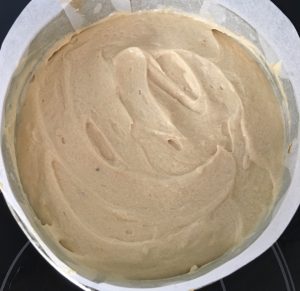
- Lightly spray 4 x 1 large cup ramekins with oil spray then spoon the mix evenly into the moulds.
- Place the ramekins into a large slice tin and fill the slice tin with enough water to reach half way up the sides of the ramekins.
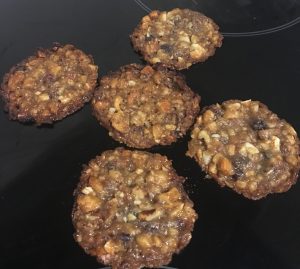
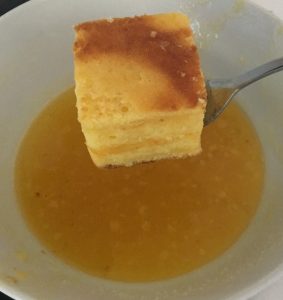
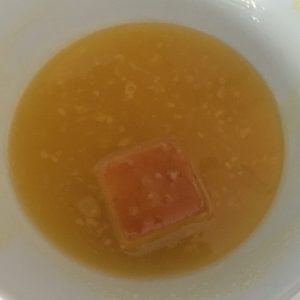
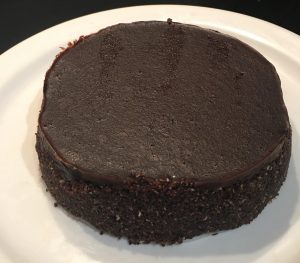
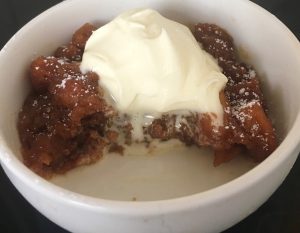
- Bake for 10 minutes, remove the slice tin from the oven, giving the puddings a light stir to ensure the bread is throughout the mix evenly.
- Following, continue baking for a further 25 minutes or until the pudding is puffed and set when you touch the top.
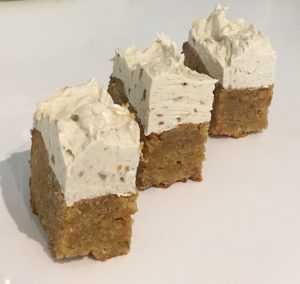
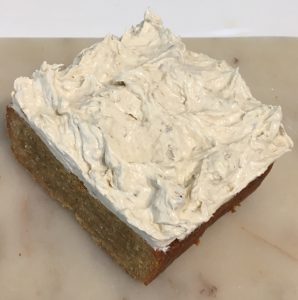
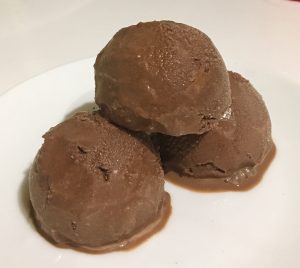
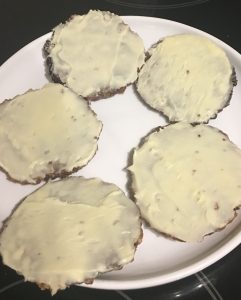
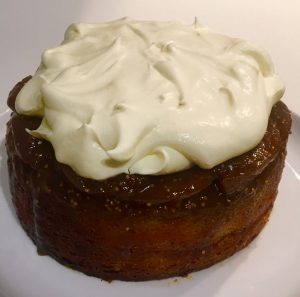
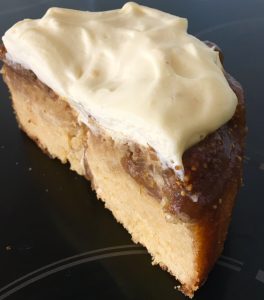
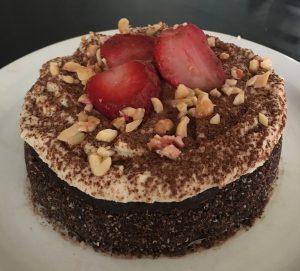
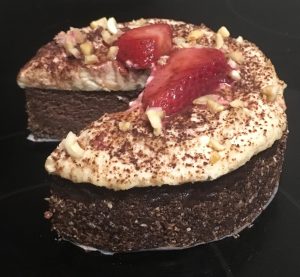
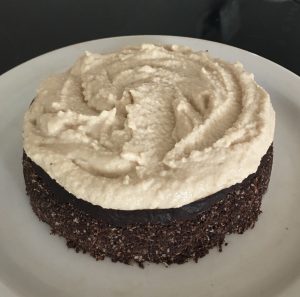
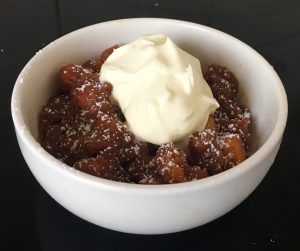
- Top with vanilla ice-cream or double cream and enjoy!
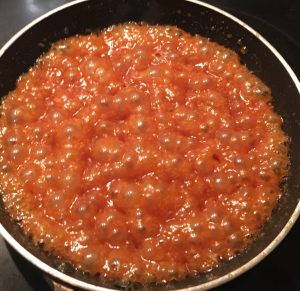
Step 3
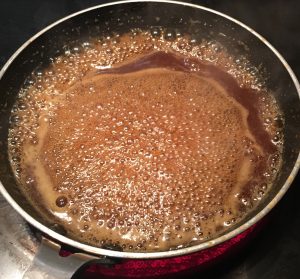
Step 5
Step 8
Step 9
Like this recipe? Subscribe via RSS or email to get my new entries and more scrumptious recipes with reviews
 Follow