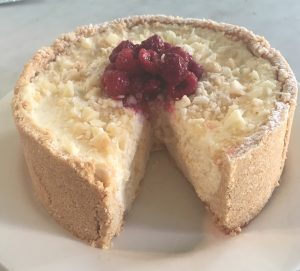
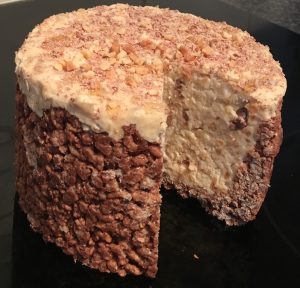
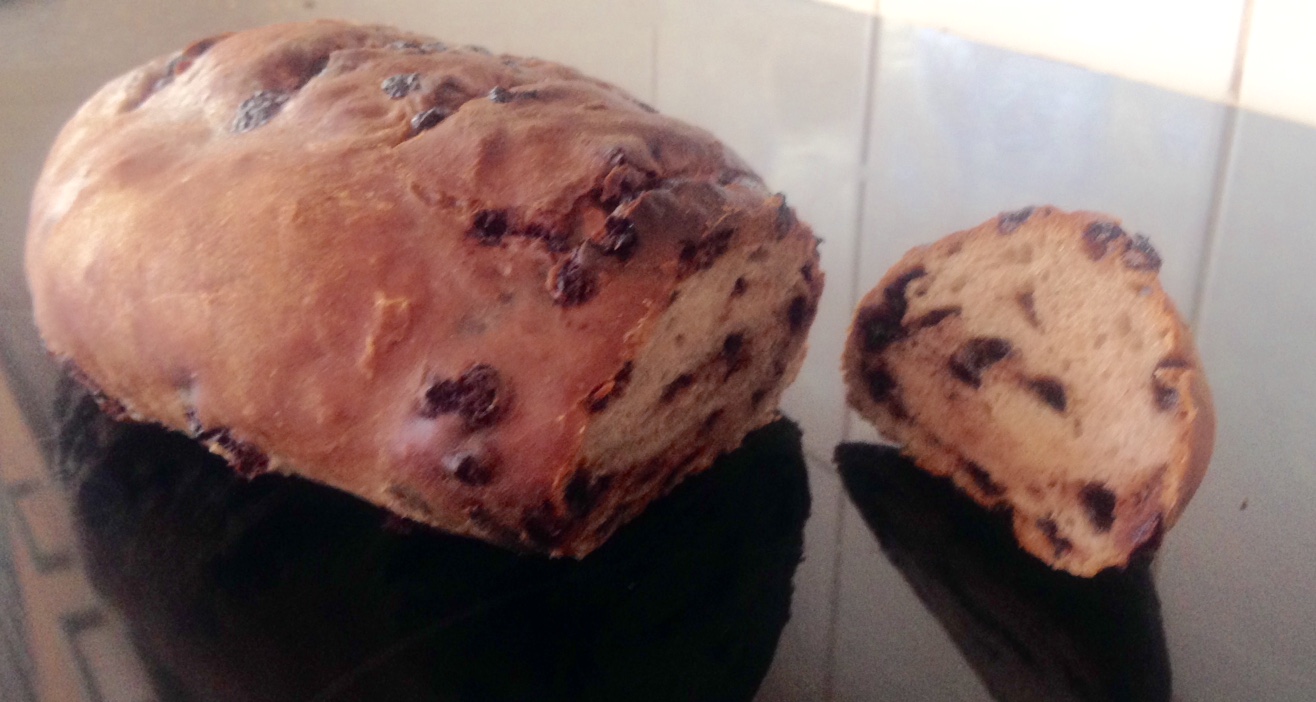
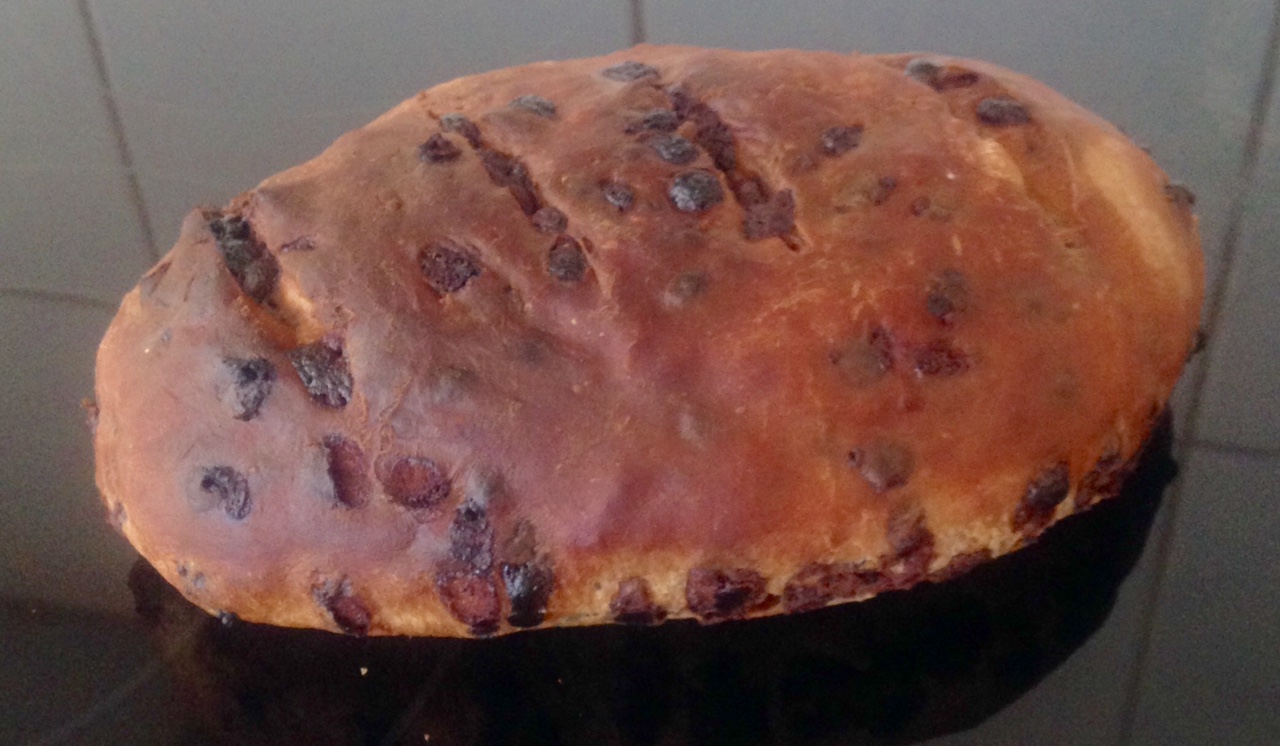
Ricotta Strawberry and Thyme Bread Slice

For something different I wanted to make an easy, no bake, no fuss, low fat, low sugar, quick treat that had interesting and tasty flavours. Something that would appeal to most but still have my unusual twist.
This recipe took 4 attempt where number 3 almost fit the brief with strawberry, lemon and elderflower. However replacing the replacing the elderflower with thyme took the slice from ok to the next level.
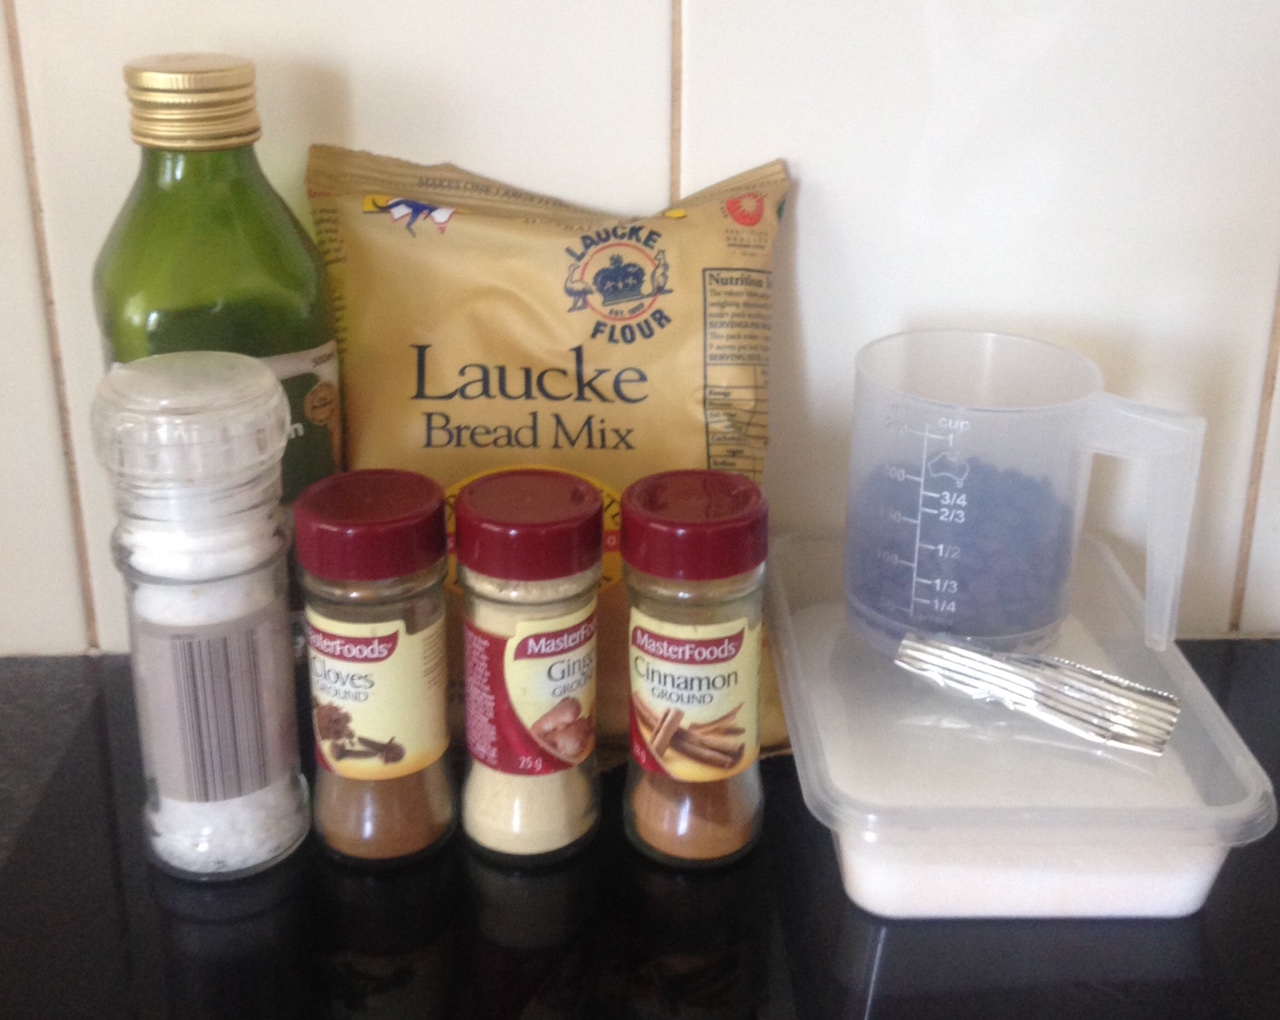
Ingredients:
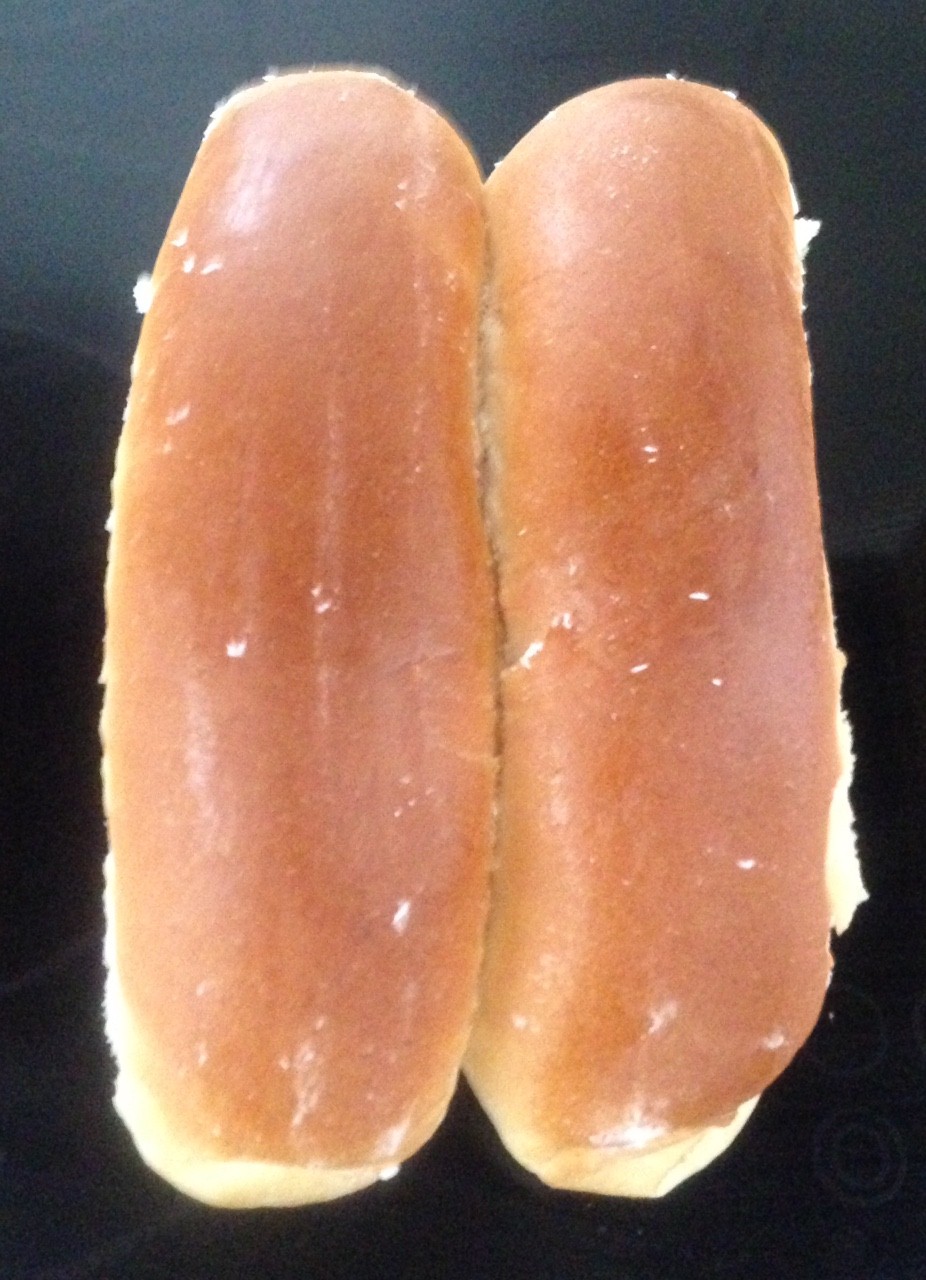
- 260g brioche bread (or any sweet bread)
- 100g sugar
- 55g butter
- 1 egg yolk
- 1 tsn vanilla essence
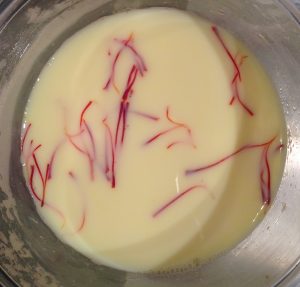
- 4 tsn lemon zest
- 1 tsn strawberry essence
- 2 tsn dried thyme
- 300g ricotta
Method:
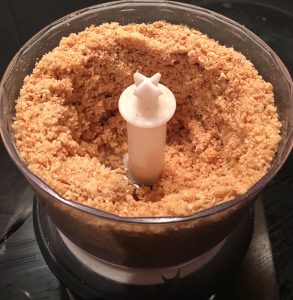
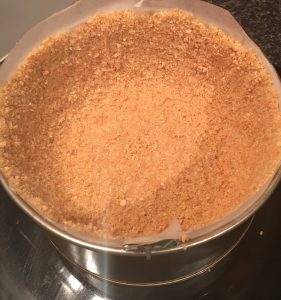
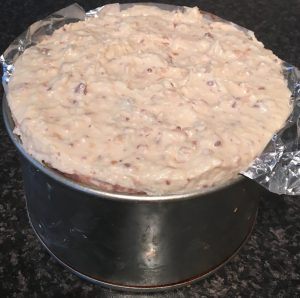
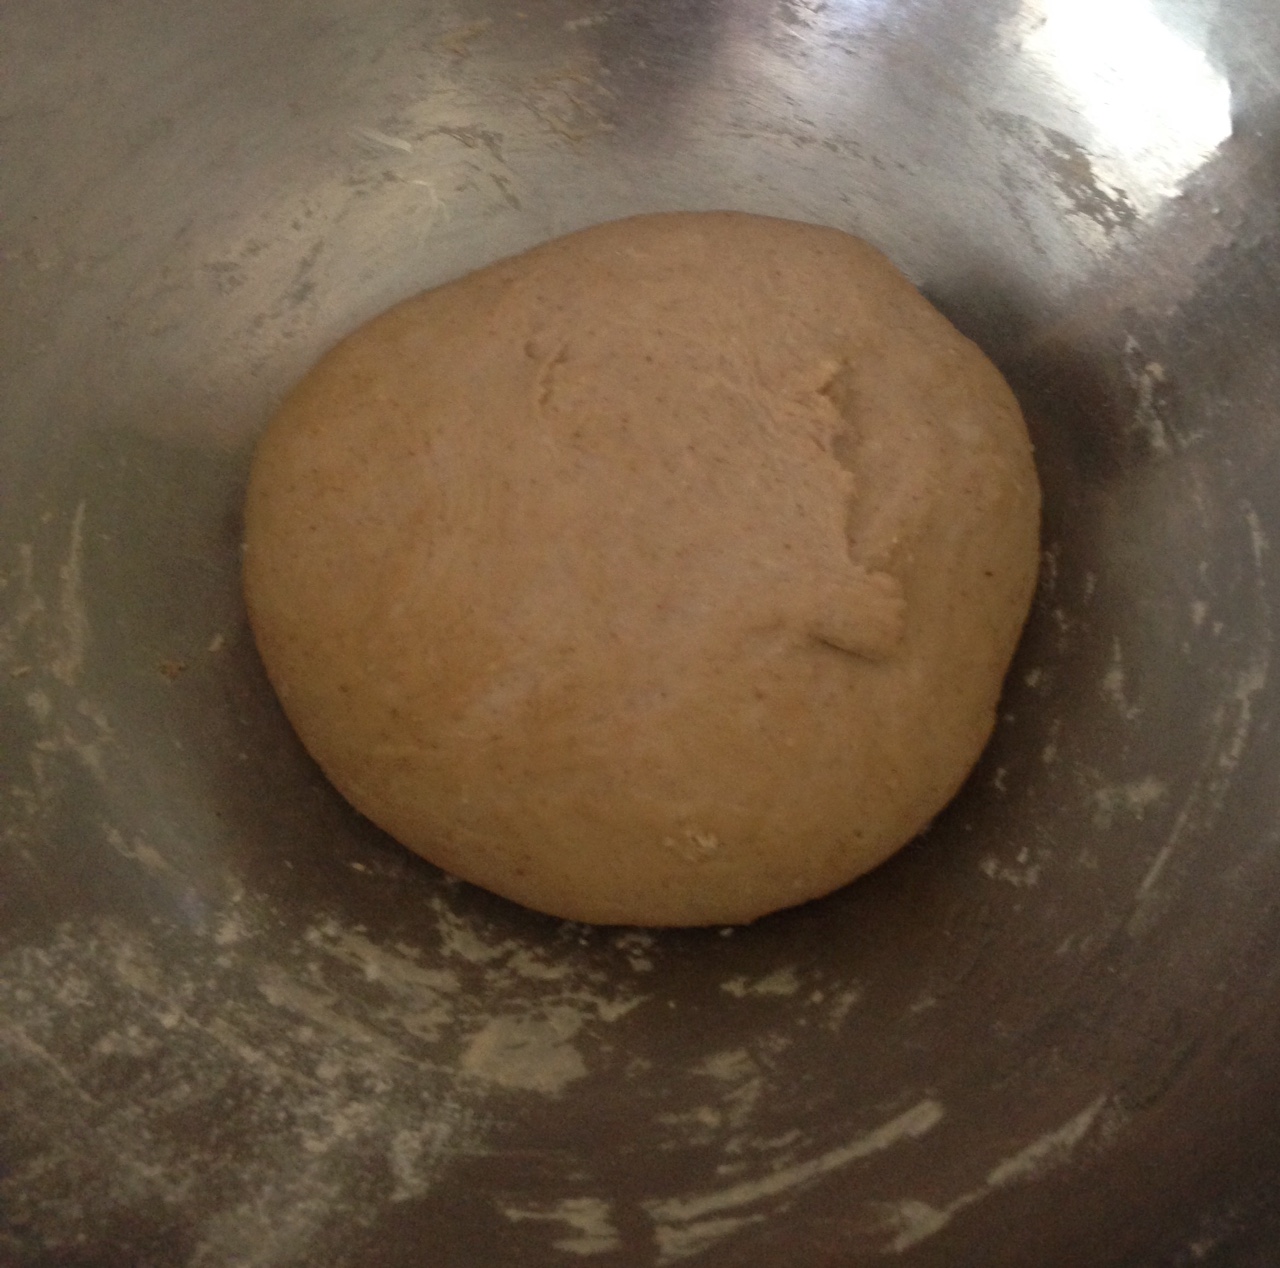
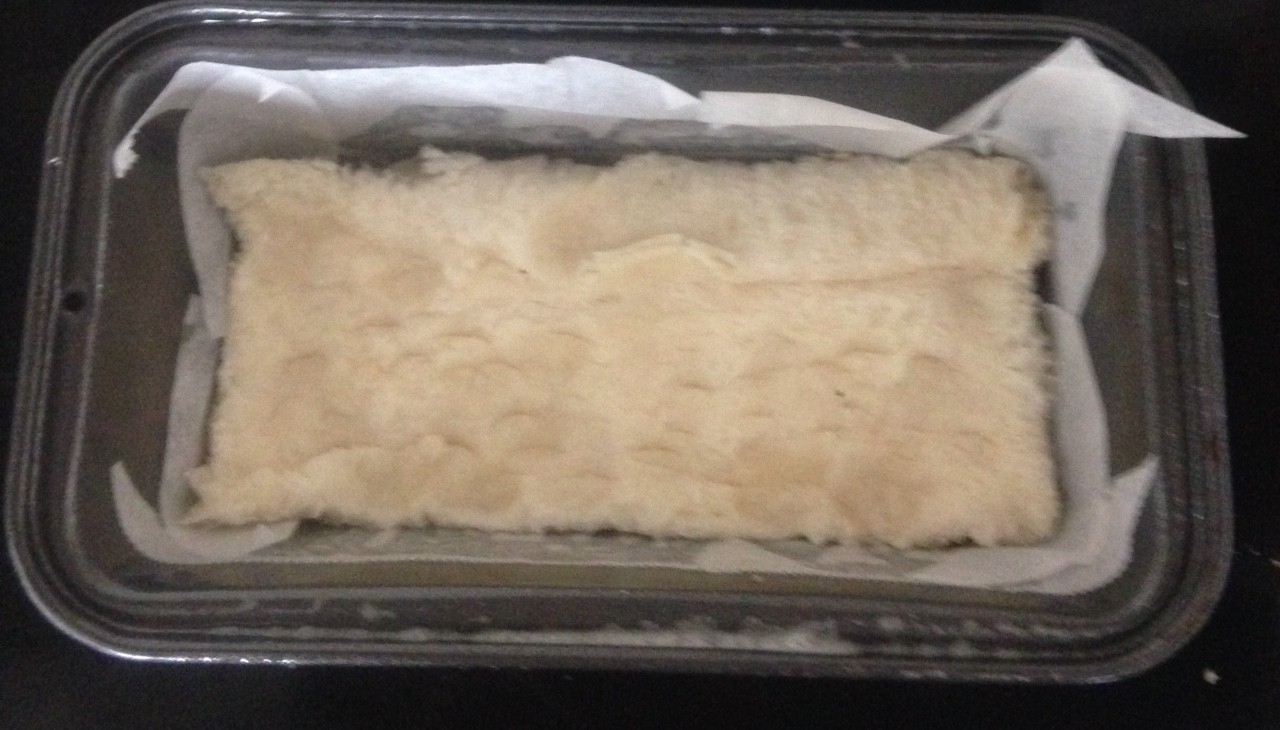
- Line a 20cm x 20cm square slice tin with baking paper.
- Cut the bread into 2 large pieces and line the base of the tin with the bread slices cut to fit the base.
- Push the bread down so it is slightly squashed into the tin.
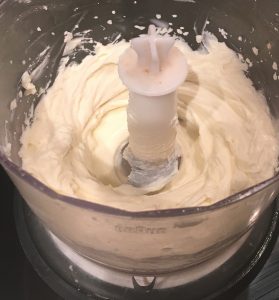
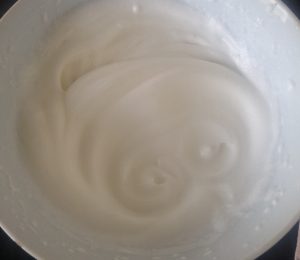
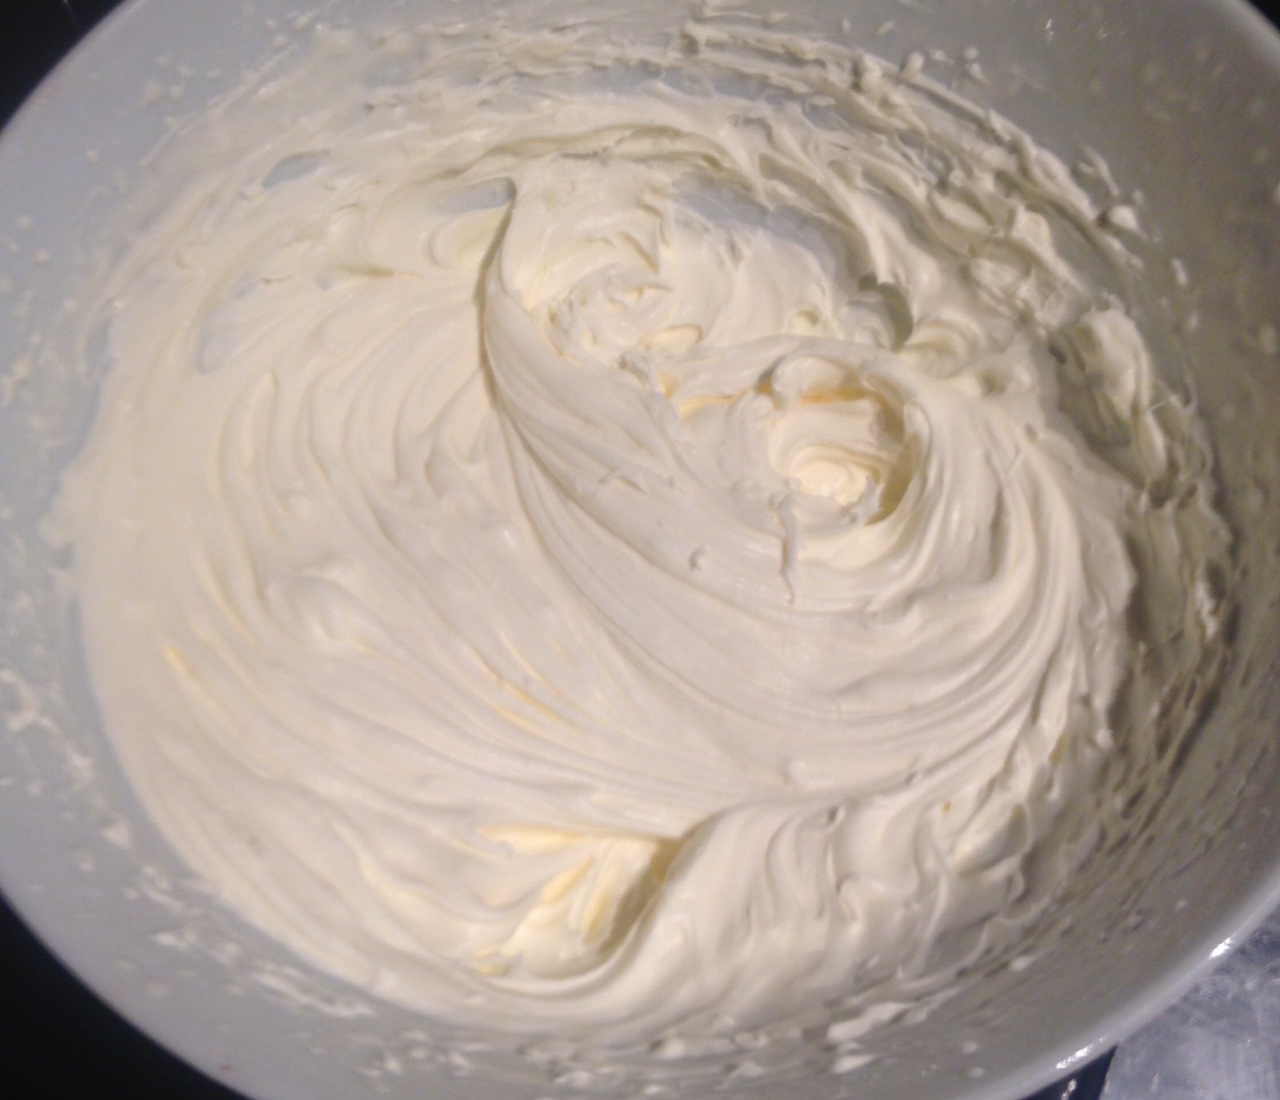
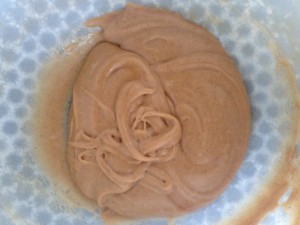
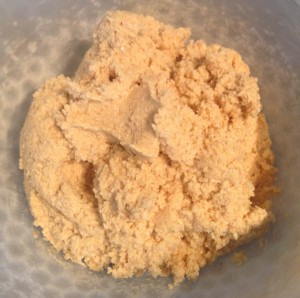
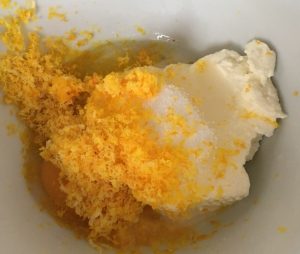
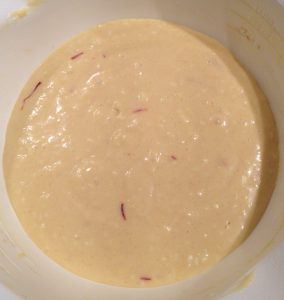
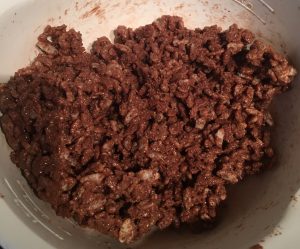
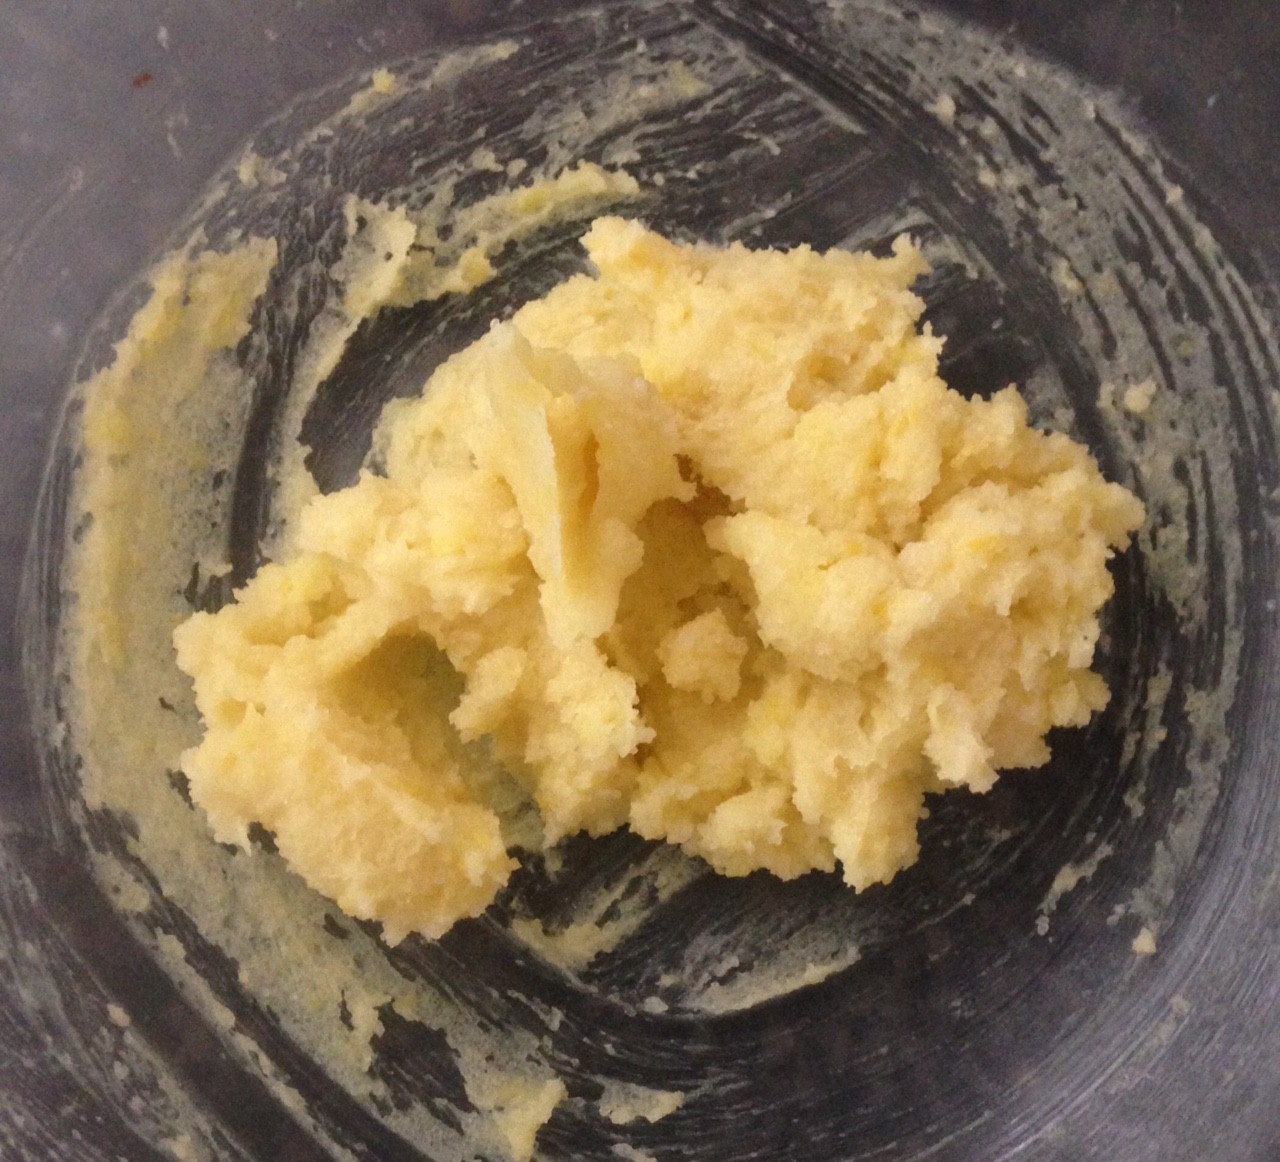
- In a bowl beat the sugar and butter until creamy and fluffy with electric beaters.
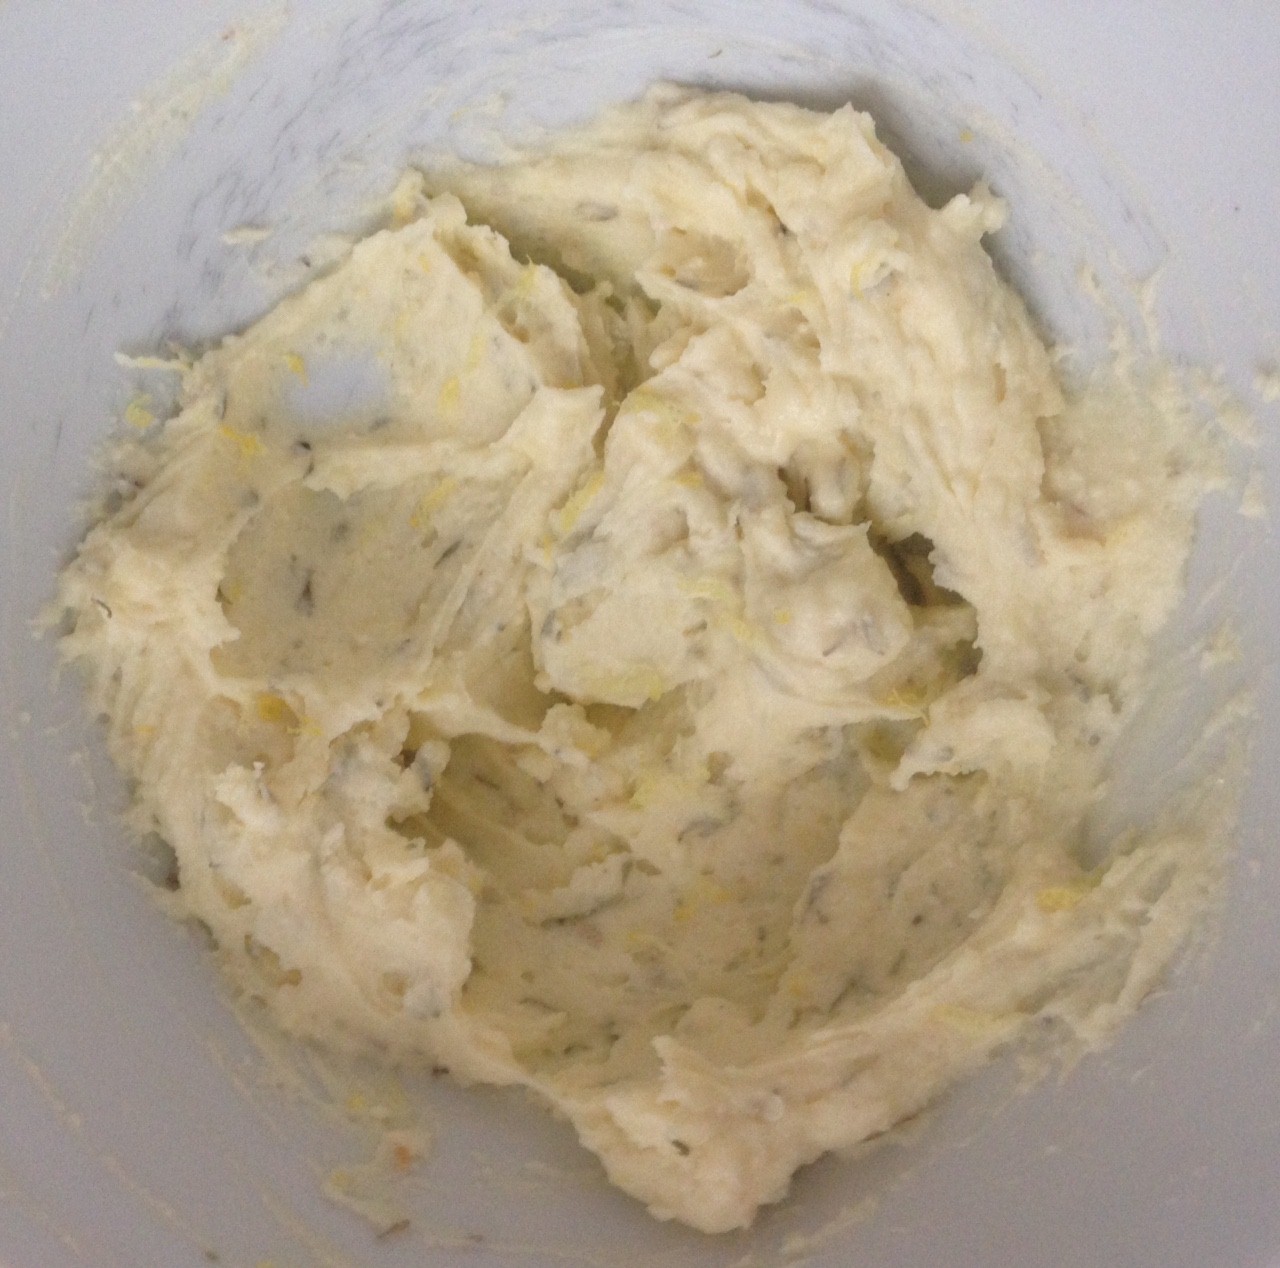
- Add the egg yolk, vanilla, lemon zest , strawberry essence and thyme beat for a further 1 minute.
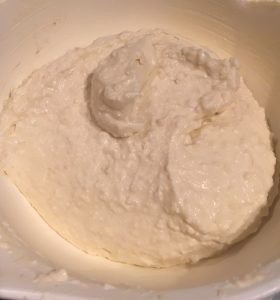
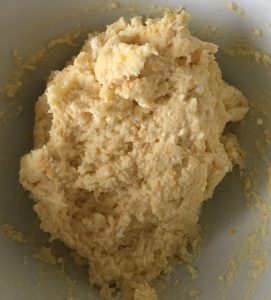
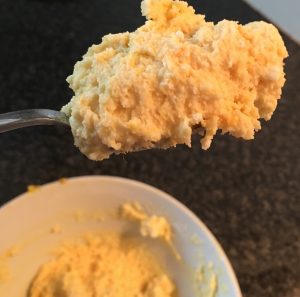
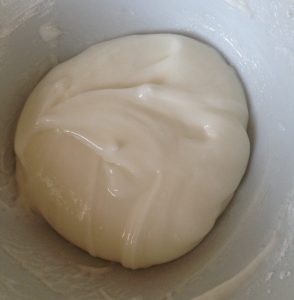
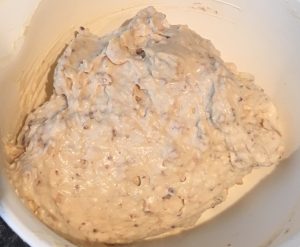
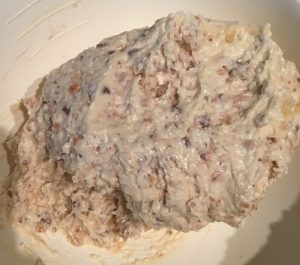
- Add the ricotta and beat until smooth.
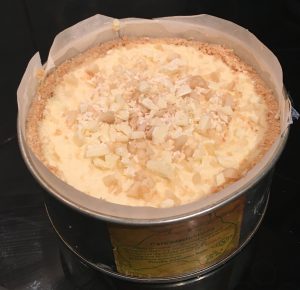
- Spoon the ricotta mix over the bread, pushing down with the back of a spoon.
- Place in the fridge for 3 hours to set.
- Cut into slices and top with a little additional lemon zest, thyme and strawberry halves.
Step 2
Step 3
Step 4

Step 5
Step 6

Step 7
Like this recipe? Subscribe via RSS or email to get my new entries and more scrumptious recipes with reviews.
 Follow