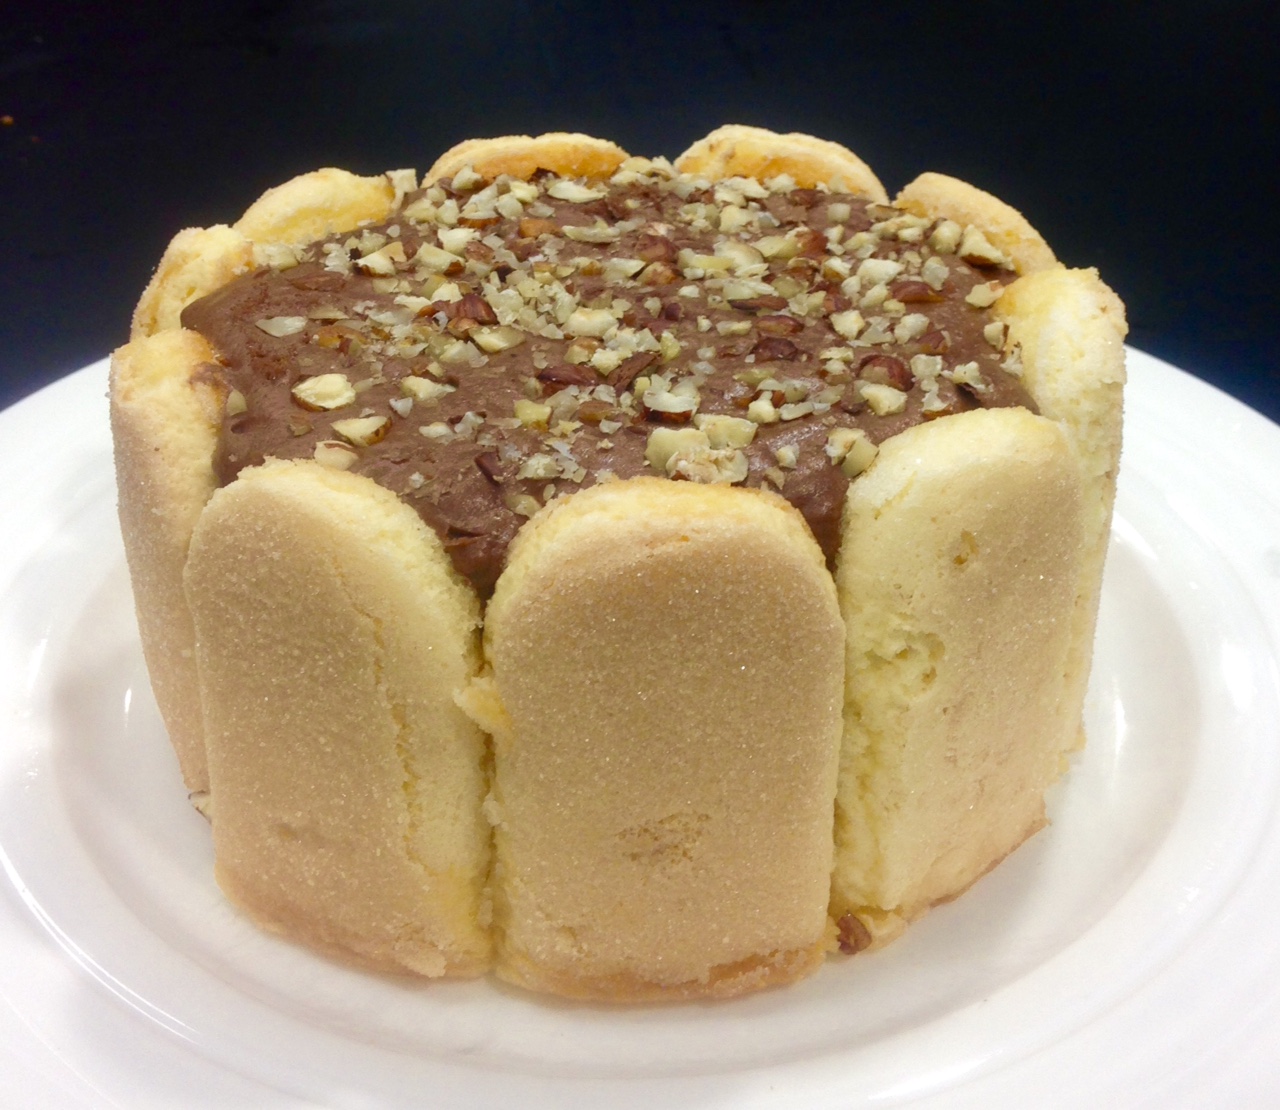
Jelly Marshmallow Fondant

After getting annoyed at the cost of fondant and how certain colors can be very difficult to get ahold of I decided to make my own. But my version was also going to have unique flavors that reflected the colors.
Now you may have noticed that I tend to use jelly crystals to quickly and easily flavor my cakes, creams, custards etc so I figured I could use this to flavor and colour fondant.
After playing around with a few fondant recipe experiments it was the marshmallow trial that was the easiest, quickest and replicated fondant perfectly from texture to pliability.
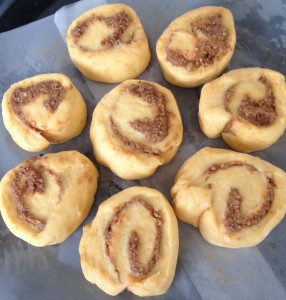
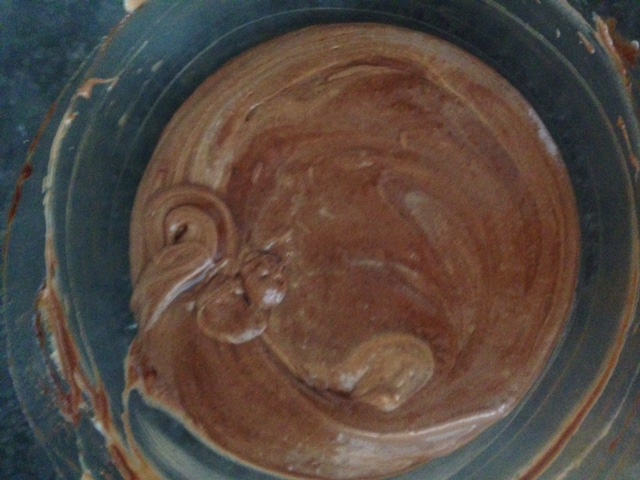
Literally 5 minutes and whatever flavored fondant you want is created. The examples below have lemon and blackberry fondant but you can use any flavour you wish!

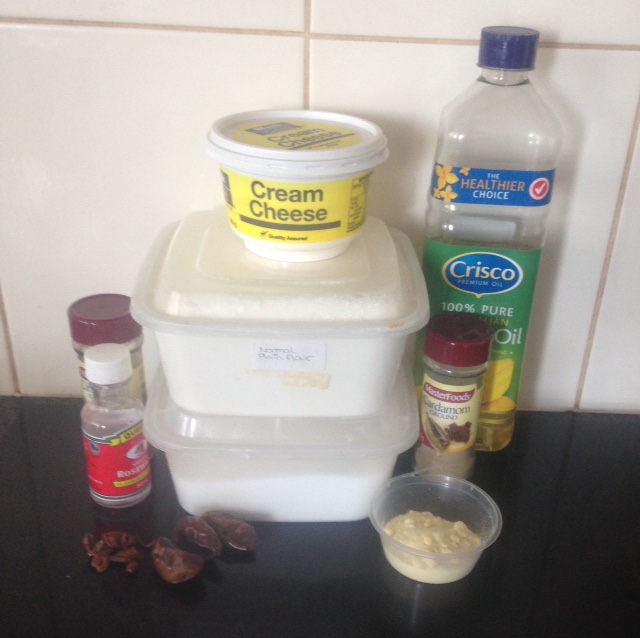
Ingredients:
- 40g jelly crystals (flavour as you desire)
- 60g vanilla marshmallows
- 2 tsn water
- 185g icing sugar
Method:
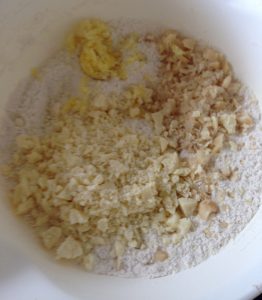
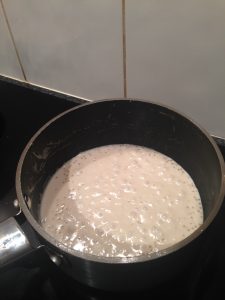
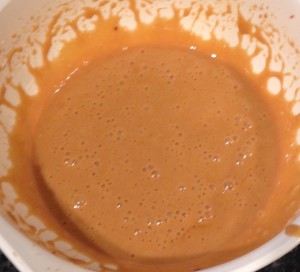
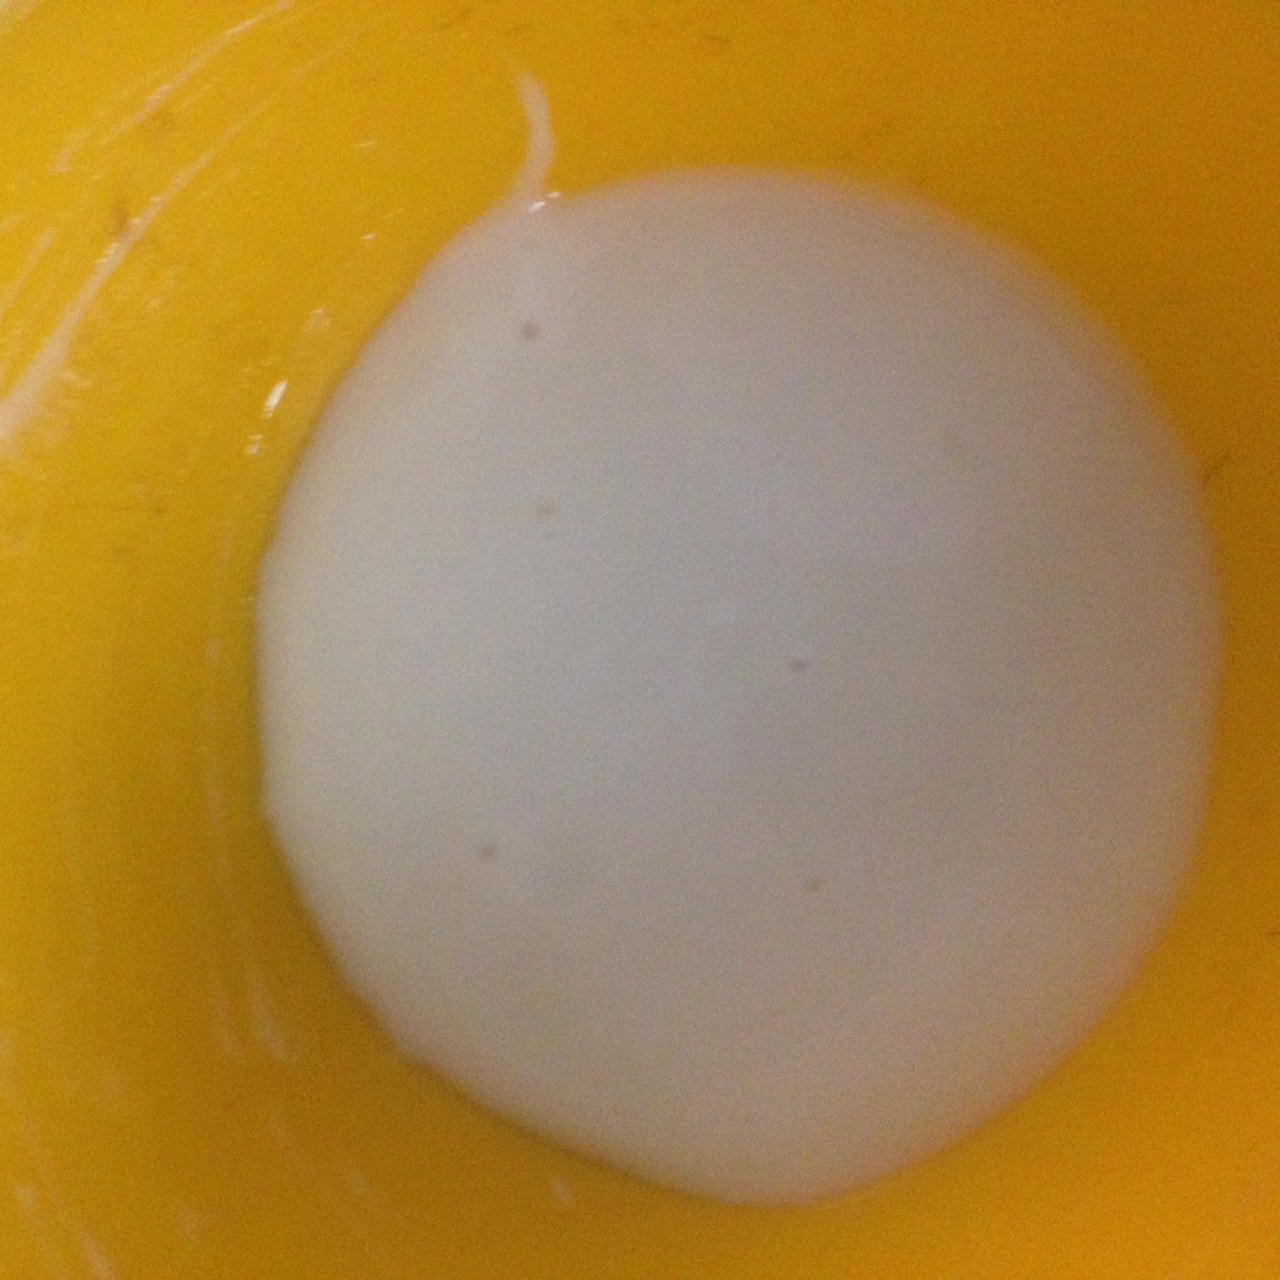
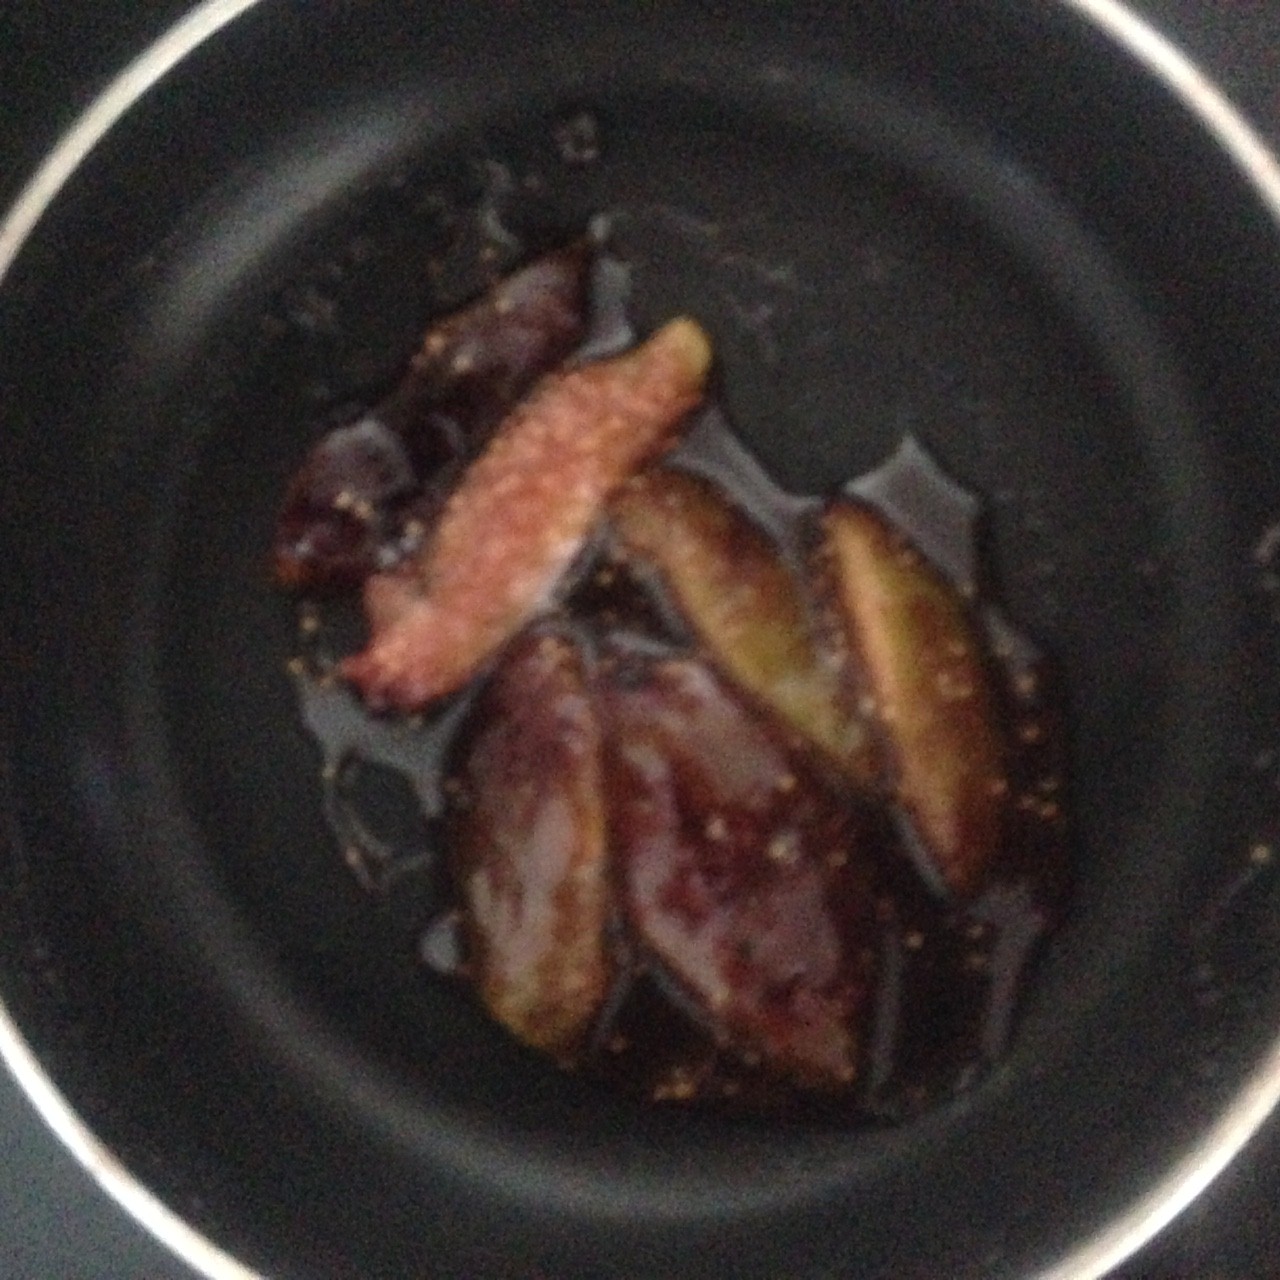
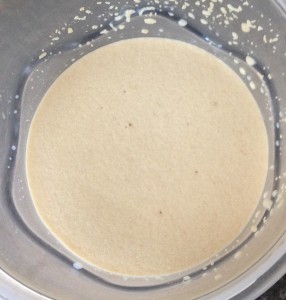
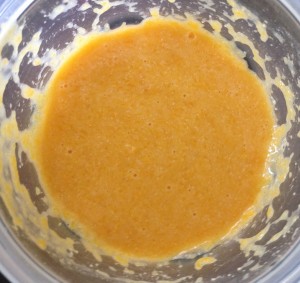
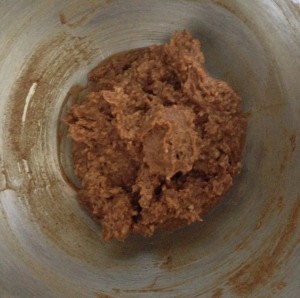
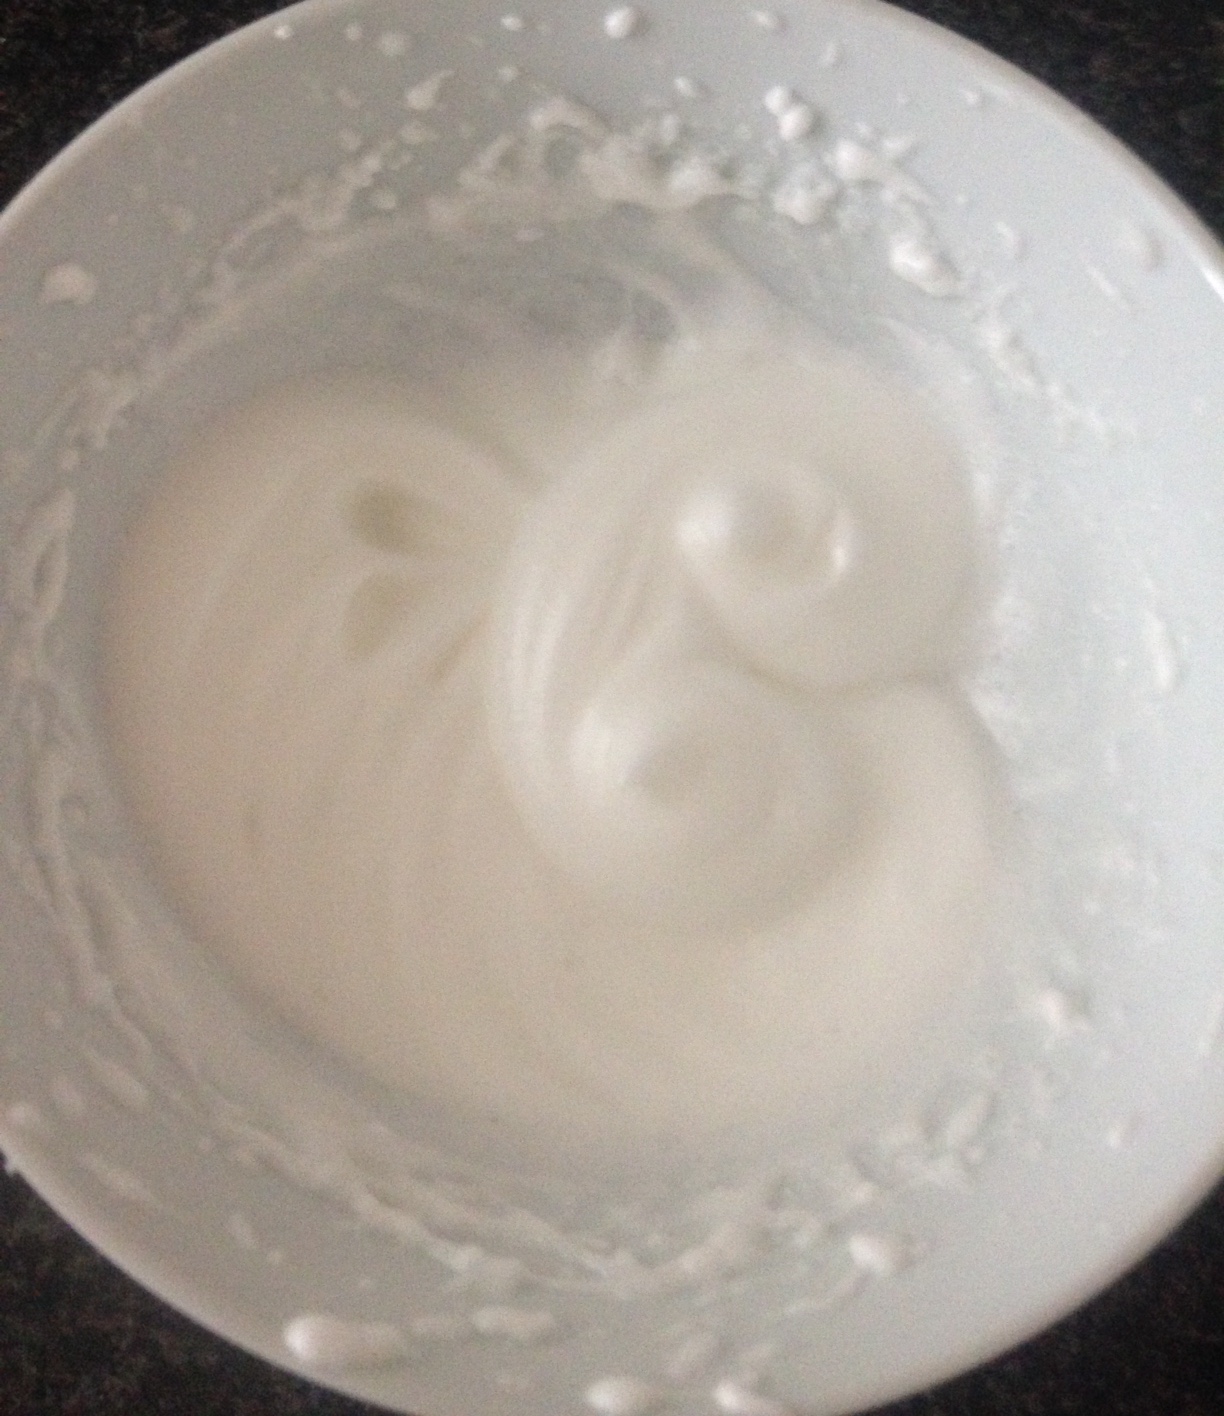
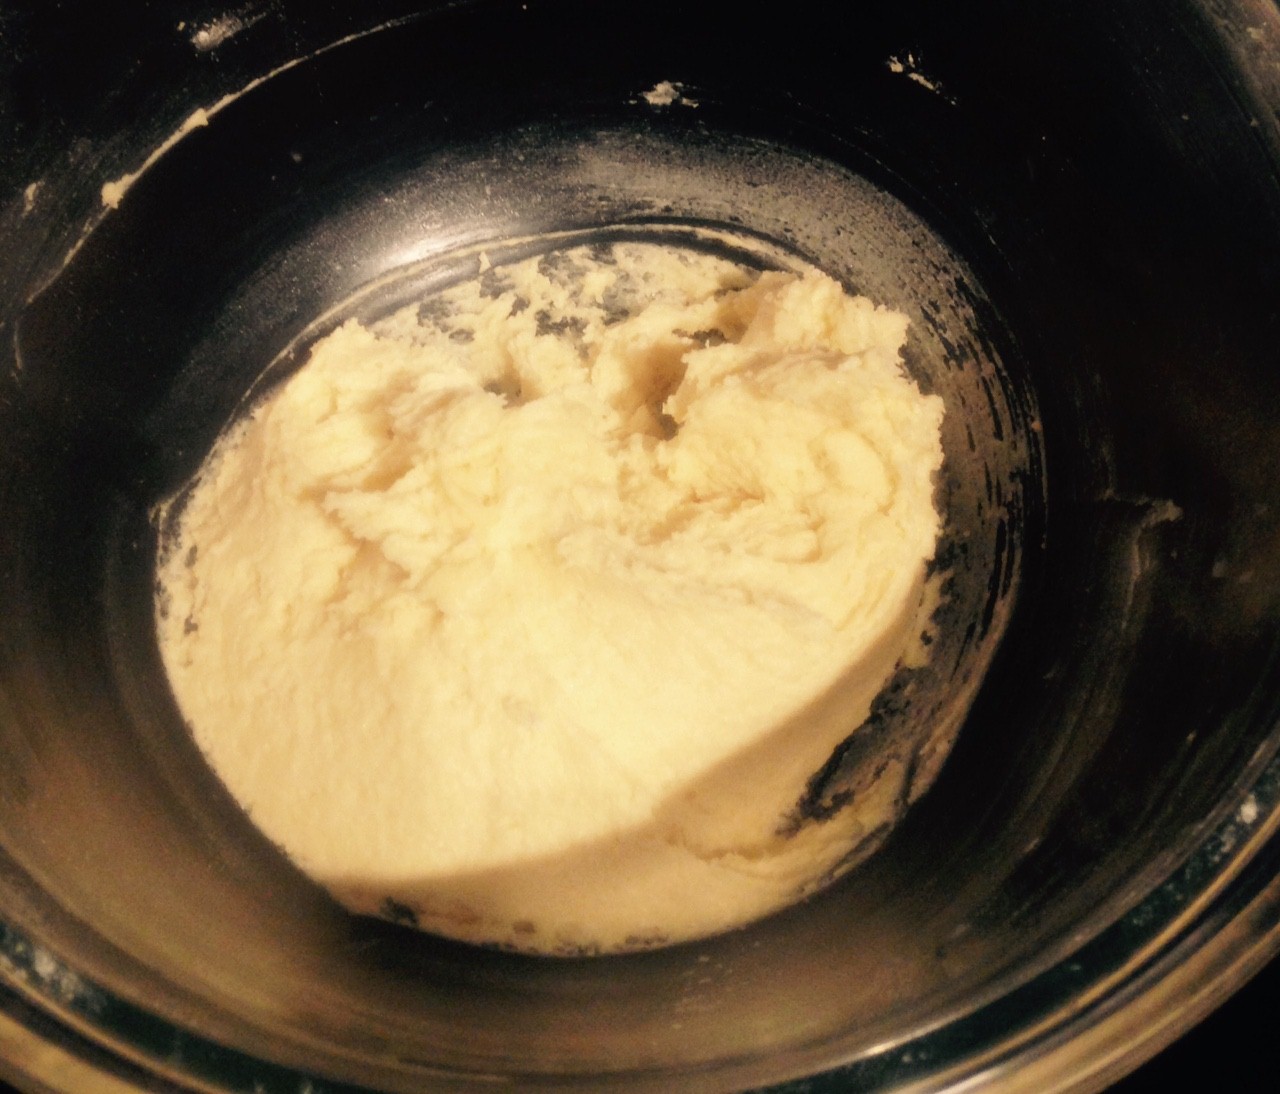
- Place the crystals, marshmallows and water into a bowl and on medium heat microwave for 45 seconds, stir.
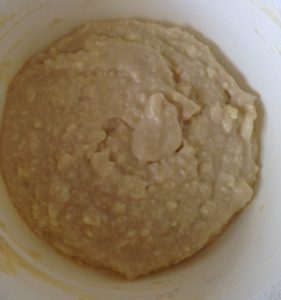
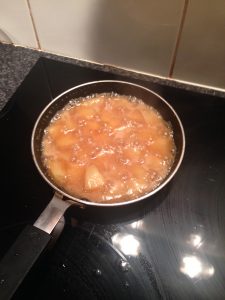
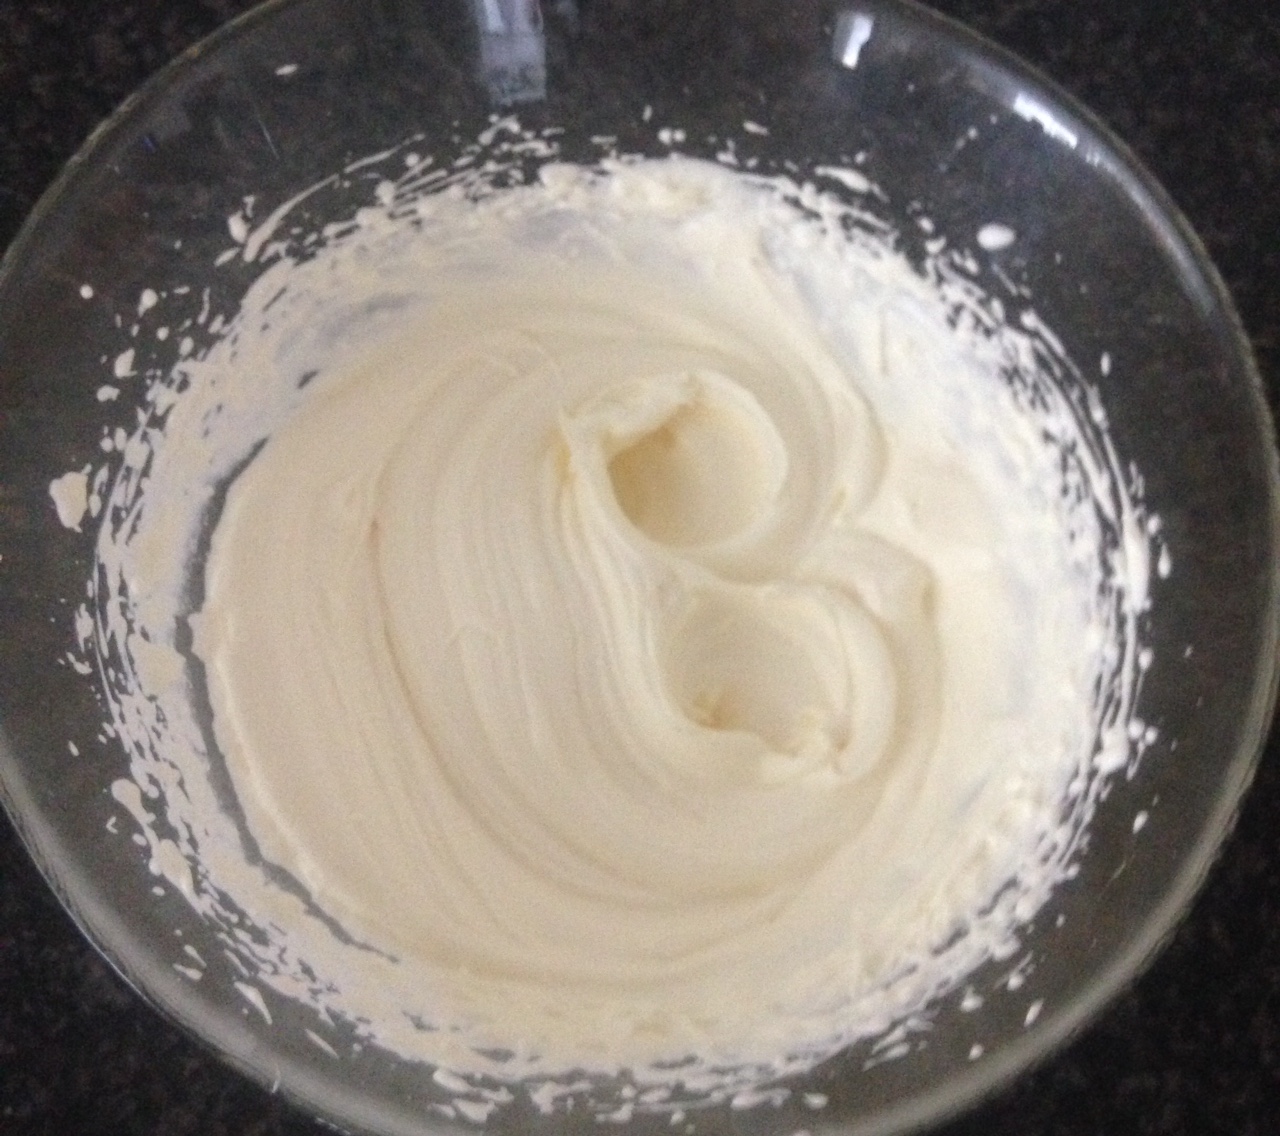
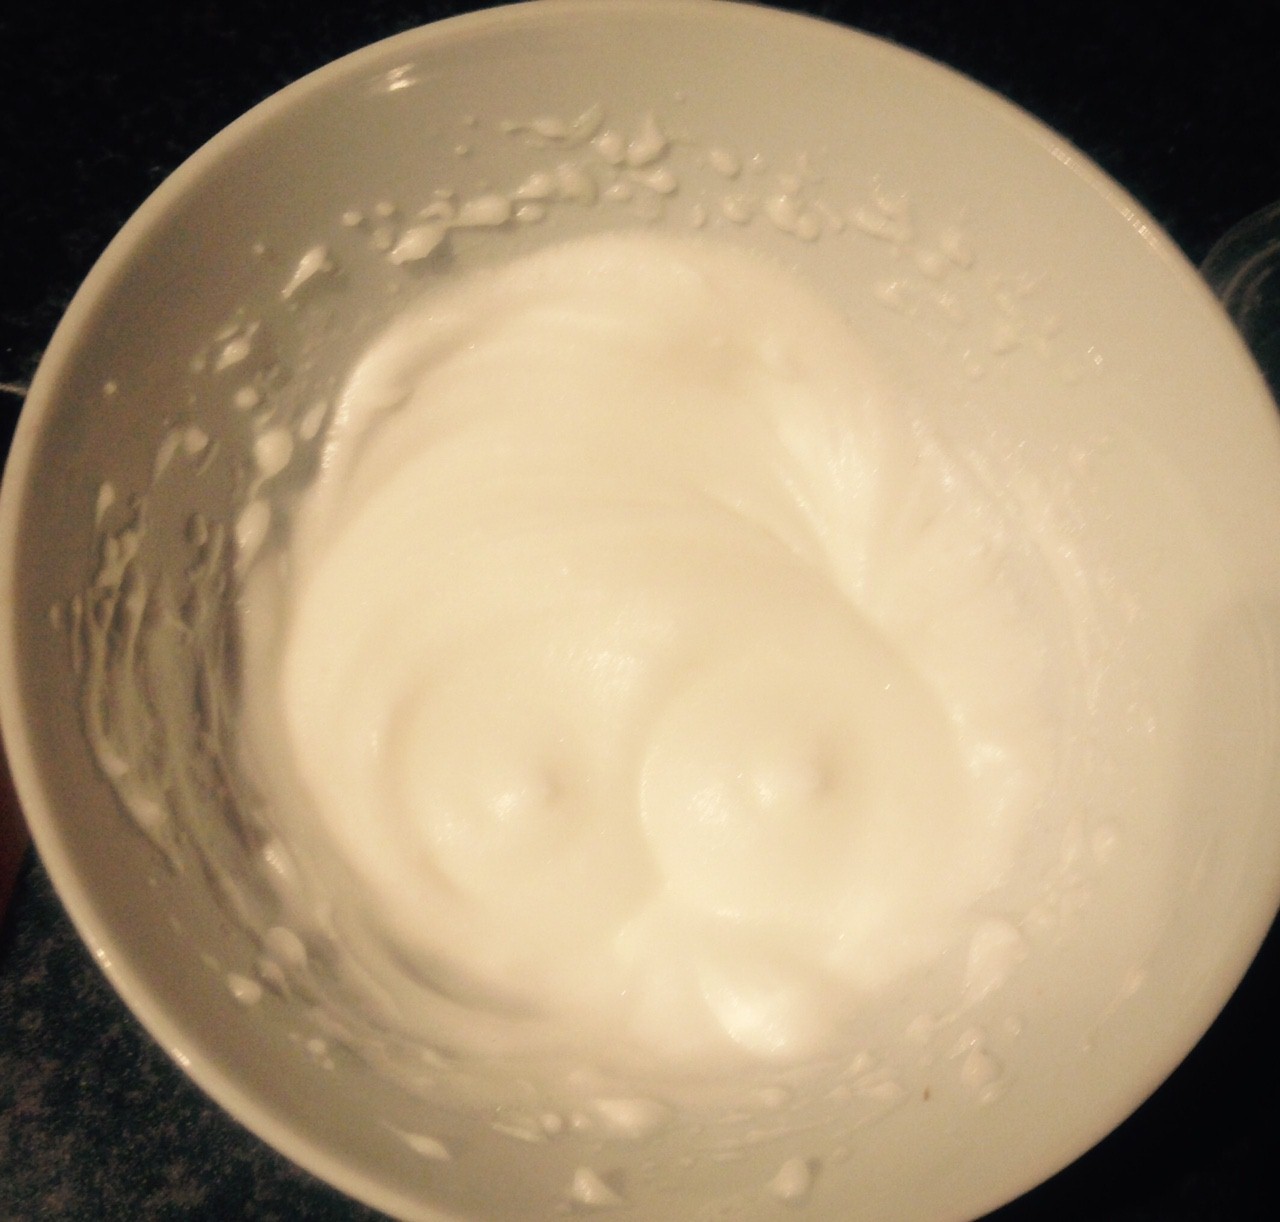
- Microwave again for 30 seconds on medium or until the marshmallows have ballooned up, stir.
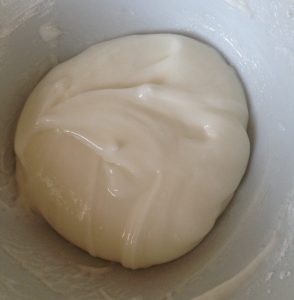
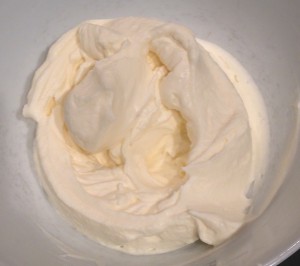
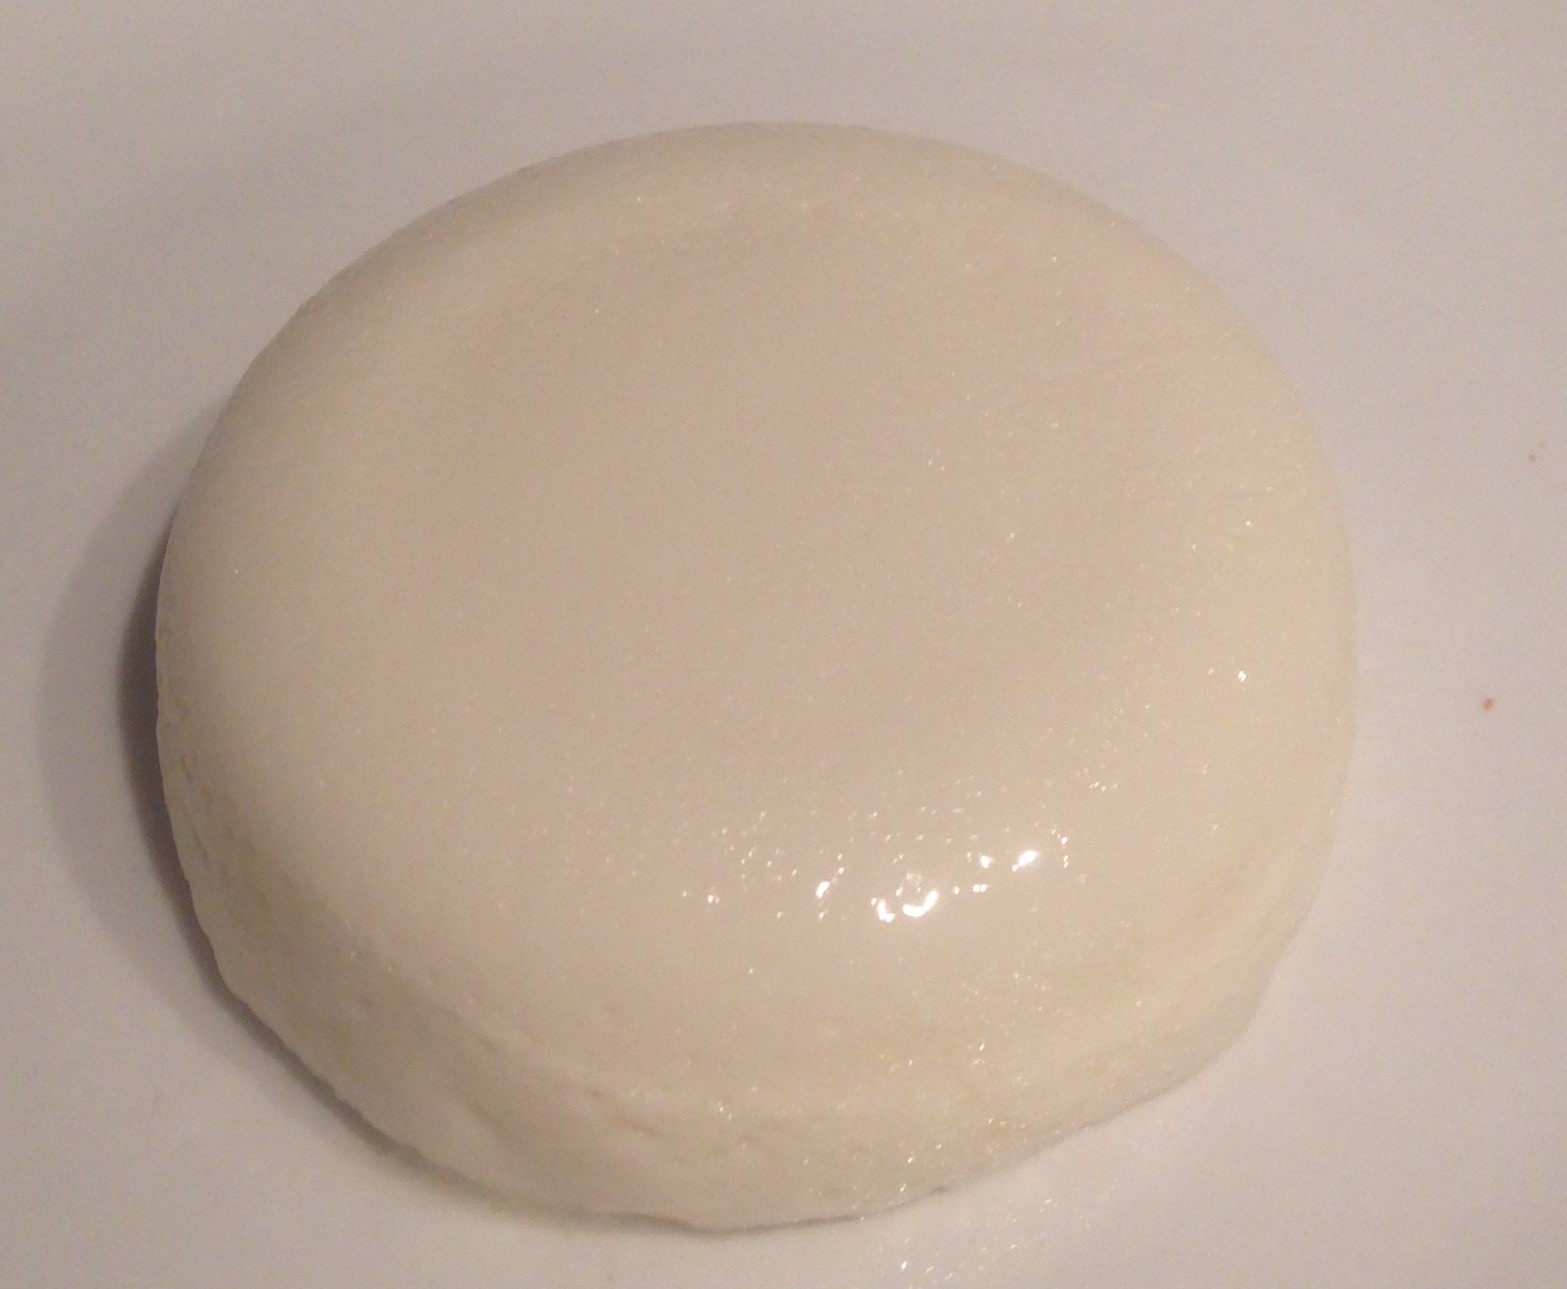
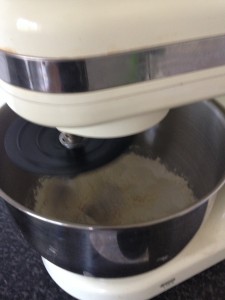
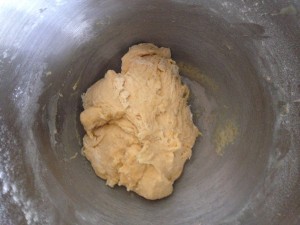
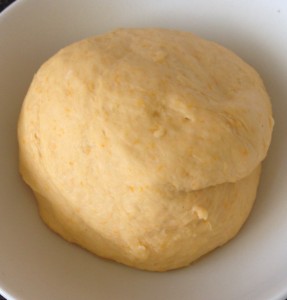
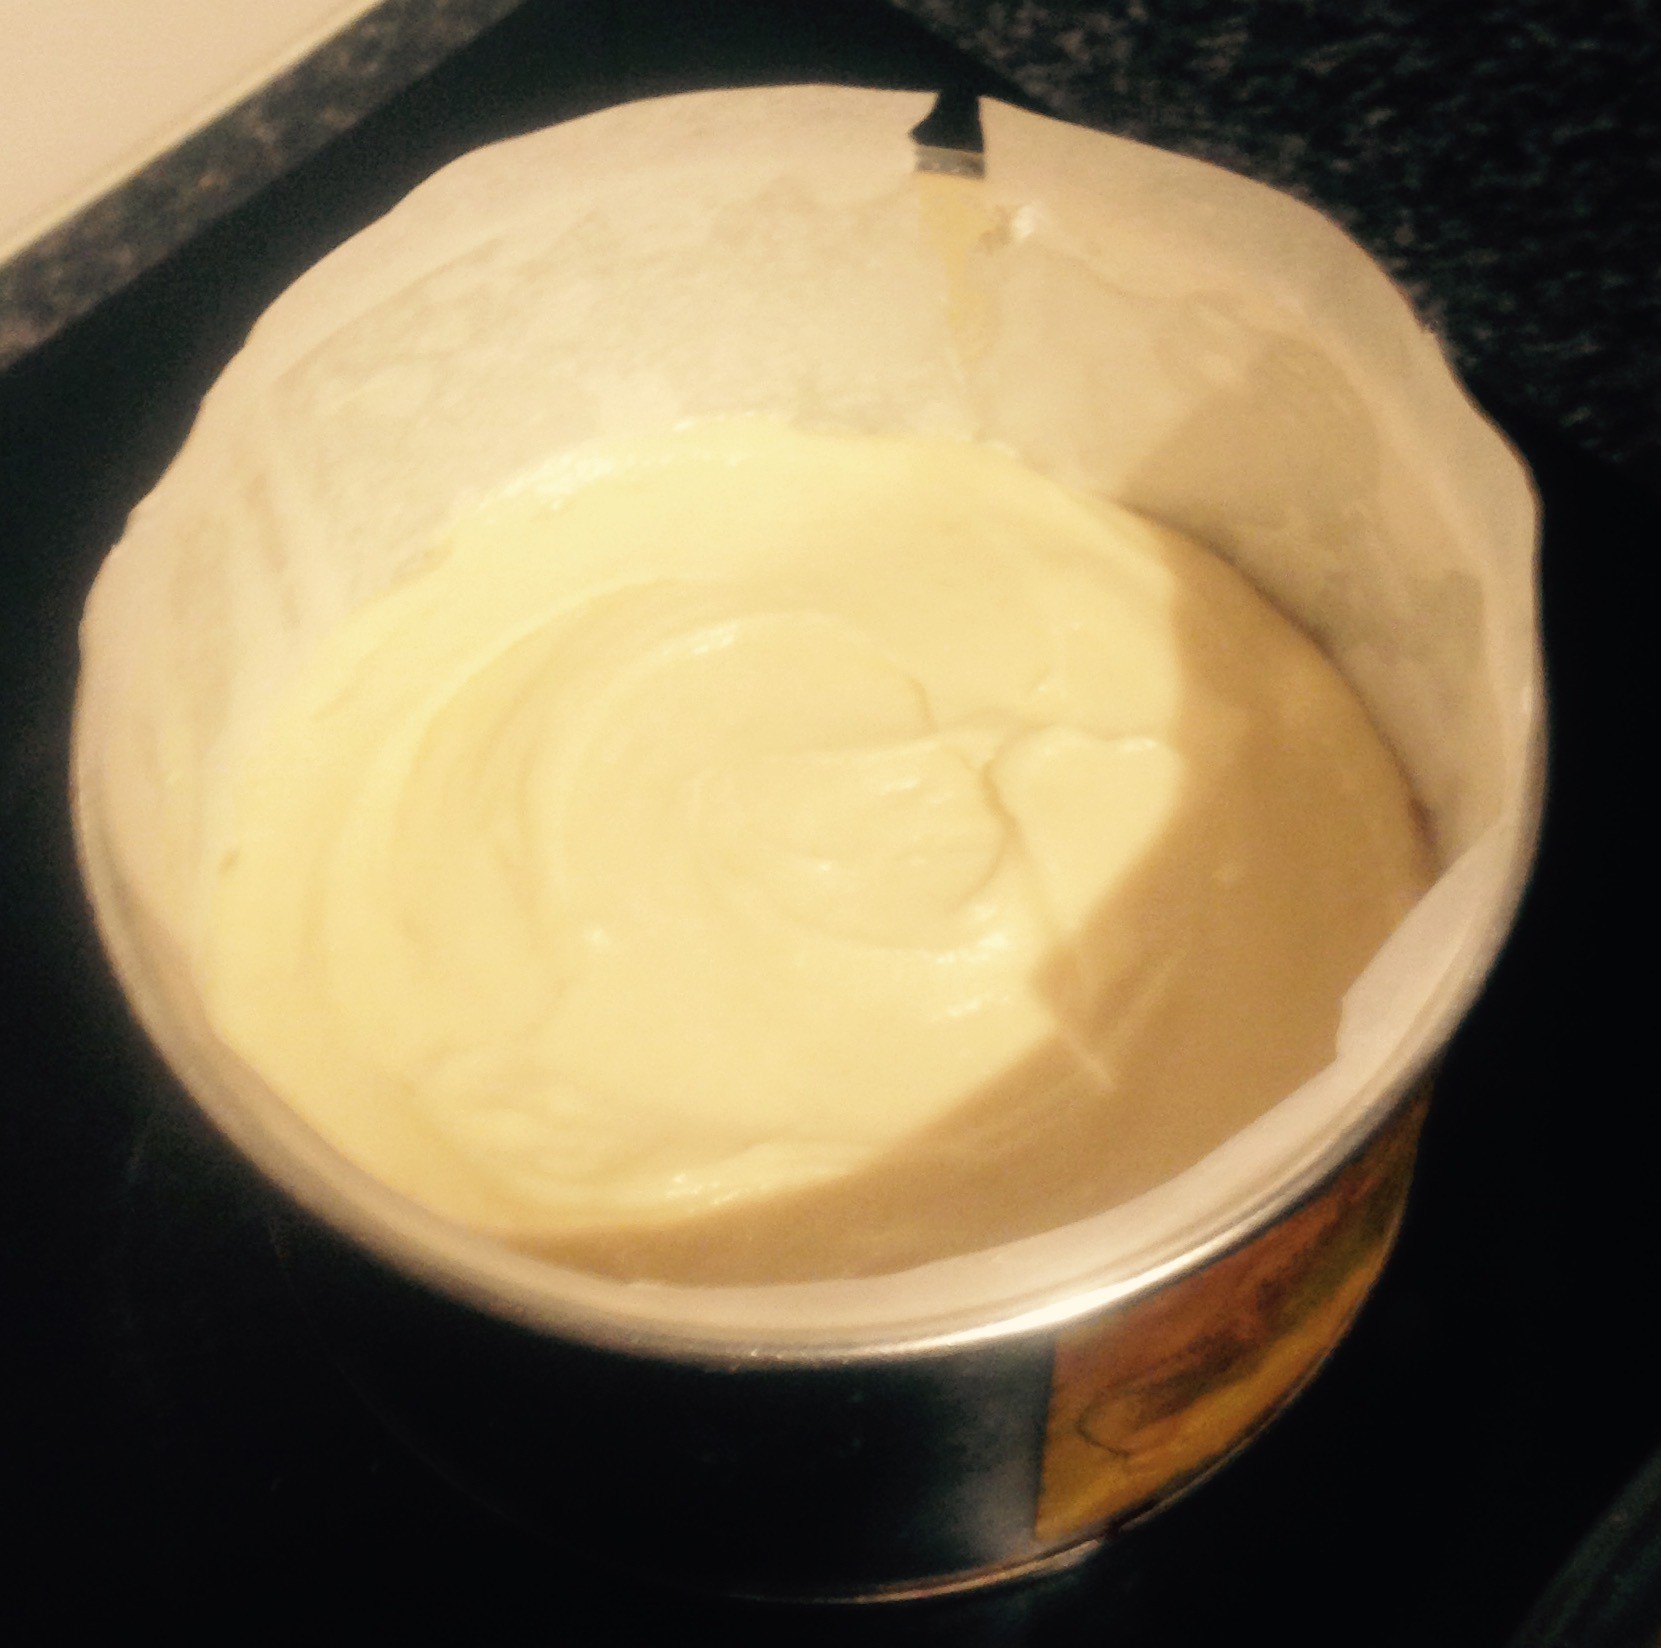
- Add the icing sugar and using a metal spoon stir until well combine the mix resemble fondant.
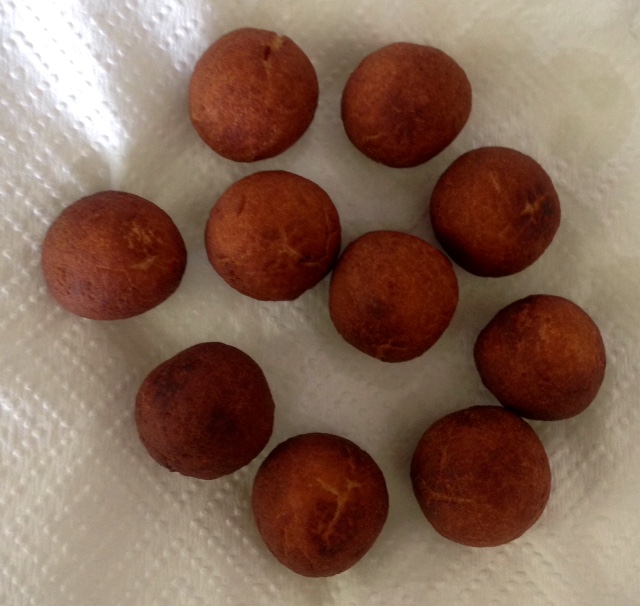
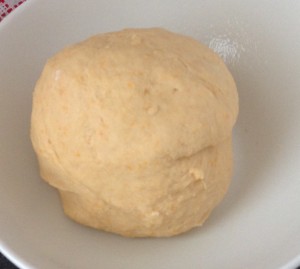
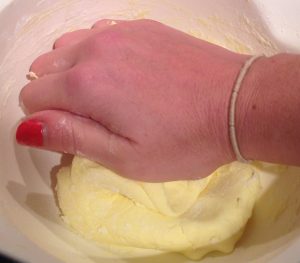
- Roll fondant into a ball and place in the fridge for 15 minutes to cool completely and firm to required consistency.
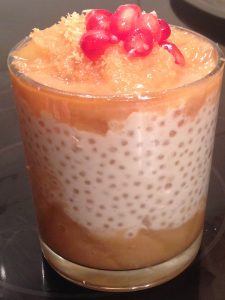
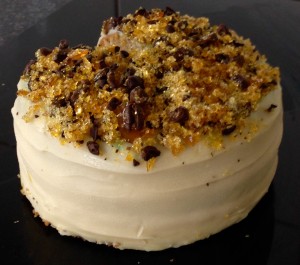
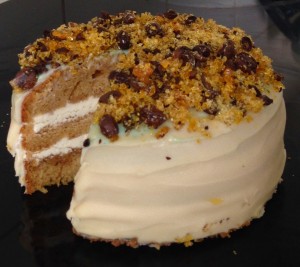
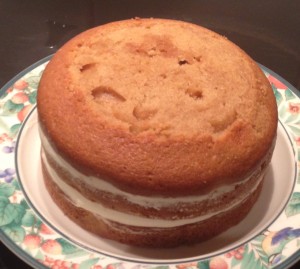
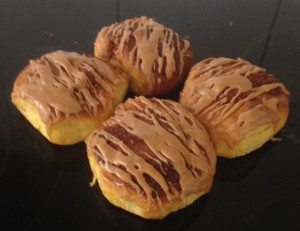
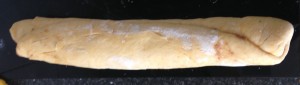
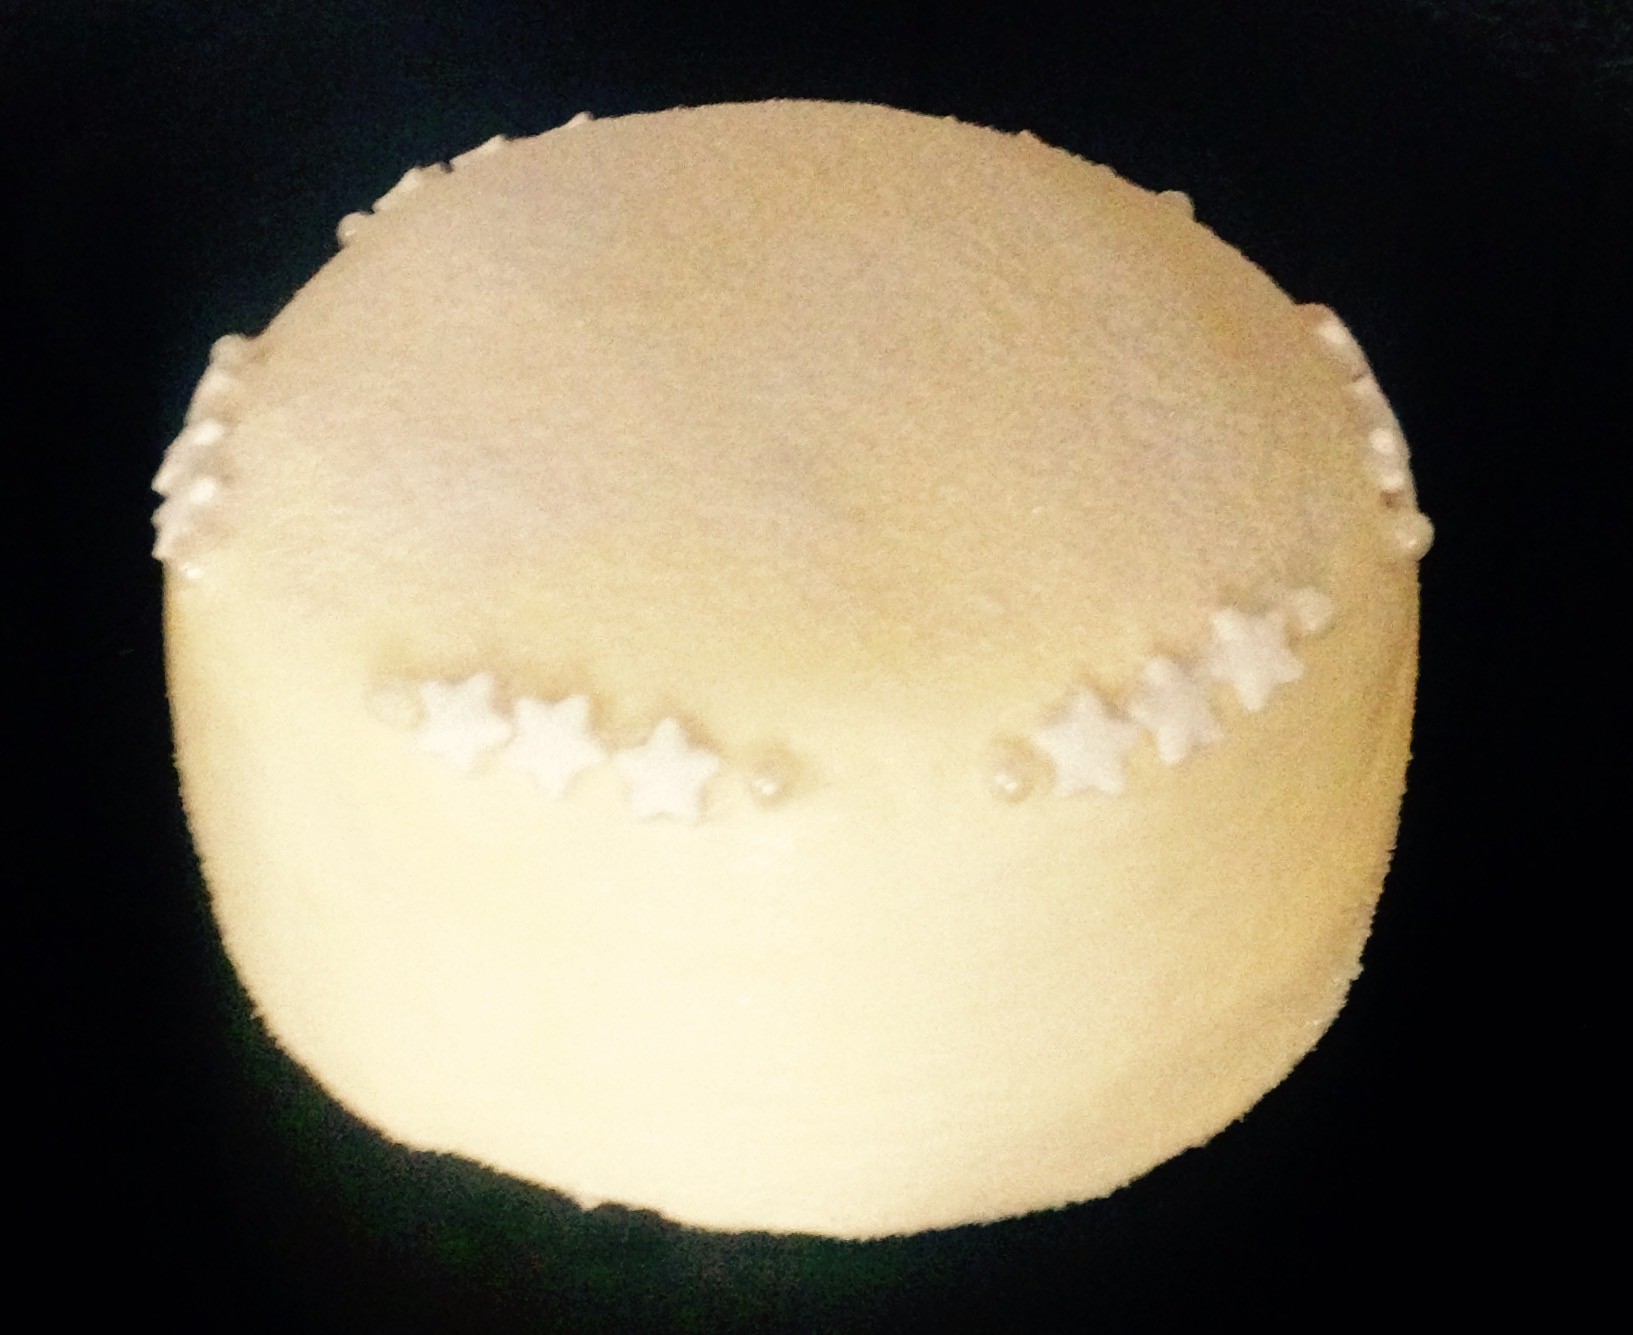
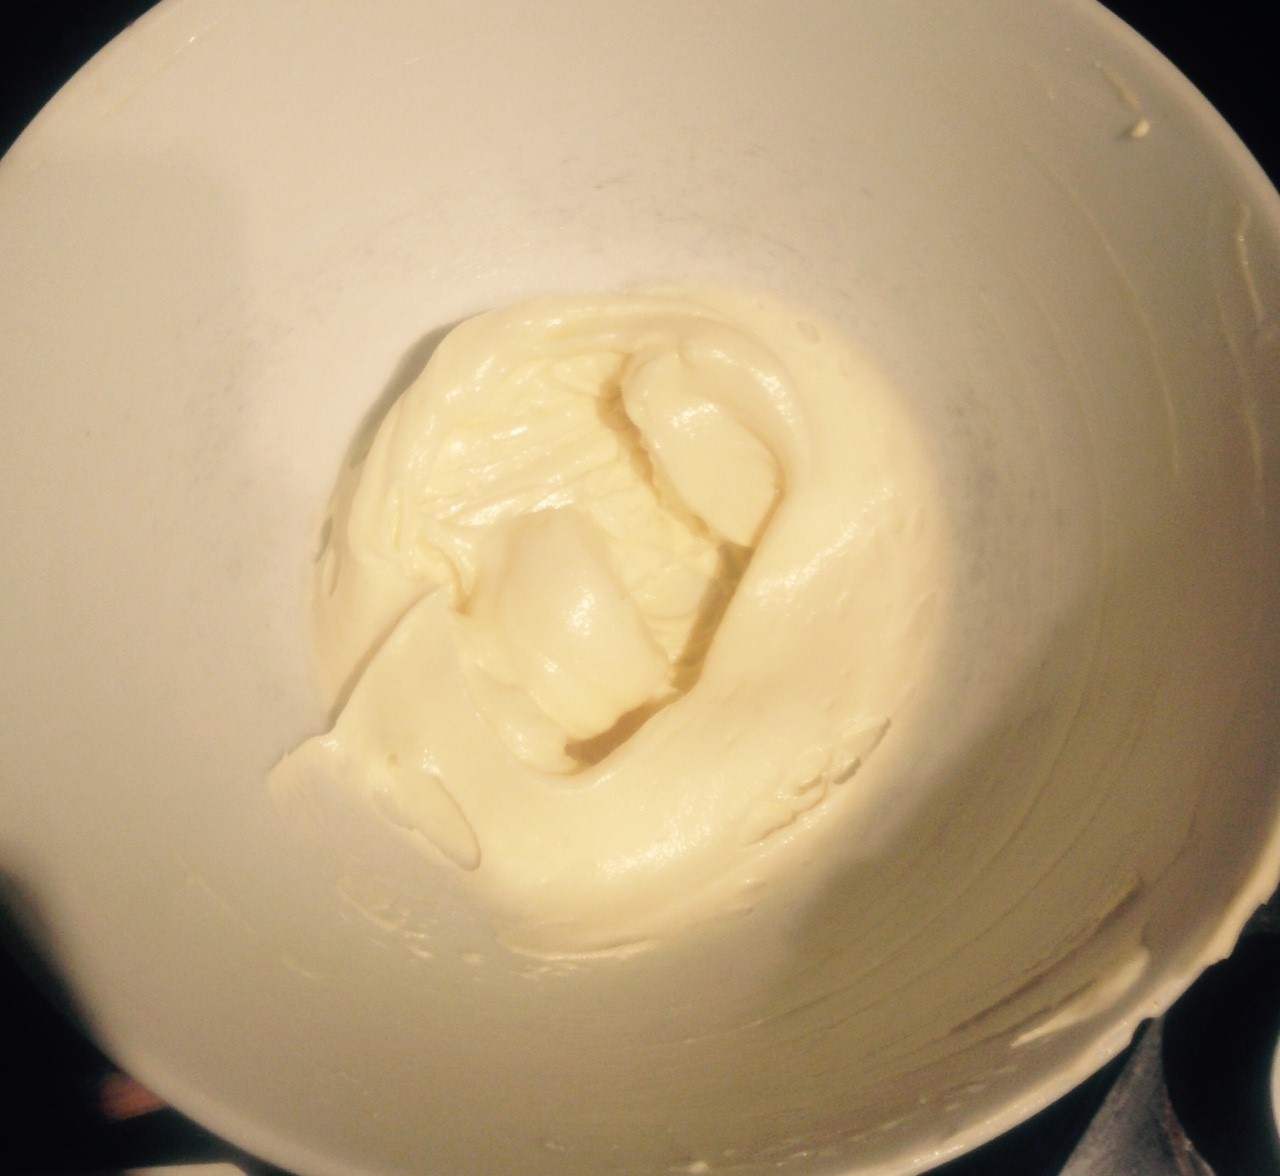
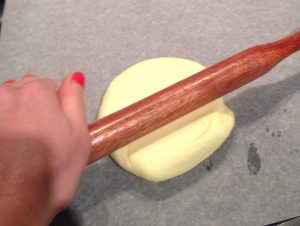
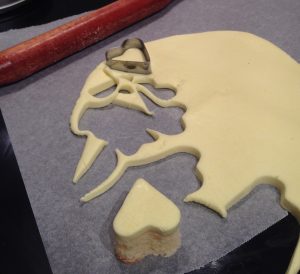
- Kneed the fondant for 20 seconds then roll the fondant out with a rolling pin on baking paper and use on desired cake.
Notes:
- If the icing is too sticky and not pliable after being refrigerated just add an additional 10g icing sugar and kneed. If still not to consistency required repeat the additional icing sugar step.
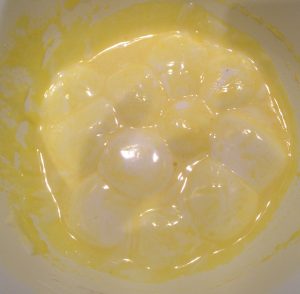
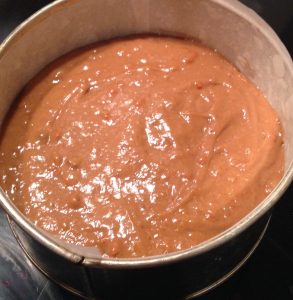
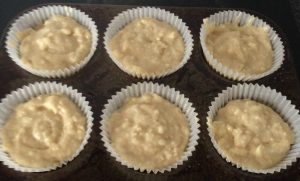
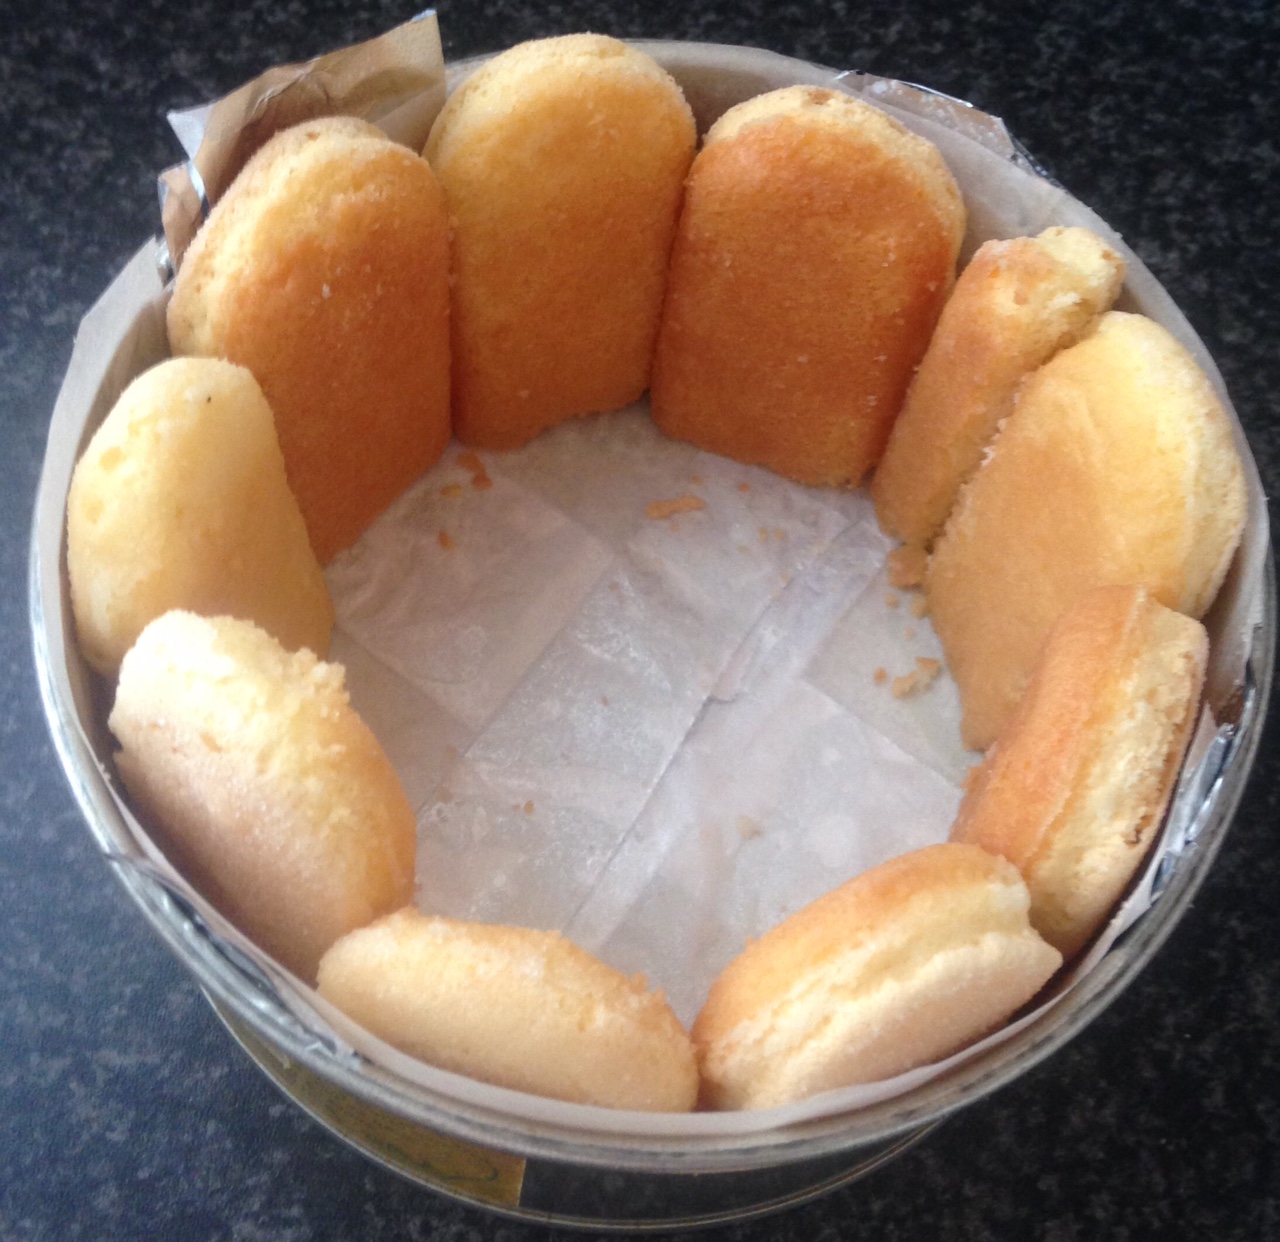
Step 1
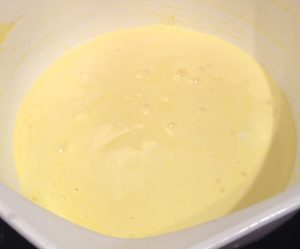
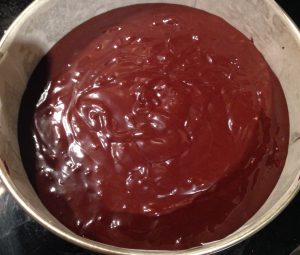
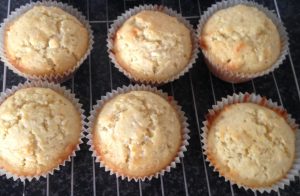
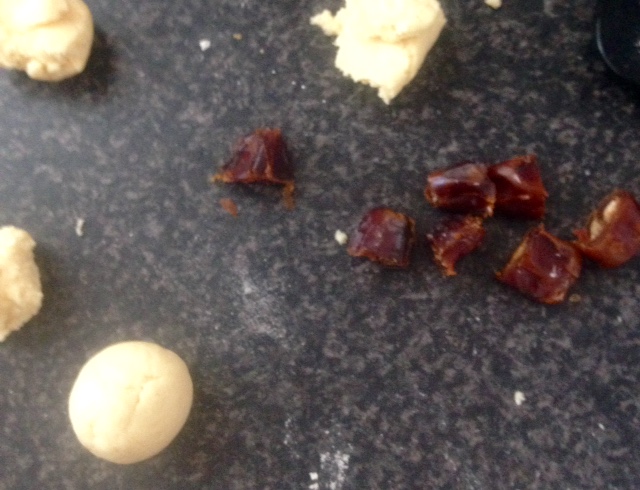
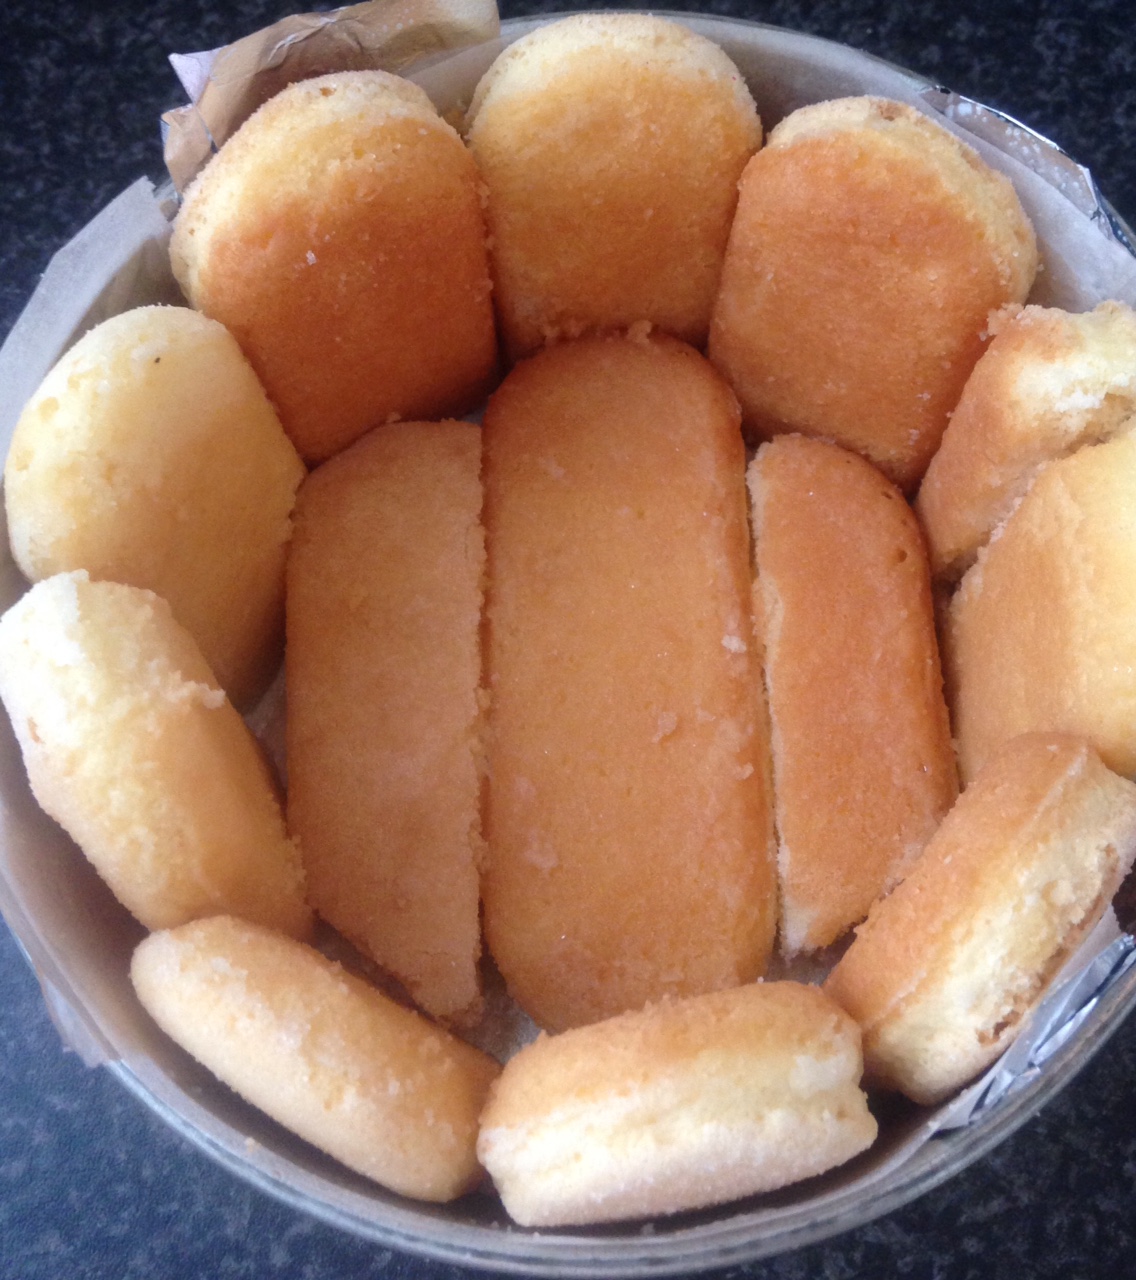
Step 2
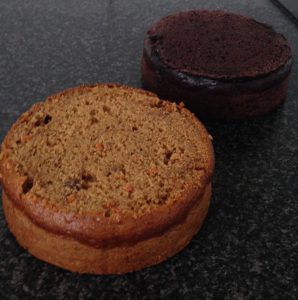
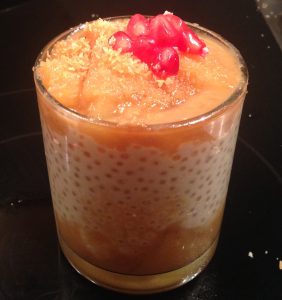
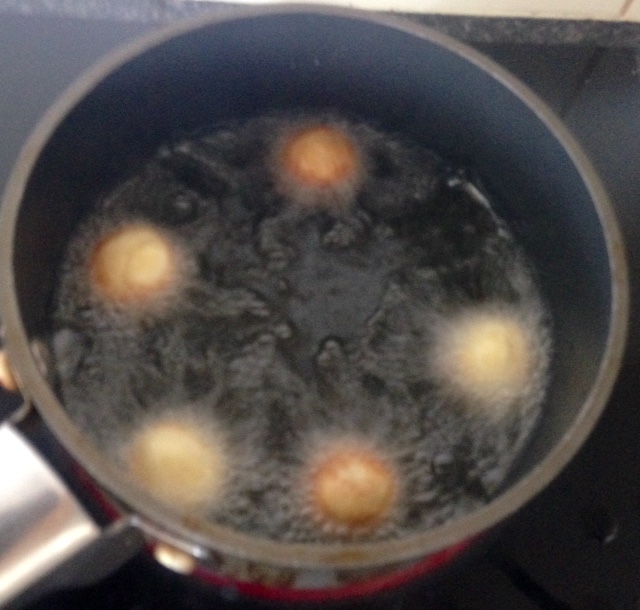
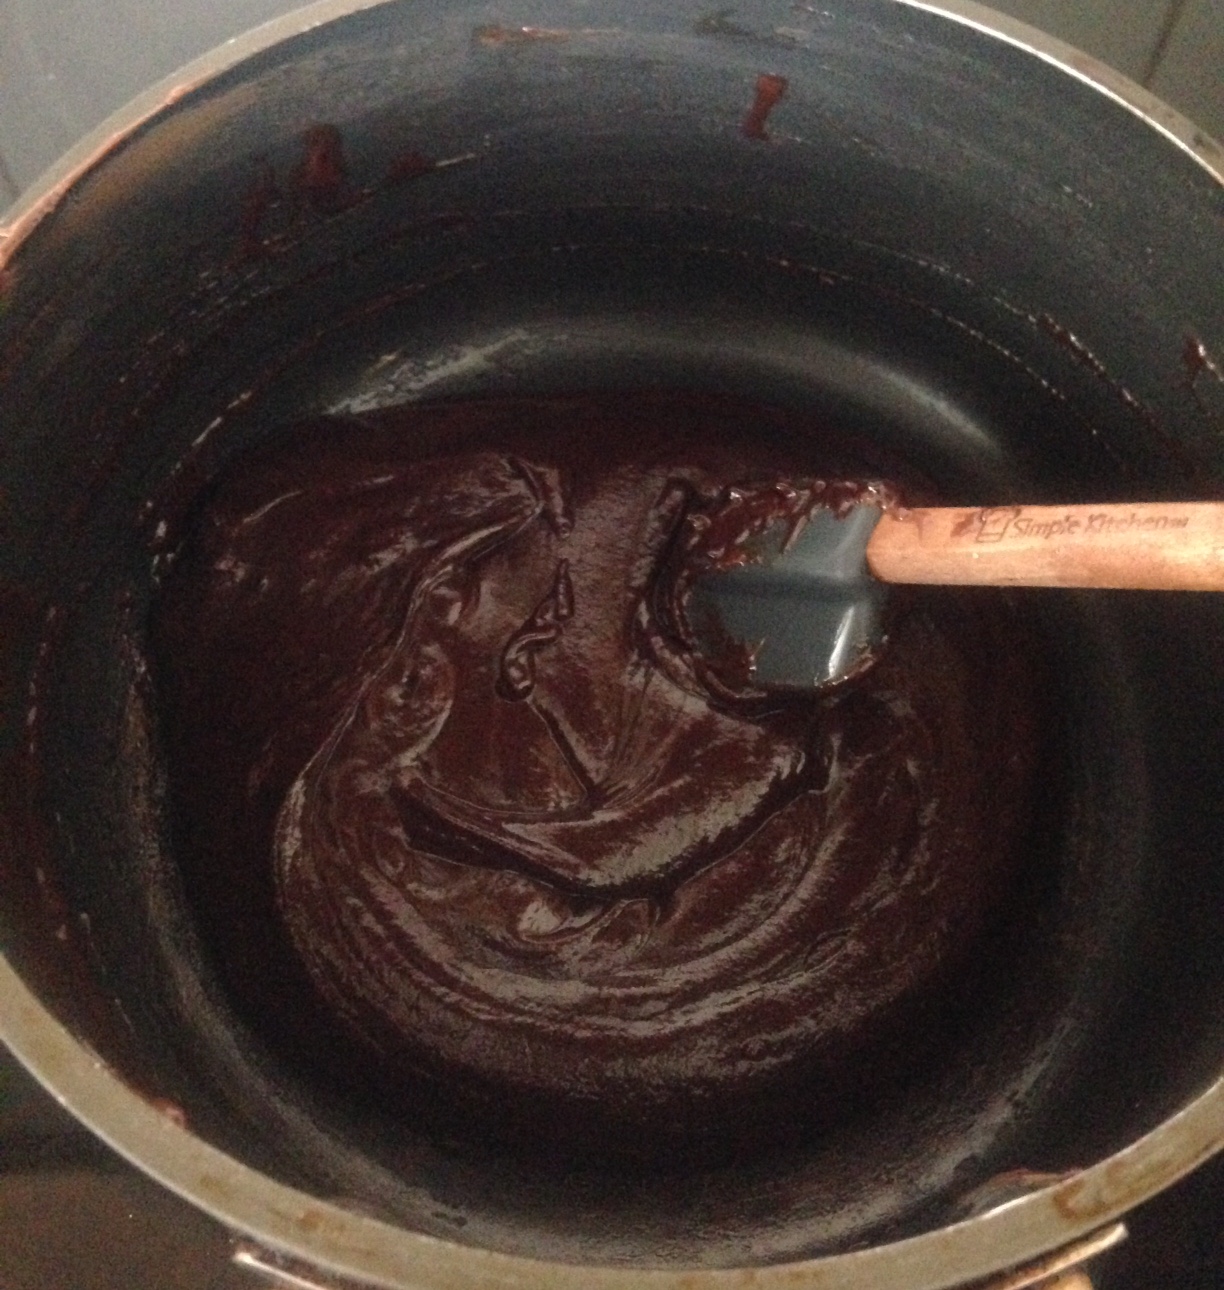
Step 5

Like this recipe? Subscribe via RSS or email to get my new entries and more scrumptious recipes with reviews.
 Follow