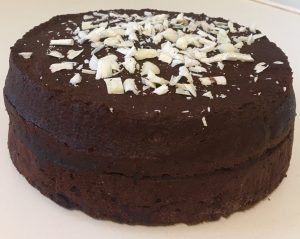
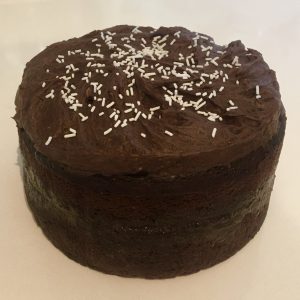
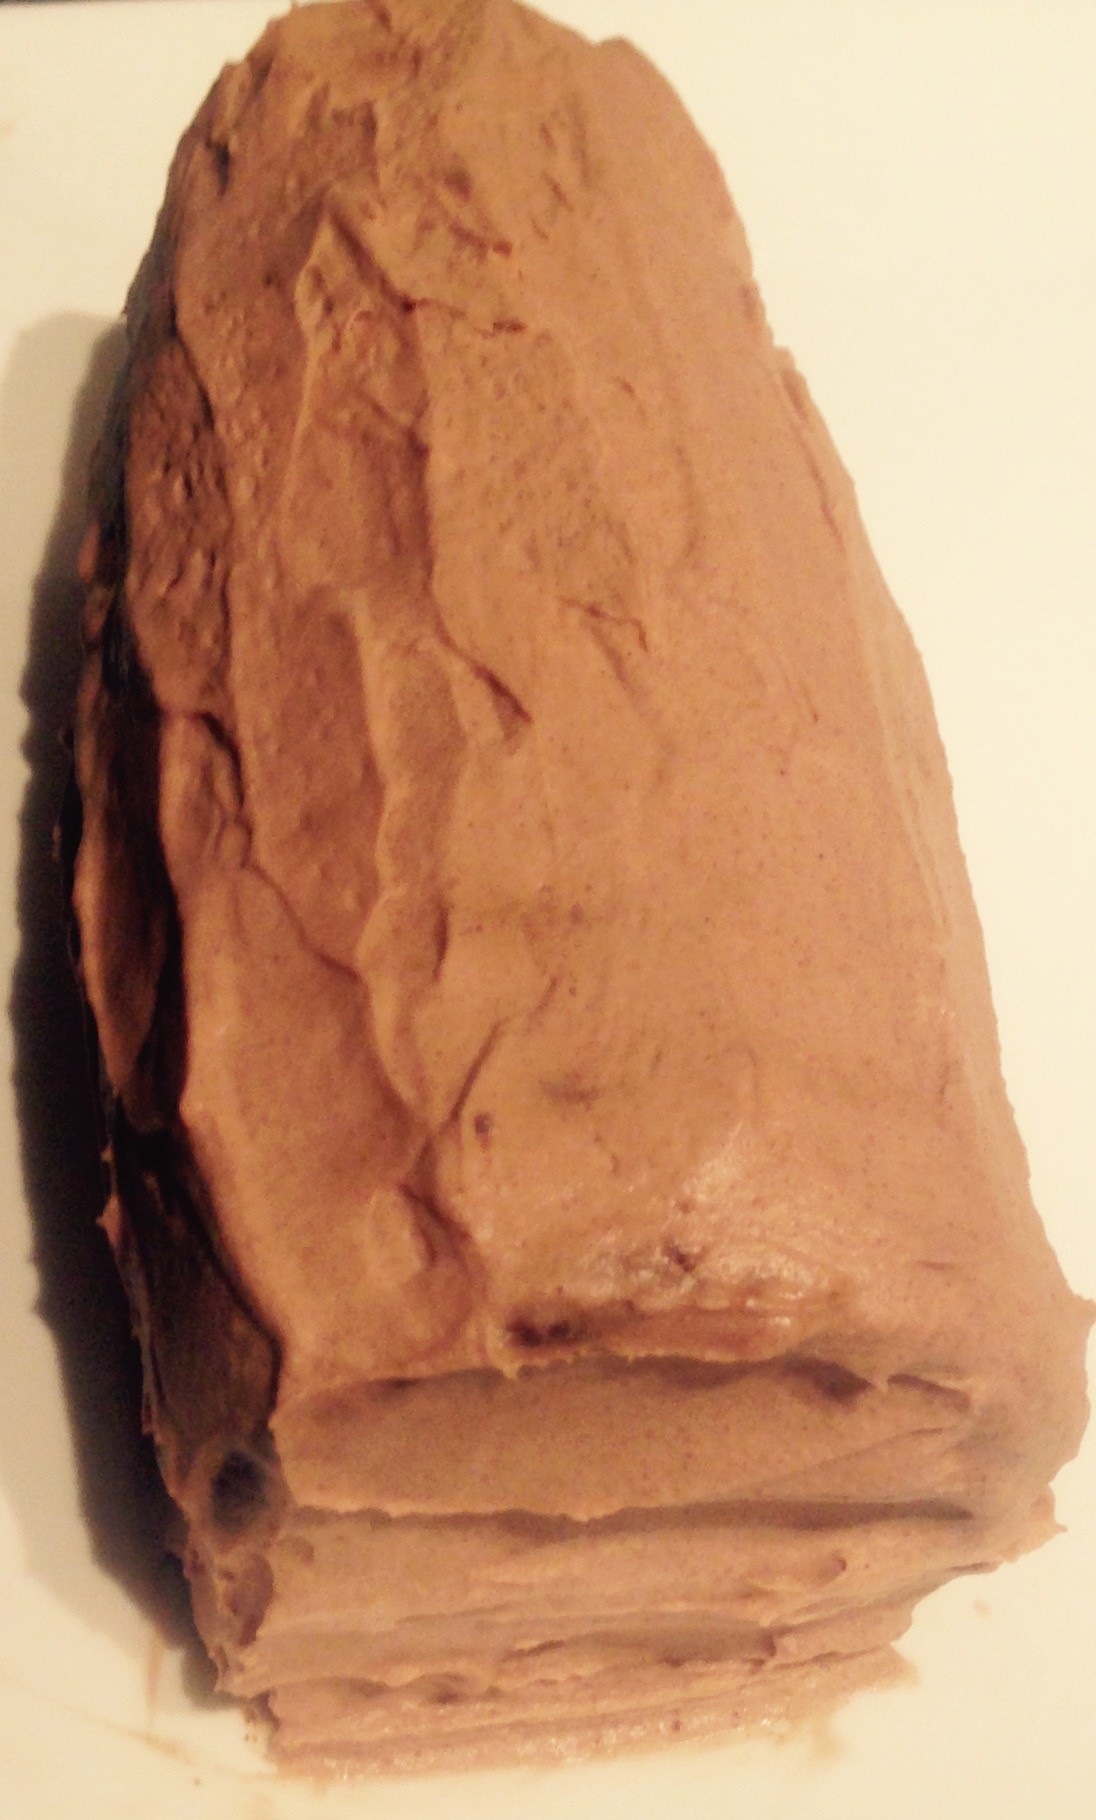
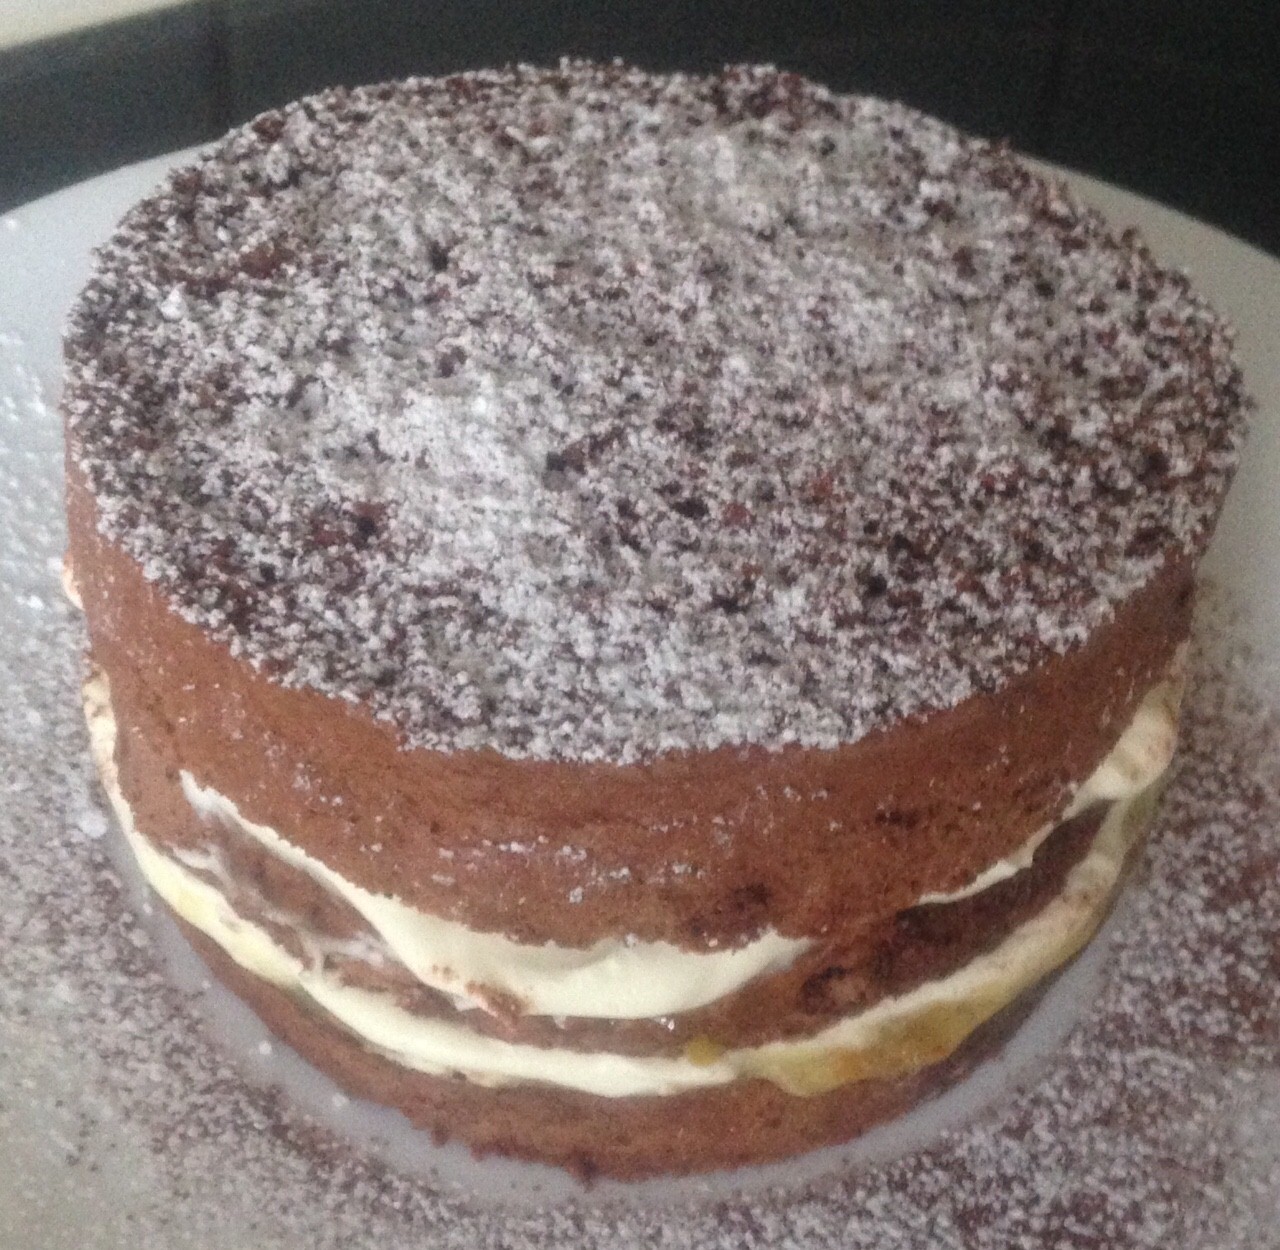
Chocolate and Orange Marmalade Sponge

For a long time now (around 18 months) I have been attempting to make the ultimate amazing ‘Jaffa inspired’ treat.
I have gone through choc-orange flavoured mousse , focaccia, truffle balls, biscuits, mud-cake, pastries, flan…and the list goes on…Though some of these experimental sessions produced bakes that were not actually bad they were not absolutely amazing either, thus not good enough to post.
This sponge cake recipe was not part of the choc-orange original baking experimental sessions, I actually came up with this recipe a few months later as I wanted to turn my favorite (never fail) sponge recipe into a chocolate sponge to see if it would work (you don’t come across a good chocolate sponge very often so I thought I would challenge this).
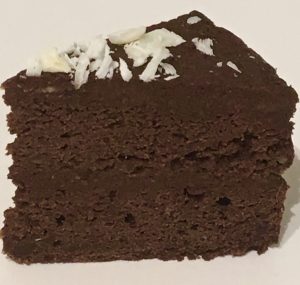
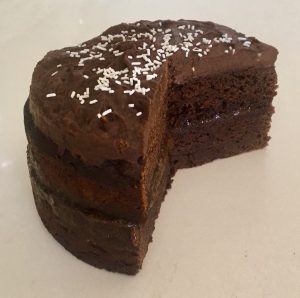
When I made the sponge and was happy with the outcome I started thinking about some jam fillings that are a bit unusual (not the normal raspberry or strawberry jam options we typically see). As I had some marmalade left over from the choc-orange experiments I ended up opting for this. Once I spread the layers of jam with cream and sandwiched the cake layers together I was left with either a massive fail or new sponge recipe.
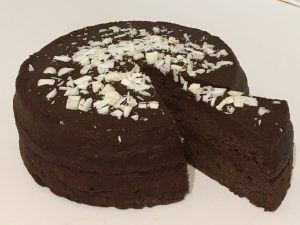
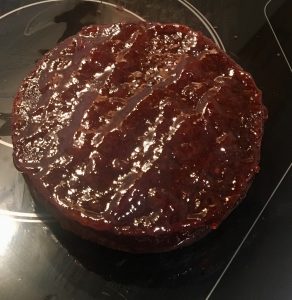
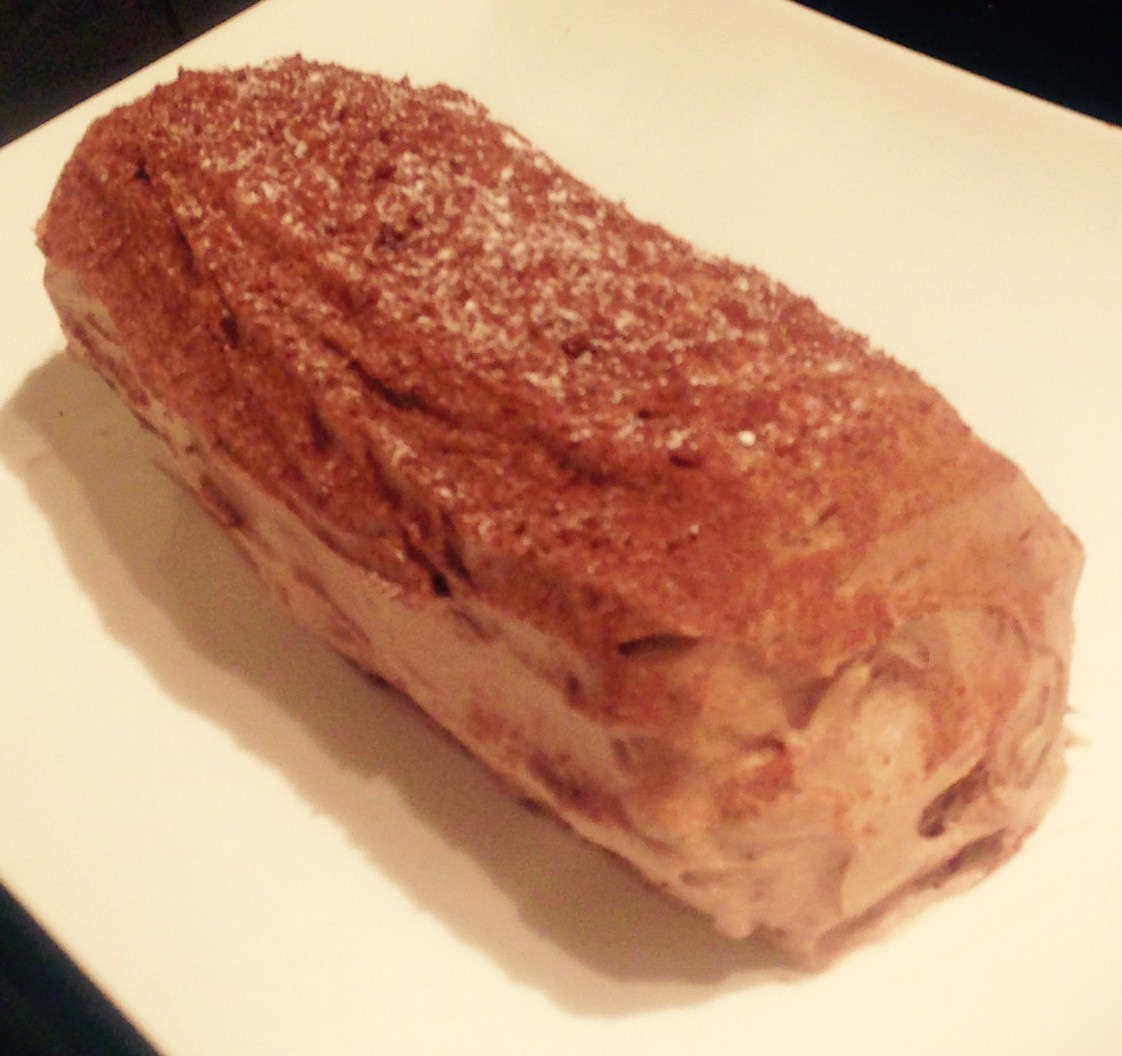
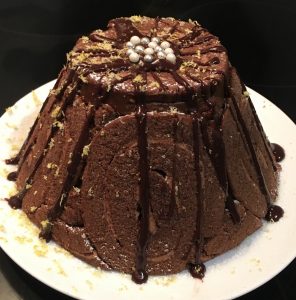
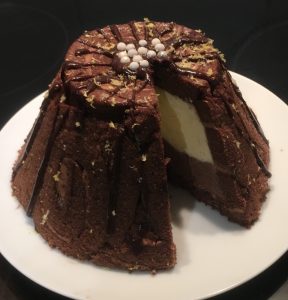
Next step was to drizzle with chocolate sauce, cut and devour. I must say the devouring part was not a difficult task at all.
Finally chocolate orange flavor combo success!
Ingredients:
Sponge:
- 2 tsn plain flour
- ½ tsn bi carbonate of soda
- 1 tsn cream of tartar
- 100g corn flour
- 30g cocoa powder
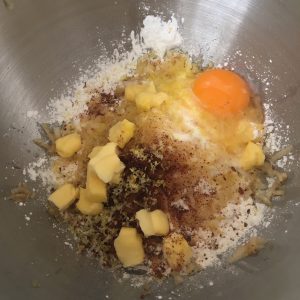
- 4 eggs
- 165g sugar
- ½ tsn vanilla essence
Filling:
- 300g thickened cream
- 2 tsn icing sugar
- ½ tsn vanilla essence
- 270g orange marmalade
Ganache:
- 100g dark chocolate, broken up
- 40g thickened cream
Method:
- Preheat the oven to 190c degrees and line 3 x 20cm cake tins with baking paper.
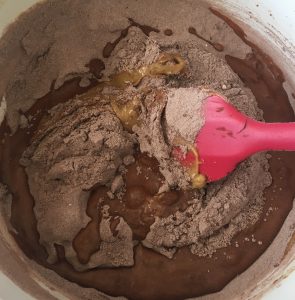
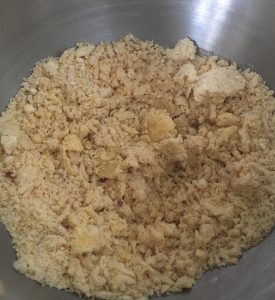
- Place the plain flour, bi carbonate or soda, cream of tartar, corn flour and cocoa powder into a bowl and sift 3 times.
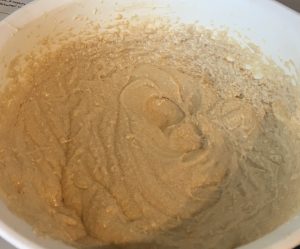
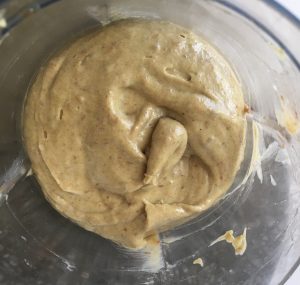
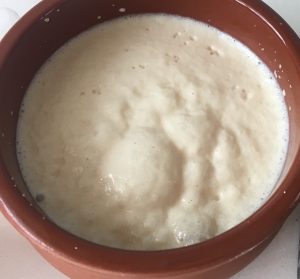
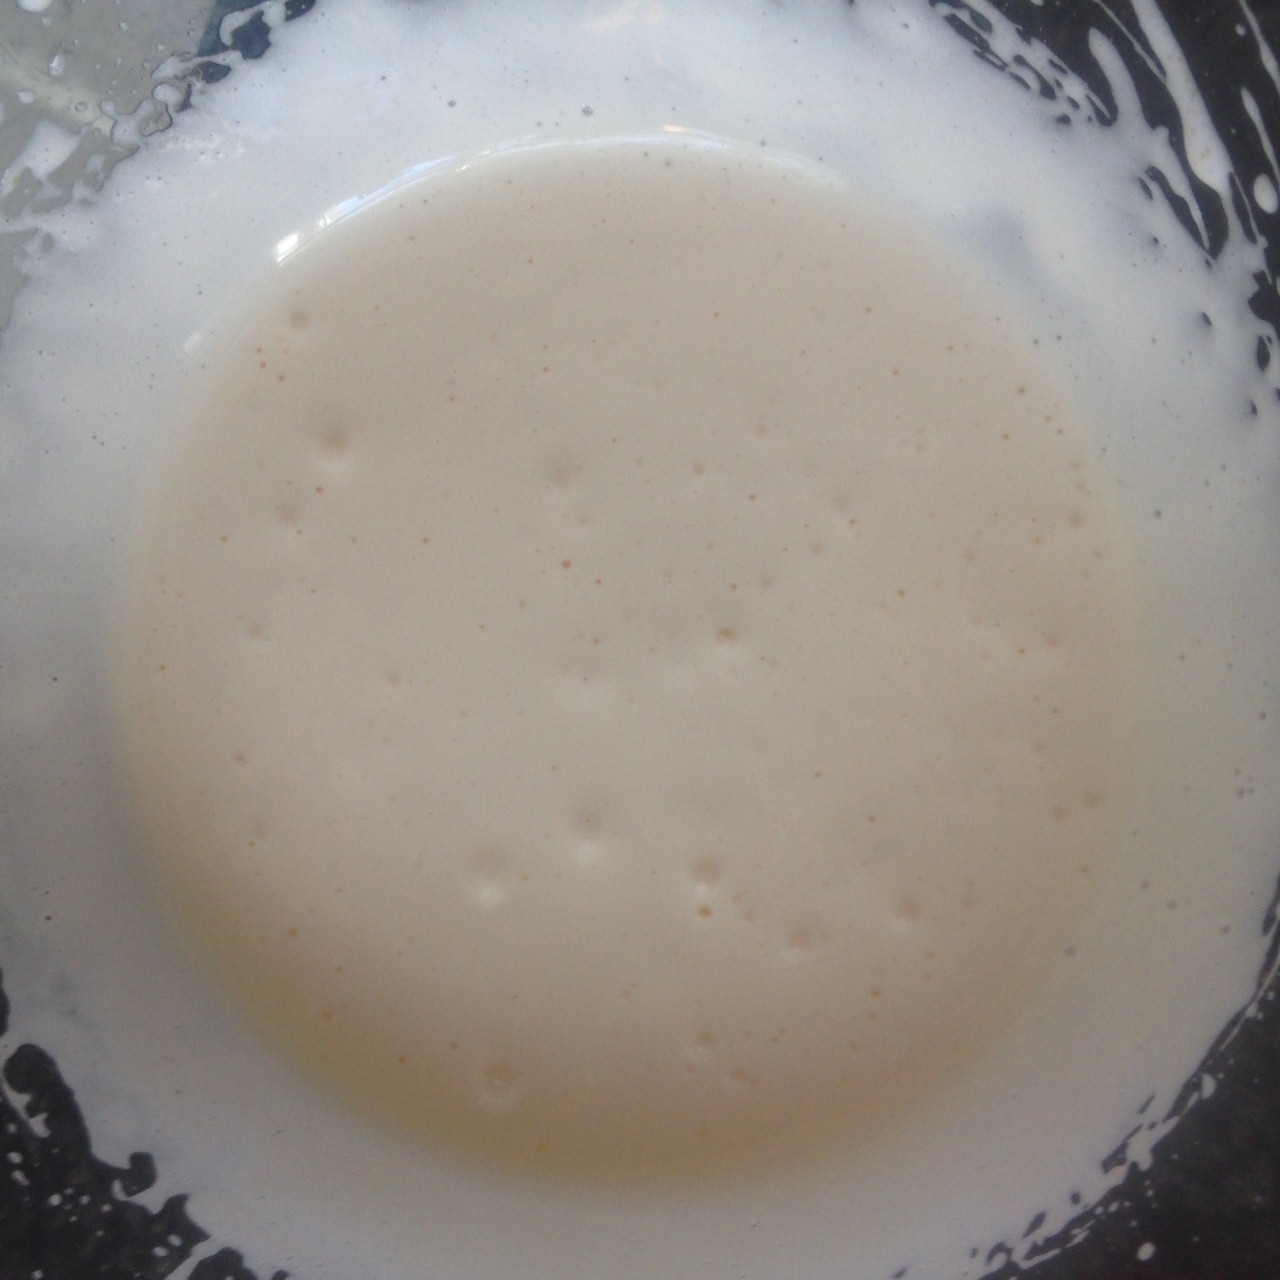
- Place the eggs and sugar in a bowl and using electric beaters whisk for 10 minutes on high speed.
- Add the vanilla essence to the egg mix and beat for 1 more minute
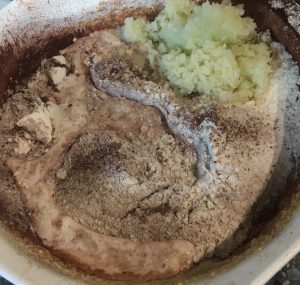
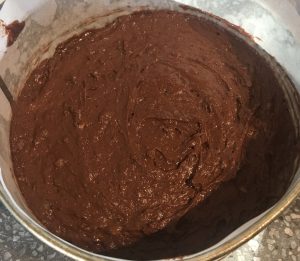
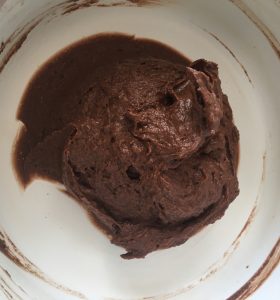
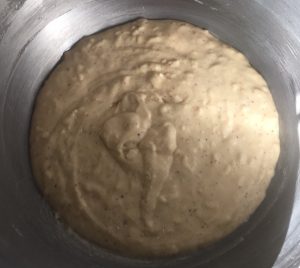
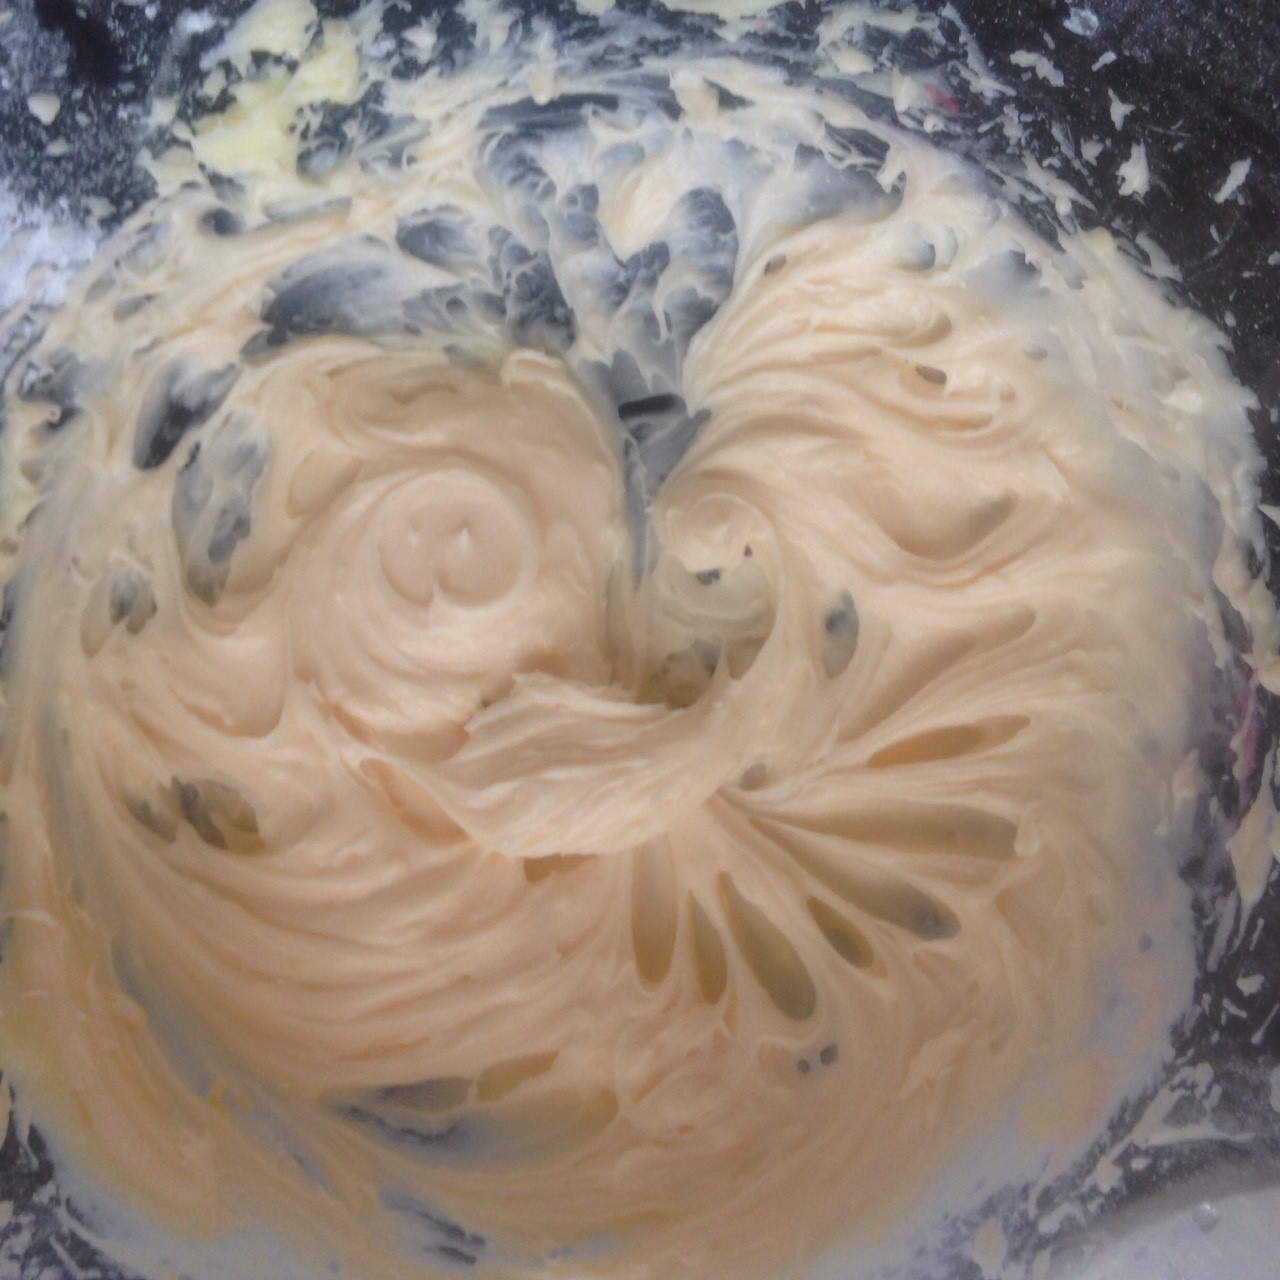
- Turn the beaters on low speed and add the flour mix, beating for 1 minute.
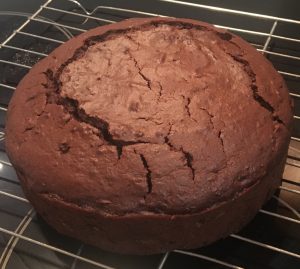
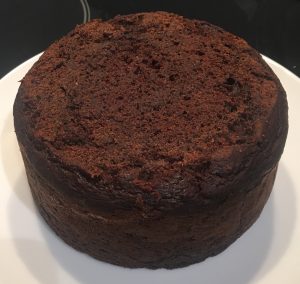
- Spoon the mix evenly into the 3 cake tins and bake each cake for 20-25 minutes or until the sponges spring back when touched on the top.
- Remove the tins from the oven and leave to cool for 10 minutes, cakes still in the tin.
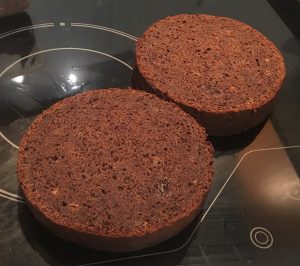
- Turn the cakes onto a cooling rack and leave until cold.
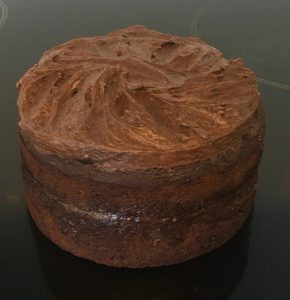
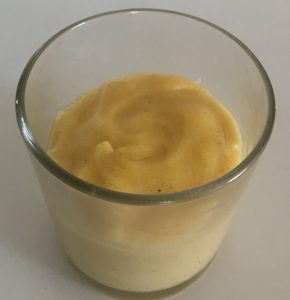
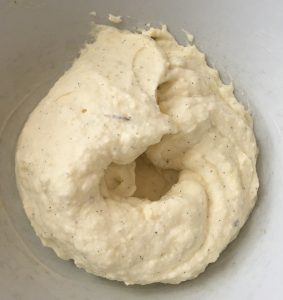
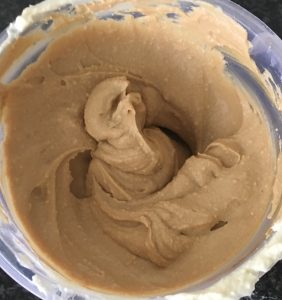
- To make the filling whisk the cream, icing sugar and vanilla essence with electric beaters until peaks form.
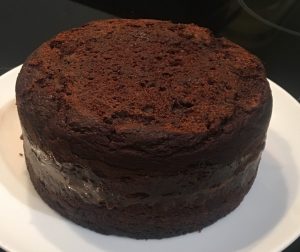
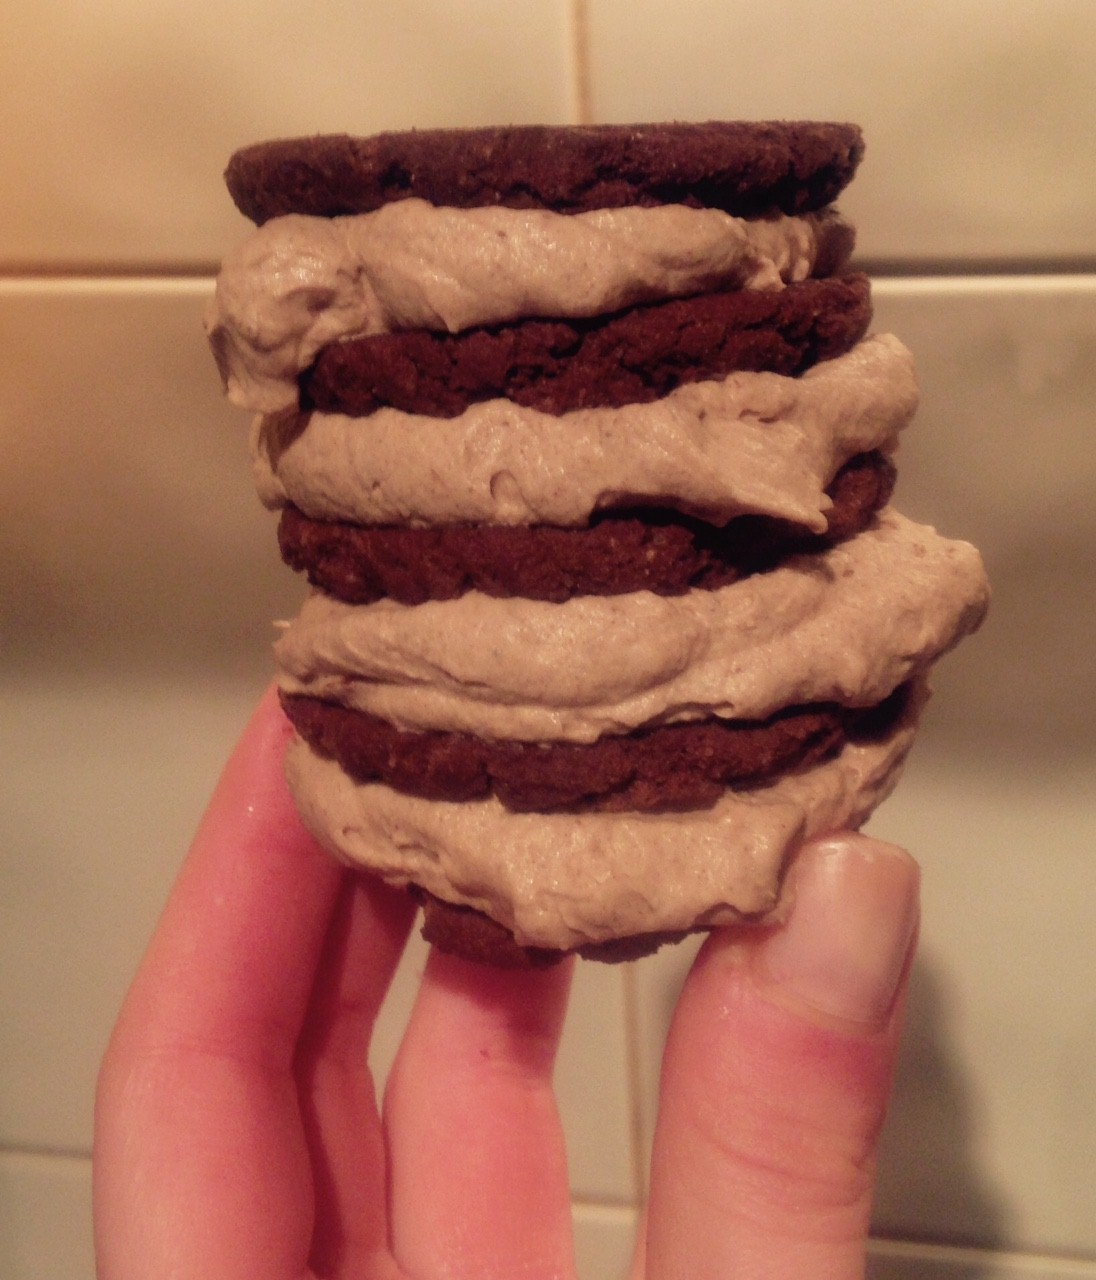
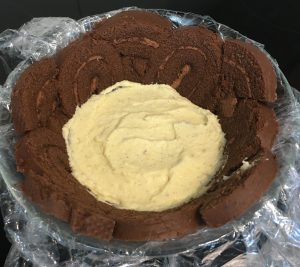
- To assemble place one cake layer on a plate and spoon the jam evenly onto this cake as well as a second cake.
- Spoon the cream evenly on the top of the jam of both cakes.
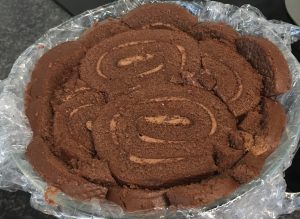
- Place the second filled cake onto the plated cake (cream side up) and top the cake off with the third/remaining (non-filled) cake layer.
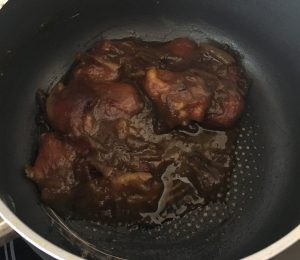
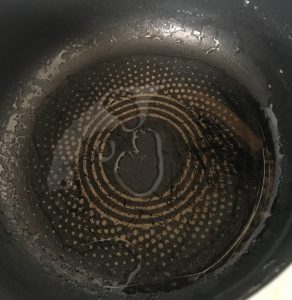
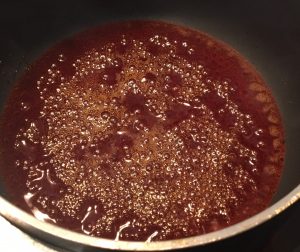
- To make the ganache, place the cream in a bowl and microwave until boiling.
- Add the chocolate to the cream and leave for 1 minute.
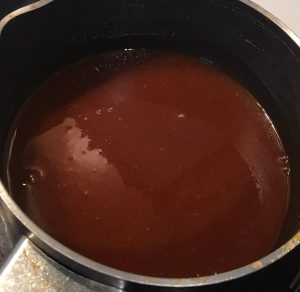
- Stir the chocolate and cream until glossy and thick.
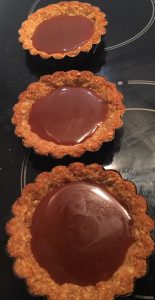
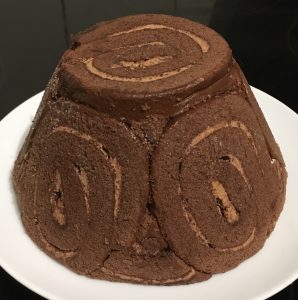
- Drizzle the chocolate ganache over the top of the cake.
Notes:
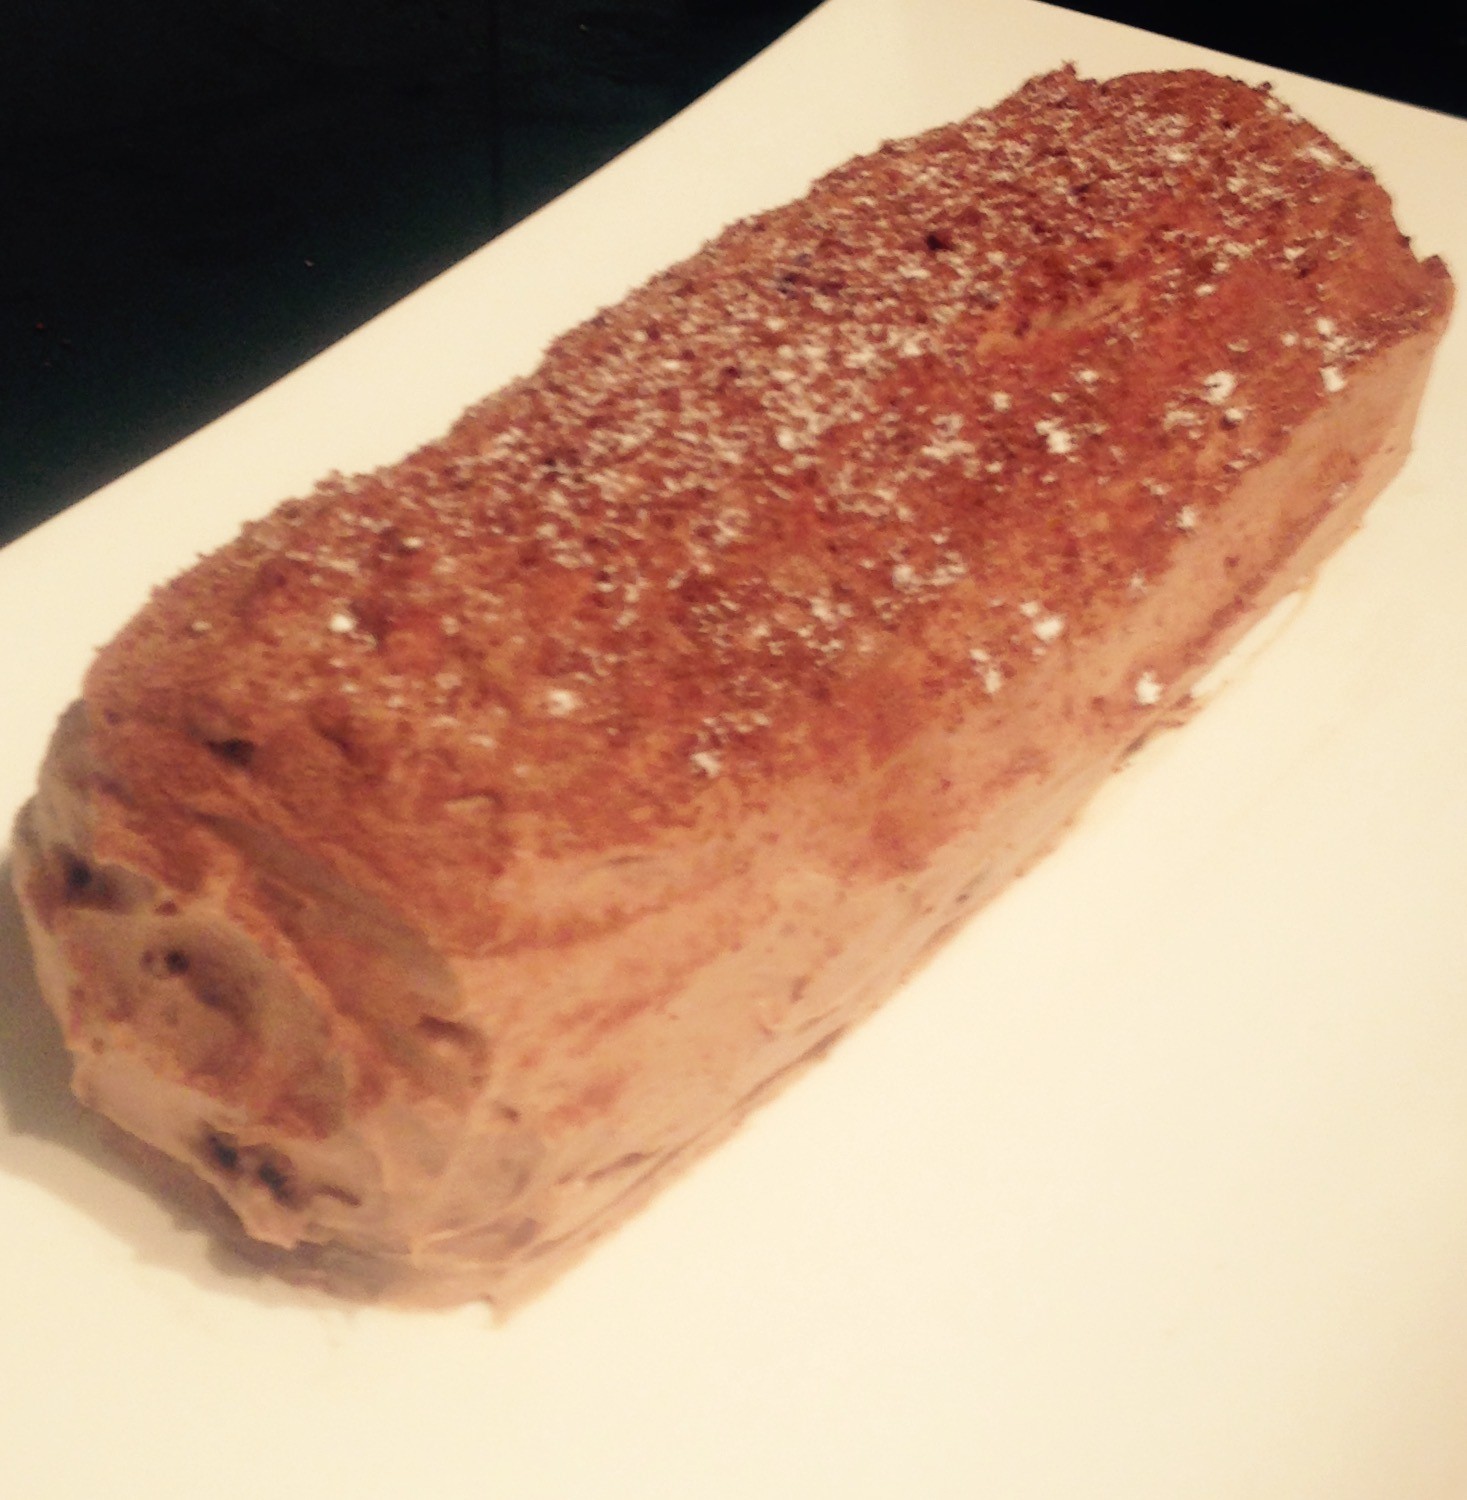
- I dusted the top cake layer with icing sugar and cocoa powder before I drizzled the ganache for extra decoration.
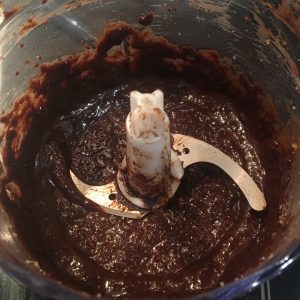
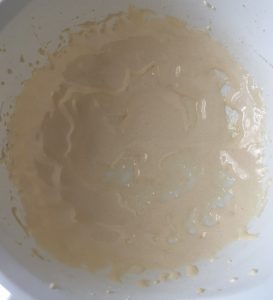
Step 4
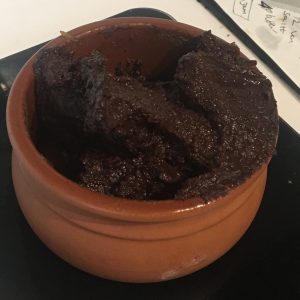
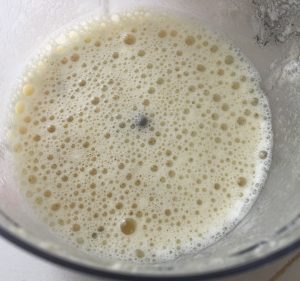
Step 5

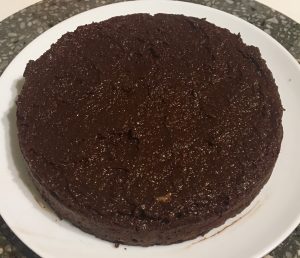
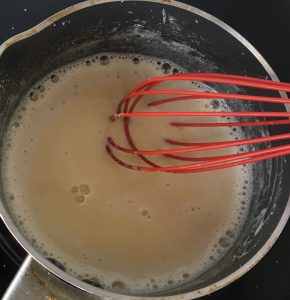
Step 10
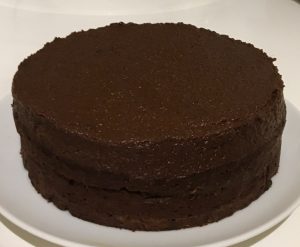
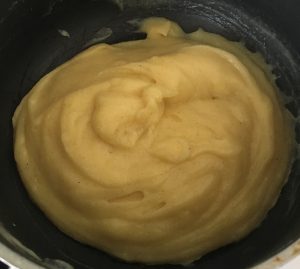
Step 12

Step 15

Step 16
Like this recipe? Subscribe via RSS or email to get my new entries and more scrumptious recipes with reviews.
 Follow