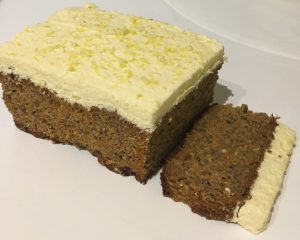
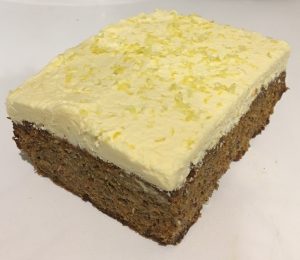
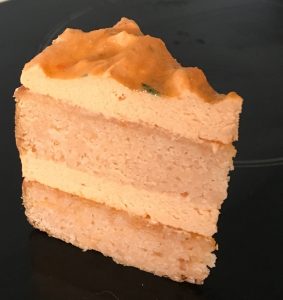
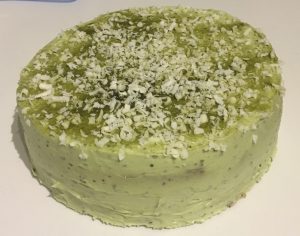
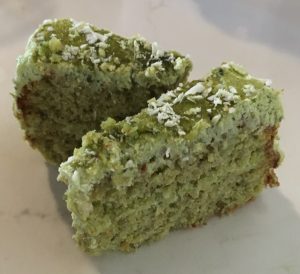
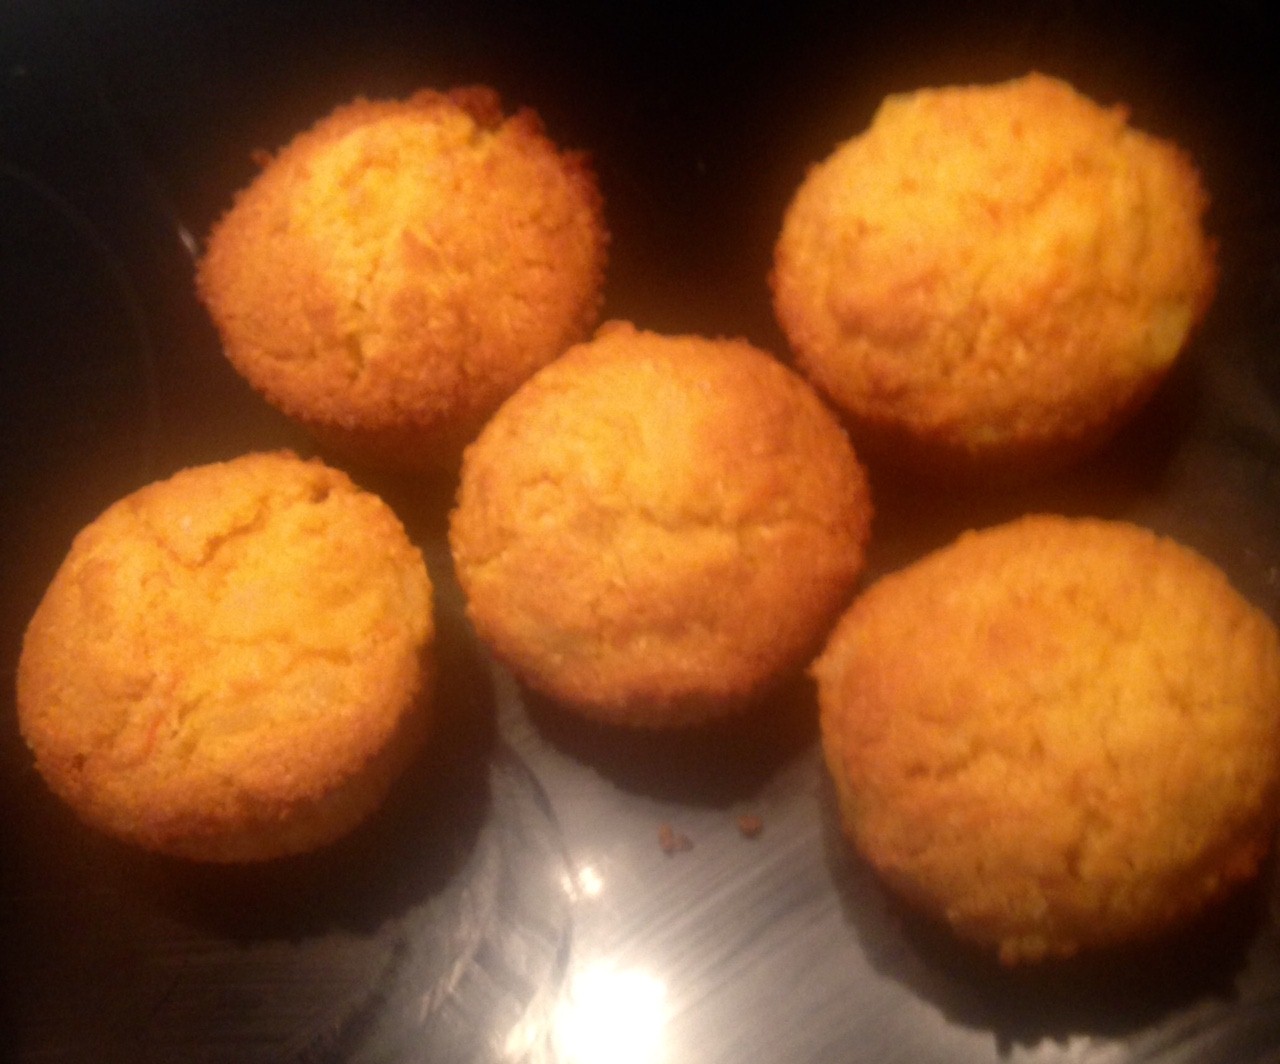
Carrot Pineapple and Coconut Cakes
I have made quite a few variations of carrot and pineapple desserts, however I’m never quite satisfied with the final outcomes. Yes they were nice, but have never been blog worthy, they always lacked a little something extra to give them that wow factor.
Finally I have got there, funnily it was as simple as using my carrot cake recipe as a base and altering accordingly. I can’t believe I had the perfect base recipe all along and have attempted 5 different versions over the span of the last 2 years!
So we know coconut and pineapple are complementary tropical flavour parings. While, the carrot and the pineapple have very similar textures as well as being well balanced when combined (the pineapple sweetness works perfectly with the savory flavour of the carrot).
This recipe is an easy and luscious-tasting spin on a tropical cake combined with a spiced carrot cake.
Ingredients:
Cake:
- 150g butter
- 180g brown sugar
- 1 egg
- 180g self raising flour
- 1 tsn baking powder
- ½ tsn bi carbonate of soda
- 1 tsn ground ginger
- 1 tsn mixed spice
- 90g desiccated coconut
- 2 tsn lemon zest
- 210g pineapple, diced
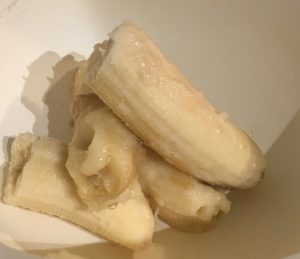
- 180g carrot
- 90ml coconut milk
Frosting:
- 20ml coconut milk
- 70g icing sugar
- 40g butter
Method:
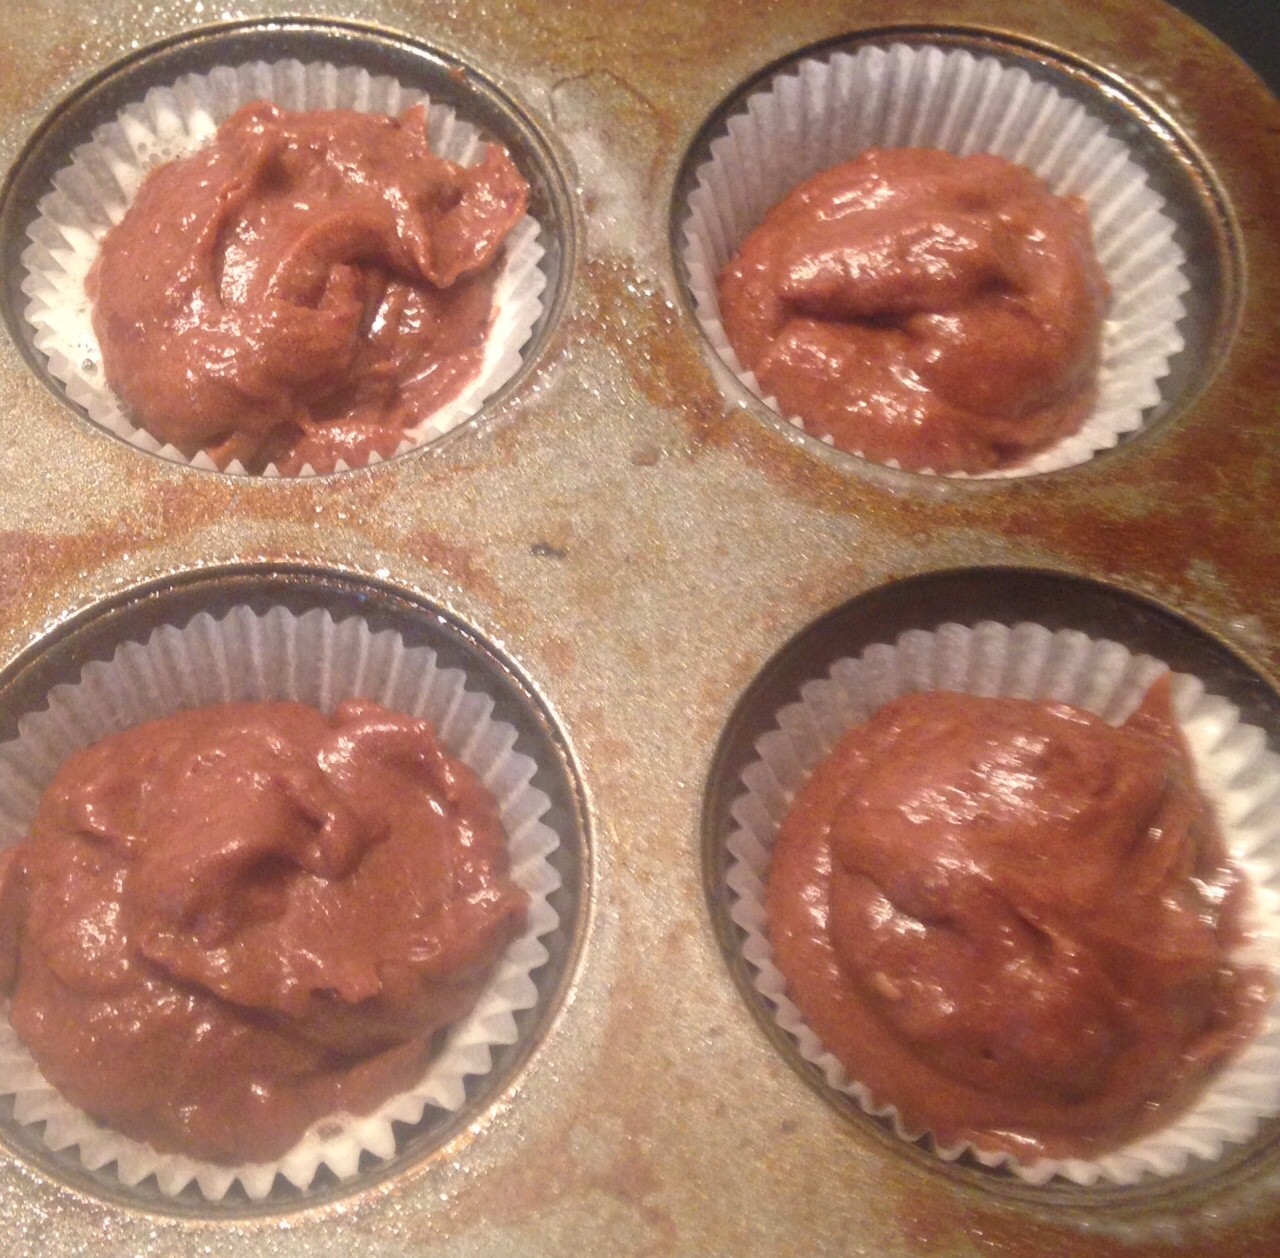
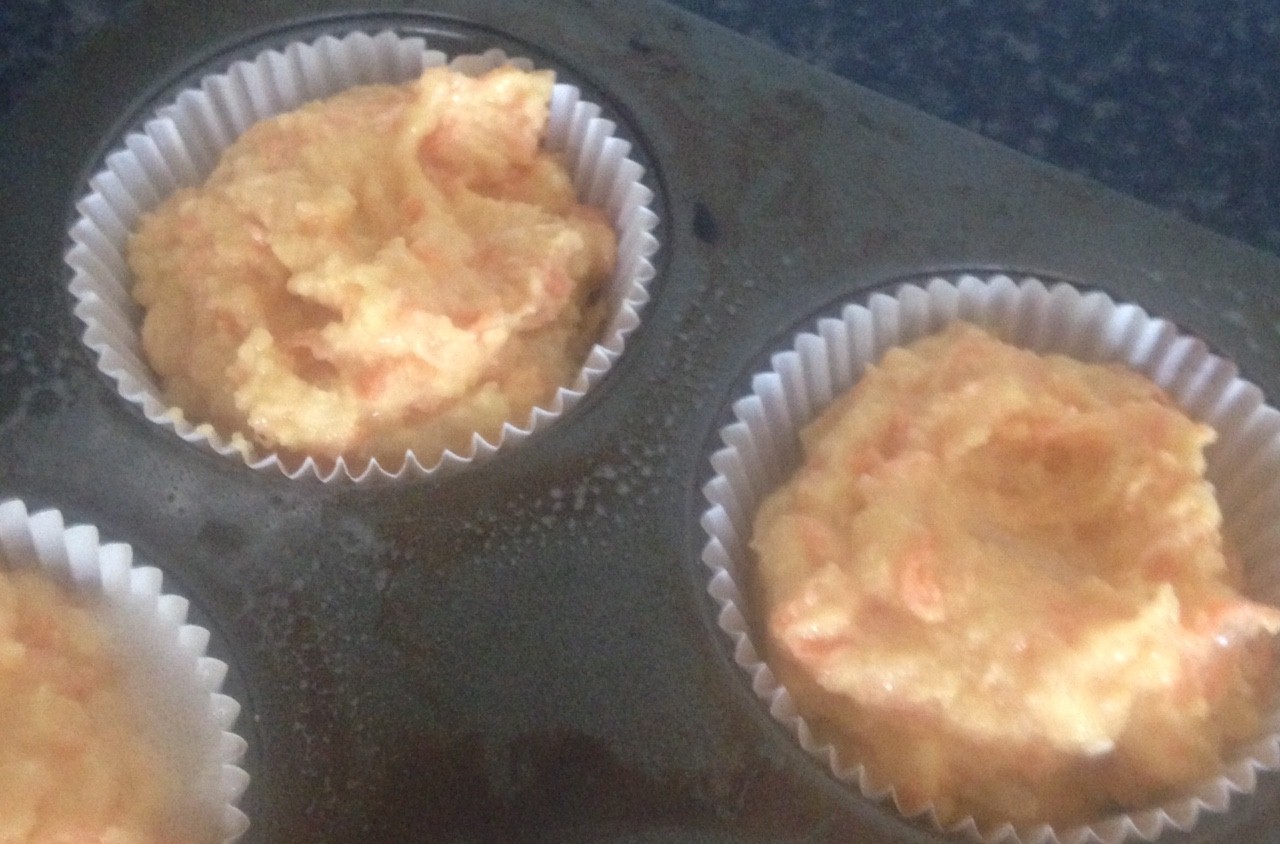
- Pre-heat the oven to 200c degrees and line a 16 capacity cupcake tin with cupcake patties. Spray the inside of the patty cases with a little oil spray.
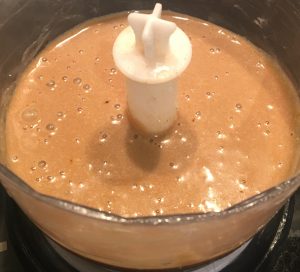
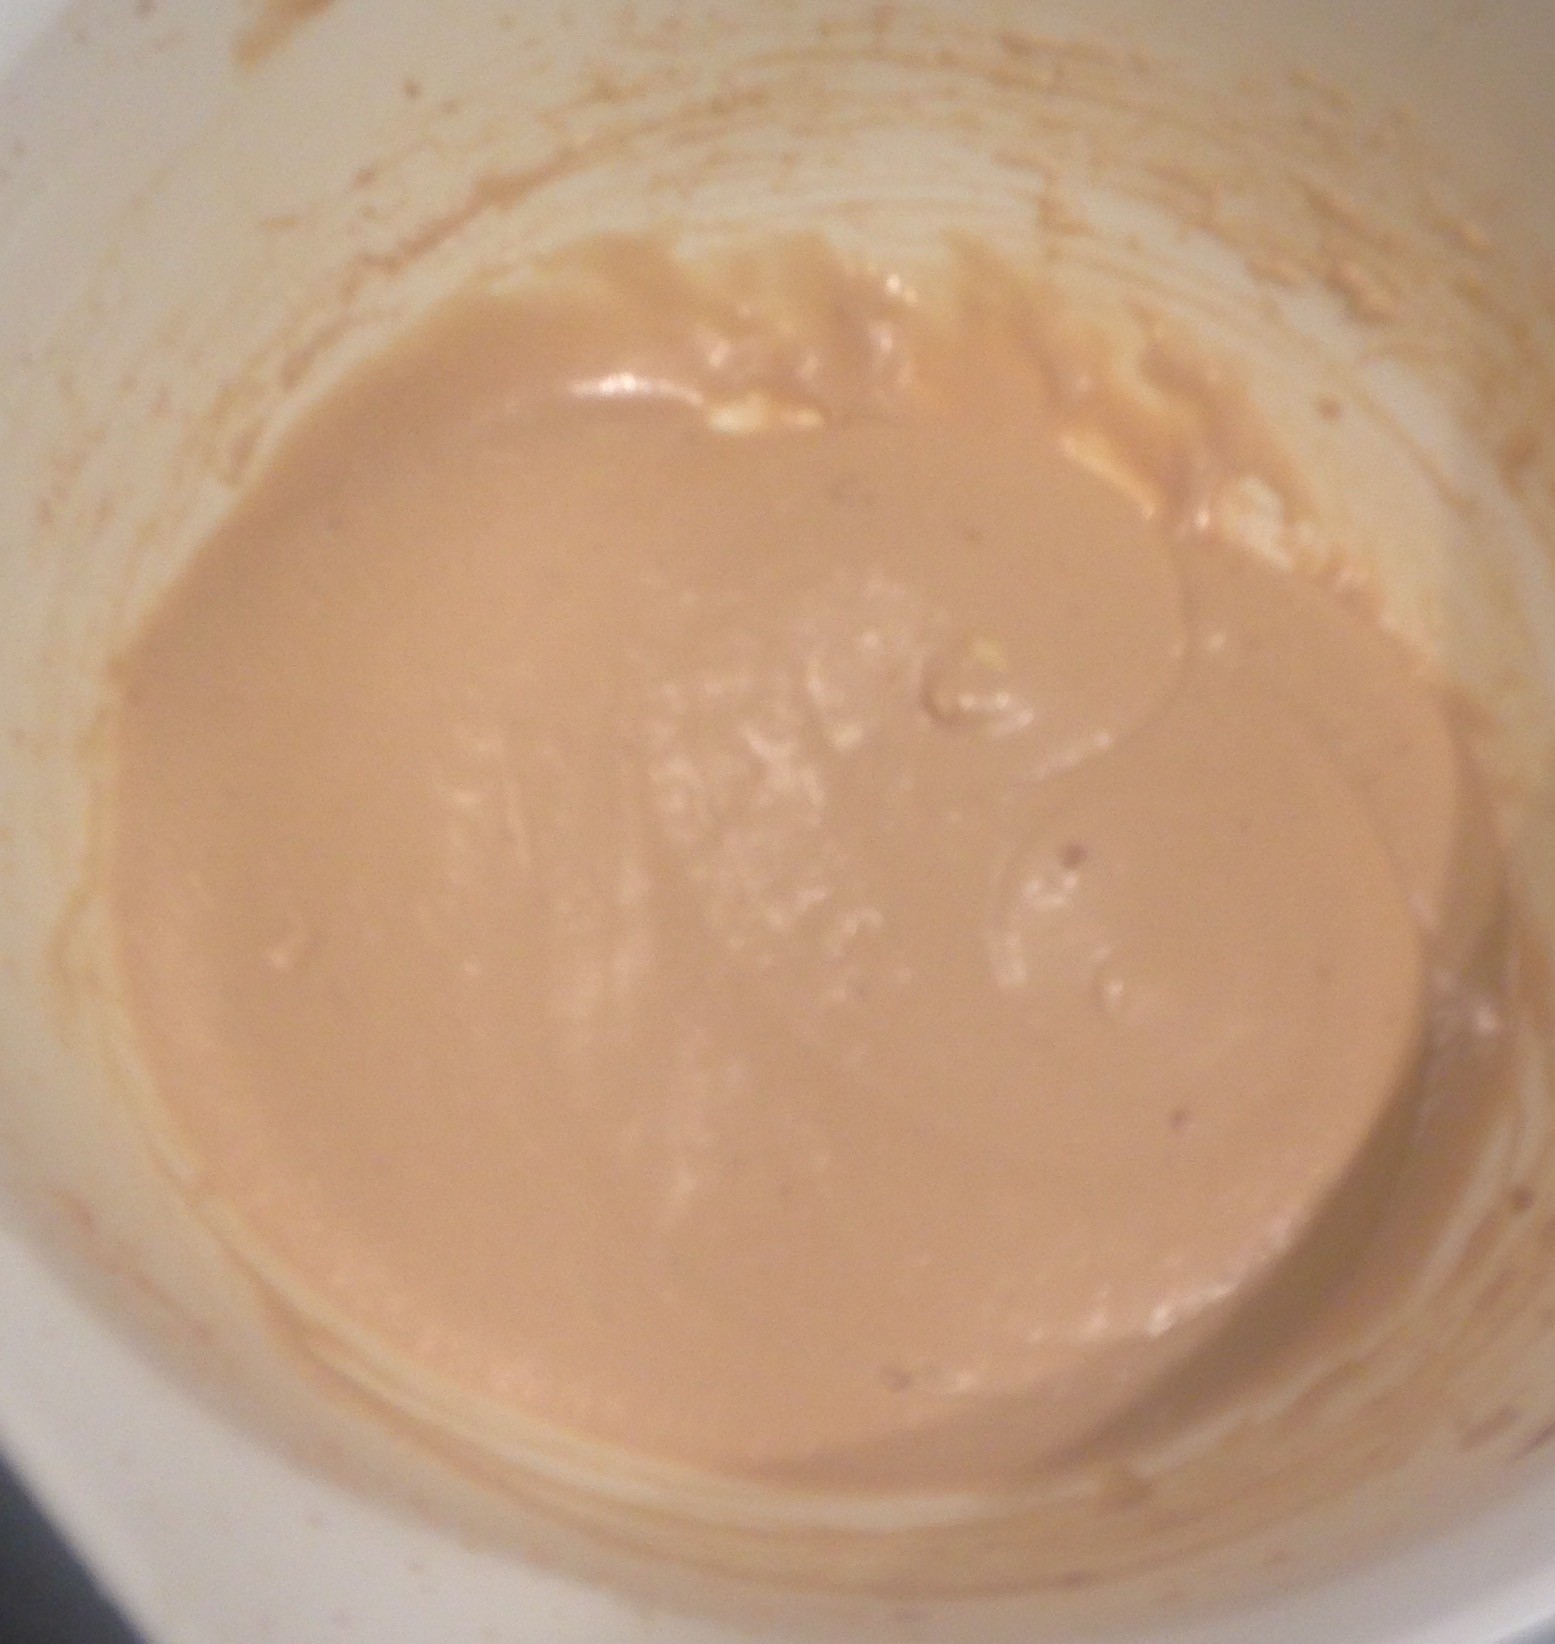
- Using electric beaters beat the butter and sugar until light and creamy.
- Add the egg and beat until well combined.
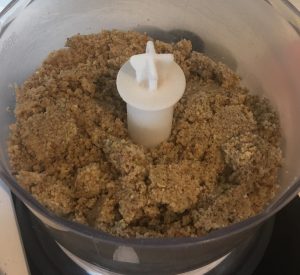
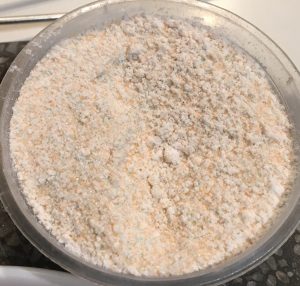
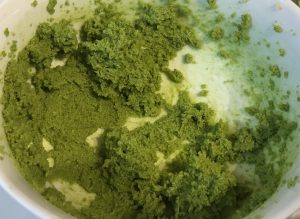
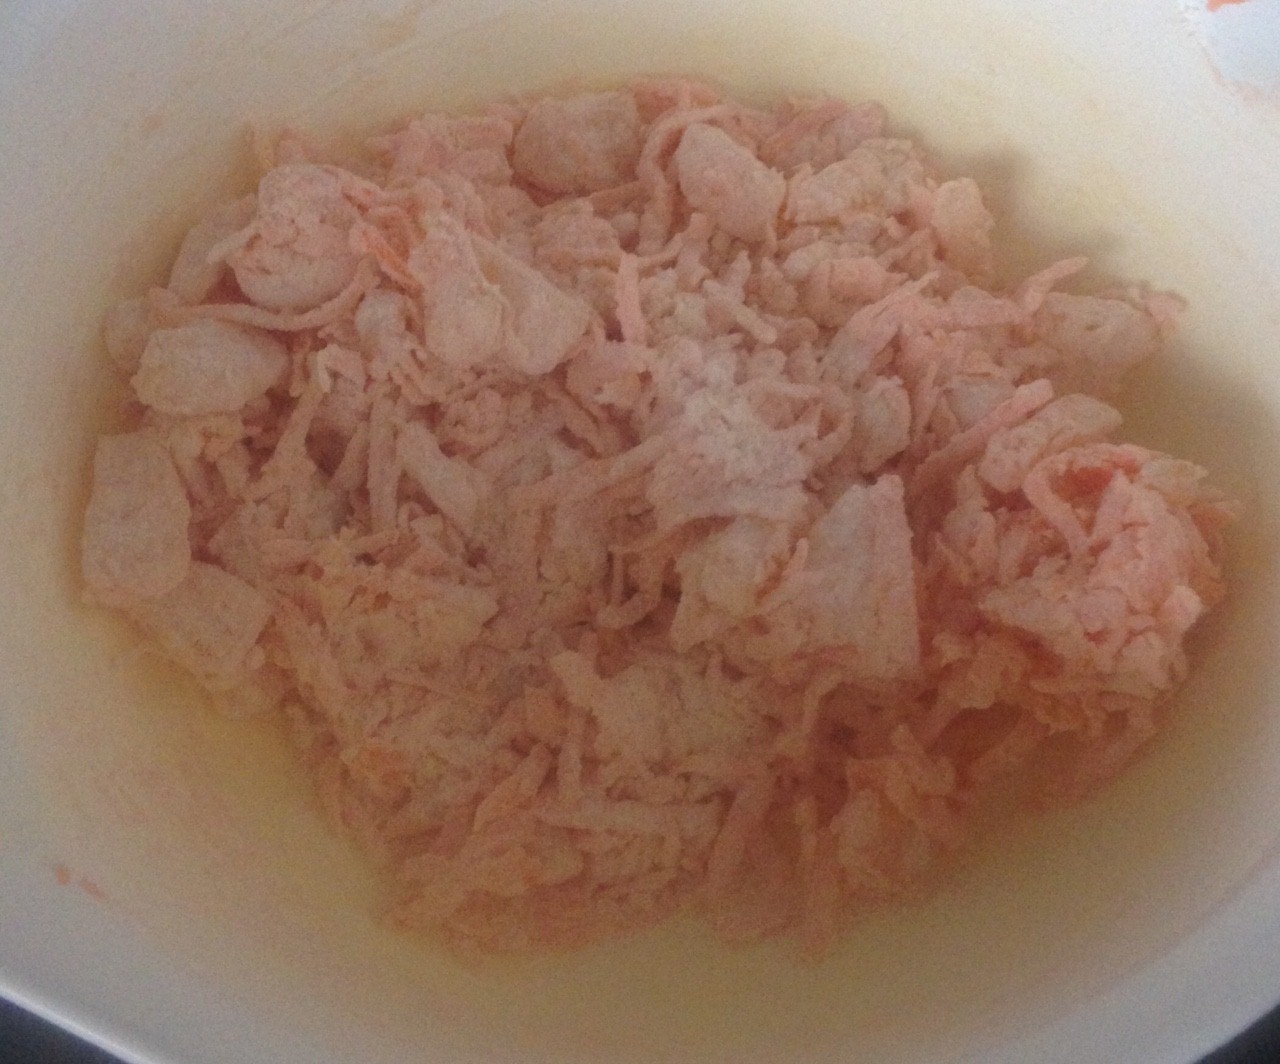
- Add the flour, powder, soda, spices, coconut and zest in another bowl and stir until combine.
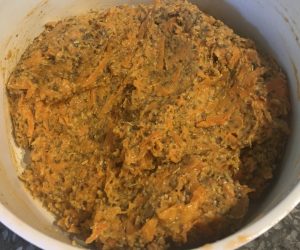
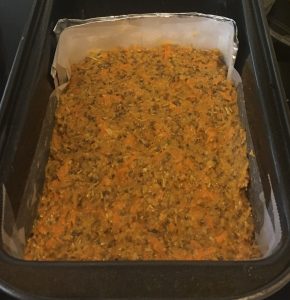
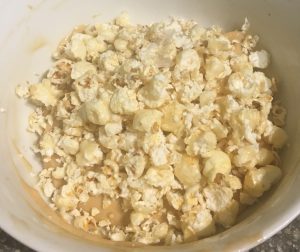
- Grate the carrot and add into the flour mix along with the diced pineapple, stir to combine.
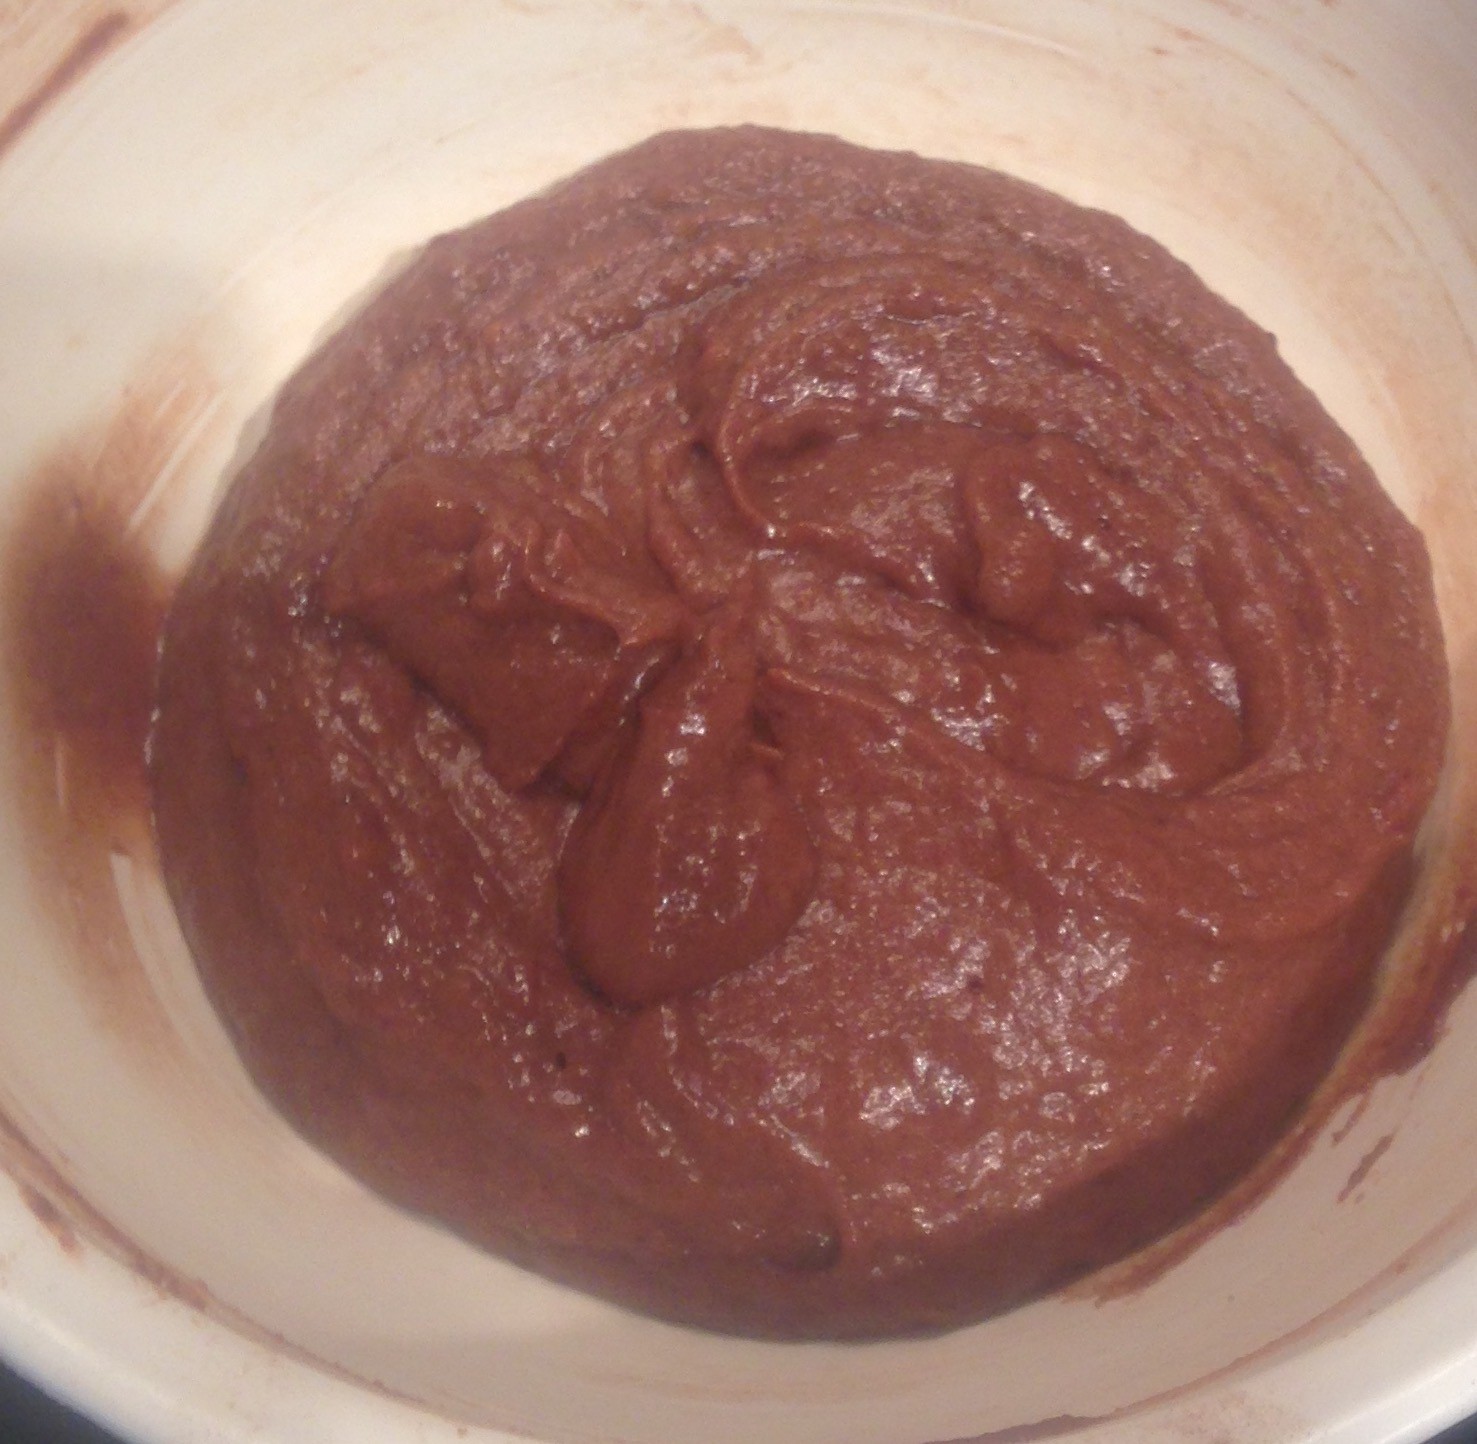
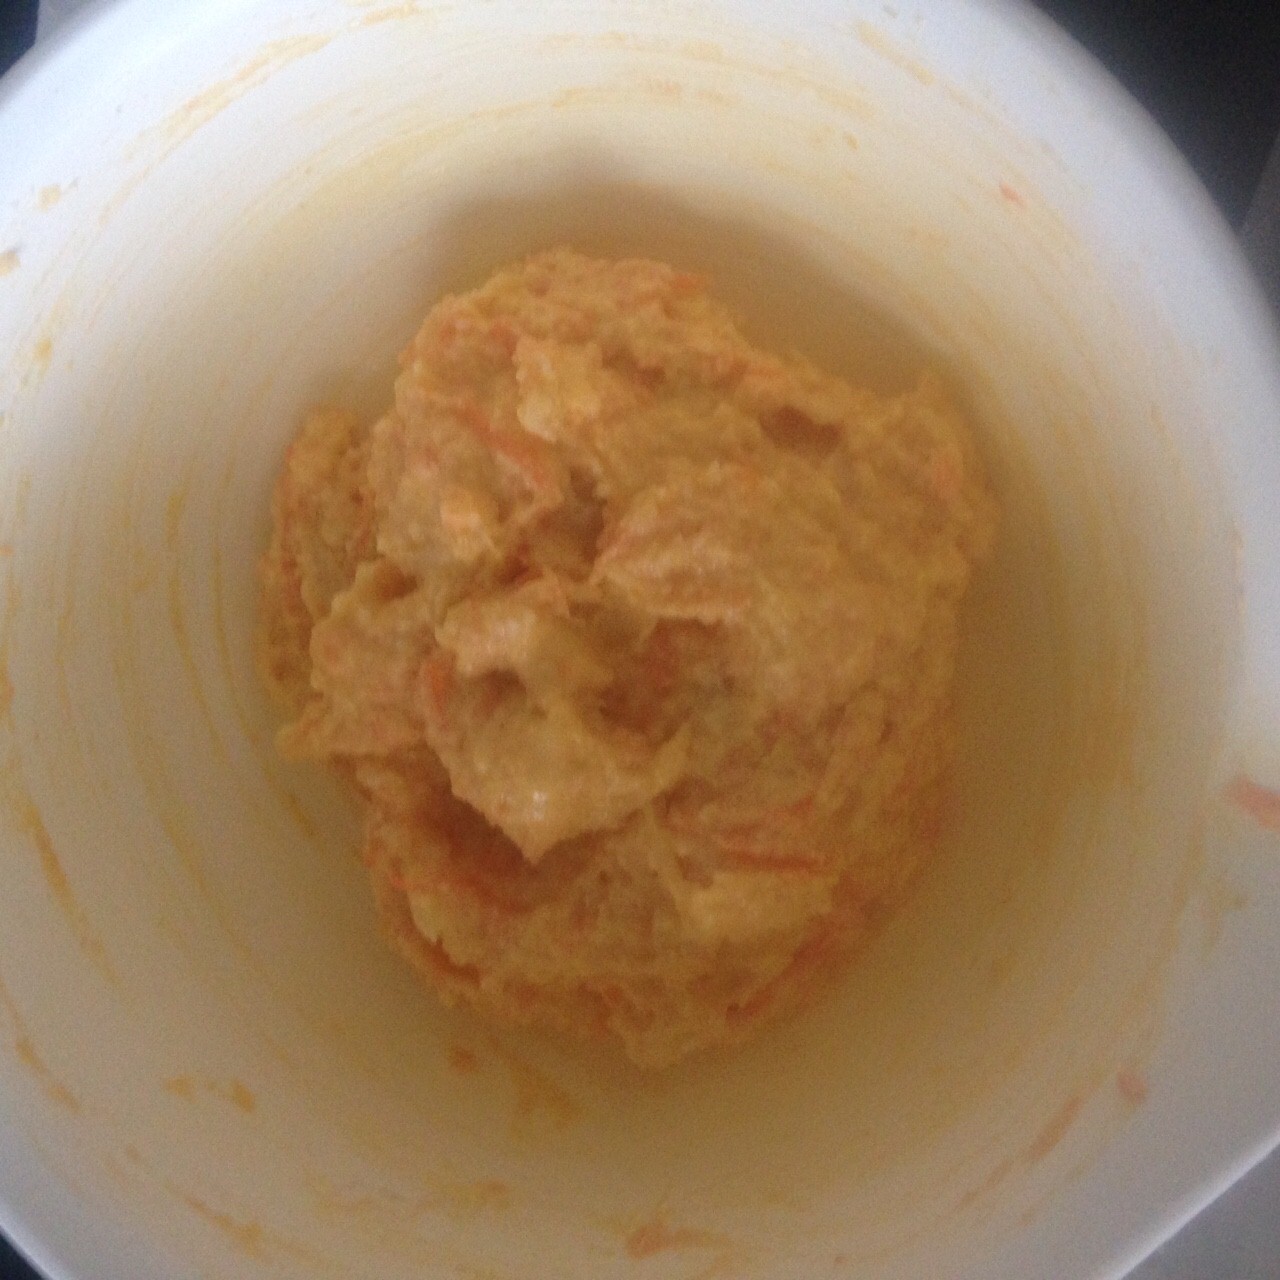
- Add the butter mix to the flour and stir.
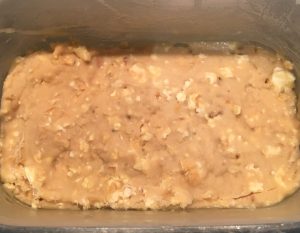
- Add the coconut milk and stir until the mix is well combine.
- Spoon the mix evenly into each patty case.
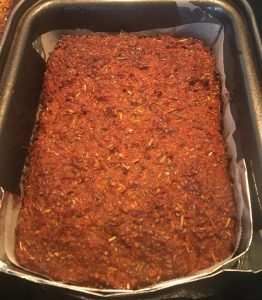
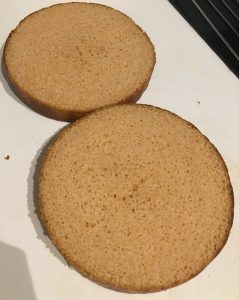
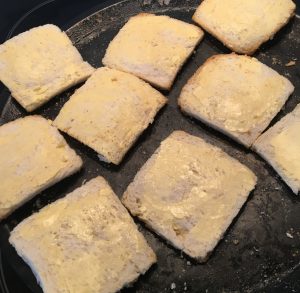
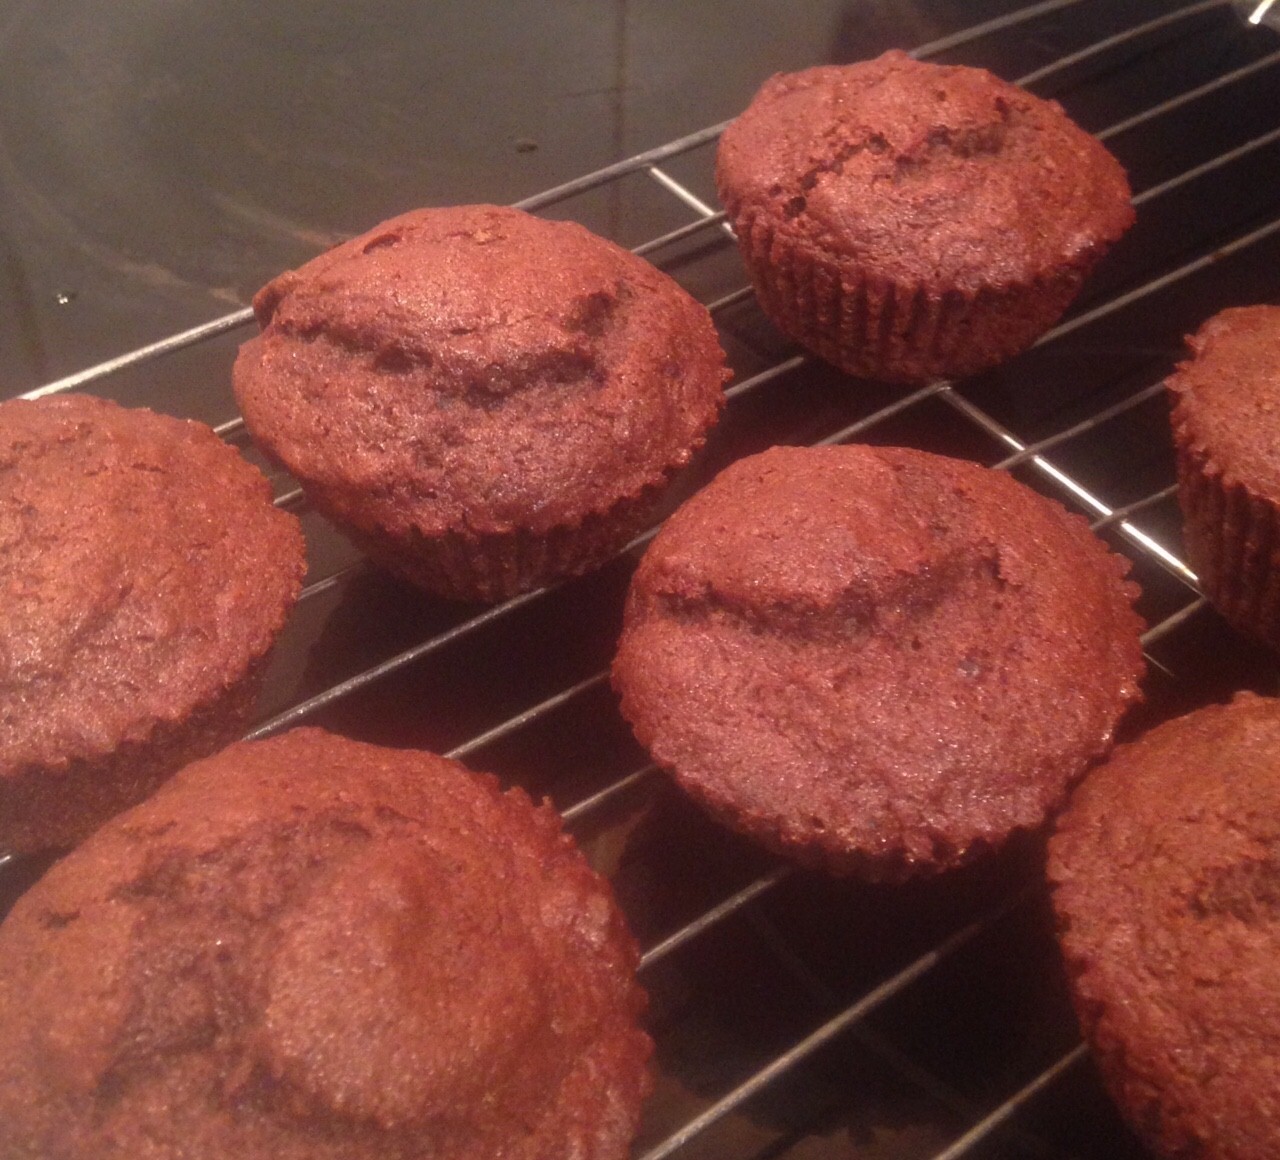
- Bake in the oven for 15 minutes.
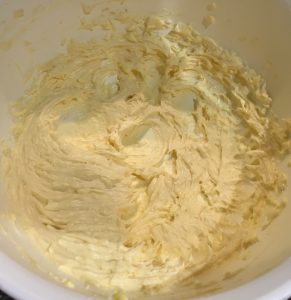
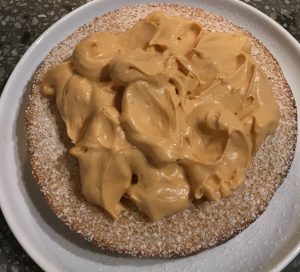
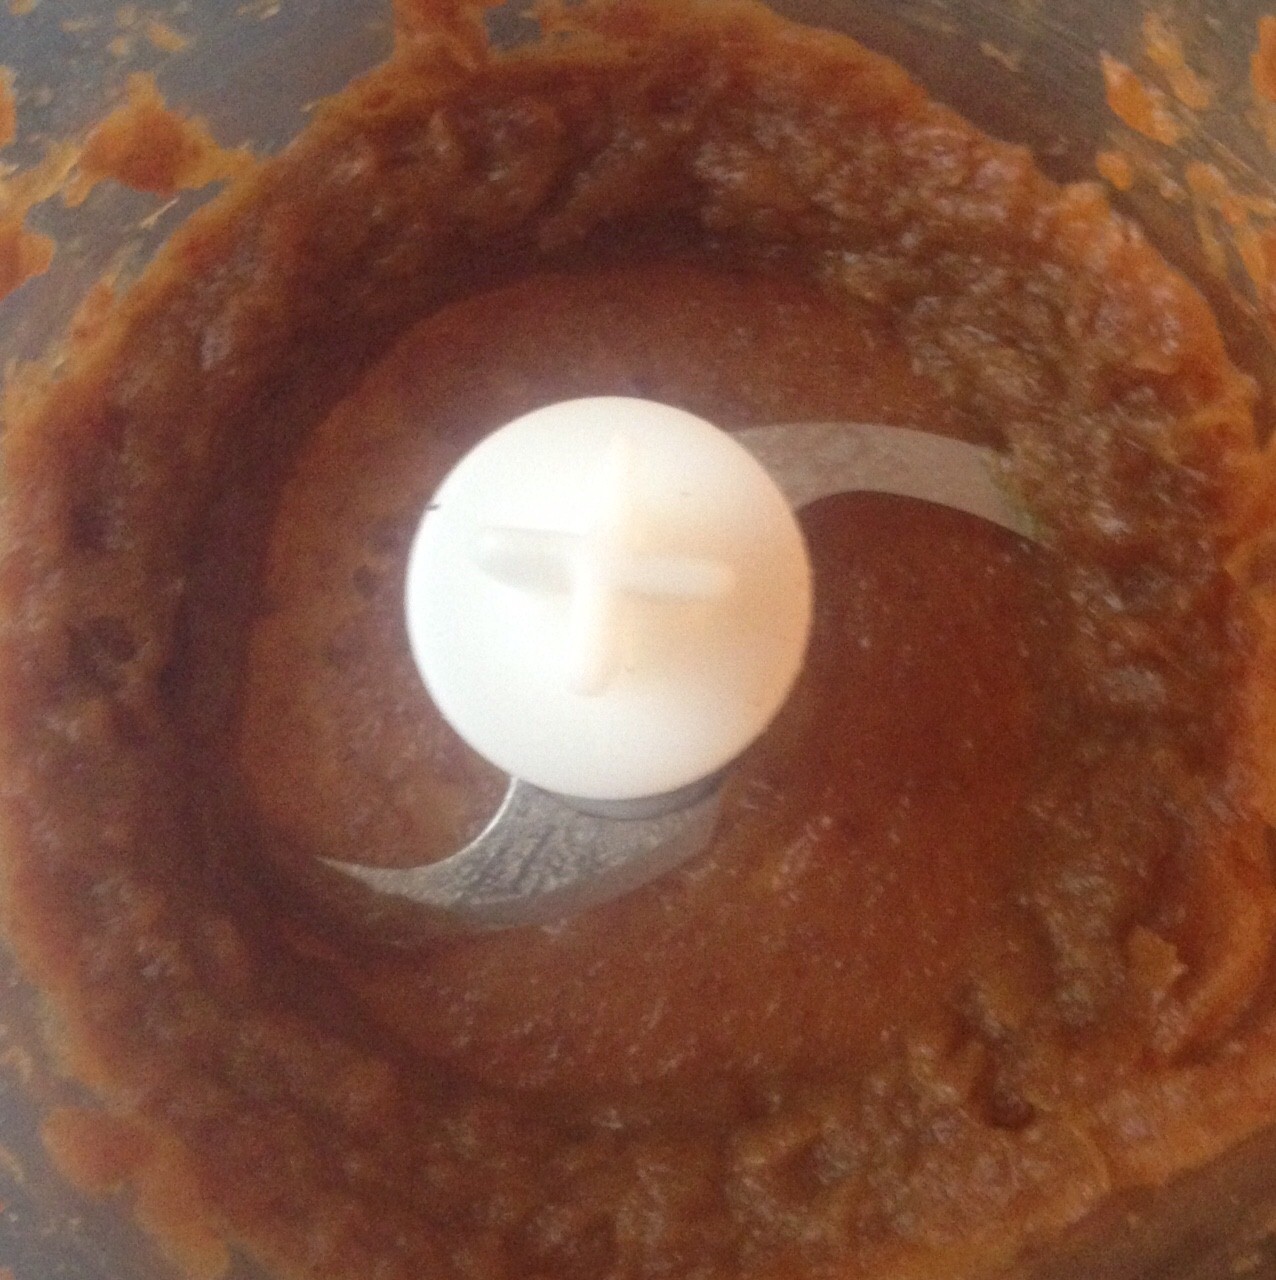
- Meanwhile make the icing by placing all the ingredients into a bowl and using electric beats whisk until light and fluffy.
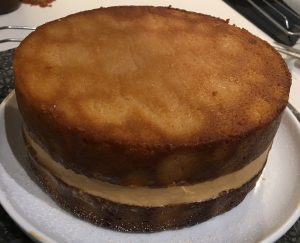
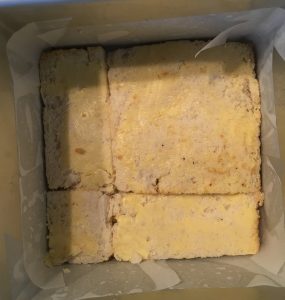
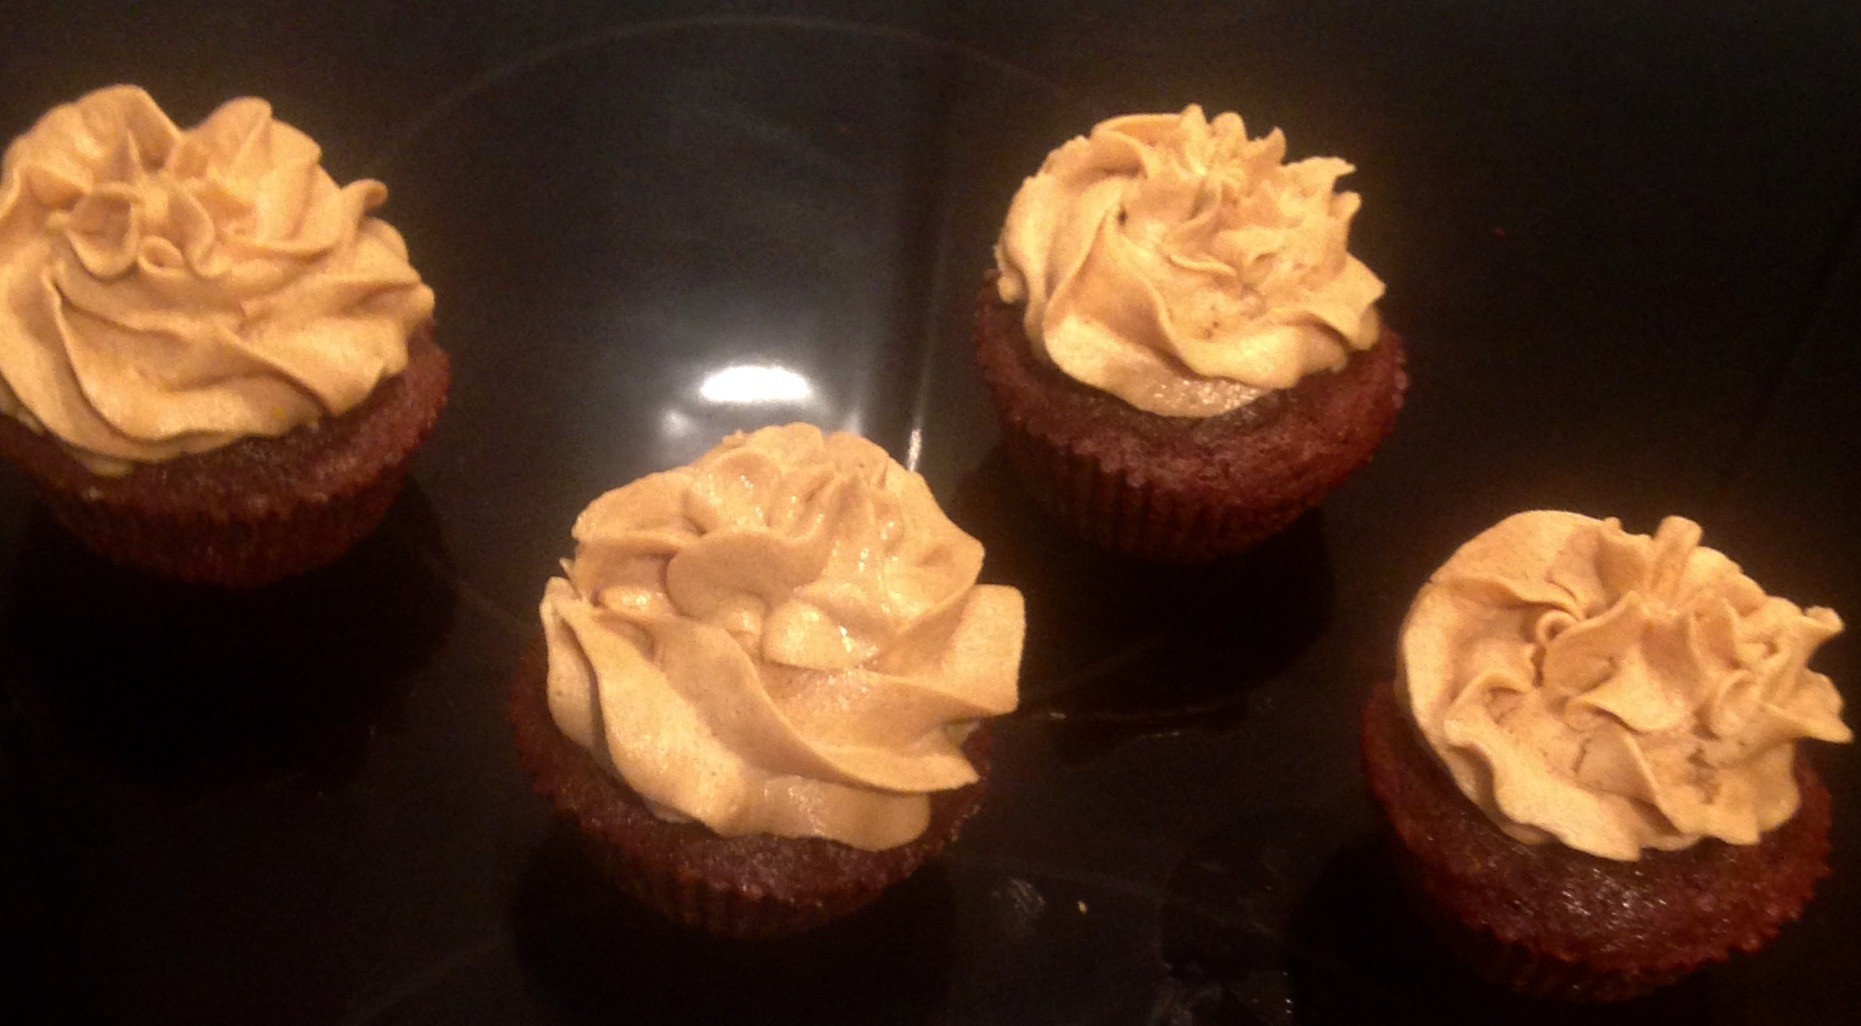
- Once the cakes are cooked place on a cooling tray until cold. Remove from the patty cases.
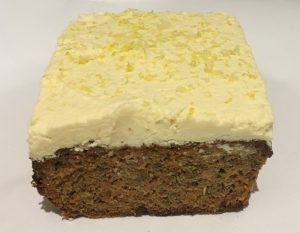
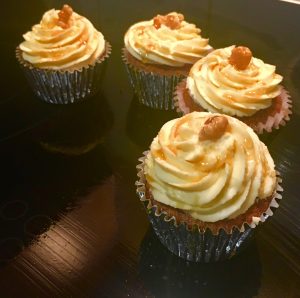
- Spoon the frosting into a piping bag fitted with a star nozzle and pipe little circles of frosting on each cake.
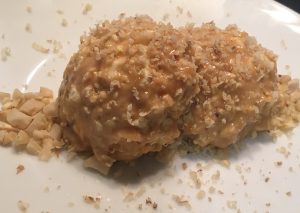
- Top with a pineapple piece or extra coconut if desired.
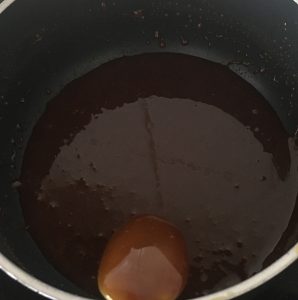
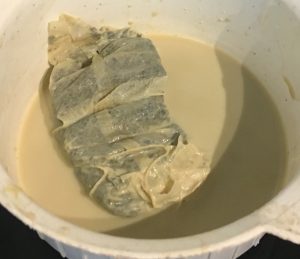
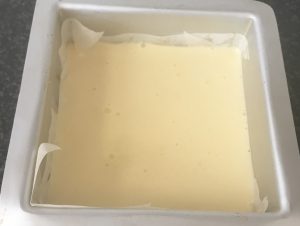
Step 5
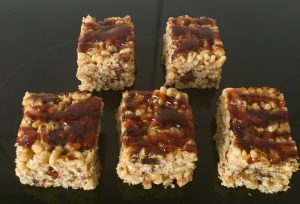
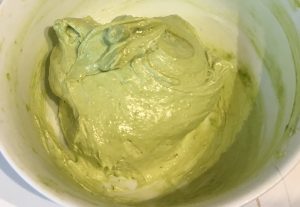
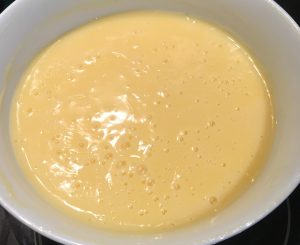
Step 7
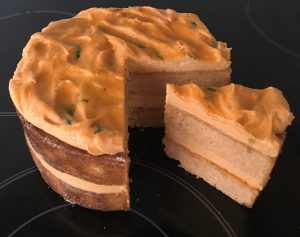
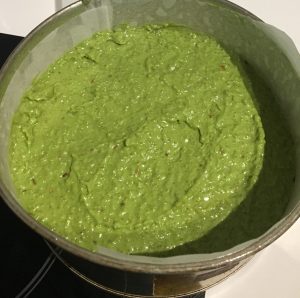
Step 8
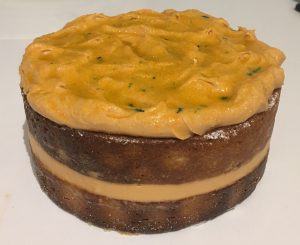
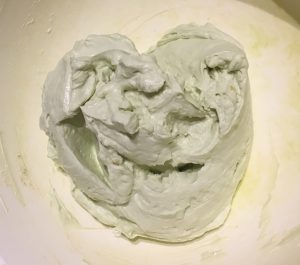
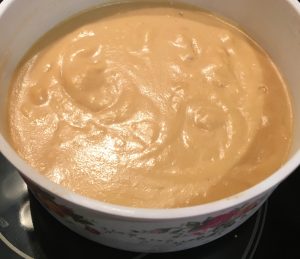
Step 11
Like this recipe? Subscribe via RSS or email to get my new entries and more scrumptious recipes with reviews.
 Follow