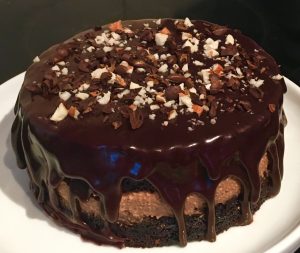
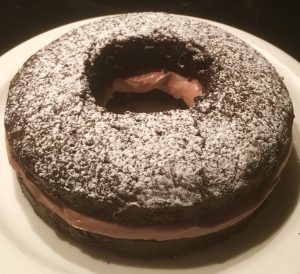
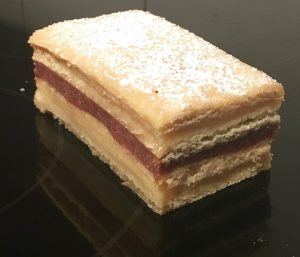
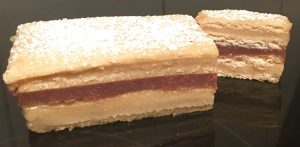
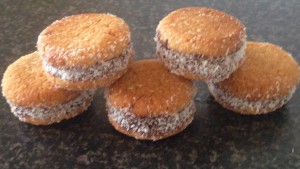
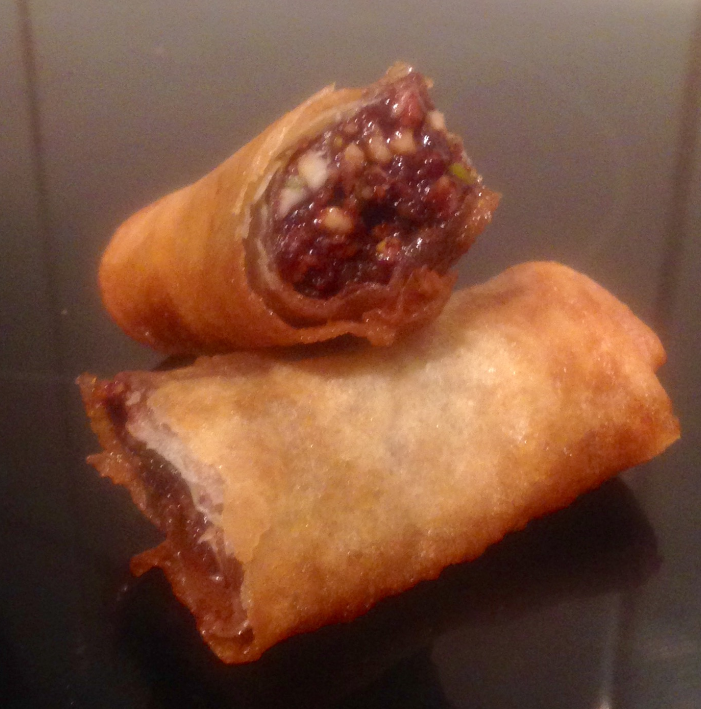
Chocolate and Nut Springroll
You may notice every now and then I get inspired by savory food to reinvent as a sweet version (etc my Apple Crumble Pizza recipe).
More than often they don’t translate as well as hoped, however some are a great success and make it to this blog. This recipe is just that.
After making spring rolls from scratch the other day it got me thinking about creating a sweet version with nuts (a bit of inspiration from baklava as well as cannoli).
Cannoli is just fried pastry with a filling…the springroll wraps are also pastry….baklava is nuts, spices and syrup wrapped in pastry…in a way this recipe is almost the Asian version of the Greek Baklava or the Italian Cannoli.
Strangely I actually prefer springrolls baked than fried so I decided to try both cooking methods for this recipe and the baked was the winner.
Ingredients:
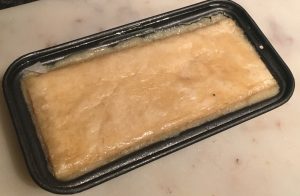
- 14 Spring roll pastry skins
- 20g butter, melted
Filling:
- 100g hazelnuts
- 100g cashews
- 100g pistachios
- ½ tsn ground cinnamon
- 1/2 tsn ground cloves
- 1 + ½ tbsn semolina
- 100g cream
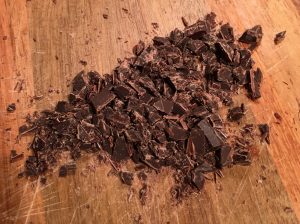
- 200g dark chocolate
Syrup:
- 15g honey
- 55g sugar
- ¼ cup water
- 2 x 10cm piece of lemon peel
Method:
- Pre-heat the oven to 190c degrees and line a baking tray with baking paper.
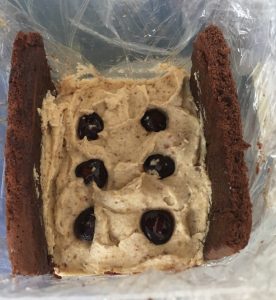
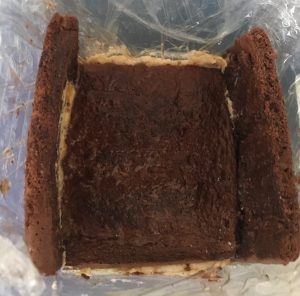
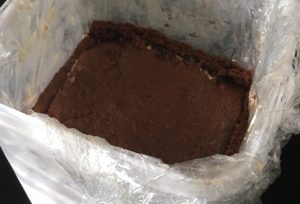
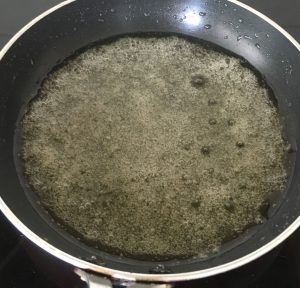
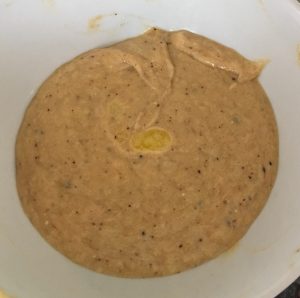
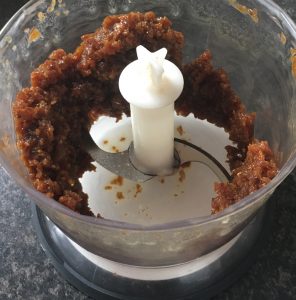
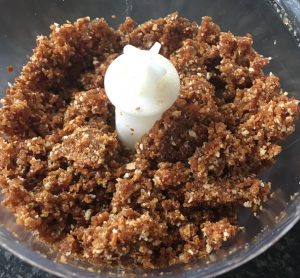
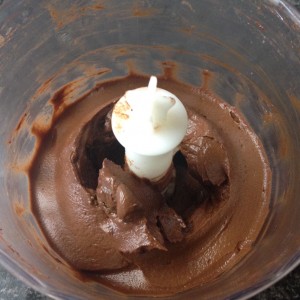
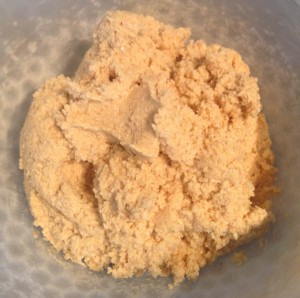
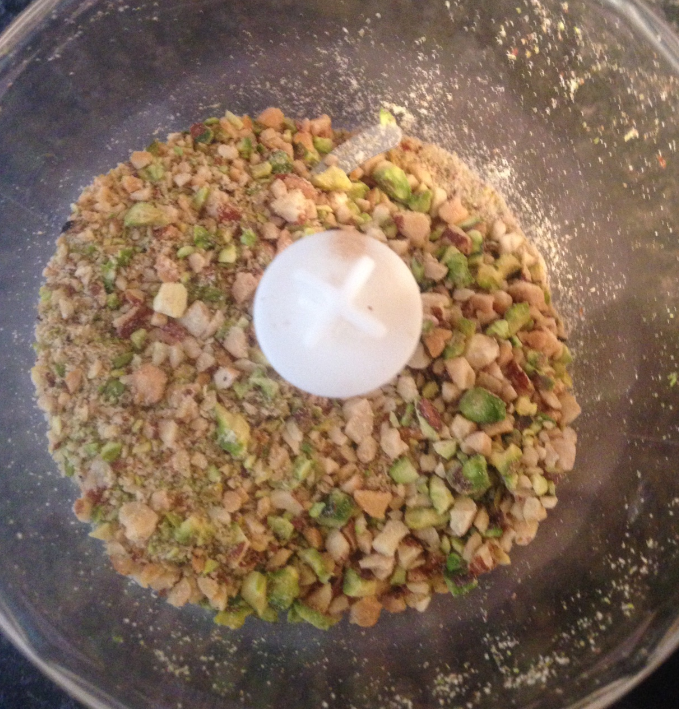
- Place the nuts, cinnamon, cloves and semolina in a food processor and process until just diced, place in a bowl.
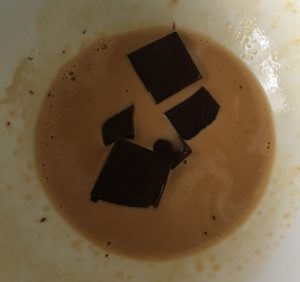
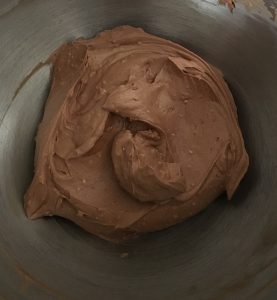
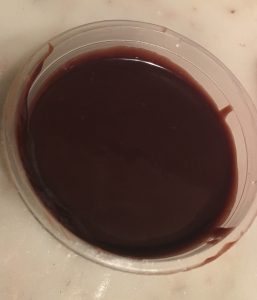
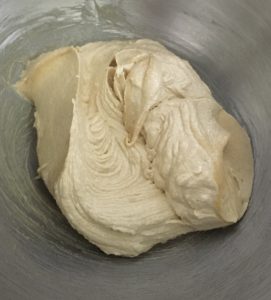
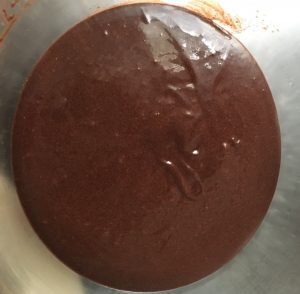
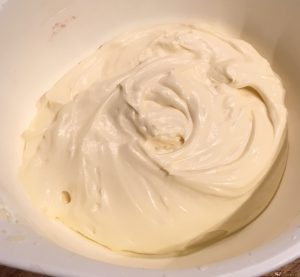
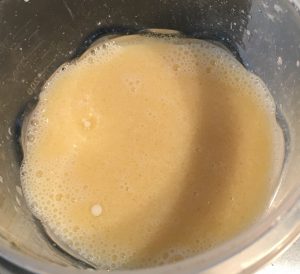
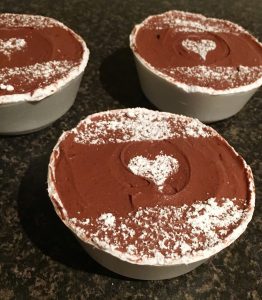
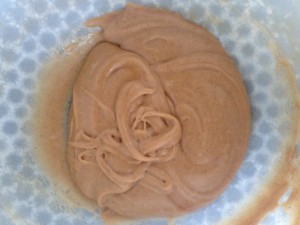
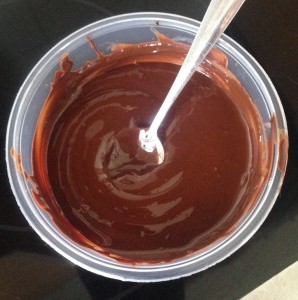
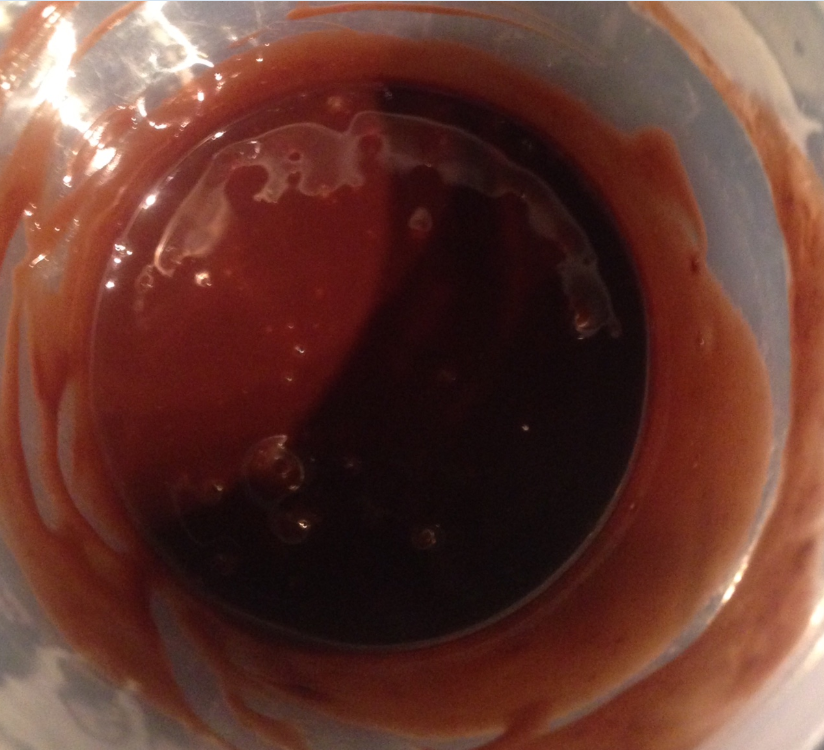
- Heat 100ml cream in the microwave until boiling then add in the chocolate. Leave for a minute then stir until the mix is a thick glossy consistency.
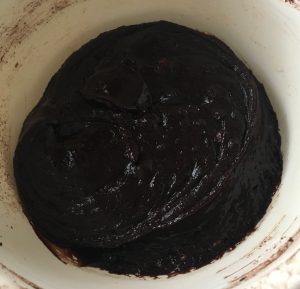
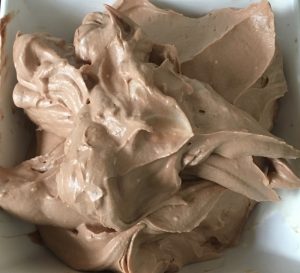
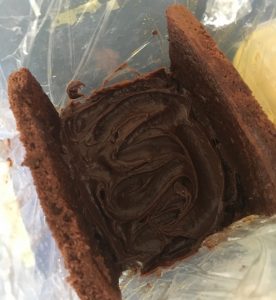
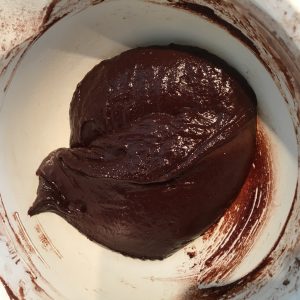
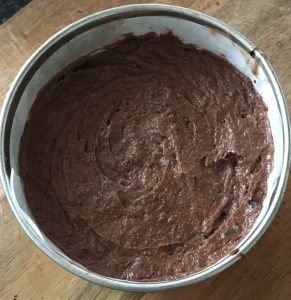
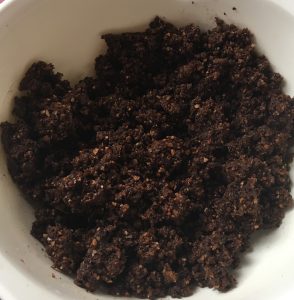
- Stir the chocolate mix into the nut mix until well combined.
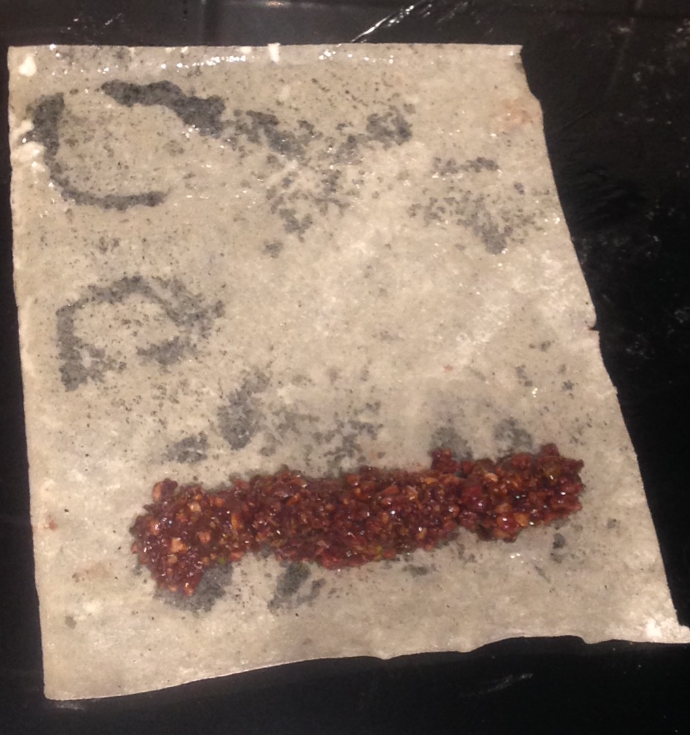
- Brush a pastry skin with melted butter and cut a 5cm strip off vertically.
- Place 30g of the chocolate nut filling in the spring roll skin in a straight line.
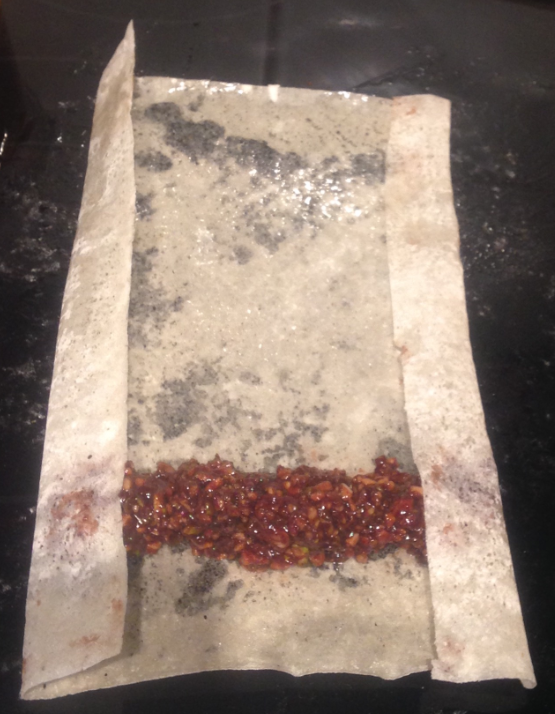
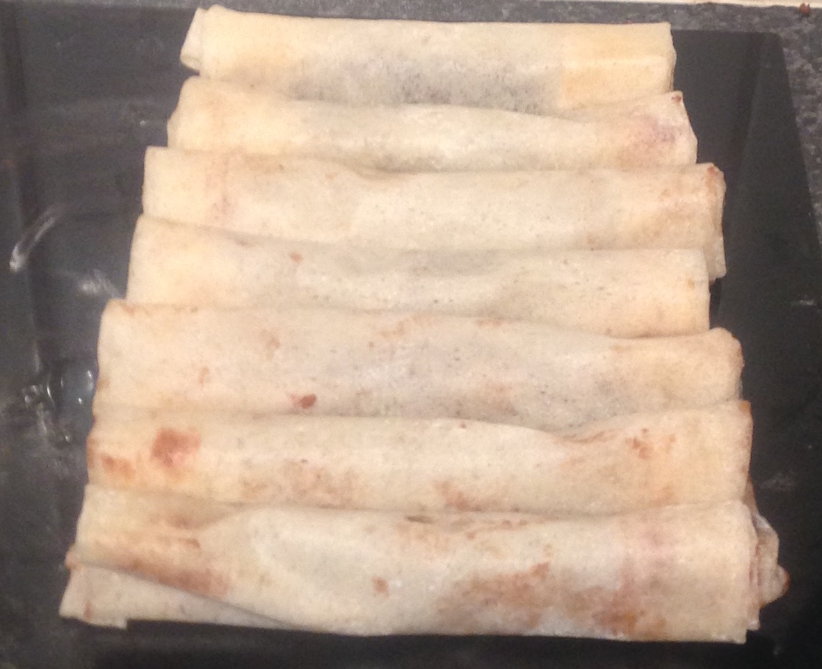
- Fold the 2 vertical sides in and then roll up horizontally.
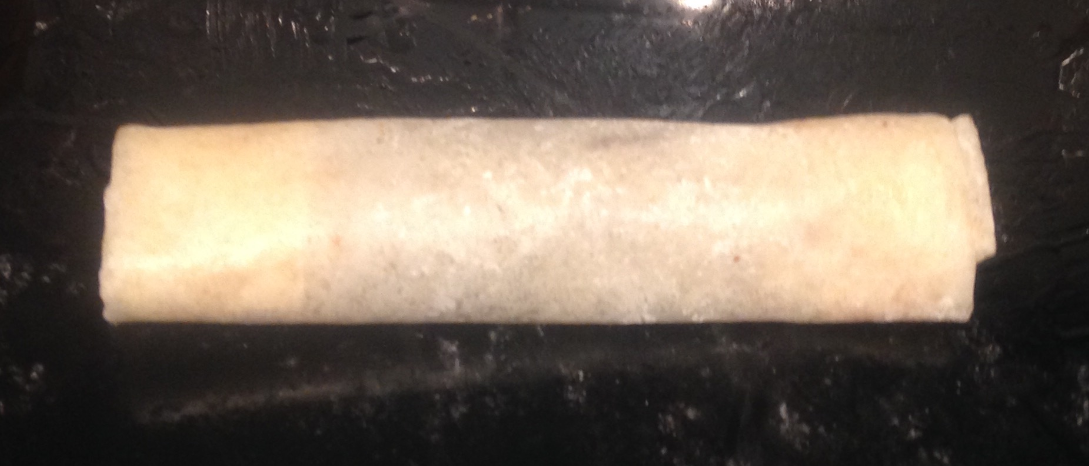
- Add a little extra butter to the end of the skin to ensure it seals well, repeat with all mix and skins.
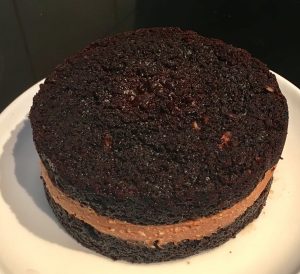
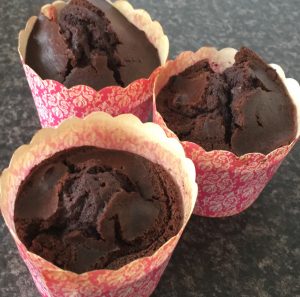
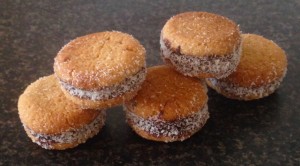
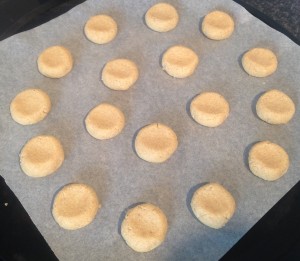
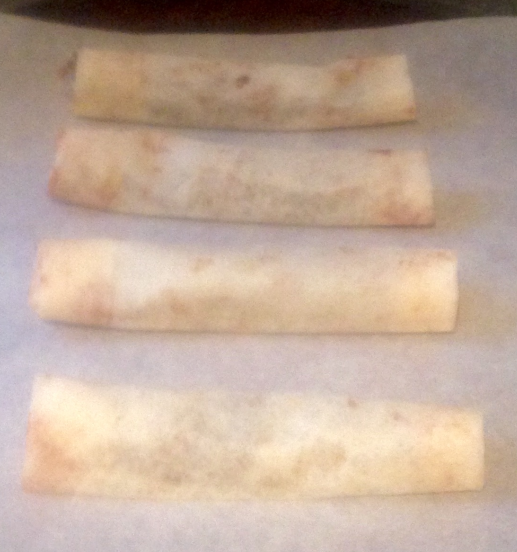
- Place the springrolls onto the prepared baking tray.
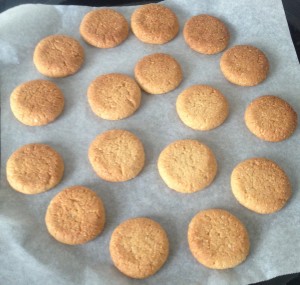
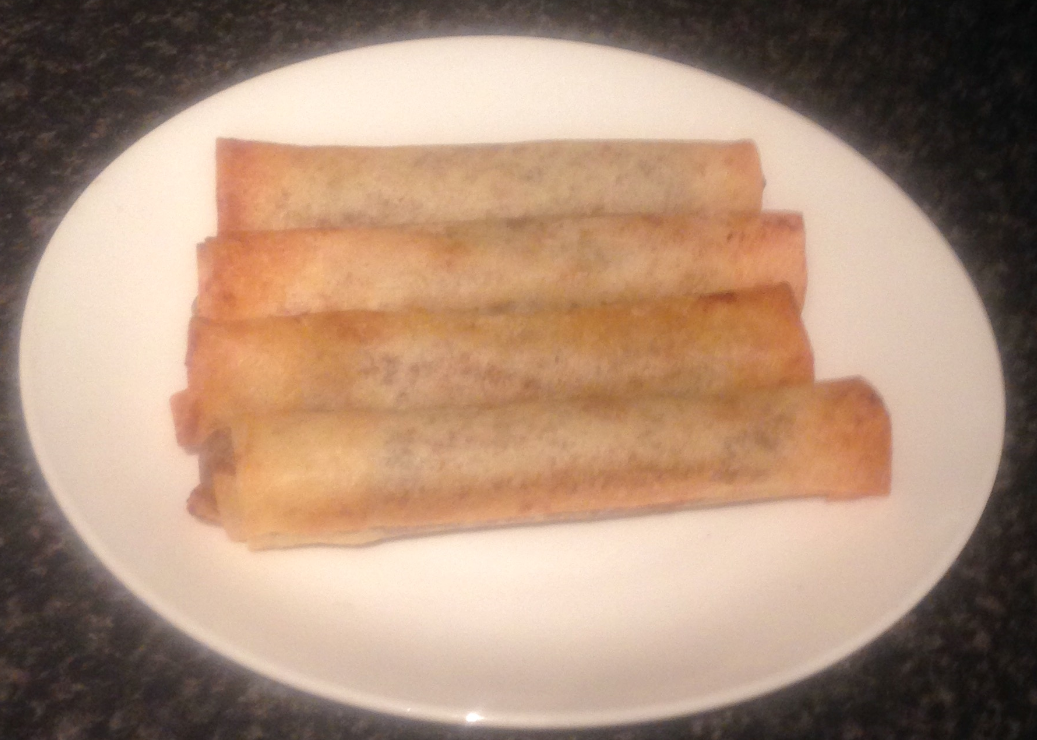
- Bake in the oven for 10 minutes or until the spring rolls are golden.
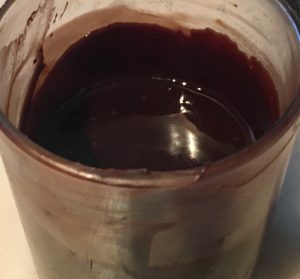
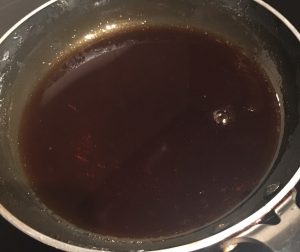
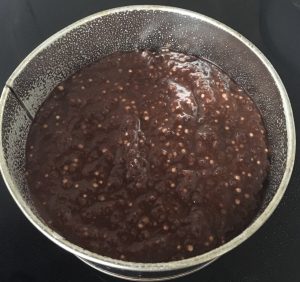
- Meanwhile, make the syrup by stirring all the ingredients in a saucepan on medium heat until the sugar dissolves.
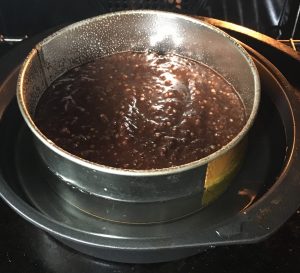
- Bring to the boil then reduce the heat to a simmer and leave without stirring for 5 minutes or until slightly thickened, following remove the peel.
- Once the springrolls are cooked pour the syrup over the pastry, or alternatively serve the syrup in a dipping bowl for guests to enjoy.
Fried version:
If you wish to fry the spring rolls you will need to omit the above steps 10 and replace with:
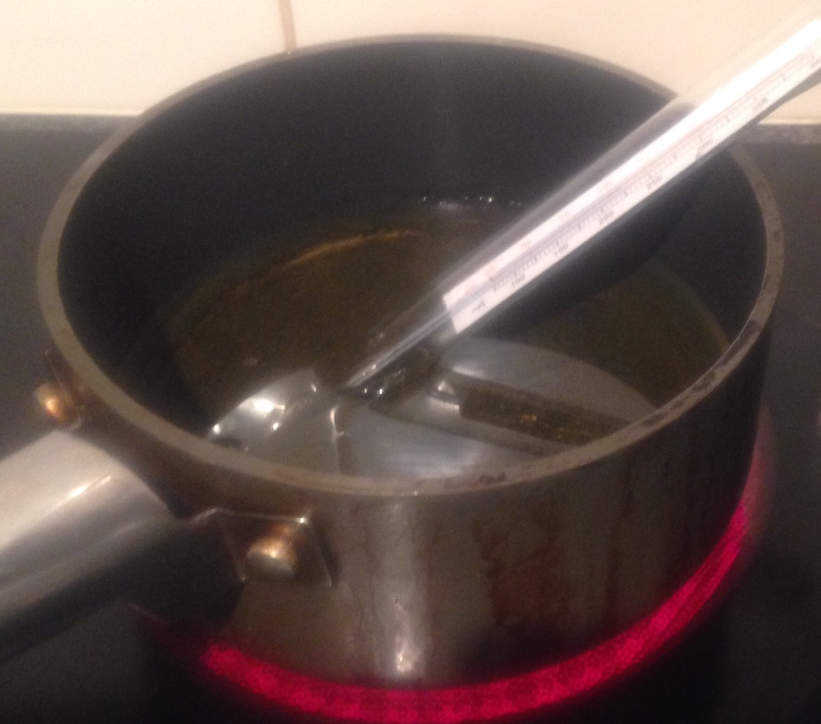
- Use a candy thermometer to heat oil for frying to 175c degrees in a saucepan.
- Place into the oil the spring rolls one at a time until golden brown.
- Once cooked place spring rolls on paper towel, enjoy!
Notes:
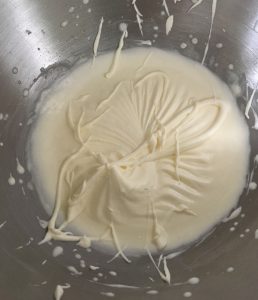
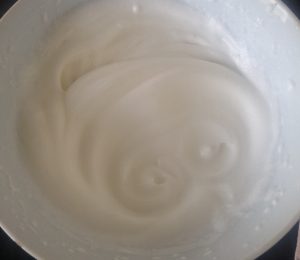
- I recommend you whip with electric beaters 150ml thickened cream with 1 tbsn of icing sugar until peaks form and serve on the side OR serve with a scoop of ice-cream.
- If you cannot find spring roll pasty you can use filo sheets, just brush them with butter, fold in half and brush again.
- The fried version can be used if you are serving the springrolls straight out of the oil. If you are cooking in advance you need to bake them otherwise they will be soft (baking the pastry will keep it crispy).
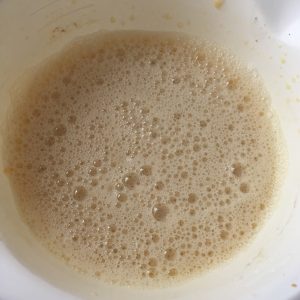
Step 2
Step 3
Step 6
Step 7
Step 8
Step 8
Step 9
Step 10
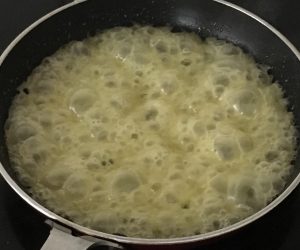
Fried version
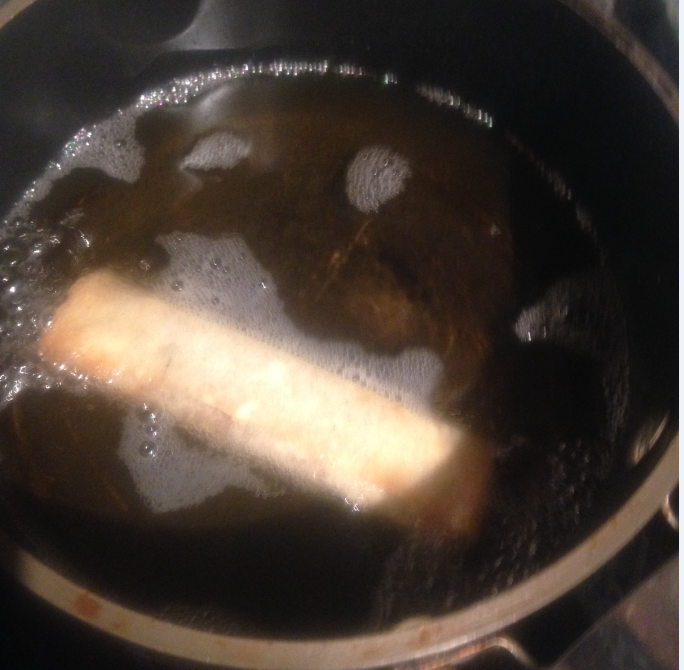
Fried version
Like this recipe? Subscribe via RSS or email to get my new entries and more scrumptious recipes with reviews.
 Follow