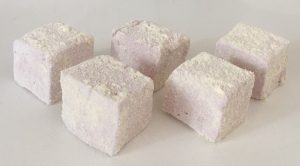
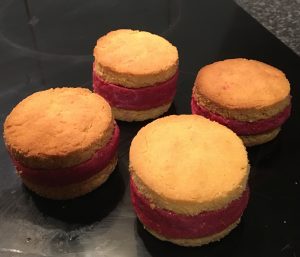
Sweet Tooth Experiments

  • About Me
  • Recipe Index
  • Baking Metrics
  • Tips & Tricks
  • Common Baking Questions
  • Contact

Tag Archives: lemon

Thiples

Posted on June 30, 2018 Posted in Greece, Traditional .

Thiples

Thiples

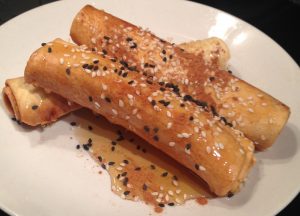
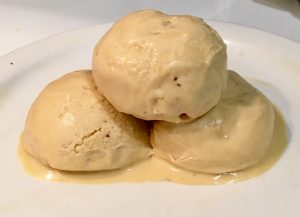
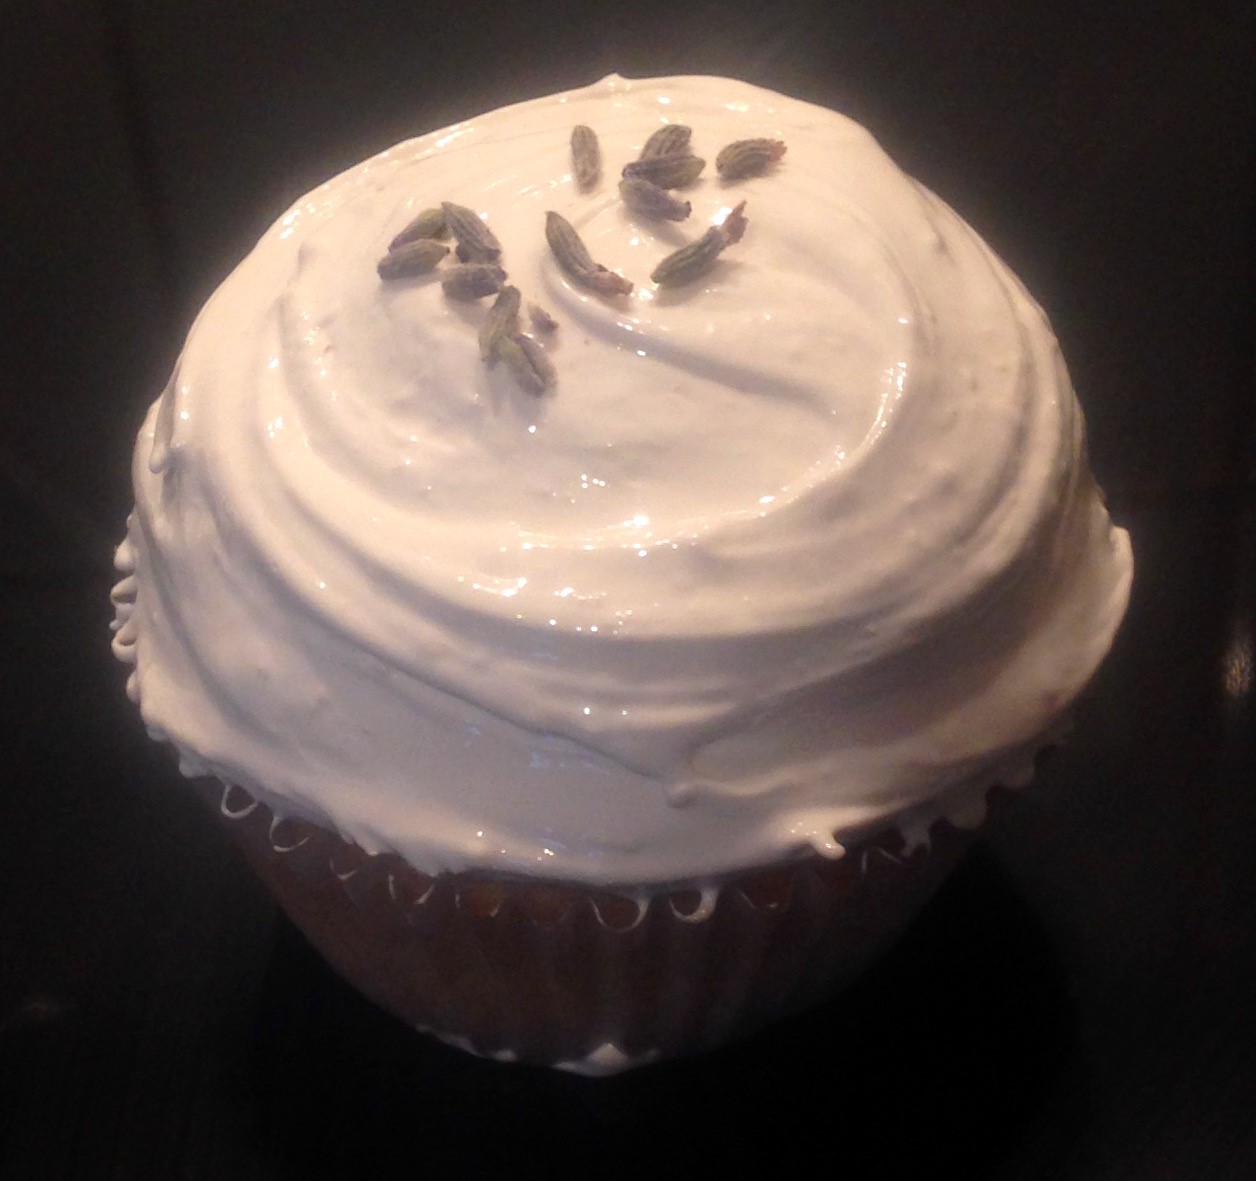
Thiples are a Greek traditional thin-sheet pastry (also known as Diples), usually made for special festive occasions. Similar to Cannoli’s shell texture and crunch Thiples are fried pastry that is soaked in a honey lemon syrup and sprinkled with a sesame and nut cinnamon mix for the extra crunch and flavour.

Think Baklava syrup and Frappe (aka Cioffe…aka Italian deep fried bow-tie cookies).

This is not the easiest of desserts to make, the pastry needs to be super super thin, but the outcome is addictively moreish – I can see why these are a Greek dessert treasure!


Dough:

  • 4 eggs
  • 30g ouzo
  • 1 tbsn sugar
  • 20ml lemon juice
  • 1 tsn vanilla essence
  • 470g ‘oo’ flour

Syrup:

  • 170g honey
  • 110g sugar
  • 30ml lemon juice
  • 1 tsn ground cinnamon

Extra:

  • 50g walnuts
  • 35g sesame seeds
  • ¼ tsn ground cinnamon
  • Oil to fry

Method:

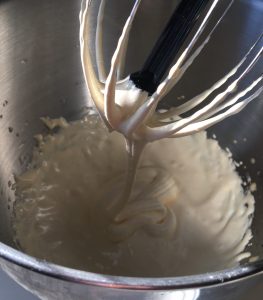
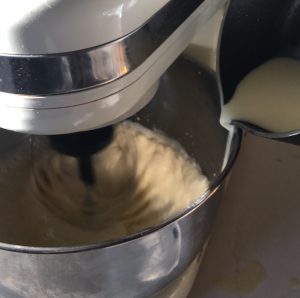
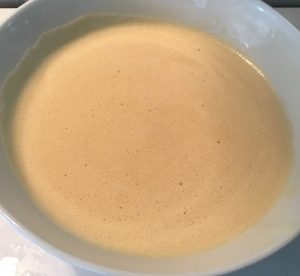
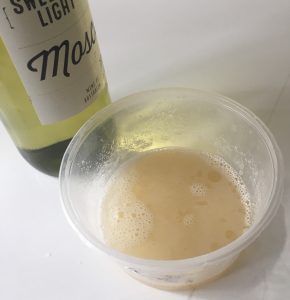
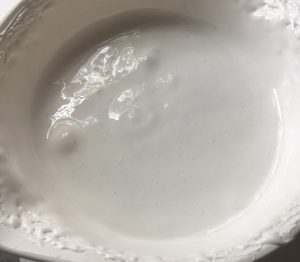
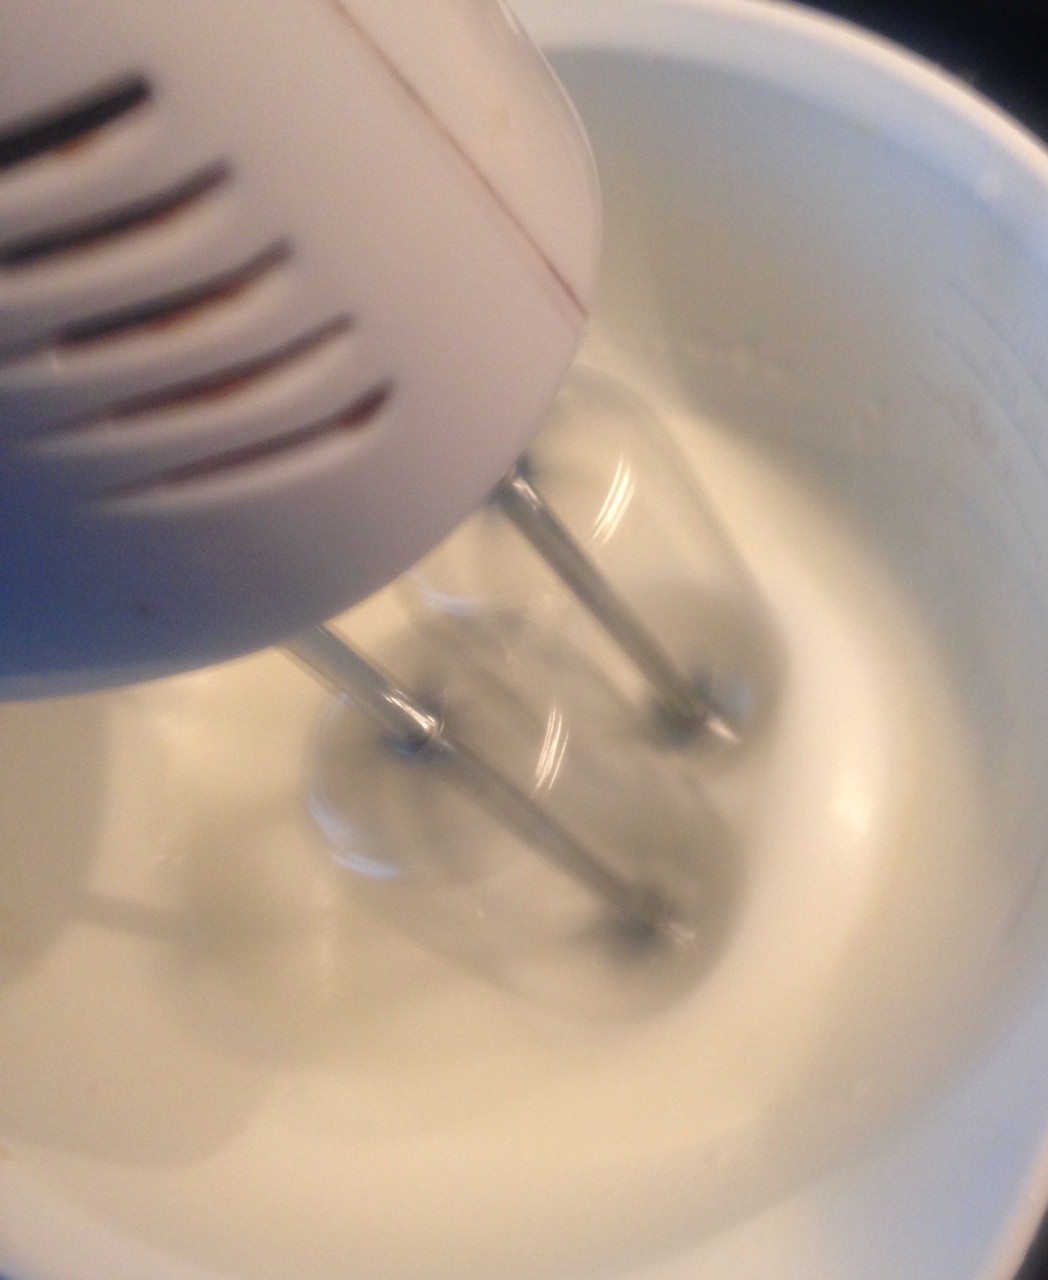
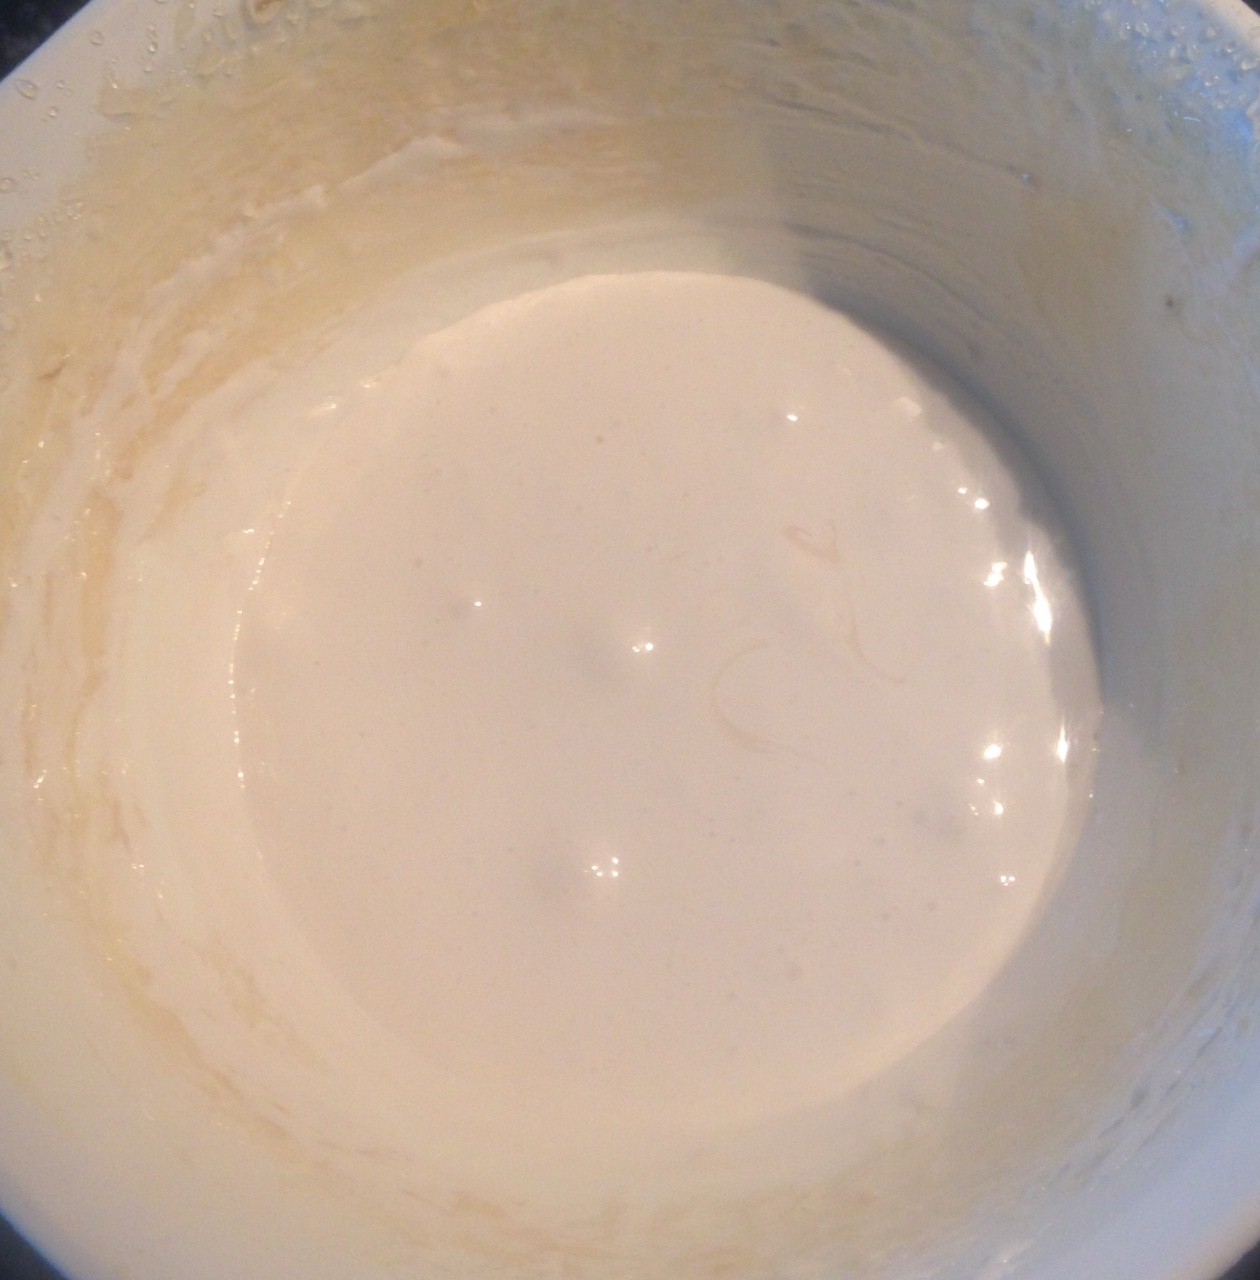
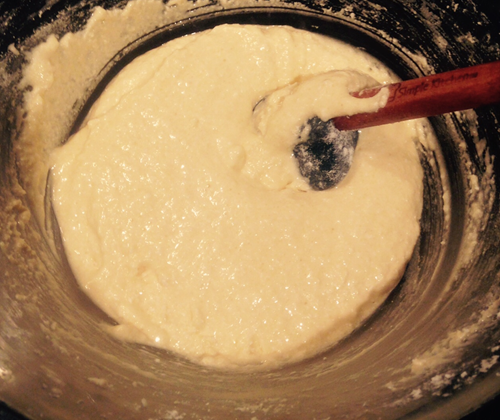
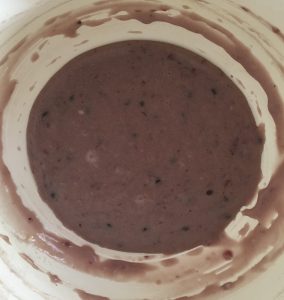
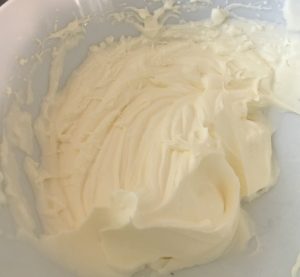
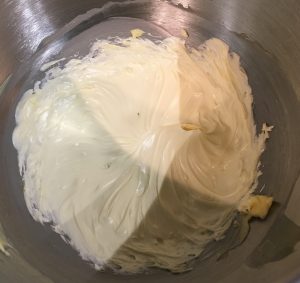
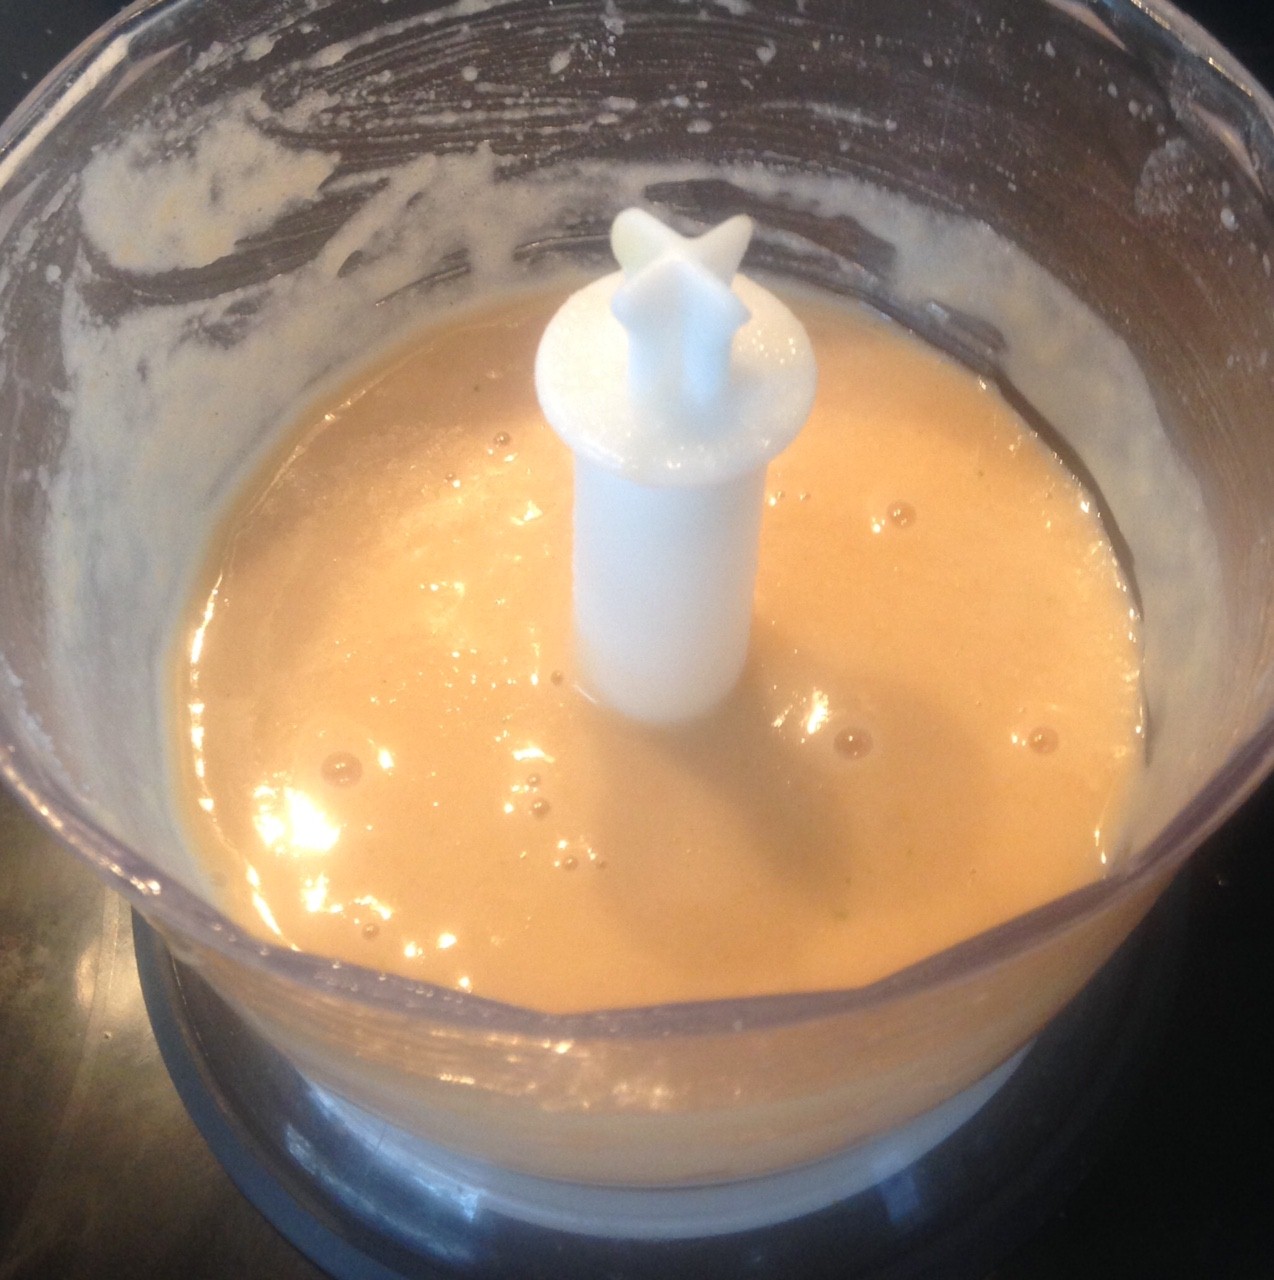
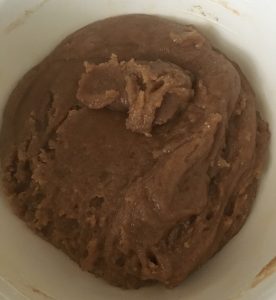
  1. Place the eggs, ouzo, sugar, vanilla and lemon juice into a bowl and stir until combine.
  2. Add the flour ¼ cup at a time until the dough is stiff (disregard any unused flour).
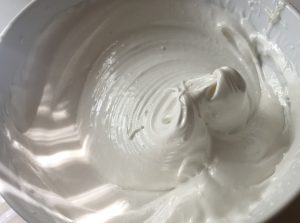
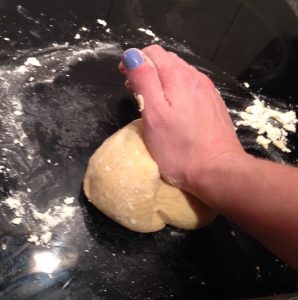
  3. Knead the dough for 5 minutes.
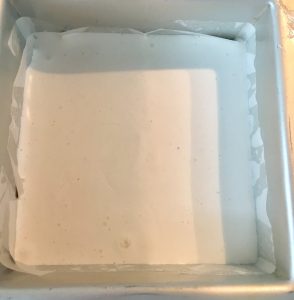
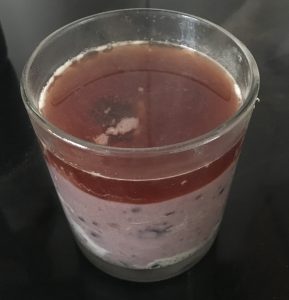
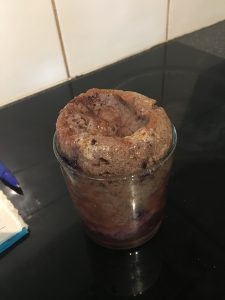
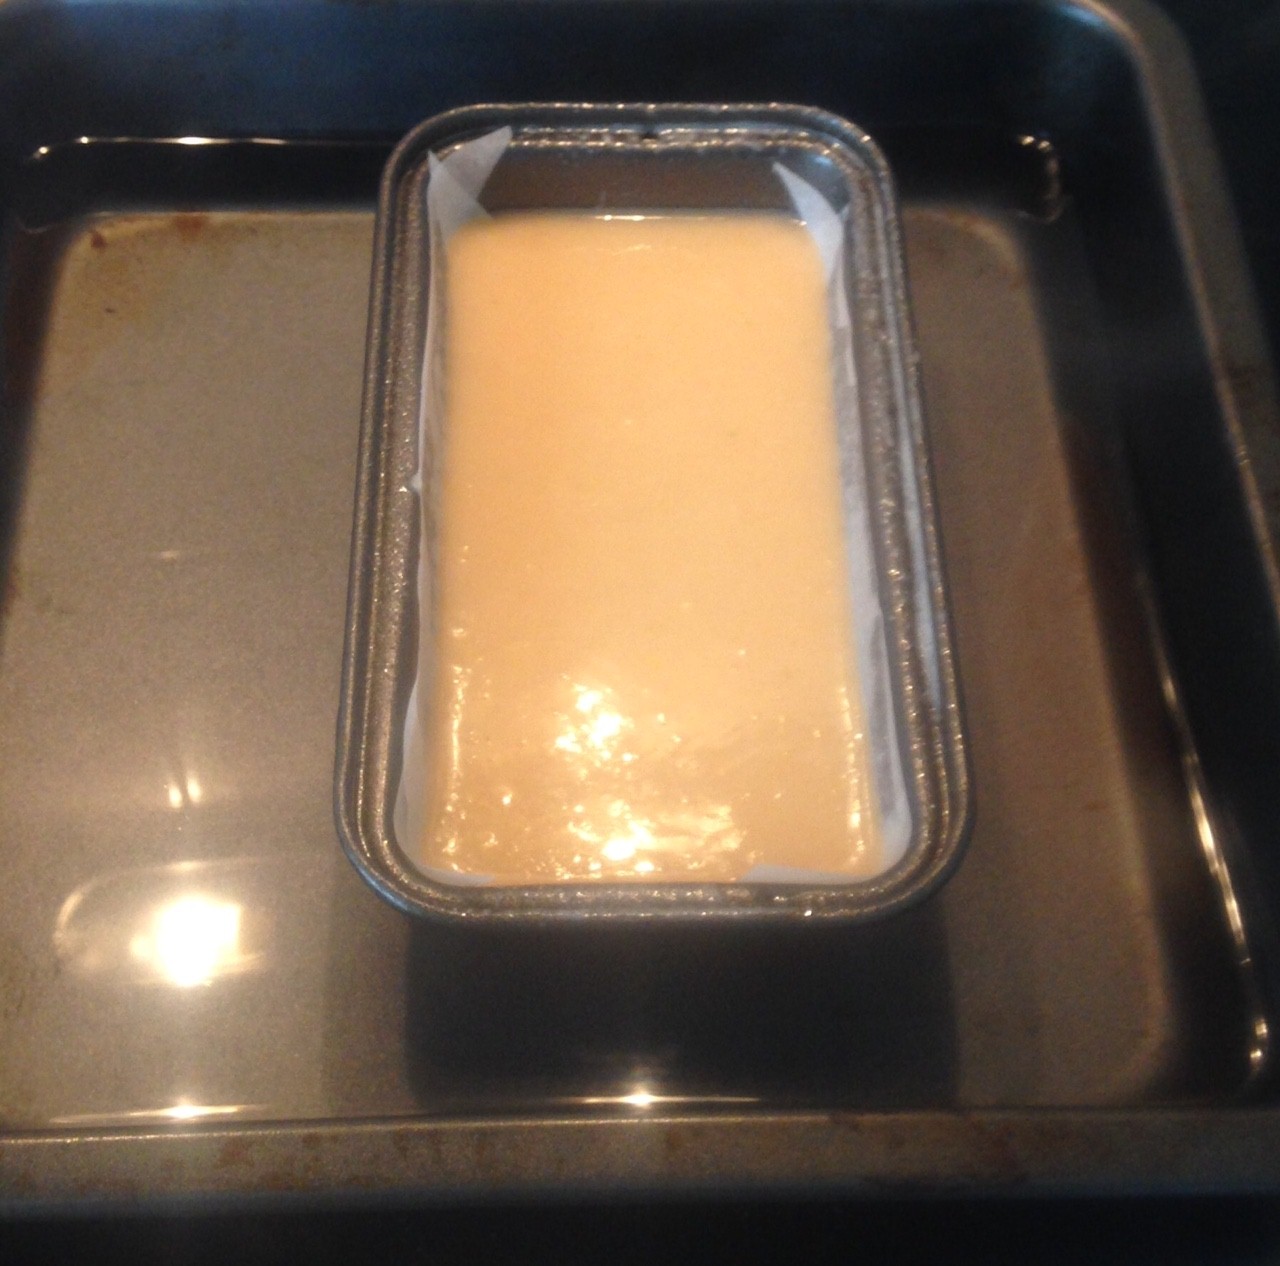
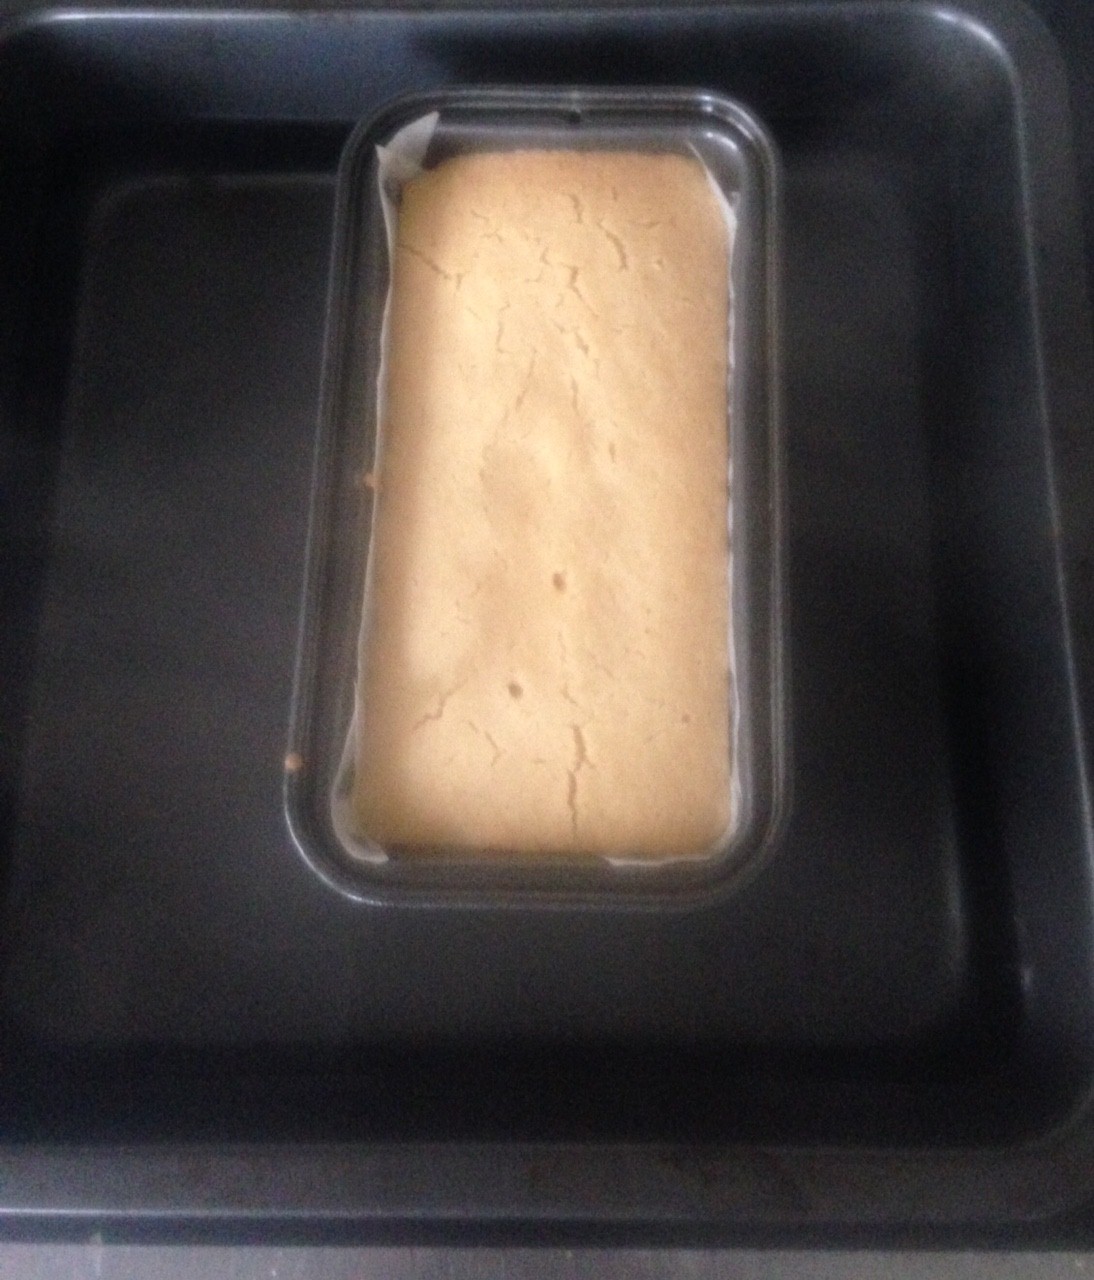
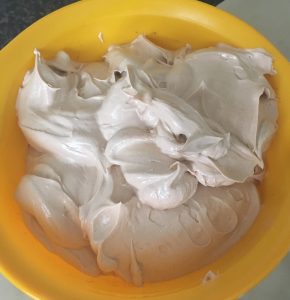
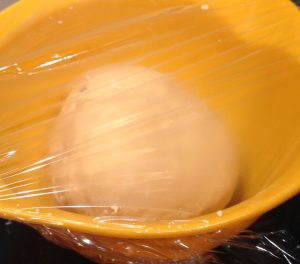
  4. Place the dough in an oiled bowl with plastic wrap over the top and leave for 1 hour or until doubled in size.
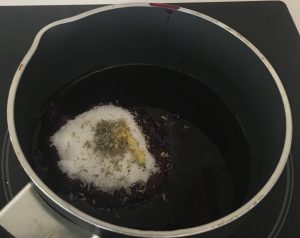
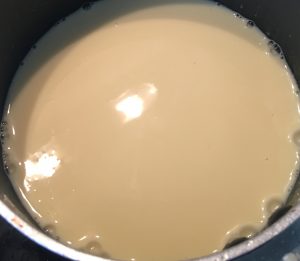
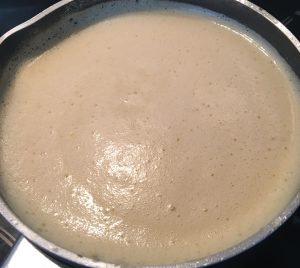
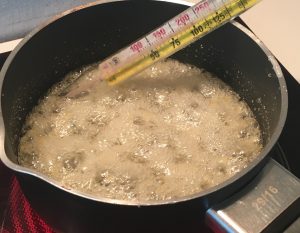
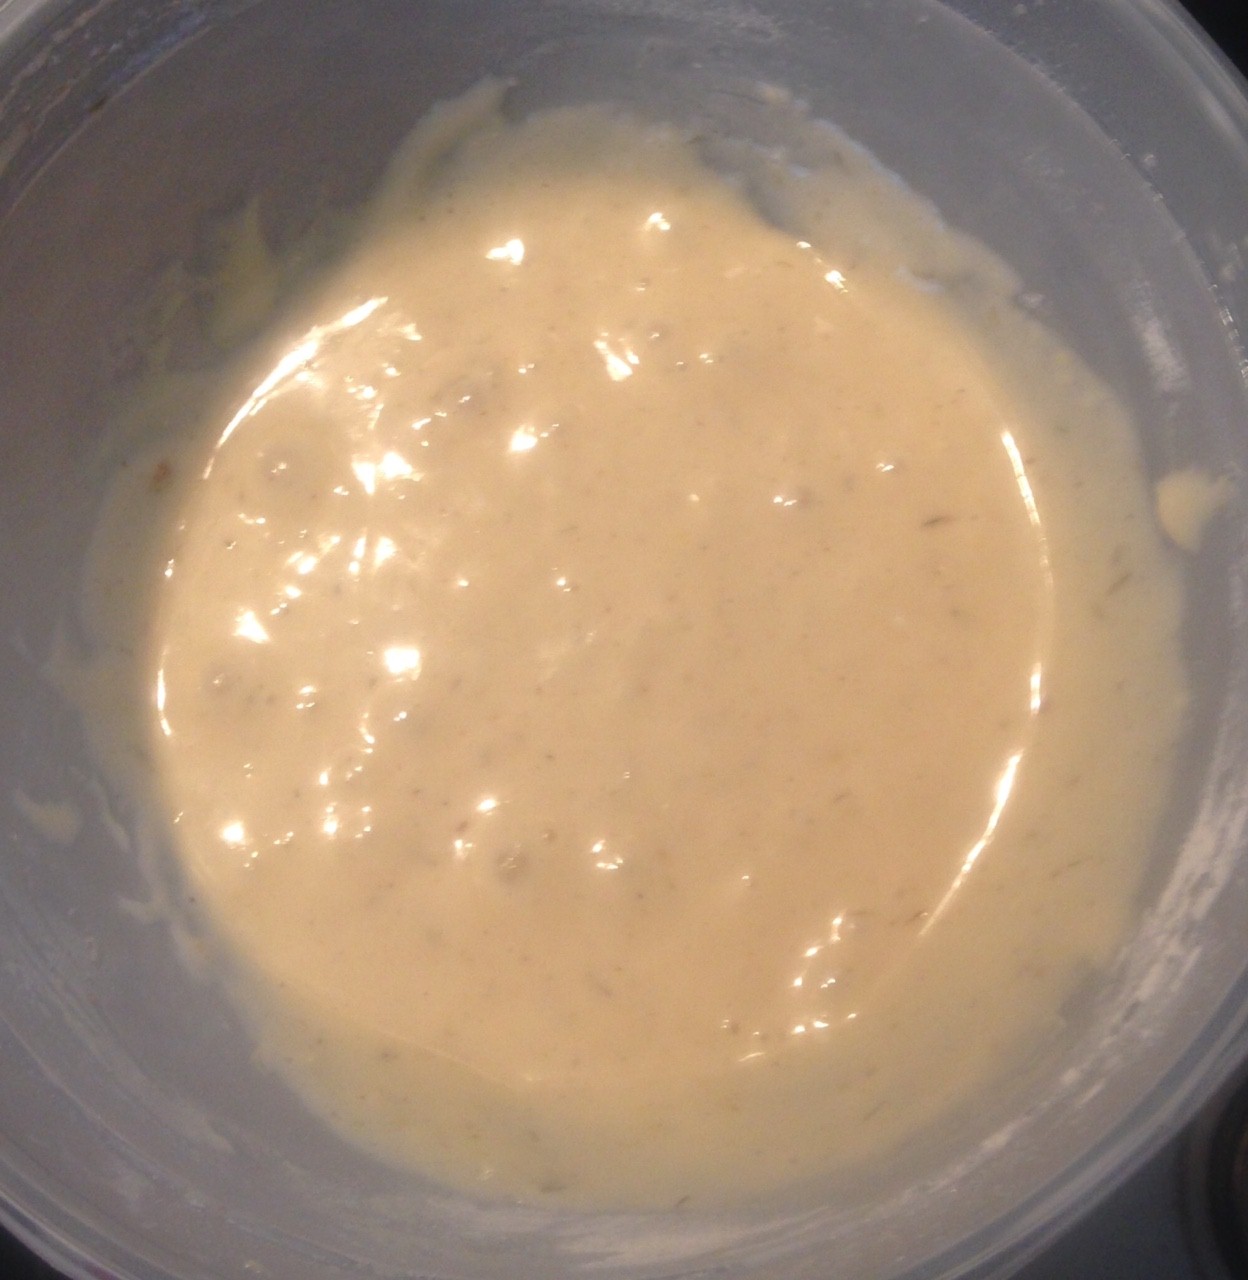
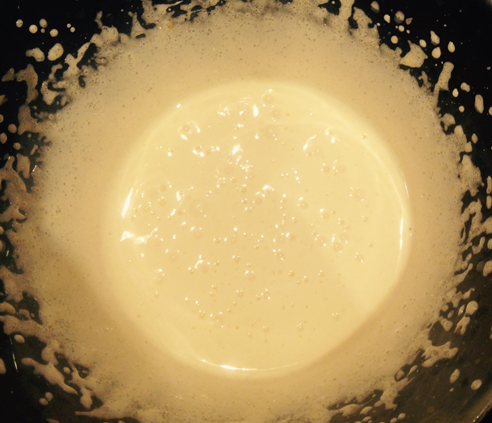
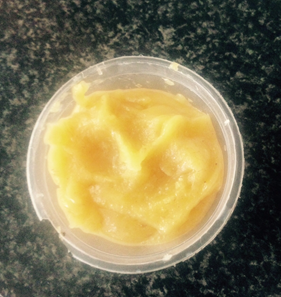
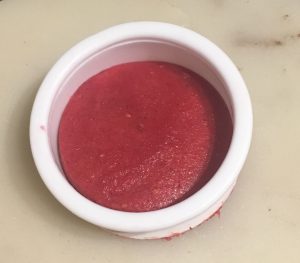
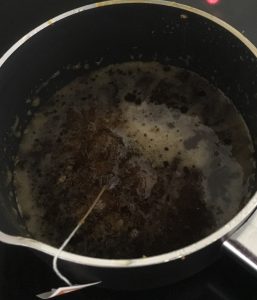
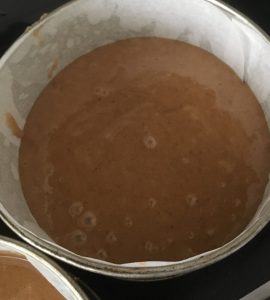
  5. For the syrup place all the syrup ingredients as well as 60ml of water into a saucepan on high heat and stir until well combine and sugar is melted.
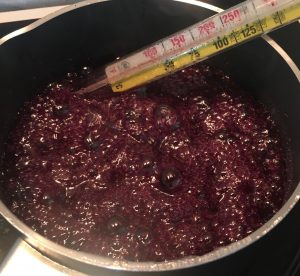
  6. Once the mix boils reduce heat to low and simmer for 5 minutes, take off heat.
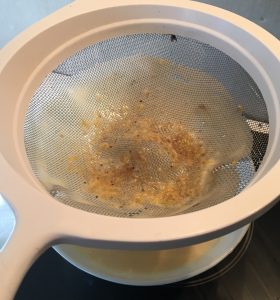
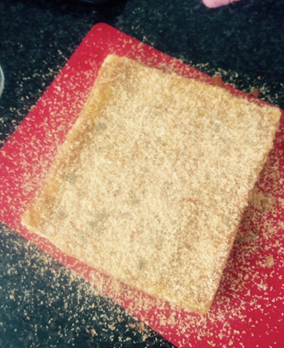
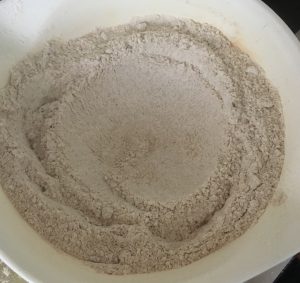
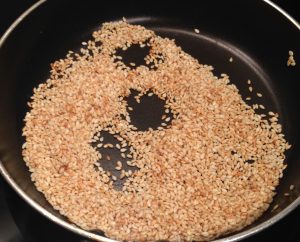
  7. Toast the sesame seeds until golden on a medium heat in a saucepan.
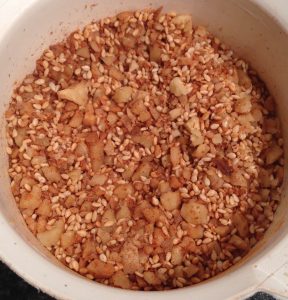
  8. Finely chop up the walnuts and place them in a bowl with the cinnamon and seeds, stir until well combined.
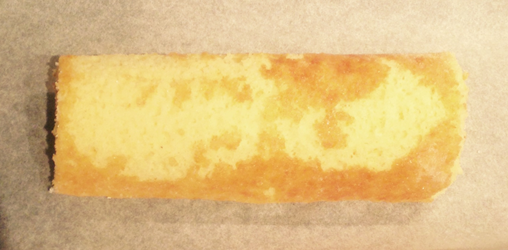
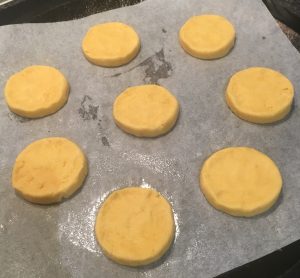
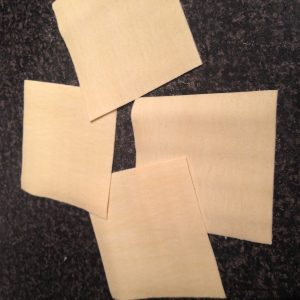
  9. Roll the dough through a pasta machine until you reach 2mm in thickness.
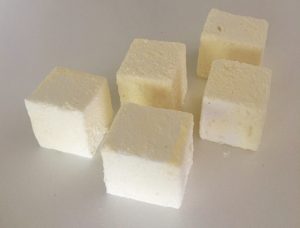
  10. Cut the dough into 10cm x 10xm squares.
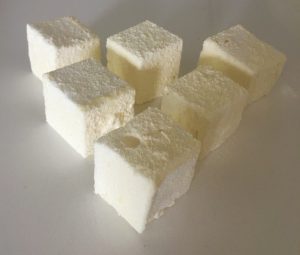
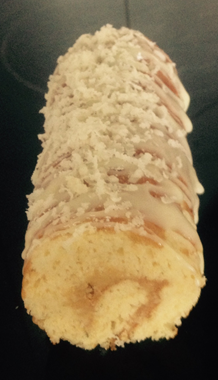
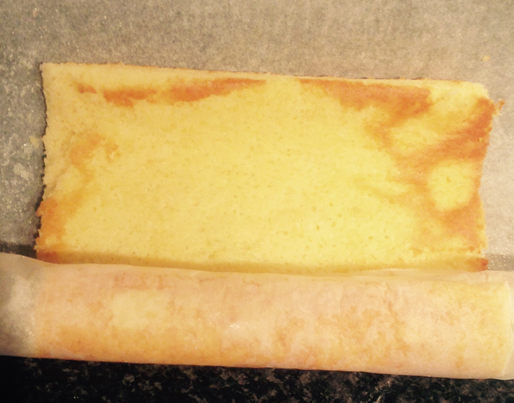
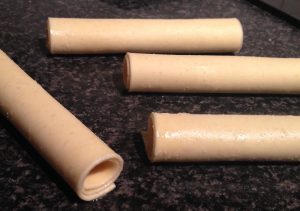
  11. Roll the dough up into tube shapes.
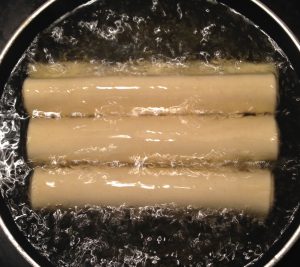
  12. Place the frying oil into a saucepan and add a little dough, place heat on high.
  13. Once the dough starts to sizzle remove and turn the heat to medium/low.
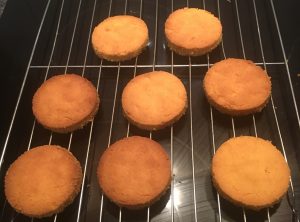
  14. Add in the tubes (triples) and fry until golden brown.
  15. Remove the thiples and place onto paper towel.
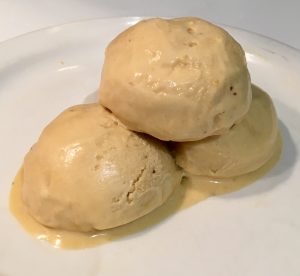
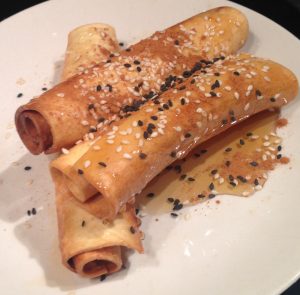
  16. Pour the syrup into a bowl and add in the thiples, turning them for a robust syrup coating.
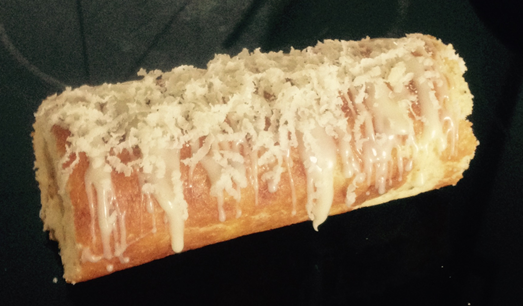
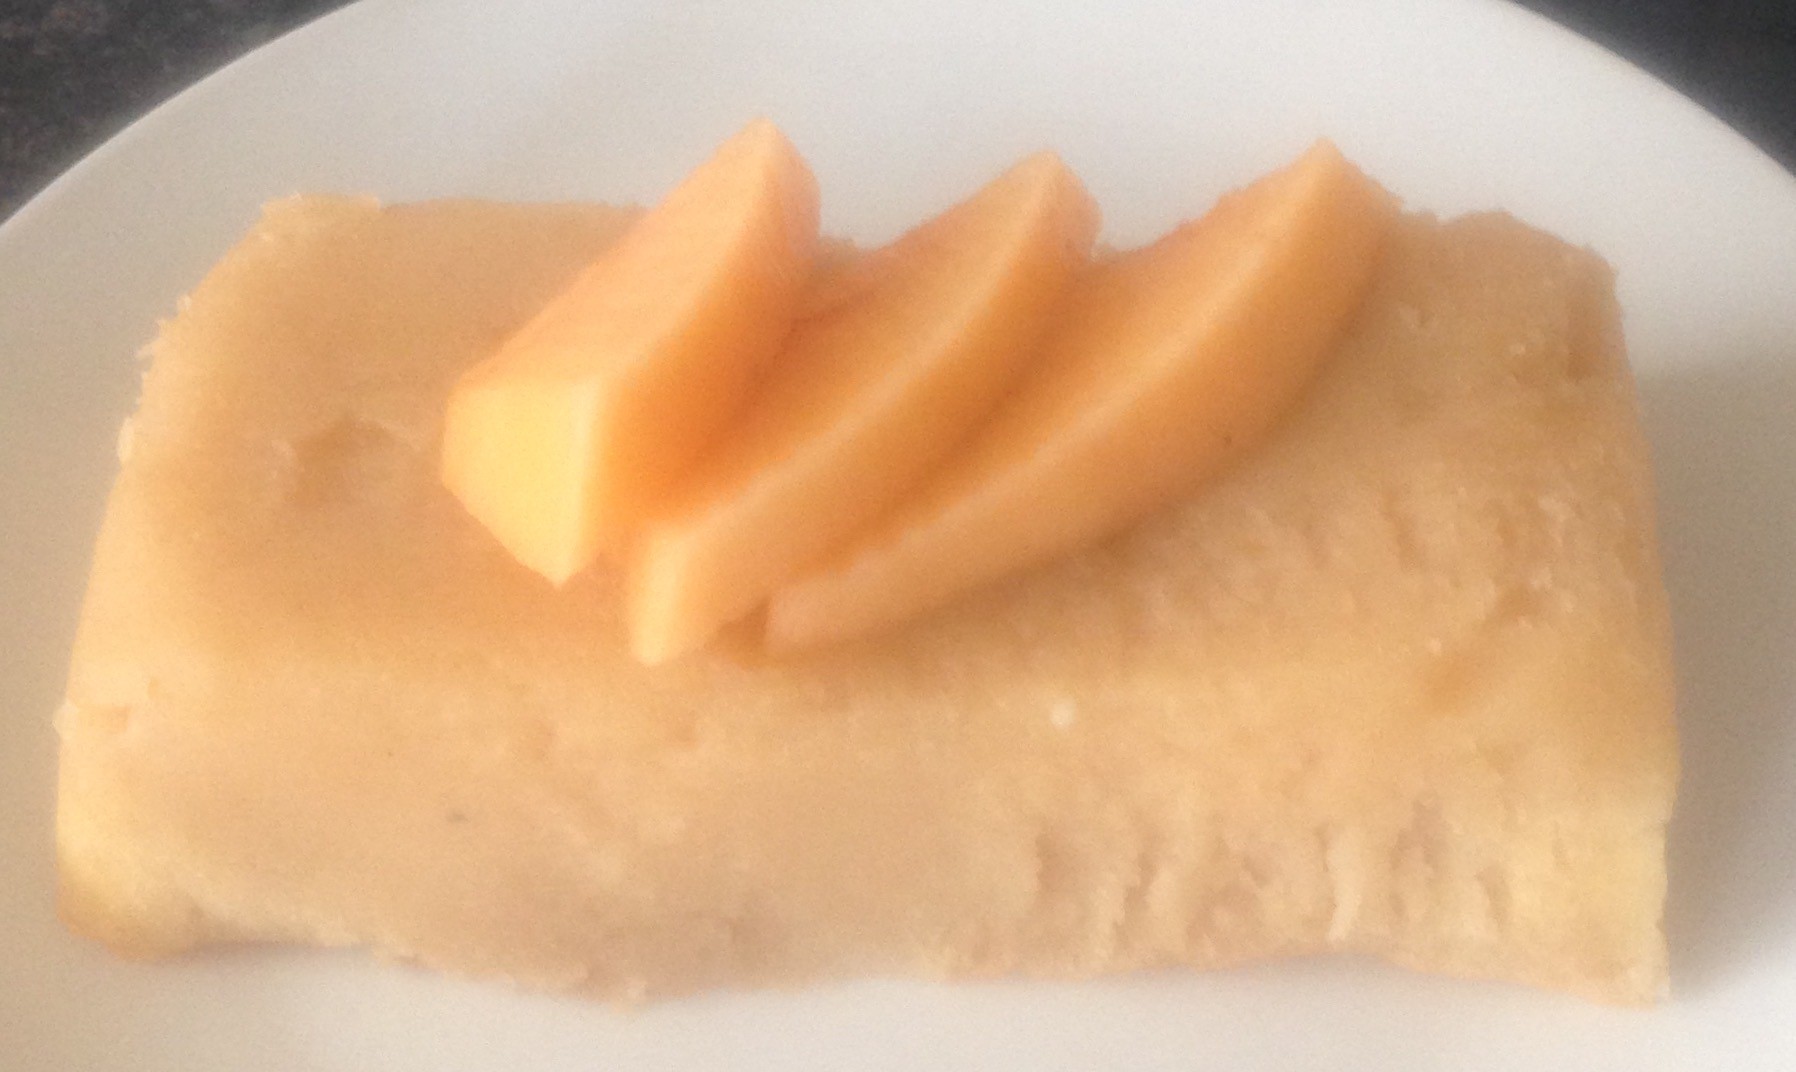
  17. Place the thiples onto a serving plate and top with any remaining syrup as well as the nut mix sprinkled on the top.
  18. Enjoy!

1 - Copy (2)

Step 5

Pumpkin Vanilla and Cinnamon Scrolls recipe
Step 4
Thiples
Step 7
Thiples
Step 8
Thiples
Step 9
Thiples
Step 11
Thiples
Step 14
Thiples
Step 17
NOTE:
  • Rolling the pastry prior to adding to the oil is not the traditional method. Technically you are to add the pastry as a sheet and roll with tongs, this however clearly takes a lot of practice. As this recipe rolls prior to the oil make sure your oil is not too hot or the outside will brown before the pastry in the middle has had time to cook.


Like this recipe? Subscribe via RSS or email to get my new entries and more scrumptious recipes with reviews.


Email, RSS Follow
Print
Leave a comment .
Tags: cinnamon, lemon, ouzo, sesame seeds, Thiples, walnuts .

Blueberry Lavender and Lemon Marshmallows

Posted on January 27, 2018 Posted in Marshmallows .

Blueberry Lavender and Lemon Marshmallows

Blueberry Lavender and Lemon Marshmallows recipe
I recently posted a recipe for Moscato Lemon Marshmallows, where I mentioned in the post that there were 2 marshmallow flavour combos that I really liked with varying methods where I opted for the recipe that provided the fluffier product.
As the flavour combo of the less optimal method of blueberry, lavender and lemon was so tasty I decided to use the Moscato recipe as the base to redo the blueberry version.
I did need to play around a bit with volumes and ratios, as Moscato’s liquid is much thinner than mashed up blueberries. After experimenting accordingly I reached the point where I was quite satisfied the texture of the marshmallows was just as good as the Moscato version.
The blueberry, lavender and lemon work really well together, the lavender is not overwhelming and is balanced well by the berries as they have the same flavour profile. Whilst the lemon complements both the berry and lavender, pushing the flavour up a notch.

Ingredients:

  • 325g frozen blueberries (you will need 200ml juice for the recipe)
  • 1 tsn vanilla essence
  • 4 tsn gelatin
  • 220g sugar
  • 180ml glucose
  • 1 tsn lemon zest
  • 1 + ½ tsn ground lavender
  • 3 egg whites
  • ½ tsn salt
  • 20g corn flour
  • 60g icing sugar


Method:

  1. Line a 10cm x 10cm slice tin with baking paper.
  2. Heat the blueberries in a bowl in the microwave until thawed and steaming.
  3. Squash the blueberries through a sieve to get 200ml juice.
  4. Pour 120ml of the juice and the vanilla essence into a saucepan on a low/medium heat until the mix is simmering.
  5. Add the gelatin to the saucepan and whisk with a hand whisk until the gelatin is dissolved, set aside.
  6. In another saucepan add the remaining 80ml blueberry juice, the sugar, glucose, ground lavender and lemon zest and stir on a high heat until the sugar is dissolved.
  7. Place a candy thermometer into the saucepan and allow to cook until 128c degrees is hit, following take the pan off the heat.
  8. Meanwhile, place the egg whites and salt into a bowl and whisk with electric beaters until soft peaks form.
  9. Pour the sugar syrup into the egg whites in a slow stream while whisking the egg mix on high with the electric beaters until all the syrup is combine.
  10. Next add the gelatin mix slowly, whisking with the electric beaters until the egg mix is cooled.
  11. Pour the mix into the lined tin and place in the fridge for 4 hours+ (overnight if possible) to set.
  12. Remove the marshmallow out of the tin, and on a cutting board pull the baking paper away from the sides of the marshmallow.
  13. Spray a knife with oil spray to stop the marshmallow sticking and cut the marshmallow into squares.
  14. Place a piece of baking paper onto the bench, sieve the icing sugar and corn flour into a bowl then sieve over the piece of baking paper to cover.
  15. Place the marshmallow onto the icing sugar mix and roll each piece until they are all completely covered on all sides.
  16. Eat and enjoy!


Blueberry Lavender and Lemon Marshmallows recipe

Step 2

Blueberry Lavender and Lemon Marshmallows recipe

Step 3

Blueberry Lavender and Lemon Marshmallows recipe

Step 5

Blueberry Lavender and Lemon Marshmallows recipe

Step 6

Blueberry Lavender and Lemon Marshmallows recipe

Step 7

Moscato and Lemon Marshmallows recipe

Step 8

Blueberry Lavender and Lemon Marshmallows recipe

Step 11

Blueberry Lavender and Lemon Marshmallows recipe

Step 15


Like this recipe? Subscribe via RSS or email to get my new entries and more scrumptious recipes with reviews.

Email, RSS Follow
Print
Leave a comment .
Tags: Blueberry, Blueberry Lavender and Lemon Marshmallows, lavender, lemon, marshmallows .

Moscato Lemon and Strawberry Ice-Cream

Posted on December 12, 2017 Posted in Ice-cream & Sorbet .

Moscato Lemon and Strawberry Ice-cream

Moscato Lemon and Strawberry Ice-cream
After the recent success of my Moscato and Lemon Marshmallows recipe I decided to extend on the flavour pairing and too that also change up the dessert style. Knowing that Moscato and Lemon already go well together I opted for an additional flavour that holds the same fruity aroma and taste as Moscato, but also compliments both the wine and citrus ingredients.
After trialling the combo of a few different berries I felt the strawberry was too delicious not to incorporate.
I have used jam in this recipe as the jam ensured I didn’t thin out the ice-cream like Strawberry puree did (it also makes the recipe that little bit easier to make as steps are omitted). I’m not the biggest fan of traditional ‘cream and egg yolk’ based ice-cream, however this recipe was too good for me not to demolish.

Ingredients:

  • 300ml Moscato
  • 90g sugar
  • 5 egg yolks
  • 400ml thickened cream
  • 60g strawberry jam
  • 1 tsn lemon zest


Method:

  1. Pour the Moscato into a saucepan and heat on medium/high for 10 minutes or until the liquid has reduced down to a third (100ml).
  2. Take the saucepan off the heat and slowly pour the cream into the Moscato, whisking with a hand whisk as you pour until combined.
  3. Place the sugar and egg yolks into a bowl and using electric beaters whisk for a minimum of 5 minutes.
  4. Add the strawberry jam and lemon zest to the egg mix, whisk until combined.
  5. Slowly pour the cream mix into the egg yolk mix while the beaters are whisking.
  6. Once the cream mix is well combine place the mix back into the saucepan on medium/high heat for 5 minutes or until the mixture coats the back of a spoon thickly.
  7. Pass the mix through a sieve into a bowl and allow to cool.
  8. Once mix is cold place in the freezer for 2 hours.
  9. After 2 hours spoon the mix into a food processor and blitz for 2 minutes. Place mix back in the freezer.
  10. After an hour spoon the mix into the food processor again and blitz for 2 minutes. Place mix back in the freezer.
  11. After an hour scoop the ice-cream into a bowl and enjoy!


Moscato Lemon and Strawberry Ice-cream
Step 2
Moscato Lemon and Strawberry Ice-cream
Step 3
Moscato Lemon and Strawberry Ice-cream
Step 5
Moscato Lemon and Strawberry Ice-cream
Step 6
Moscato Lemon and Strawberry Ice-cream
Step 7
Moscato Lemon and Strawberry Ice-cream
Step 8
Moscato Lemon and Strawberry Ice-cream
Step 11

Like this recipe? Subscribe via RSS or email to get my new entries and more scrumptious recipes with reviews.

Email, RSS Follow
Print
Leave a comment .
Tags: ice-cream, lemon, Moscato, Moscato Lemon and Strawberry Ice-Cream, strawberry .

Moscato and Lemon Marshmallows

Posted on December 2, 2017 Posted in Marshmallows .

Moscato and Lemon Marshmallows

Moscato and Lemon Marshmallows recipe

After realising that I have baked a bit with marshmallow (for homemade fondant, as a pie filling ingredient and as decoration) I have never actually made marshmallow from scratch.

I am always up for, and love to experiment with new techniques and sweet treat variations, therefore, homemade marshmallow to me is an exciting way to spend an afternoon.

Traditional vanilla or raspberry marshmallows that you find I the supermarket to me are quite boring so I started to do some research on some interesting and new to me flavor combos.

After playing around with some variations there were 2 combos that I just couldn’t decide on as being my favorite. Thus, I decided to make both flavors but  with 2 varying methods (one using egg whites and one without).

Though both were successful the recipe that incorporated egg whites was much more fluffier and massively exceeded my expectations.

Below is the delicious Lemon and Moscato flavor pairing with the fluffier recipe .


Ingredients:

  • 200ml Moscato
  • ½ tsn vanilla essence
  • 4 tsn gelatin
  • 220g sugar
  • 180ml glucose
  • 1 + ¼ tsn lemon zest
  • 3 egg whites
  • ½ tsn salt
  • 10g corn flour
  • 50g icing sugar


Method:

  1. Line a 20cm x 10cm slice tin with baking paper.
  2. Pour 120ml Moscato and the vanilla essence into a saucepan and heat on a low/medium heat until the mix is simmering.
  3. Add the gelatin to the saucepan and whisk with a hand whisk until the gelatin is dissolved, set aside.
  4. In another saucepan add the remaining 80ml Moscato, the sugar, glucose and lemon zest and stir on a high heat until the sugar is dissolved.
  5. Place a candy thermometer into the saucepan and allow to cook until 128c degrees is hit.
  6. Meanwhile place the egg whites and salt into a bowl and whisk with electric beaters until soft peaks form.
  7. Pour the sugar syrup into the egg whites in a slow steady stream while whisking on high with the electric beaters until all the syrup is combine.
  8. Next add the gelatin mix slowly, whisking with the electric beaters until the mix is cooled (this will take quite a few minutes).
  9. Pour the mix into the prepared tin and place in the fridge for 4 hours+ (overnight if possible).
  10. Remove the marshmallow out of the tin and place onto a cutting board, pull the baking paper away from the sides of the marshmallow.
  11. Next spray a knife with oil spray to stop the marshmallow sticking and cut the marshmallow into squares.
  12. Place a piece of baking paper onto the bench, sieve the icing sugar and corn flour into a bowl then sieve over the piece of baking paper to cover.
  13.  Place the marshmallow pieces onto the icing sugar mix and roll each piece until they are all completely covered on all sides.
  14. Eat and enjoy!


Moscato and Lemon Marshmallows recipe

Step 3

Moscato and Lemon Marshmallows recipe

Step 5

Moscato and Lemon Marshmallows recipe

Step 6

Moscato and Lemon Marshmallows recipe

Step 7

Moscato and Lemon Marshmallows recipe

Step 8

Moscato and Lemon Marshmallows recipe

Step 9

Moscato and Lemon Marshmallows recipe

Step 14


Like this recipe? Subscribe via RSS or email to get my new entries and more scrumptious recipes with reviews.

Email, RSS Follow
Print
Leave a comment .
Tags: lemon, marshmallows, Moscato, Moscato and Lemon Marshmallows, Moscato wine .

Lavender Lemon Cupcakes with Nougat Almond Icing

Posted on November 18, 2017 Posted in Cupcakes .

Lavender Lemon Cupcakes with Nougat Almond Icing

Lavender Lemon Cupcakes with Nougat Almond Icing recipe
This recipe has an interesting way of coming about. I was originally experimenting by making a chocolate layer slice with a brownie, chocolate crackle, cheesecake, honey nougat and a ganache layered slice (yes seriously). It was quite nice except was very difficulty to cut and eat. The chocolate crackle layer was too hard and did not cut well while the nougat layer didn’t have the soft but stable consistency….
I really loved the honey nougat so I decided to use this layers recipe, only this time as an icing.
Then I went through my pantry to see what ingredients I could use that would compliment this honey nougat flavour. After a little researching I decided that lavender and lemon would work perfect with my never fail cupcake recipe as the base (that also tastes magic with the honey).
Thus a moreish delicate flavored cupcake was developed.
Lavender Lemon Cupcakes with Nougat Almond Icing recipe

Ingredients:

Cupcakes:

  • 2 eggs
  • 200g sugar
  • 2 tsn ground lavender
  • 1 tsn lemon zest
  • 1 tsn vanilla essence
  • 125ml vegetable oil
  • 125ml buttermilk
  • 200g cake flour
  • 1 + ½ tsn baking powder
  • ½ tsn bi carbonate of soda
  • ¼ tsn salt

Honey Nougat:

  • 3 egg whites
  • 190g sugar
  • 120g honey
  • 60ml water
  • 1 tsn lemon zest
  • ½ tsn almond essence
  • 2 tsn vanilla essence
  • ¼ tsn salt


Method:

  1. Pre heat the oven to 180c degrees and line an 18 cupcake tray with cupcake patties.
  2. Using electric beaters whisk the eggs for 2 minutes.
  3. Place 2 tsn dried lavender flowers into a pestle and mortar and grind until the lavender is to the consistency of flour.
  4. Add the sugar, ground lavender, lemon zest and vanilla essence in the egg mix and beat until light and fluffy.
  5. Add the vegetable oil and milk and beat until well combined.
  6. Add the flour, powder, soda and salt and beat on a low speed until just combine.
  7. Pour the mix into the cupcake patties and bake for 15 minutes or until a skewer inserted in the middle comes out clean.
  8. Set the cupcakes aside on a cooling rack until cool.
  9. To make the icing place the egg whites into a bowl and set aside.
  10. Place the honey, sugar and water into a saucepan on a high heat of your stove top and stir until the sugar is dissolved.
  11. Place a candy thermometer onto the saucepan and leave until the mix hits 120c degrees.
  12. Now start beating the egg whites with electric beaters until the candy thermometer hits 135c degrees then pour the sugar syrup slowly into the egg white mix while beating on a high speed. Be sure to pour the sugar directly into the mix and not on the side of the bowl.
  13. Continue beating for 2 minutes until the mix is thick and fluffy.
  14. Add the lemon zest, almond essence, vanilla essence and salt and beat for 2 more minutes until the mix starts to cool.
  15. Using a palate knife spread the icing over the top of the cooled cupcakes, enjoy!


Notes:

  • Store cupcakes in the fridge as you don’t want the nougat to soften and start to drop.


Lavender Lemon Cupcakes with Nougat Almond Icing recipe

Step 3

Lavender Lemon Cupcakes with Nougat Almond Icing recipe

Step 6

Lavender Lemon Cupcakes with Nougat Almond Icing recipe

Step 7

Licorice and Vanilla Cupcakes recipe

Step 7

Lavender Lemon Cupcakes with Nougat Almond Icing recipe

Step 11

Lavender Lemon Cupcakes with Nougat Almond Icing recipe

Step 13

Lavender Lemon Cupcakes with Nougat Almond Icing recipe

Step 13


Like this recipe? Subscribe via RSS or email to get my new entries and more scrumptious recipes with reviews.


Email, RSS Follow
Print
Leave a comment .
Tags: Almond, lavender, Lavender Lemon Cupcakes with Nougat Almond Icing, lemon, nougat .

Lemon Almond and Lavender Roulade

Posted on October 26, 2017 Posted in Cakes .

Lemon Almond and Lavender Roulade

Lemon Almond and Lavender Roulade recipe

For a long time now I have been playing with different flavour pairings of roulades. Thanks to my curiosity in experimenting I got hooked on continuing to play until I created a recipe I deemed blog-worthy. It may have taken about 7 attempts but I got there in the end. It took me about 3 goes to get the perfect sponge cake base that could bend seamlessly and not split as soon as it is rolled. I then also trial many flavour pairings where I went through Early Grey & Blueberry, Chestnut & Chocolate and a citrus blend to name a few…all were ok but nowhere near my expectations. It was the pairings combo of white chocolate, the multiple layers of almond flavour via almond meal & marzipan, lemon zest and lavender that created an end product of complimentary taste profiles.

Making a curd also meant that I could easily roll the roulade, handy as I struggled keeping the cream in place when using traditional filling methods.

Lemon Almond and Lavender Roulade recipe

Ingredients:

  • 5 eggs
  • 150g sugar
  • 1 + ½ tbsn hot water
  • 100g white chocolate
  • 100g self raising flour
  • 1 tsn ground dried lavender
  • 2 tsn lemon zest

Curd:

  • 2 egg yolks
  • 2 eggs
  • 160g marzipan
  • 60ml lemon juice
  • 100g butter
  • 2 tsn ground lavender
  • ½ tsn almond essence

Extra

  • 30g almonds
  • Whipped cream or ice-cream to serve


Method:

  1. Pre-heat oven to 175c degrees and line a 40cm x 20cm cake tin with baking paper.
  2. Separate eggs and whisk egg yolks with the sugar with electric beaters until light and cream.
  3. Add the hot water and beat for 1 minute.
  4. Grate the chocolate into the egg yolk mix.
  5. Add the flour to the egg yolk mix and fold until just combine.
  6. Using electric beaters in a separate bowl whisk the egg whites until peaks form.
  7. Fold 1/3rd of the egg whites into the egg yolk mix until just combine to loosen the mix.
  8. Add the remaining egg whites and fold until just combine.
  9. Pour mix into the tin, even the top of the mix with the back of a spoon and bake for 12 minutes or until the cake springs back when touched.
  10. Invert the hot cooked cake onto a piece of baking paper and cut off all 4 sides of the cakes crusts.
  11. Roll the cake with the paper up into a log shape. The paper should be on top of the cake guiding the rolling. Leave for 5 mins to cool in the rolled shape.
  12. Following unroll the cake and reroll without the paper, leave until the cake is fully cooled.
  13. Place the curd ingredients into a saucepan and beat with a hand whisk on a low heat until the mix is well combine and thickened. Leave side to cool.
  14. To assemble the roulade unroll the cake.
  15. Spread the whole cake with the curd and grate OR finely diced the almonds over the curd (whichever you prefer. I personally like the diced almonds crunch).
  16. Place a sheet of plastic wrap onto your bench and again, on top of the plastic wrap, roll the cake into a log shape following the roll shape you created earlier.
  17. Place the plastic wrap around the outside of the roulade to seal the cake and into the fridge for 3 hours to set.
  18. Remove the plastic wrap and cut the roulade into thick wheel shapes. Serve with a generous serving of whipped cream or vanilla ice-cream on top of the cake with the swirl pattern facing up, enjoy!


NOTE: I melted white chocolate with a little cream to create a white chocolate ganache that I drizzled over the completed cake just prior serving for some extra decoration.

Hazelnut Mocha Bread Cake recipe

Step 3

Lemon Almond and Lavender Roulade recipe

Step 5

Lemon Almond and Lavender Roulade recipe

Step 6

Lemon Almond and Lavender Roulade recipe

Step 10

Lemon Almond and Lavender Roulade recipe

Step 11

Lemon Almond and Lavender Roulade recipe

Step 11

Lemon Almond and Lavender Roulade recipe

Step 13

Lemon Almond and Lavender Roulade recipe
 Step 15


Like this recipe? Subscribe via RSS or email to get my new entries and more scrumptious recipes with reviews.

Email, RSS Follow
Print
Leave a comment .
Tags: Almond, lavender, lemon, Lemon Almond and Lavender Roulade, marzapan, rolly polly, roulade .

Port Black & Blue Berry Pudding

Posted on October 14, 2017 Posted in Pudding .

Port Black & Blue Berry Pudding

Port Black & Blue Berry Pudding recipe

I very rarely bake with blackberry, in fact it tends to be one of the last berries I’d consider. However, Port on the other hand tends to appear in my recipes time and again, particularly to enhance chocolate depth.

Considering my go to Port is red, in which holds a strong raspberry, blackberry and chocolate flavor I thought that leveraging the berry pairing with this sweet dessert wine was a good way of boosting the blackberry palate.

Adding the blueberries to the mix taps into the earthiness of the port and blackberry and compliments.

Lastly, the lemon zest acts as an enhancer to the unique flavors already-present and adds some additional oomph.

All up when I came up with this recipe I thought it could have a potential to be a boring and so-so outcome, however it turned out to be the opposite. A dessert I was going to ‘sample’ with a small spoonful, however in reality I couldn’t put it down and ate the whole pudding in a matter of seconds. A sure sign that the desert is a super success.

Batter:

  • 80g butter
  • 200g blackberry jam
  • 120g milk
  • 1 tsn lemon zest
  • 120g blueberries
  • 140g self-raising flour
  • 80g sugar

Sauce:

  • 80ml water
  • 40ml Port
  • 40g sugar
  • 40g blackberry jam

Extra:

  • 120ml thickened cream


Method:

  1. Pre-heat the oven to 160c degrees and spray 4 x 1 cup ramekins with oil spray.
  2. Place the butter in the microwave in a bowl and heat until the butter is melted.
  3. Add the jam and beat with a hand whisk until combine.
  4. Add the milk and lemon zest and beat until combine.
  5. Sieve the flour and sugar into the mix and beat with the hand whisk until combine.
  6. Add the blueberries and stir until well combined.
  7. Pour the mix evenly into the 4 ramekins.
  8. Place the sauce ingredients into a bowl and heat in the microwave until the mix just starts to boil, beat with a hand whisk until well combined.
  9. Pour the syrup over the back of a spoon over the batter in the ramekins.
  10. Bake in the oven for 25 minutes or until the top if the pudding is set and crisp.
  11. Meanwhile beat the cream with electric beaters until peaks form.
  12. Leave the puddings for 5 minutes before serving with a dollop of the cream and extra berries if you desire.


Port Black & Blue Berry Pudding recipe

Step 5

Port Black & Blue Berry Pudding

Step 7

Port Black & Blue Berry Pudding

Step 9

Port Black & Blue Berry Pudding recipe

Step 10

Port Black & Blue Berry Pudding recipe

Step 11

Port Black & Blue Berry Pudding recipe

Step 12


Like this recipe? Subscribe via RSS or email to get my new entries and more scrumptious recipes with reviews


Email, RSS Follow
Print
Leave a comment .
Tags: berries, Blackberry, Blueberry, lemon, Port, Port Black & Blue Berry Pudding, pudding .

Banana Berry Lemon Ice-Cream Sandwich

Posted on September 2, 2017 Posted in Biscuits .

Banana Berry Lemon Ice-Cream Sandwich

Banana Berry Lemon Ice-Cream Sandwich recipe

In summer one of my favorite ways to cool down at home is by blitzing frozen berries, bananas and yoghurt to make an ‘ice-cream’ that is made of healthy ingredients as well as being delicious.

One day I decided that I wanted to take this fruit and yoghurt ‘ice-cream’ to the next level and turn it into an ice-cream biscuit sandwich.

For a lift in flavor I added in further complimentary ingredients and played around with different taste combinations until I landed on a combo that is absolutely super moreish and delicious.

To turn this ice-cream into a sandwich I relied on my never fail melting moments biscuit recipe that I tweaked to boost the lemon and berry flavor of the ice-cream. The outcome, so addictive!


Ice-cream:

  • 500g bananas (260g peeled)
  • 240g frozen raspberries
  • 100g honey
  • 1 vanilla pod
  • 1 tsn strawberry essence

Biscuits:

  • 180g butter
  • ¼ tsn lemon zest
  • ¼ tsn strawberry essence
  • 60g custard powder
  • 60g icing sugar
  • 160g plain flour
  • 1 tsn baking powder
  • Pinch salt


Method:

  1. Make the ice-cream by placing all the ingredients into a food processor and blitzing on high until the mix is completely smooth.
  2. Line a slice pan (lamington pan for best results) with plastic wrap, allowing for overlap.
  3. Pour the ice-cream mix in the slice pan and place the pan into the freezer to set for at least 4 hours.
  4. Meanwhile, pre-heat the oven to 180c degrees and line 2 large baking trays with baking paper.
  5. Place the butter in a bowl and using electric beaters whisk for 3 minutes or until the butter is light and fluffy.
  6. Add the lemon zest, essence, custard powder and sugar and whisk until well combined.
  7. Add the flour, baking powder and salt to the butter mix and whisk until just combined.
  8. Roll the mix into balls of 30g each and place on the trays (8 balls on each tray).
  9. Place a cookie cutter around the balls on the trays and using the back of a spoon press down to the sides of the cookie cutter.
  10. Remove the cookie cutter and repeat with all 16 balls ensuring 5cm between each biscuit.
  11. Place the trays into the oven for 16 minutes or until lightly golden.
  12. Leave biscuits to cool on the trays for a few minutes then transfer onto a cooling rack until cold.
  13. Once the biscuits are cold place in the freezer for later use.
  14. To assemble, pull up the plastic wrap from the slice pan and place on the bench plastic wrap side down.
  15. Dip the cookie cutter into hot water and cut out an ice-cream circle.
  16. Place a biscuit on the bench, top with the ice-cream circle and finish with a second biscuit on top of the ice-cream circle, place completed ice-cream sandwich onto a plate.
  17. Repeat with the remaining ice-cream and biscuits until 8 ice-cream sandwiches are make.
  18. Place the plate into the freezer and freeze for at least 1 hour.
  19. To serve I topped the sandwiches with melted white chocolate and a small piping of royal icing. A dust of icing sugar will be just an nice.

Note: these sandwiches will melt if left out for a long period of time so take them out of the freezer when your ready for dessert.


Banana Berry Lemon Ice-Cream Sandwich recipe

Step 5

Banana Berry Lemon Ice-Cream Sandwich recipe

Step 8

Banana Berry Lemon Ice-Cream Sandwich recipe

Step 10

Banana Berry Lemon Ice-Cream Sandwich recipe

Step 12

Banana Berry Lemon Ice-Cream Sandwich recipe

Step 15

Banana Berry Lemon Ice-Cream Sandwich recipe

Step 17

Like this recipe? Subscribe via RSS or email to get my new entries and more scrumptious recipes with reviews


Email, RSS Follow
Print
Leave a comment .
Tags: banana, Banana Berry Lemon Ice-Cream Sandwich, custard, ice-cream, ice-cream sandwich, lemon, rasberry, strawberry .

Steamed Rice Ginger Citrus Cantaloupe Pudding

Posted on May 27, 2017 Posted in Pudding .

Steamed Rice Ginger Citrus Cantaloupe Pudding

Steamed Rice Ginger Citrus Cantaloupe Pudding recipe

Ok so this recipe sounds boring and bland but i’ll tell you what, the taste and texture blew my mind.

The texture was so interesting and addictive, unlike any cake that I have had before. So delicate and melt in your mouth with the beautiful cantaloupe flavour. For a while I have been trying to product a cake that heroes cantaloupe and not until now have I make up a recipe where the cantaloupe flavour was not over powered and really sung.

Honey, citrus, ginger and cantaloupe = a delicious flavour combo.


Ingredients:

Cake:

  • 145g sugar
  • 160g rice flour
  • 1 tsn vanilla essence
  • 240g cantaloupe flesh, diced
  • 60g honey
  • ½ tsn ground ginger
  • 1/8 salt
  • 1 tsn lemon and lime zest

Syrup:

  • 120g cantaloupe flesh, diced
  • 20ml honey
  • ½ tsn lime and lemon zest
  • 1/8 tsn ground ginger
  • 30ml water
  • 50g palm sugar


Method:

  1. Spray 4 x 200ml cake moulds with oil spray.
  2. Pre-heat the oven to 170c degrees and place water into a roasting pan until it reaches 1/3 up the side of the pan (waterbath technique).
  3. Place the sugar, rice flour, vanilla, cantaloupe, honey, ginger, salt and citrus zest in a food processor and blitz until smooth and well combine.
  4. Pour the cake batter into the 4 ramekin moulds, 150ml in each.
  5. Place all the ramekin moulds into the baking dish, ensuring no water gets into the moulds and the water is just over half way up the side of the tray.
  6. Bake in the oven for 30 minutes or until a skewer inserted in the middle just comes out clean. Do not over cook, the top should only just be set.
  7. Meanwhile to make the syrup, place all the syrup ingredients into a food processor and blitz until smooth and well combine.
  8. Pour the syrup into a saucepan and stir on a high heat, allowing the mix to boil for 1 minute.
  9. Pass the syrup through a sieve and leave aside to cool.
  10. Leave the ramekins moulds on a cooling tray for 10 minutes before inverting onto a plate.
  11. Place some additional pieces of cantaloupe over each pudding and pour the cooled syrup over the top, enjoy!


Steamed Rice Ginger Citrus Cantaloupe Pudding recipe

Step 3

Steamed Rice Ginger Citrus Cantaloupe Pudding recipe

Step 4

Steamed Rice Ginger Citrus Cantaloupe Pudding recipe

Step 8

Steamed Rice Ginger Citrus Cantaloupe Pudding recipe

Step 10

Steamed Rice Ginger Citrus Cantaloupe Pudding recipe

Step 11


Like this recipe? Subscribe via RSS or email to get my new entries and more scrumptious recipes with reviews.

Email, RSS Follow
Print
Leave a comment .
Tags: cantaloupe, ginger, honey, lemon, lime, pudding, Rice, Steamed Rice Ginger Citrus Cantaloupe Pudding .

Chamomile Floral Spice Cake

Posted on March 18, 2017 Posted in Cakes .

Chamomile Floral Cake recipe

Tea is a common flavor enhancer I use in my baking, Jasmine, Early Grey, Melbourne Breakfast and Green have been featured in my past recipes to name a few.

However, chamomile has only been in 1 of my recipes and not as a feature ingredient (check out my amazing Hazelnut Cake with Spiced Syrup recipe) so when I came up with the idea of doing a floral cake this was the perfect opportunity to use the lovely flower as they hero ingredient.

By combining rose, orange blossom, chamomile and lavender I created a beautifully fragrance-kissed cake that by no means taste like soap! The inclusion of spices compliments the chamomile and offsets the floral sweetness.


Ingredients:

Cake:

  • 450g honey
  • 2 tsn grated orange zest
  • 1 tsn grated lemon zest
  • 3 chamomile tea bags
  • 450g self-raising flour
  • ½ tsn salt
  • 2 tsn ground cinnamon
  • ½ tsn ground mixed spice
  • ½ tsn ground nutmeg
  • ½ tsn ground ginger
  • 160g brown sugar
  • 180ml cooking oil
  • 1 tsn rosewater essence
  • 1 + 1/2 tsn orange blossom water
  • 4 eggs

Syrup:

  • 25g butter
  • 40g sugar
  • 100ml water

Icing:

  • 500g cream cheese
  • 140g icing sugar
  • 1 tsn grated lemon zest
  • Pinch ground lavender (optional)

Extra:

  • Chamomile dried flowers


Method:

  1. Place the honey and zest into a saucepan and stir on a high heat until boiling.
  2. Add the tea bags to the honey mix and stir.
  3. Leave the mix aside for 30 minutes, stirring each few minutes. Remove the tea bags.
  4. Pre-heat the oven to 180c degrees and line 2 x 25cm cake tins with baking paper.
  5. Sift the flour, spices and sugar into a bowl and stir to combine.
  6. Add the oil to the honey mix and stir.
  7. Pour the honey mix into the flour mix and using a hand whisk beat until well combined.
  8. Add the eggs, essence and blossom water and beat with the hand whisk until well combined.
  9. Pour the mix evenly between both cake tins and bake for 40 minutes or until a skewer inserted in the center comes out clean.
  10. Invert the cakes onto a cooling rack until cooled.
  11. Place the icing ingredients into a bowl and using electric beaters whisk for 5 minutes or until fluffy and light.
  12. Cut the cooled cakes in half.
  13. Meanwhile to make the syrup place the butter, water and sugar into a pan and heat on high stirring continuously until the mix is bubbling and slightly thickens.
  14. Take the syrup off the heat and allow to cool slightly.
  15. Using a pastry brush brush the top of 3 cakes on cut side with the syrup leaving the best non cut side layer aside.
  16. Place one cake on a plate and top with ¼ of the icing, repeat with all layers and top with the remaining ¼ icing,
  17. Dirty ice the cake by going around the sides and removing any extra icing.
  18. Top with edible rose pedals and chamomile flowers.


Chamomile Floral Cake recipe
Step 2
Chamomile Floral Cake recipe
Step 5
Chamomile Floral Cake recipe
Step 7
Chamomile Floral Cake recipe
Step 8
Chamomile Floral Cake recipe

Step 9

Chamomile Floral Cake recipe
Step 11
Chamomile Floral Cake recipe
Step 16
Chamomile Floral Cake recipe
Step 17


Like this recipe? Subscribe via RSS or email to get my new entries and more scrumptious recipes with reviews.

Email, RSS Follow
Print
Leave a comment .
Tags: chamomile, Chamomile Floral Cake, Chamomile Floral Spice Cake, honey, lemon, orange, orange blossom, rosewater, spices .
« Previous Page
Next Page »

Pages

  • About Me
  • Baking Metrics
  • Blogroll
  • Common Baking Questions
  • Recipe Index
  • Tips & Tricks
  • Contact

Archives

  • February 2022
  • October 2021
  • September 2021
  • August 2021
  • April 2021
  • February 2021
  • January 2021
  • December 2020
  • November 2020
  • October 2020
  • September 2020
  • August 2020
  • July 2020
  • June 2020
  • May 2020
  • September 2019
  • June 2019
  • May 2019
  • April 2019
  • March 2019
  • February 2019
  • January 2019
  • December 2018
  • November 2018
  • October 2018
  • September 2018
  • August 2018
  • July 2018
  • June 2018
  • May 2018
  • April 2018
  • March 2018
  • February 2018
  • January 2018
  • December 2017
  • November 2017
  • October 2017
  • September 2017
  • August 2017
  • July 2017
  • June 2017
  • May 2017
  • April 2017
  • March 2017
  • February 2017
  • January 2017
  • December 2016
  • November 2016
  • October 2016
  • September 2016
  • August 2016
  • July 2016
  • June 2016
  • May 2016
  • April 2016
  • March 2016
  • February 2016
  • January 2016
  • December 2015
  • November 2015
  • October 2015
  • September 2015
  • August 2015
  • July 2015
  • June 2015
  • May 2015
  • April 2015
  • March 2015
  • February 2015
  • January 2015
  • December 2014
  • November 2014
  • October 2014
  • September 2014
  • August 2014
  • July 2014
  • June 2014
  • May 2014
  • April 2014
  • March 2014
  • February 2014
  • January 2014
  • December 2013

Categories

  • America (5)
  • Arabic (1)
  • Australian (2)
  • Biscuits (24)
  • Brazil (1)
  • Bread (12)
  • Brownies (5)
  • Cakes (141)
  • Croatian (1)
  • Cupcakes (20)
  • Custard (1)
  • Doughnuts (6)
  • Flan (1)
  • France (5)
  • Fudge (3)
  • German (1)
  • Greece (2)
  • Hungary (1)
  • Ice-cream & Sorbet (15)
  • Ice-cream cake (6)
  • Icing (18)
  • Italy (4)
  • Jam (1)
  • Jamaican (1)
  • Lebanese (1)
  • Marshmallows (2)
  • Mexican (1)
  • Morocco (1)
  • Mousse (2)
  • Muffins (1)
  • Panna Cotta (1)
  • Pastries (2)
  • Pies (7)
  • Portugal (1)
  • Pudding (12)
  • Roulade (1)
  • Russia (1)
  • Slice (27)
  • Souffle (1)
  • Sweden (1)
  • Swedish (1)
  • Syrup (1)
  • Tarts (13)
  • Traditional (17)
  • Trifile (1)
  • Truffles (5)
  • Turkey (1)
  • Uncategorized (1)
  • Unique (10)

WordPress

  • Register
  • Log in
  • WordPress

Subscribe

  • Entries (RSS)
  • Comments (RSS)

CyberChimps WordPress Themes

© Sweet Tooth Experiments