Apple Crumble Pizza

So by now you would notice that I frequently experiment with vegetables in sweet baking, love to make traditional unique world treats and play with textures.
However, lately I have really started to take an interest in turning ‘traditional’ savoury meals into sweet alternatives.
Based on this new found curiosity I decided to experiment with a very well known easy dish that is properly one of the most popular meals around the world….Maybe this wasn’t the smarted thing to play with every households family favourite food, but I think if you try this recipe you will let my off the hook as its that good!
Now this recipe does have quite a few parts (5 in fact), but each part is super easy using pretty much the same ingredients so please don’t be turned off by this, especially since 2 of the parts take between 2-5 minutes to do!
So if you’re a fan of pizza and have a soft spot to a warm winter apple crumble…humm you will LOVE my Apple Crumble Pizza!
Pizza Base:
- 1 cup of warm water
- ½ tsn salt
- 2 tbsn sugar
- 2 tbsn oil
- 3 cups plain flour
- 1 tbsn dry yeast
Cheese Spread:
- 125g cream cheese
- 2 tbsn brown sugar
- 1tbsn lemon juice
- ¼ tsn nutmeg
Apple Topping:
- 65g butter
- 5 Granny Smith apples (4 apples if very large), peeled and thinly sliced
- ¾ cup sugar
- 3 tbsn plain flour
- 2 tsn cinnamon
Crumble Topping:
- ½ cup plain flour
- 2 tsn cinnamon
- ½ cup sugar
- 1/3 cup butter, softened
- ½ cup oats
Method:
1. Preheat oven to 190c and line a 16-inch pizza tray with baking paper.
Pizza Base:
2. Pour flour and yeast into a large bowl, stir.
3. Add the water, salt, sugar and oil into the dry mix.
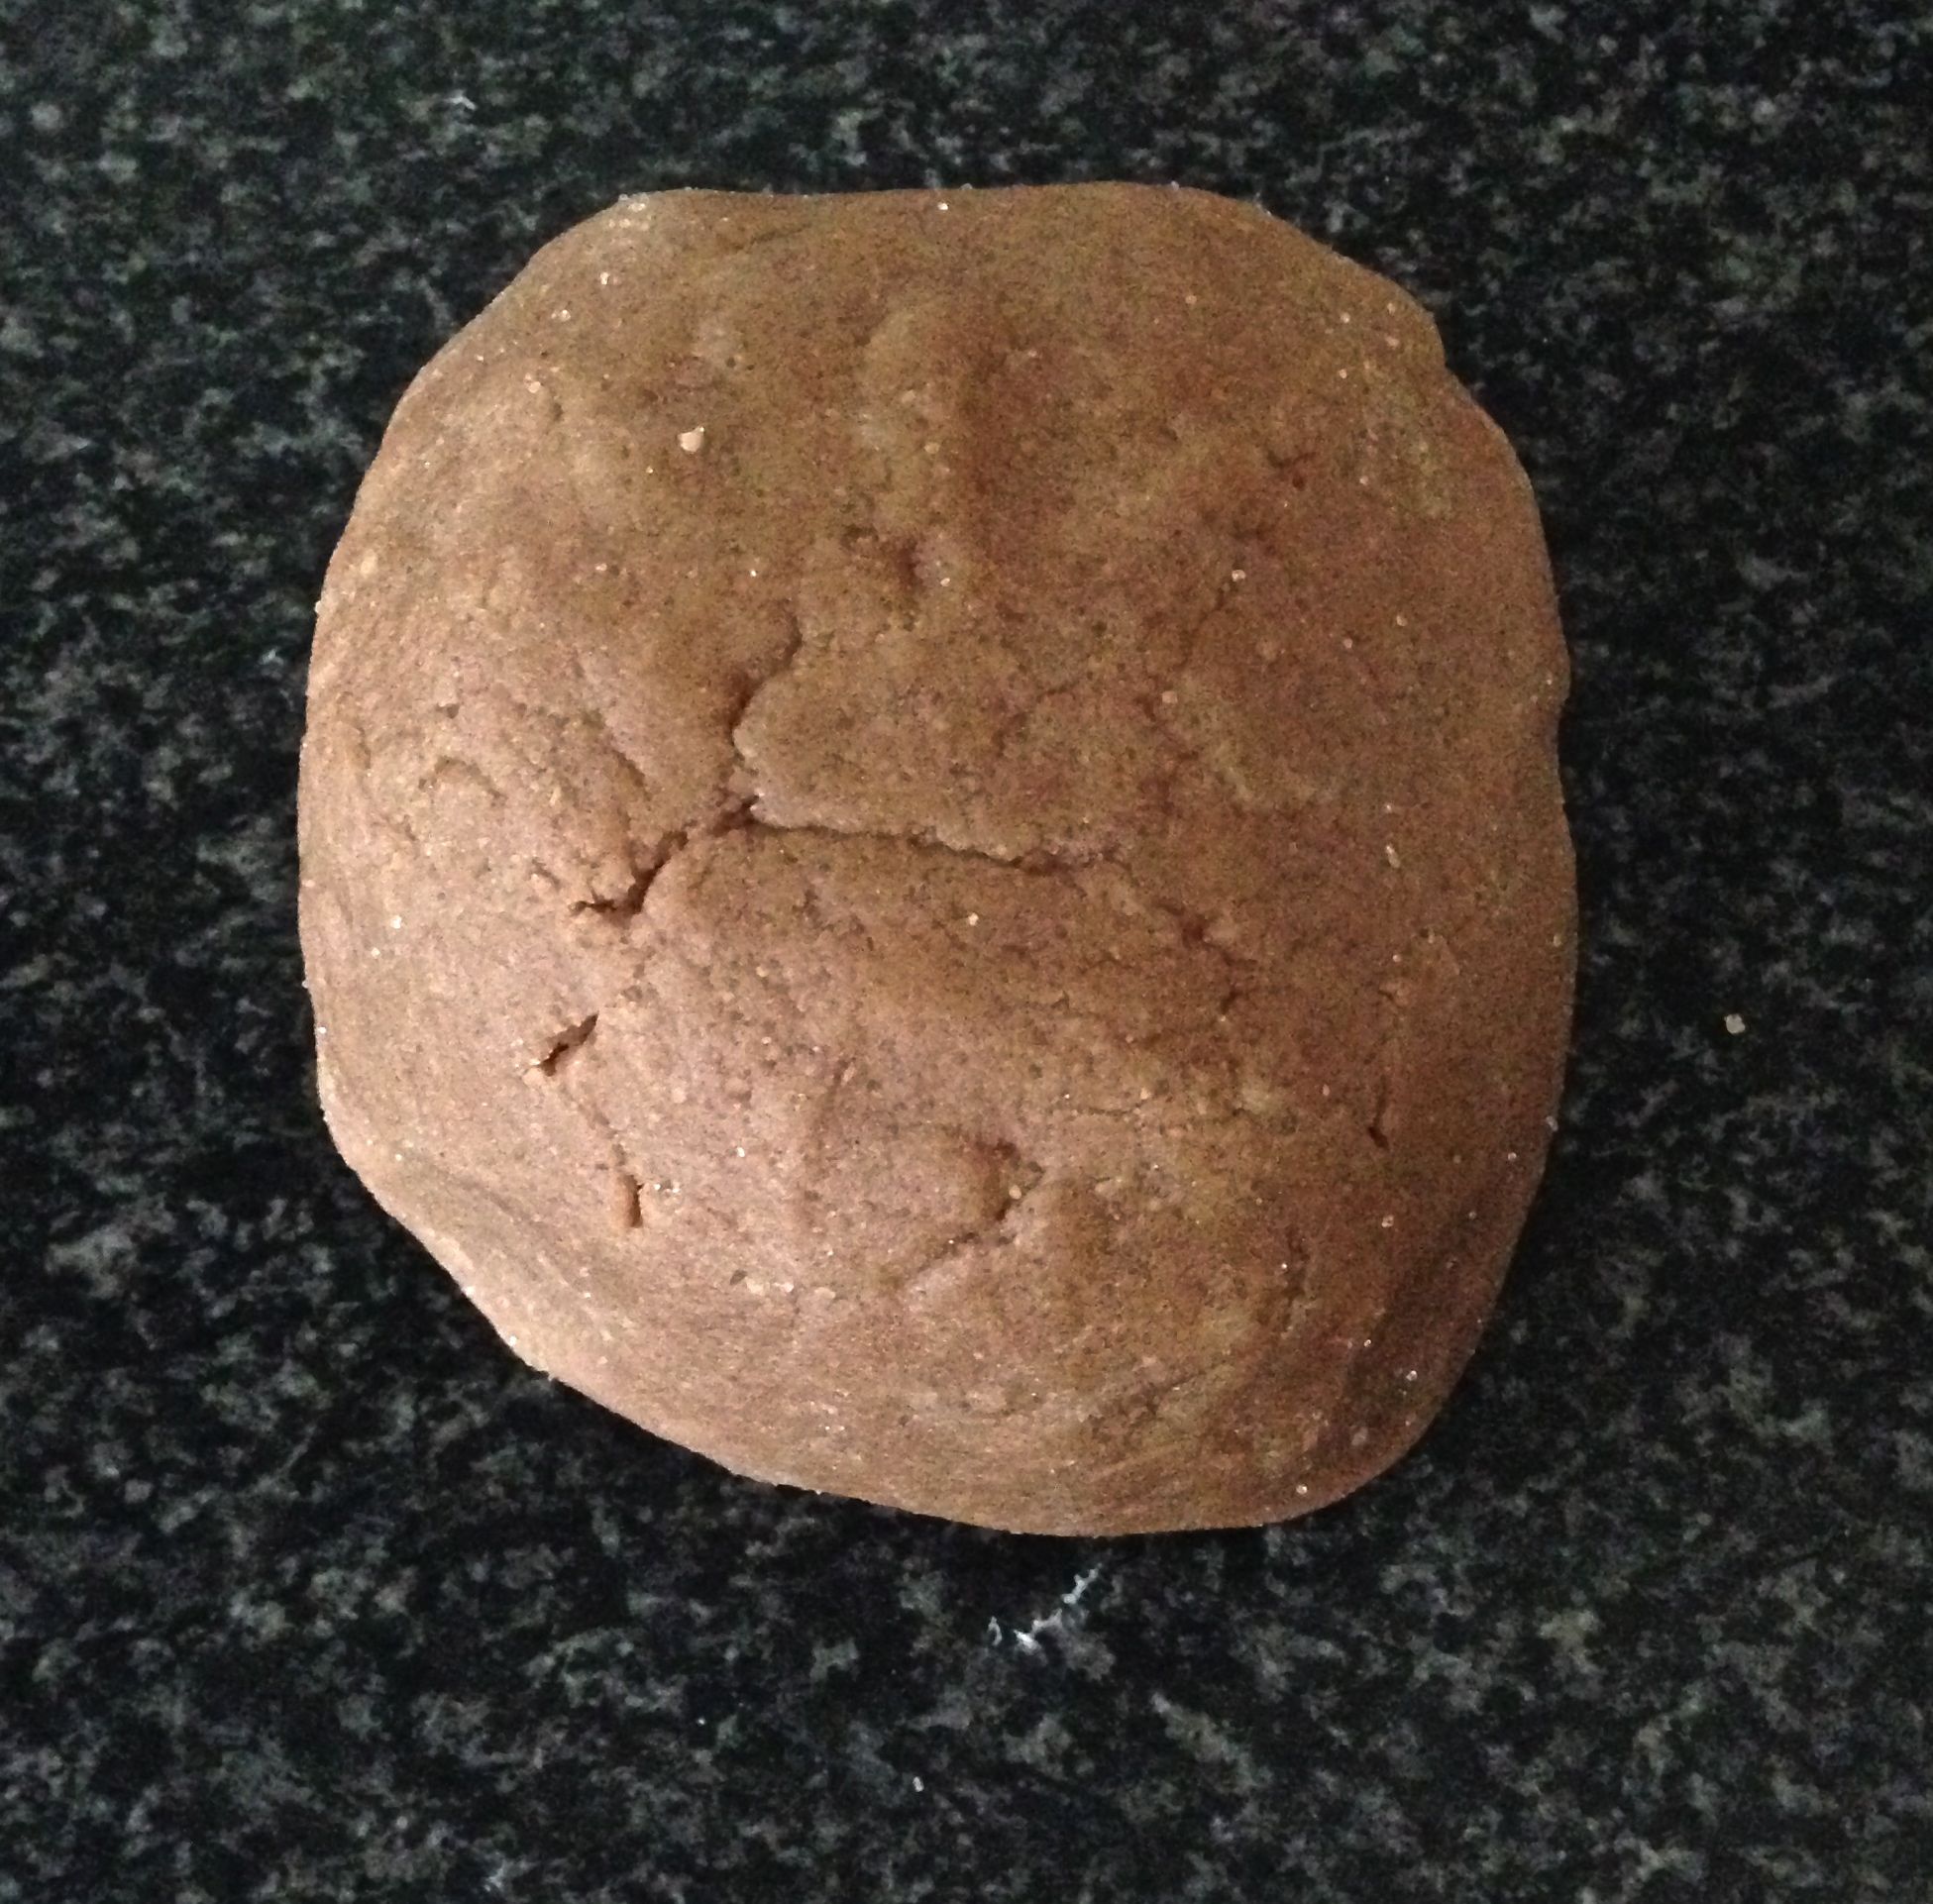
4. Knead into a smooth dough for 5 minutes and cover with a tea towel to rest for at least 15 minutes. In the interium:
Cheese Spread:
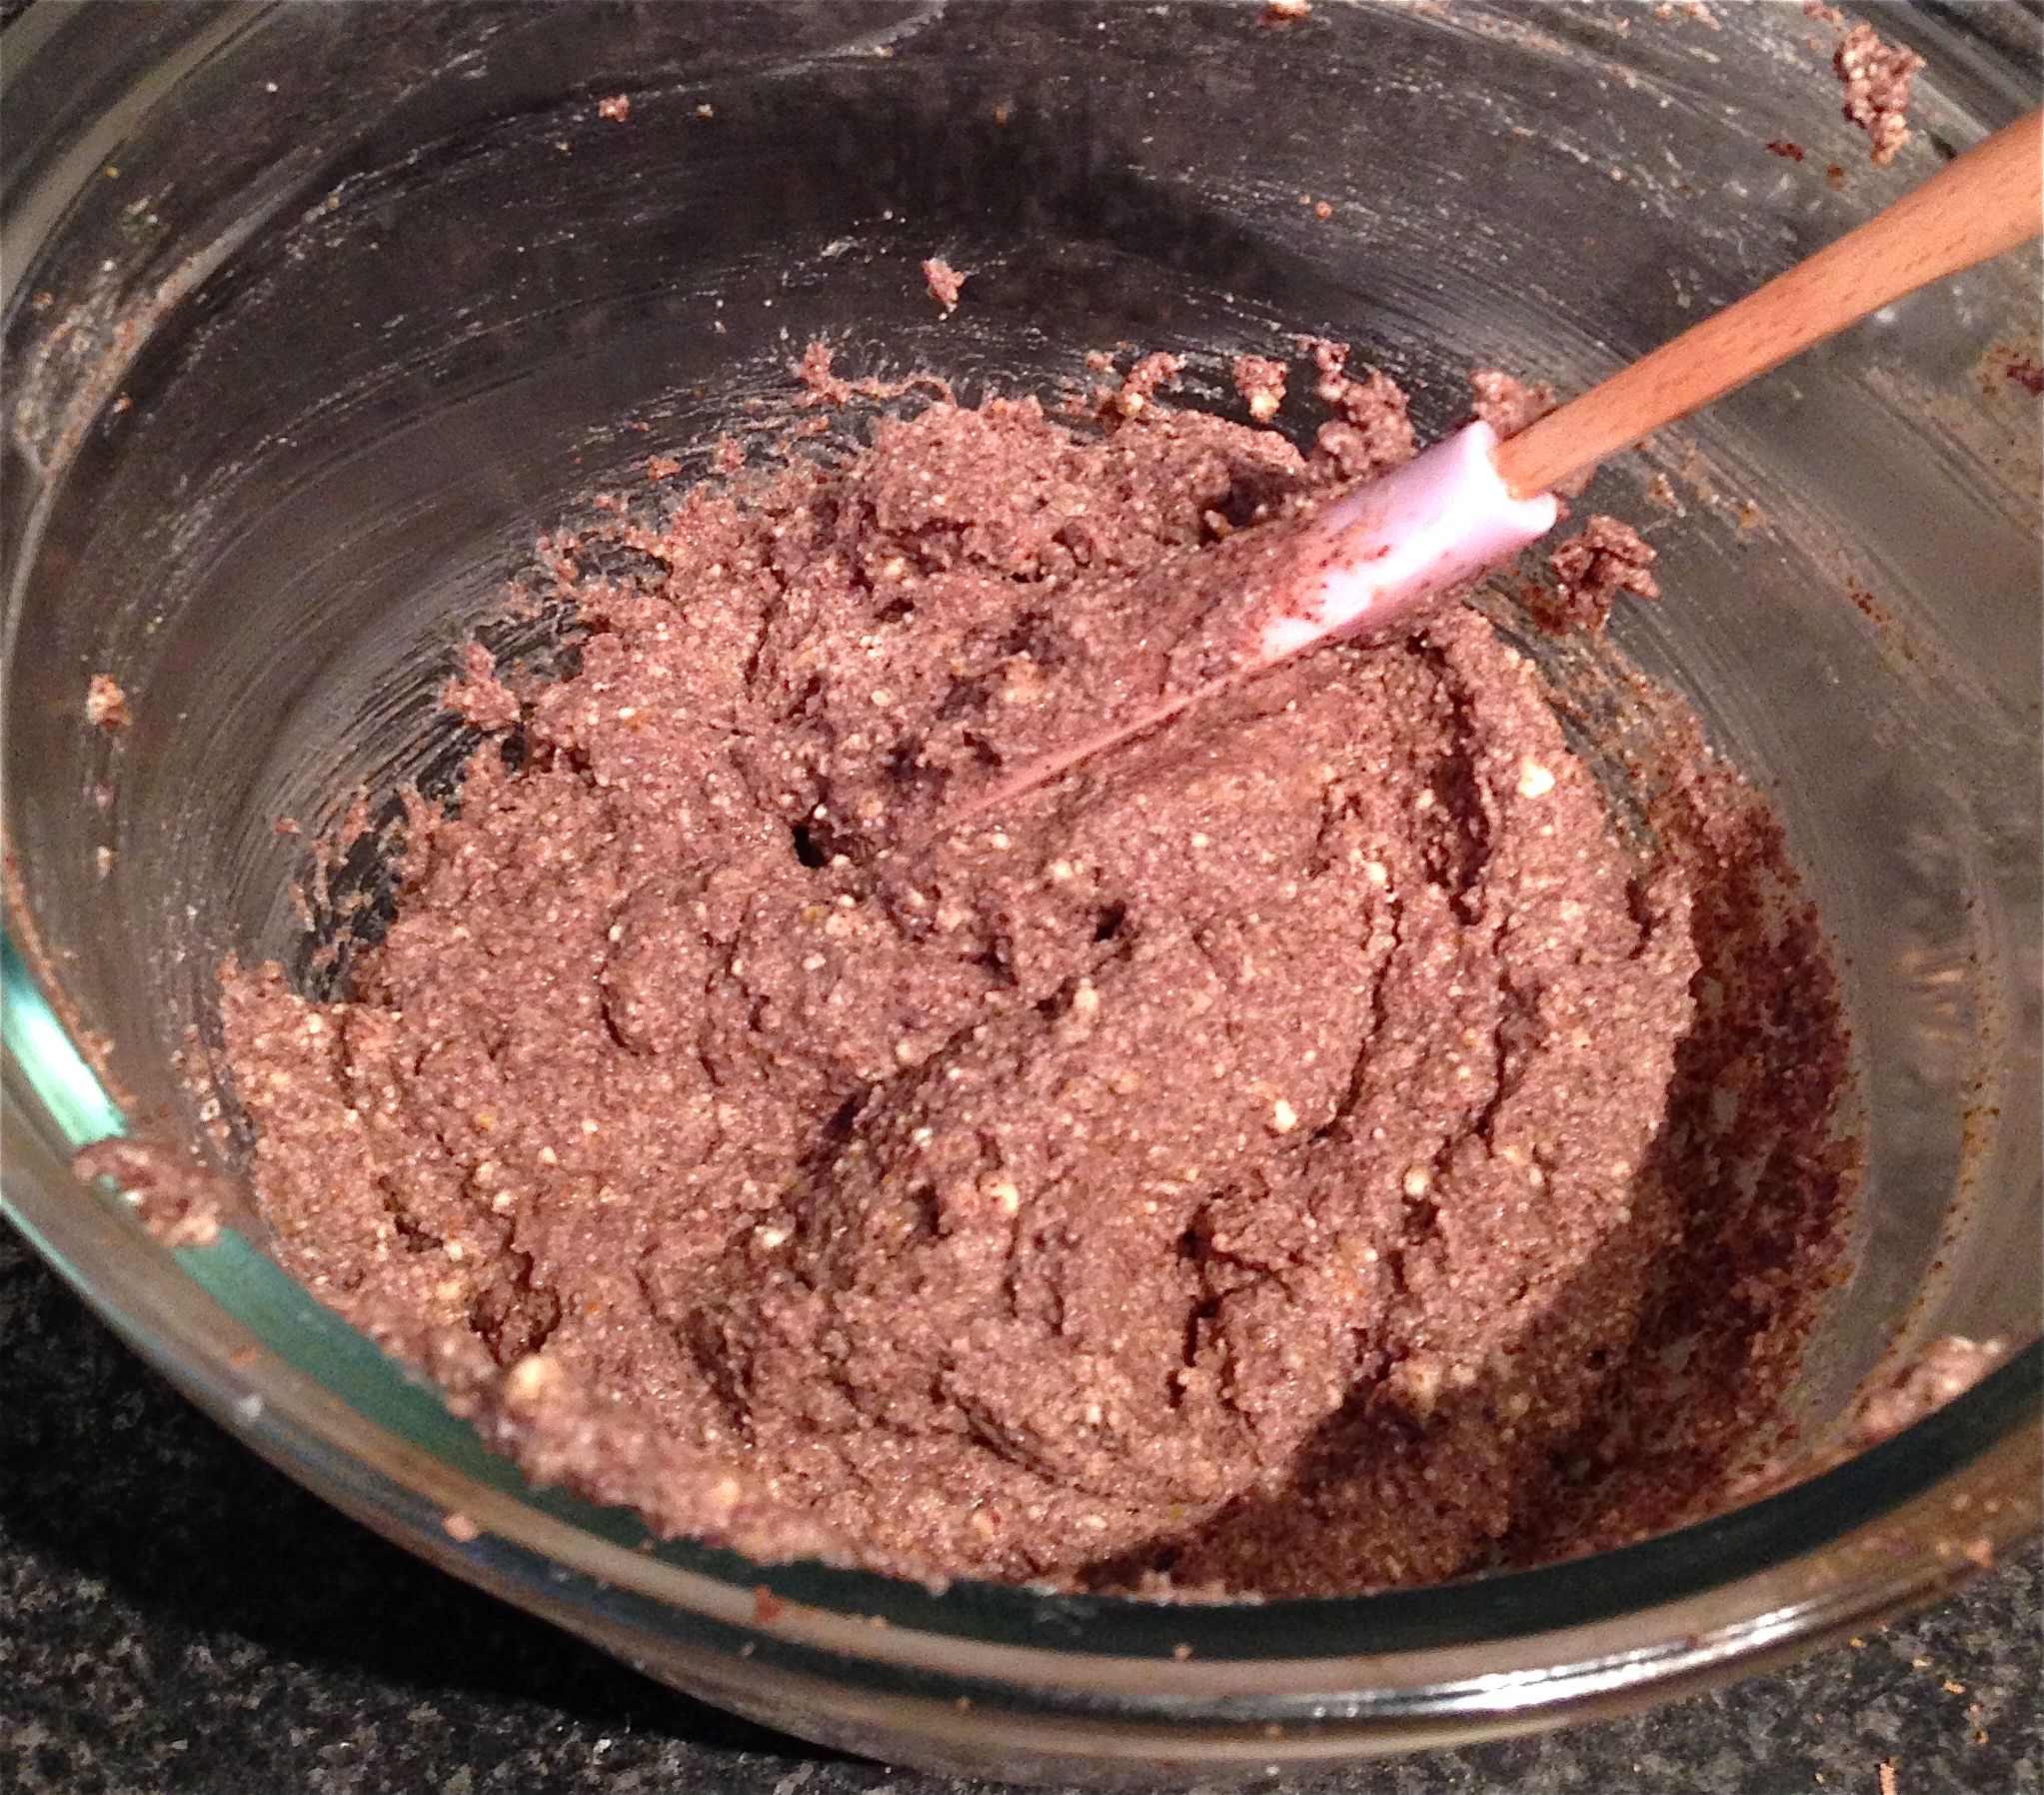
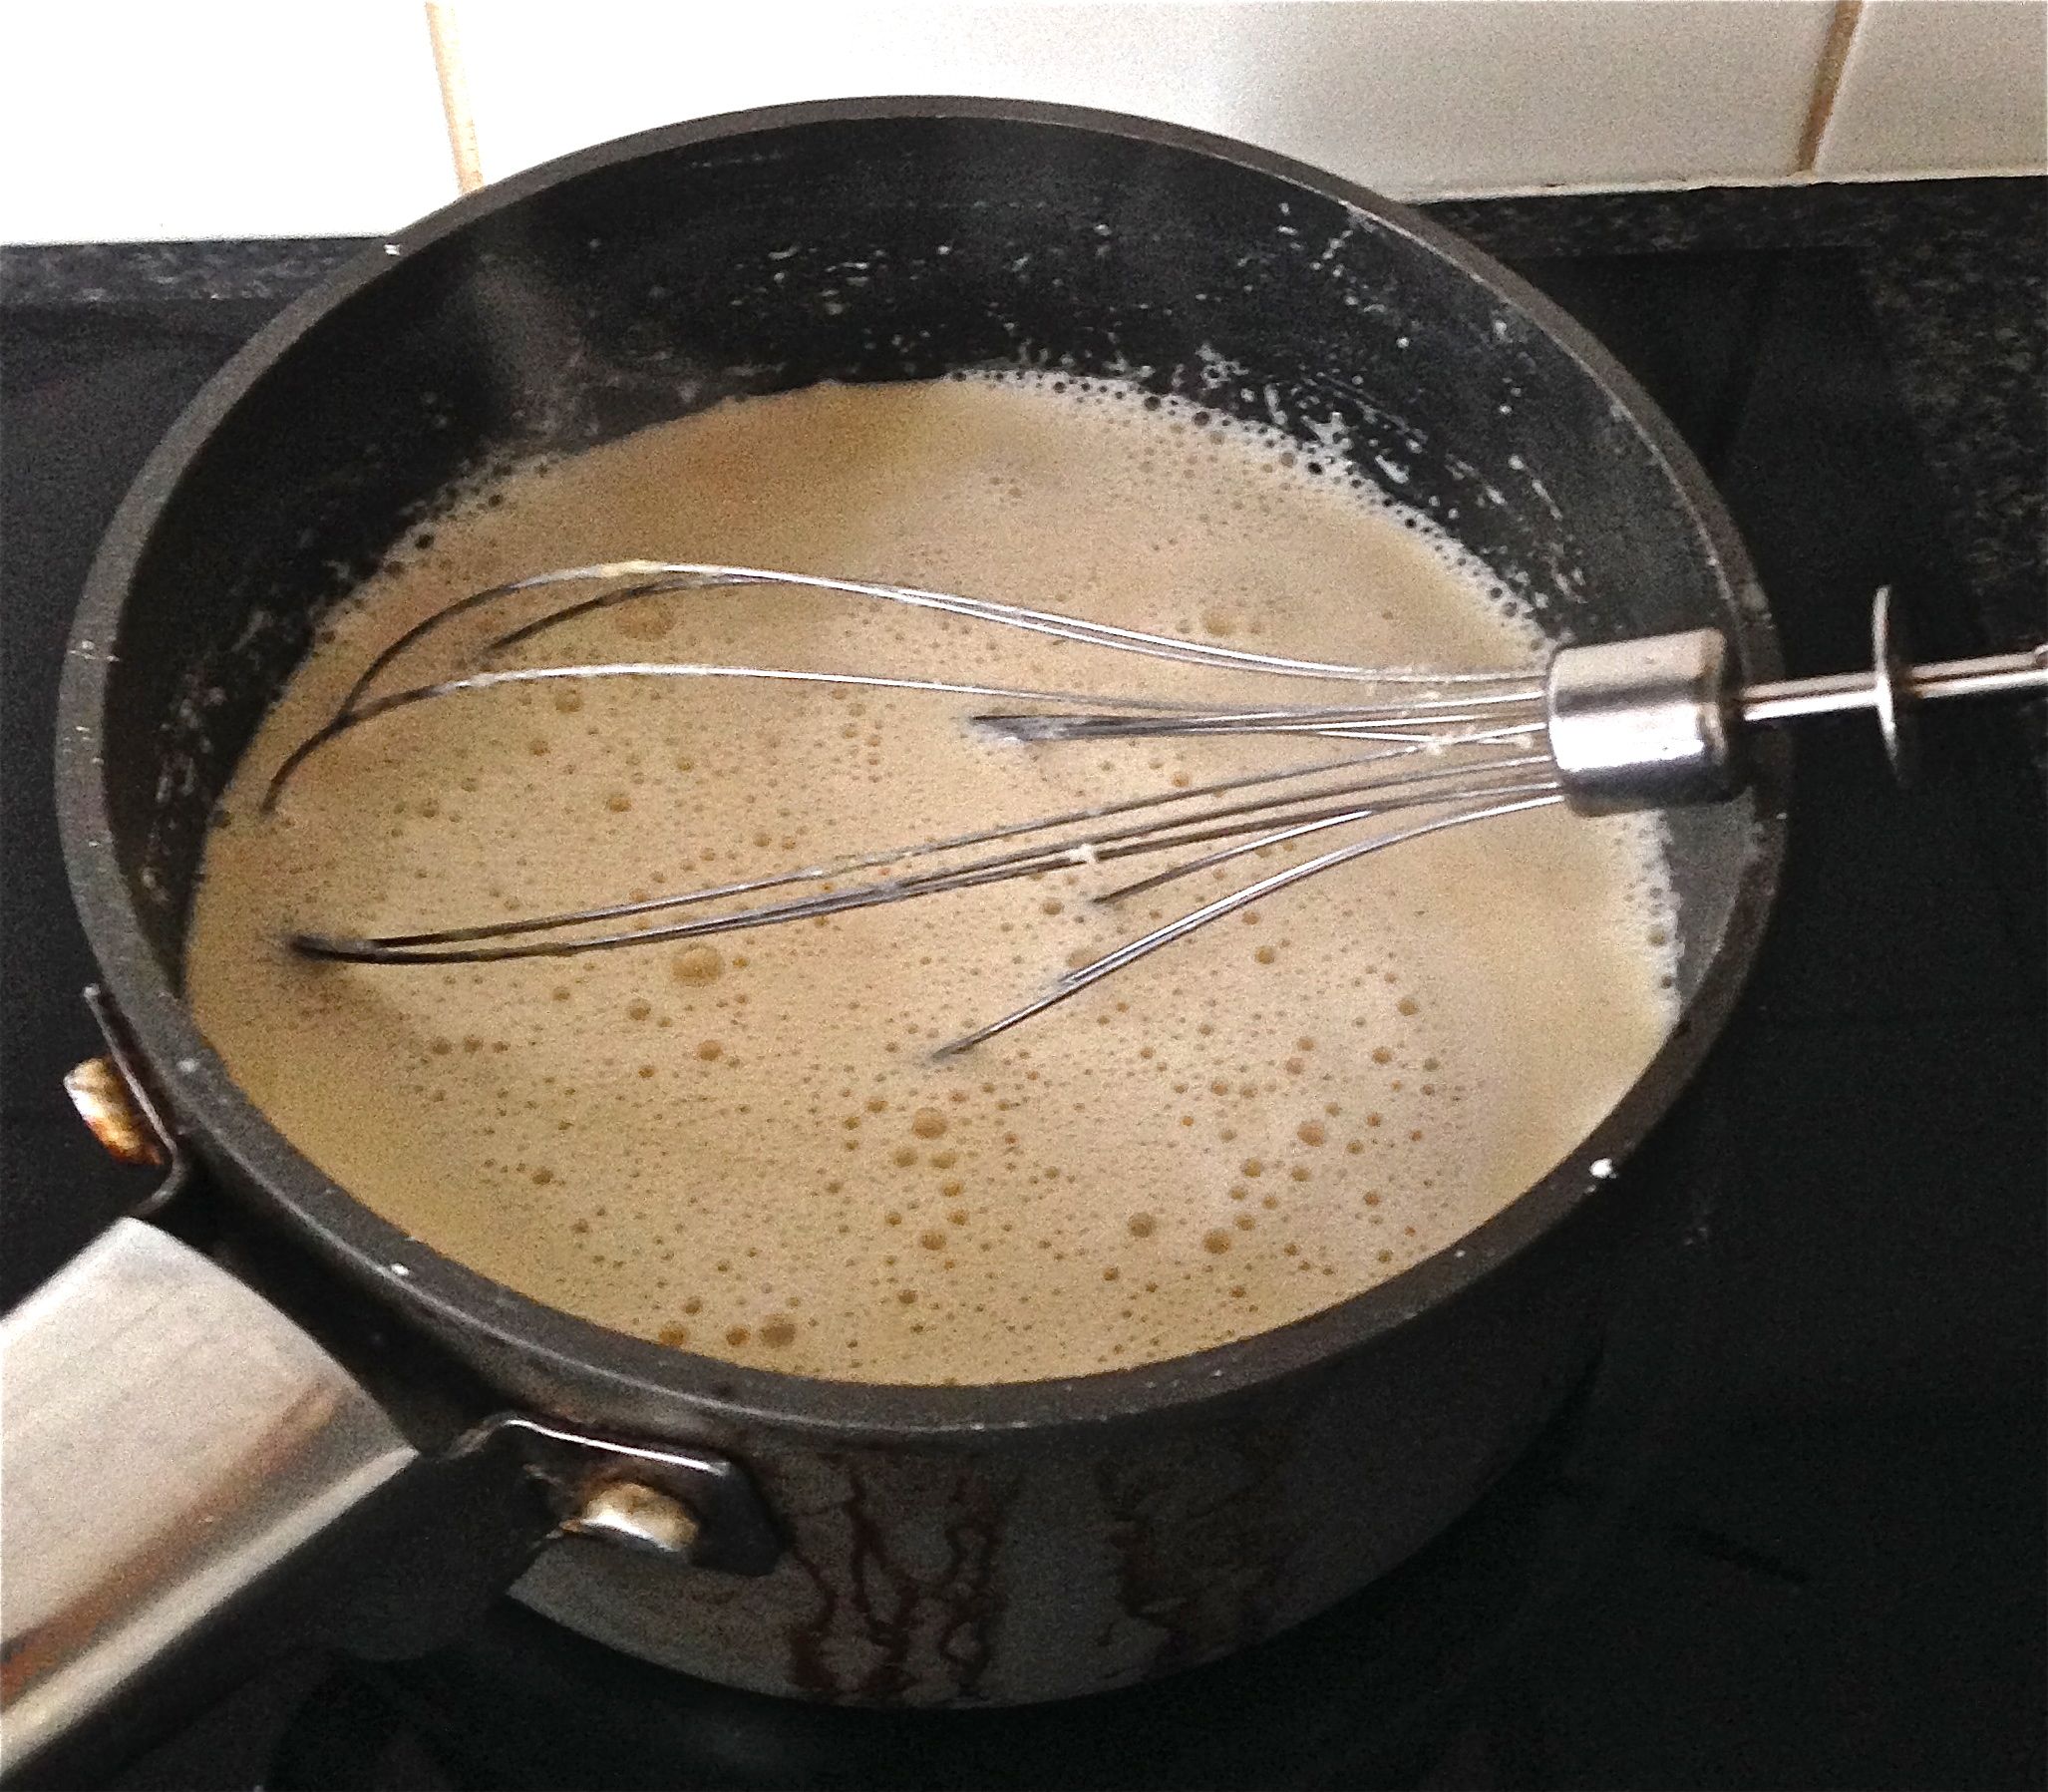
5. Add cheese spread ingredients into a bowl and whisk until well combined.
Apple Topping:
6. Place the flour, sugar and cinnamon into a medium sizes saucepan, stir until sugar is dissolved.
7. Add the butter and apple and turn the hotplates to medium, stirring constantly.
8. Once mix comes to the boil turn to low and continue to mix until the apples are tender.
Crumble Topping:
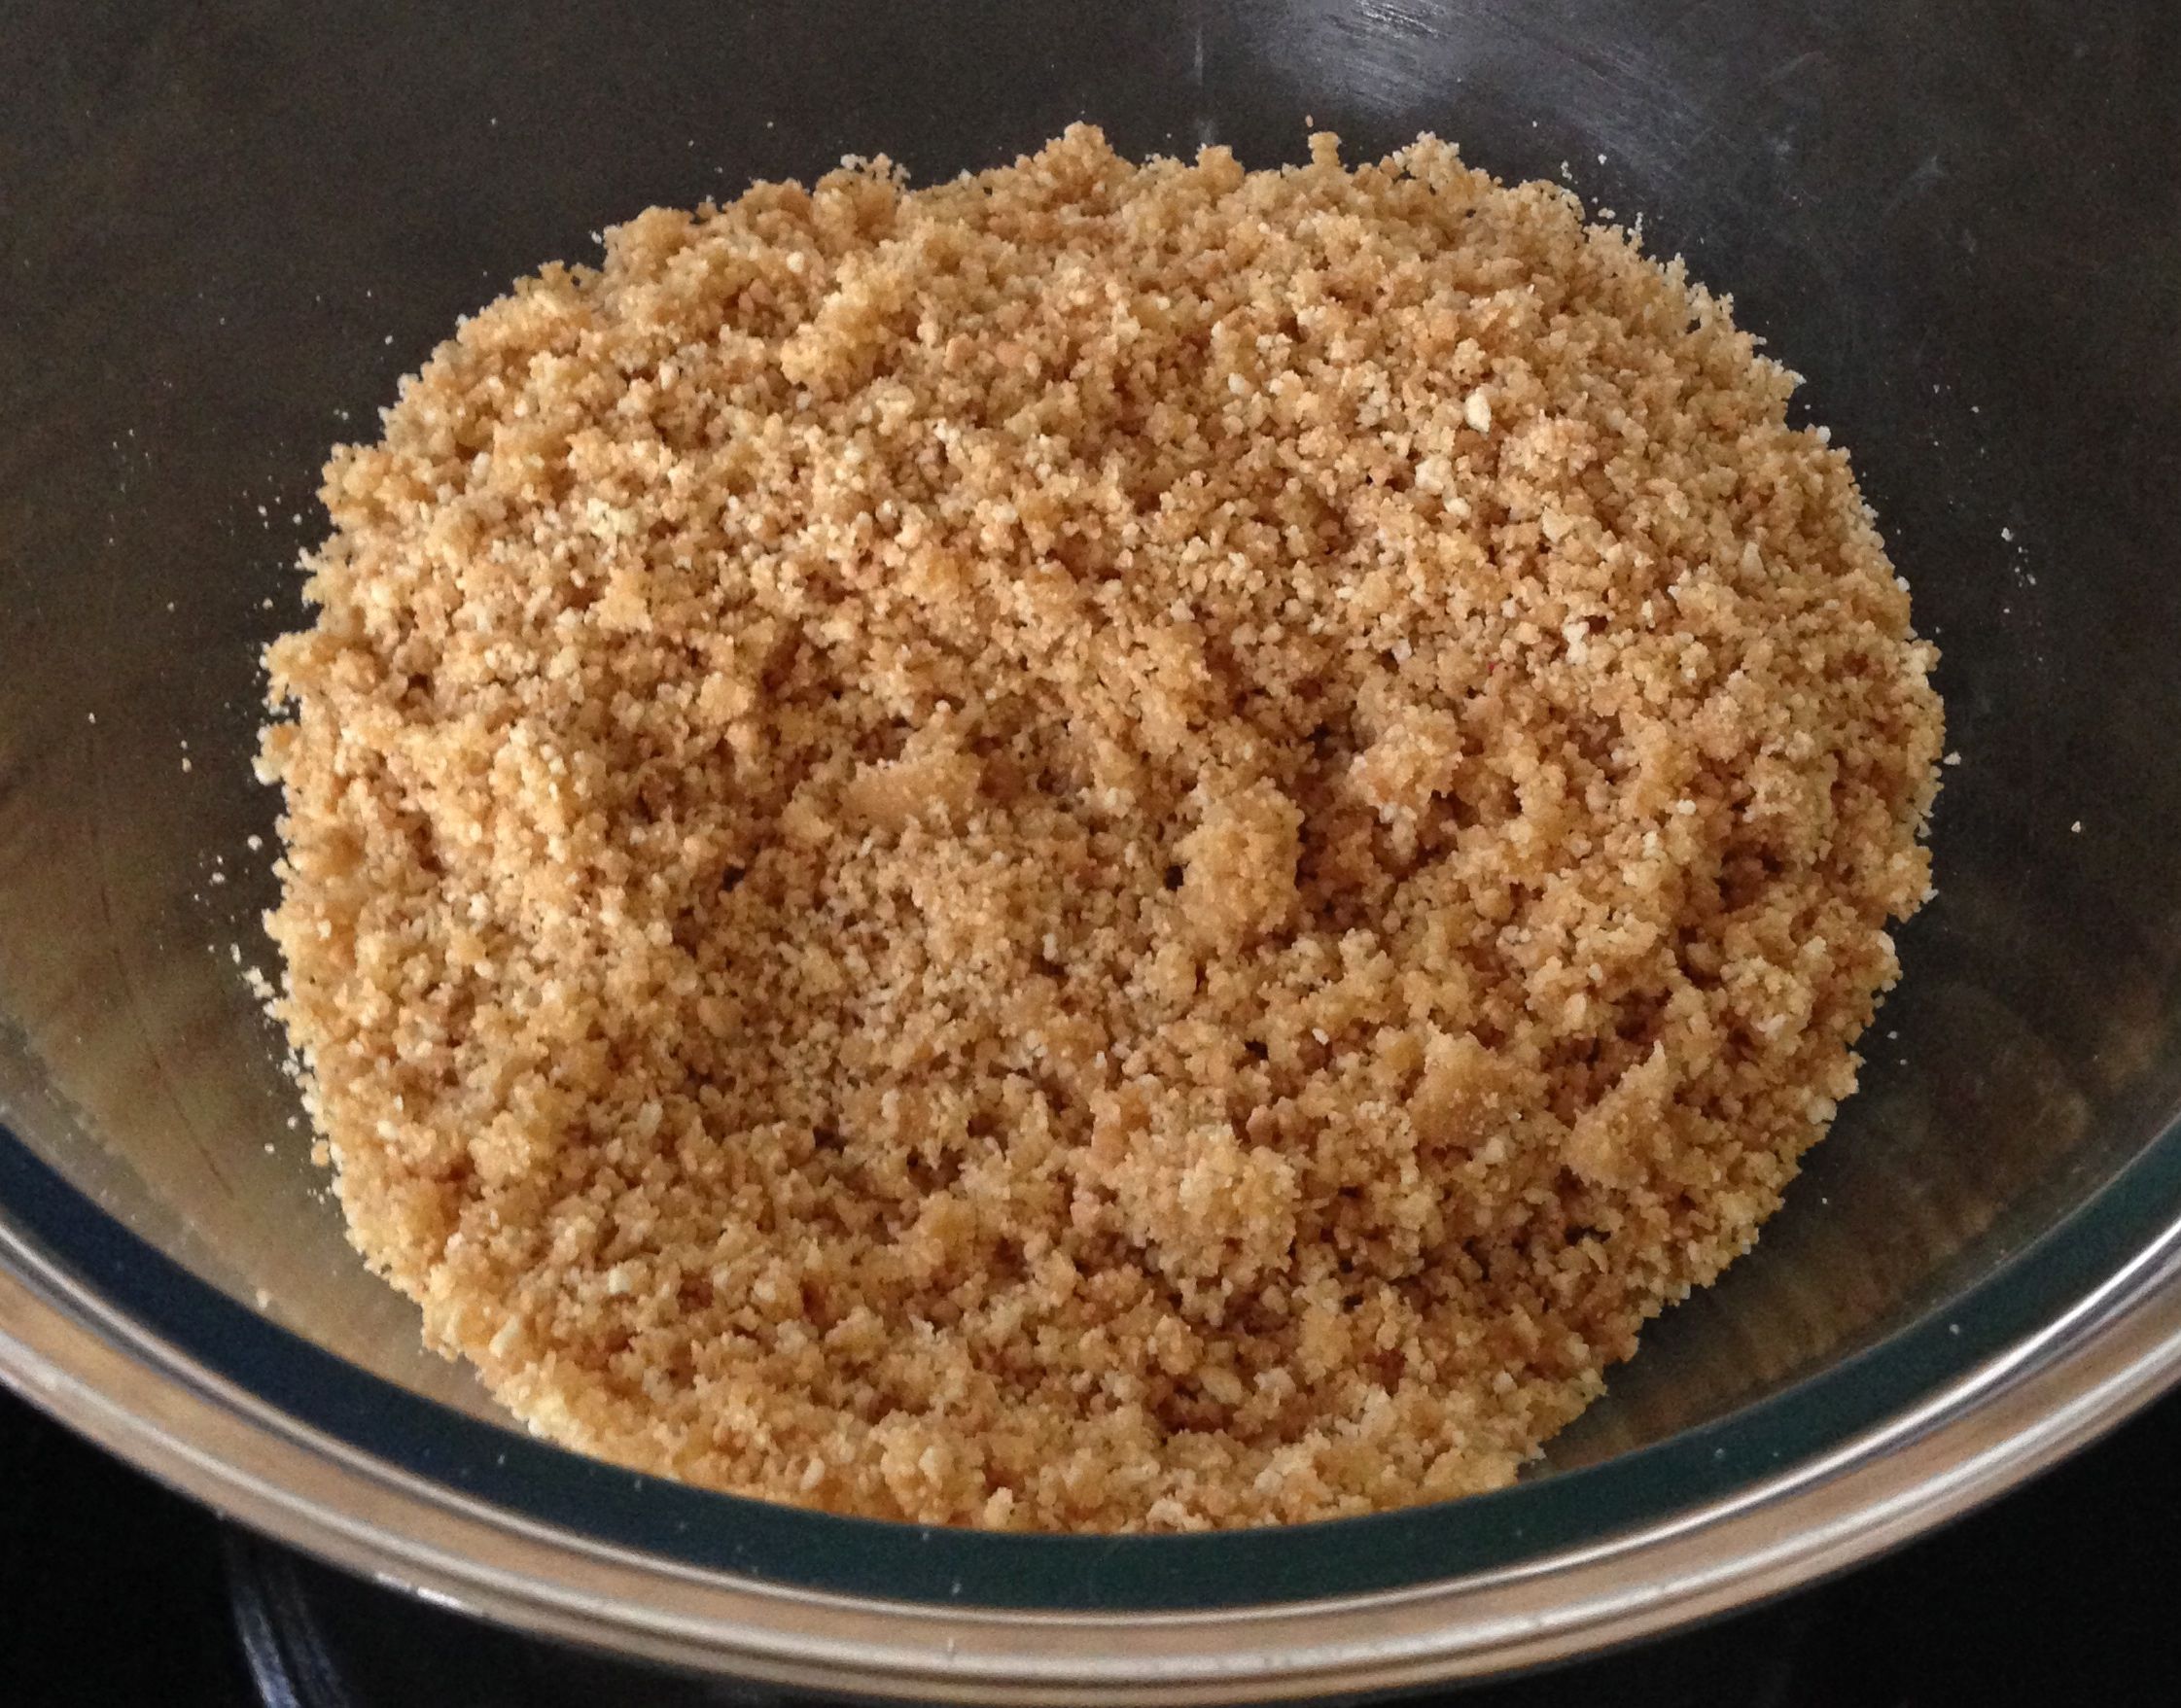
9. Place all ingredients into a bowl and with hands rub to combined.
Assembling:
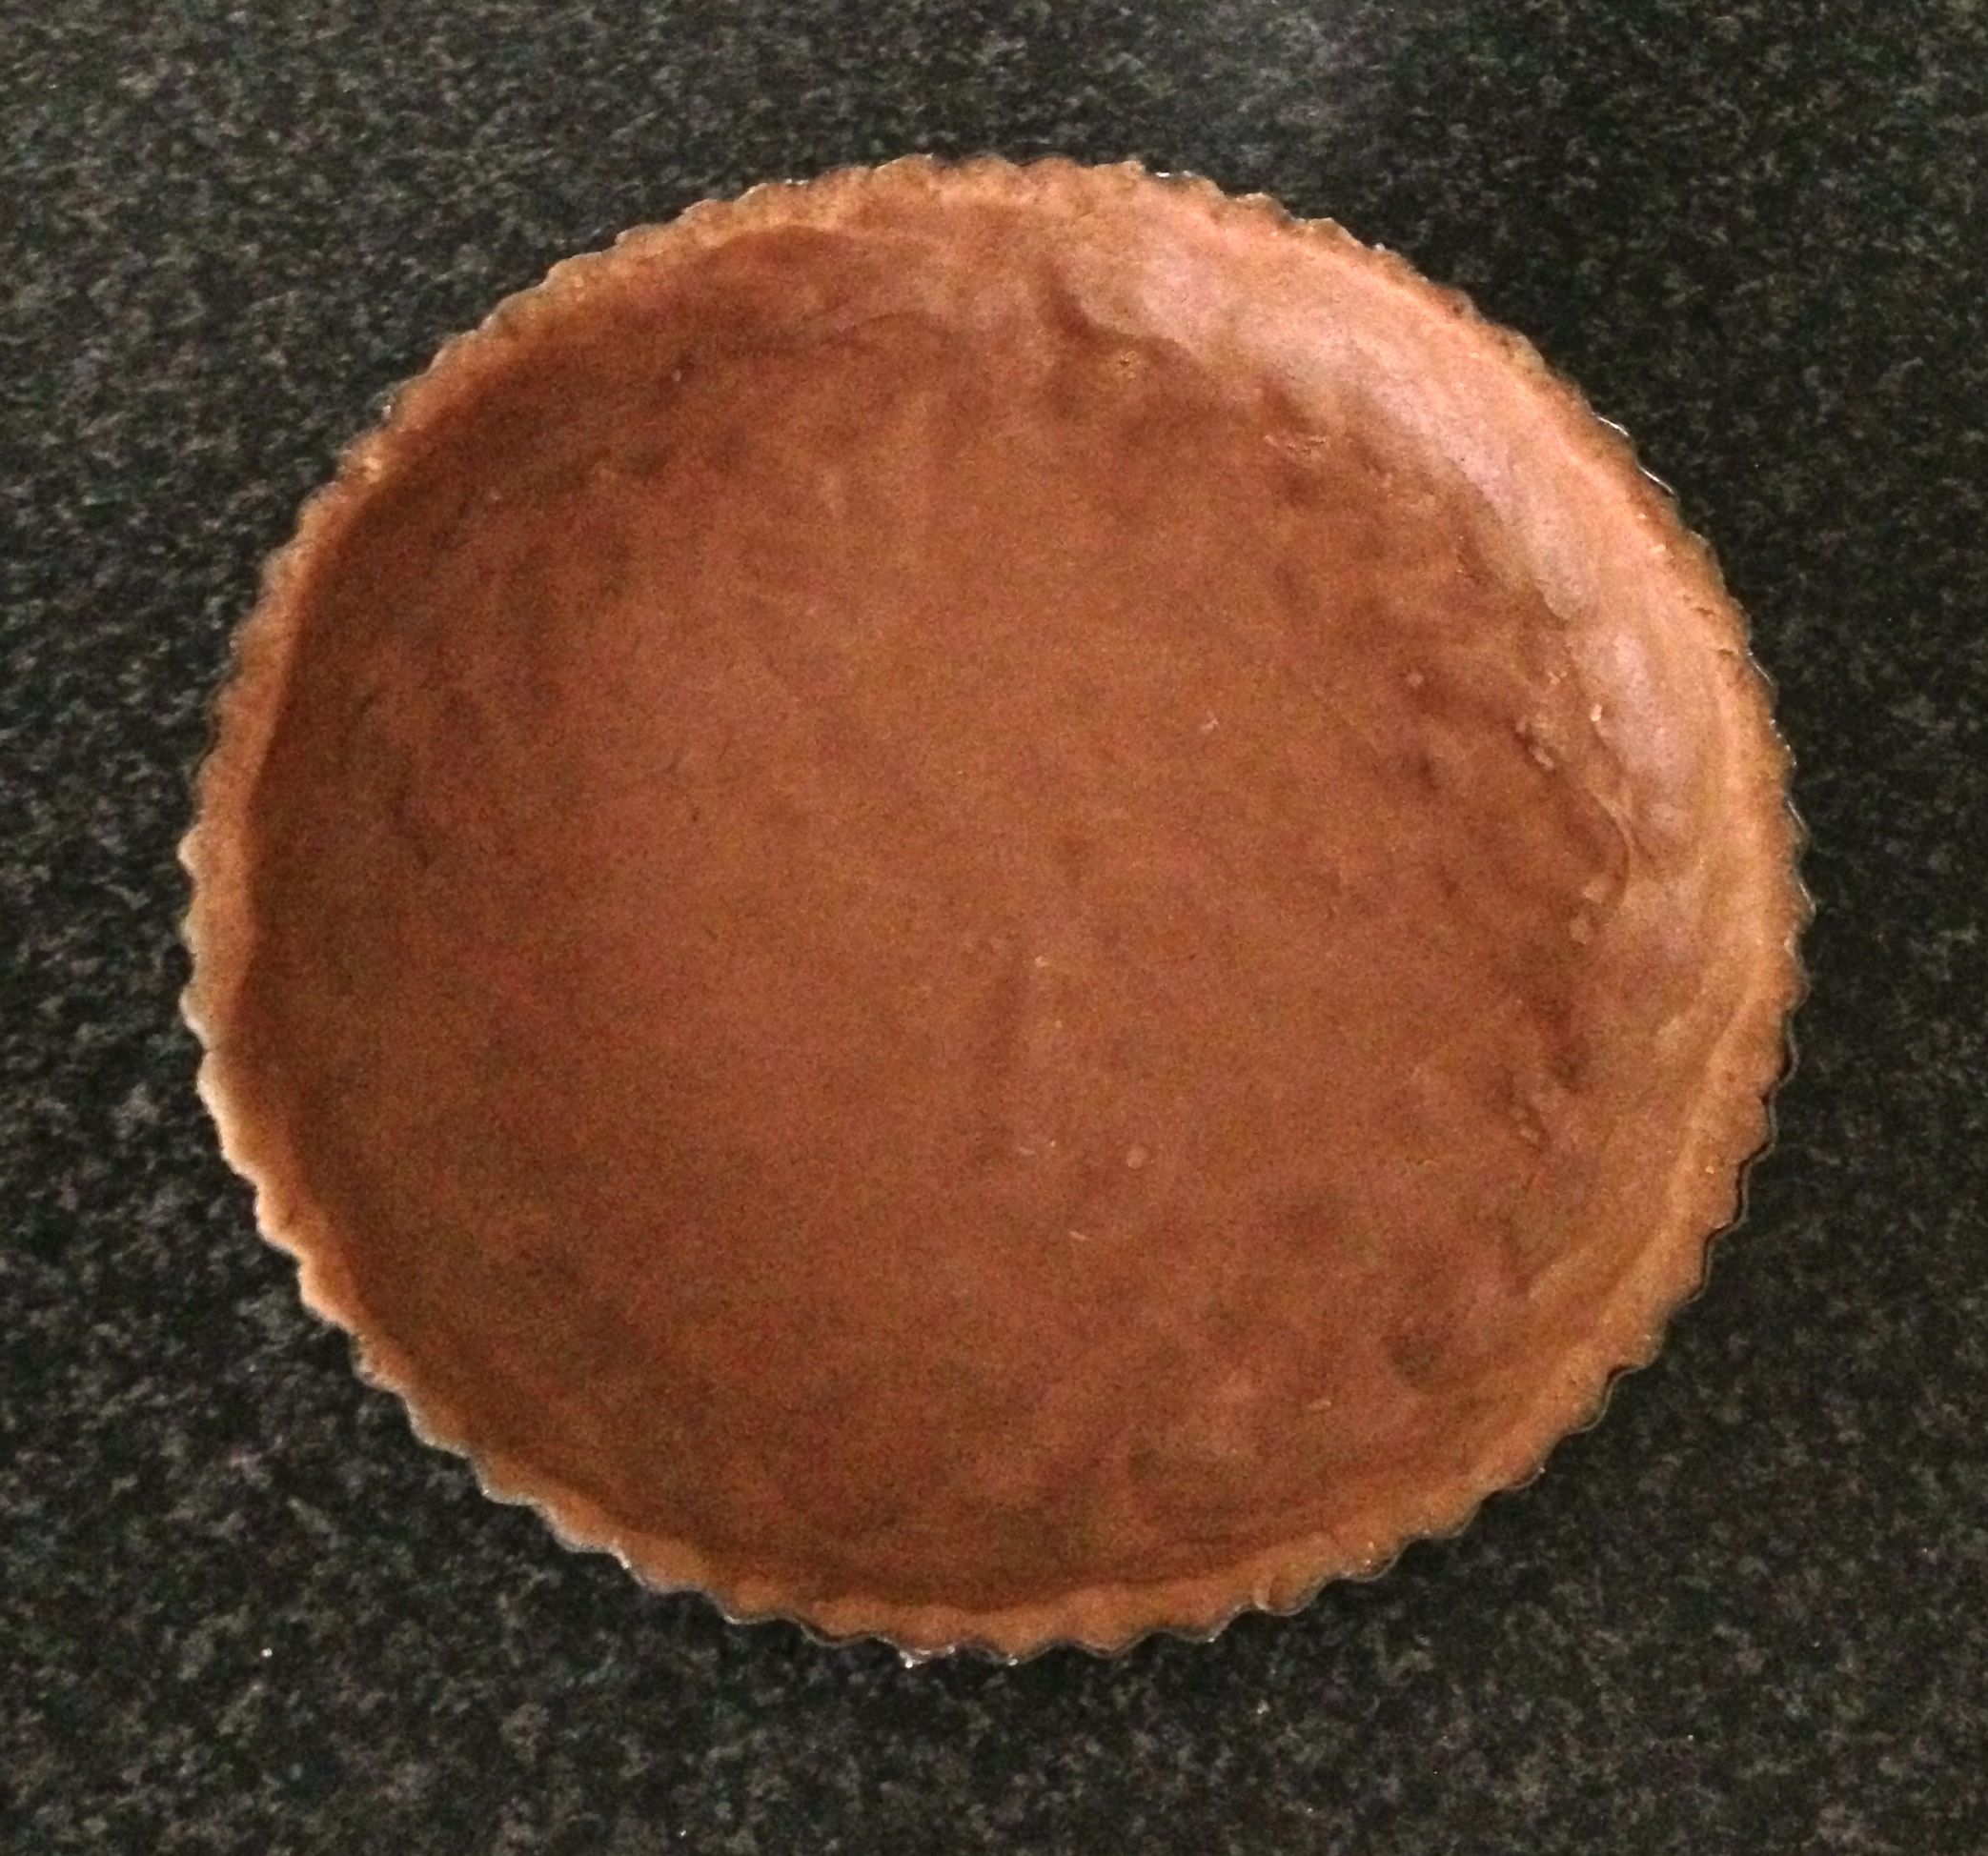
10. Place dough onto the tray, punching down dough to make a large circular base.
11. Spread the cheese spread with the back of a spoon to evenly distribute.
12. Evenly place apple mix onto the spread layer.
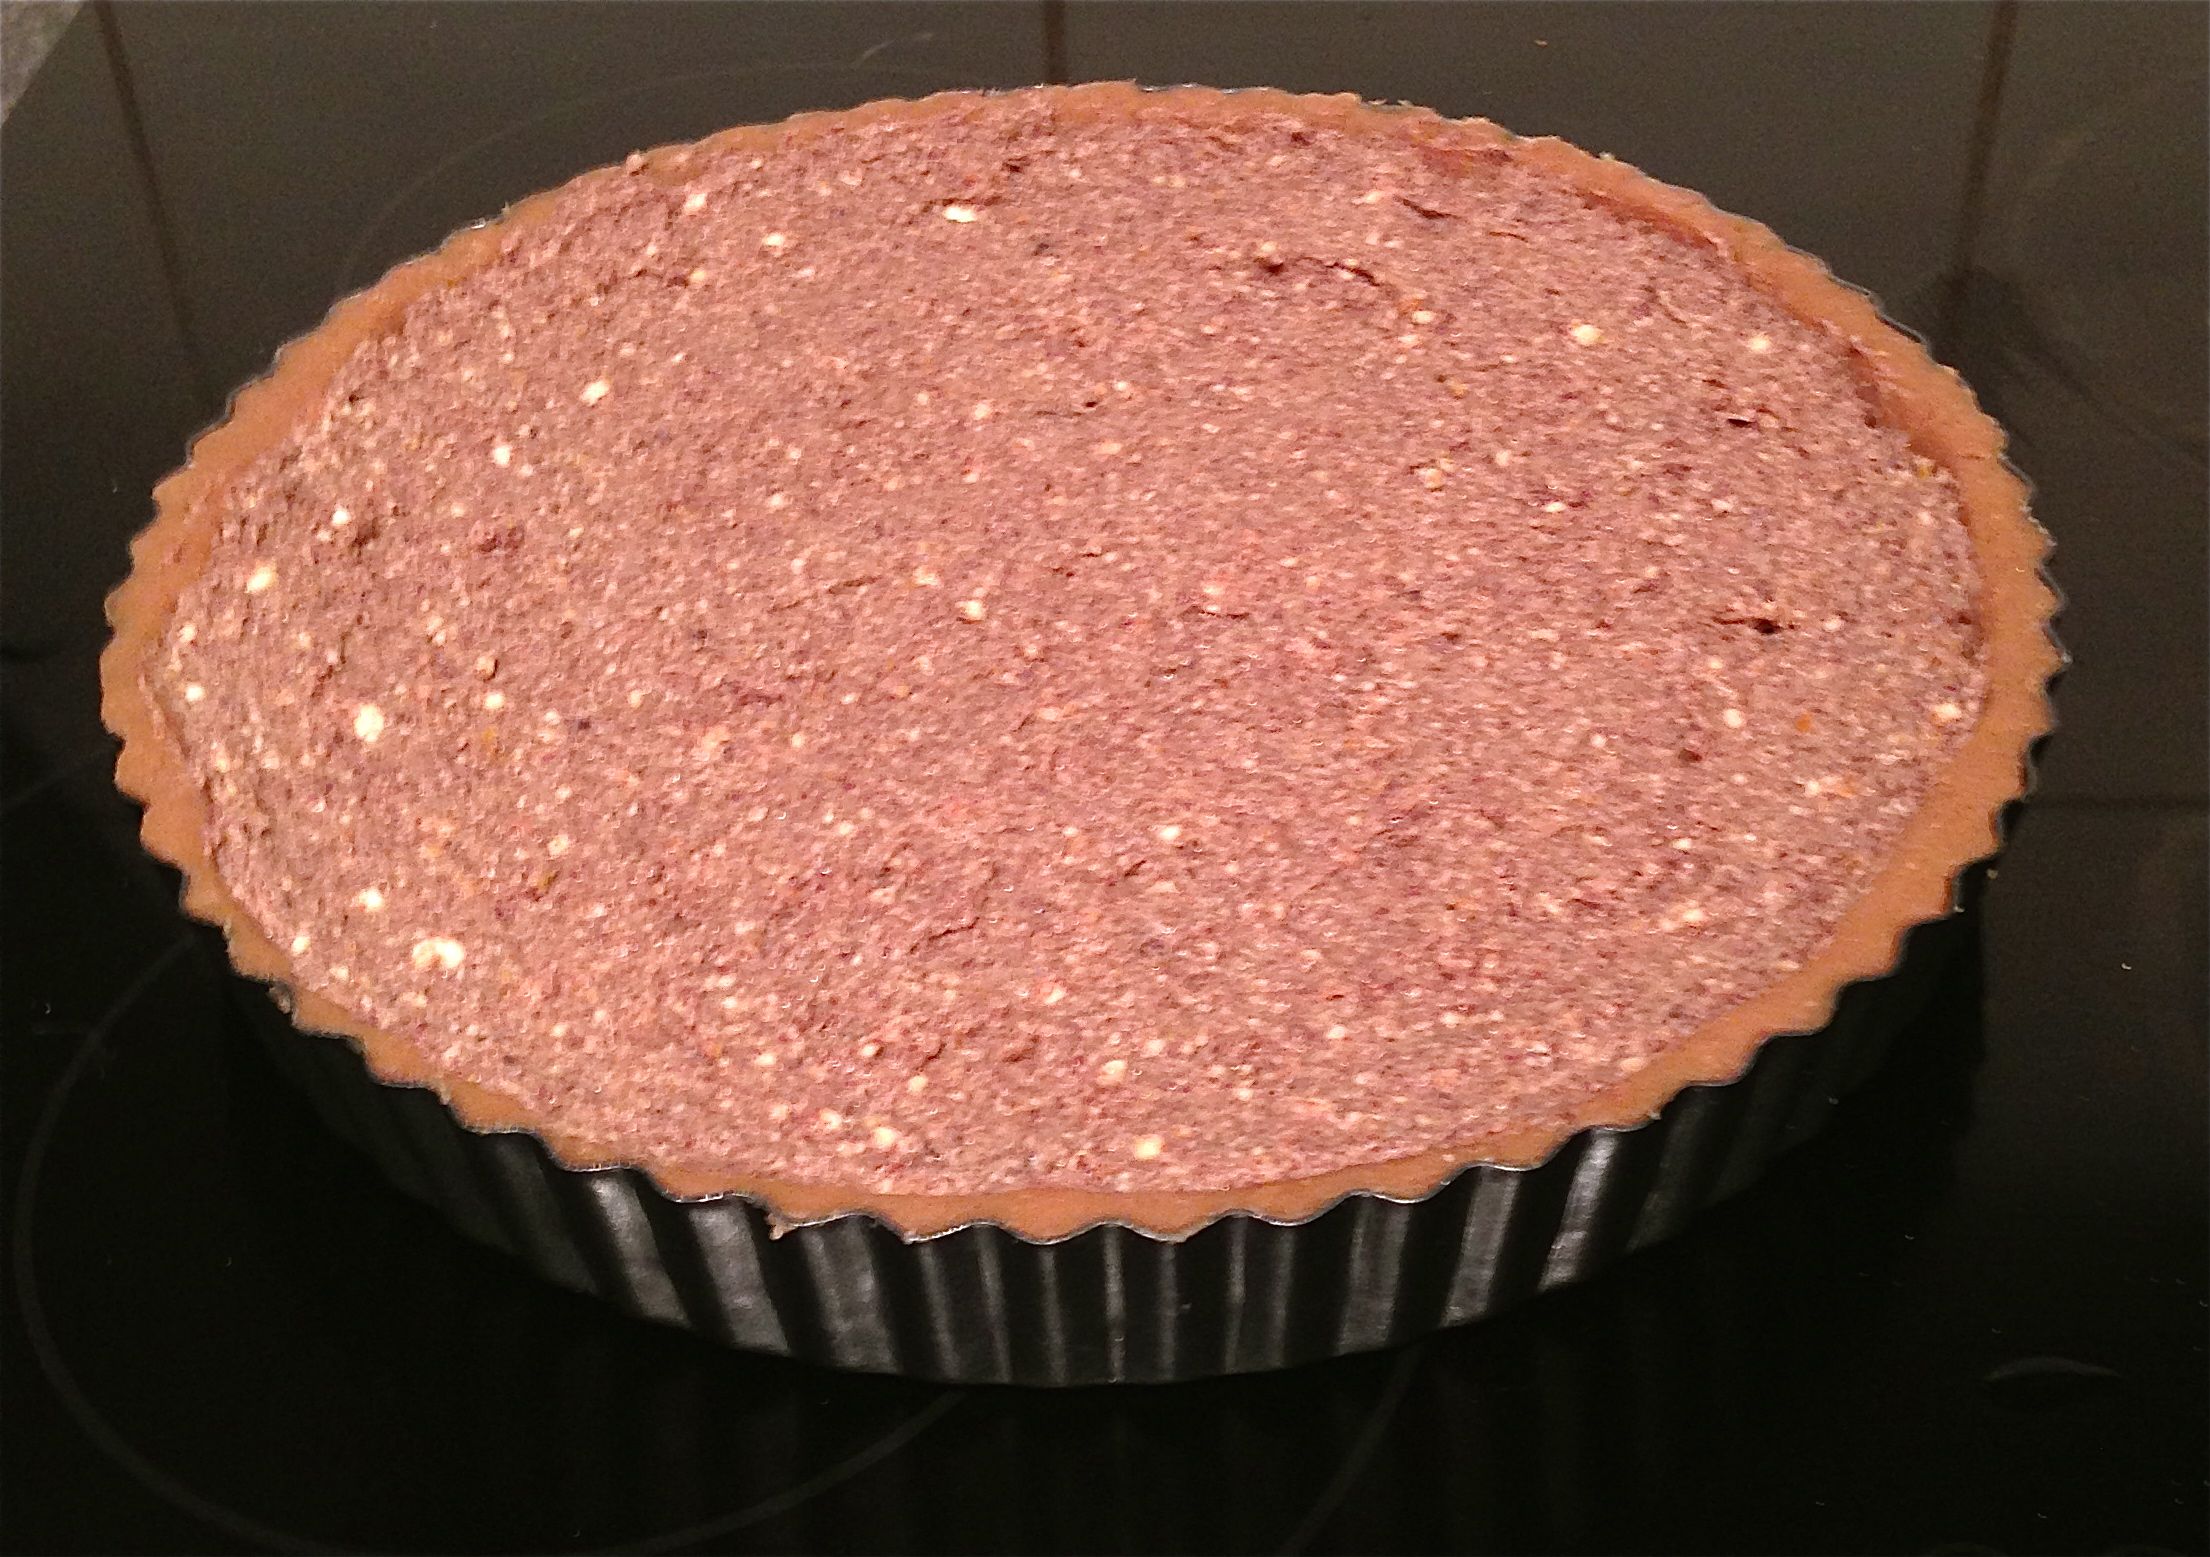
13. Sprinkle the crumbling topping over the apple mix evenly.
14. Cover the pizza for 15 minutes in a warm place with a tea towel on the top.
15. Place the pizza in the oven for 25-30minutes or until browned and golden.
Notes:
- Brown sugar is not essential if you have none just use white sugar.
- If you don’t like nutmeg again this is not essential so you can omit this, but to be honest you wont taste the ingredient it just enhances the others flavours.
- This recipe does make a MASSIVE pizza. It is very easy to half the mix if you don’t have an army to baking for 🙂 (you will notice this from the step pictures).
- I recommend using a mandolin to get quick and easy apple slices and granny smith apple as they hold their shape quite well when you cook them.
- Make sure you punch the dough down well and spread evenly as the dough will rise quite a bit and you don’t want it really thick in the centre but thin on the outsides.
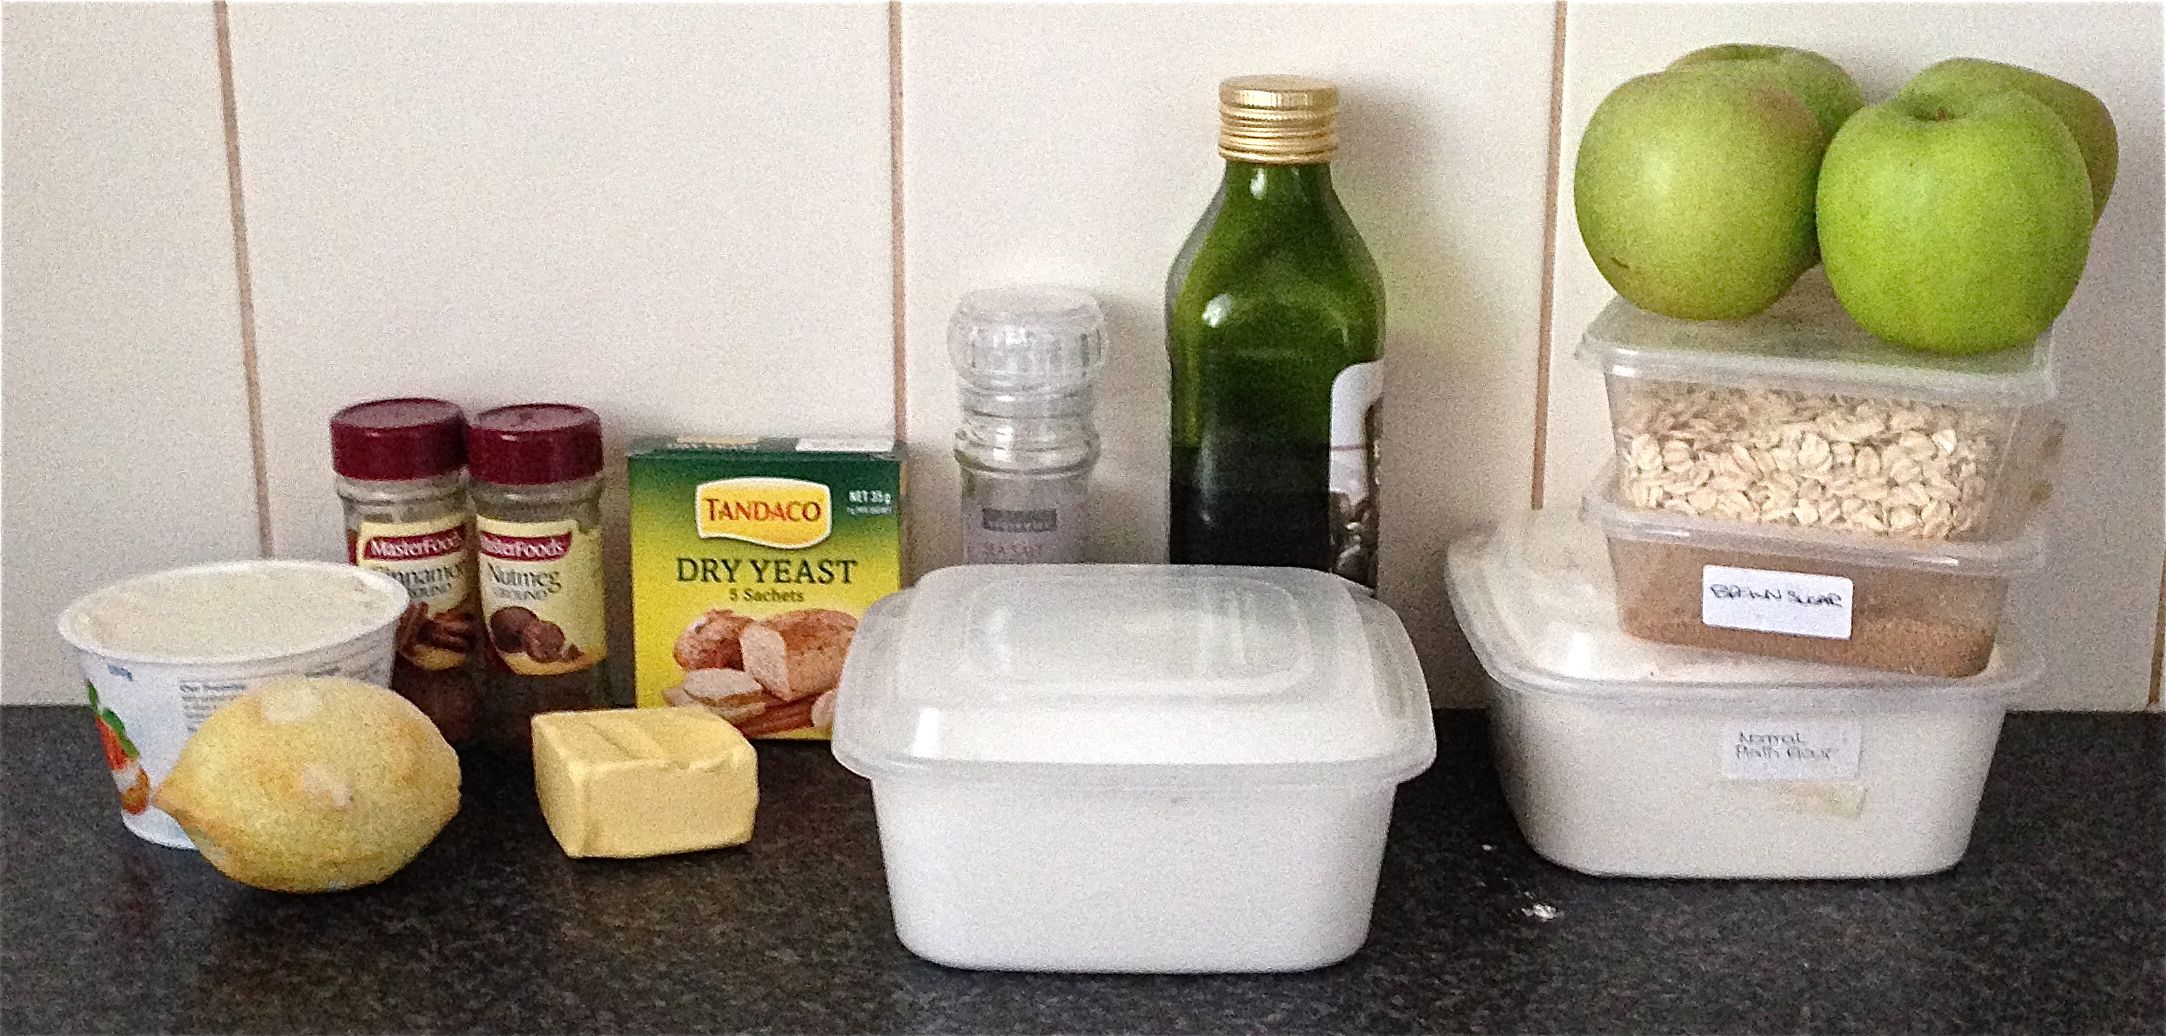
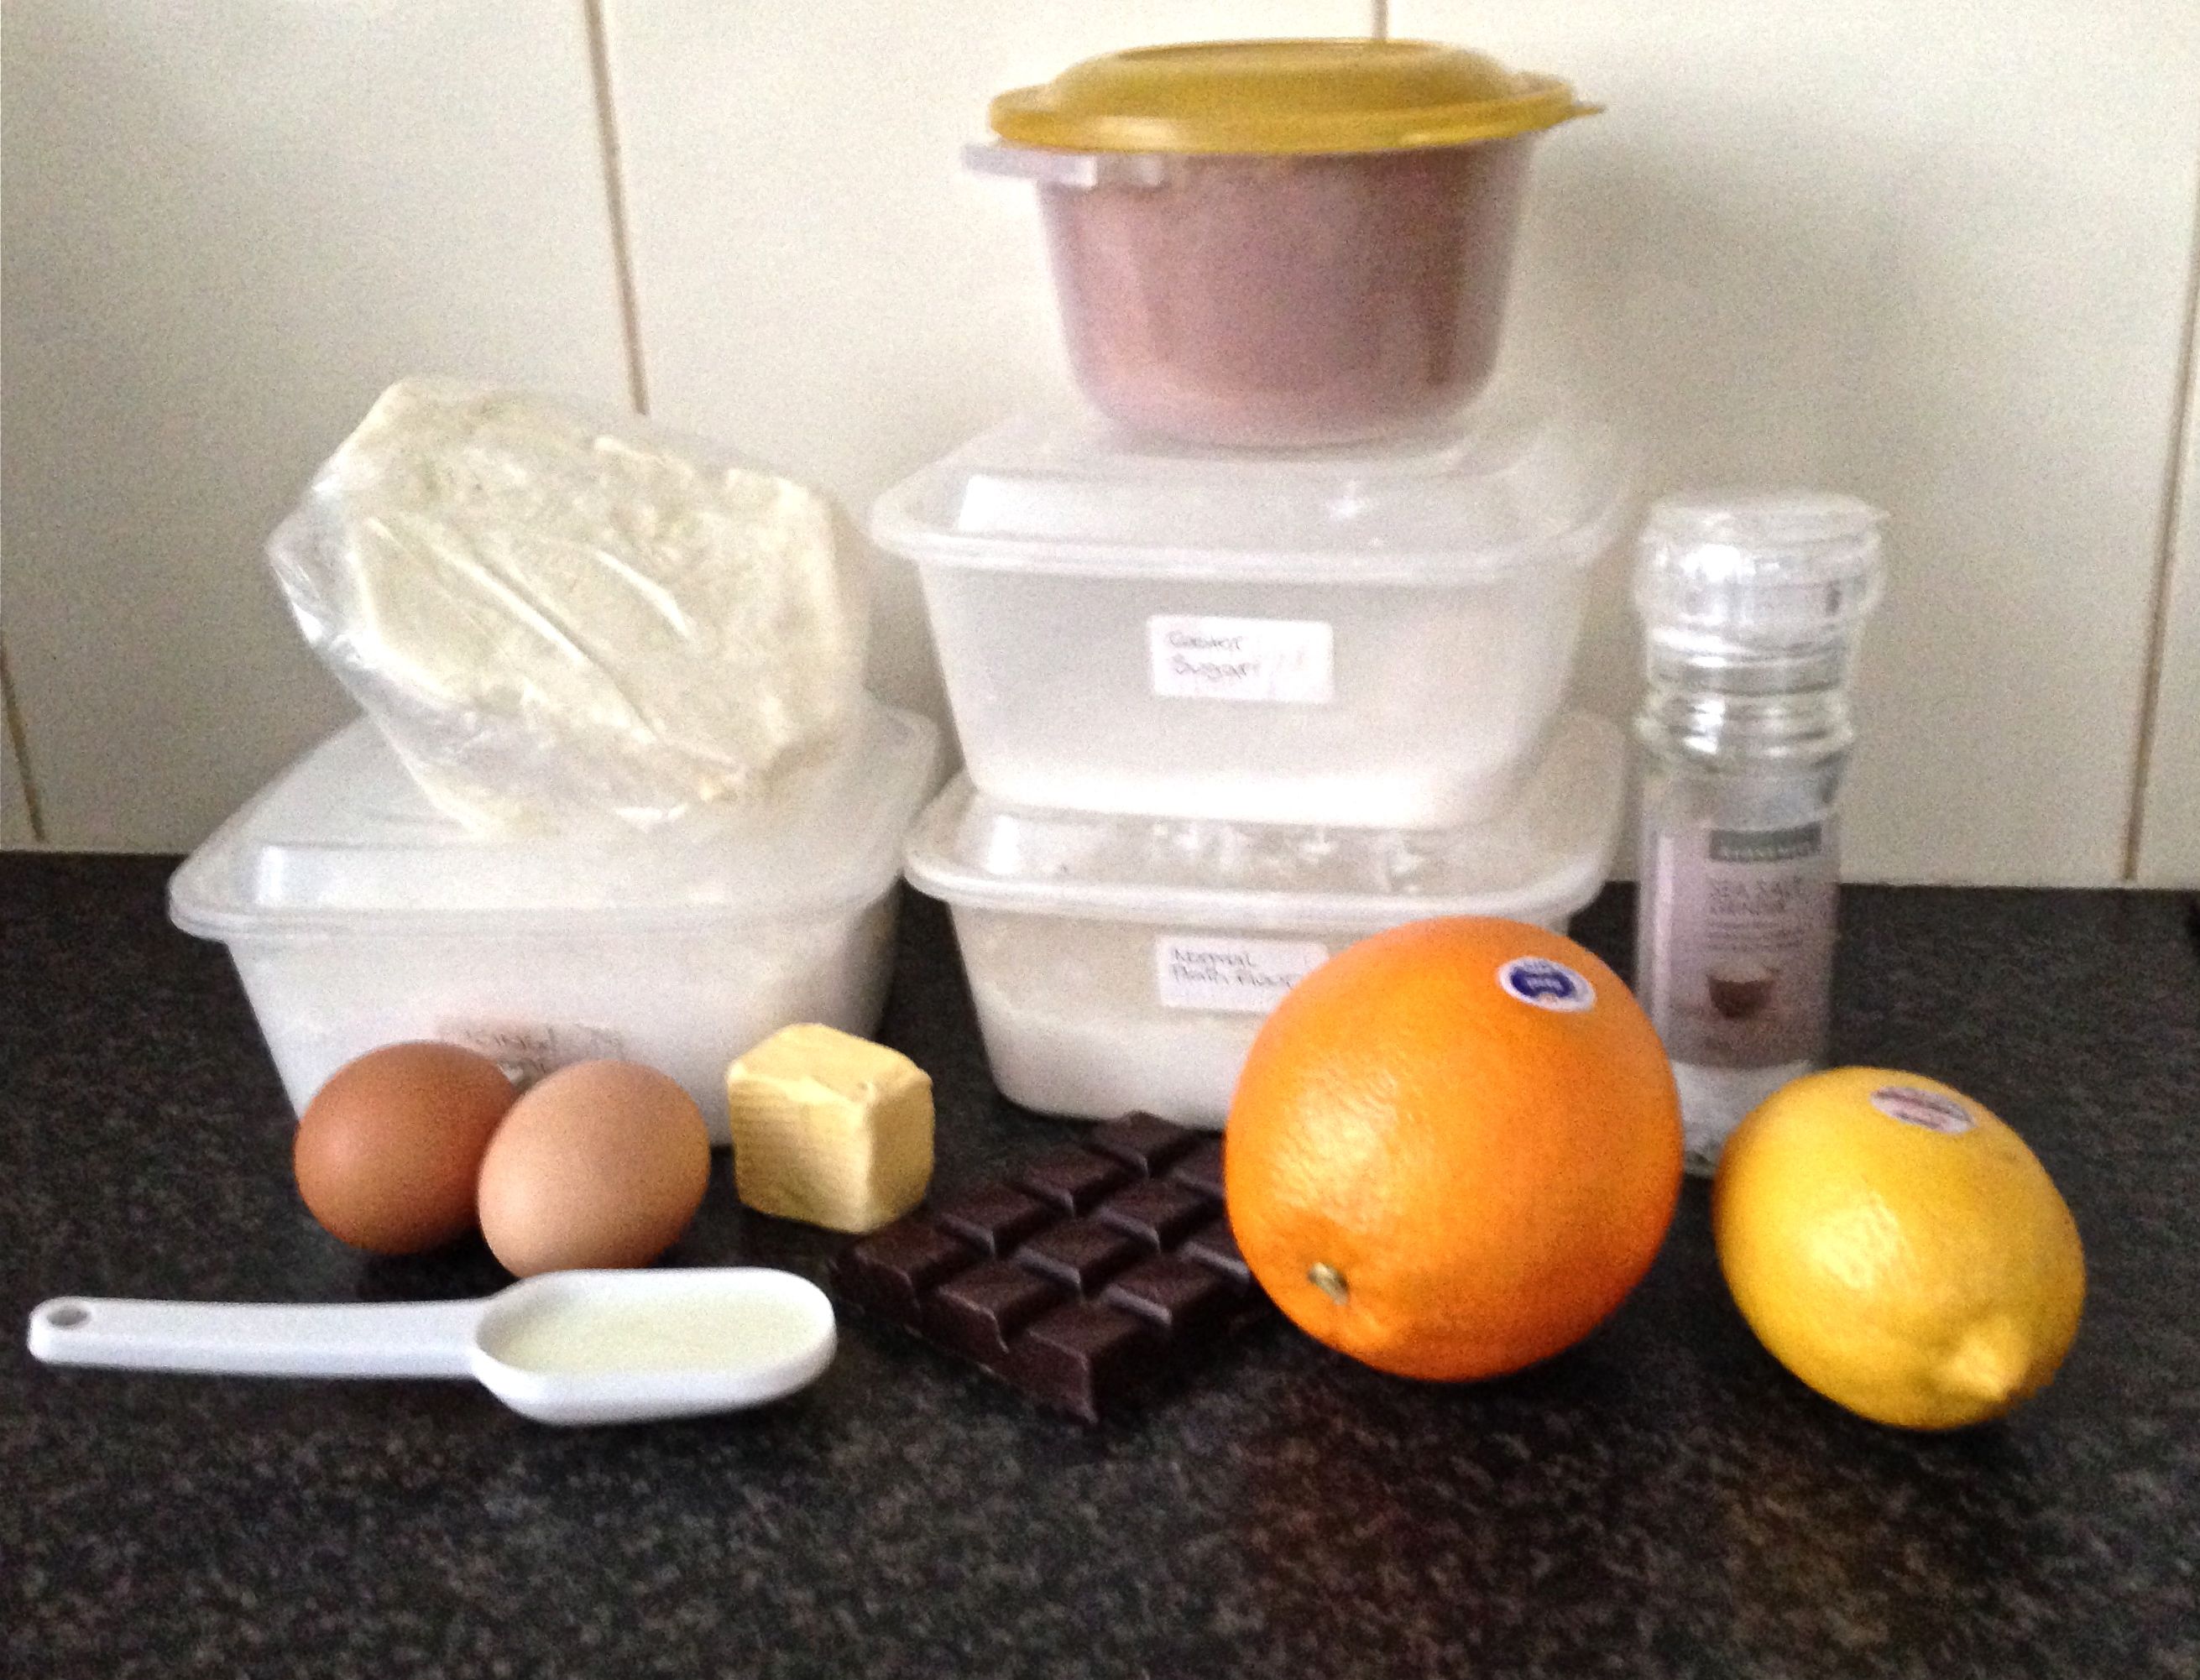
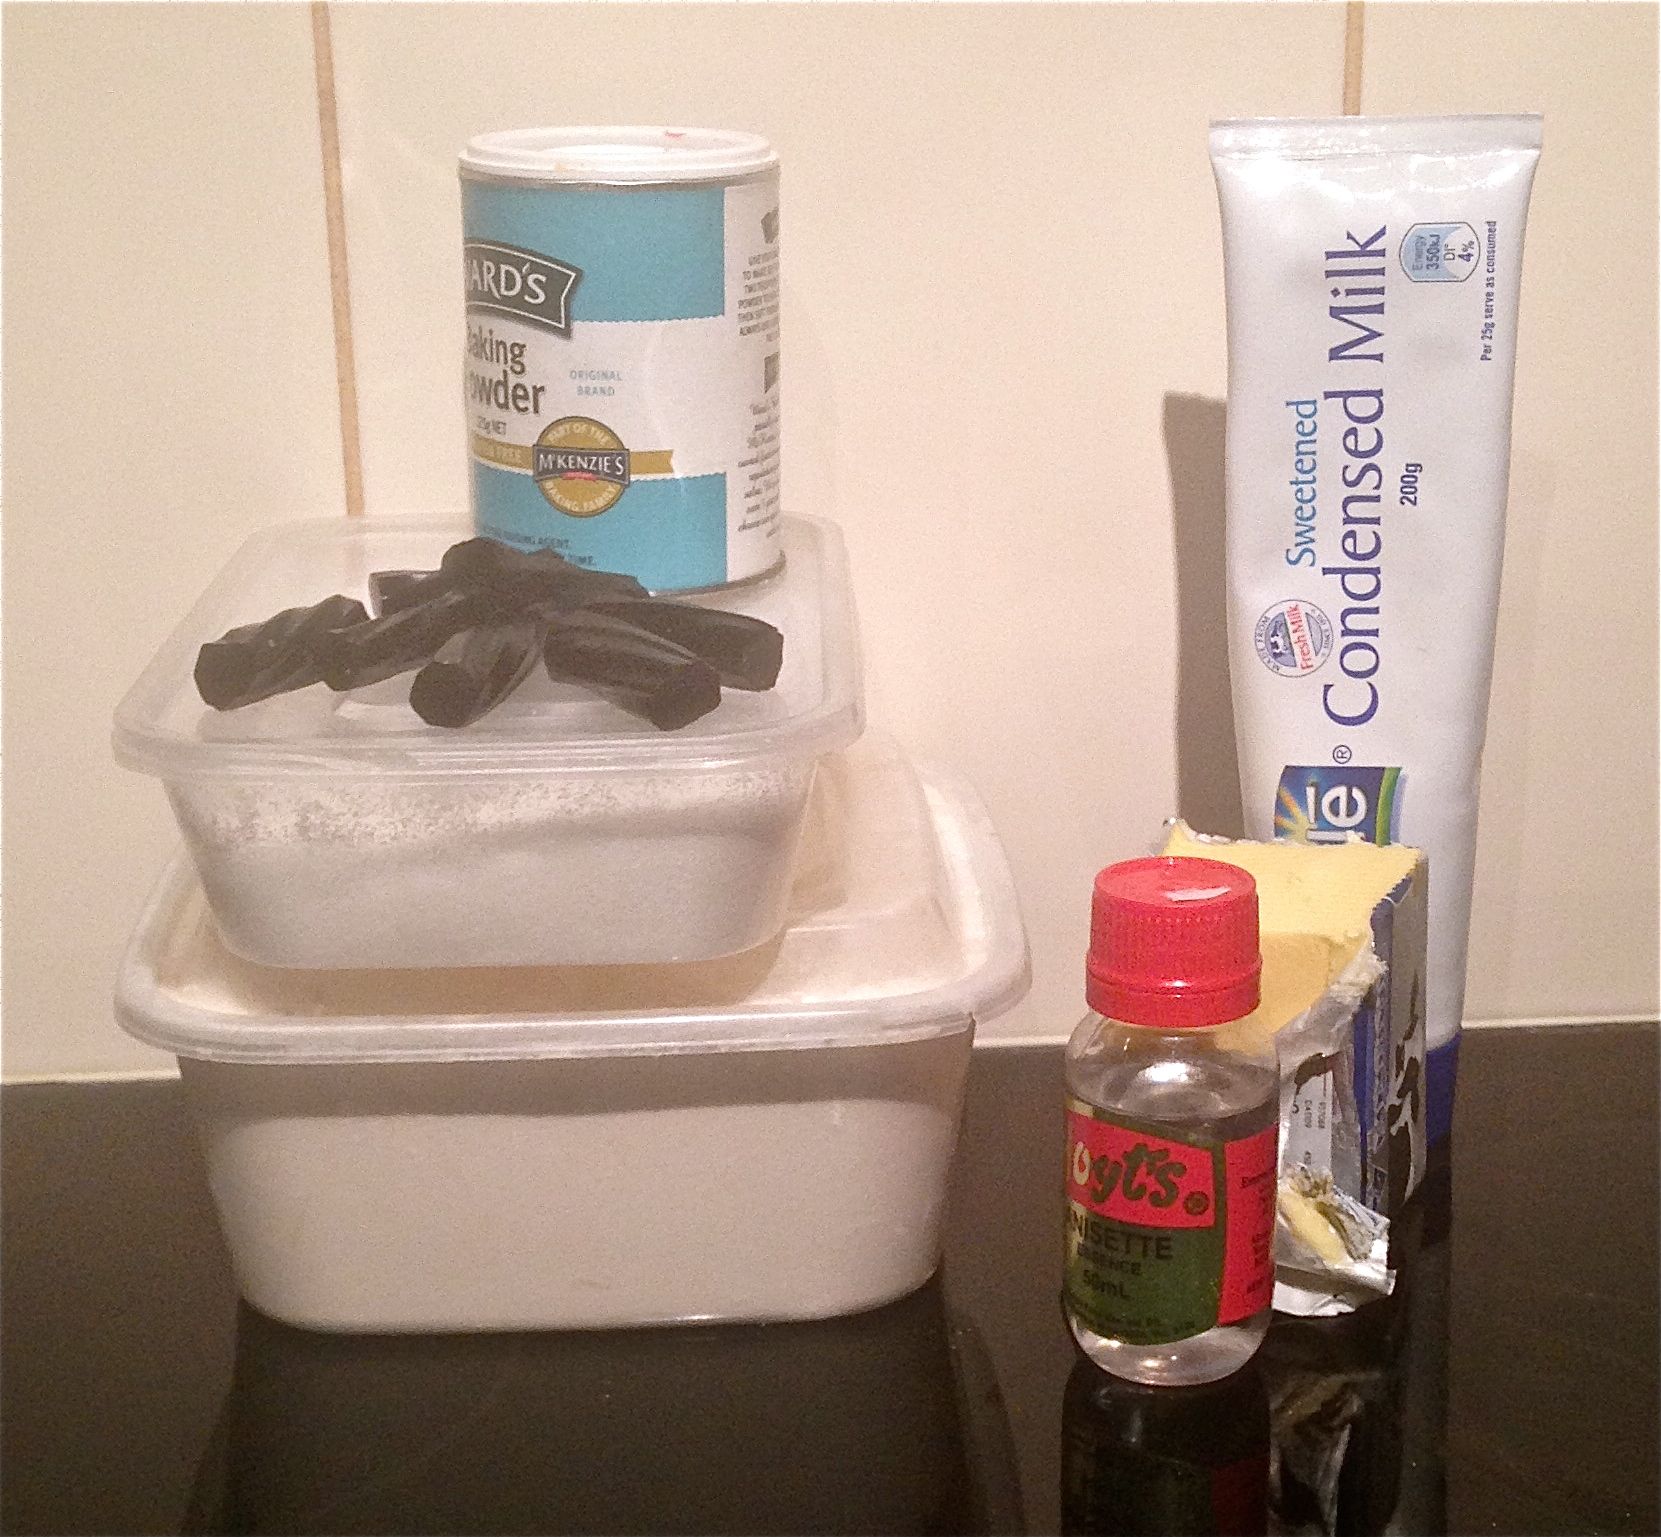
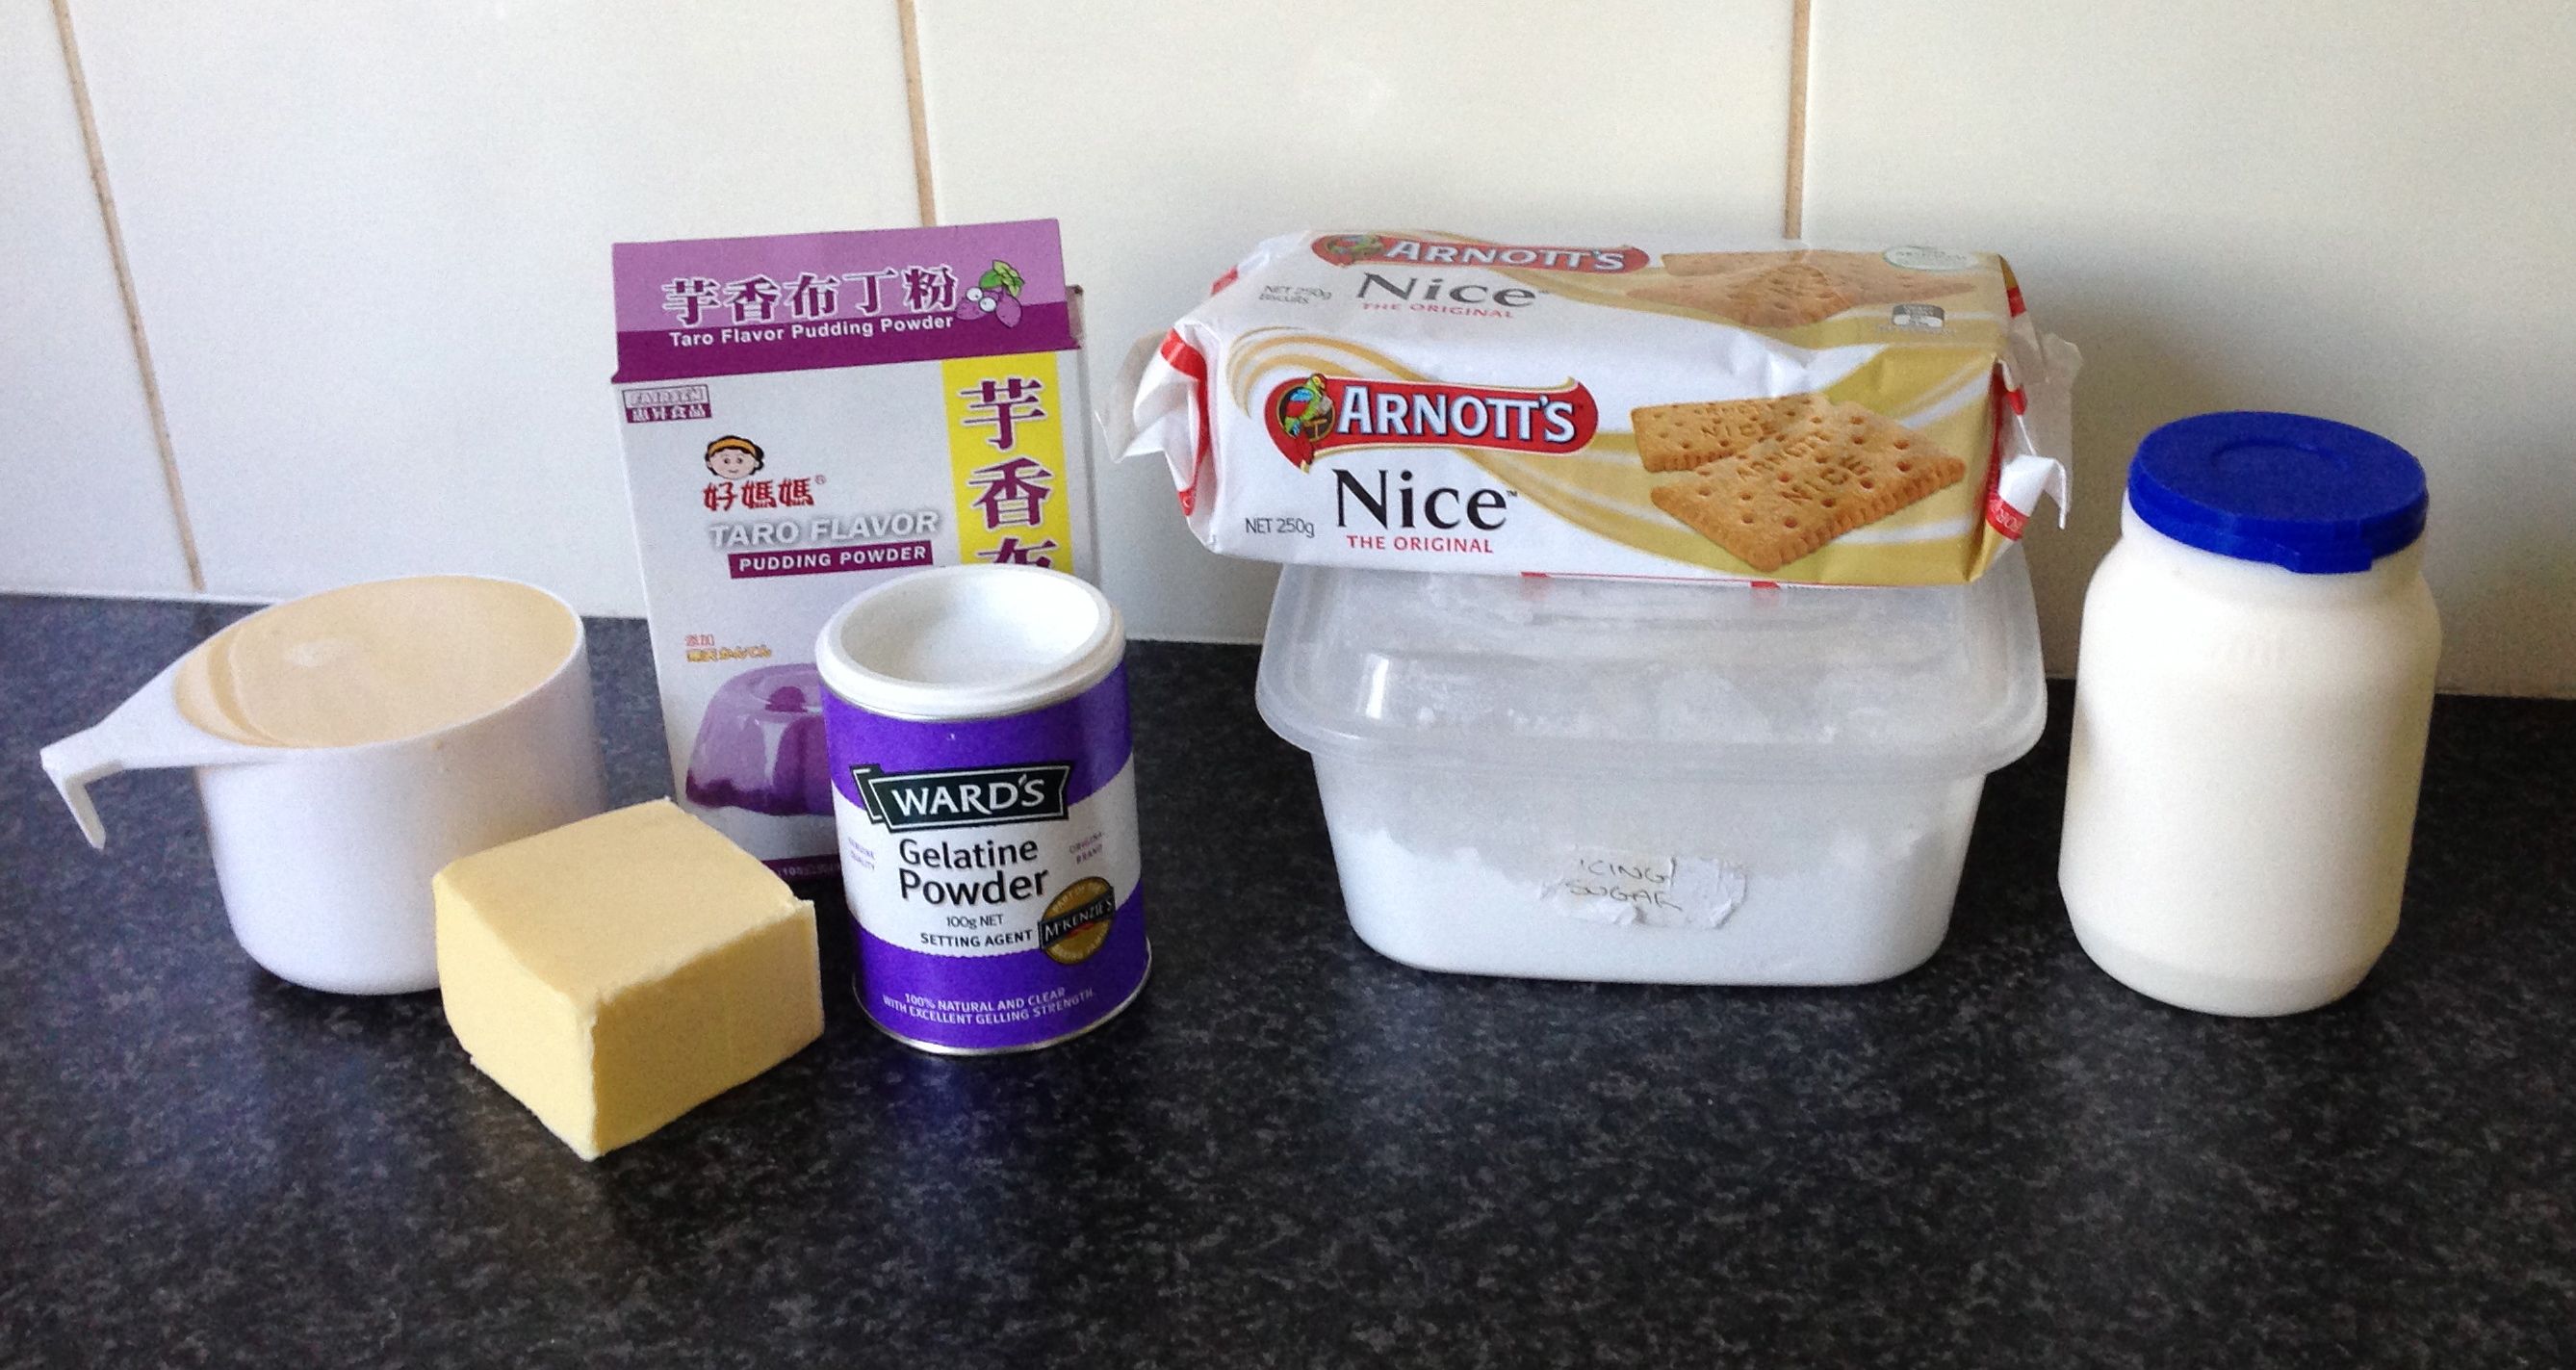
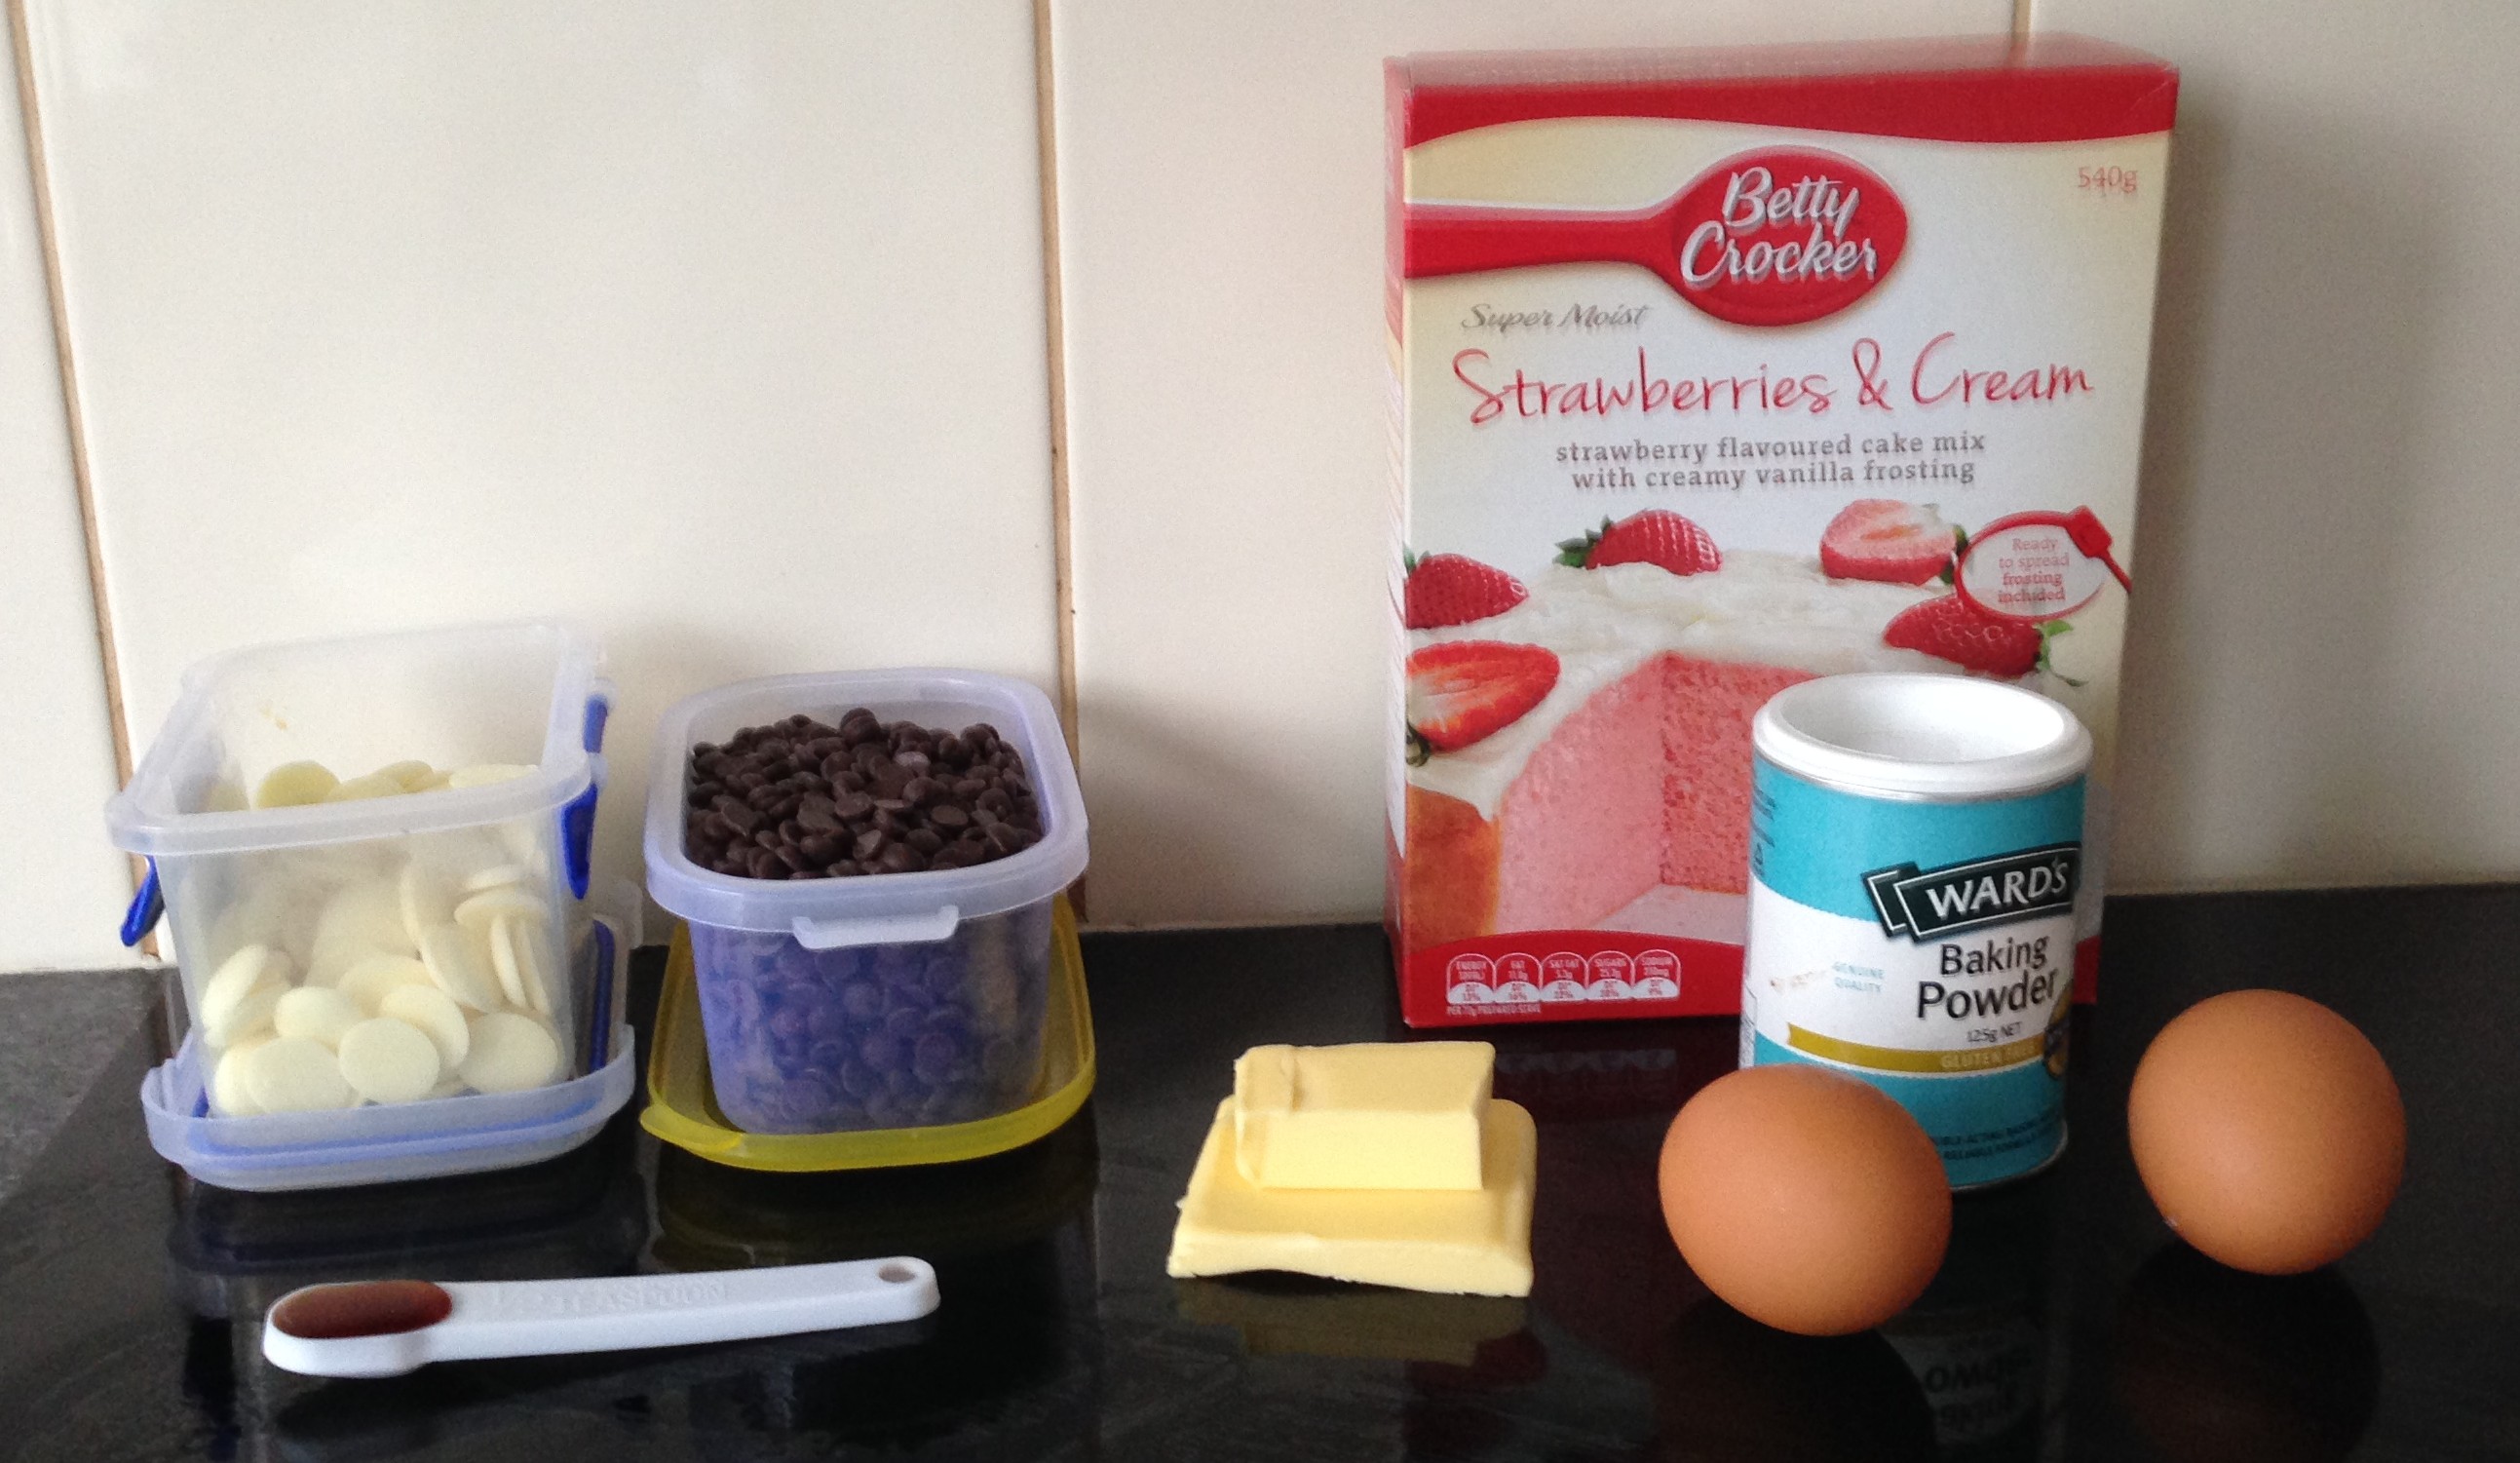
Ingredients
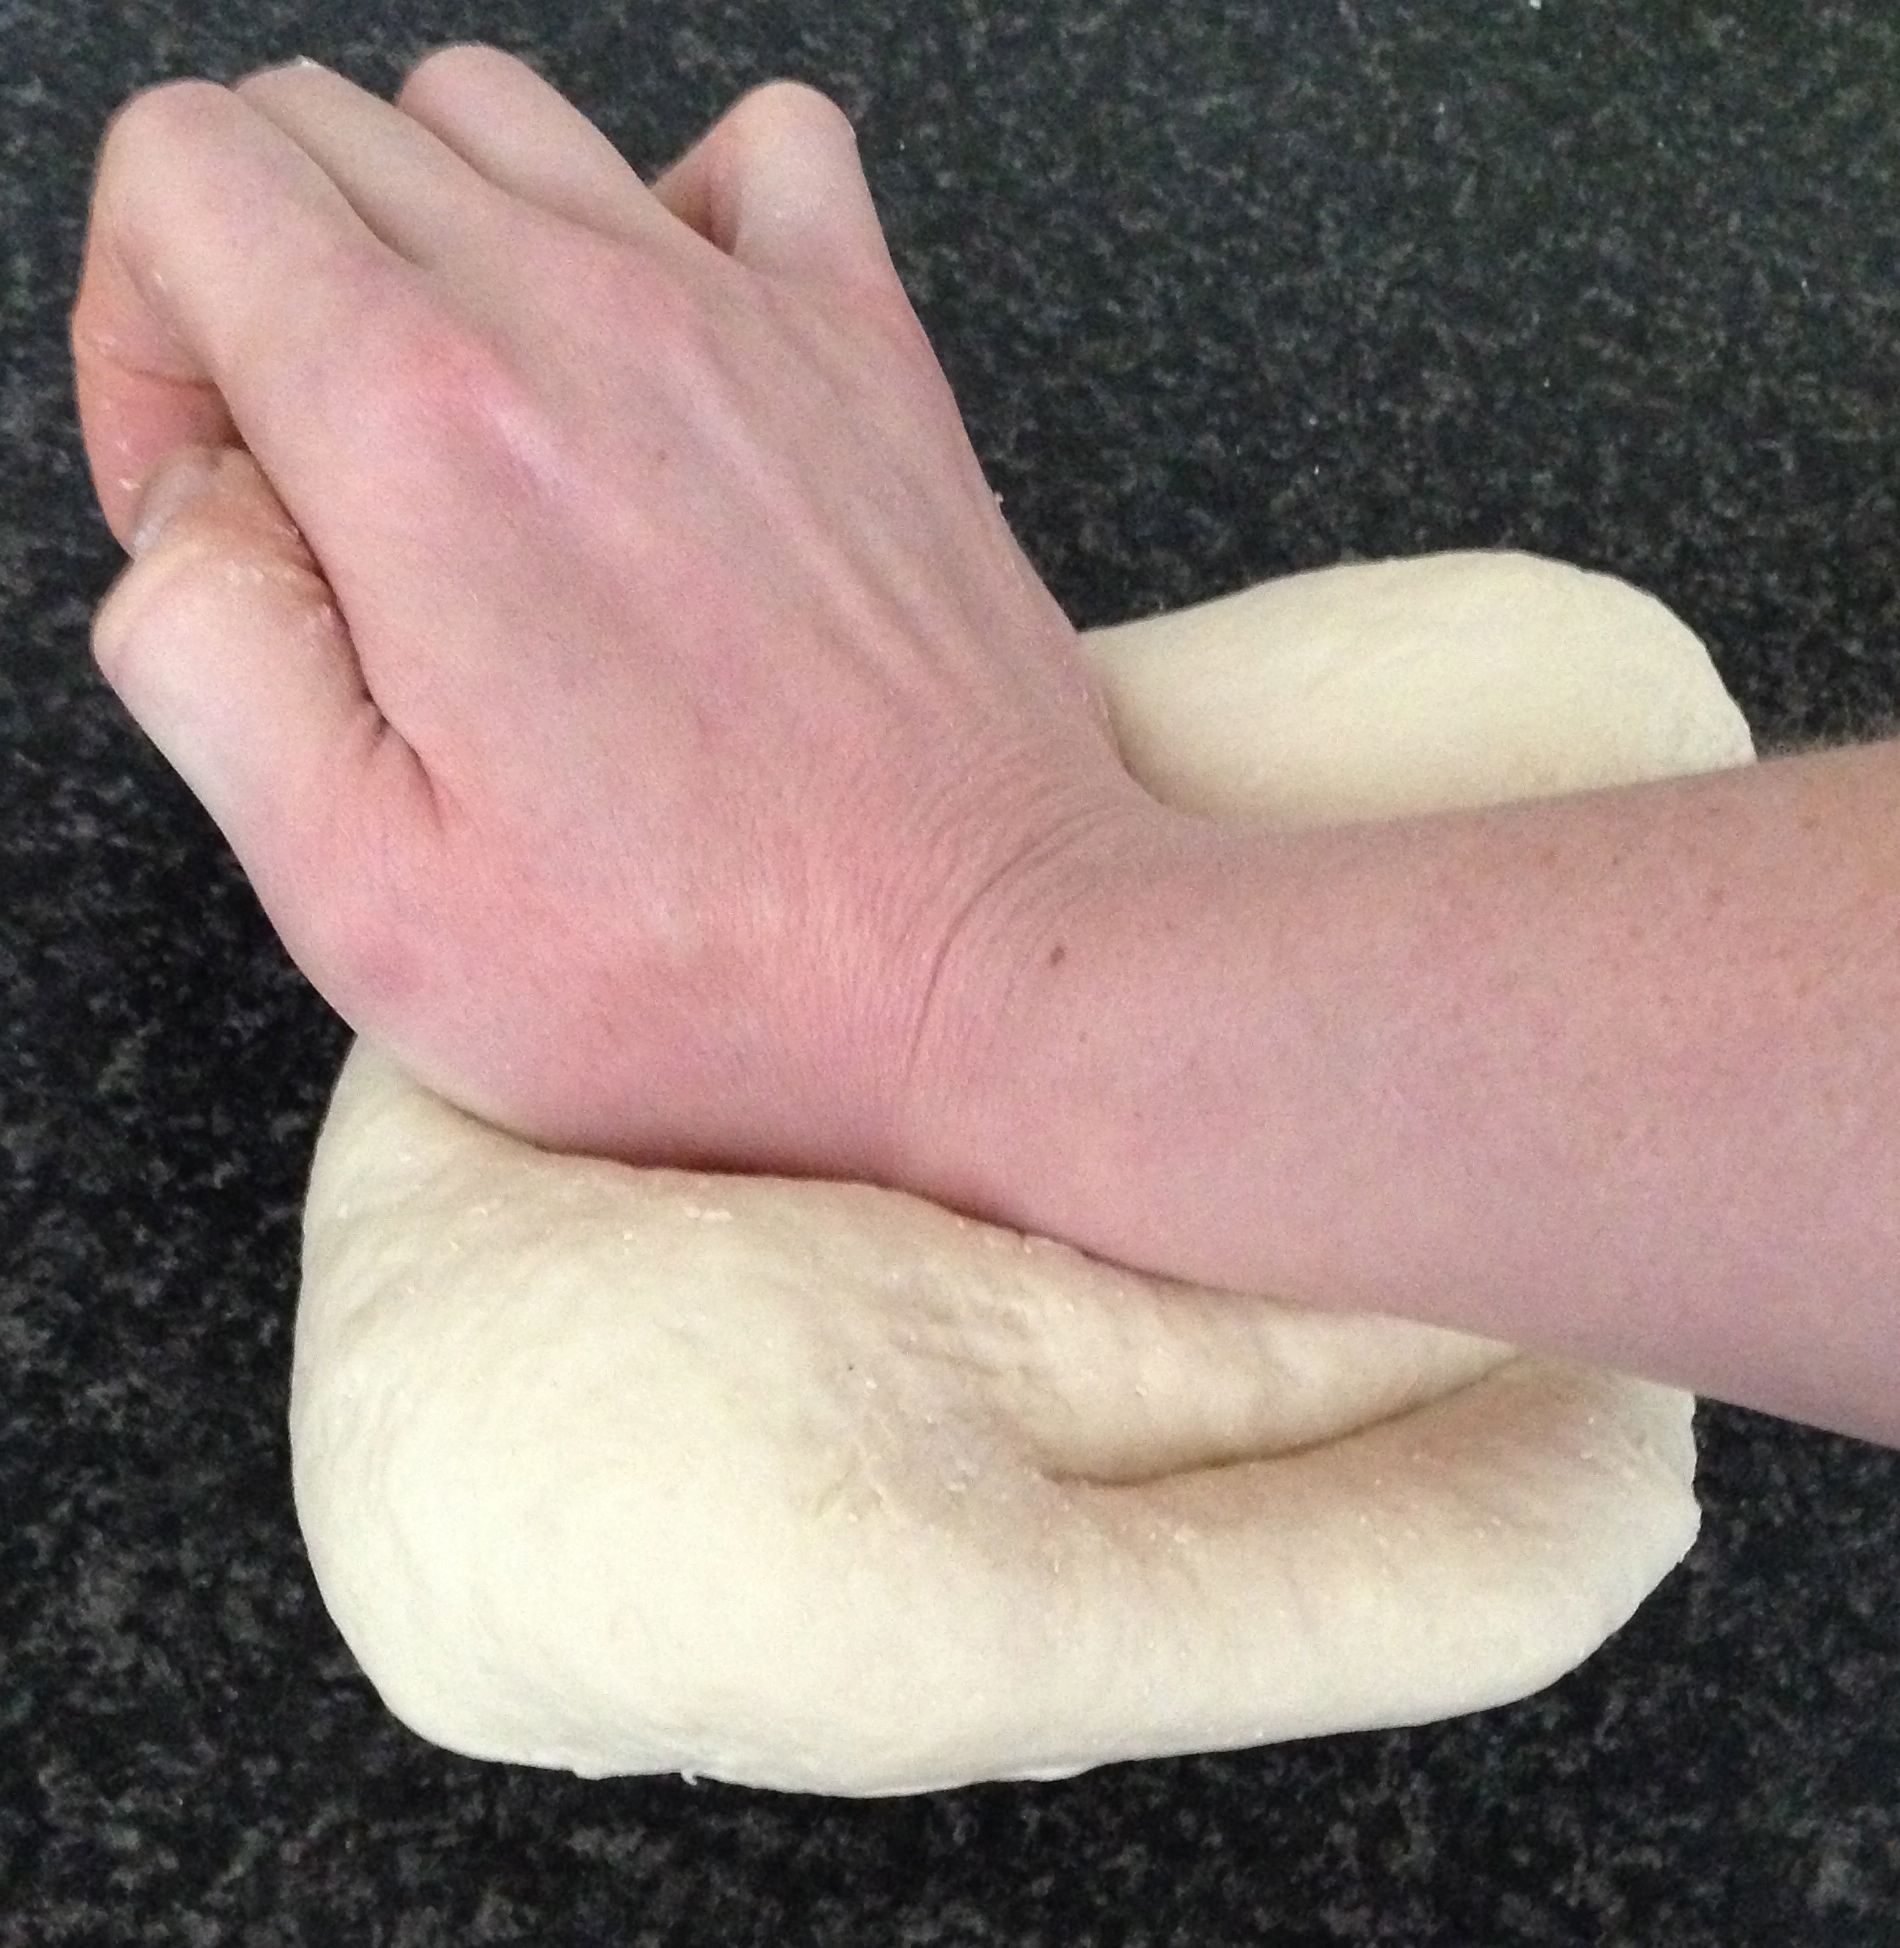
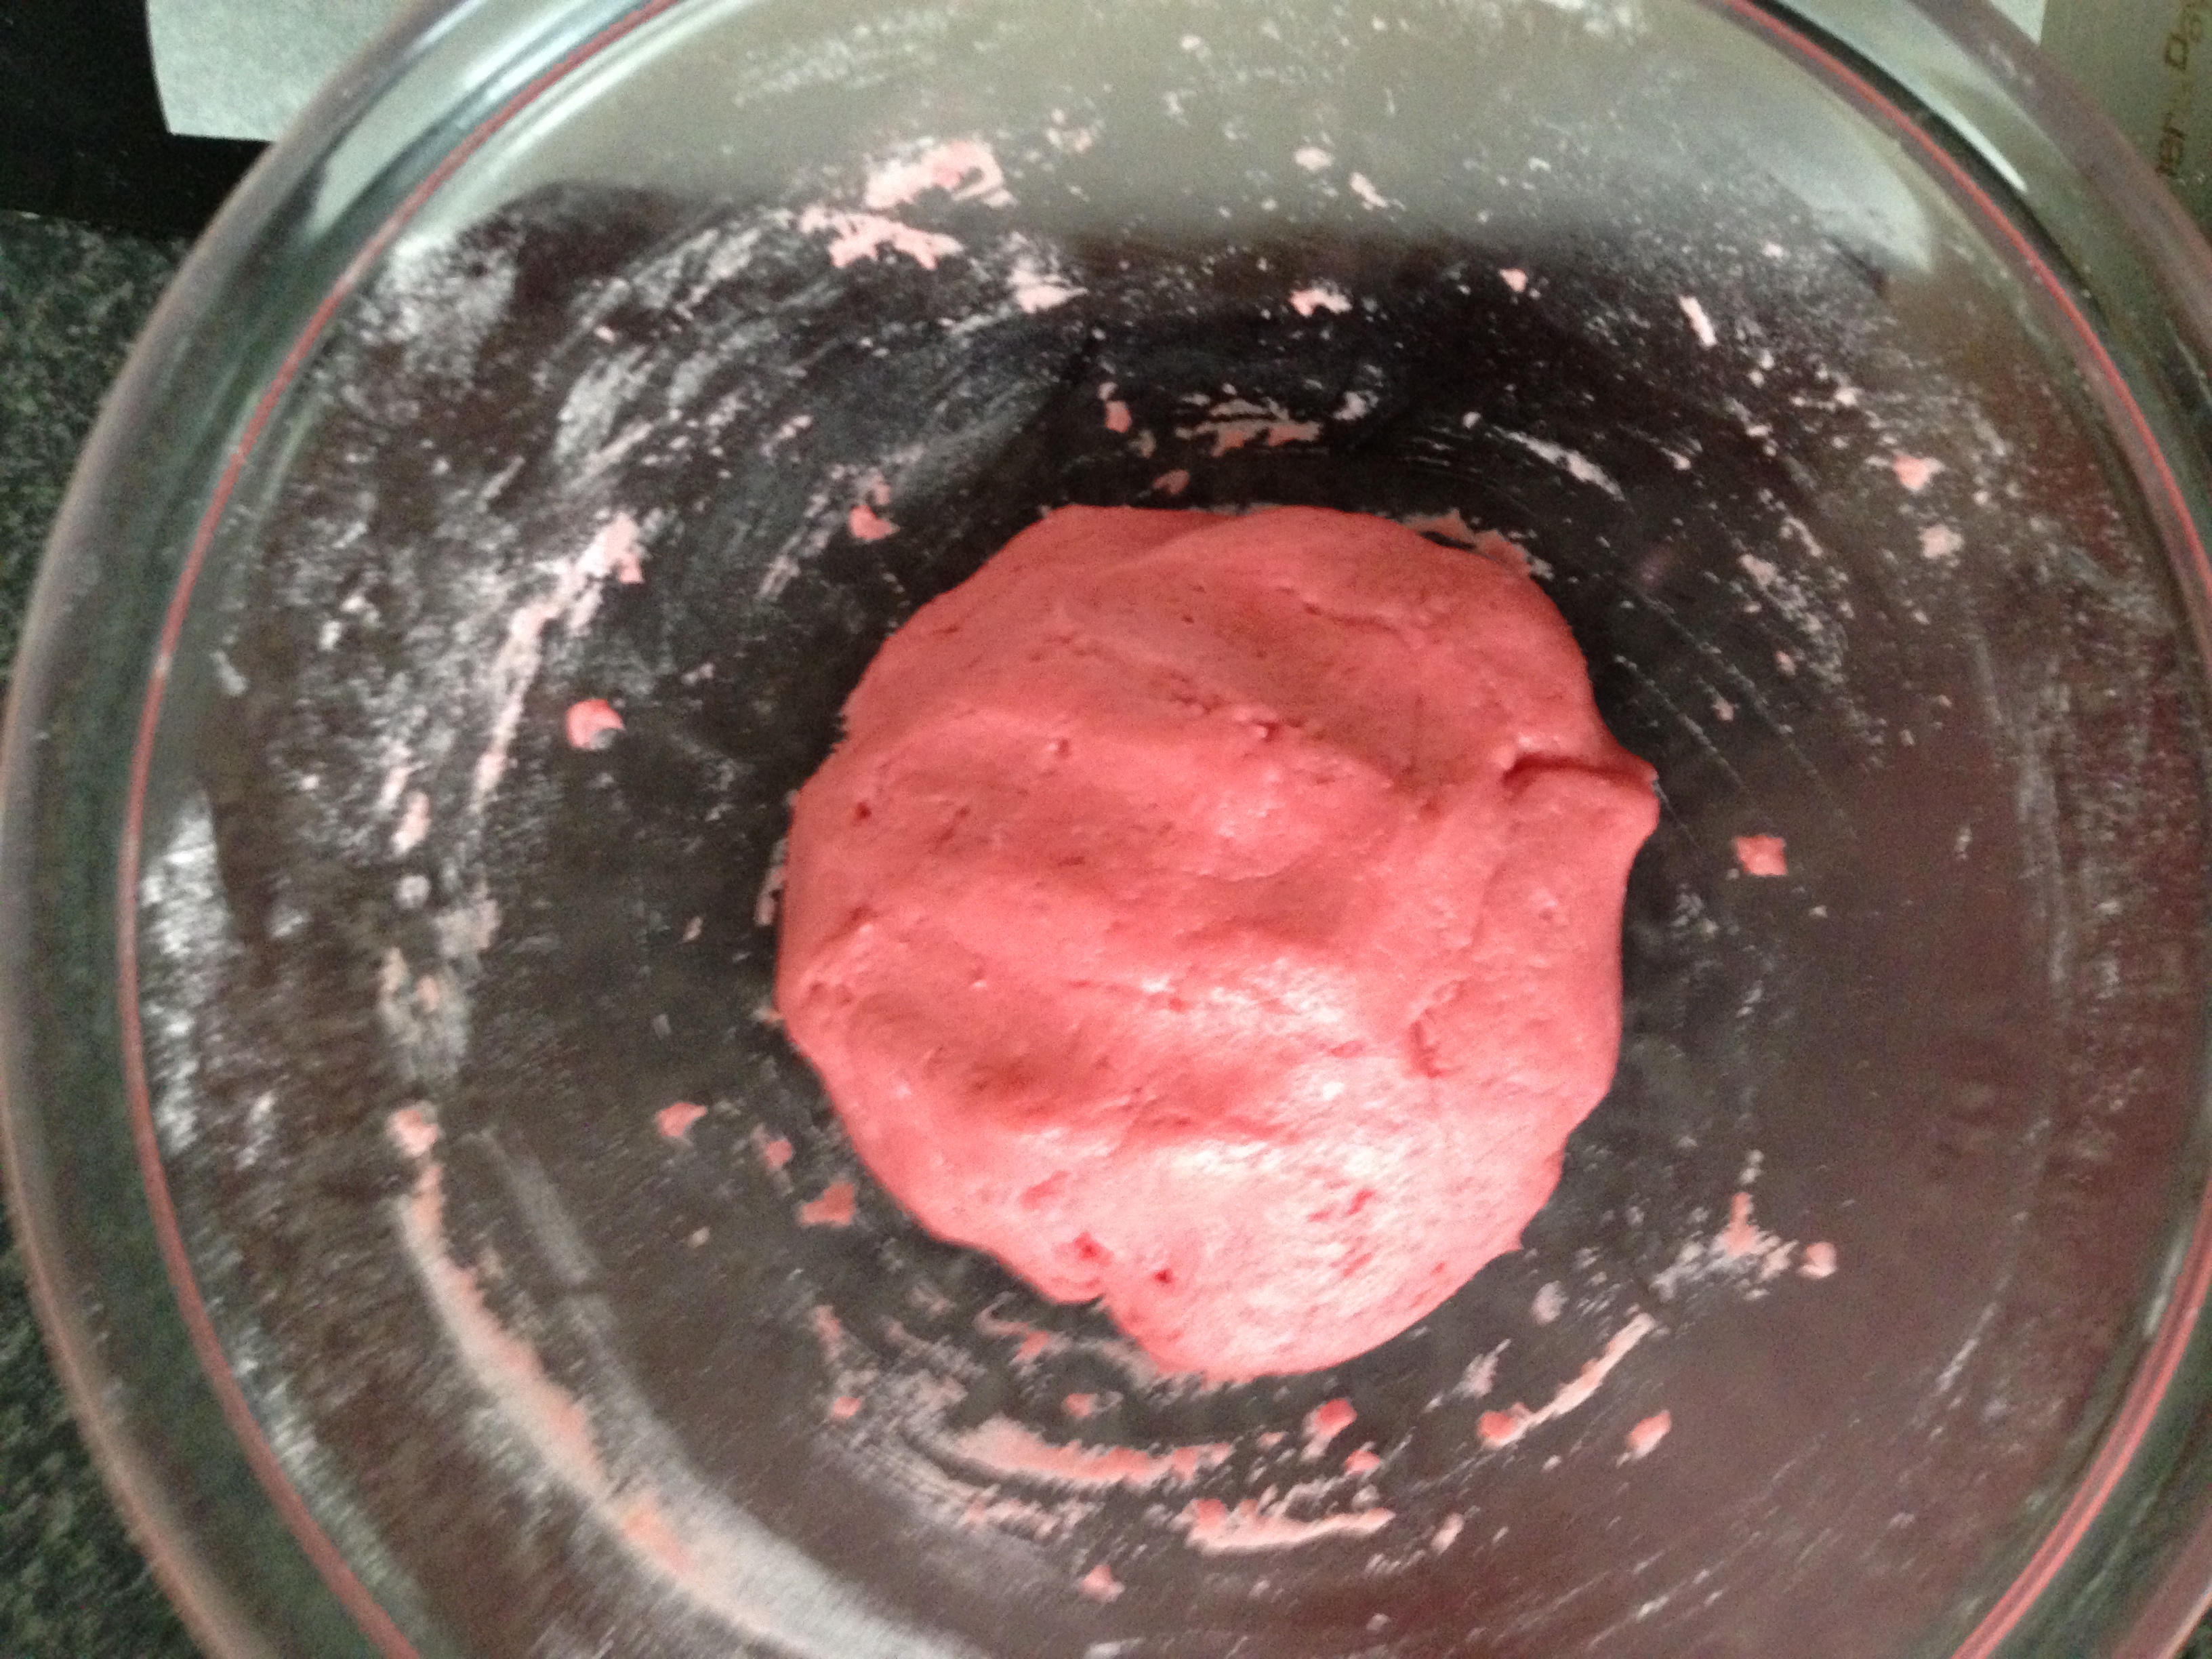
Step 4
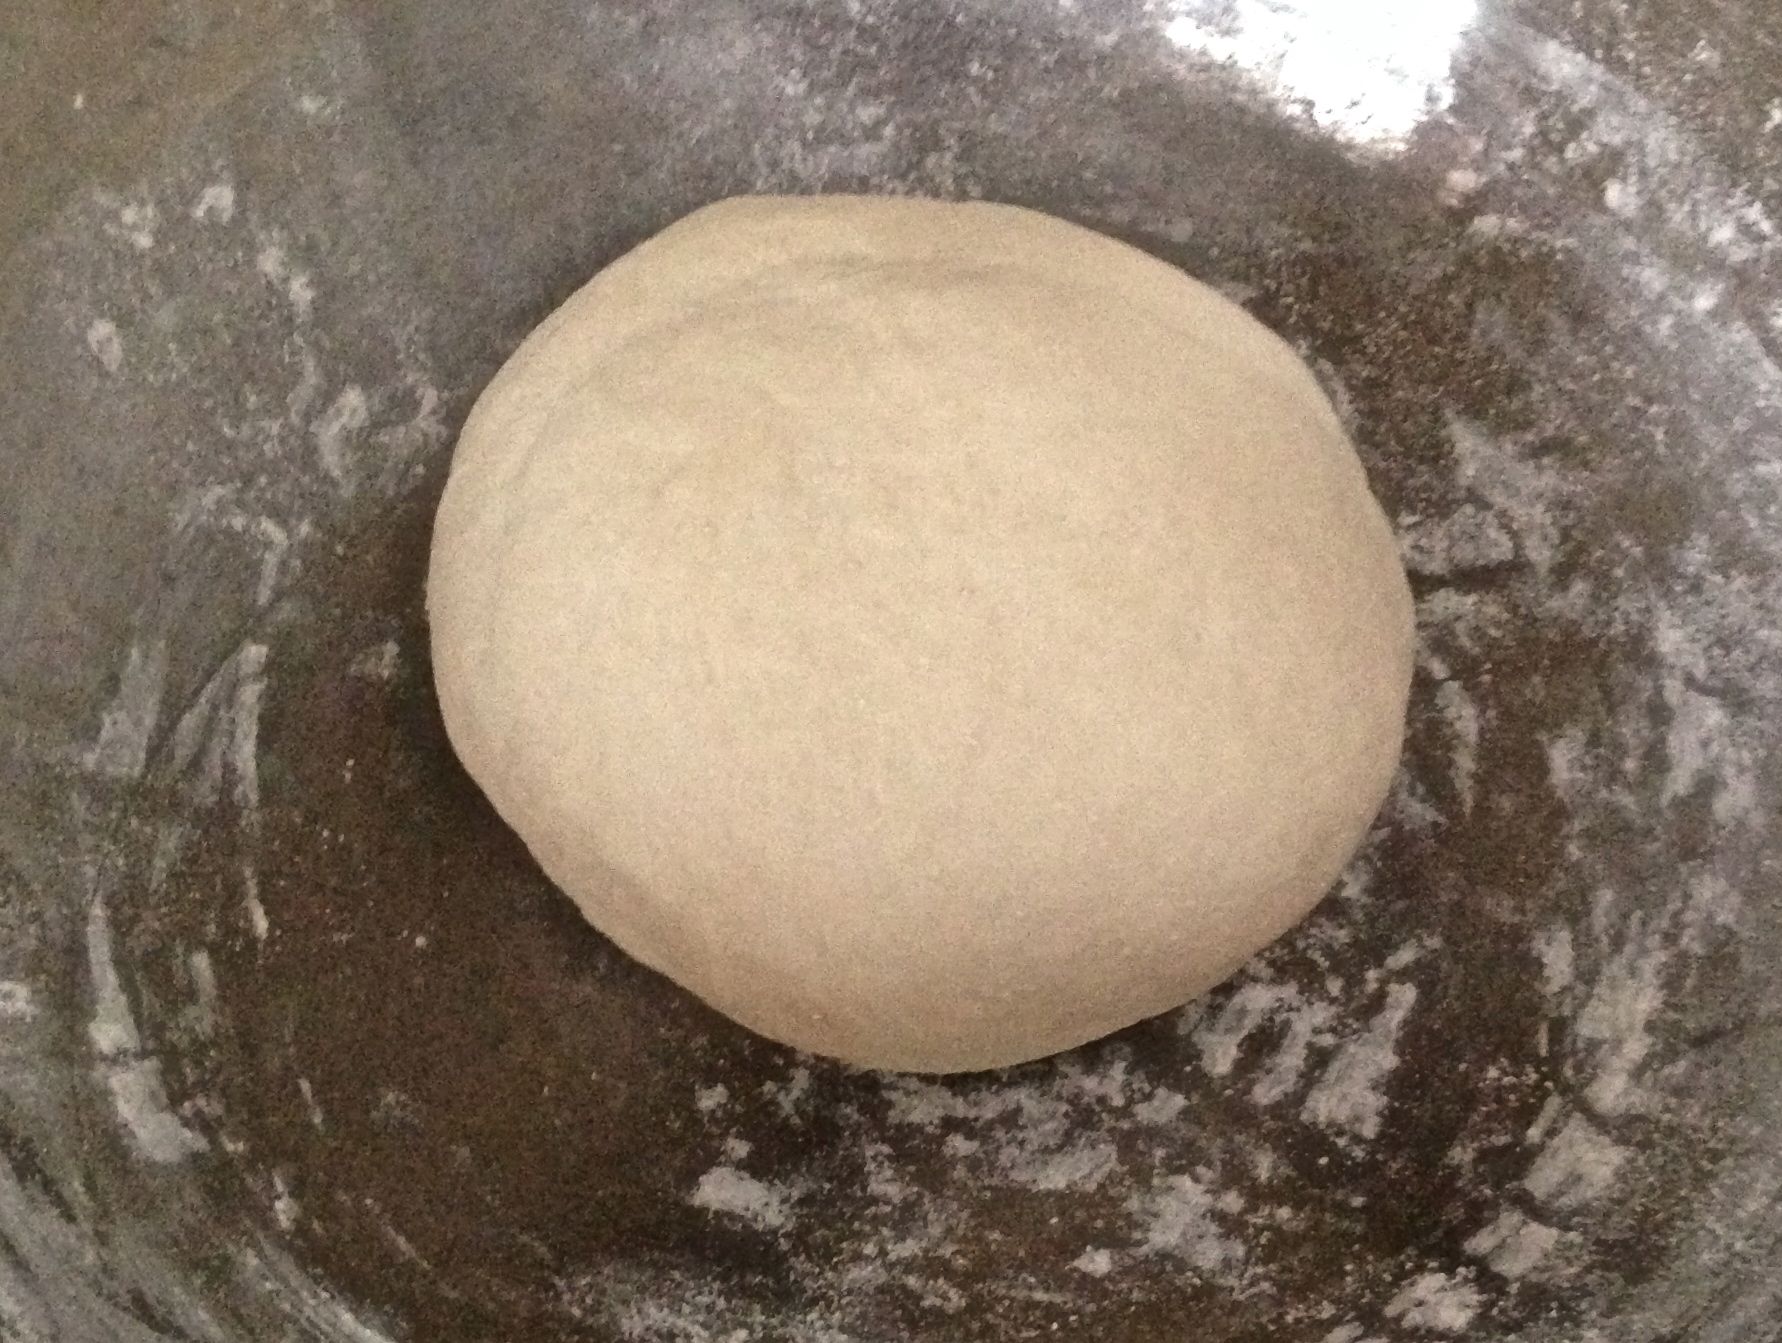
Step 4 con’t
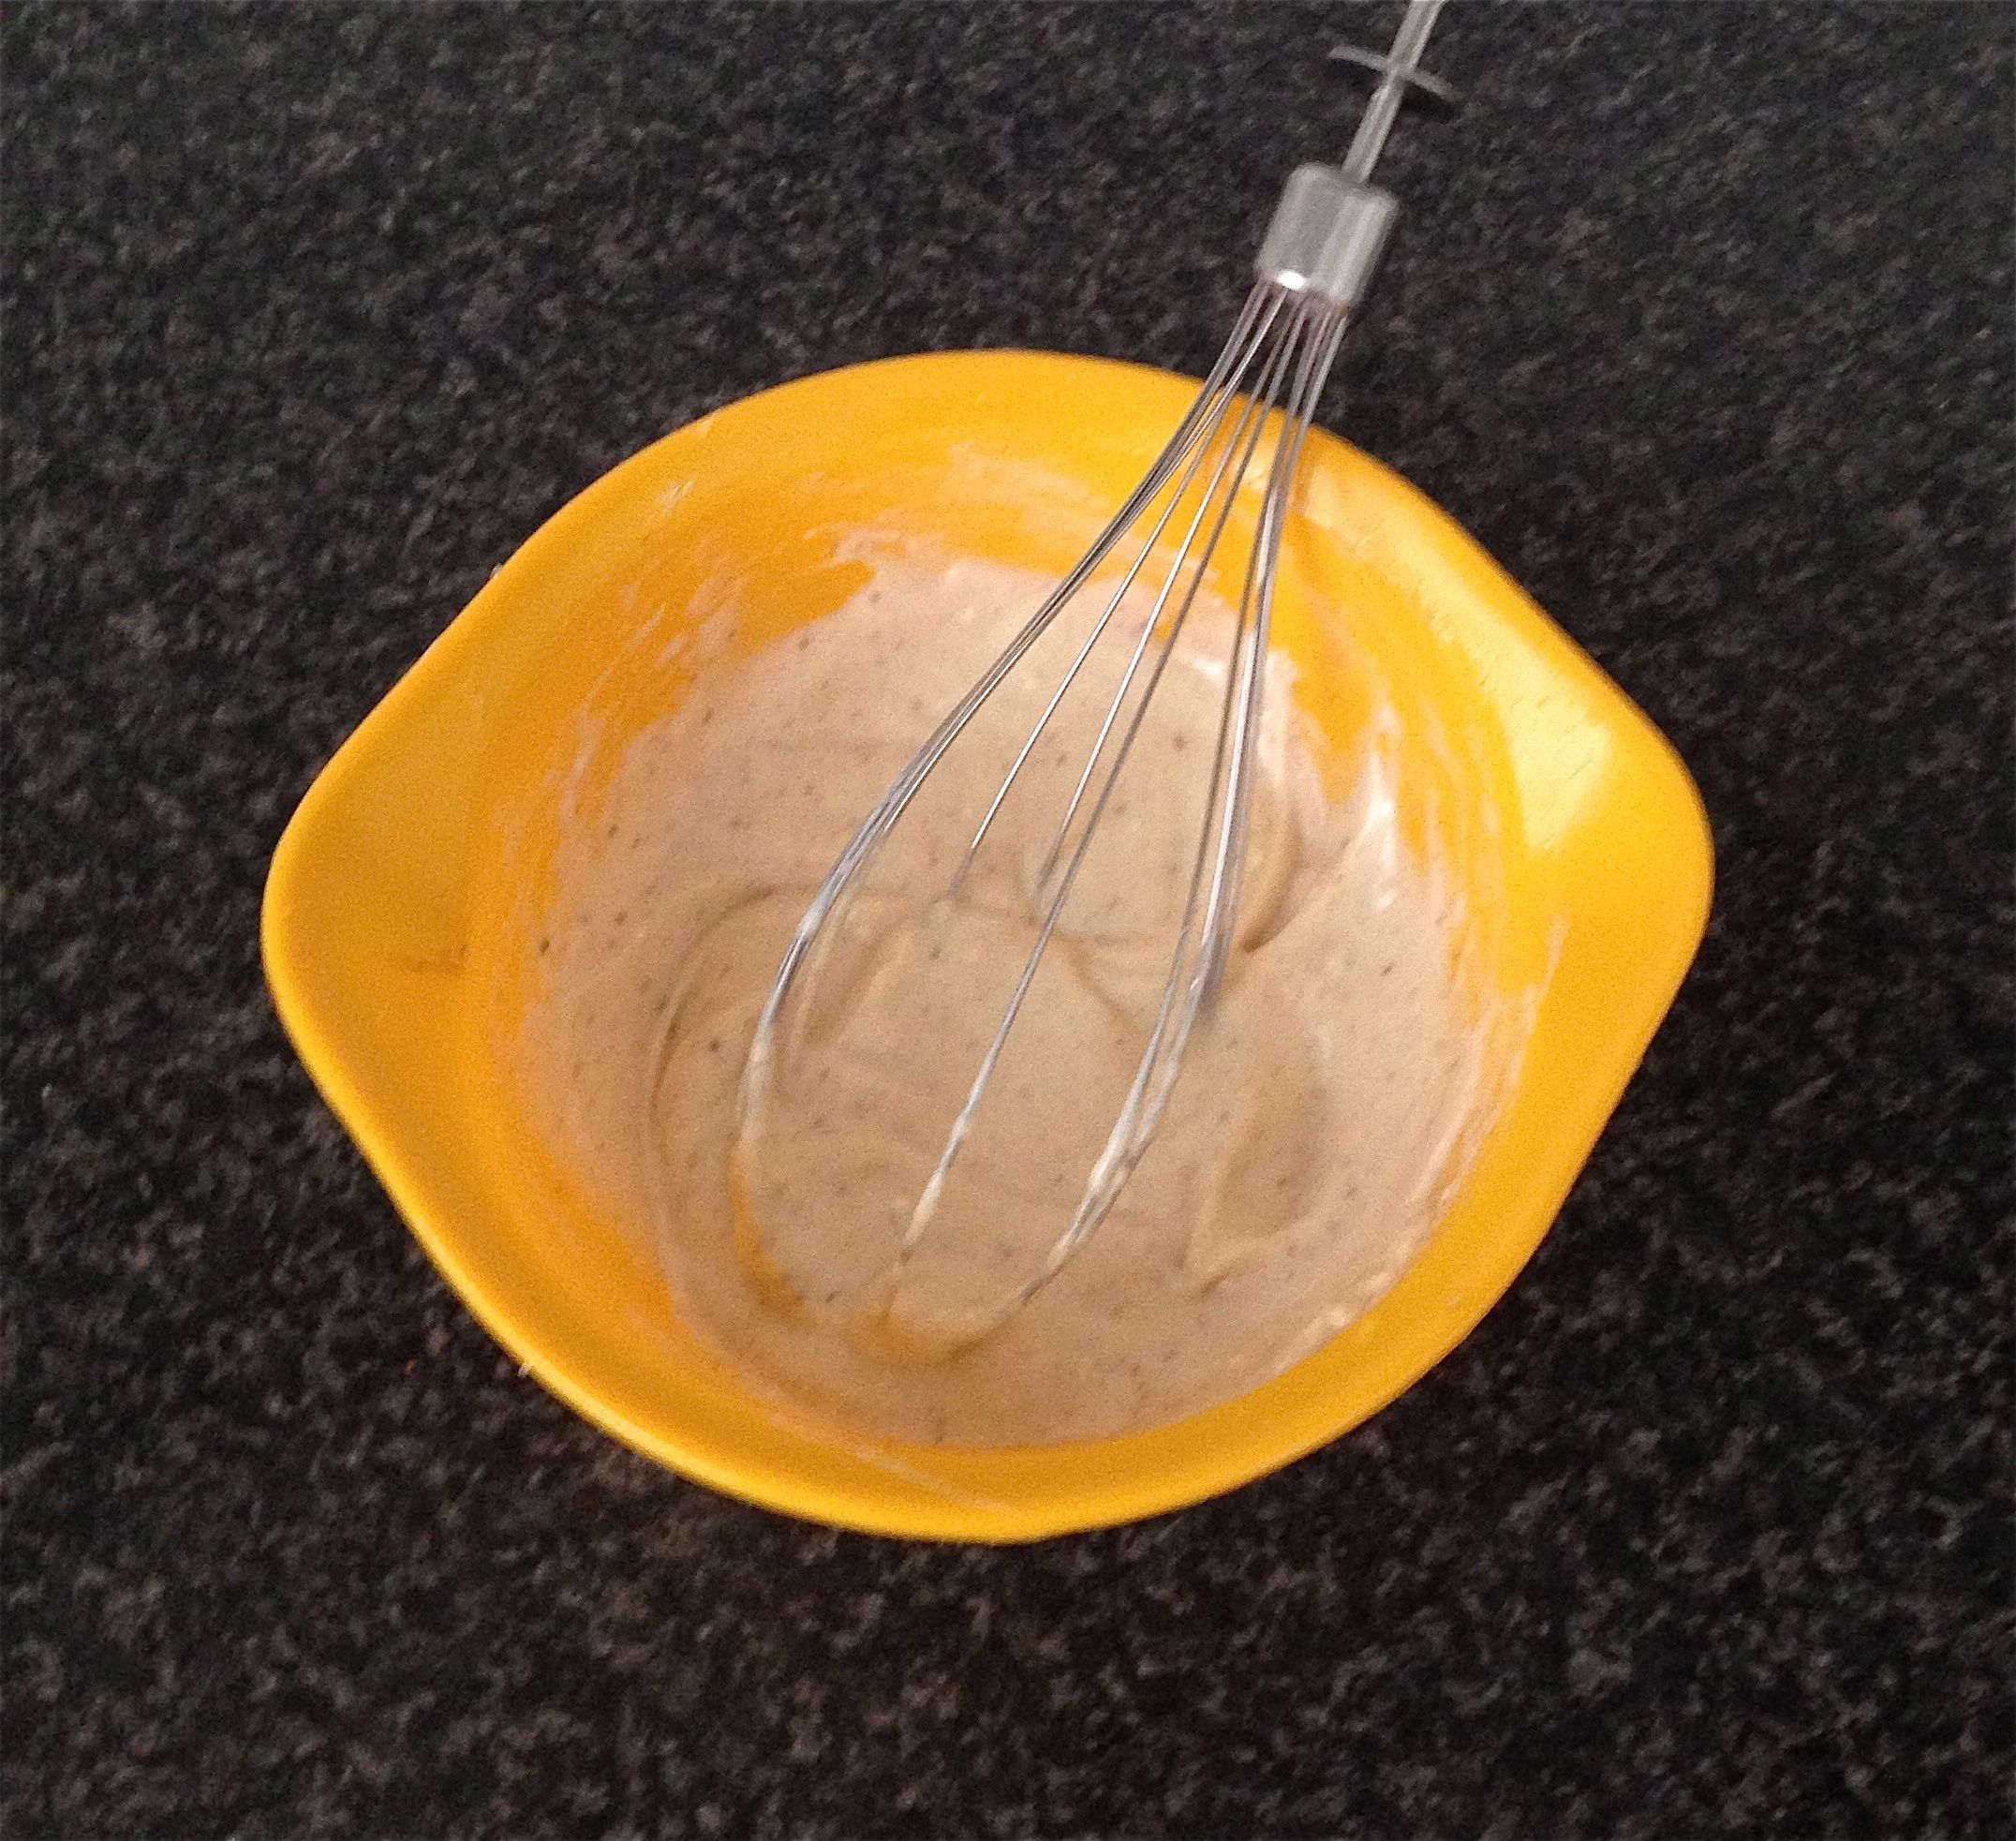
Step 5

Slicing the apple. Use gloves and vegetable holder when slicing.
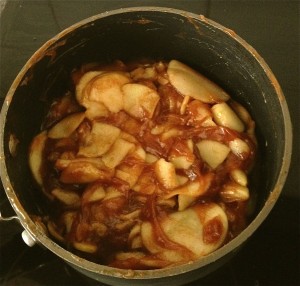
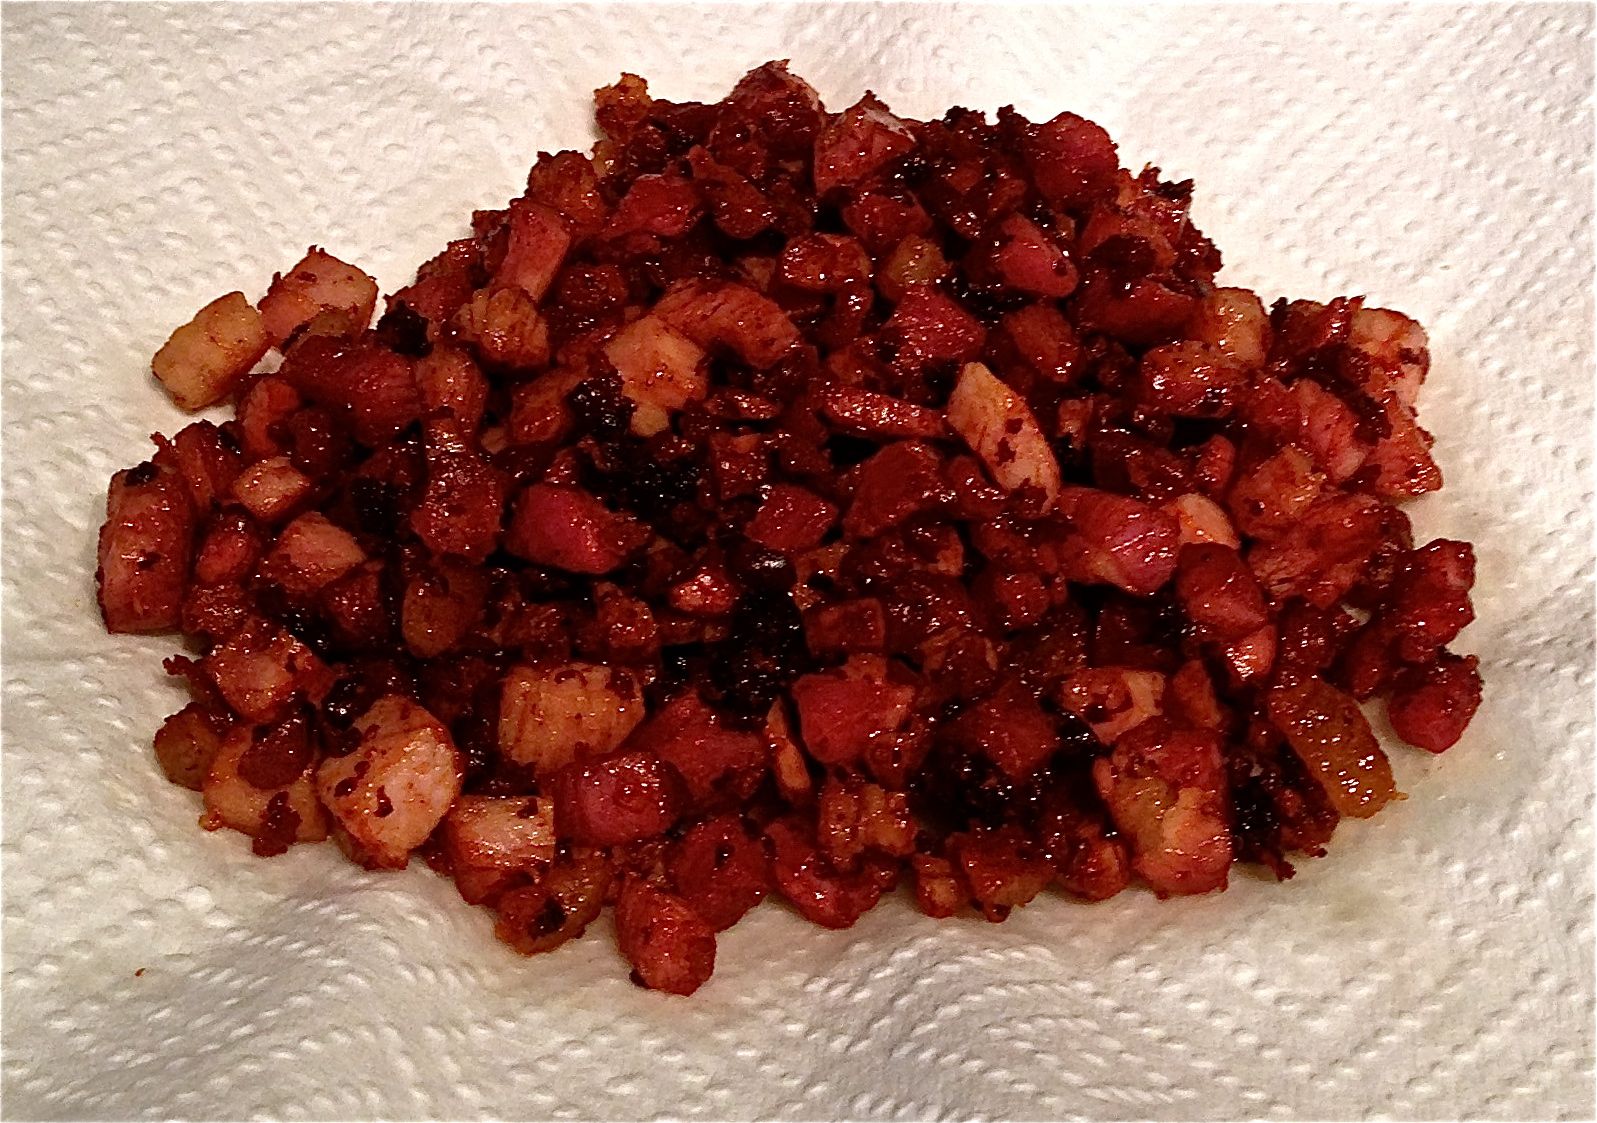
Step 8
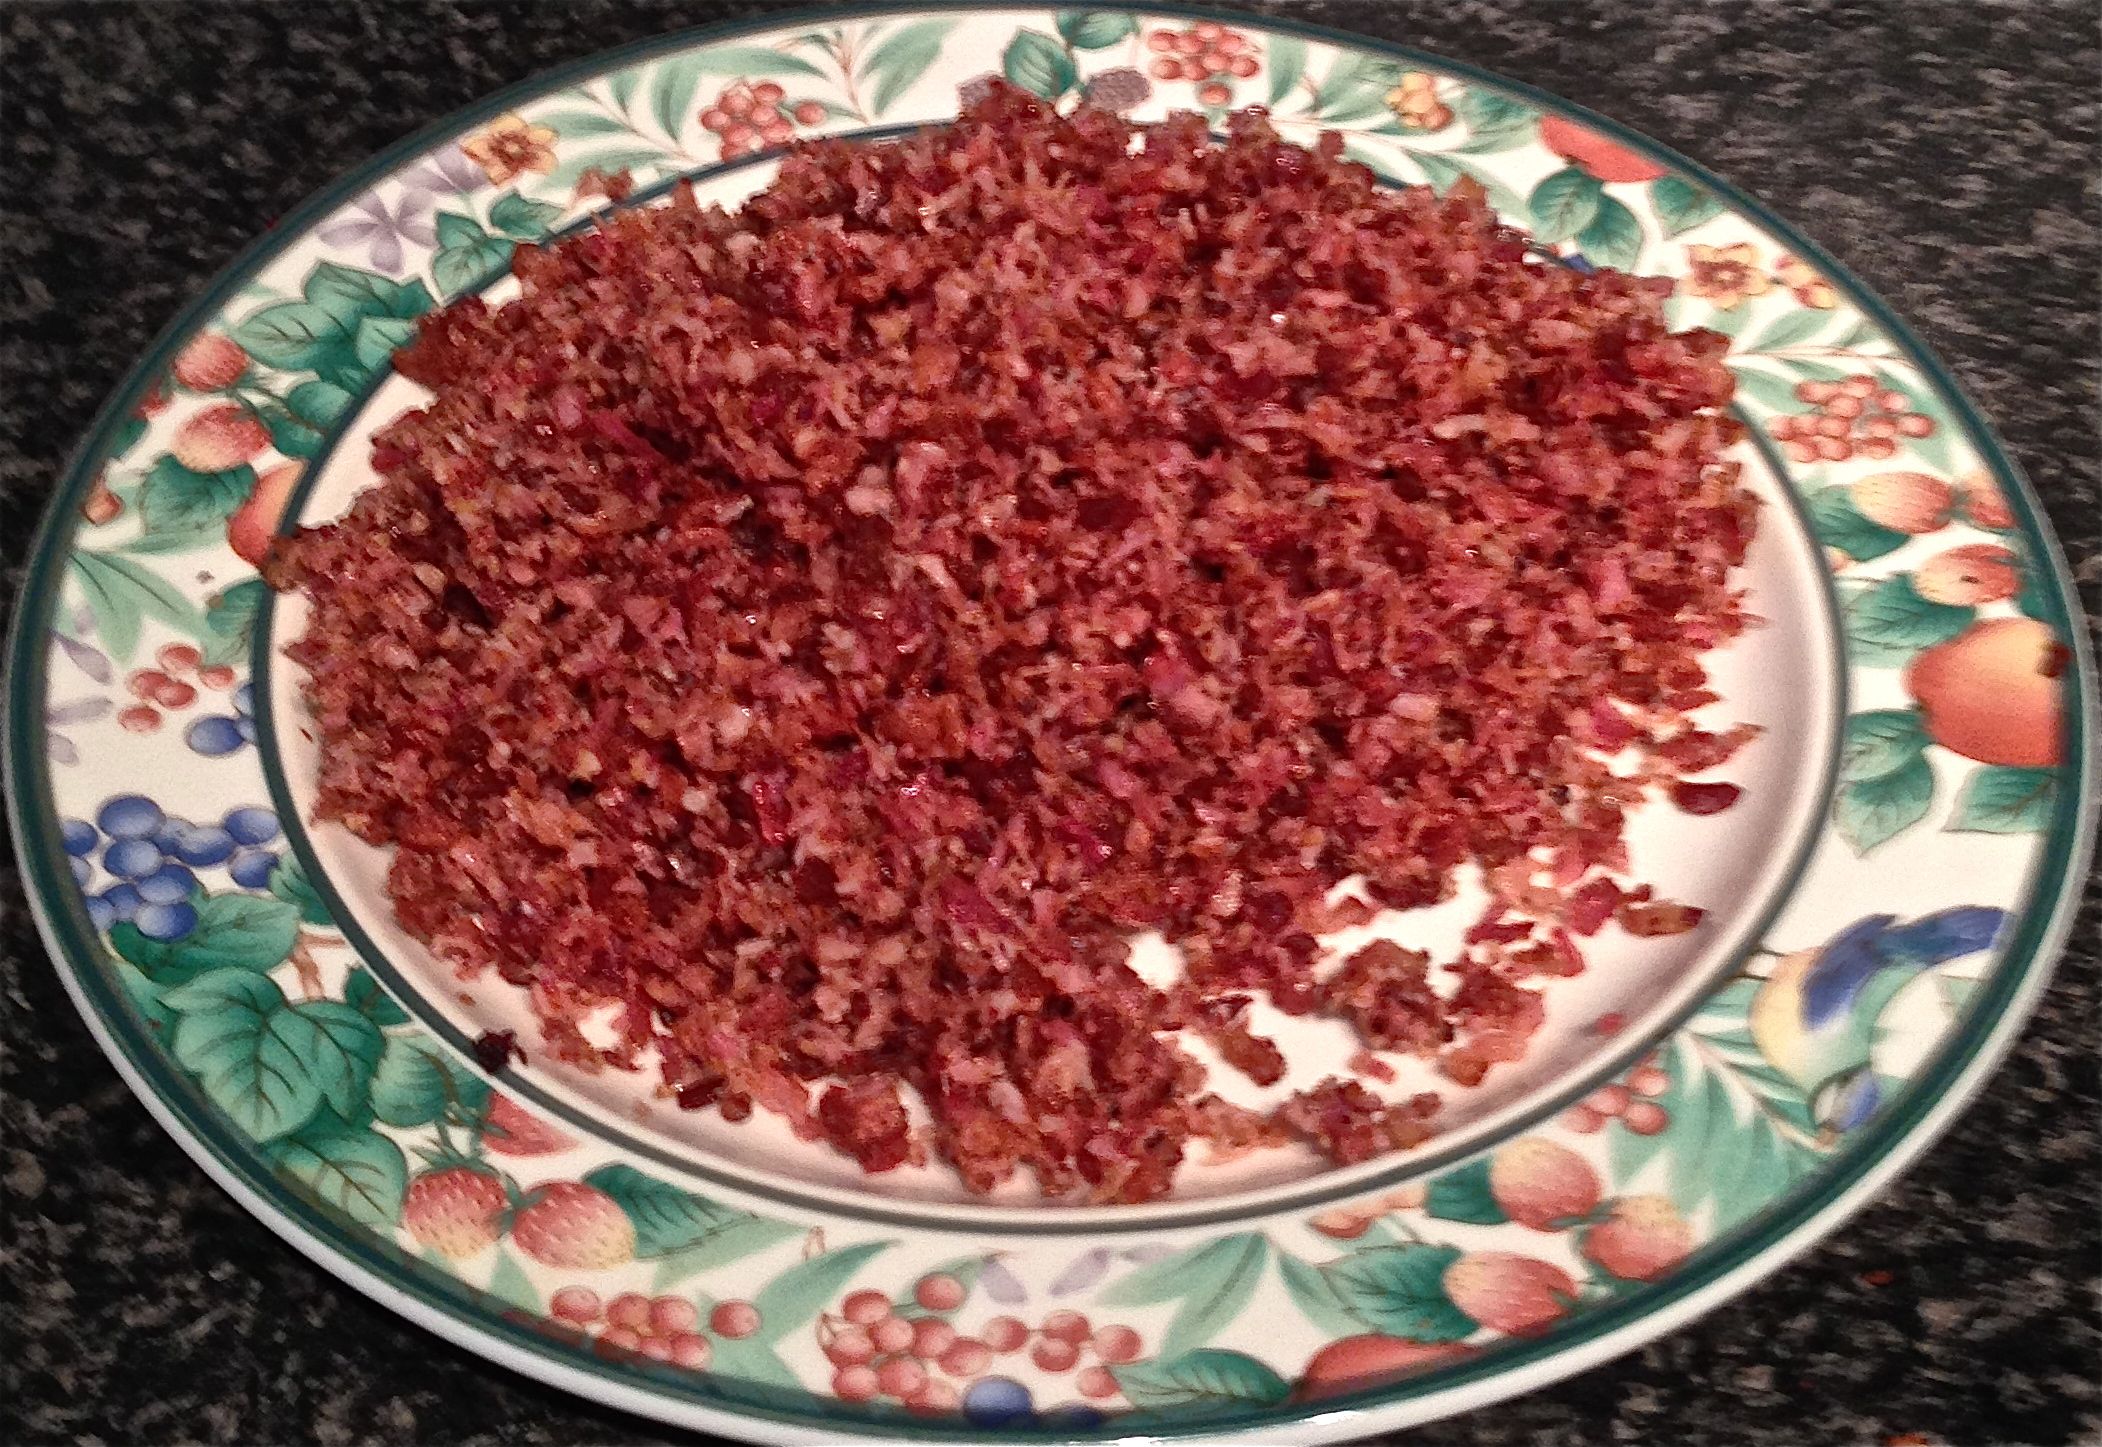
Step 9

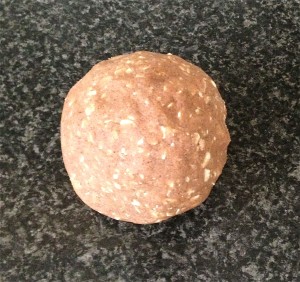
Step 10

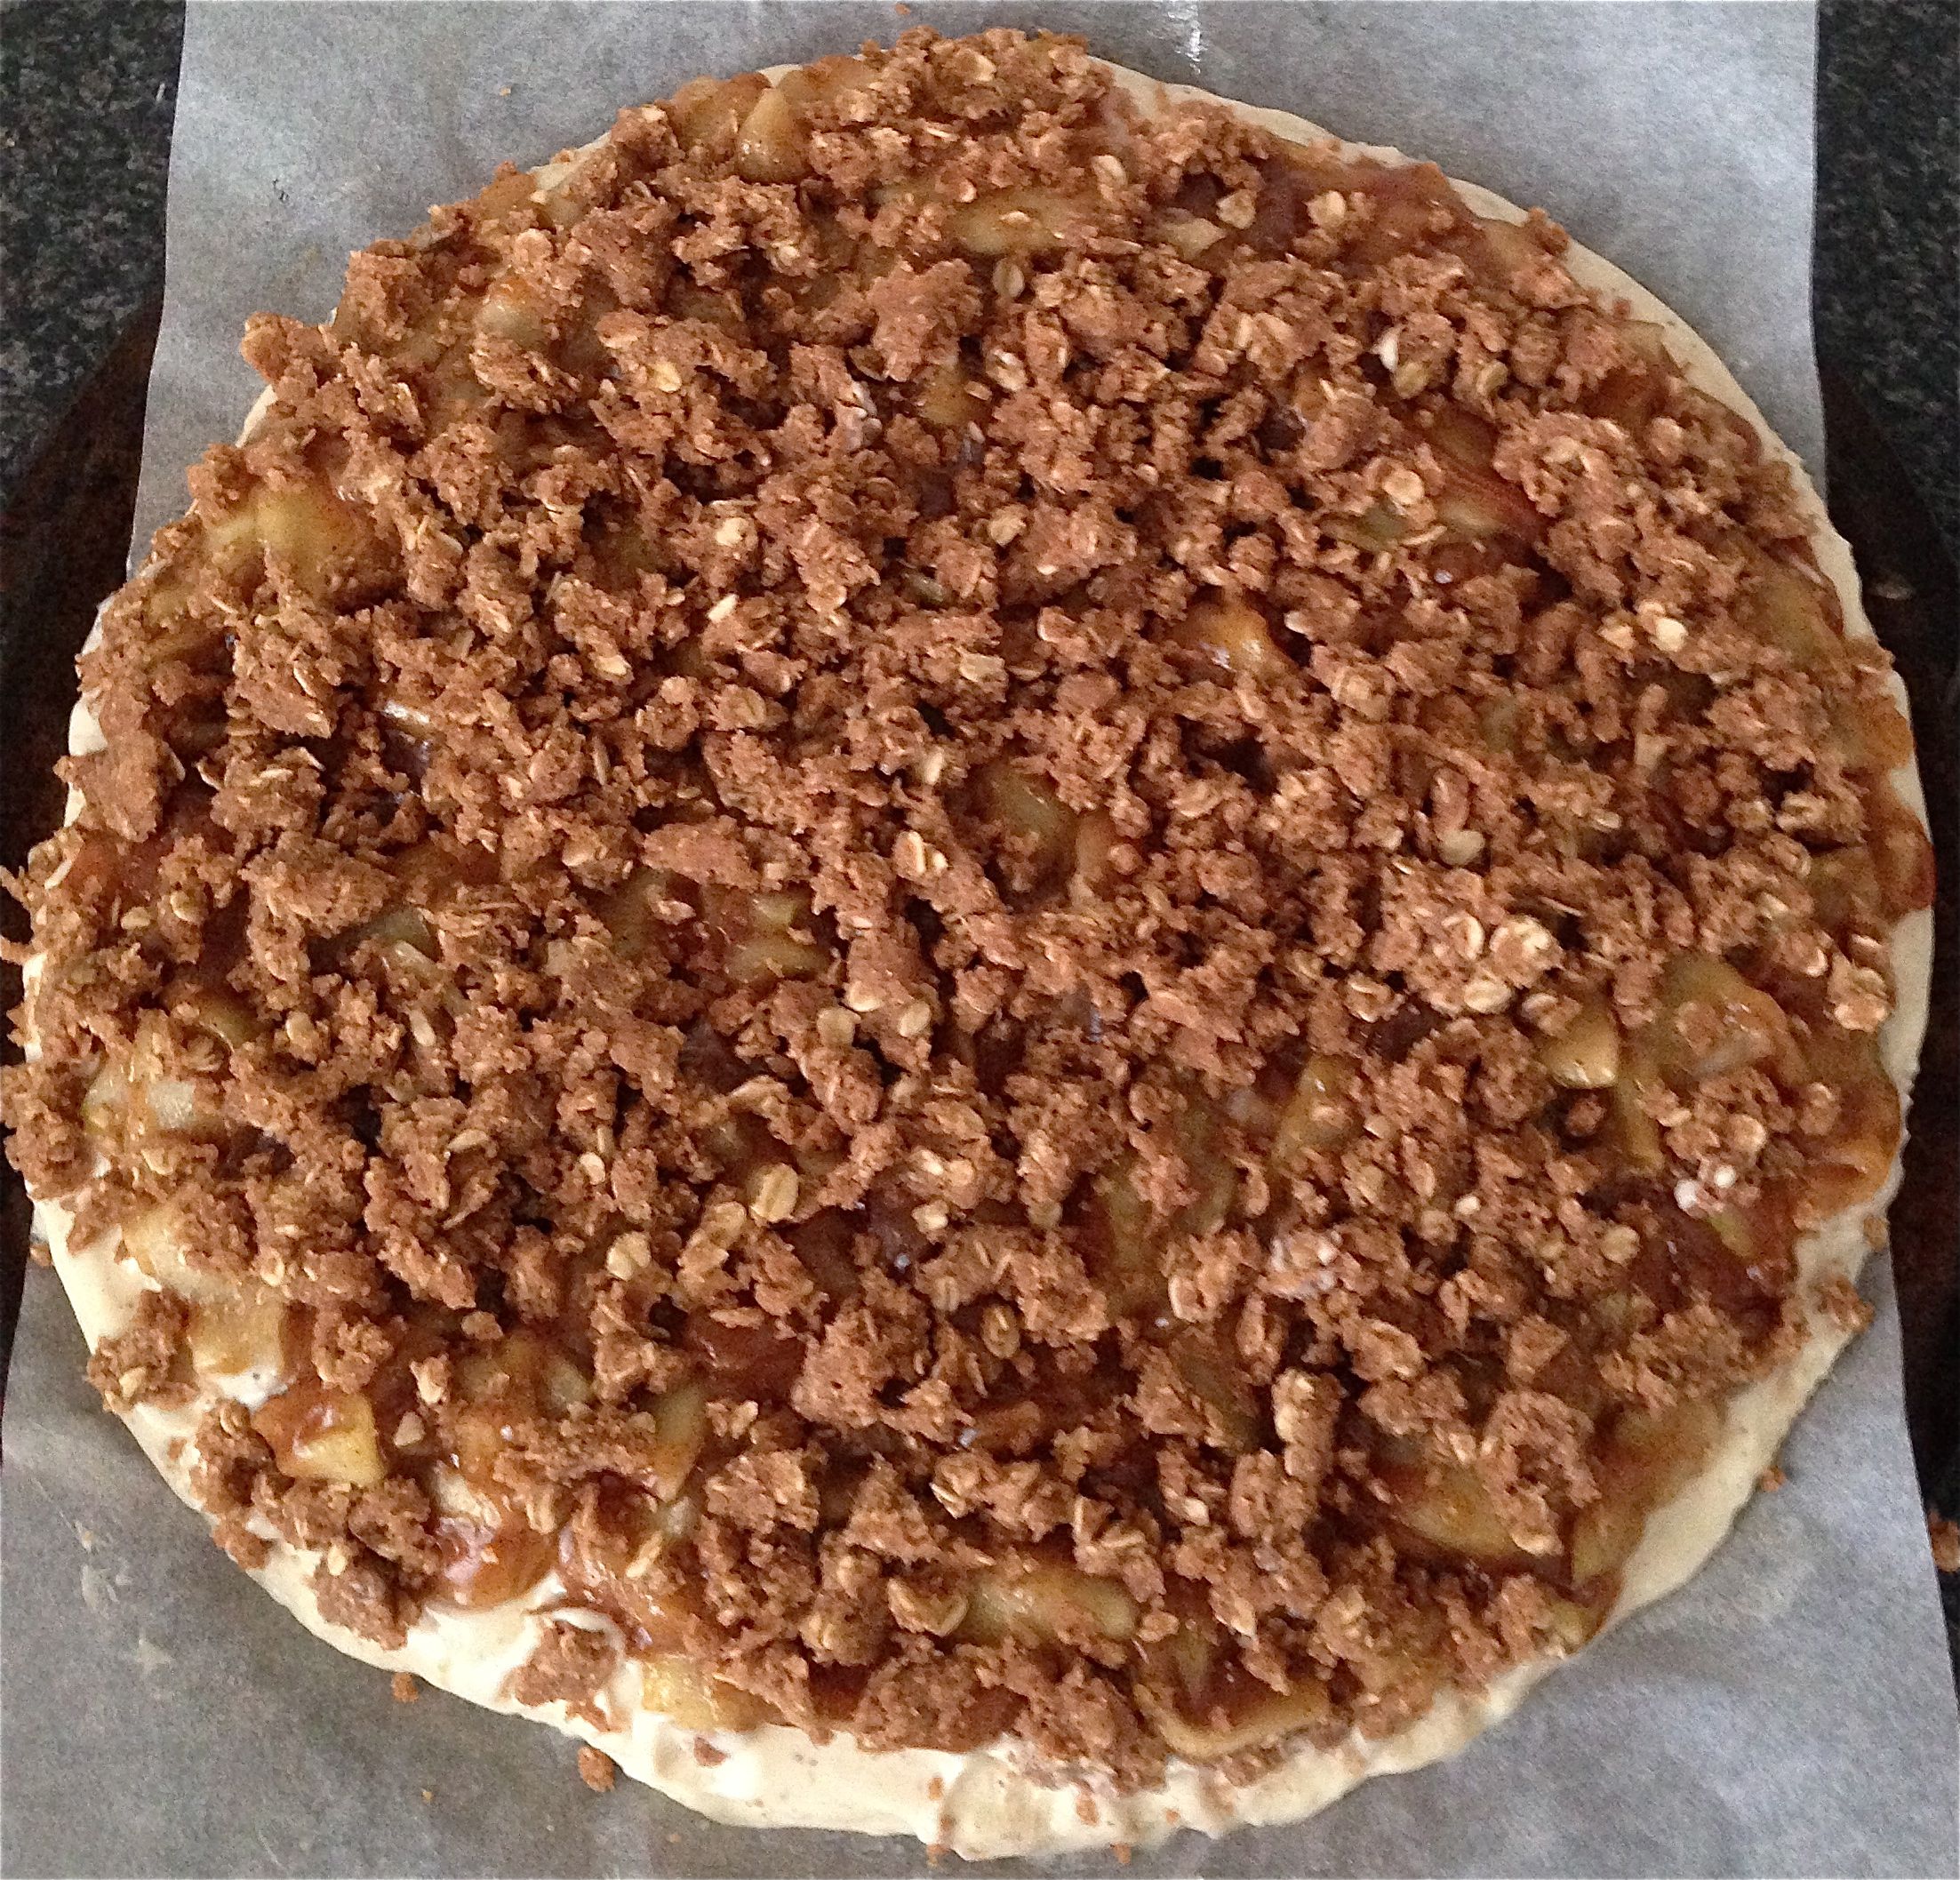
Step 14
Like this recipe? Subscribe via RSS or email to get my new entries and more scrumptious recipes with reviews.