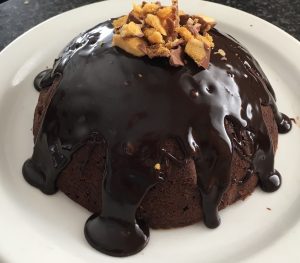
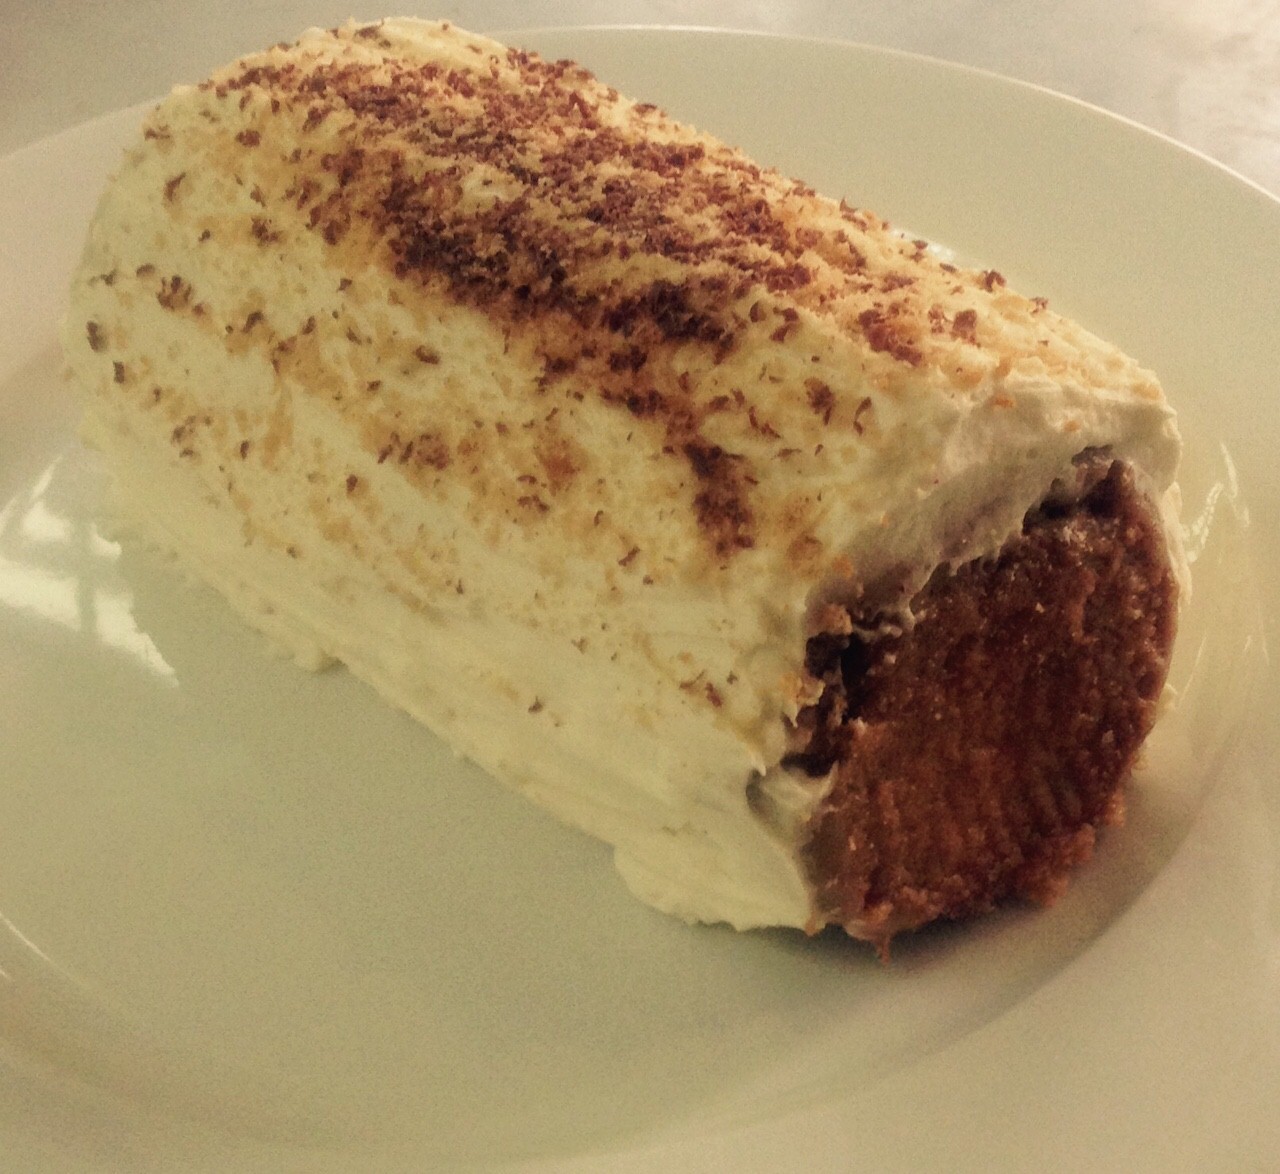
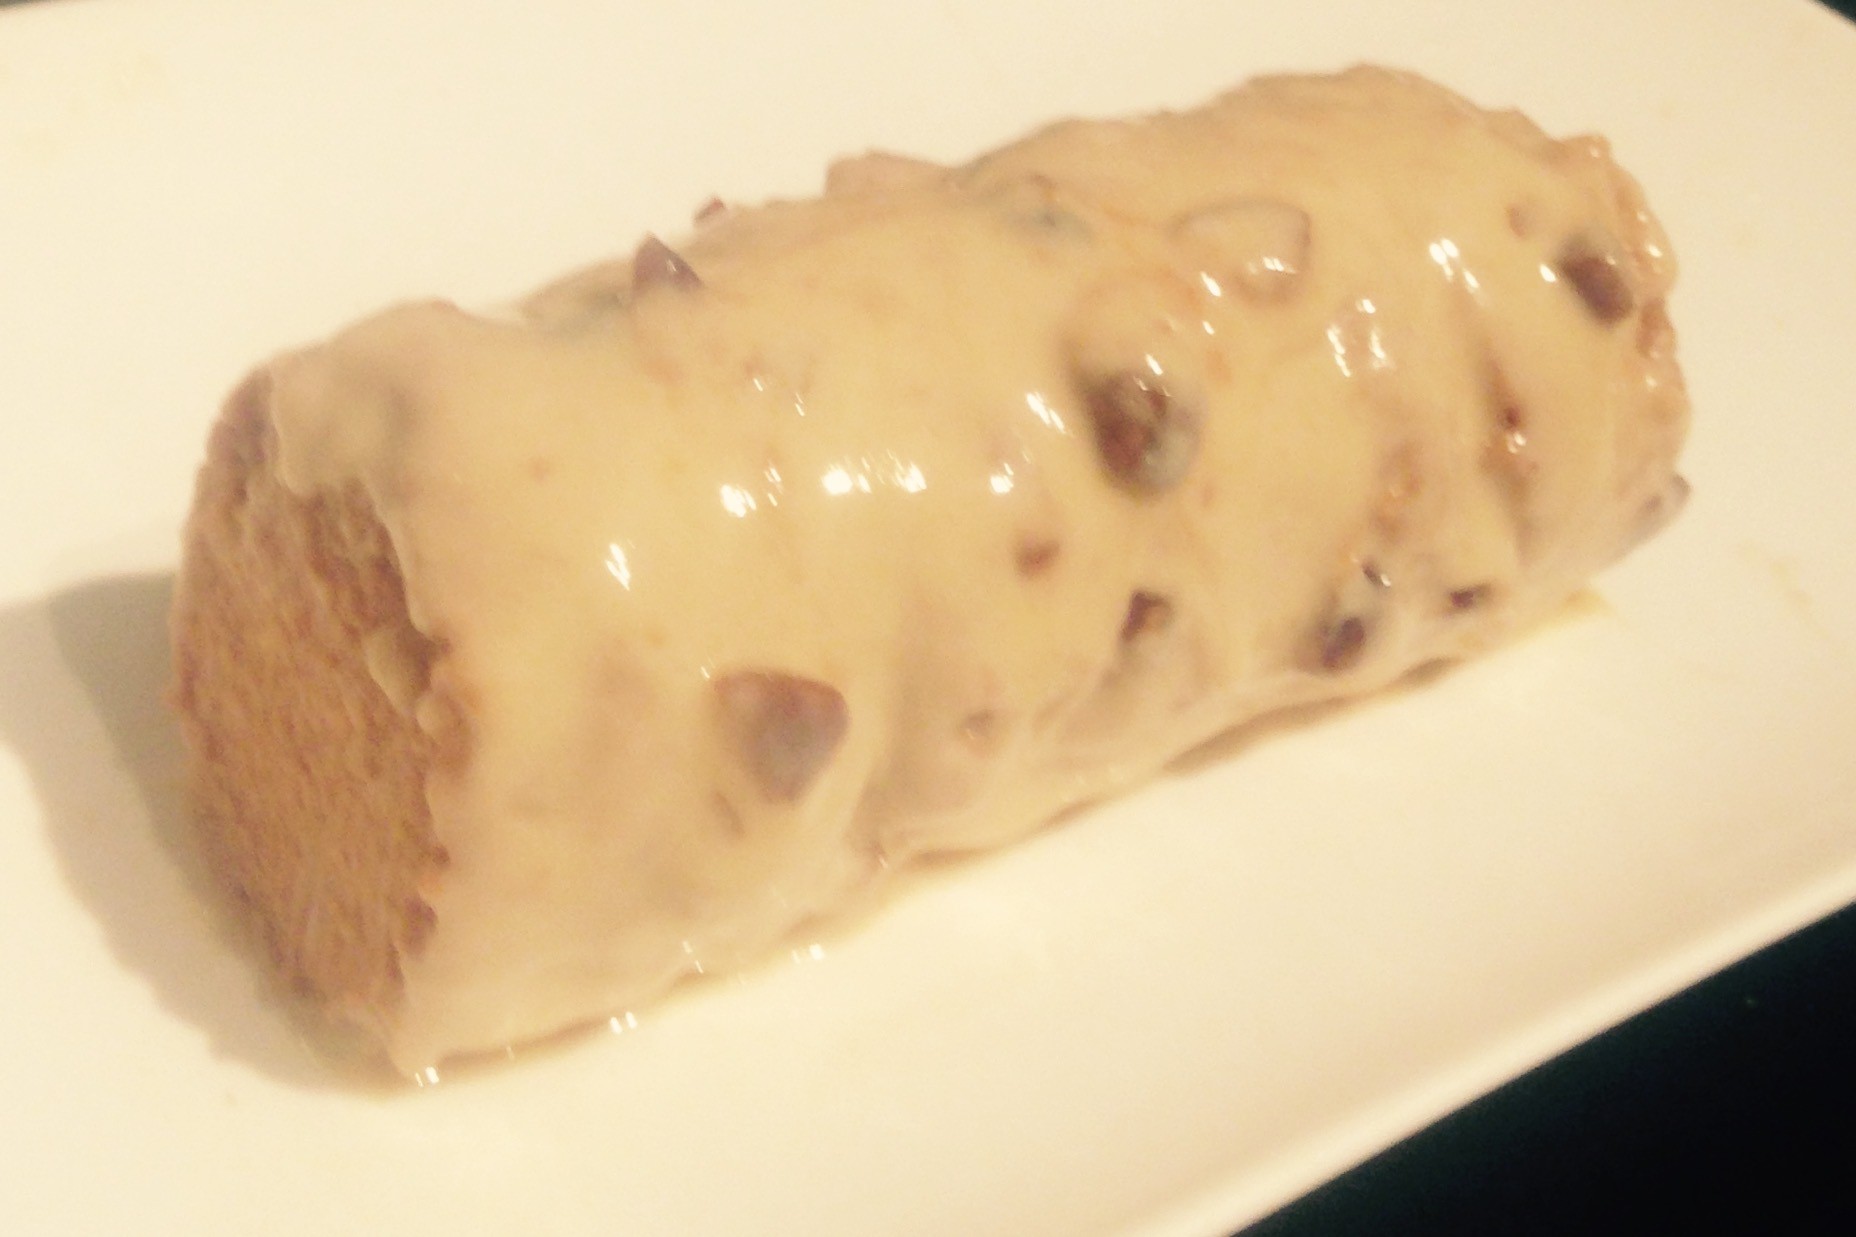
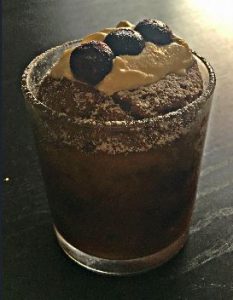
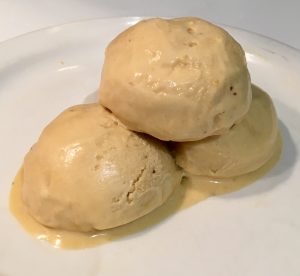
Moscato Lemon and Strawberry Ice-cream
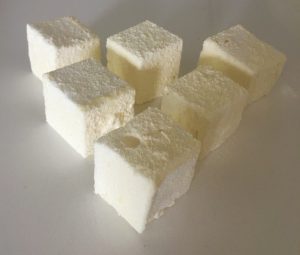
- After the recent success of my Moscato and Lemon Marshmallows recipe I decided to extend on the flavour pairing and too that also change up the dessert style. Knowing that Moscato and Lemon already go well together I opted for an additional flavour that holds the same fruity aroma and taste as Moscato, but also compliments both the wine and citrus ingredients.
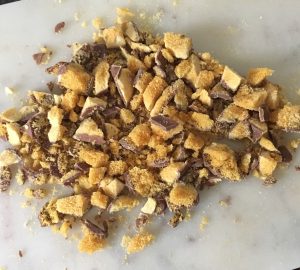
- After trialling the combo of a few different berries I felt the strawberry was too delicious not to incorporate.
- I have used jam in this recipe as the jam ensured I didn’t thin out the ice-cream like Strawberry puree did (it also makes the recipe that little bit easier to make as steps are omitted). I’m not the biggest fan of traditional ‘cream and egg yolk’ based ice-cream, however this recipe was too good for me not to demolish.
Ingredients:
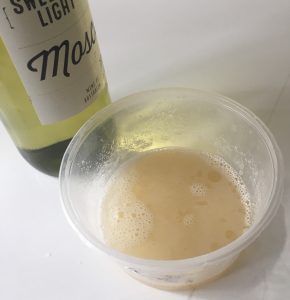
- 300ml Moscato
- 90g sugar
- 5 egg yolks
- 400ml thickened cream
- 60g strawberry jam
- 1 tsn lemon zest
Method:
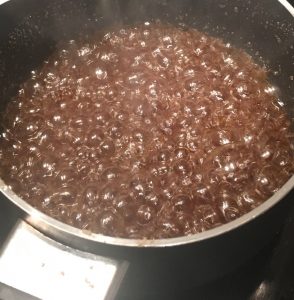
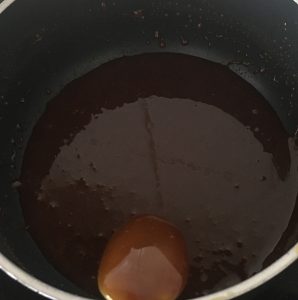
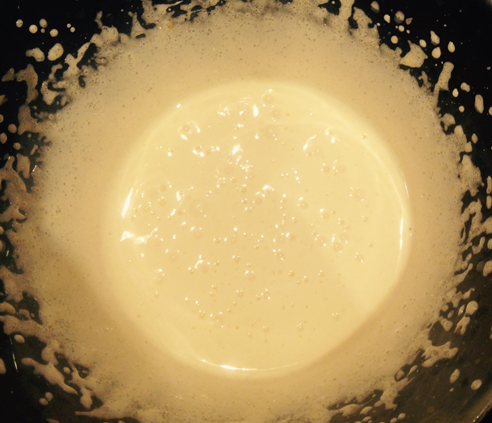
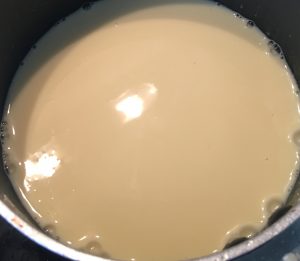
- Pour the Moscato into a saucepan and heat on medium/high for 10 minutes or until the liquid has reduced down to a third (100ml).
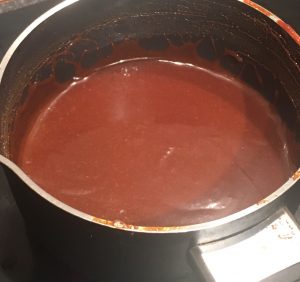
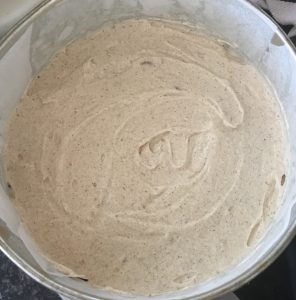
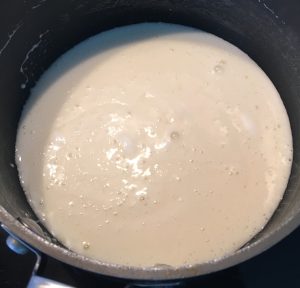
- Take the saucepan off the heat and slowly pour the cream into the Moscato, whisking with a hand whisk as you pour until combined.
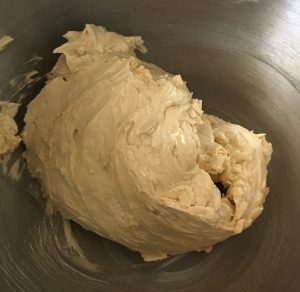
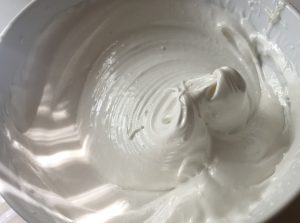
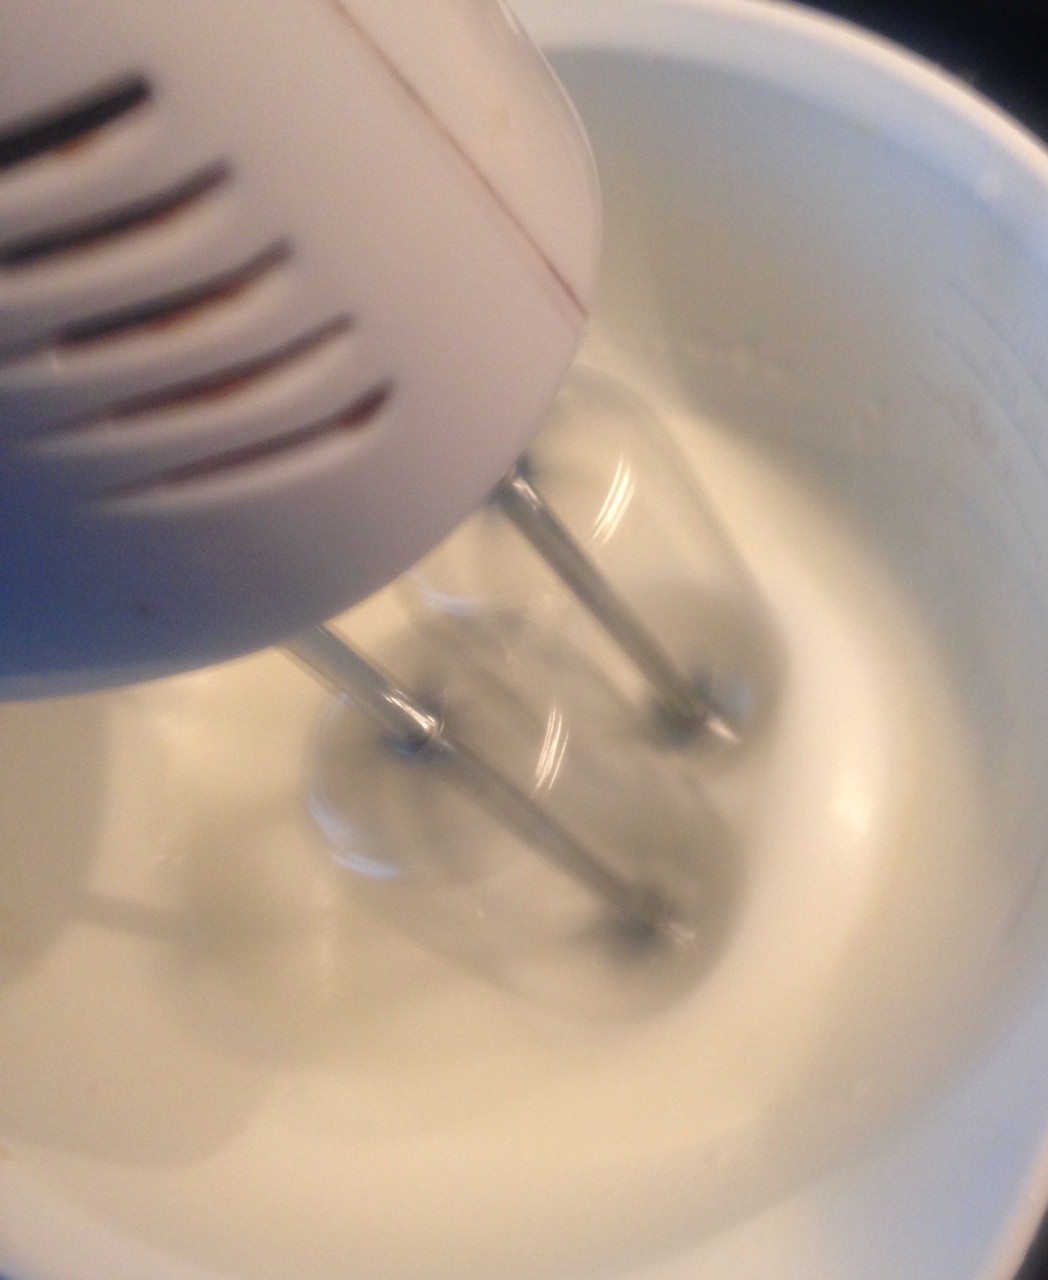
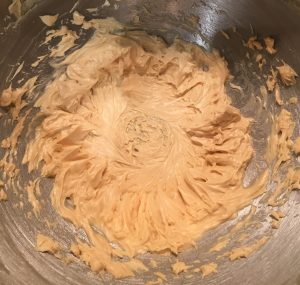
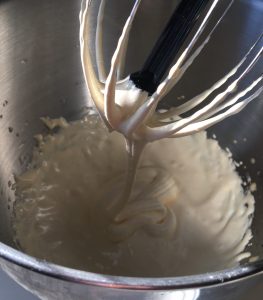
- Place the sugar and egg yolks into a bowl and using electric beaters whisk for a minimum of 5 minutes.
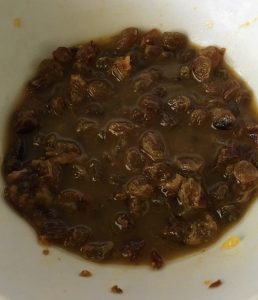
- Add the strawberry jam and lemon zest to the egg mix, whisk until combined.
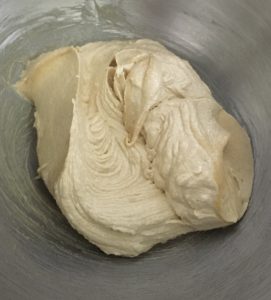
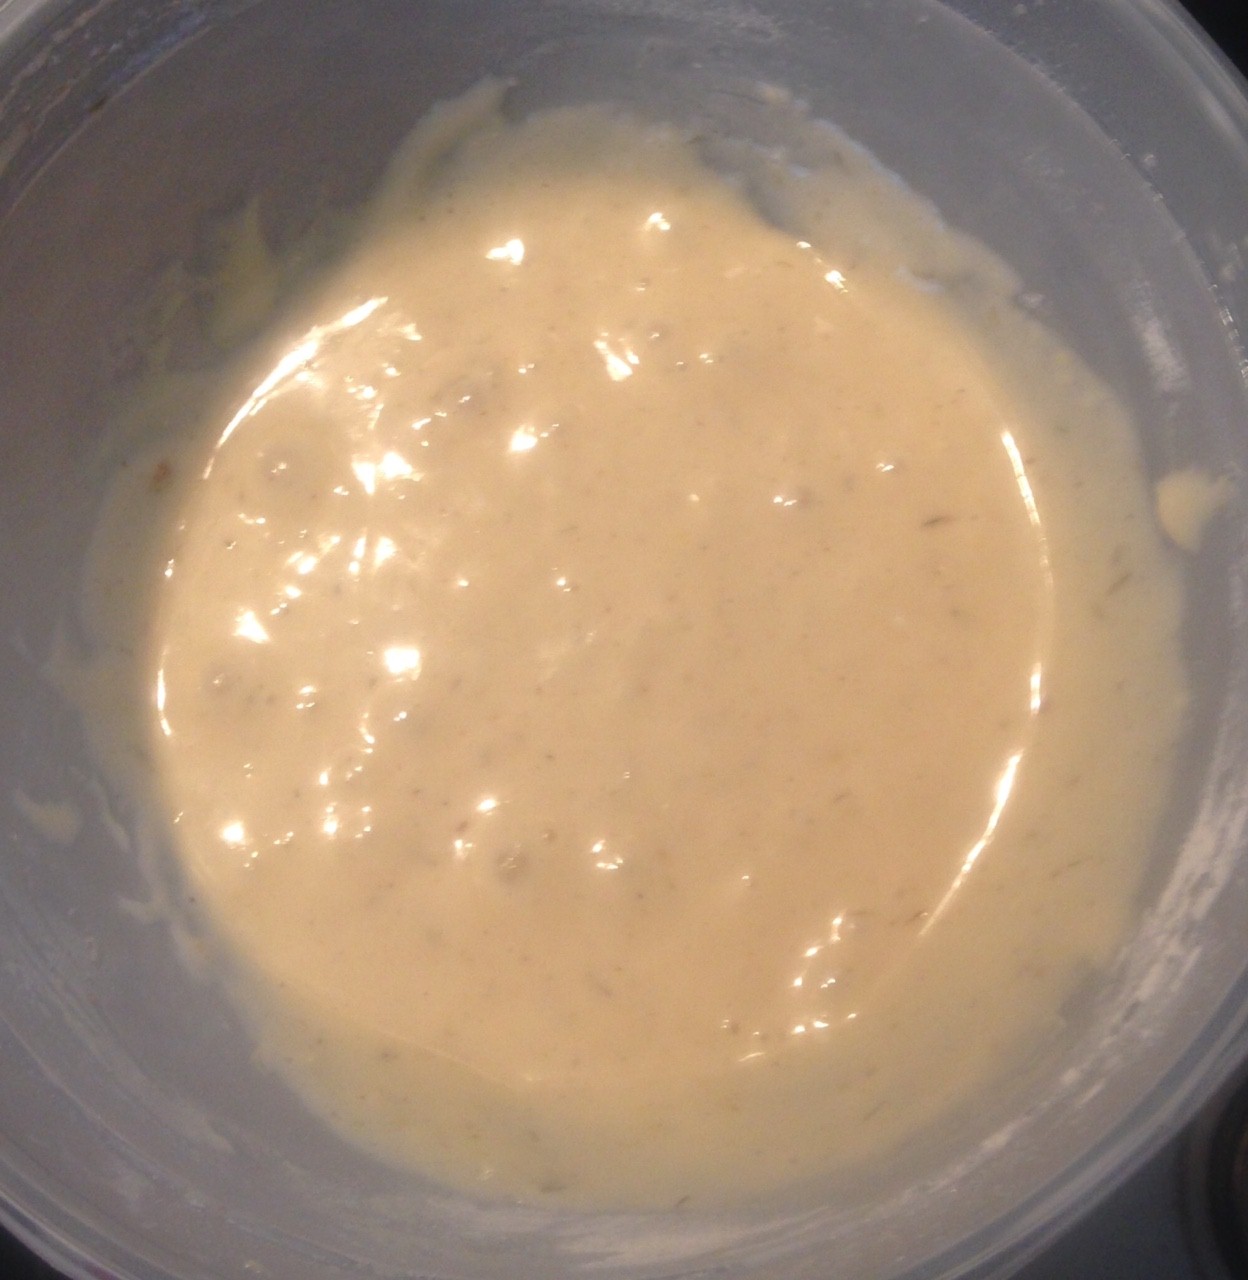
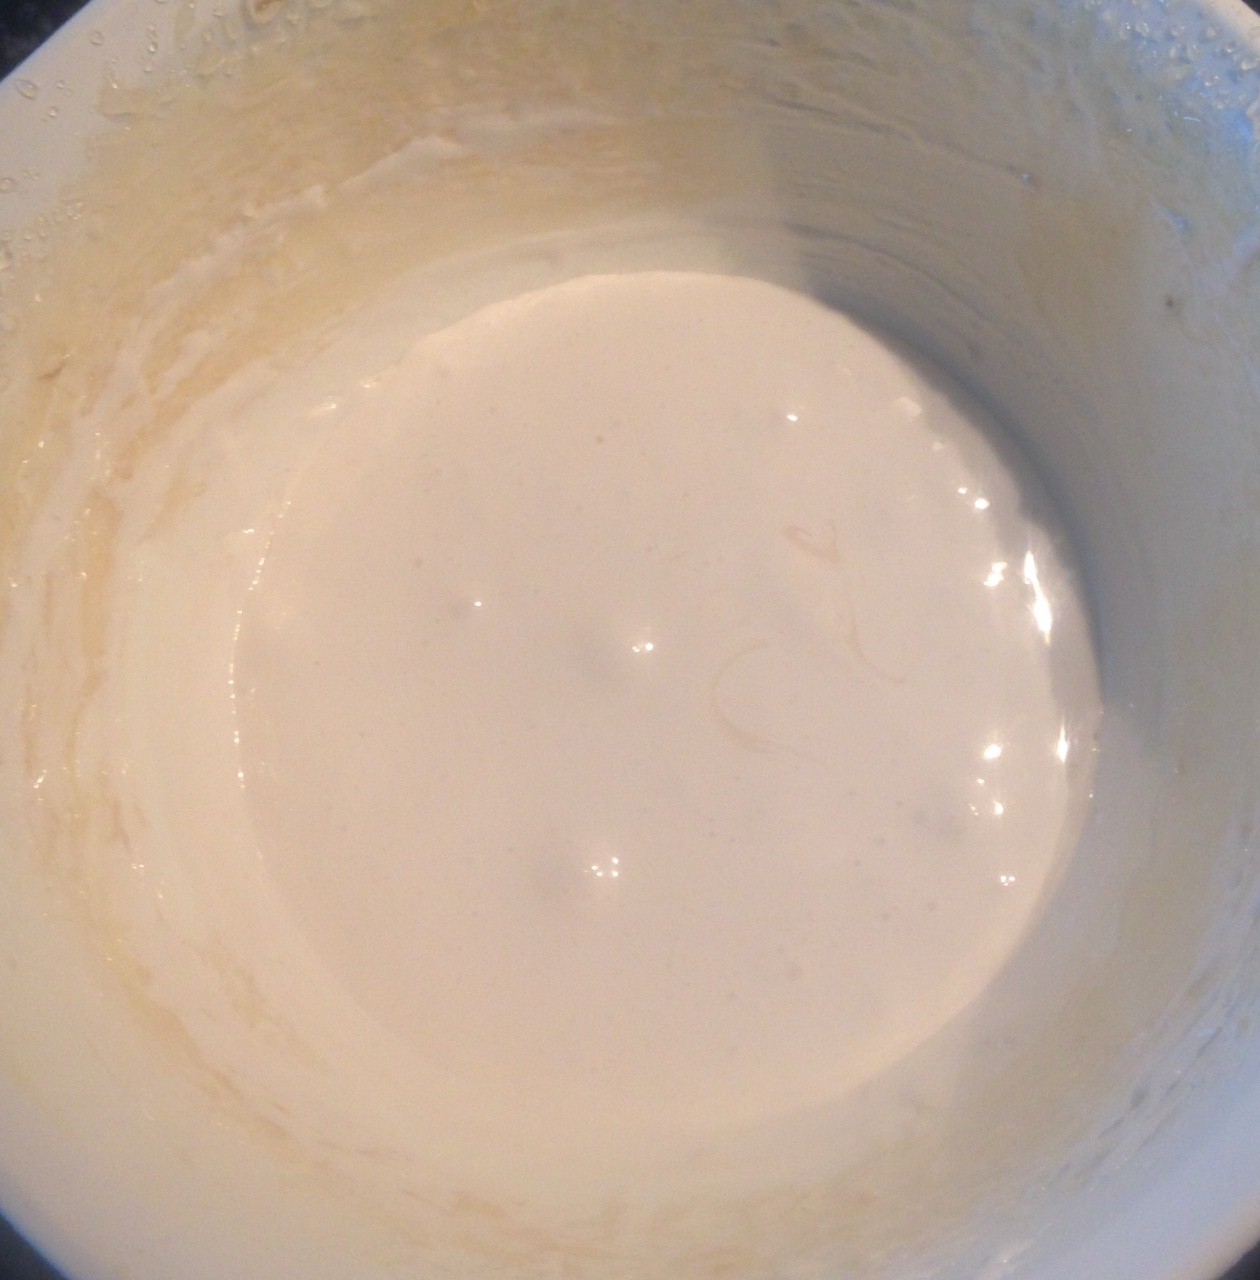
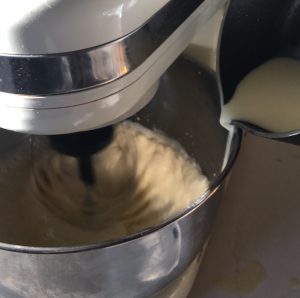
- Slowly pour the cream mix into the egg yolk mix while the beaters are whisking.
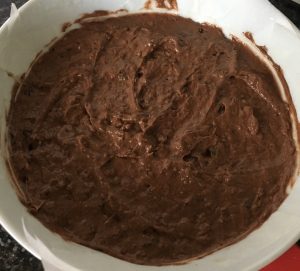
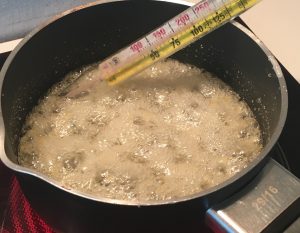
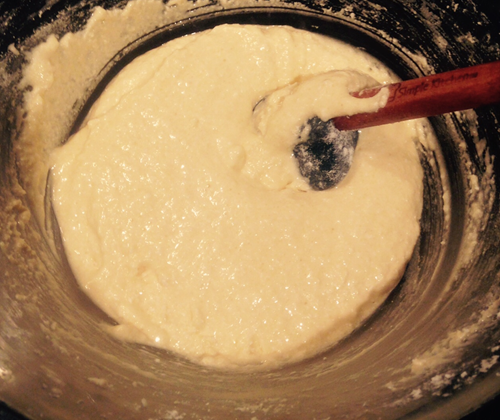
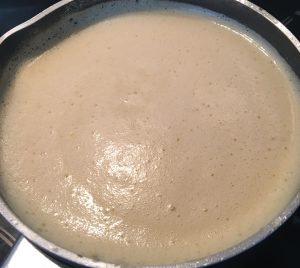
- Once the cream mix is well combine place the mix back into the saucepan on medium/high heat for 5 minutes or until the mixture coats the back of a spoon thickly.
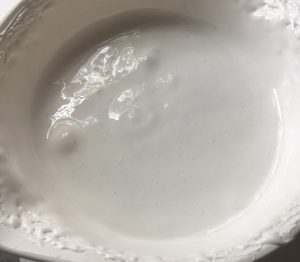
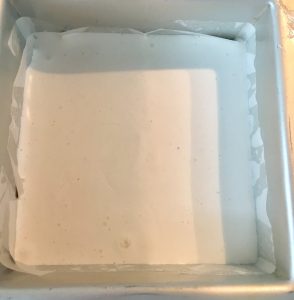
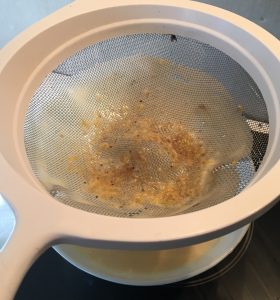
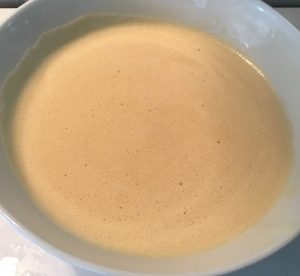
- Pass the mix through a sieve into a bowl and allow to cool.
- Once mix is cold place in the freezer for 2 hours.
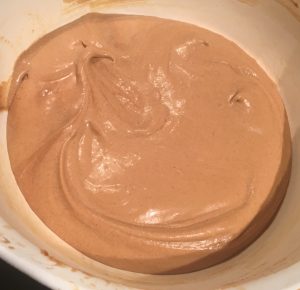
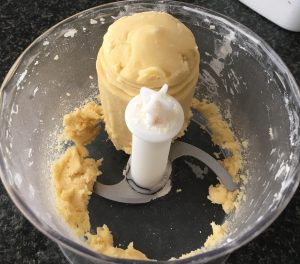
- After 2 hours spoon the mix into a food processor and blitz for 2 minutes. Place mix back in the freezer.
- After an hour spoon the mix into the food processor again and blitz for 2 minutes. Place mix back in the freezer.
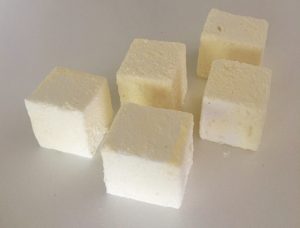
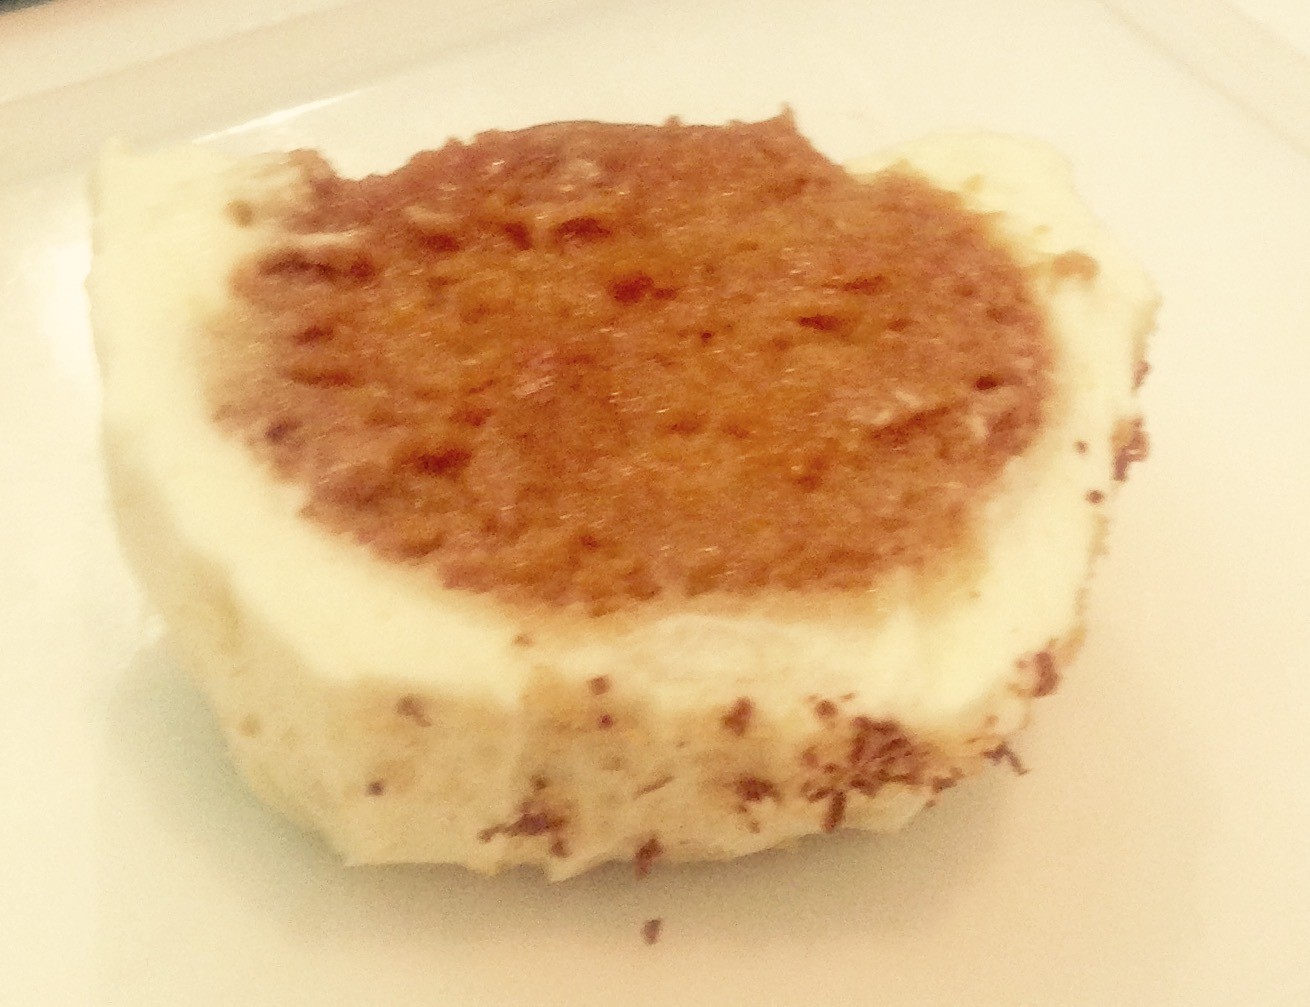
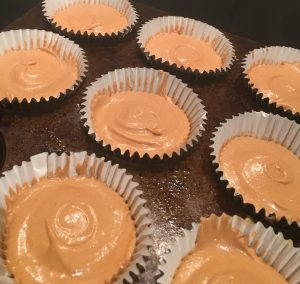
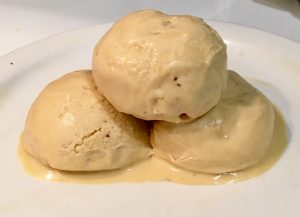
- After an hour scoop the ice-cream into a bowl and enjoy!
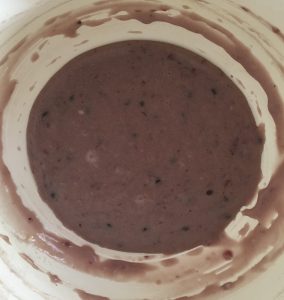
- Step 2
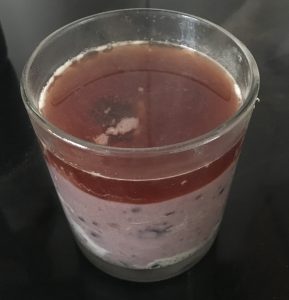
- Step 3
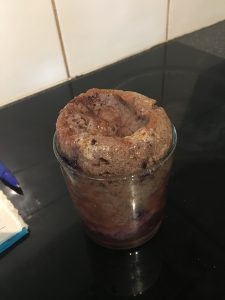
- Step 5
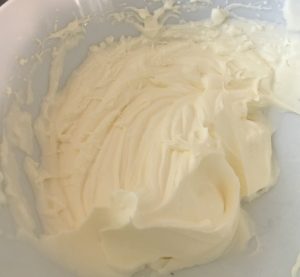
- Step 6
- Step 7
- Step 8
- Step 11
Like this recipe? Subscribe via RSS or email to get my new entries and more scrumptious recipes with reviews.
 Follow