Green Smoothie Chocolate Cake

Don’t get scared, hold on and stay with me for 1 minute, I can guarantee this cake will taste only of chocolate, you will not taste a gram of green or healthiness in this cake.
The name of this recipe says it all, I have taken key ingredients that you usually find in green smoothies that provide a pleather of varying health benefits and turned them into a cake. In fact, 12/16 of the ingredients in this cake are well known for their health benefits.
Don’t believe you can eat a nutritious cake and thoroughly enjoy it? The below is an example of a few ingredients that provides exactly that:
- Zucchini – vitamin C & A, protein, fiber, potassium & folate
- Spinach – vitamins A, B2, C and K, magnesium, manganese, folate, iron, calcium & potassium
- Dates – iron, calcium, potassium, phosphorous & magnesium
- Cocoa – lower blood pressure, improve blood flow & 3x the antioxidants than a cup of green tea
- Cinnamon – lowers blood sugar and reduce heart disease risk factors
- Ginger and Turmeric – anti-inflammatory qualities
- Oatmeal – controls blood sugars, high in fiber and drops bad cholesterol
- Avocado – vitamin C & E
Ingredients:
Cake batter:
- 265g zucchini
- 65g spinach
- 65g dates
- 240ml almond milk
- 65g cocoa powder
- ¼ tsn ground cinnamon
- 1/4 tsn ground ginger
- Pinch turmeric
- 165g butter
- 240g sugar
- 4 eggs
- 30g oatmeal
- 175g self-raising flour
Icing:
- 1 large avocado (190g flesh)
- 60g dates
- 80ml honey
- 1 tsn vanilla essence
- 30g cocoa powder
Extra:
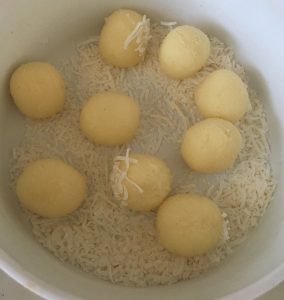
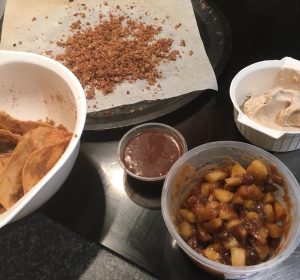
- 35g dates, diced
Method:
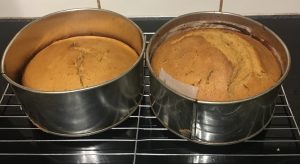
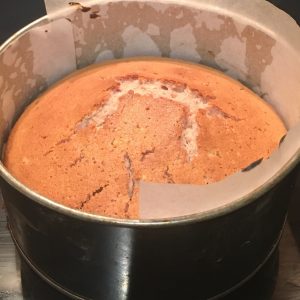
- Pre-heat the oven to 180c degrees and line 2 x 25cm cake tins with baking paper.
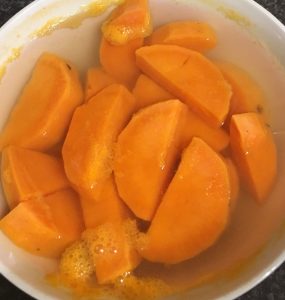
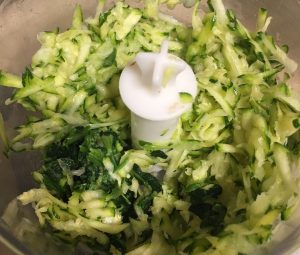
- Grate the zucchini into a bowl and squeeze out 65ml of the zucchini liquid.
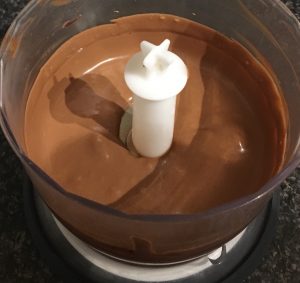
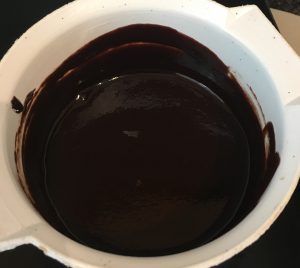
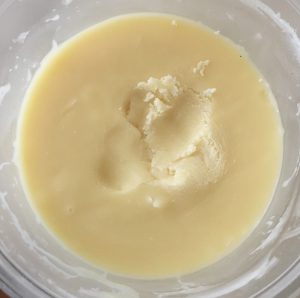
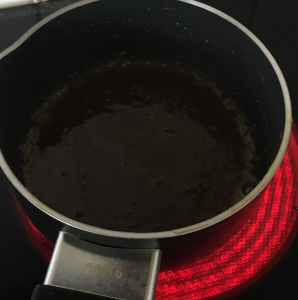
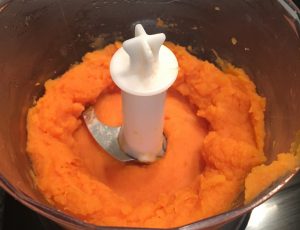
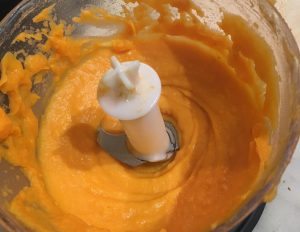
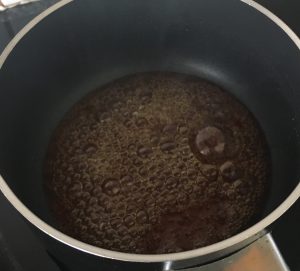
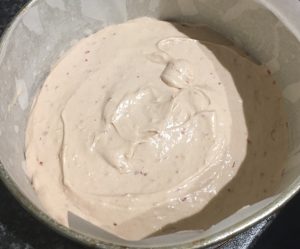
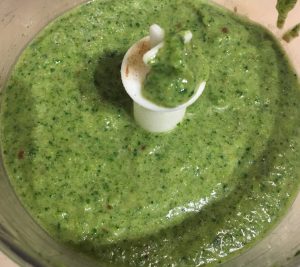
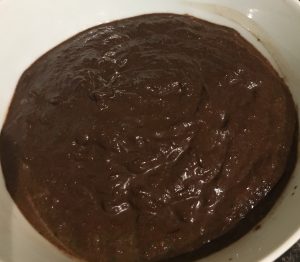
- Place in a food processor the spinach, dates and 120ml of the almond milk, blitz until smooth.
- Add the remaining 120ml of almond milk along with the cocoa powder, cinnamon, ginger and turmeric to the food processor. Blitz until smooth and well combine, add to the zucchini and stir to combine.
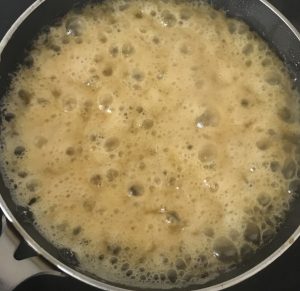
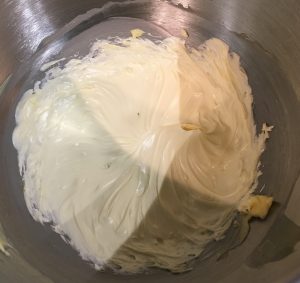
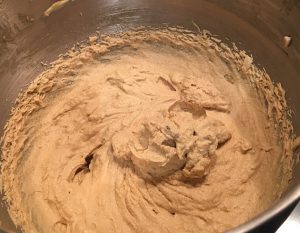
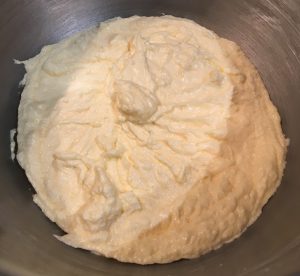
- Using electric beaters whisk the butter for 3 minutes or until pale in colour.
- Add the sugar to the butter and beat for 5 minutes until fluffy and light.
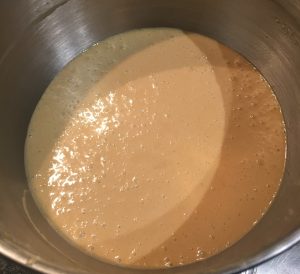
- Add the eggs, one at a time beating for at least 1 minute between each addition (mix should be light, pale and fluffy).
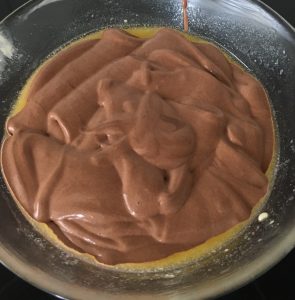
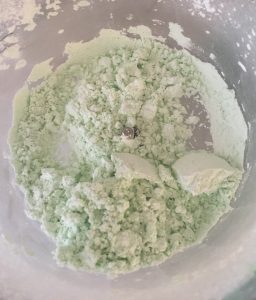
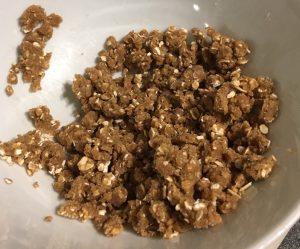
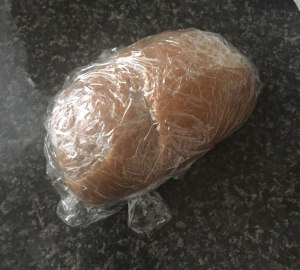
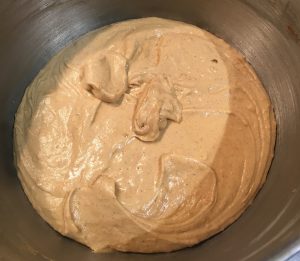
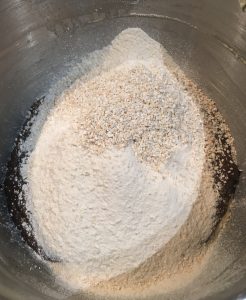
- Pour the oatmeal into the butter mix and sieve the self-raising flour into the mix.
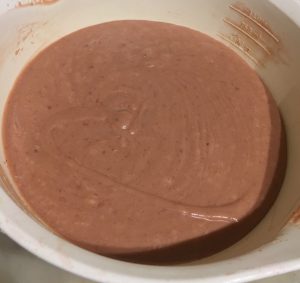
- Add the almond milk wet mix and whisk with electric beaters on low until just combine.
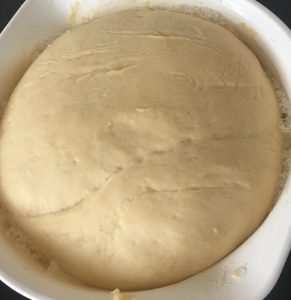
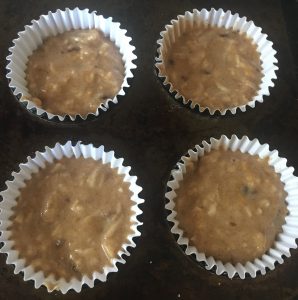
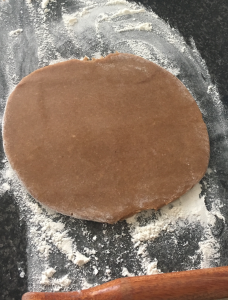
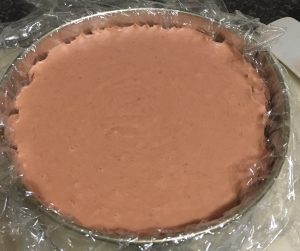
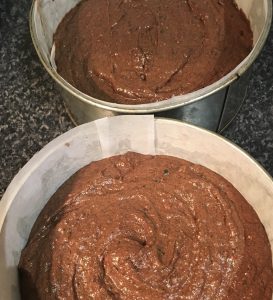
- Spoon the mix evenly into the 2 prepared cake tins.
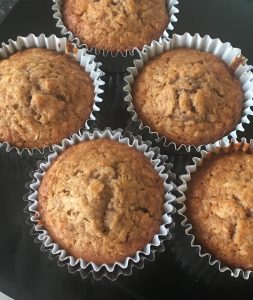
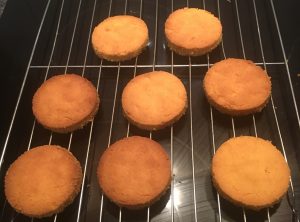
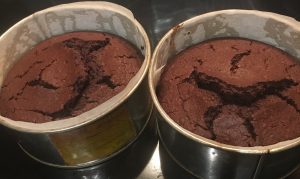
- Bake in the oven for 50 minutes or until a skewer inserted in the center of each cake comes out clean.
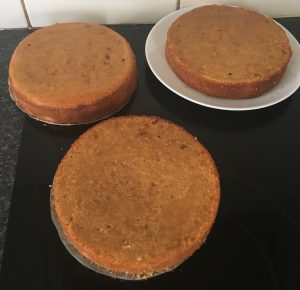
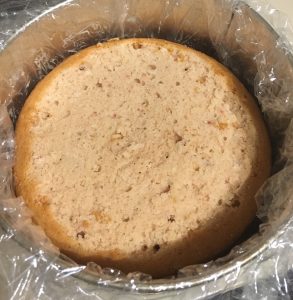
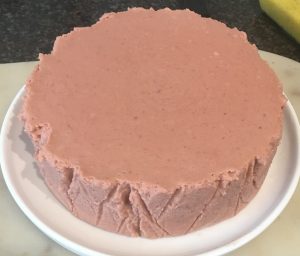
- Leave the cakes in the tins for 10 minutes before inverting onto a cooling rack until cold.
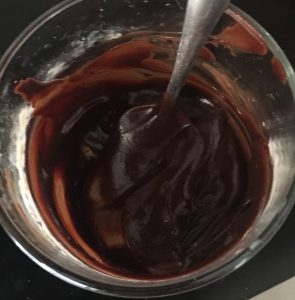
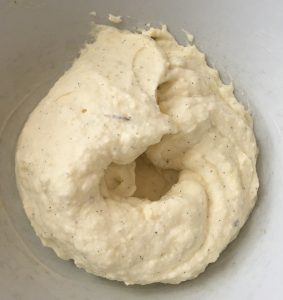
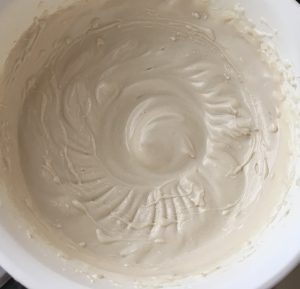
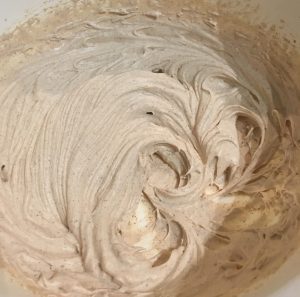
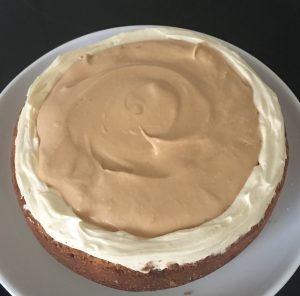
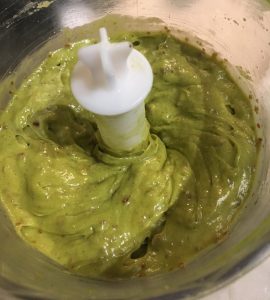
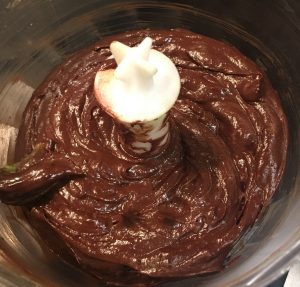
- Meanwhile, make the icing by placing the avocado, dates, vanilla and honey into a food processor and blitz until well combine and smooth.
- Add the cocoa powder to the avocado mix and blitz until smooth and well combine.
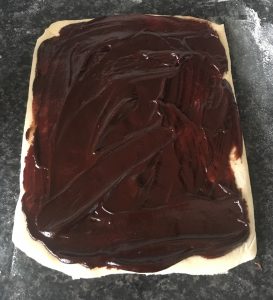
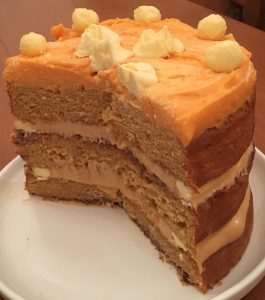
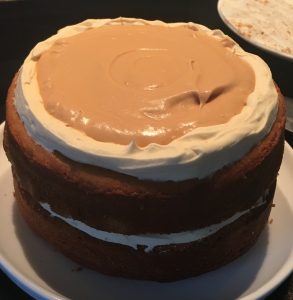
- Place 1 cake onto a plate, top with 1/3rd of the icing.
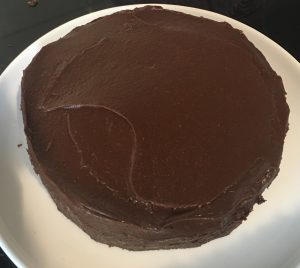
- Add the 2nd cake on top and use the remaining icing on the top and sides of the cake, scatter with the additional dates for decoration, enjoy.
NOTE: For additional decoration only I have picked a few flowers for the garden and arranged on top of the cake.
Step 2
Step 3
Step 4
Step 7
Step 8
Step 10
Step 12
Step 13
Step 14
Step 15

Step 16
Like this recipe? Subscribe via RSS or email to get my new entries and more scrumptious recipes with reviews
 Follow