Chocolate Chai Ice-Cream Sandwich

This recipe is like a premium-class version of a maxibon. My favorite ice-cream is definitely the maxibon, the soft biscuit sandwiched with ice-cream side is just amazing!
To give it a prestige makeover I decided on the beautiful flavour mix of chai, ginger and chocolate.
If you make this cake I can guarantee that you will opt for this treat every time over a maxibon!
Ingredients:
Sponge:
- 4 eggs
- 150g sugar
- 50g flour
- 1 tbsn cocoa powder
- 1 tsn chia spice powder
Extra:
- 100g chocolate ripple biscuits
- 10g chai powder
Ice-Cream:
- 480ml thickened cream
- 170g dark chocolate
- 4 egg yolks
- 2 eggs
- 100g sugar
- Extra, 70g grated dark chocolate
- 40g chia spice powder
- 1 tsn ground ginger
Method:
- Pre heat the oven to 180c degrees and line a 30cm x 30cm cake tin with baking paper.
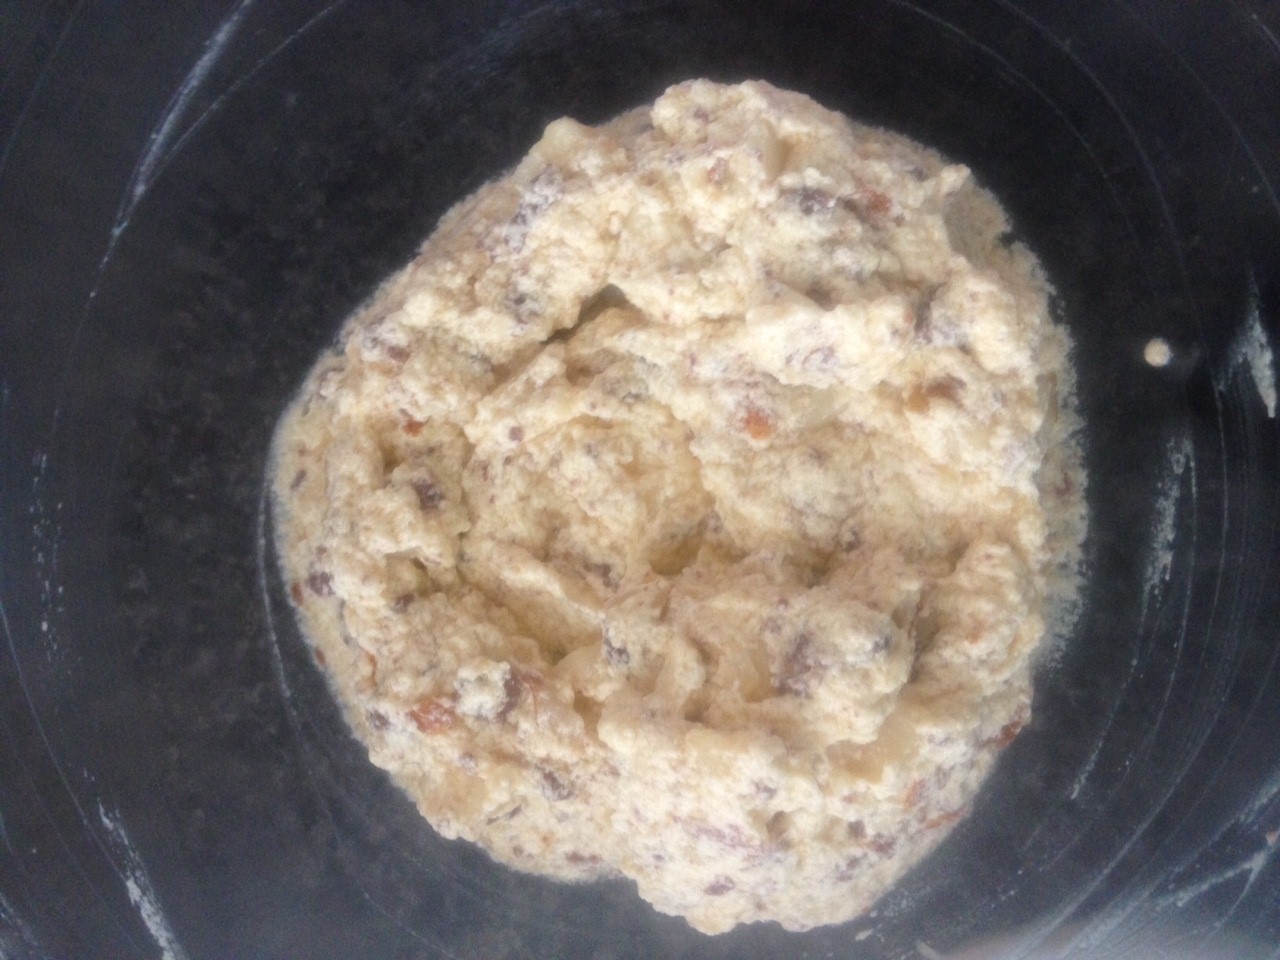
- Place all the sponge ingredients in a bowl and using electric beaters on low whisk for 60 seconds.
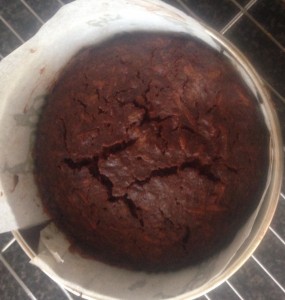
- Pour the mix into the cake tin and bake for 10 minutes.
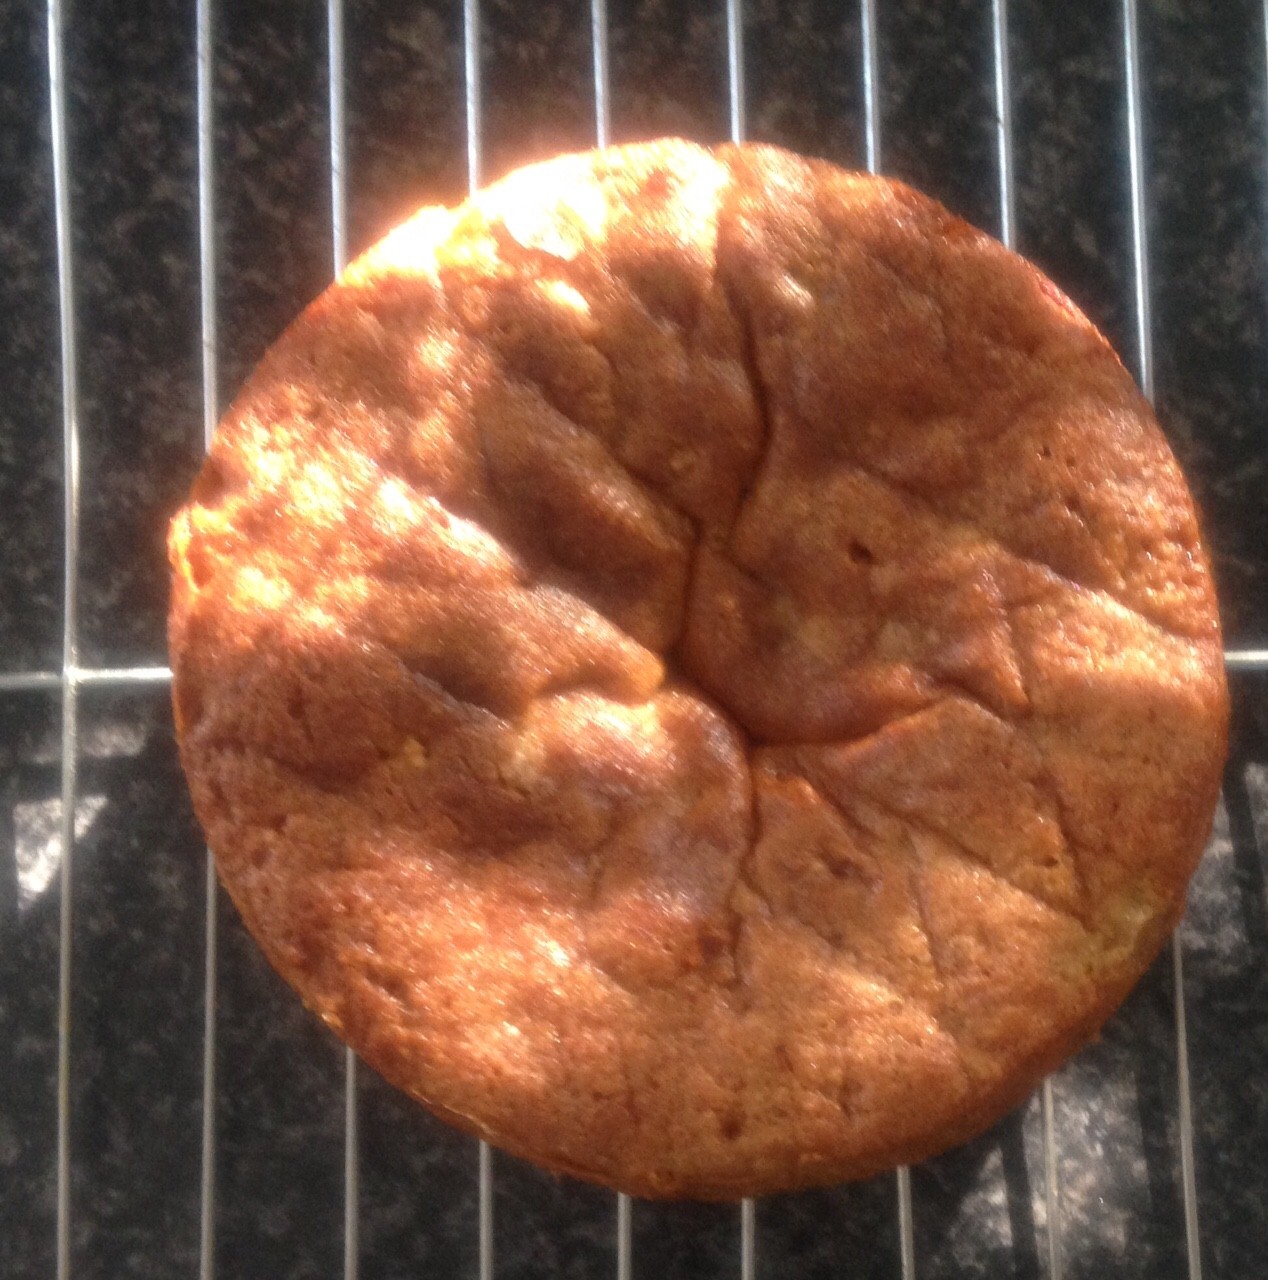
- Remove from the oven and leave the sponge in the tin for 10 minutes then invert onto a cooling rack.
- Line a 15cm x 25cm cake tin with 2 layers of aluminuim foil allowing for overhang.
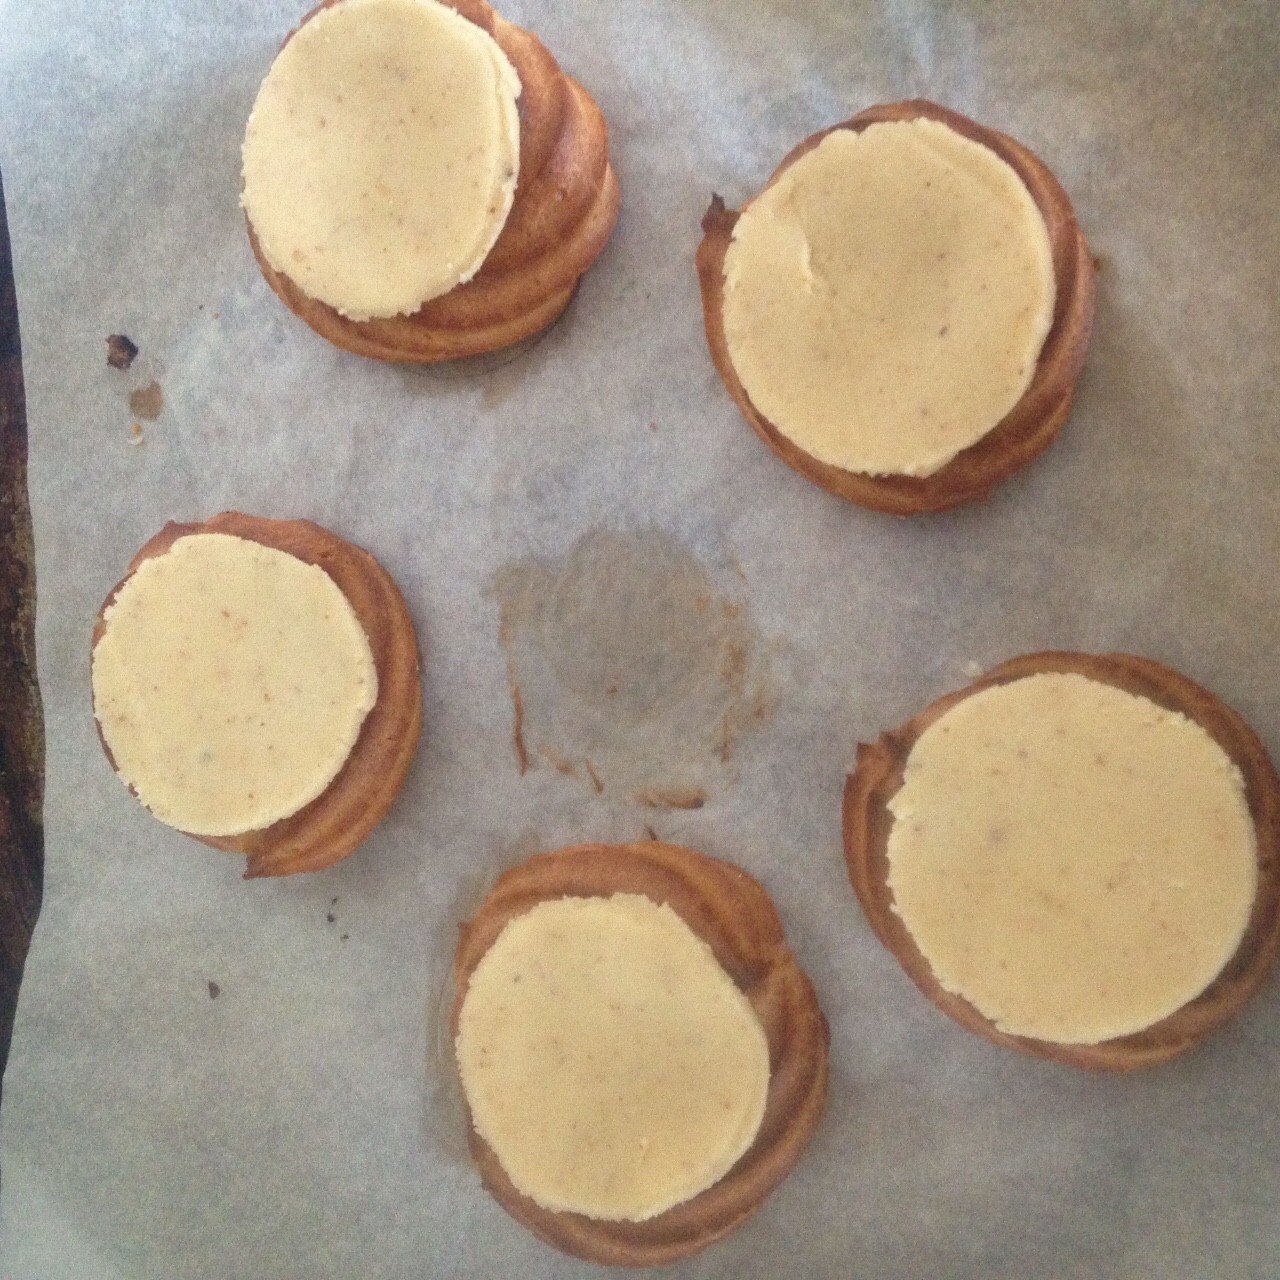
- Cut two 14cm x 25cm pieces of the sponge and place one piece in the lined cake tin.
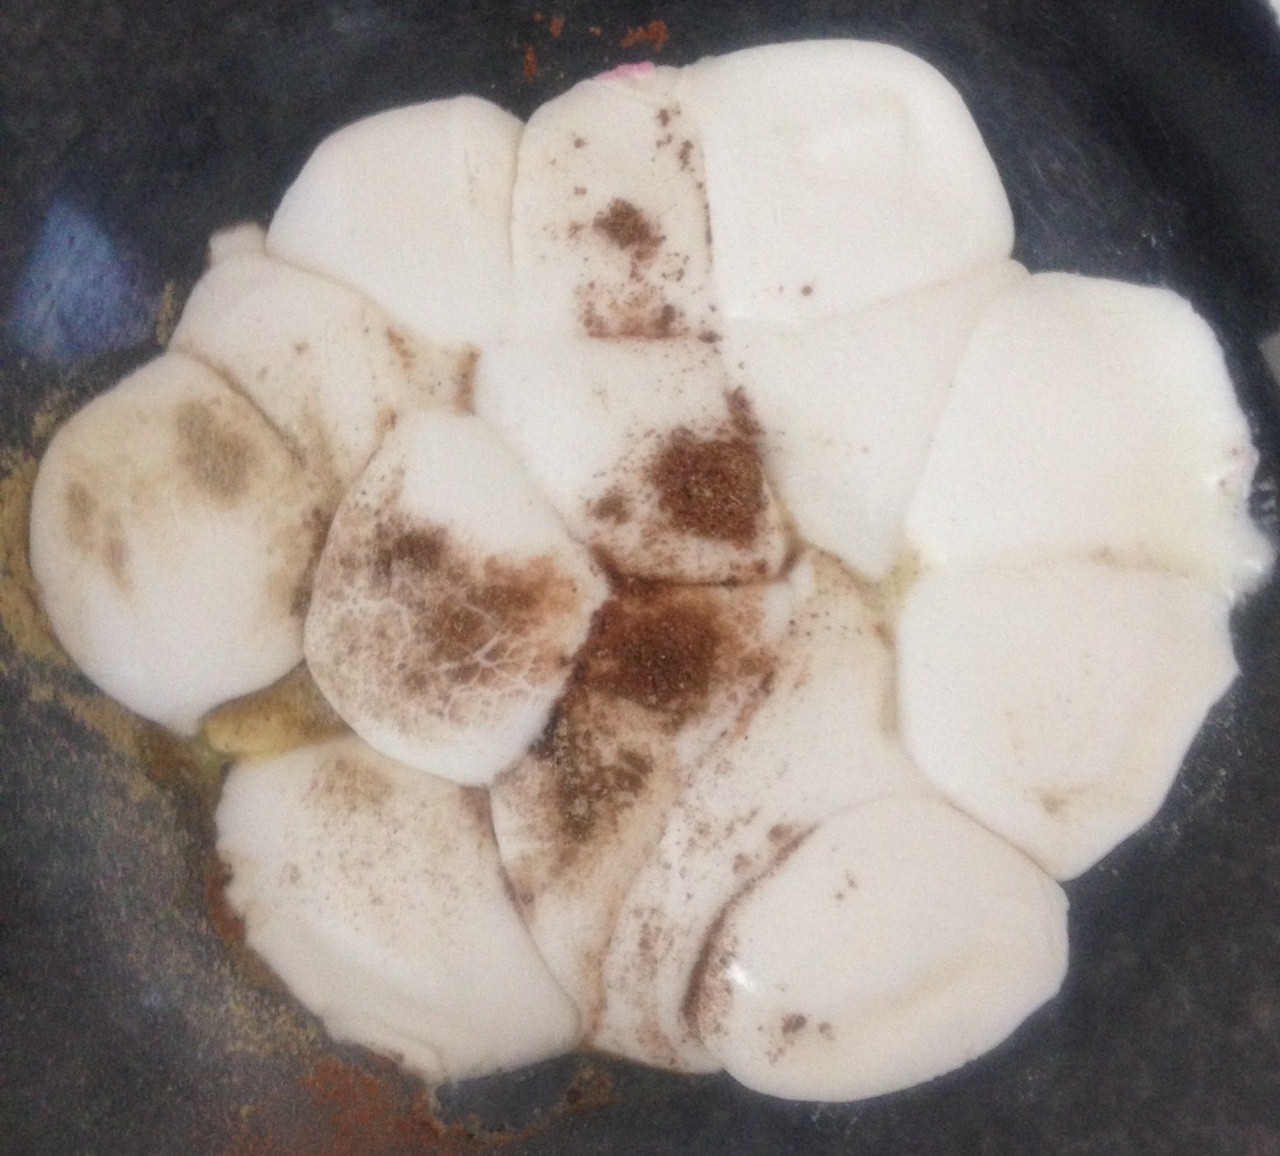
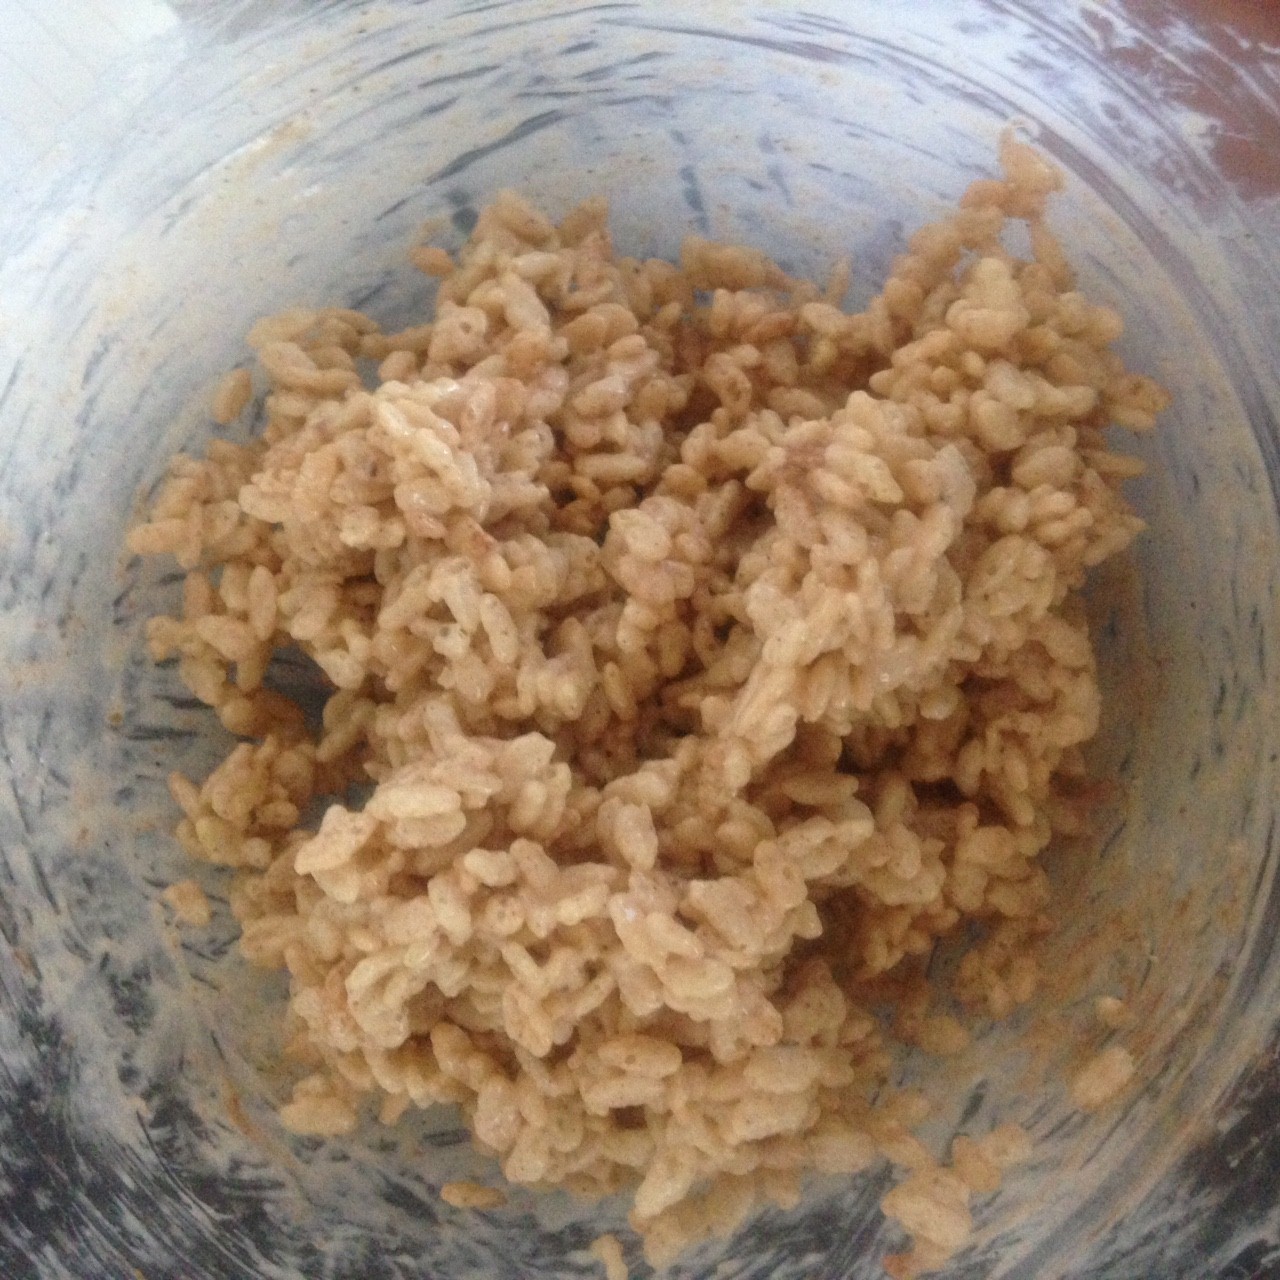
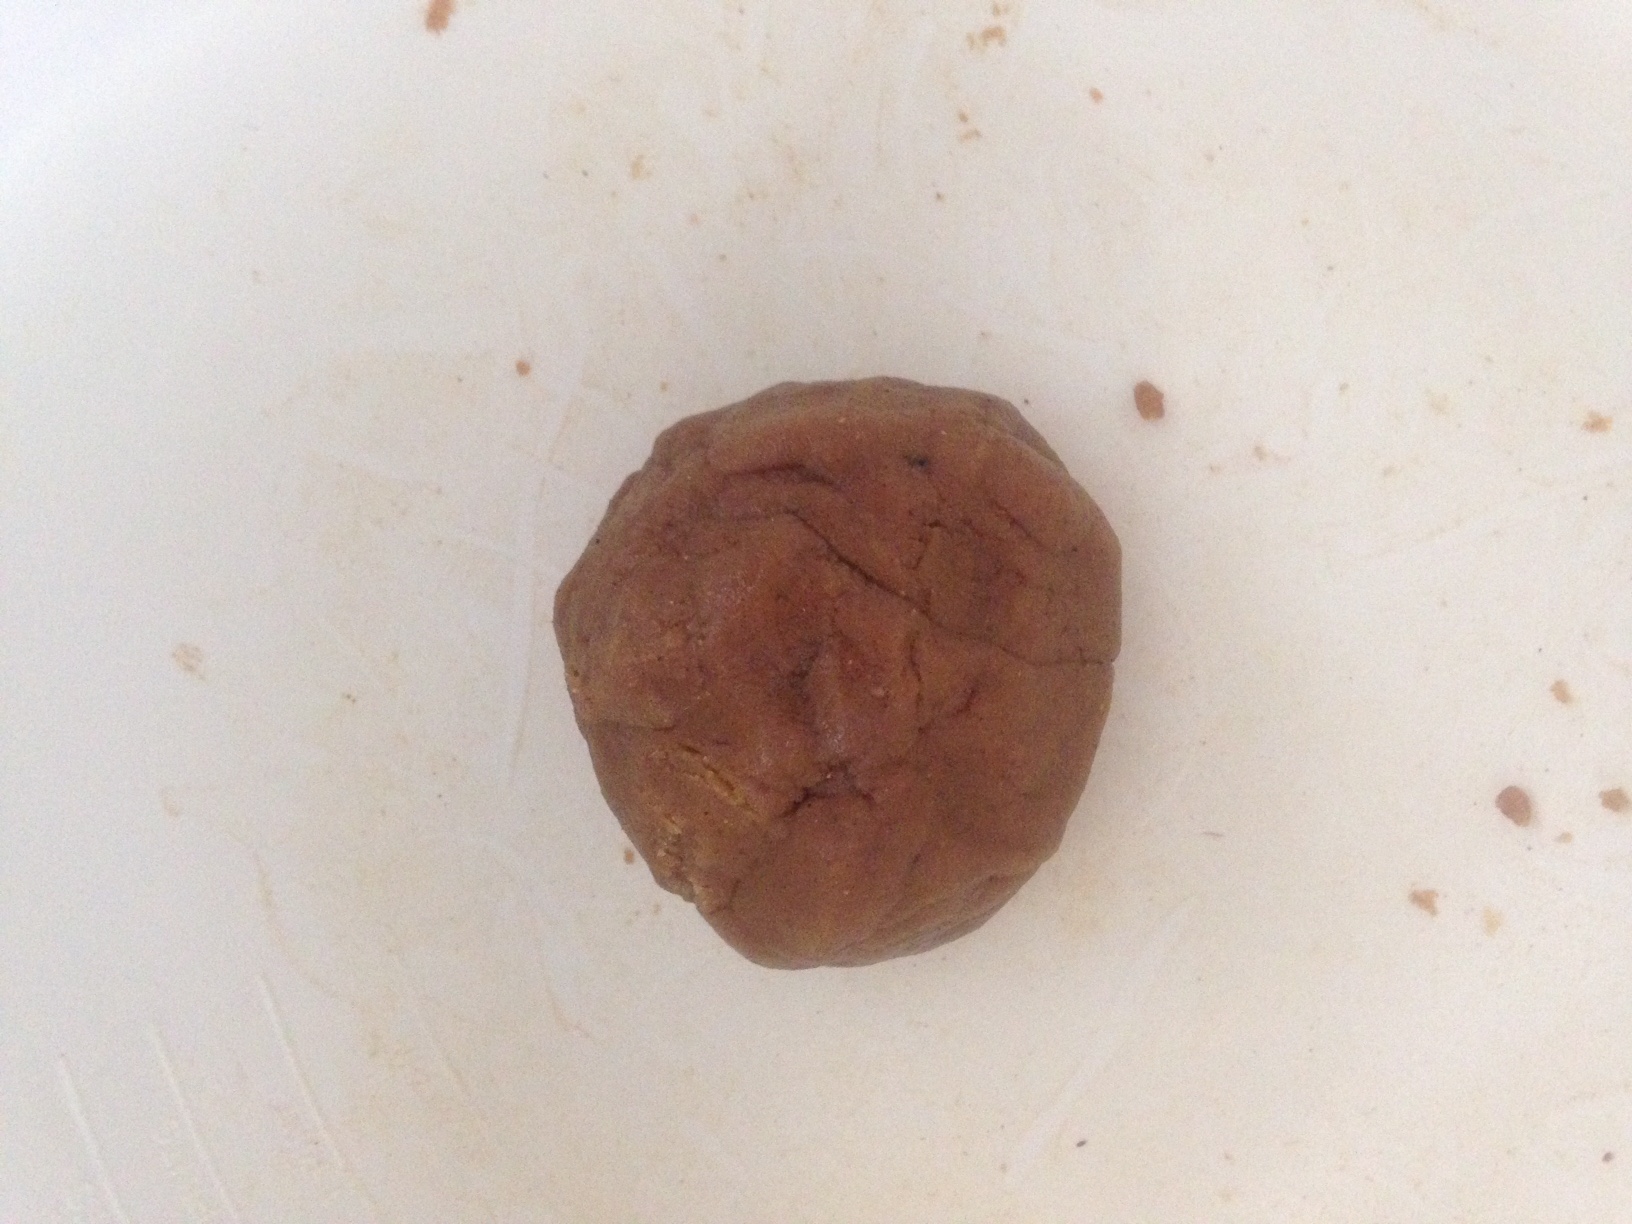
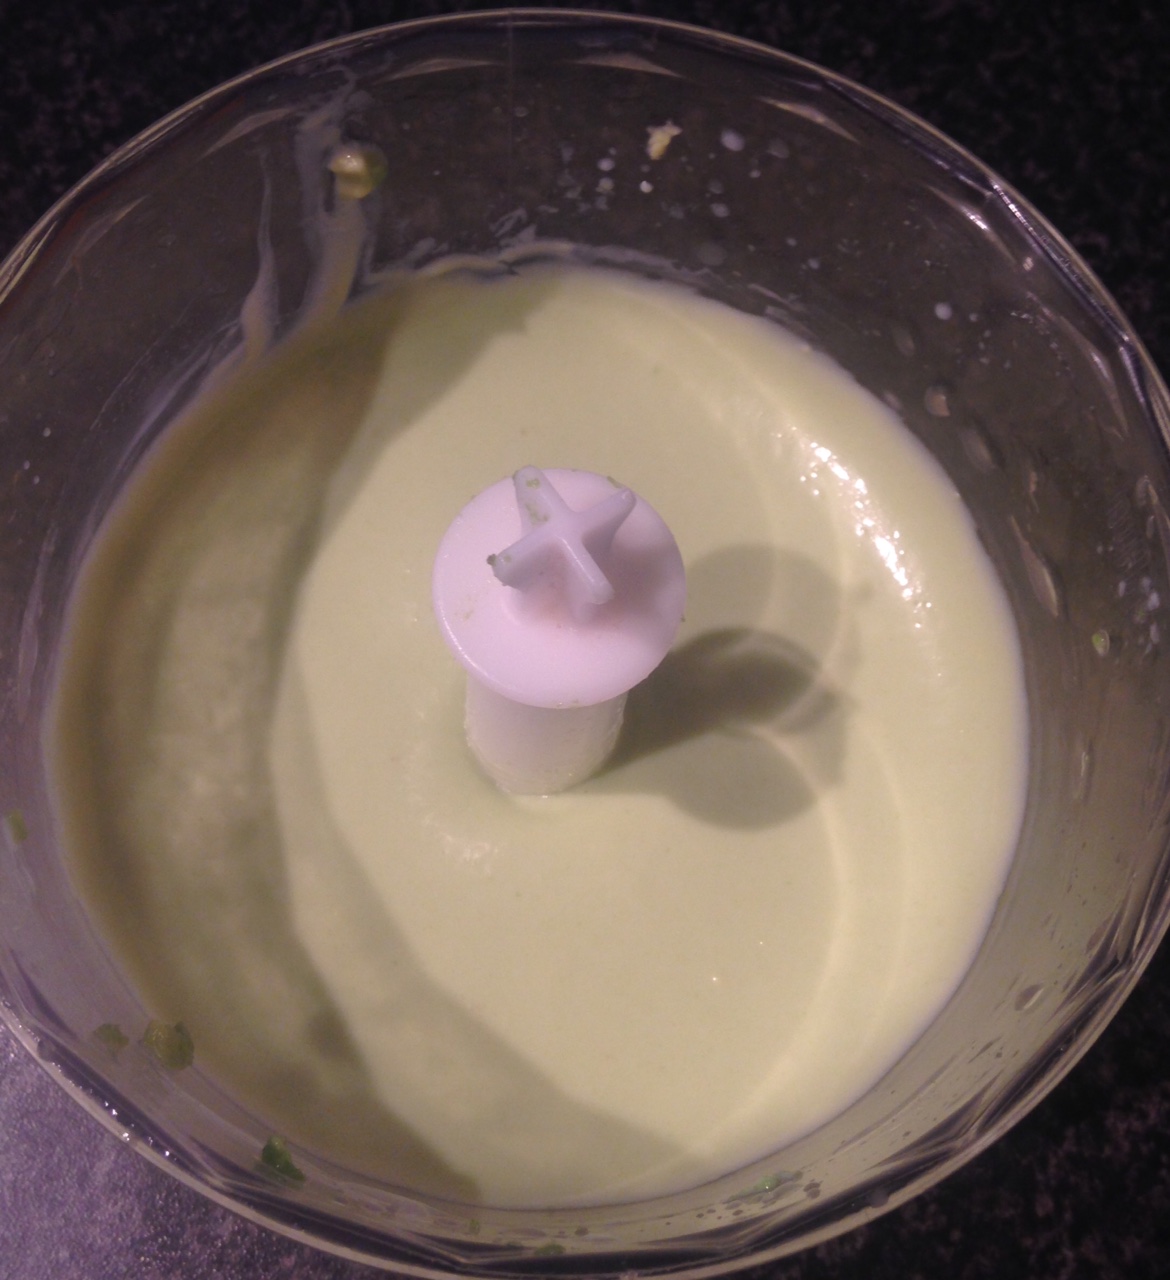
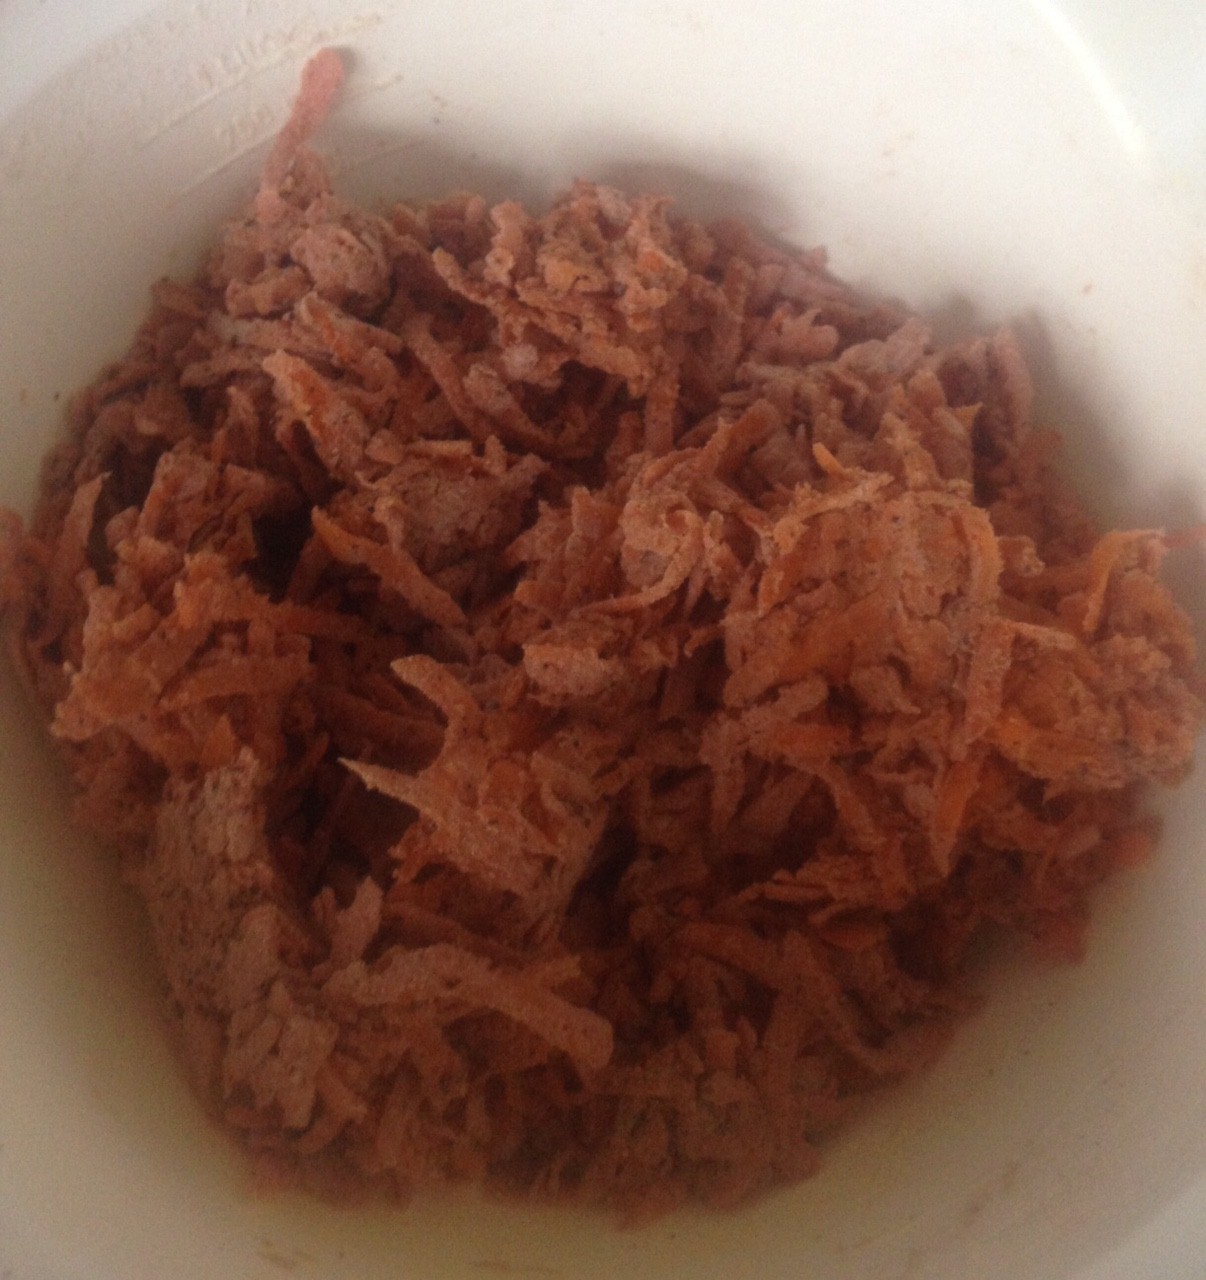
- Place the biscuits and 10g chai powder in a food processor and blitz until the mix resembles breadcrumbs.
- Sprinkle 40g of the chocolate crumbs over the sponge and place in the freezer.
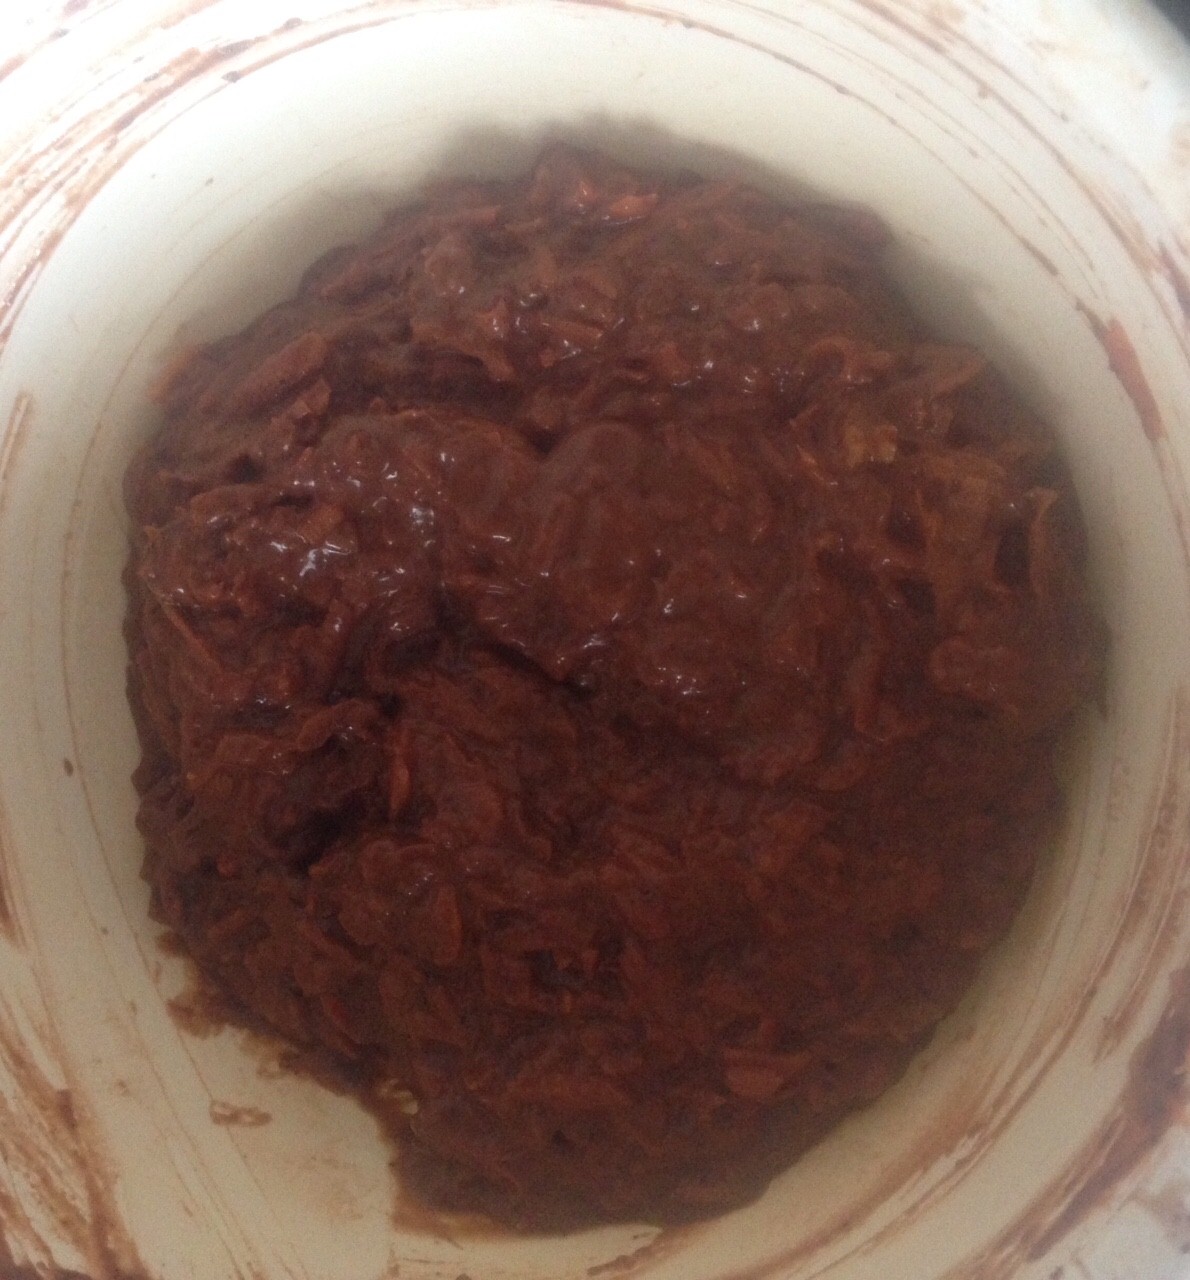
- Place 180ml of the cream in a bowl in the microwave and heat until boiling. Add the chocolate and stir until smooth and glossy.
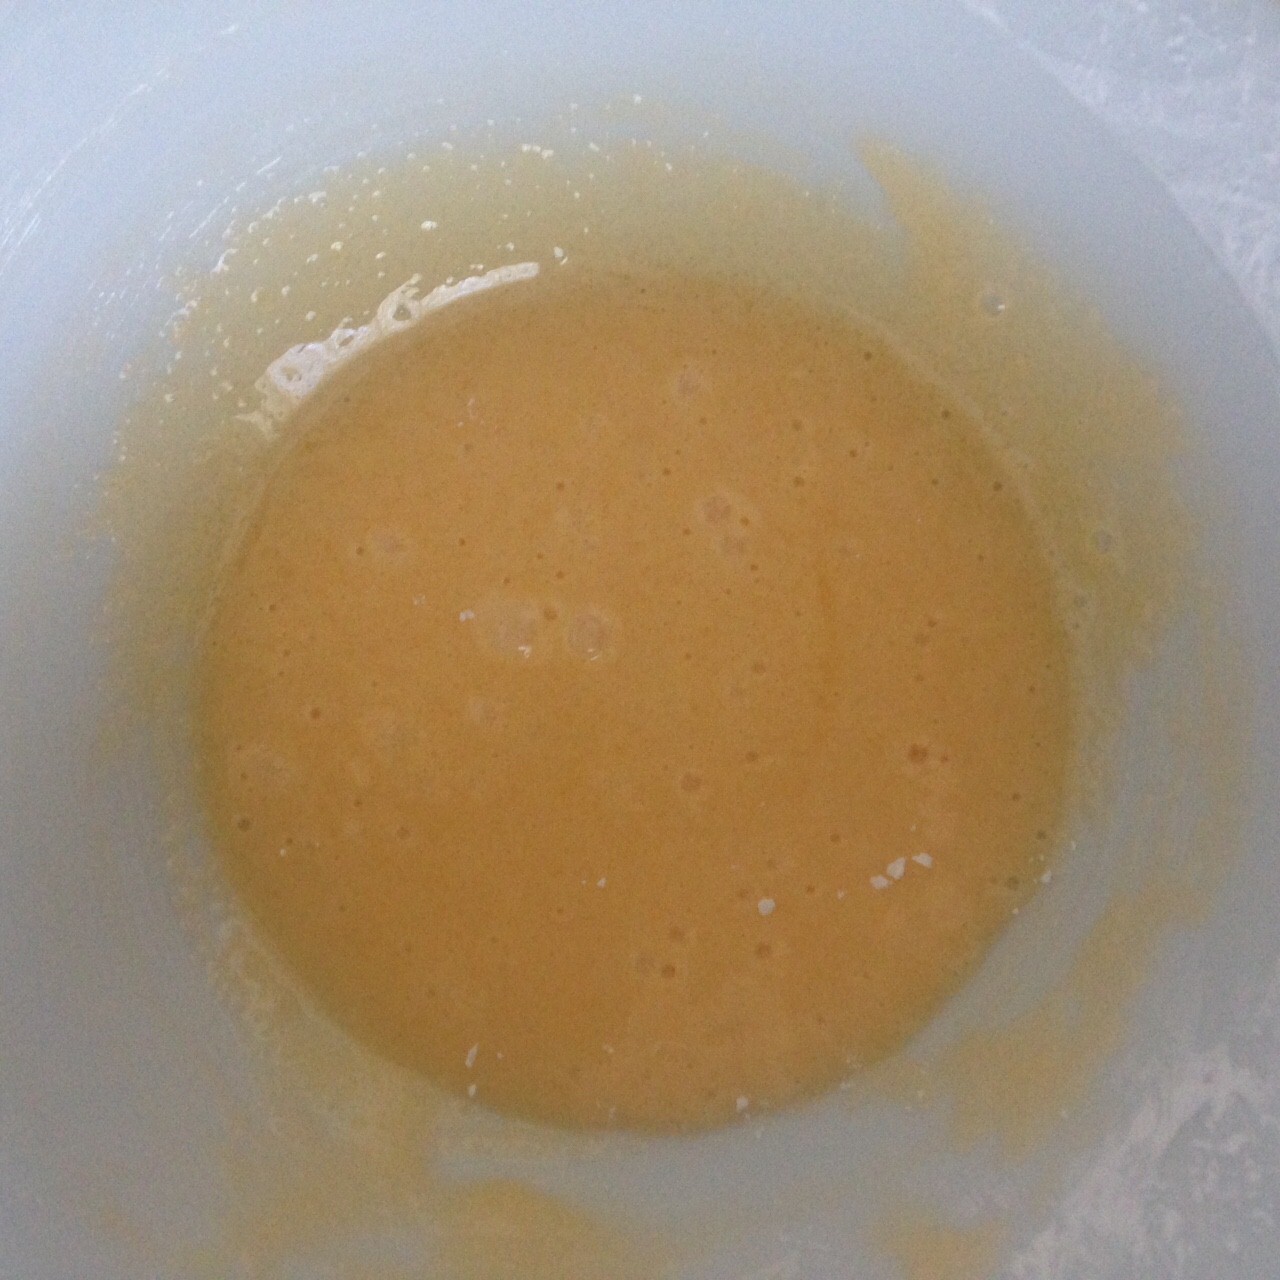
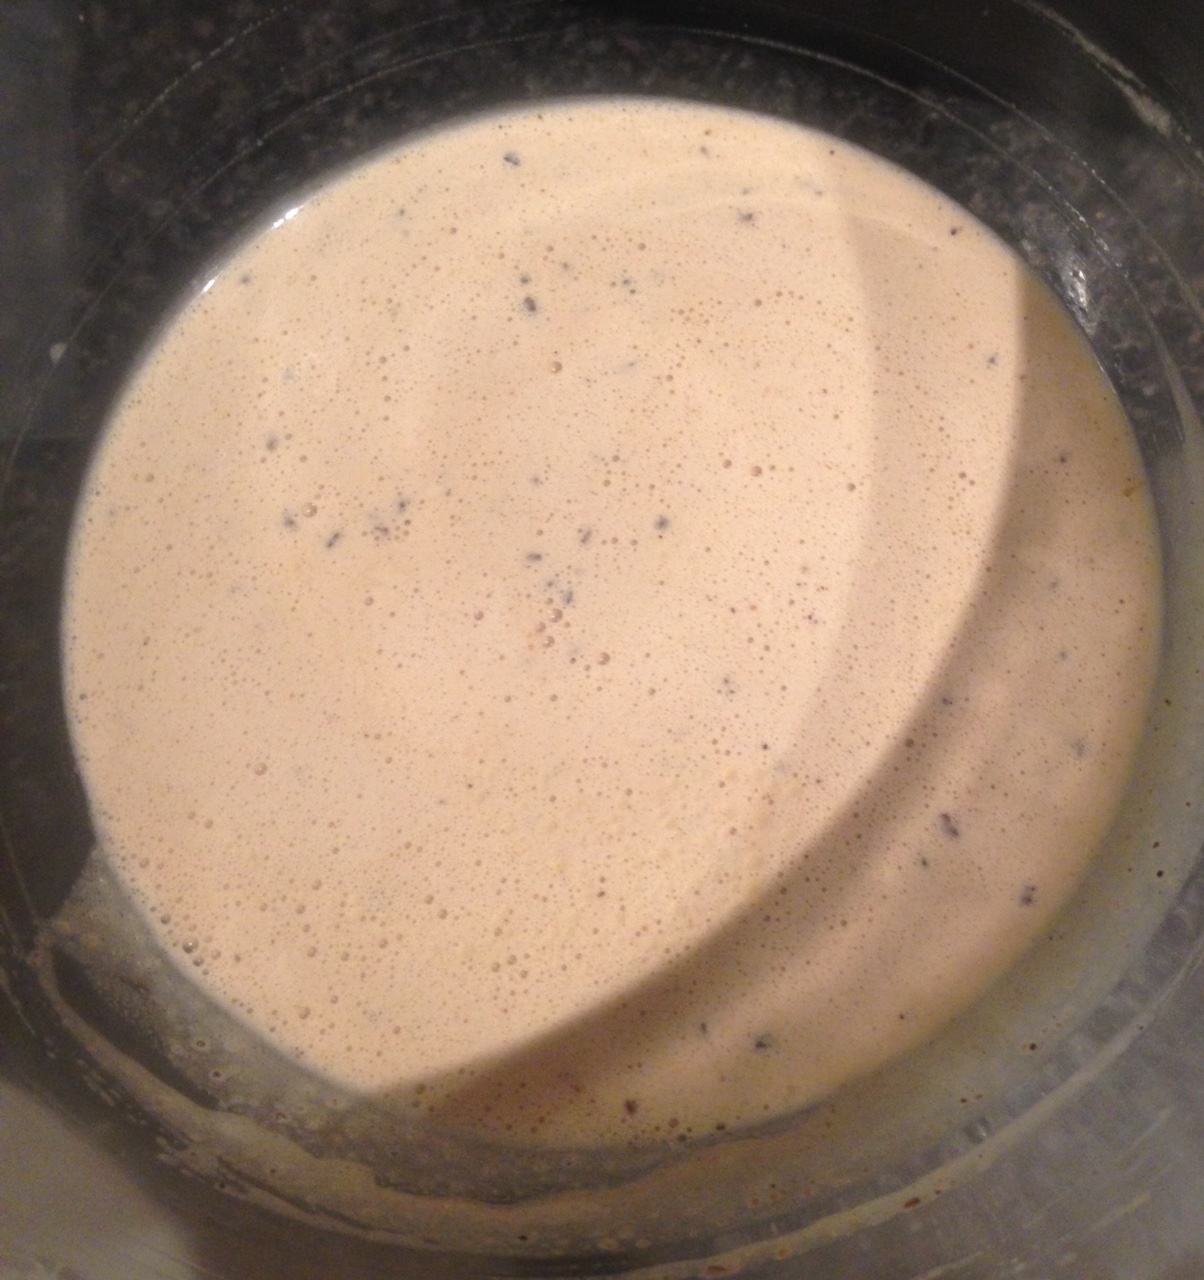
- In another bowl with electric beaters whisk the egg yolks and eggs with the sugar until light and creamy.
- Slowly pour the cooled chocolate mix into the egg mix while the beaters are going.
- Place the mix in the fridge for 30 mins to thicken.
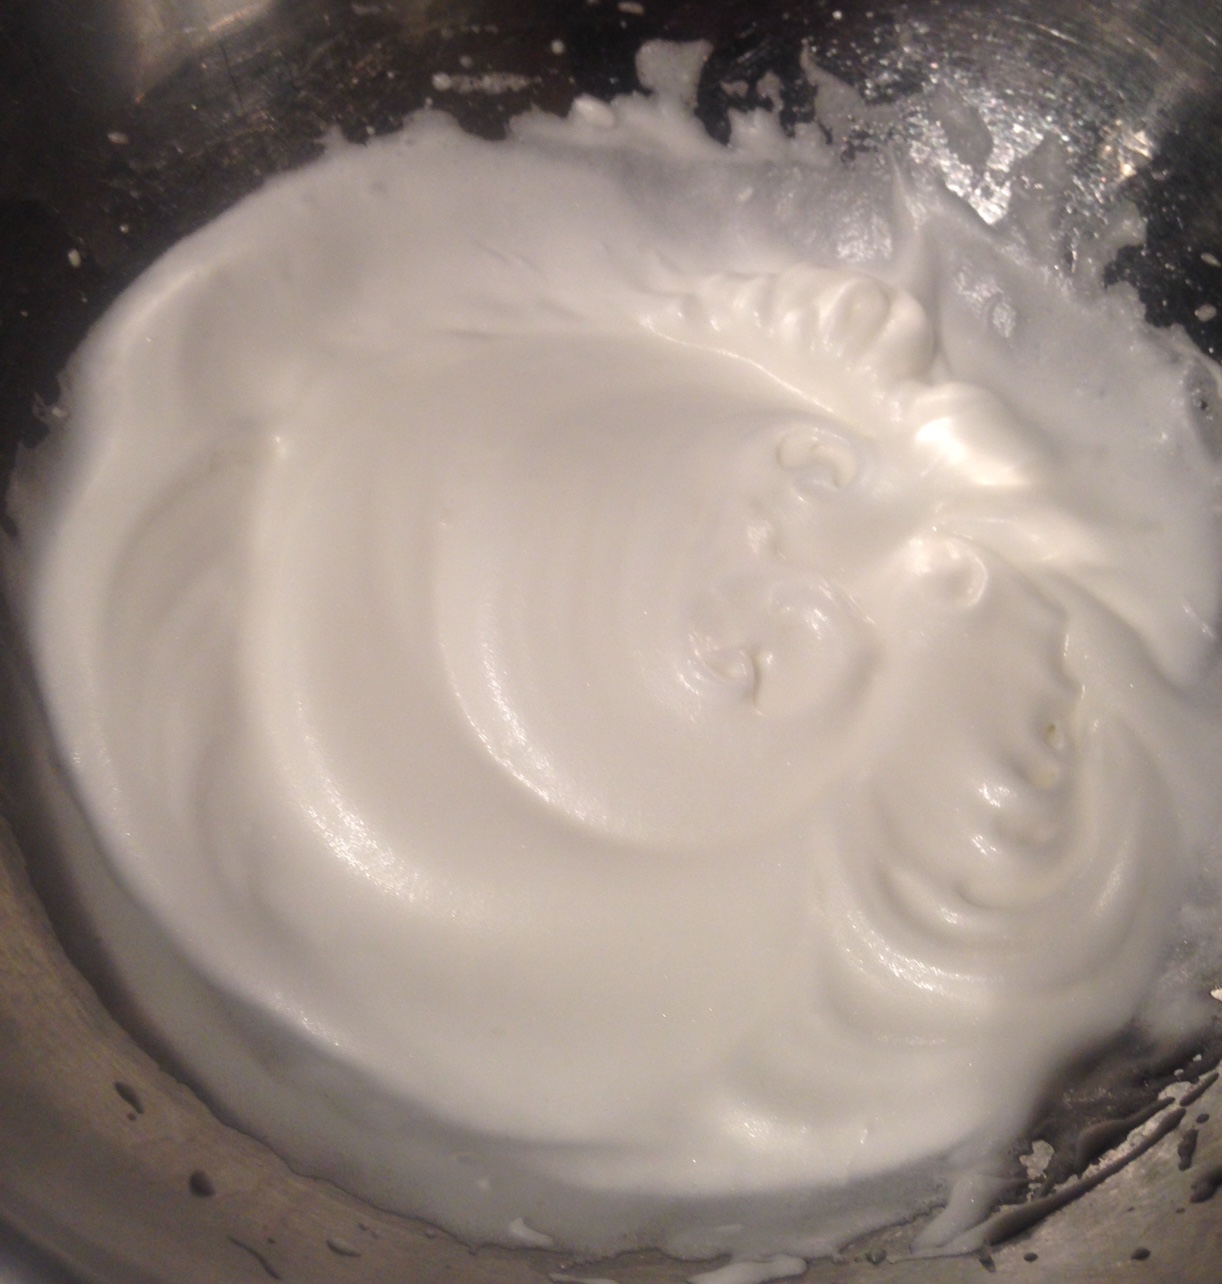
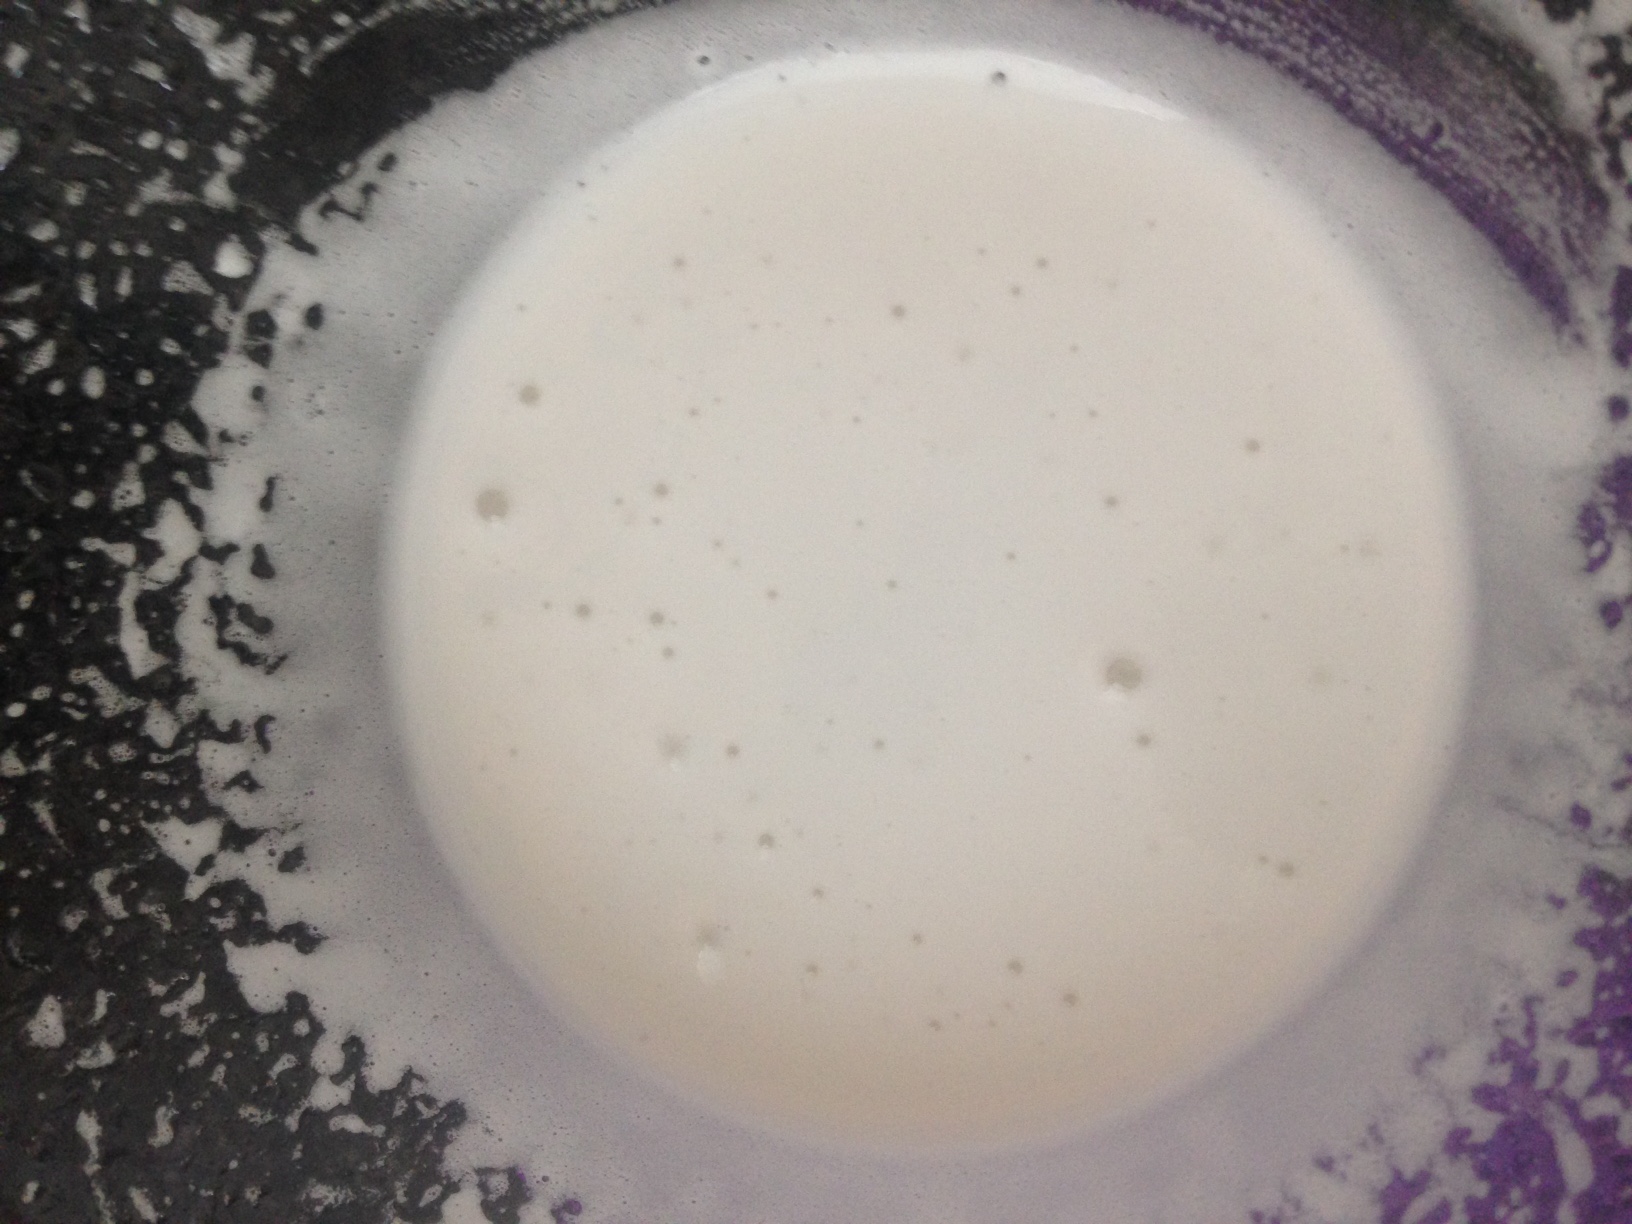
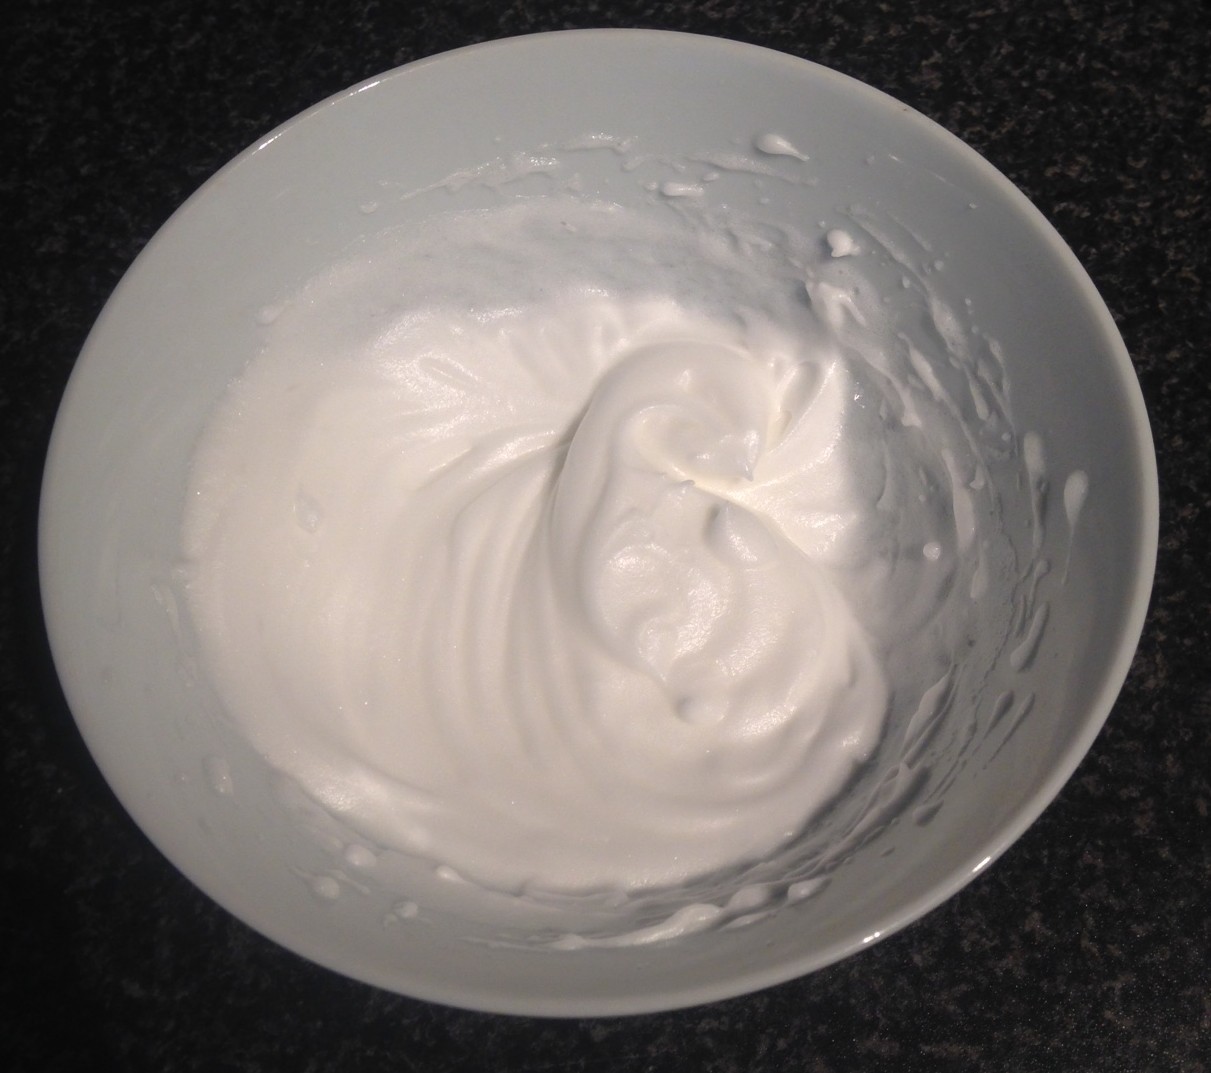
- Beat the remaining 300ml cream until peaks form.
- Add the extra grated dark chocolate into the cream as well as the chai powder and ground ginger. Fold until combine.
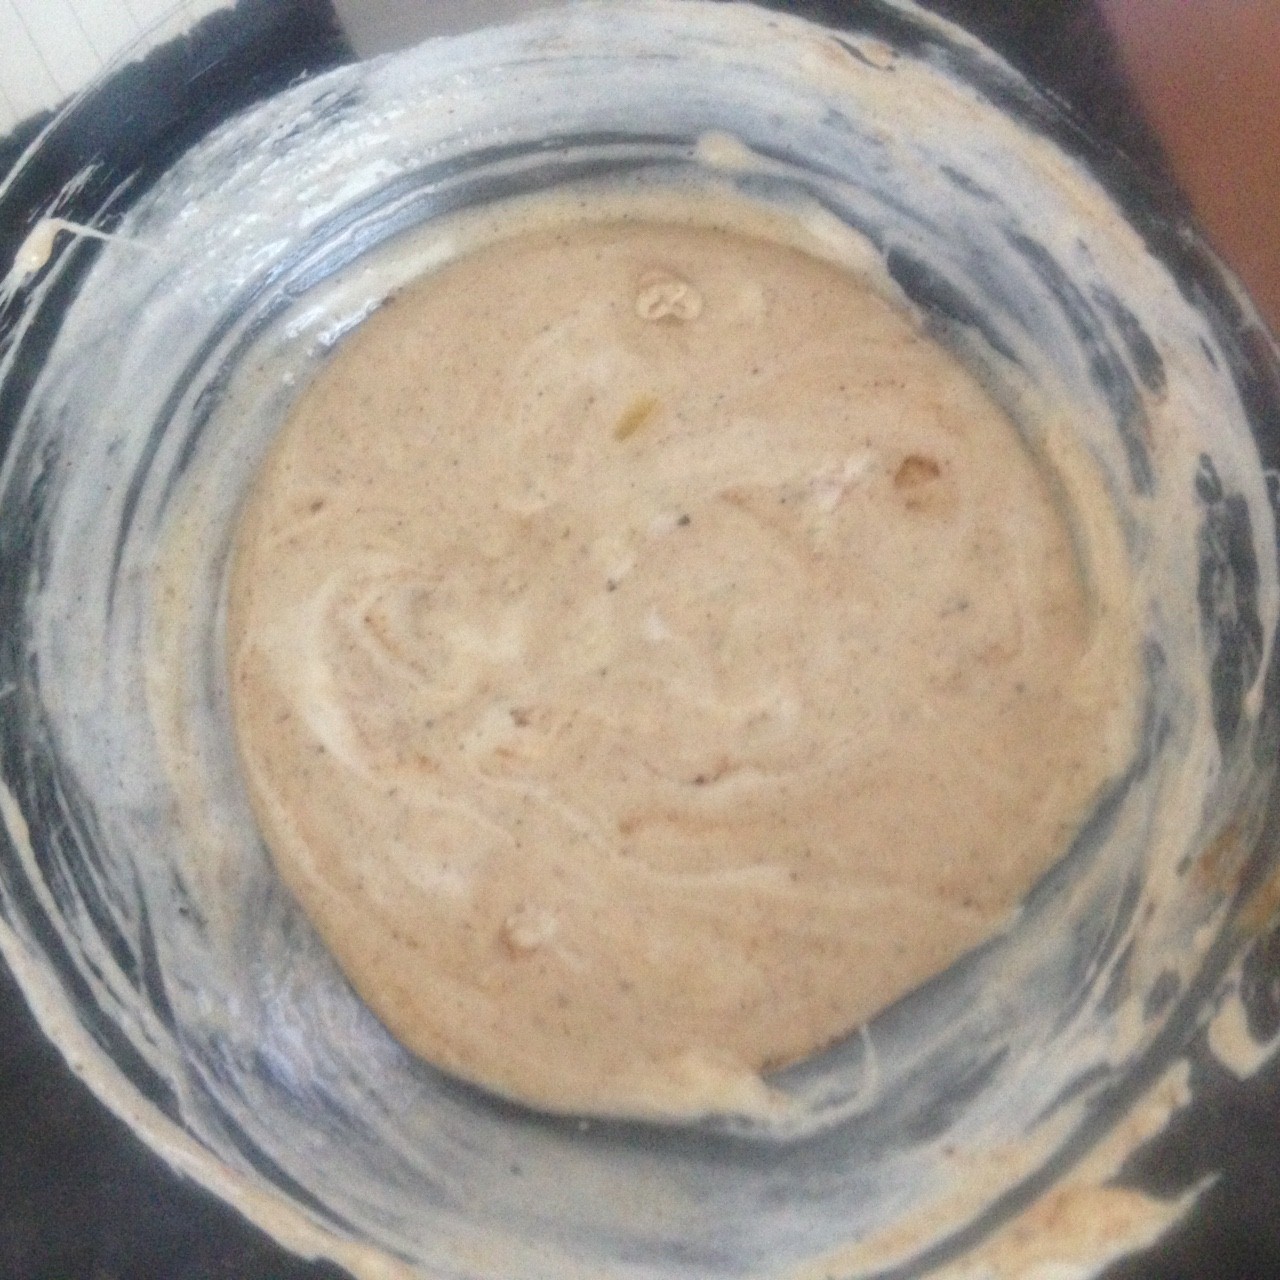
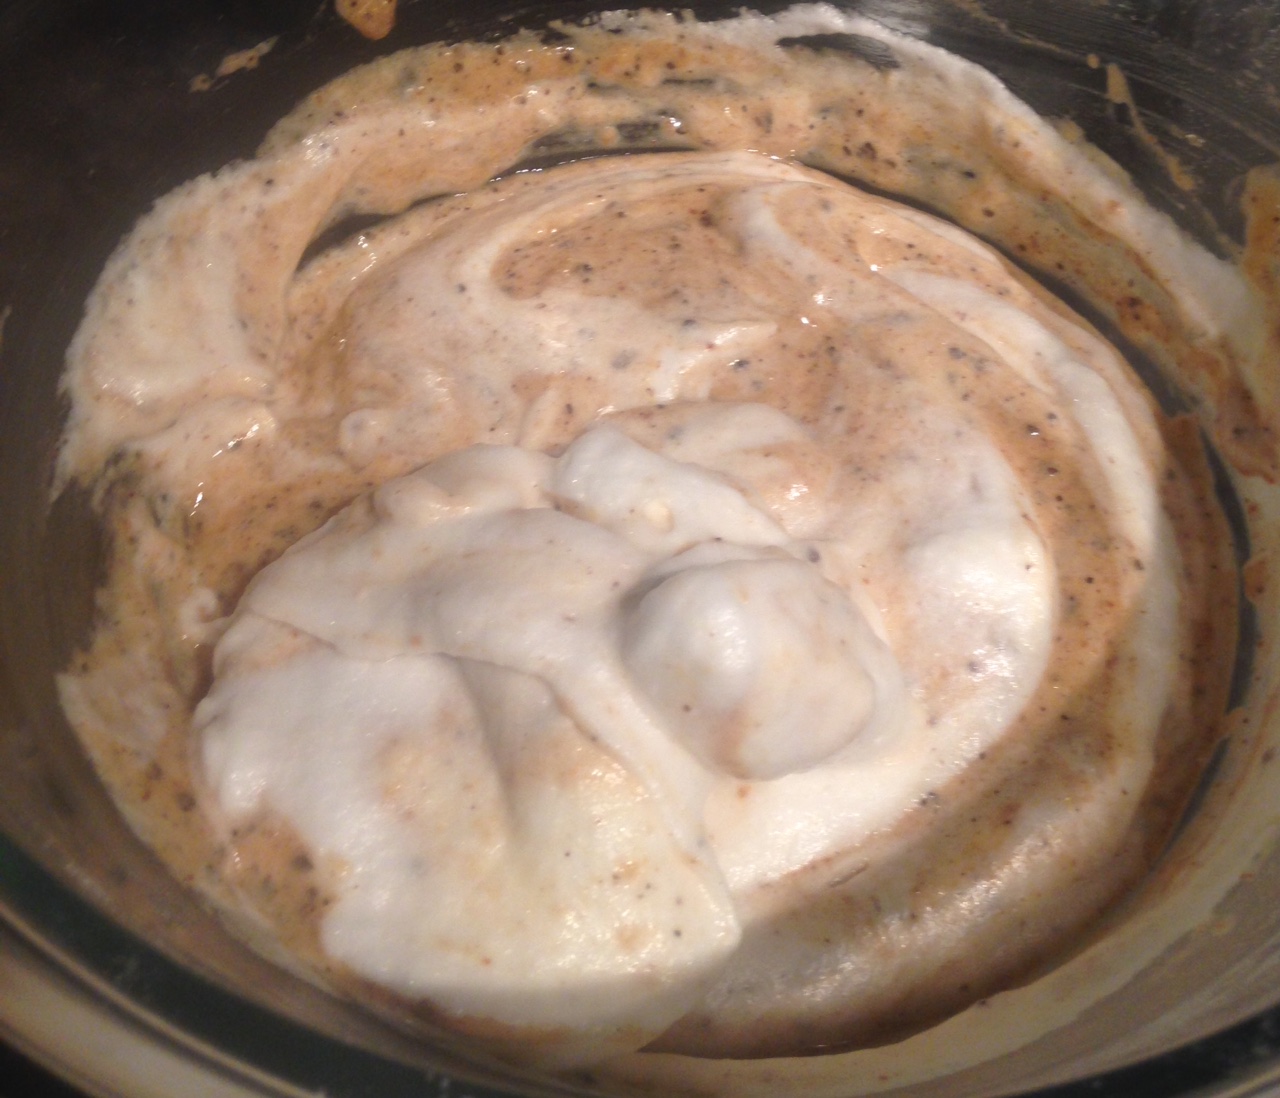
- Fold the cream mix into the chocolate egg mix until combine.
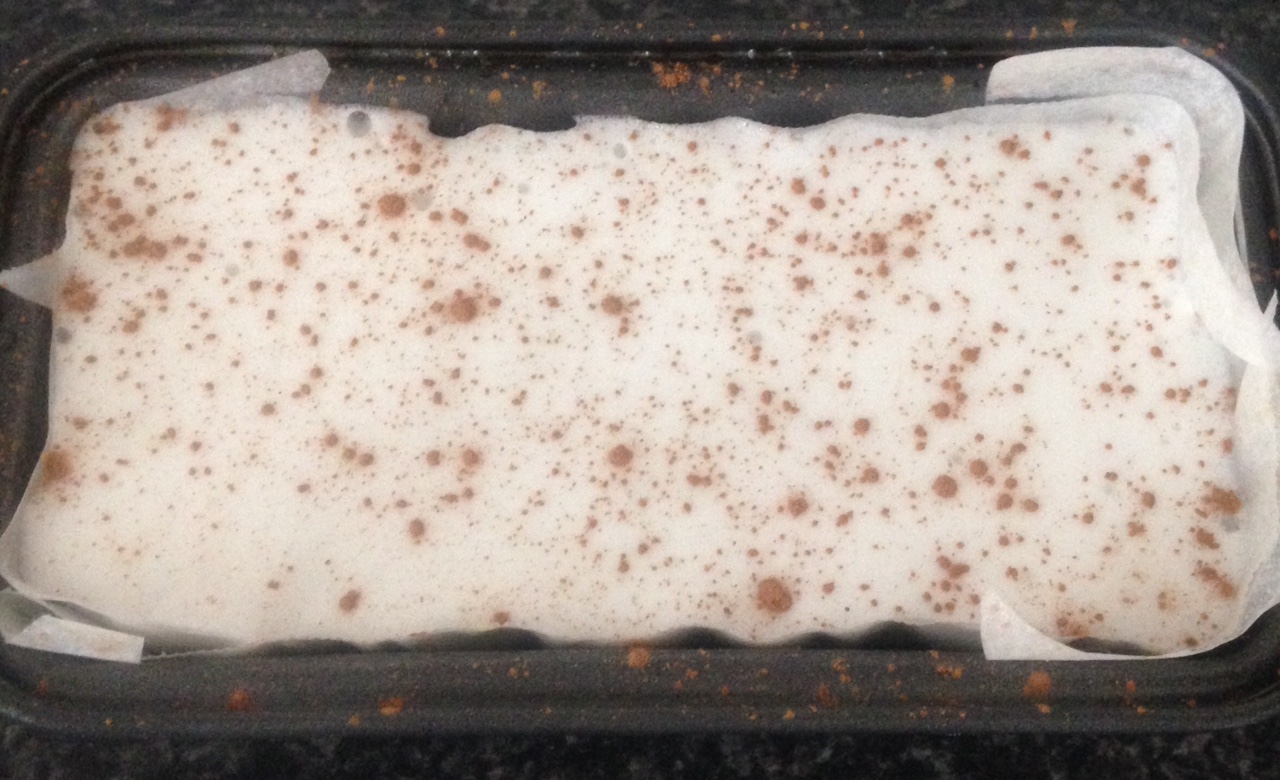
- Pour the mix into the cake tin on top of the sponge and smooth the top with a spoon.
- Place in the freezer for 15 minutes or until almost set.
- Sprinkle 40g chocolate crumbs oven the top of the ice-cream.
- Place the 2nd sponge on top of the ice-cream and place back in the freezer for 2 hours or until completely firm.
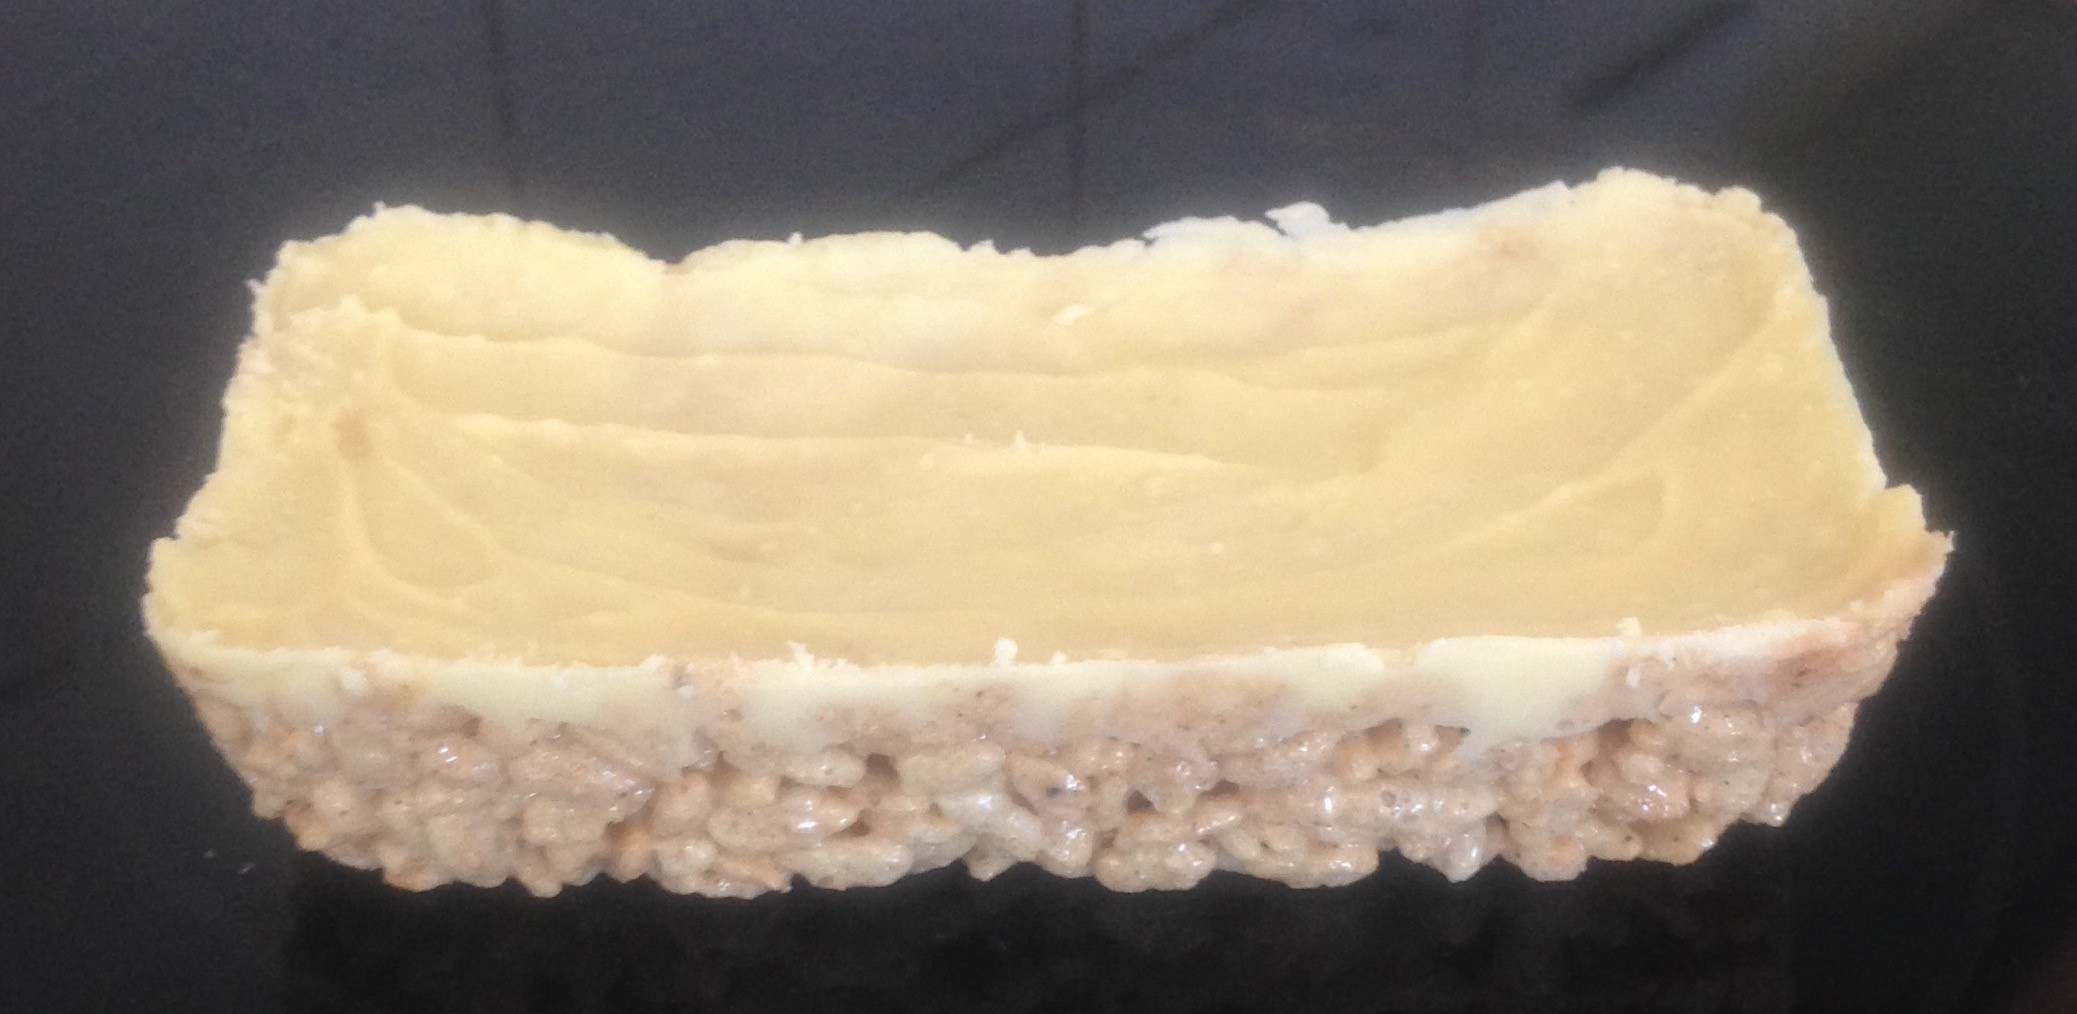
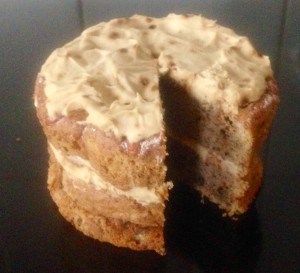
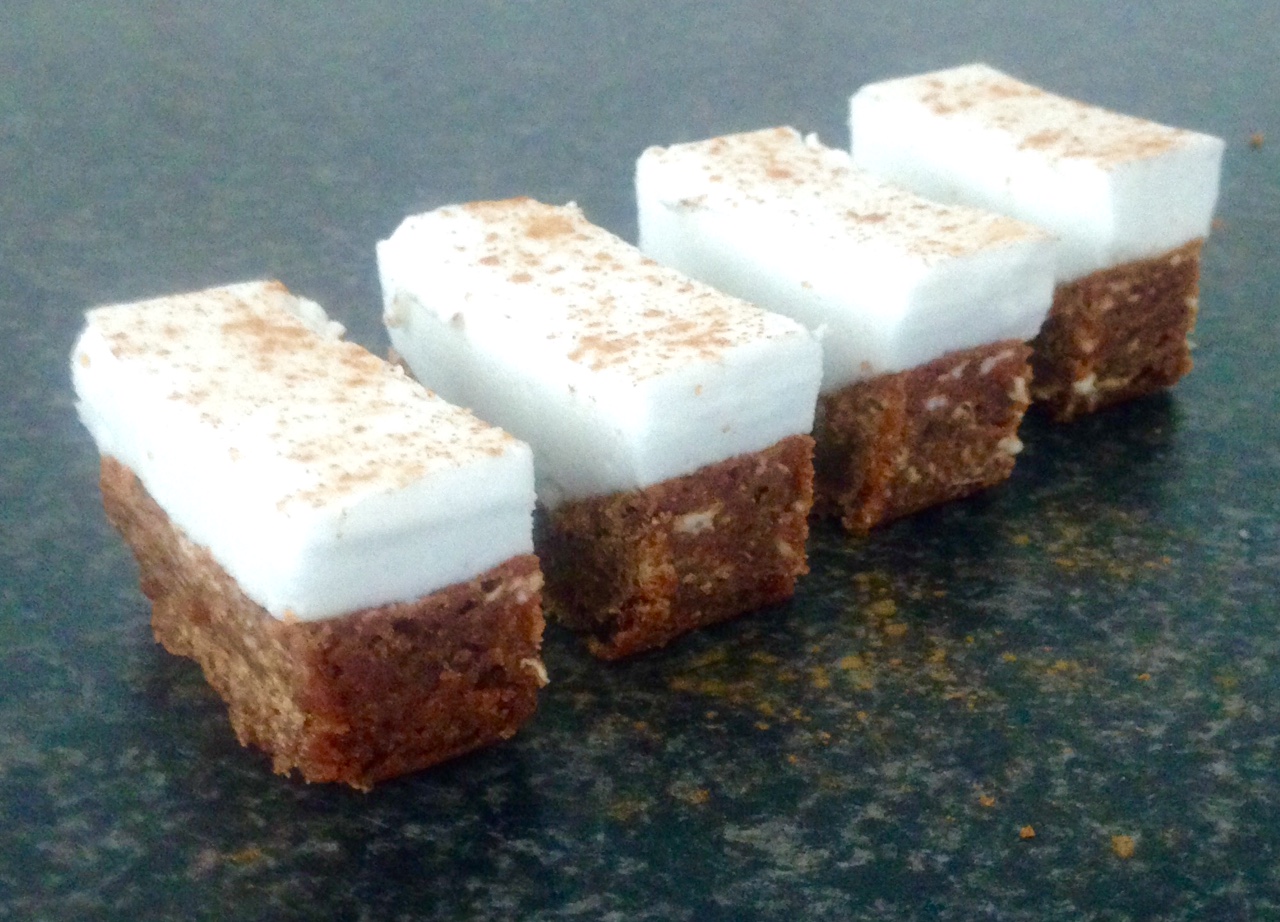
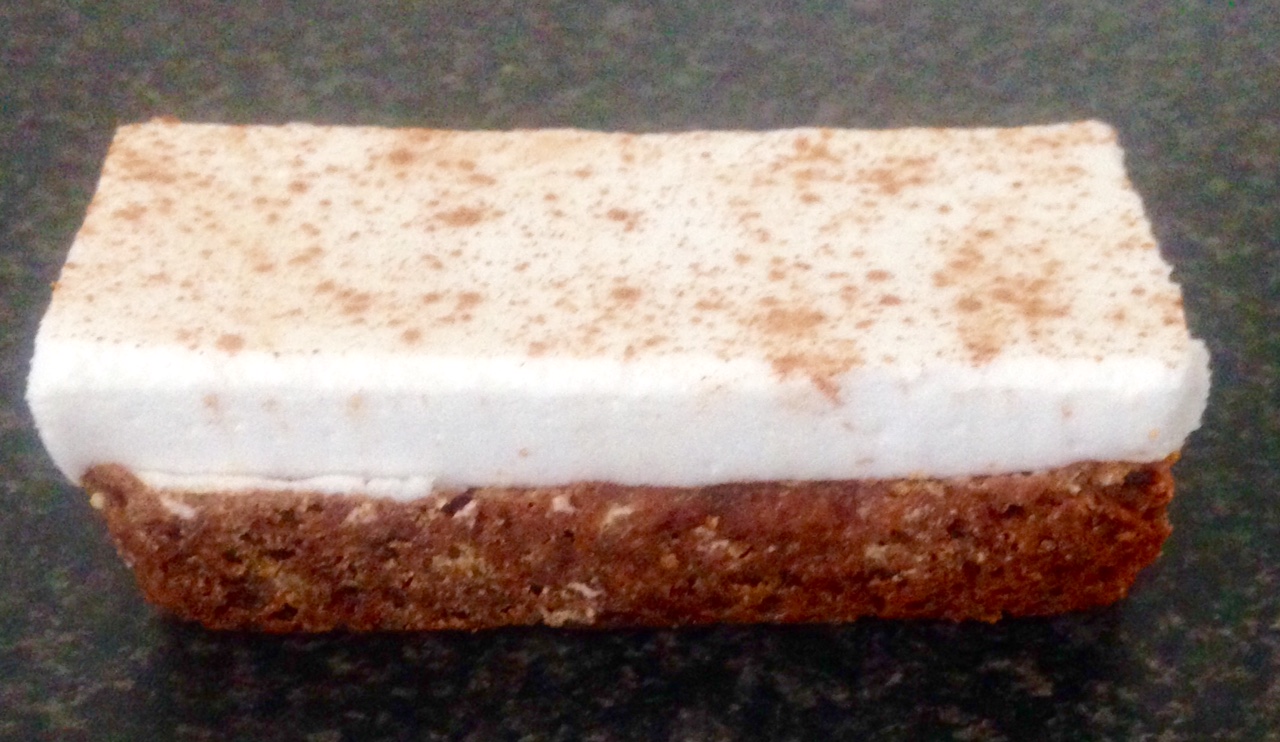
- To serve invert the sandwich onto a platter, remove the aluminium foil and slice thickly.
- Sprinkle the remaining chocolate crumbs over the sandwich to serve.
Note:
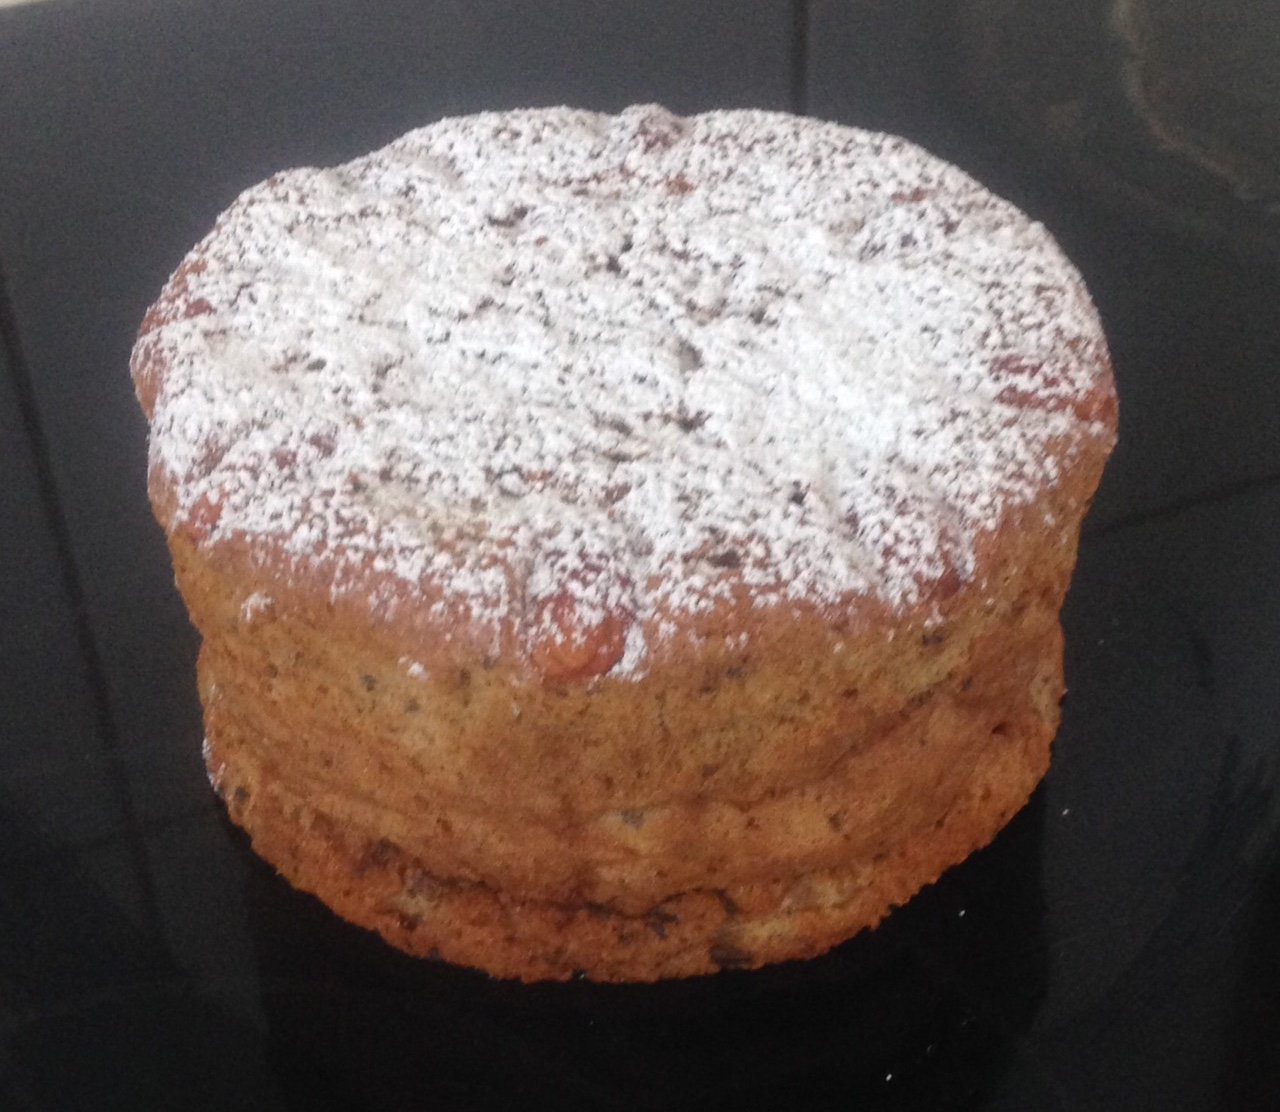
- You can decorate with a dust of cocoa powder on the top.
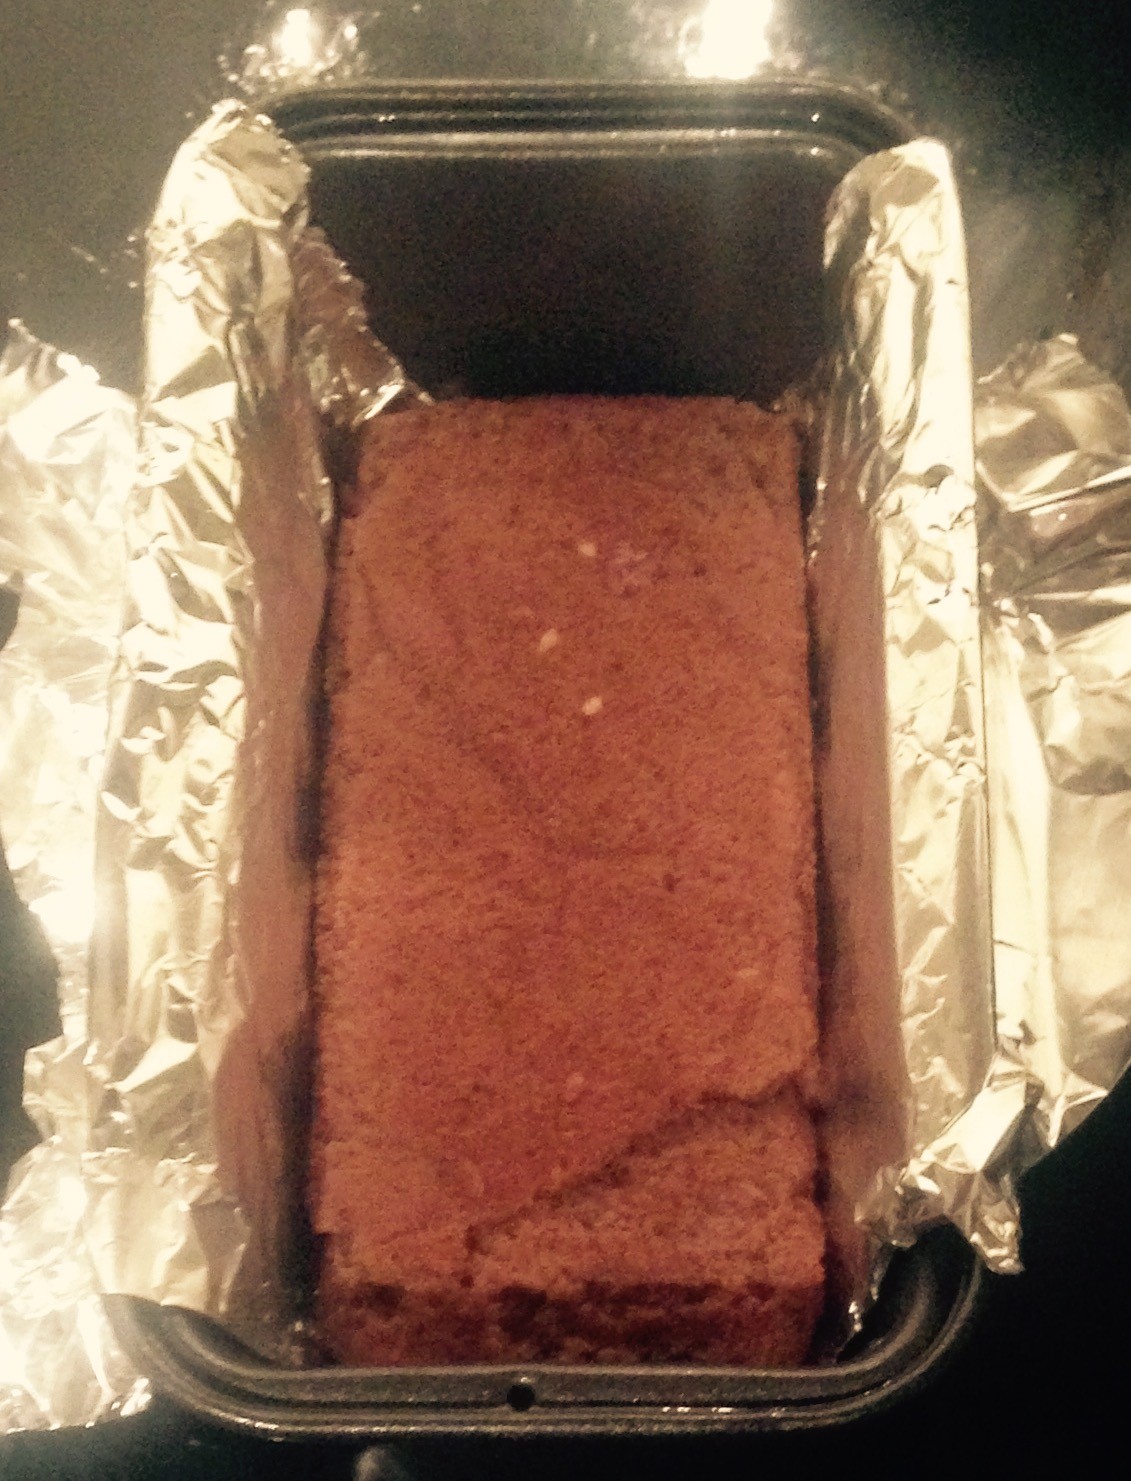
Step 6
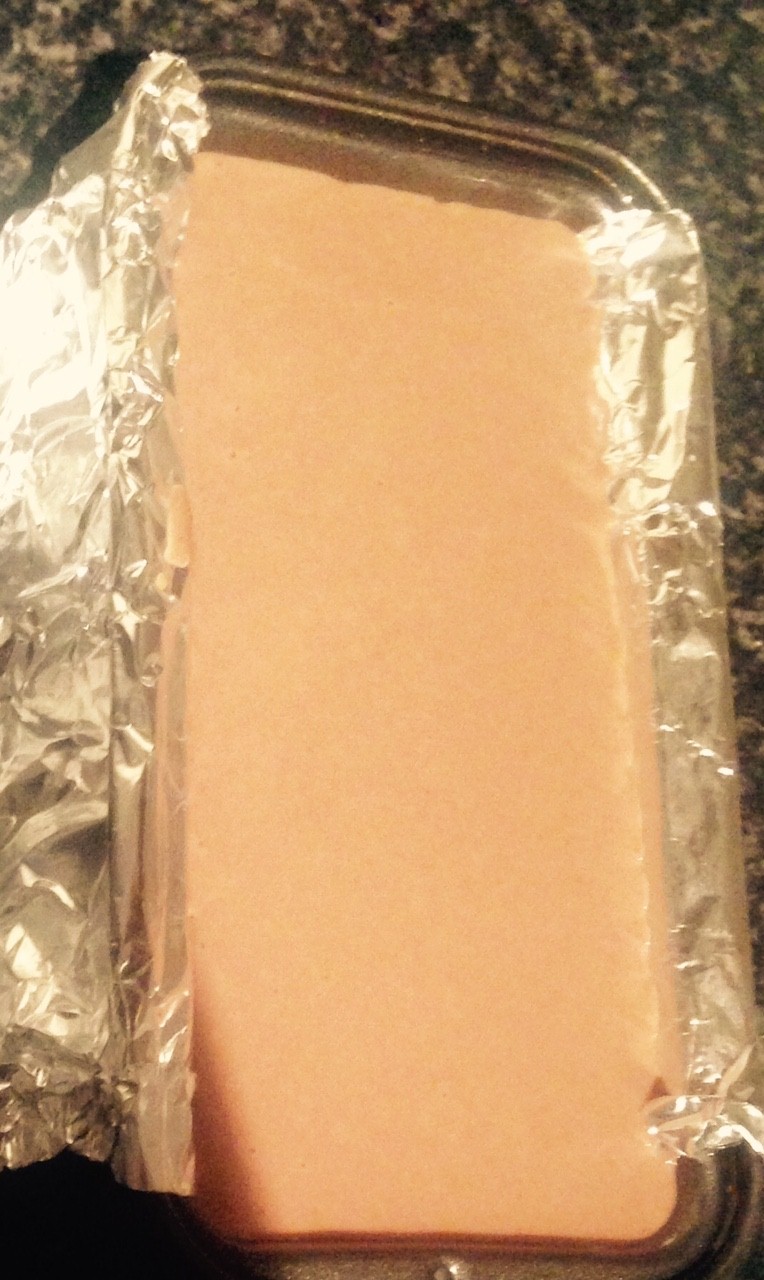
Step 16
Like this recipe? Subscribe via RSS or email to get my new entries and more scrumptious recipes with reviews.
 Follow