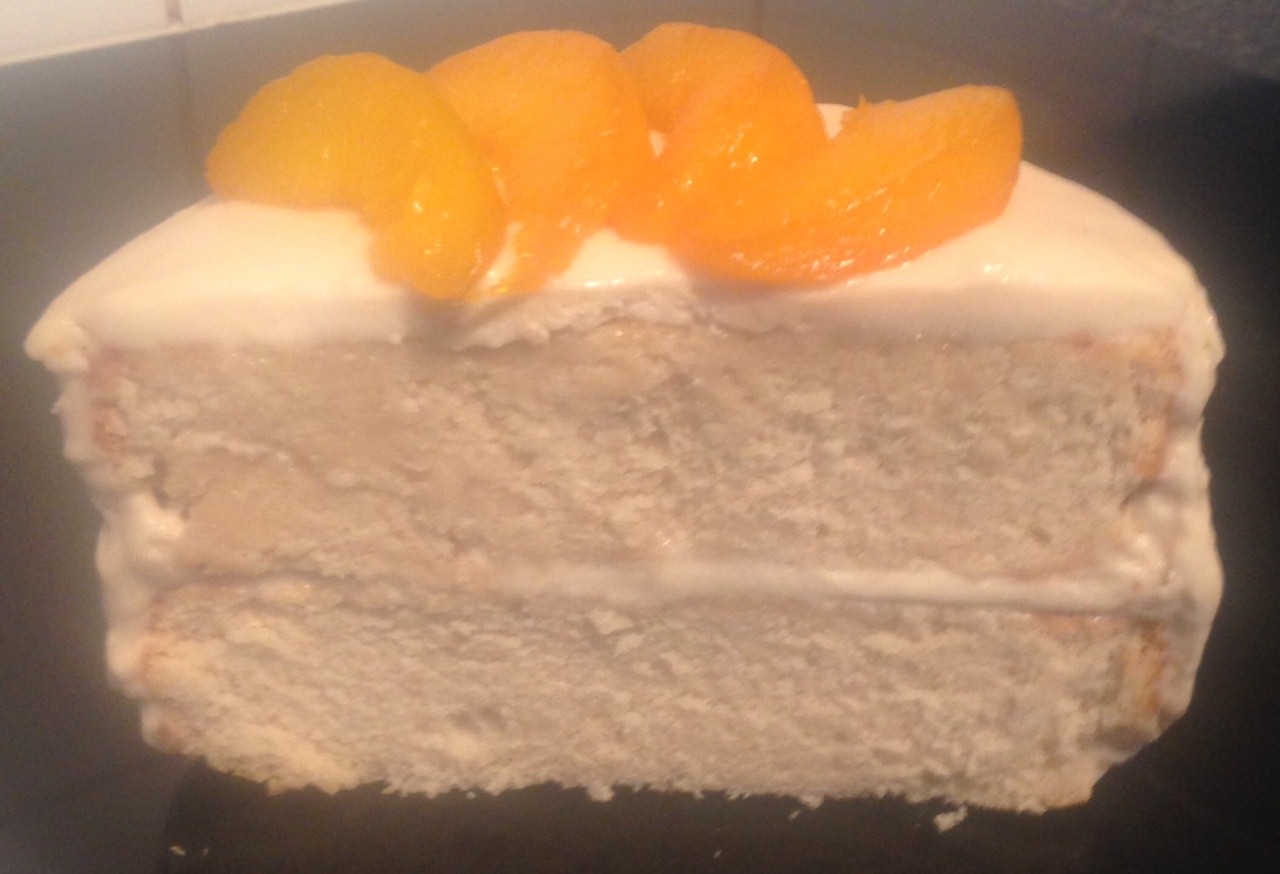
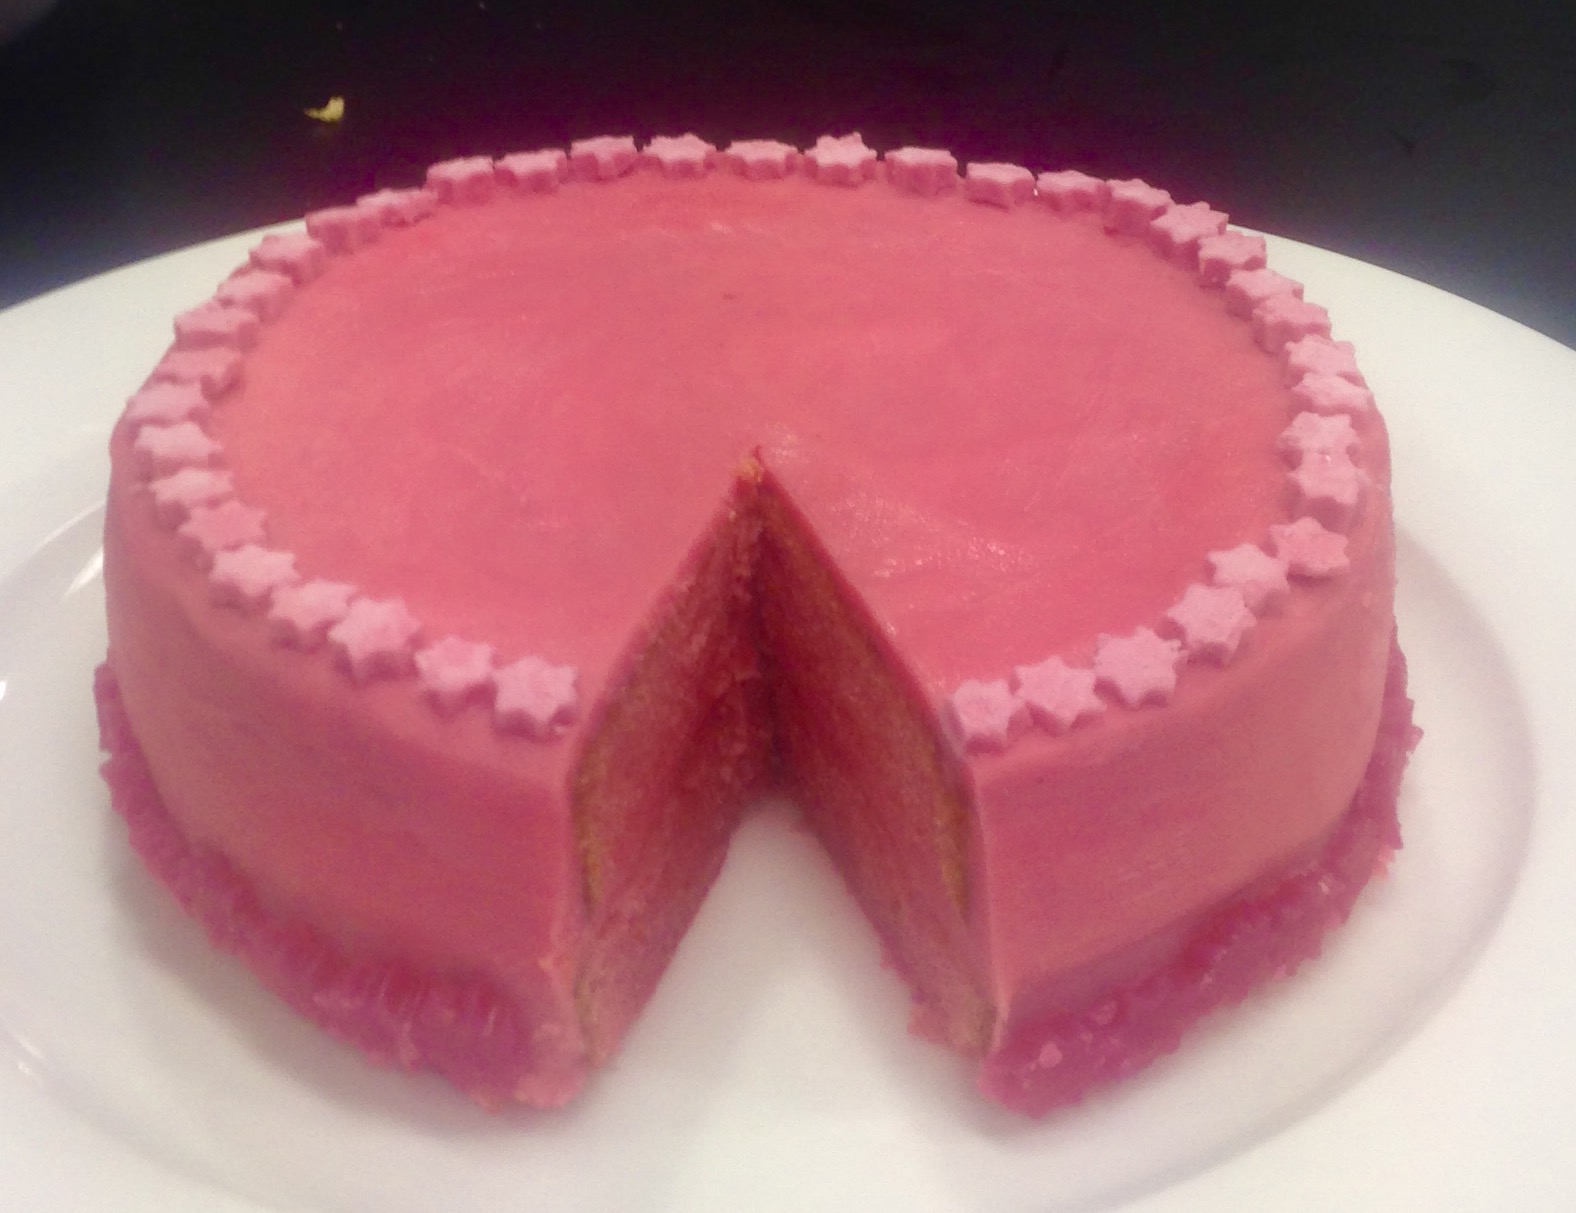
Coconut and Lychee Rum Flan
I tend to go through phases with baking where I fixate on a particular ingredient until I master a killer recipe with that ingredient or I try different flavour pairings with the same base recipe until I get a result that I am really impressed with.
This is exactly what happened last week, I went flan crazy and made about 6 different versions with varying methods and flavour combo’s. Needless to say I can now make a perfect flan with my eyes closed!
The below recipe is one of the standout experiments that was good enough to make it to my blog. The influence was to play with a mix of Asian flavours, where after coming up with the pairing I actually added Rum essence as a flavour enhancer which amplified the taste.
Ingredients:
- 100g sugar
- 140ml lychee syrup
- 1 tsn rum essence
- 3 eggs
- 300g condensed milk
- 250ml milk
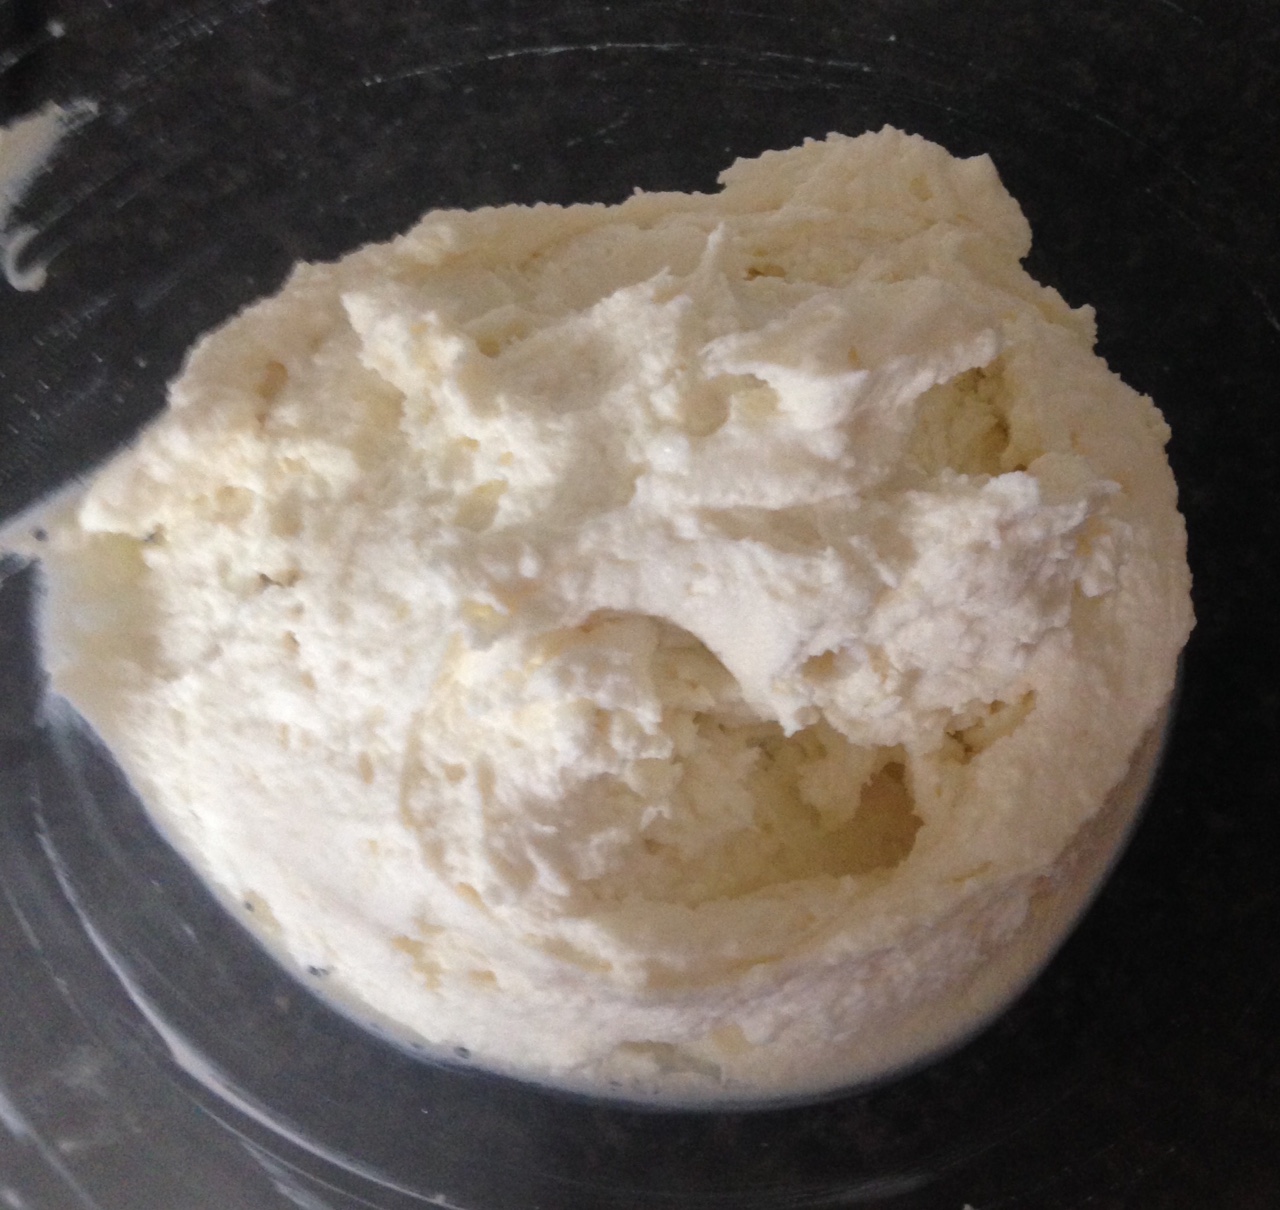
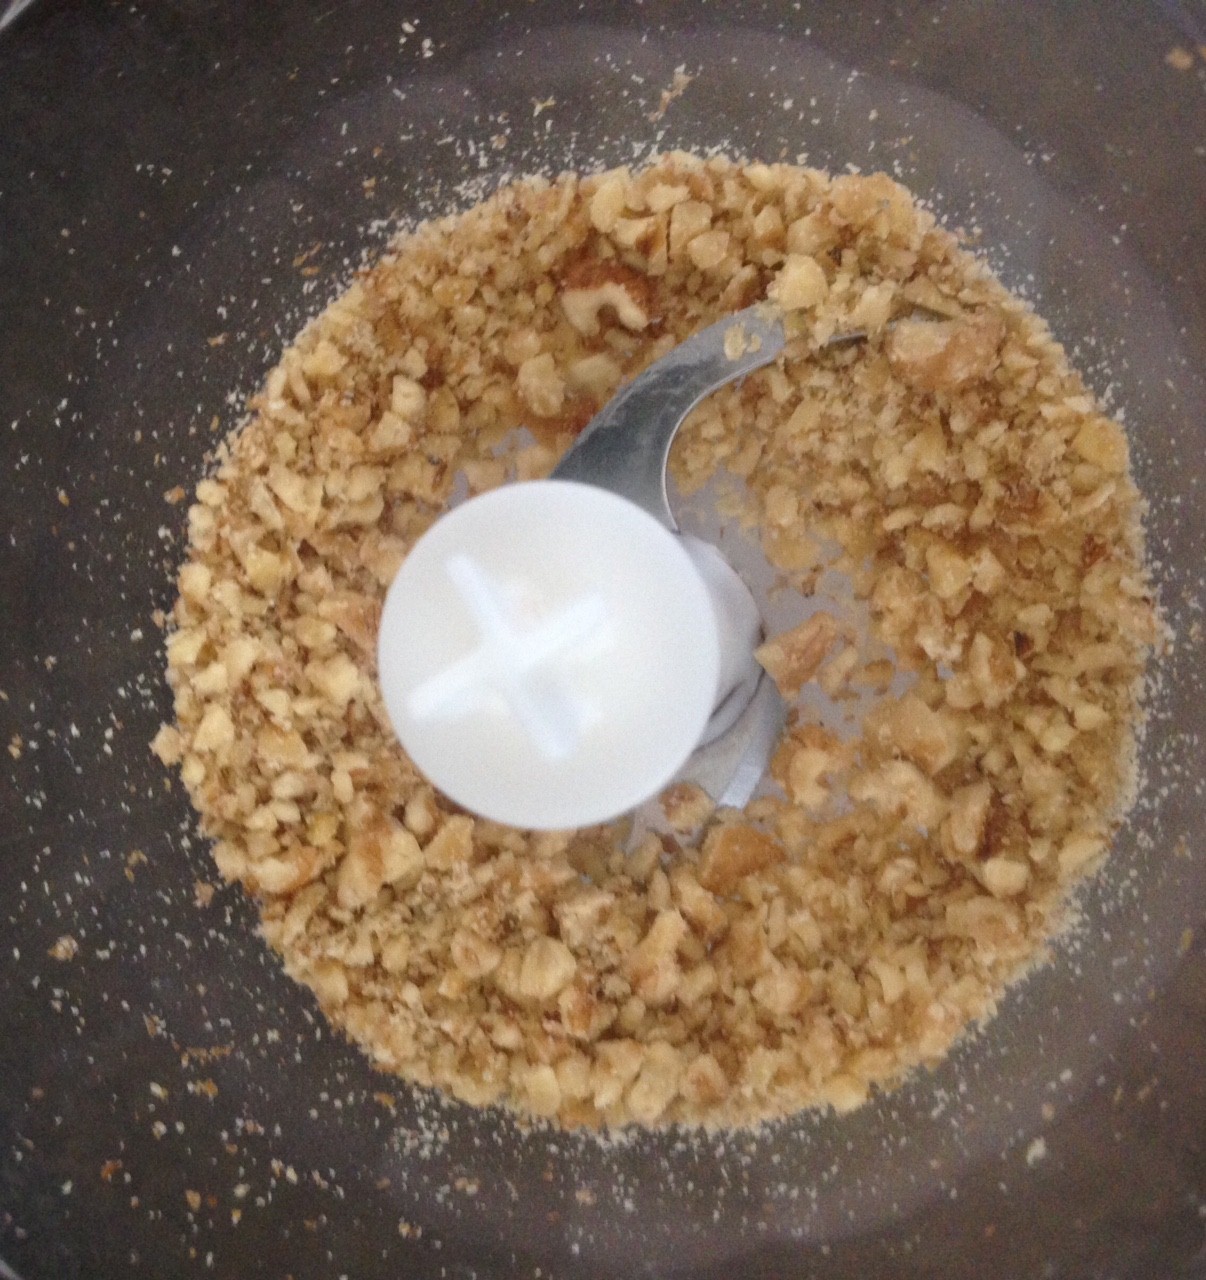
- 120g desiccated coconut
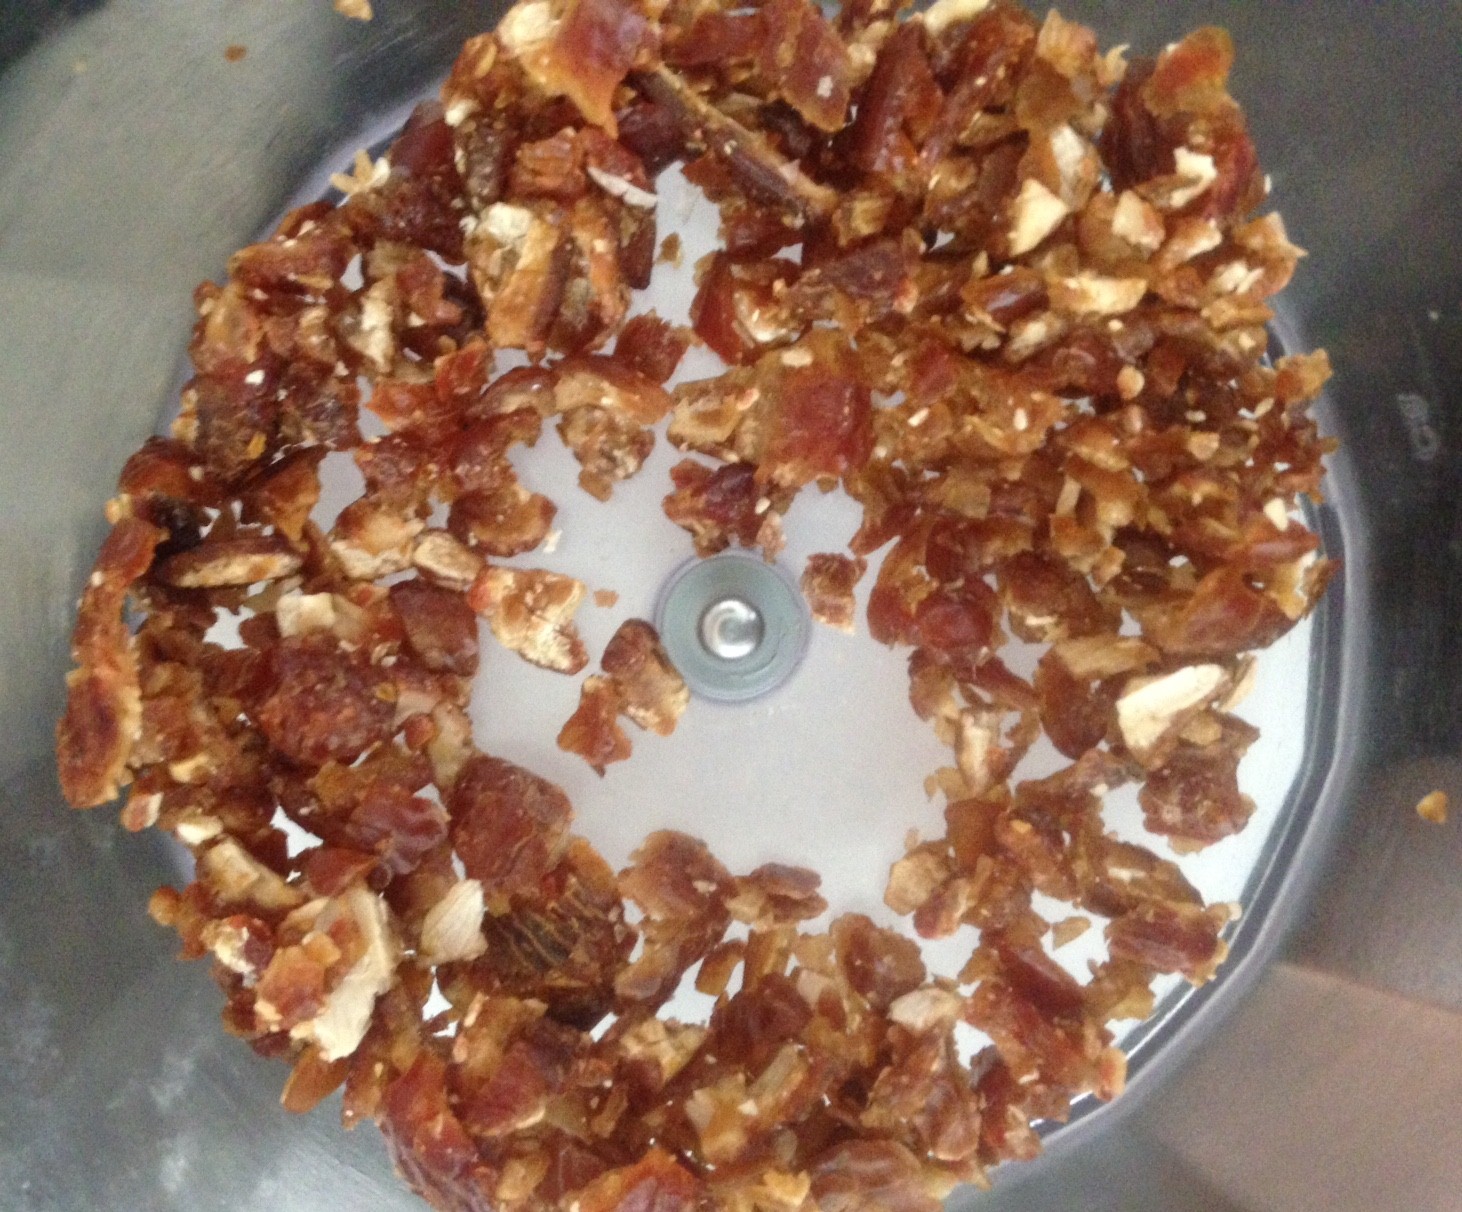
- 2 x 400g cans of lychees in syrup
- 1/2 tsn coconut essence
Method:
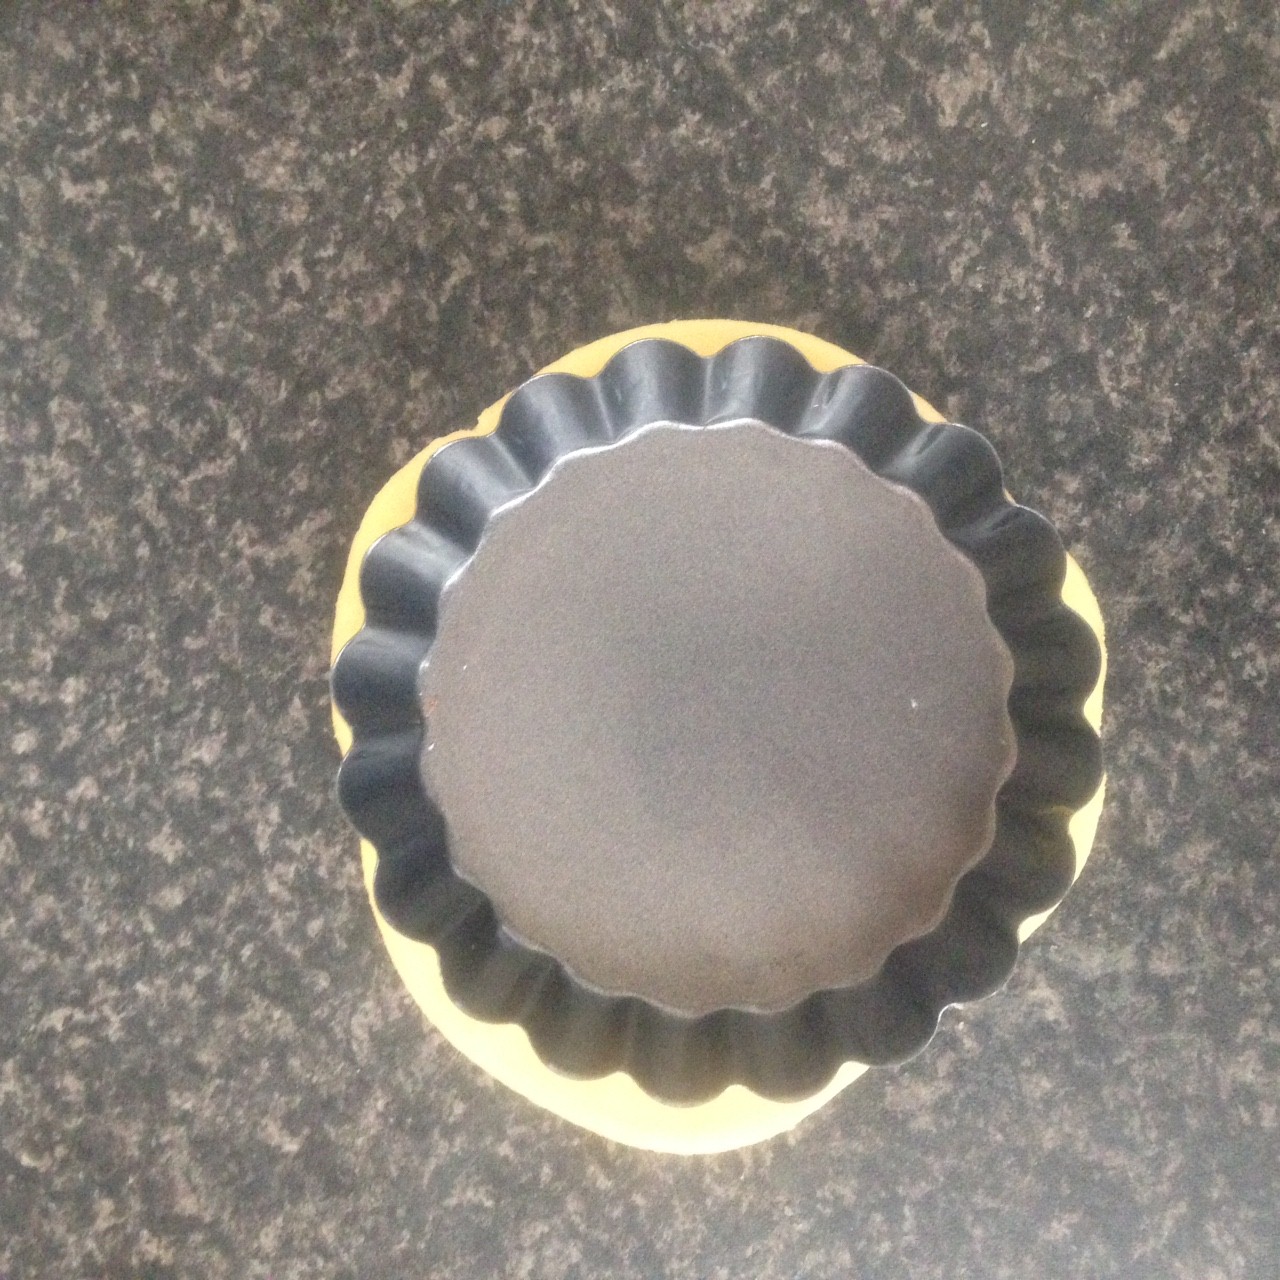
- Pre-heat the oven to 180c degrees and grease a 20 x 10cm cake tin.
- Place the lychees into a bowl and reserve the syrup in another bowl.
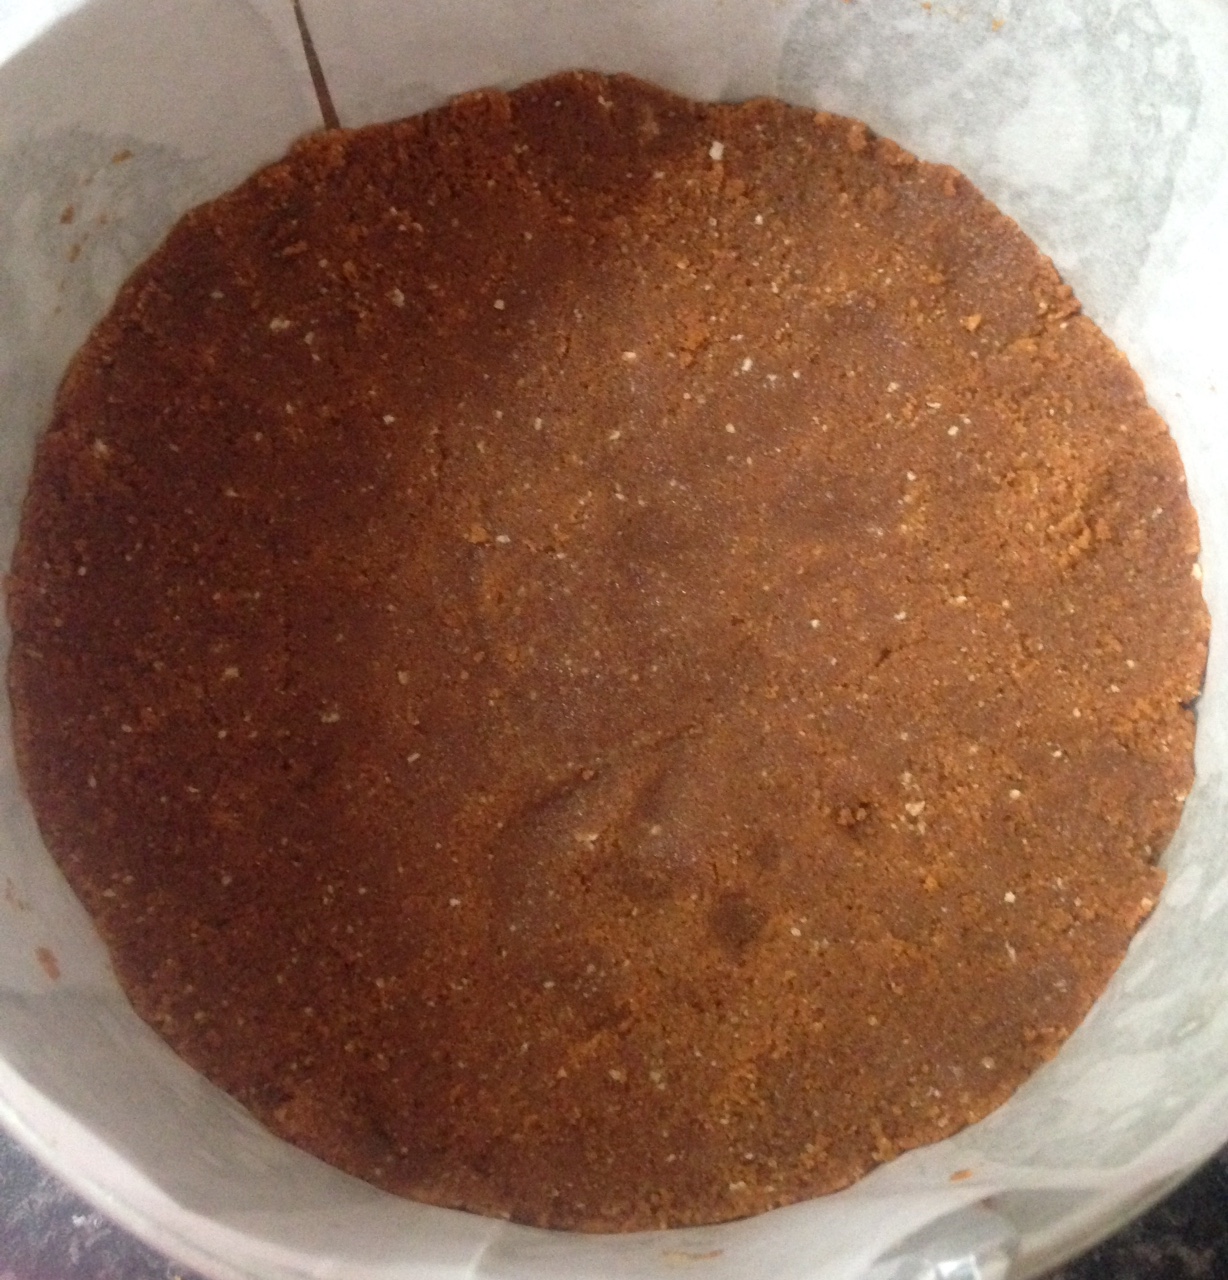
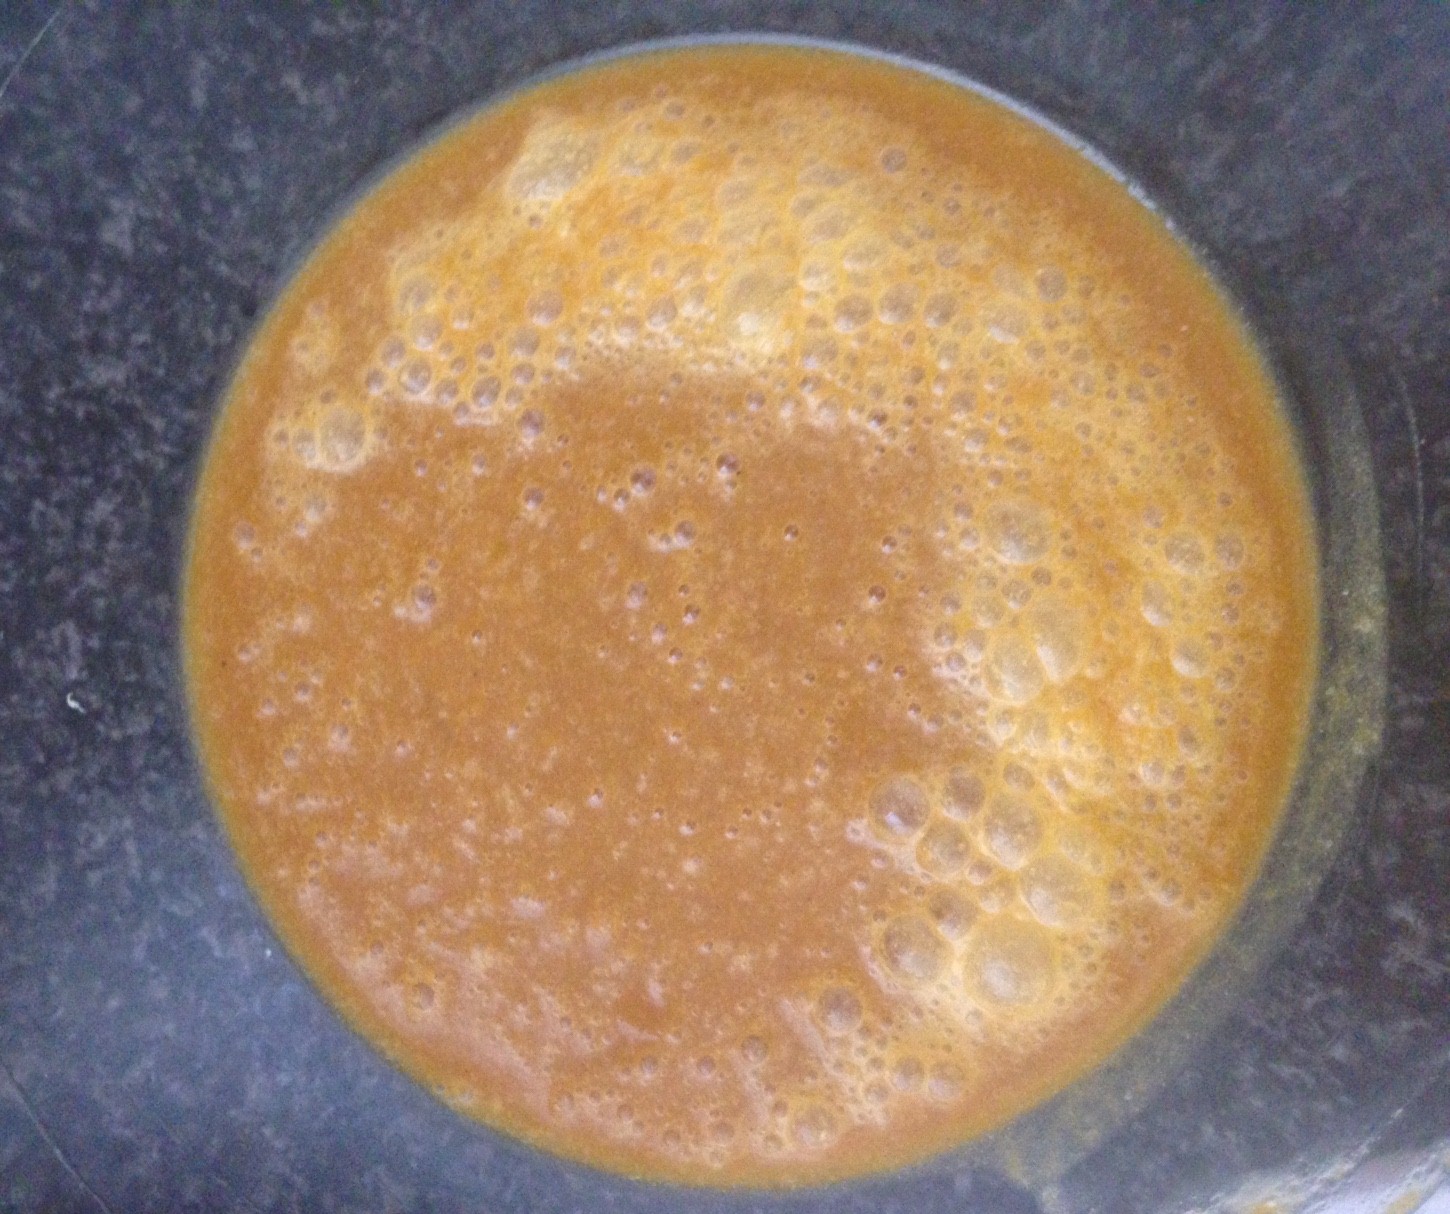
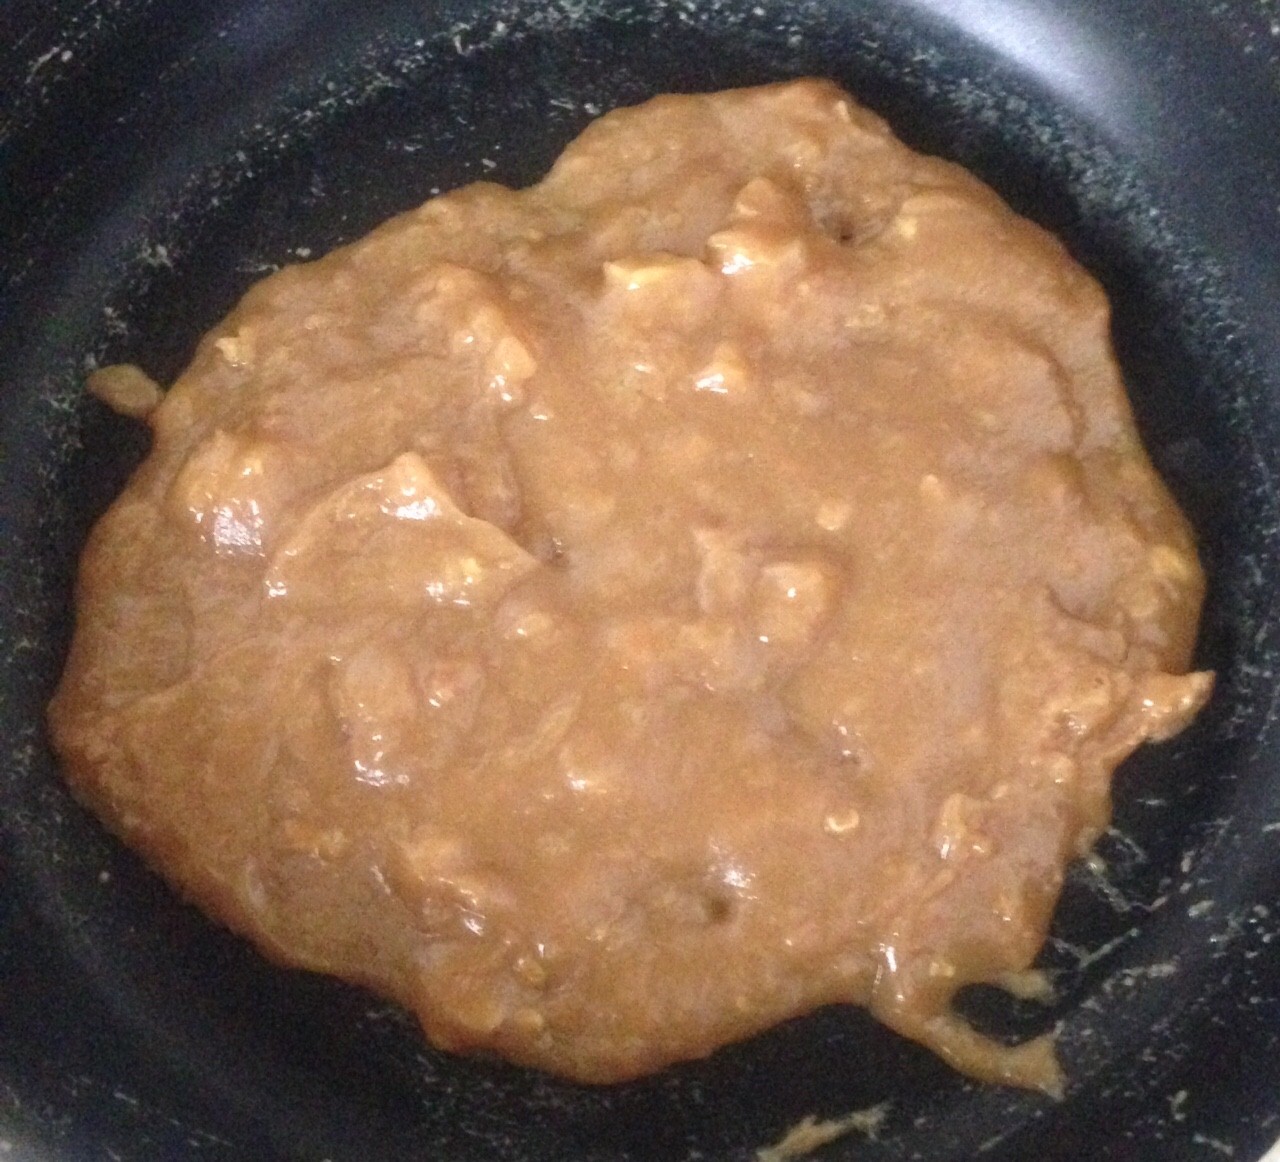
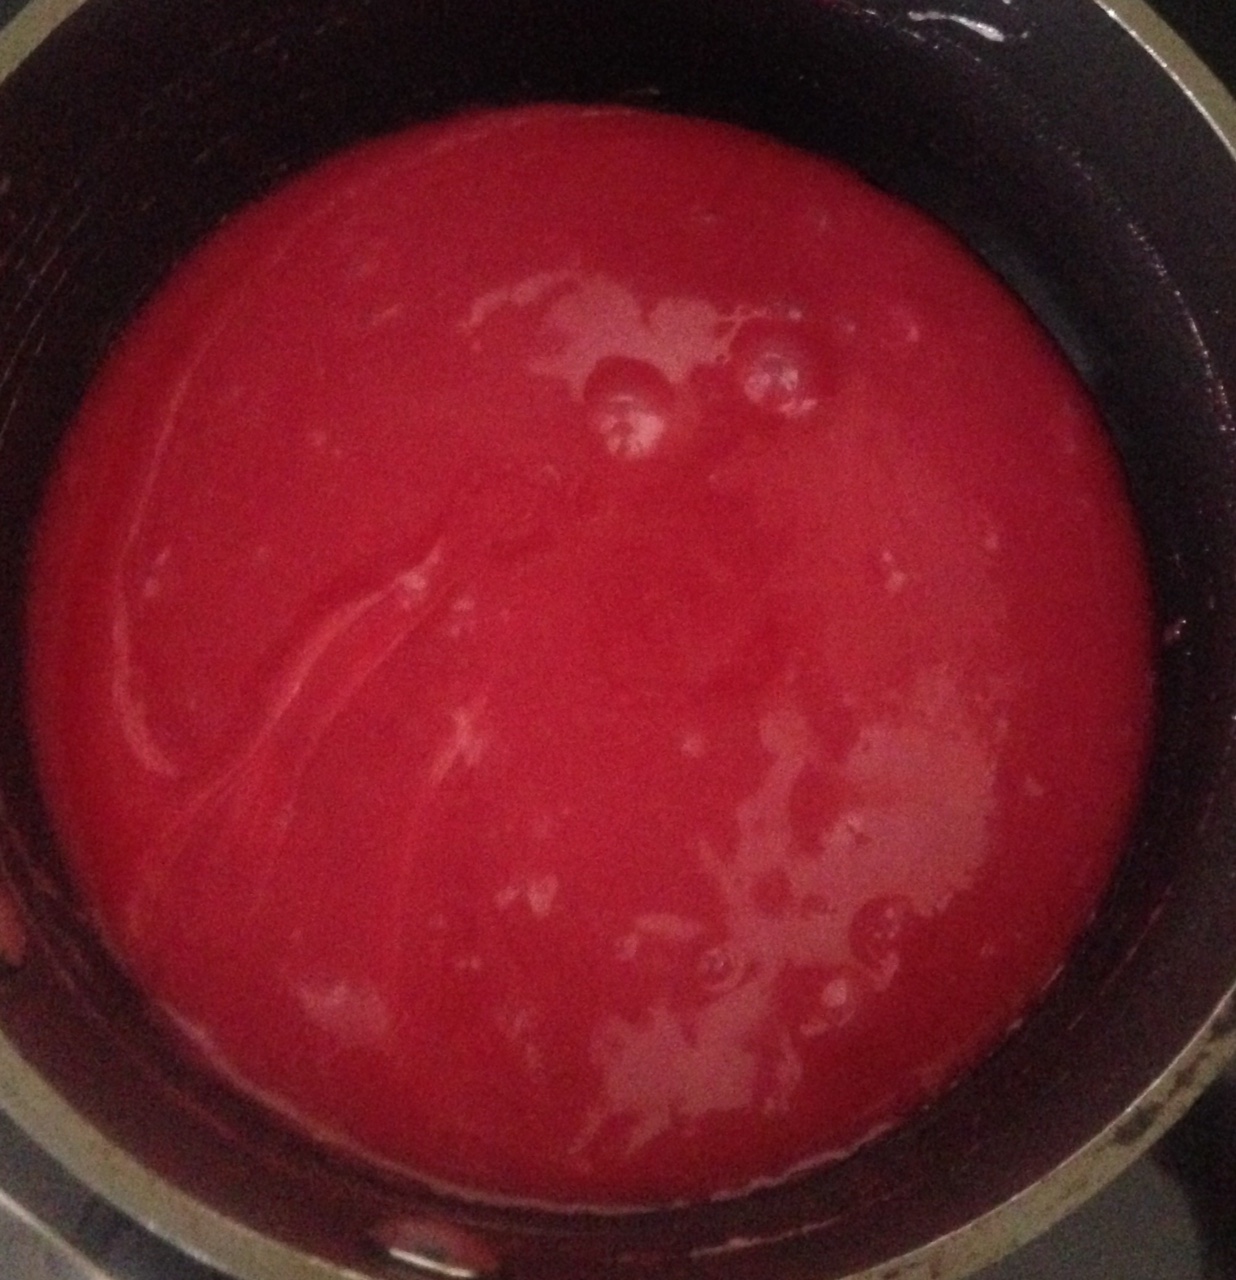
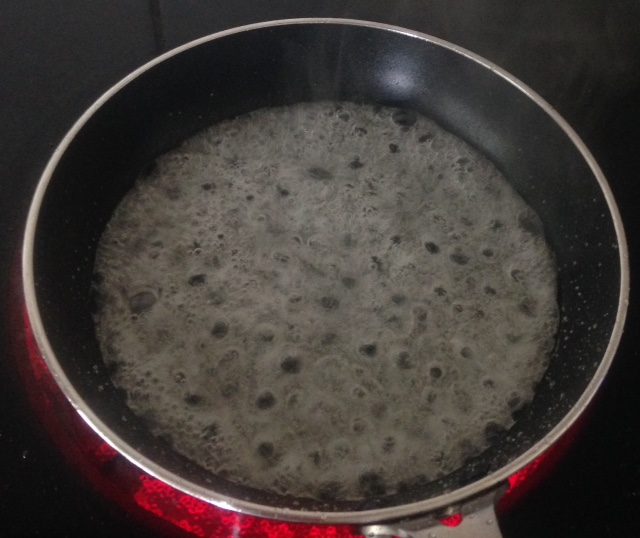
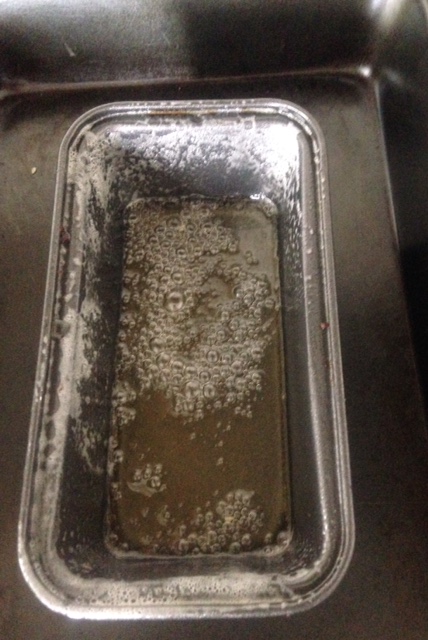
- Place the sugar for the caramel into a saucepan and cook on a high heat until the sugar dissolves and just starts to turn amber.
- Remove pan off heat and carefully stir in the lychee syrup and the essence until a syrup is formed.
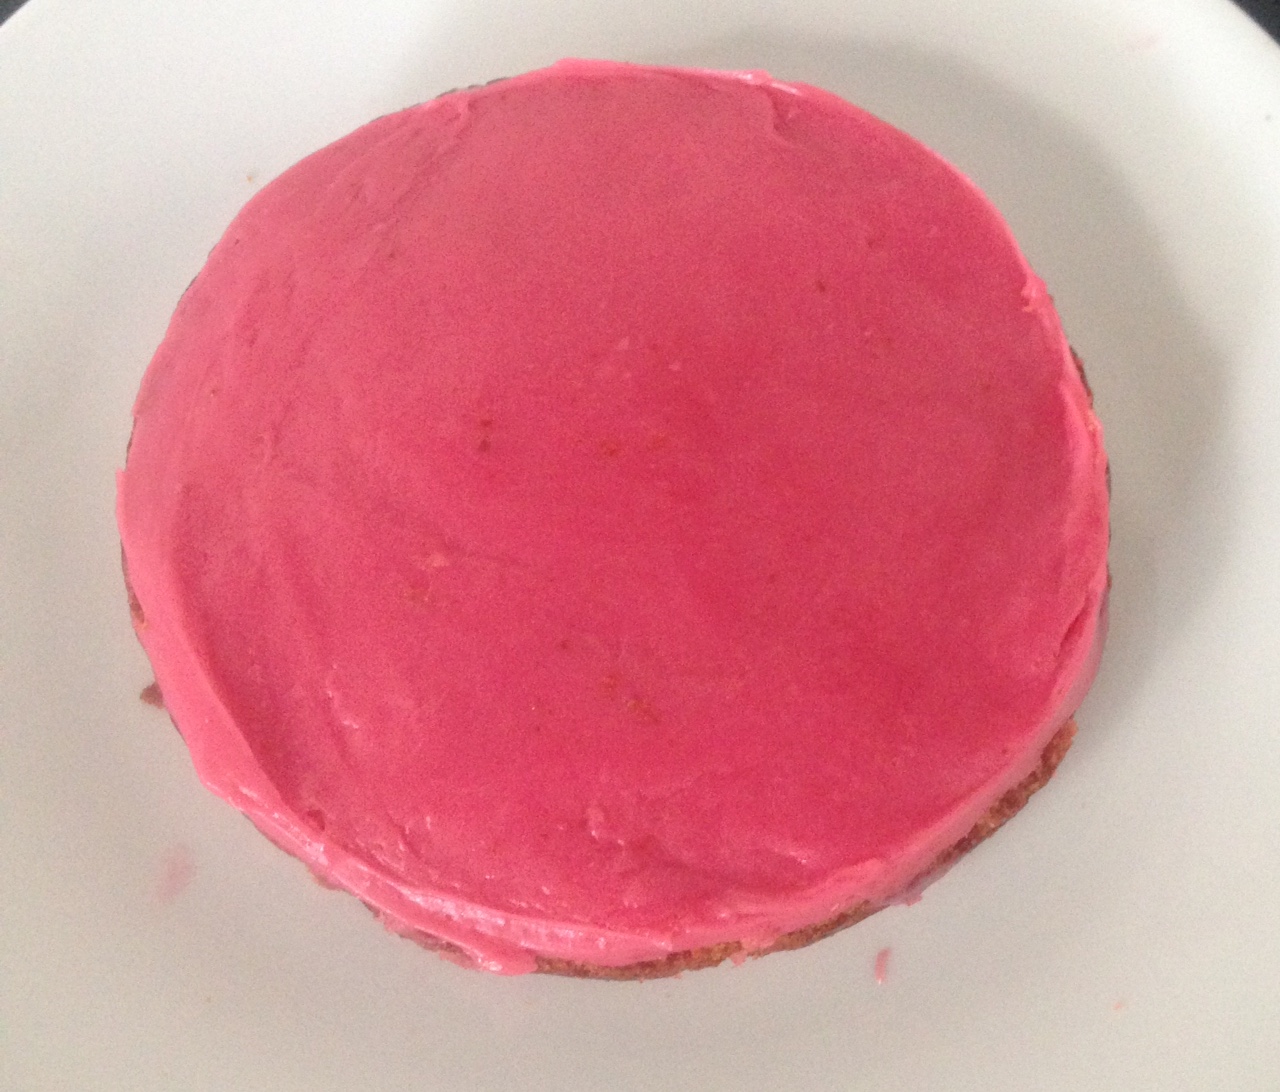
- Pour the syrup into the cake tin.
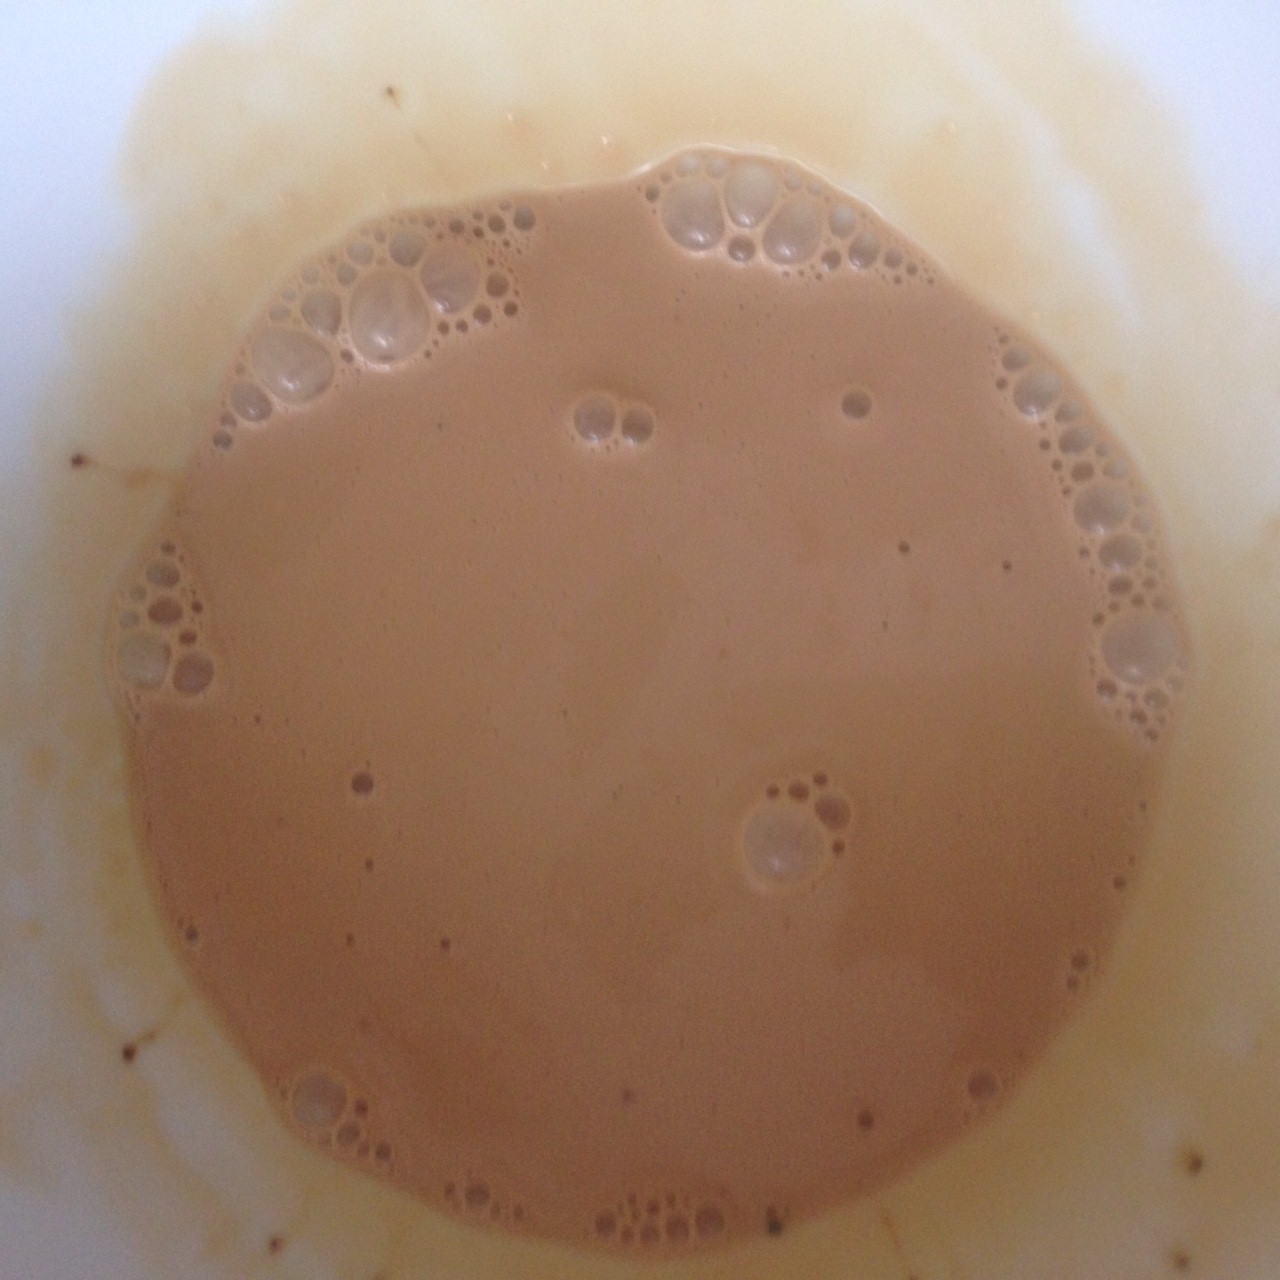
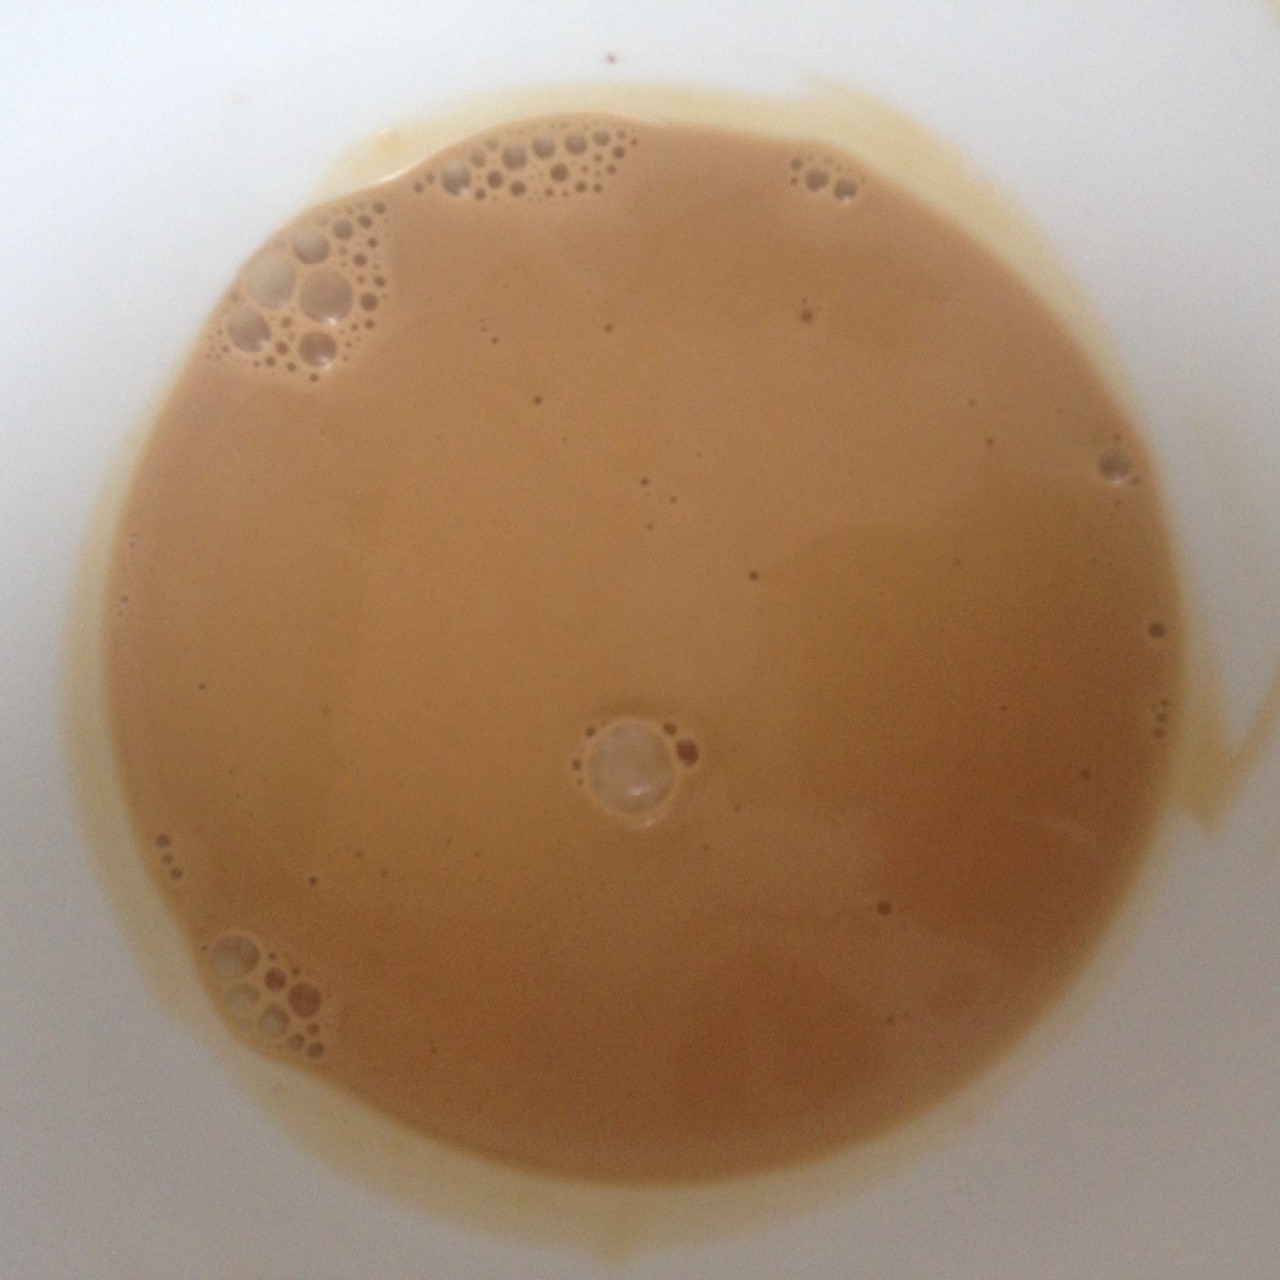
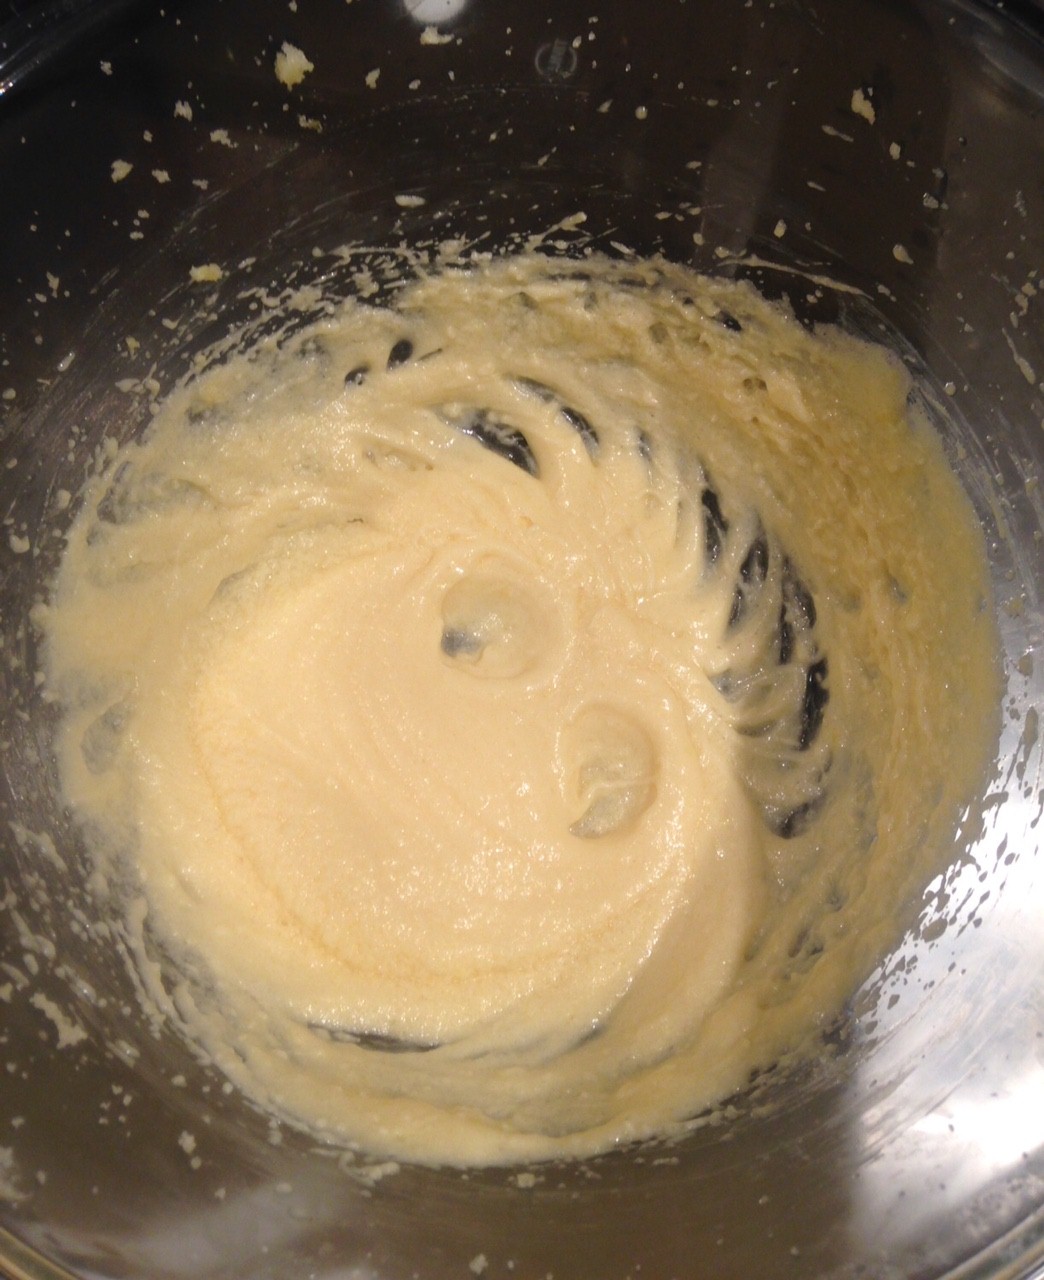
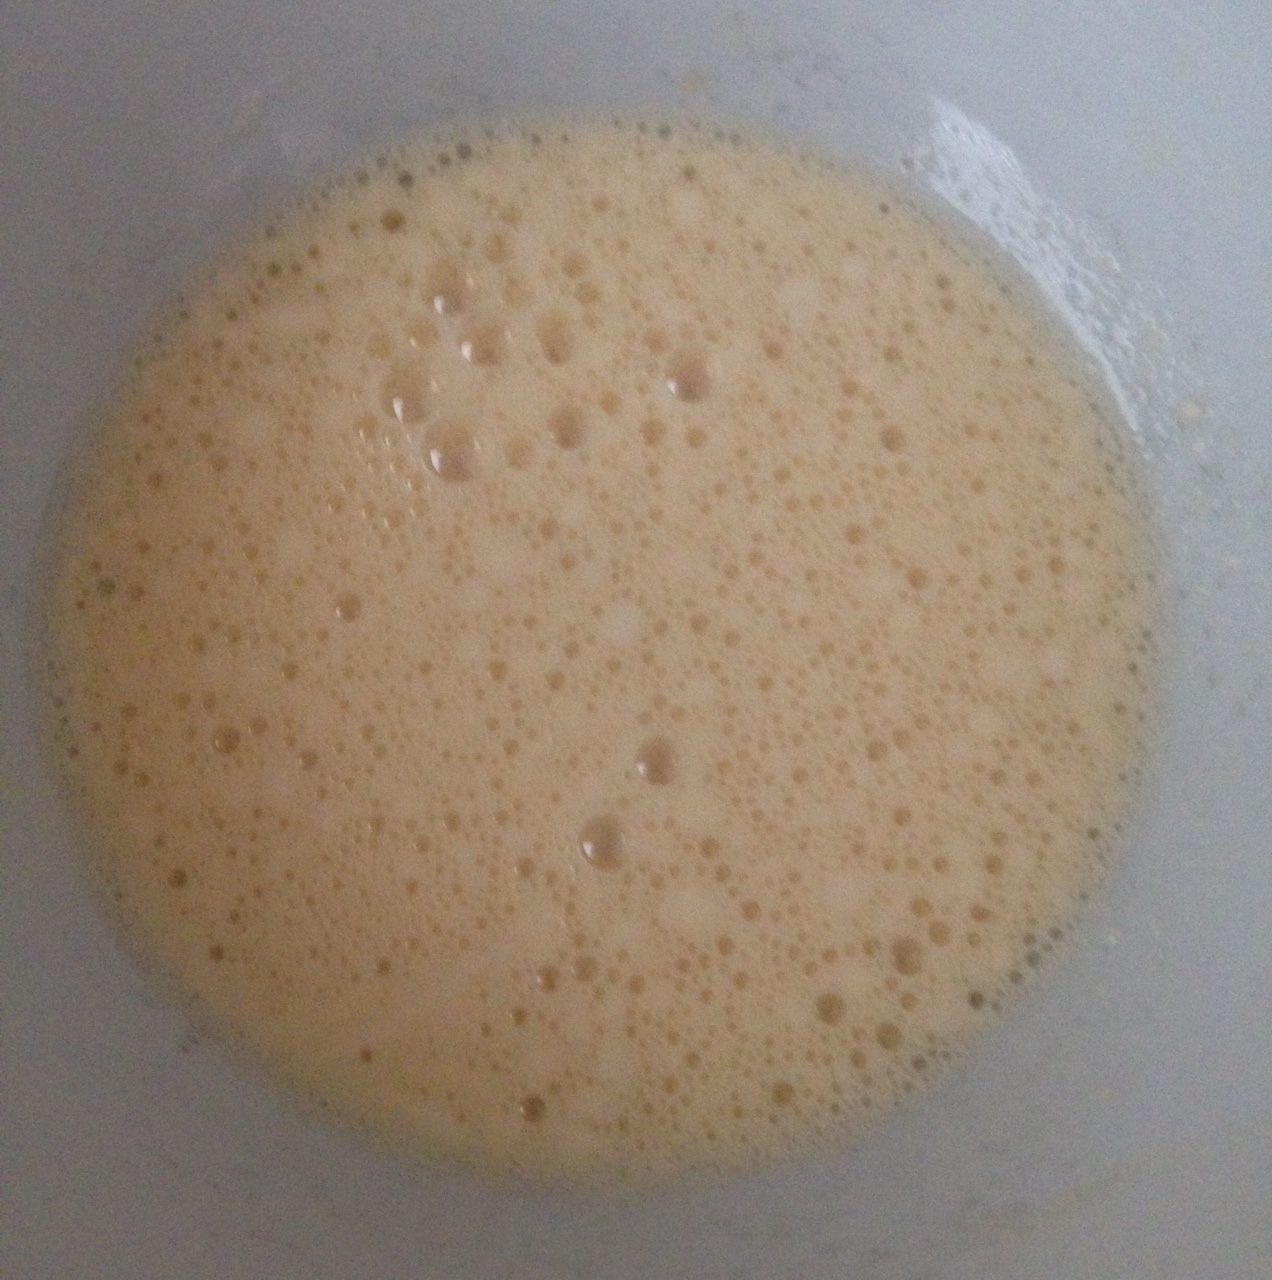
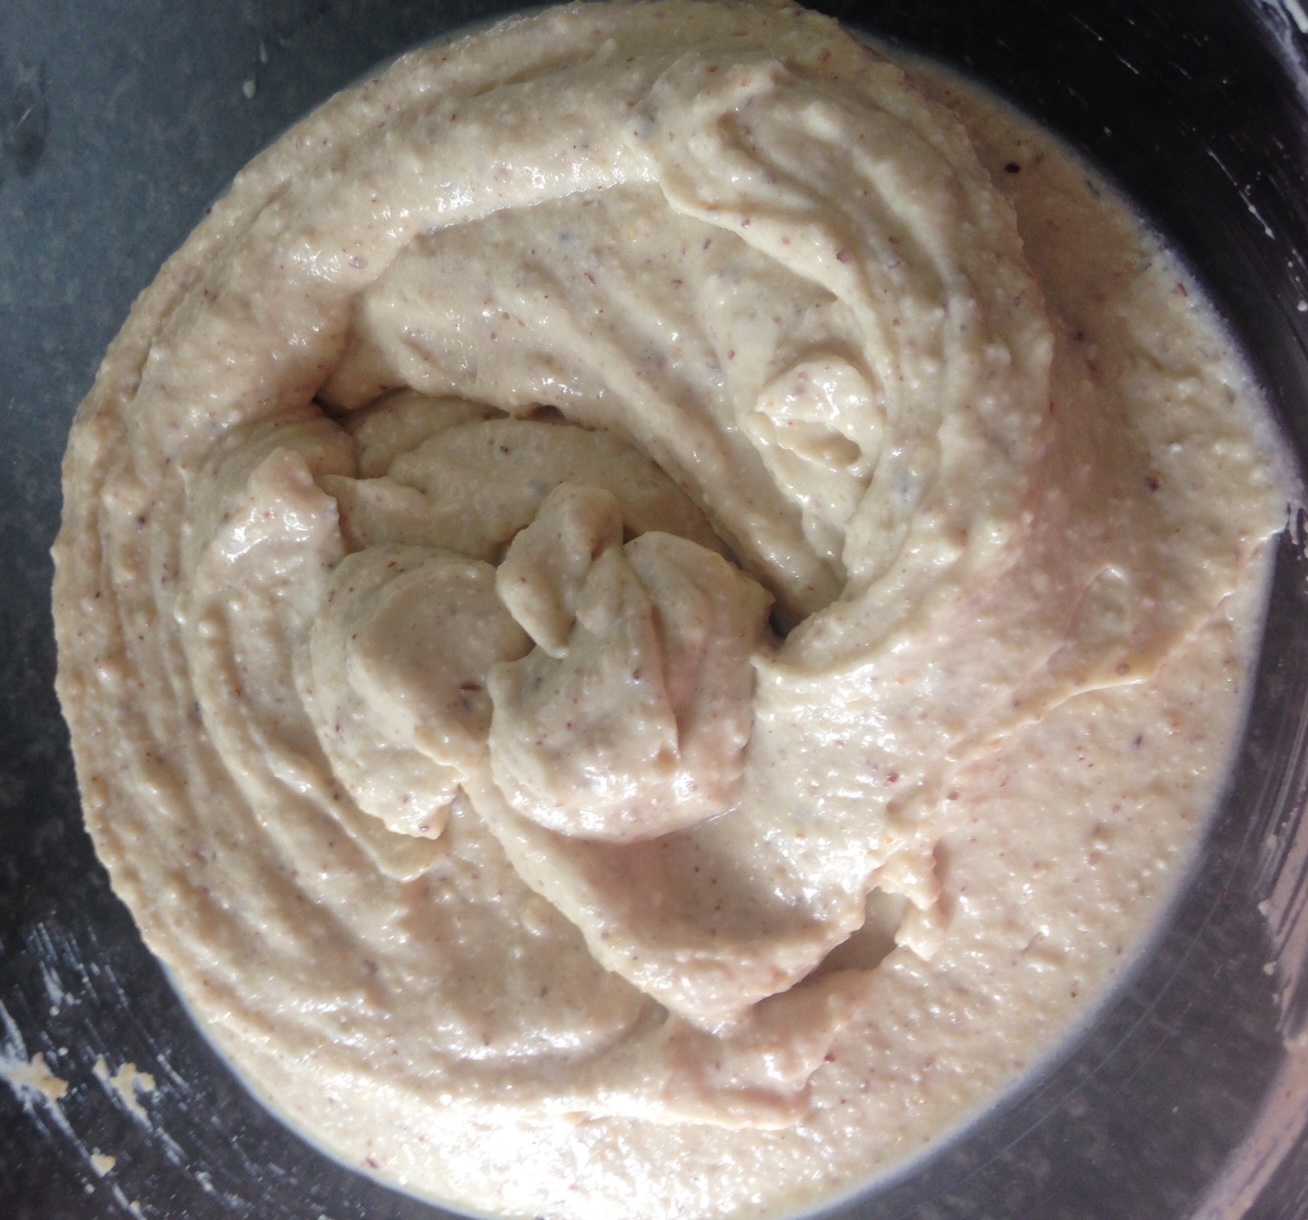
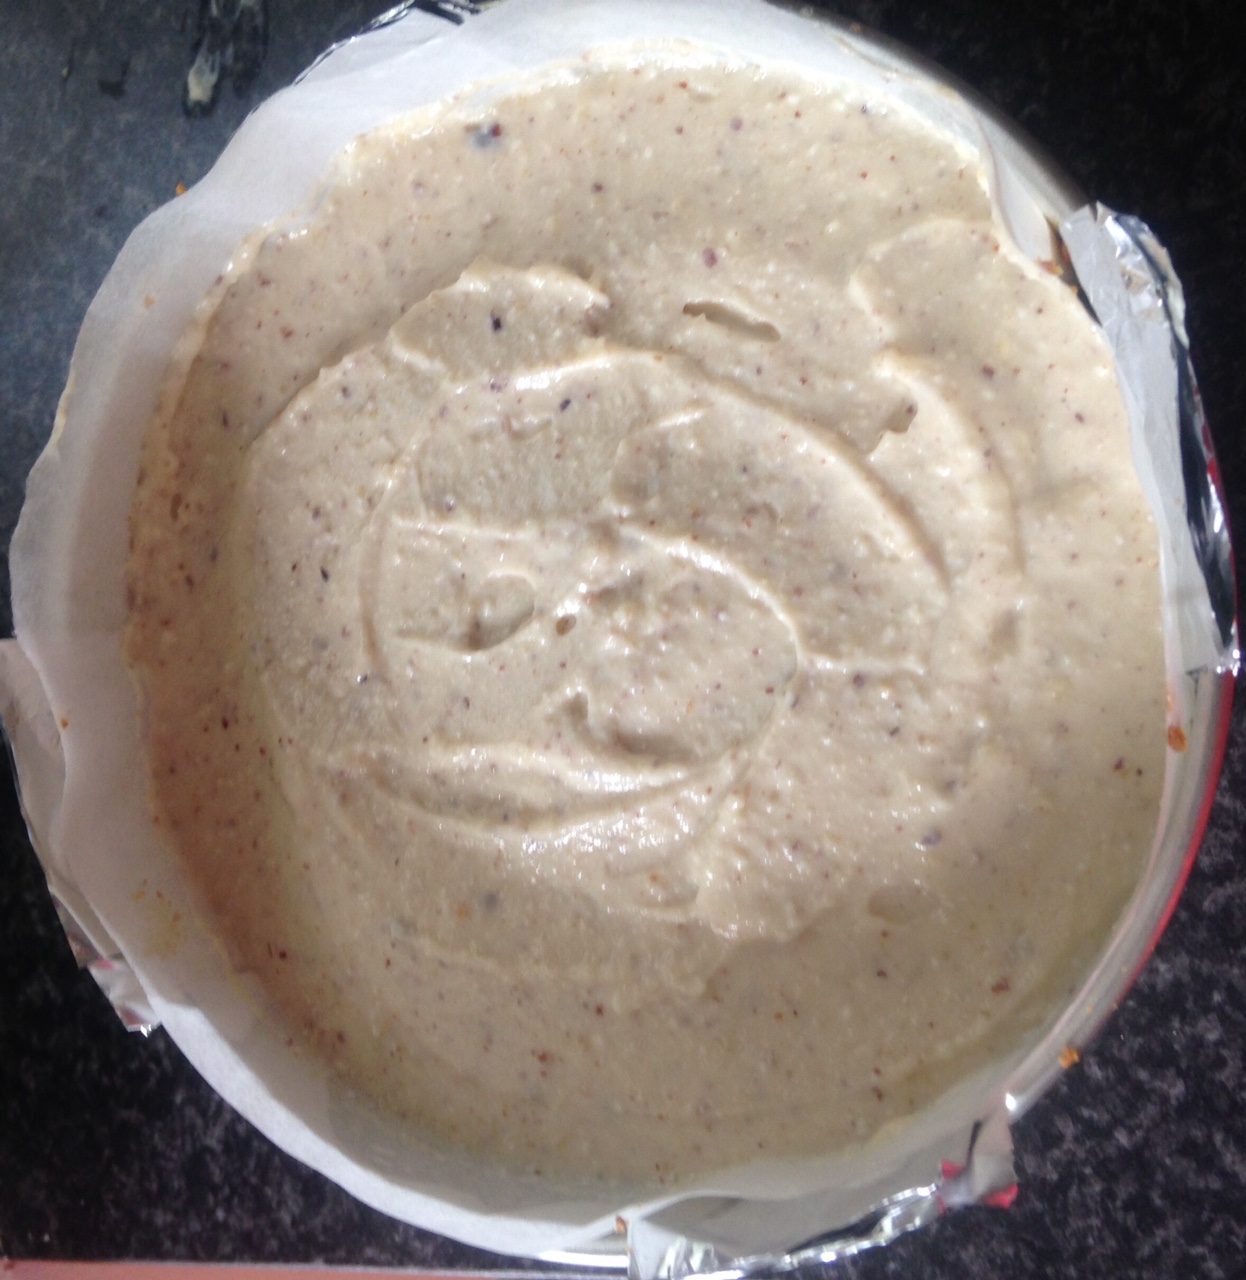
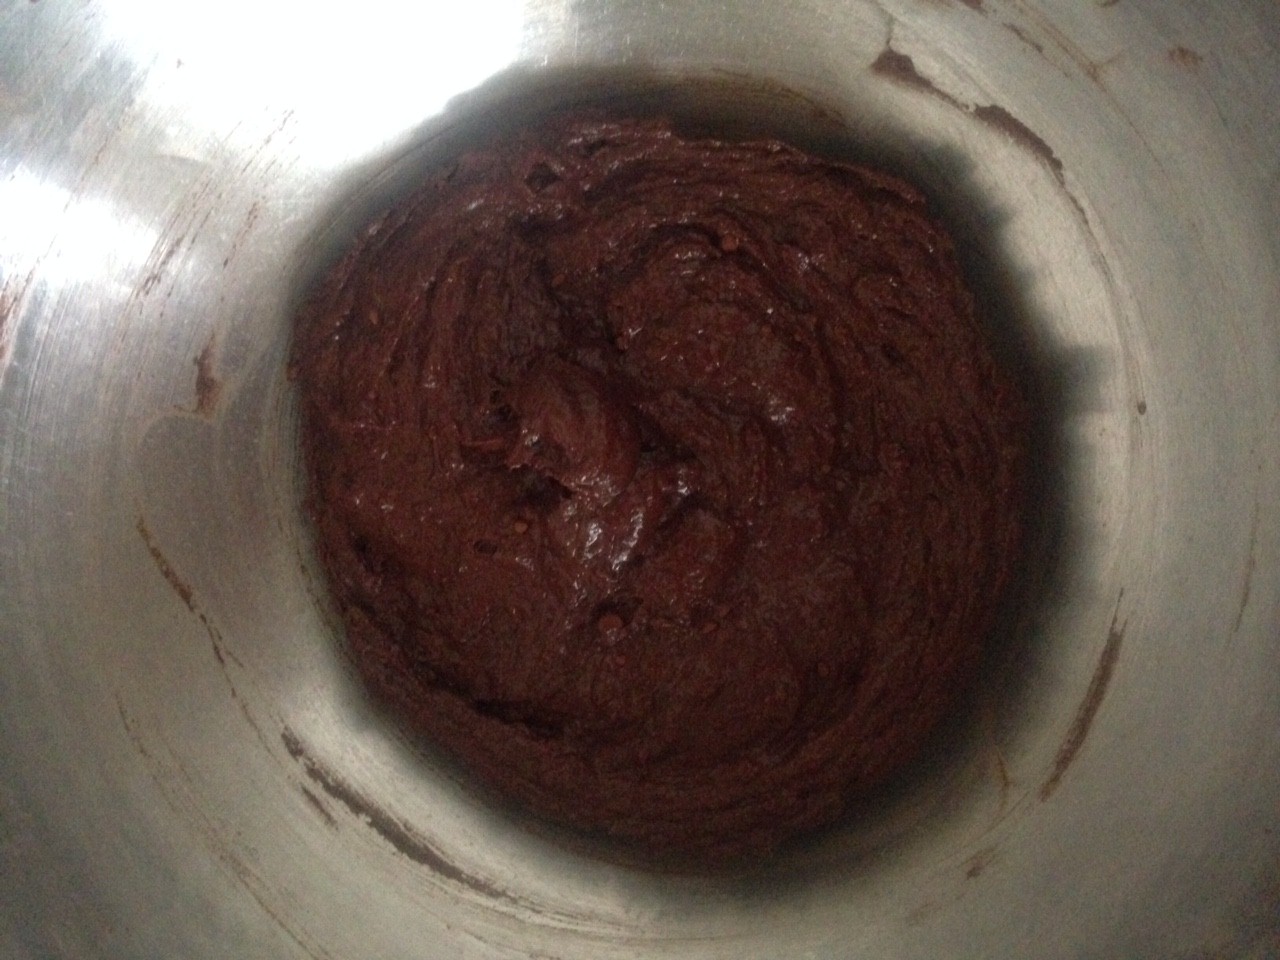
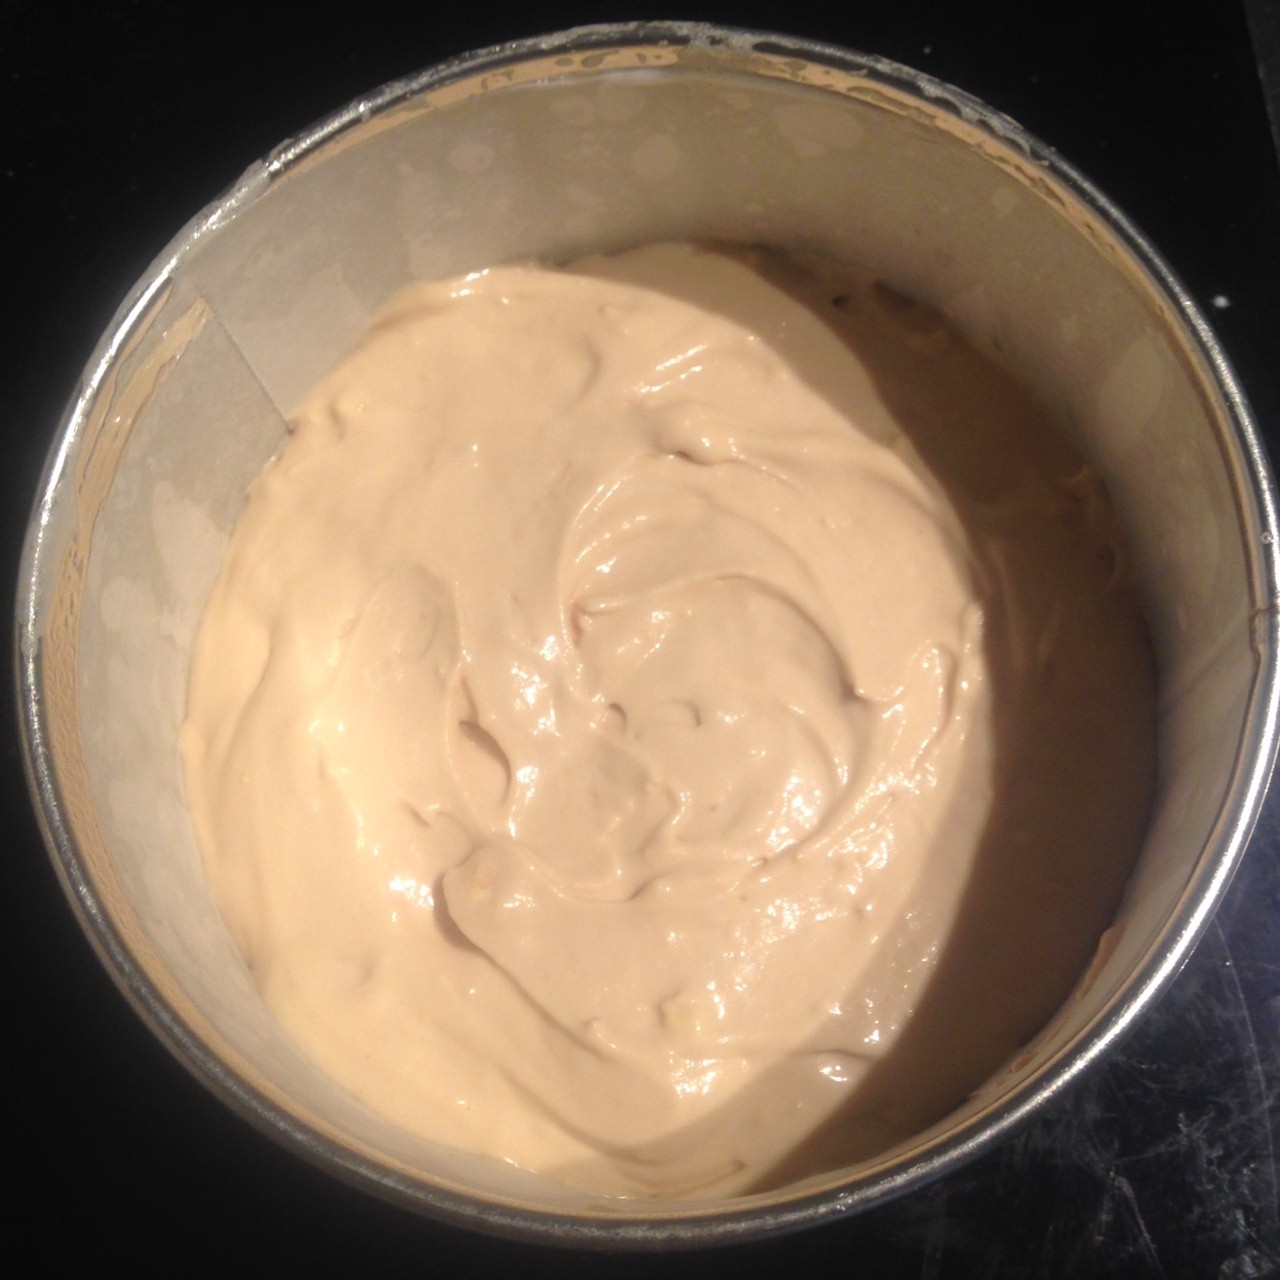
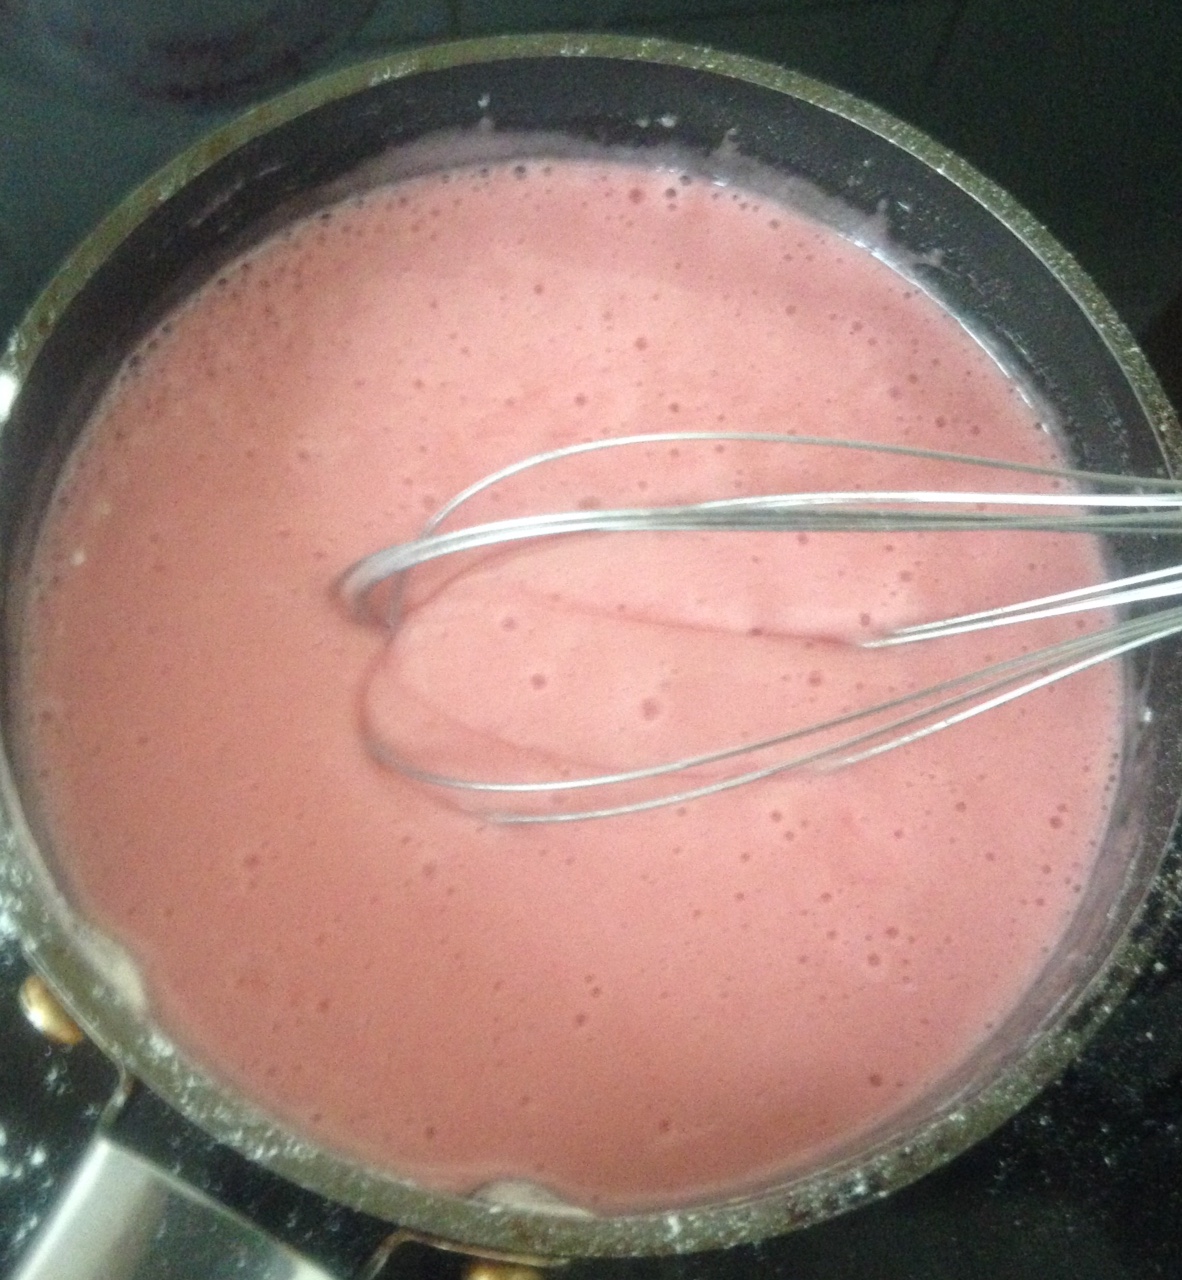
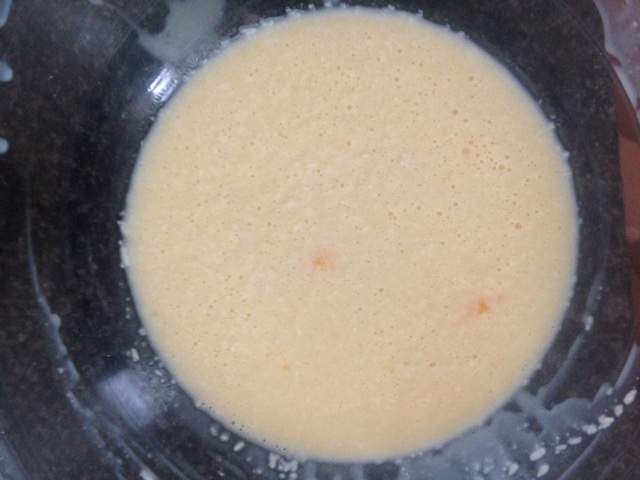
- Place the eggs, condensed milk, milk, ½ tsn rum essence, the coconut essence and the desiccated coconut in a bowl and whisk with a hand help beater until combine.
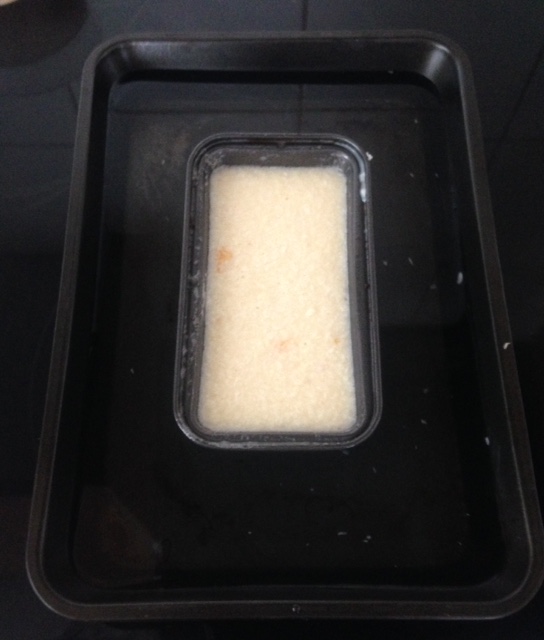
- Pure the mix into the tin on top of the syrup.
- Place the tin into another bigger cake tin and pour hot water until it comes half way up the sides of the tin.
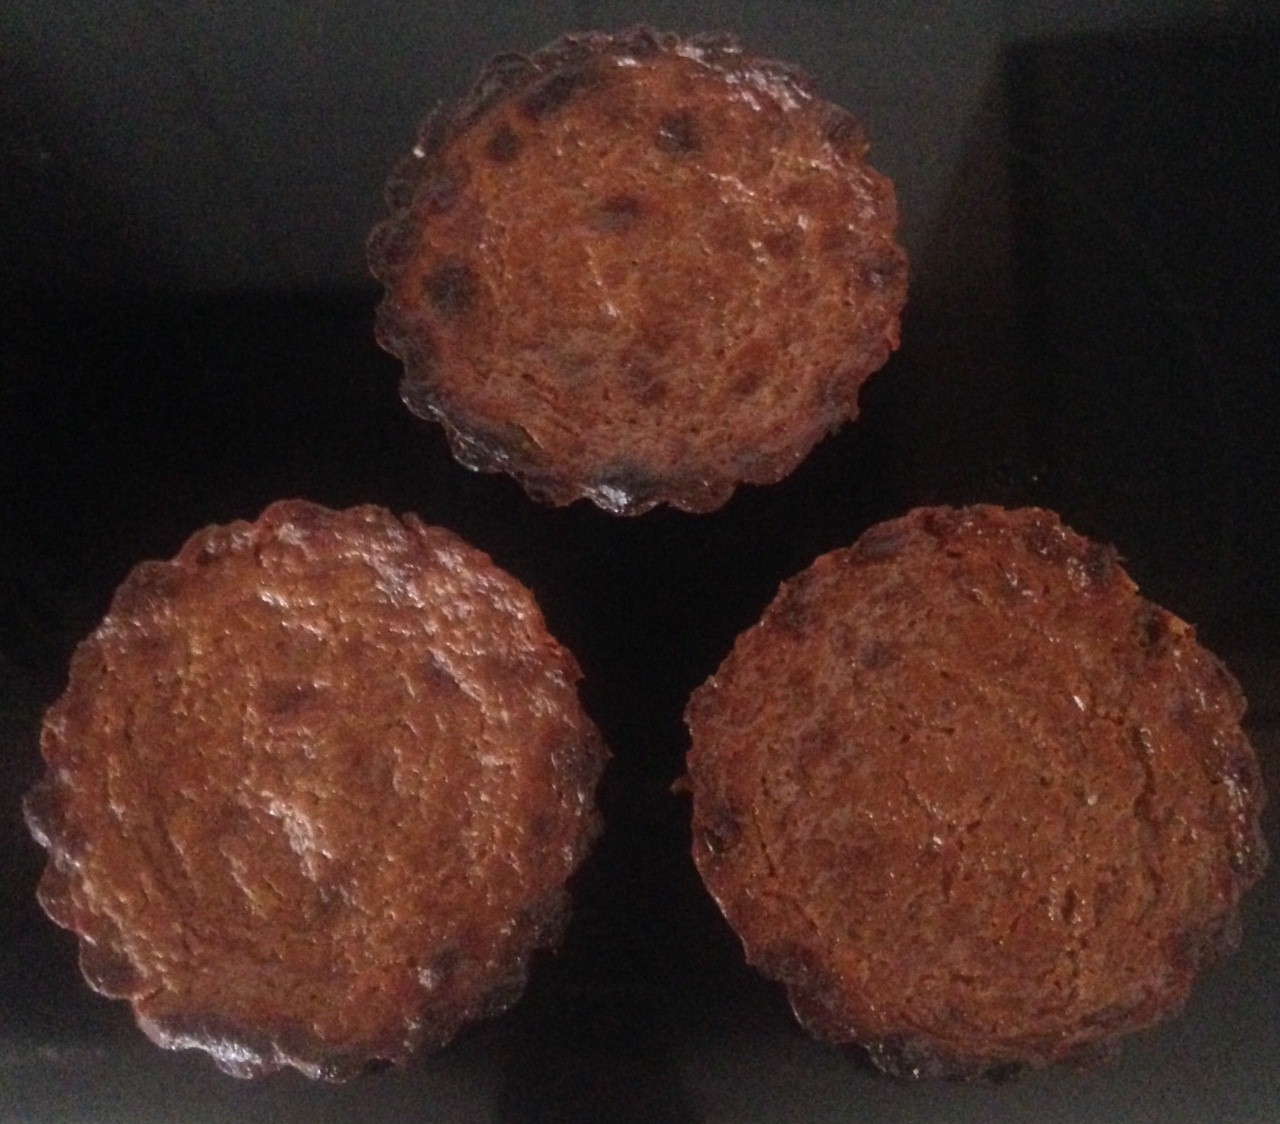
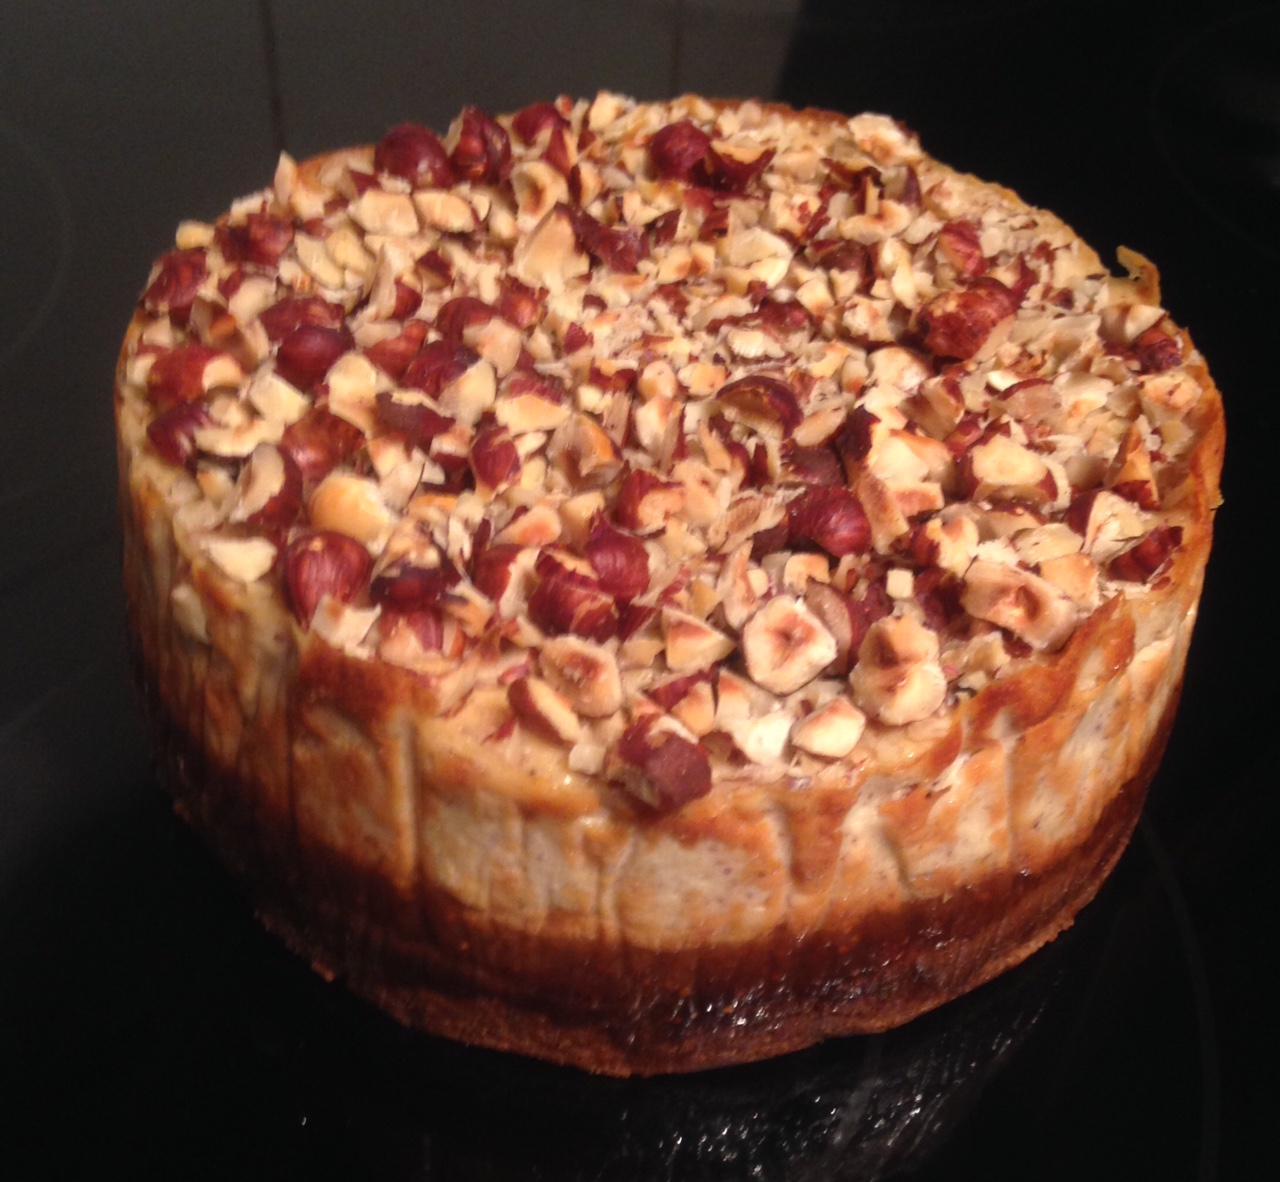
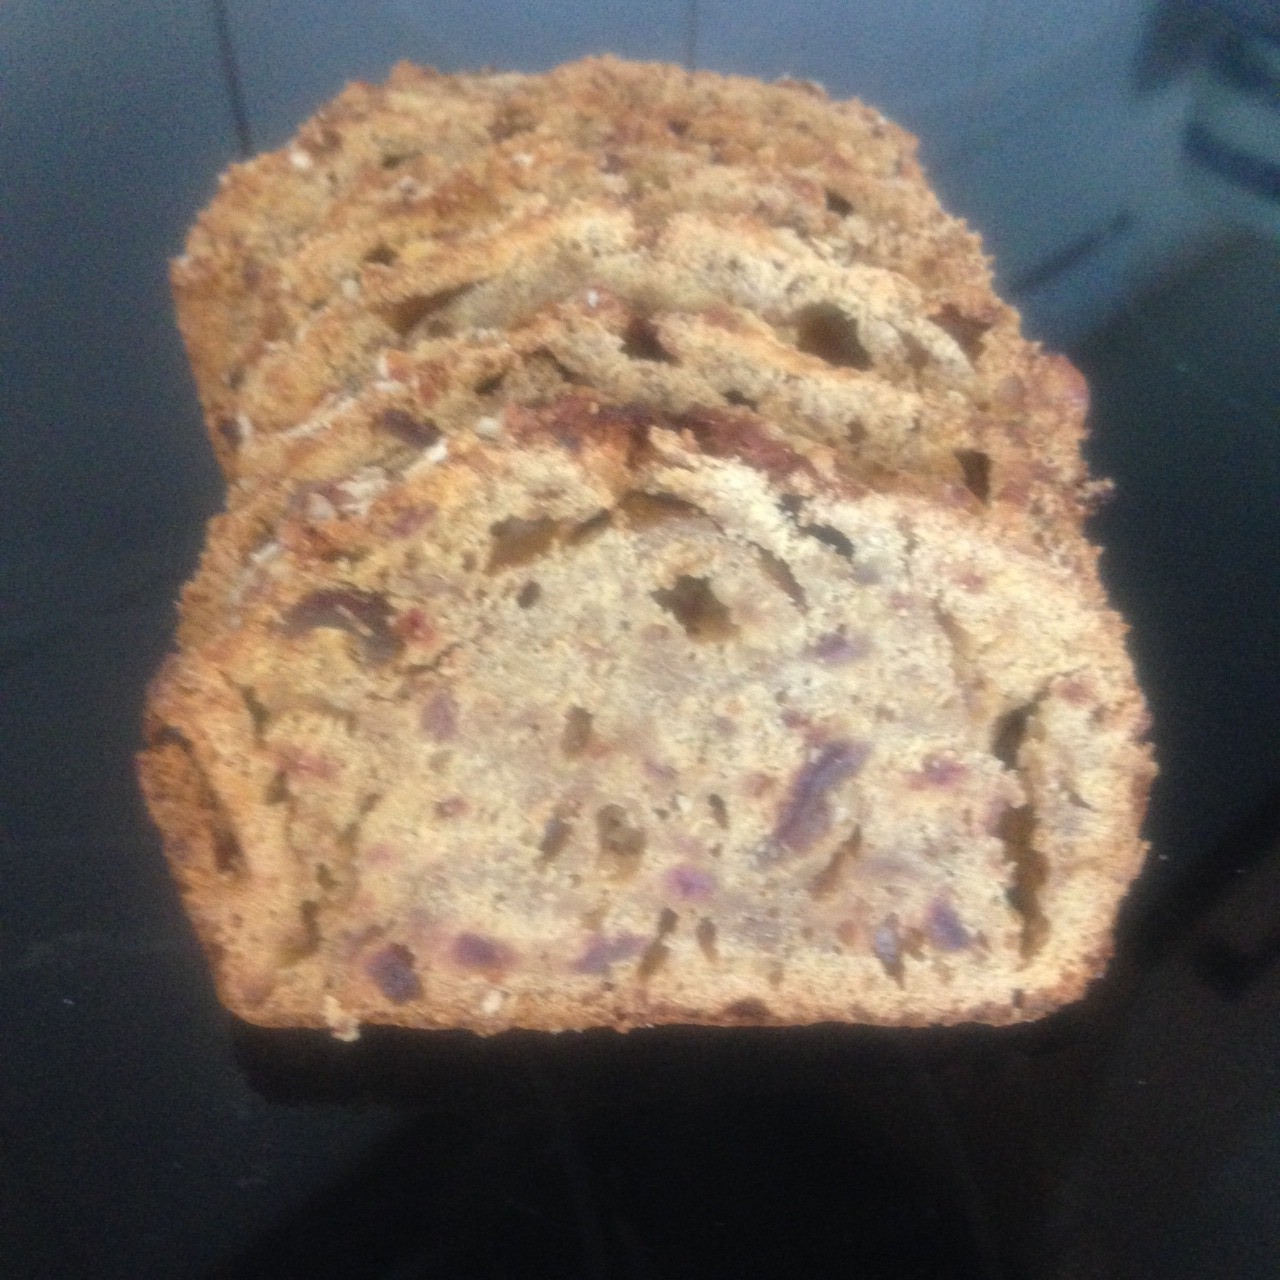
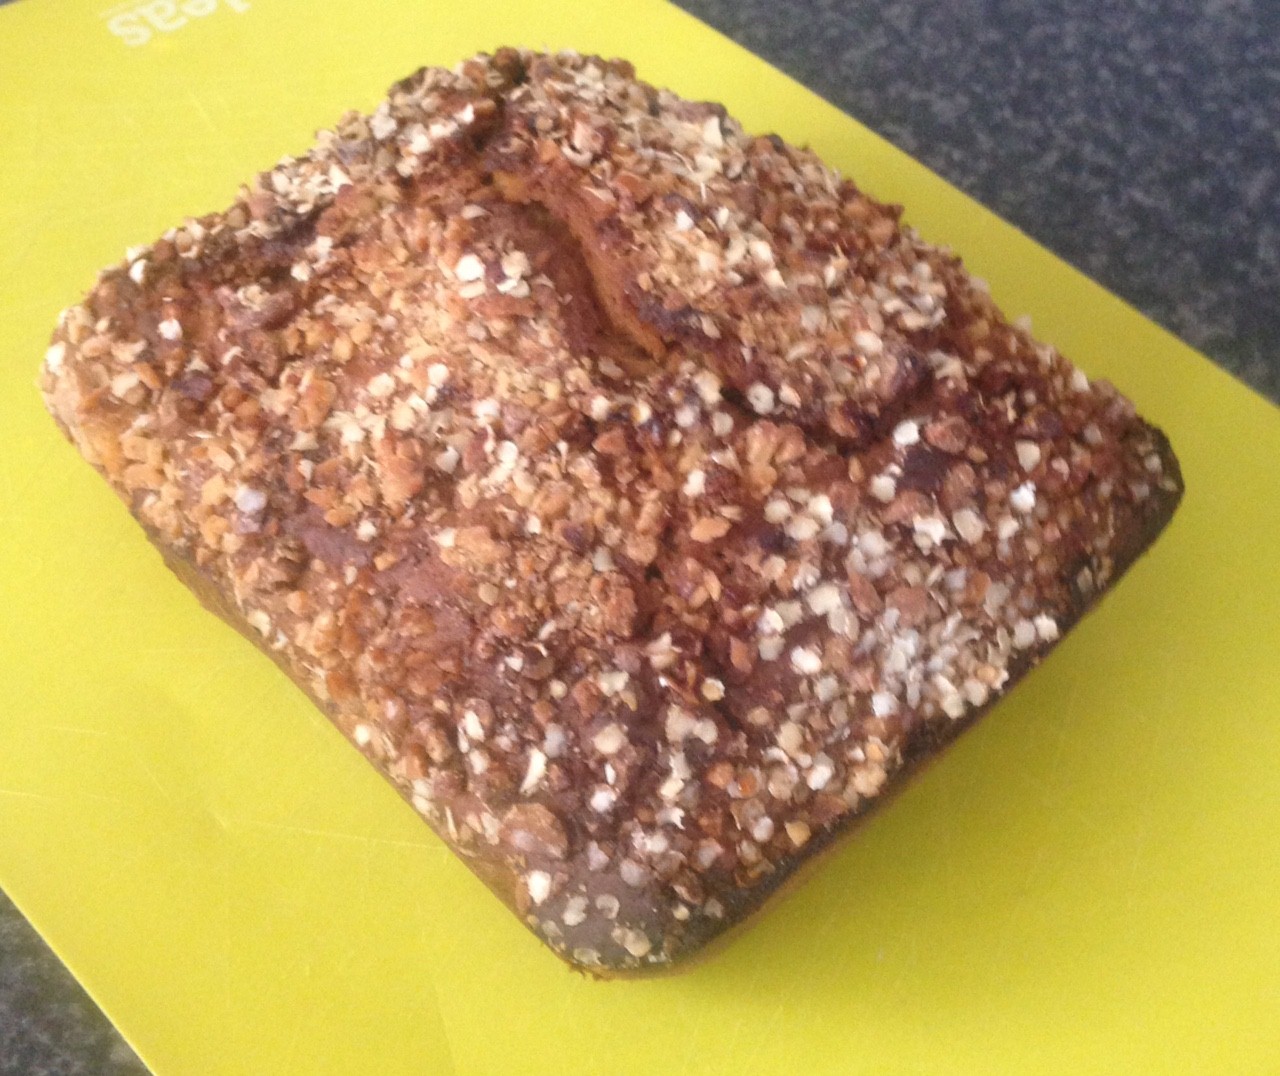
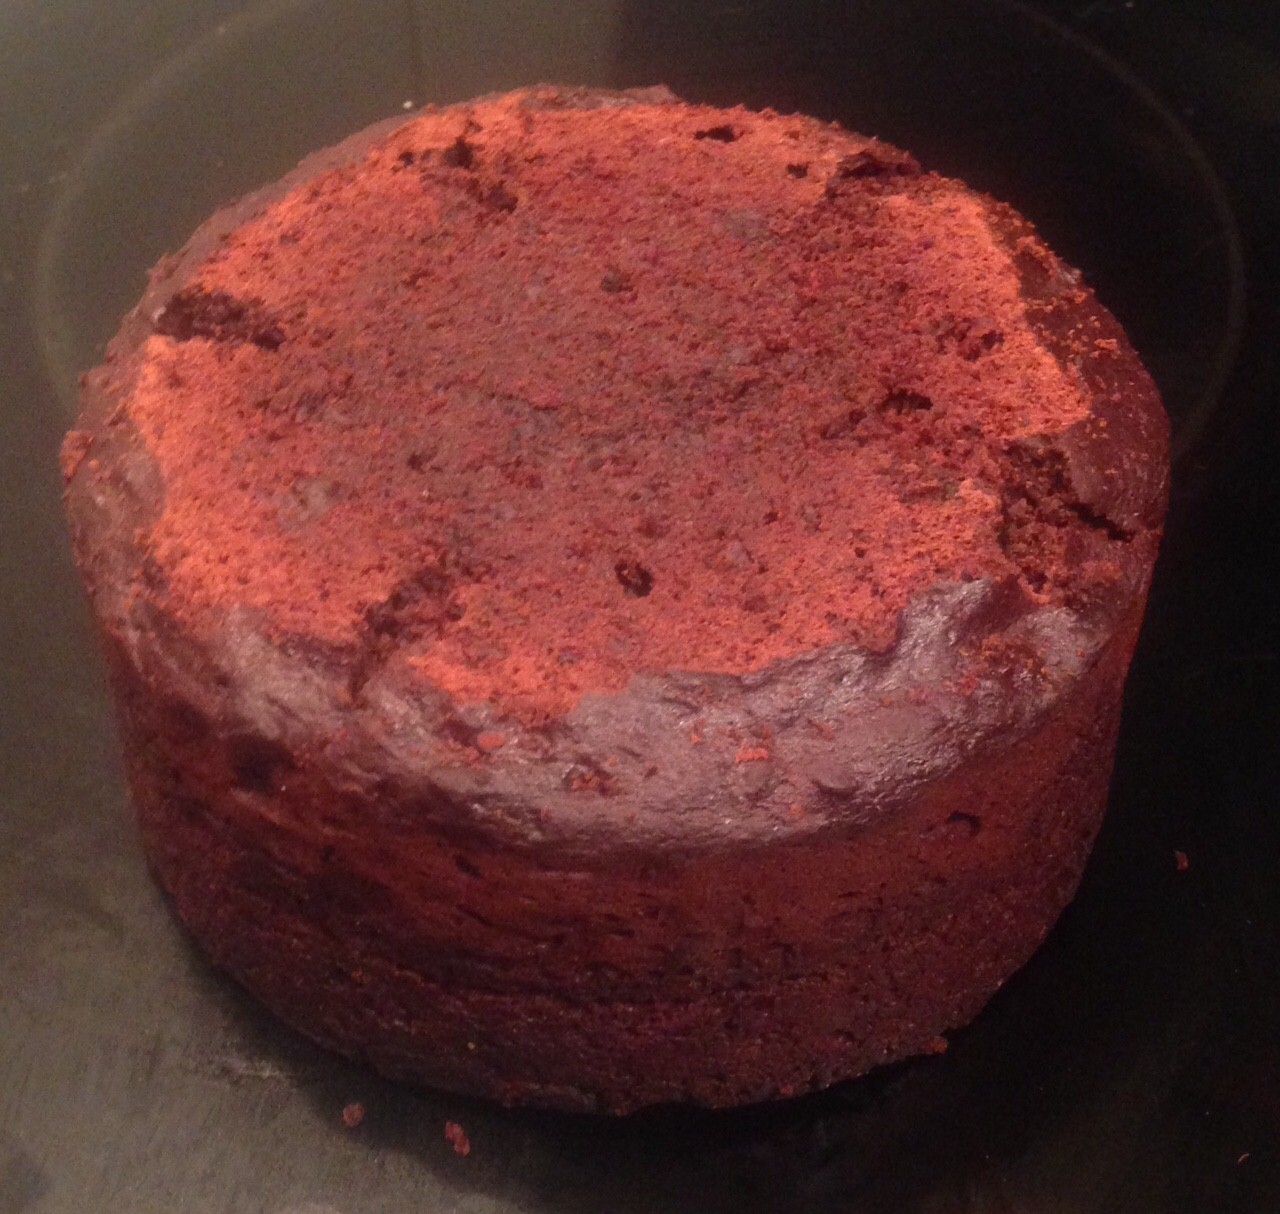
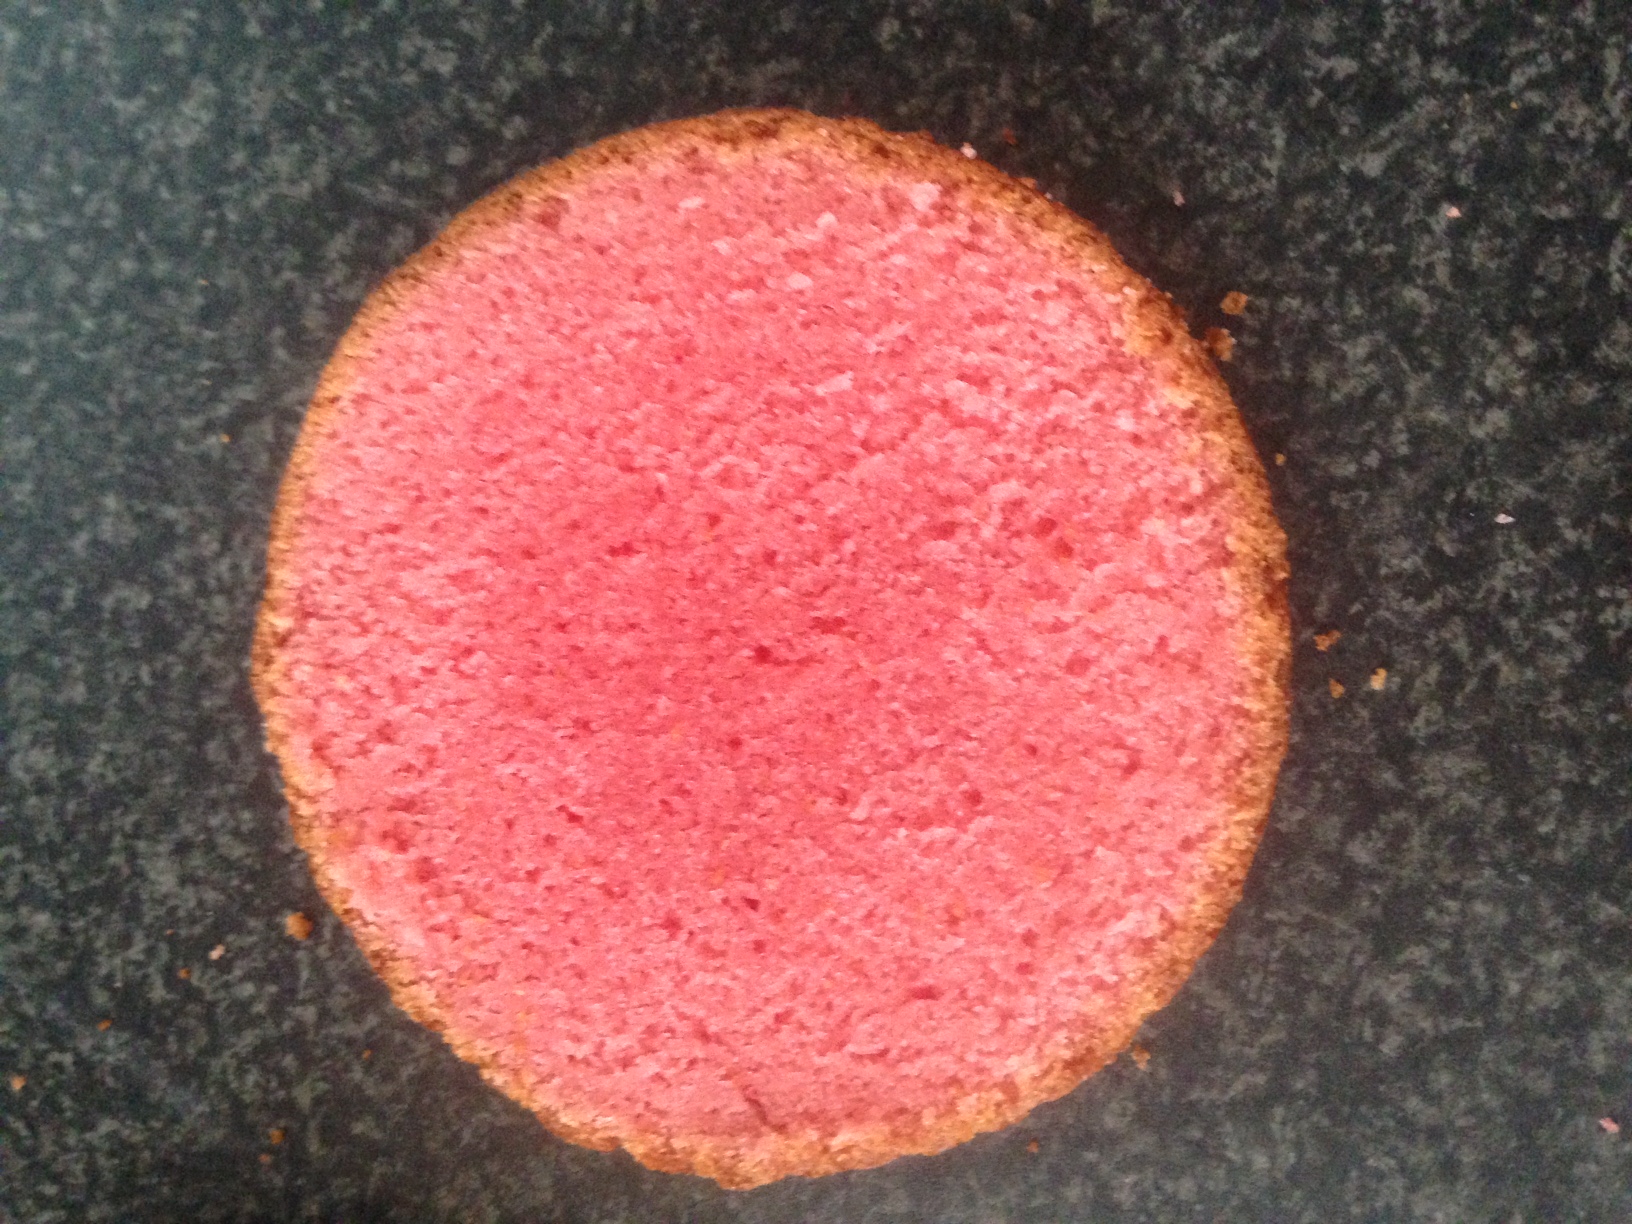
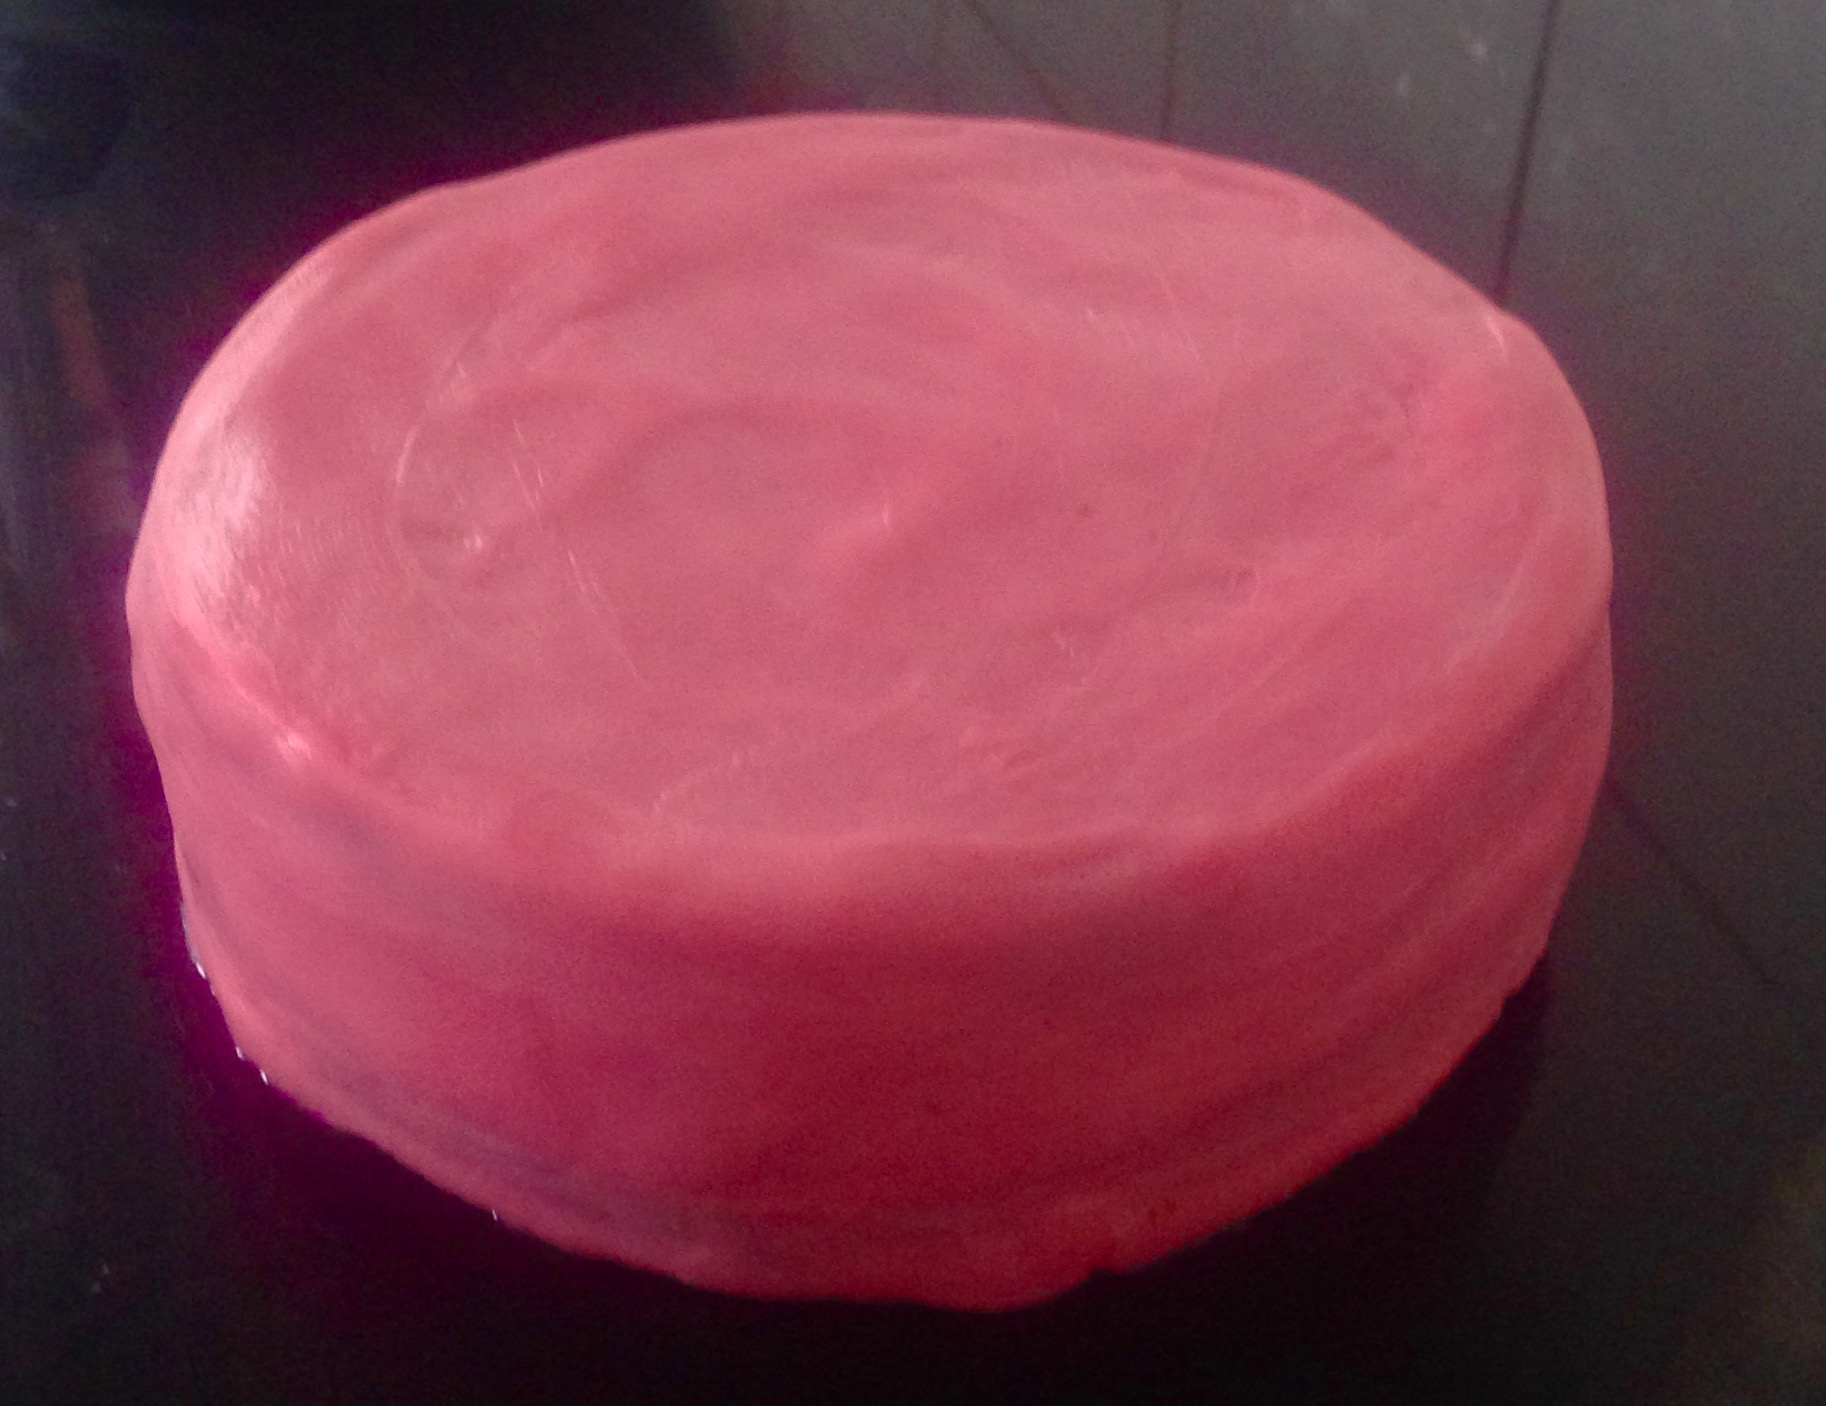
- Bake for 40 minutes or until set and slightly browned on the top.
- Place the tin with cake aside on a baking tray to cool.
- Place in the fridge for 3 hours.
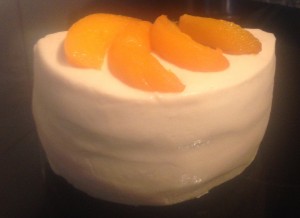
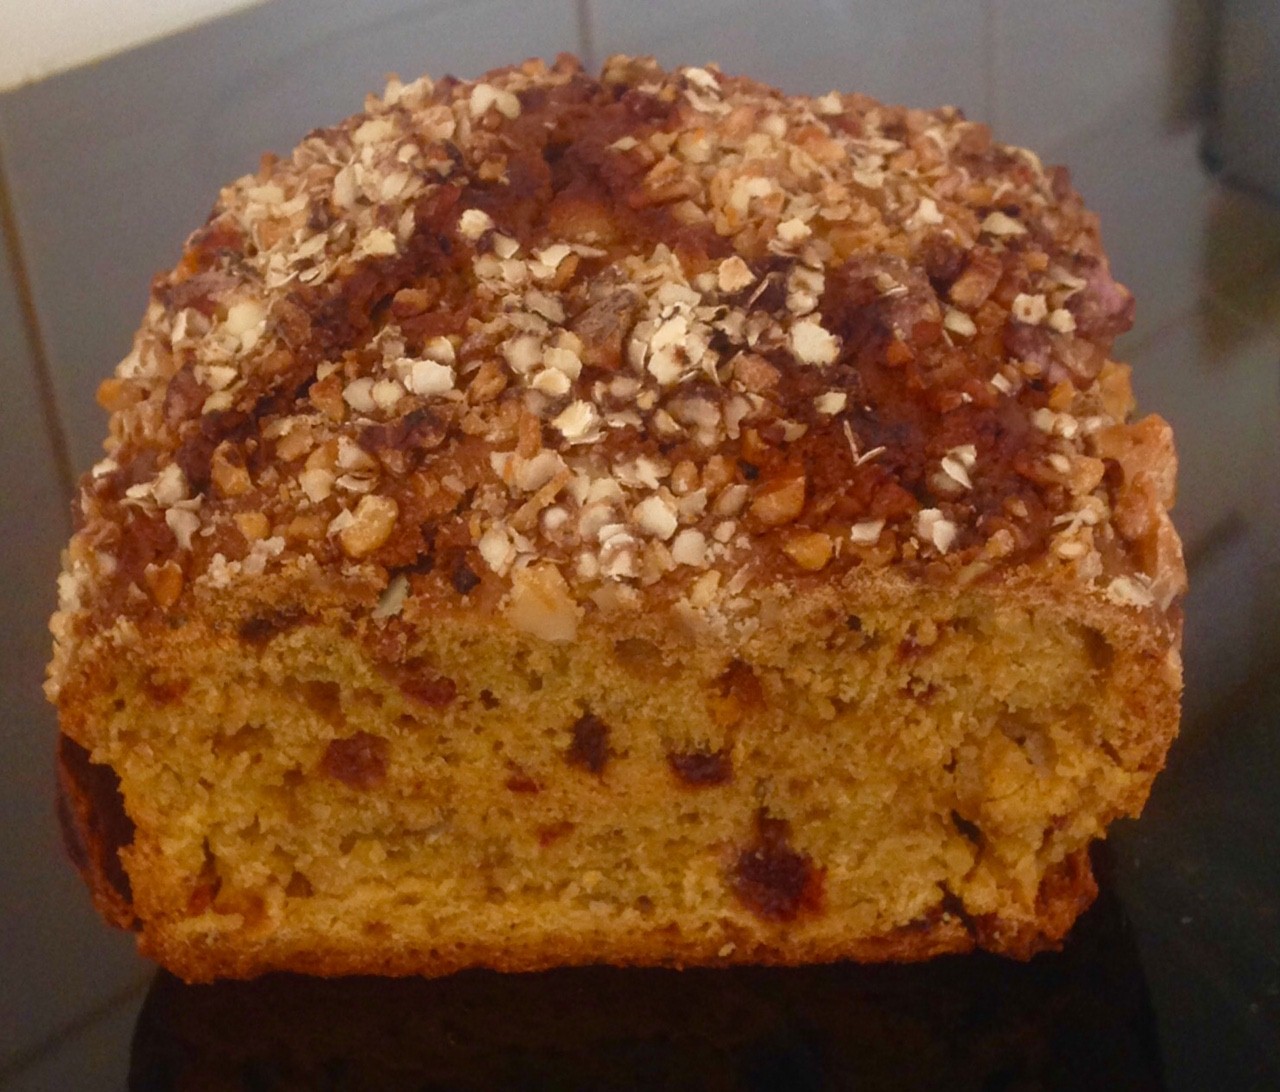
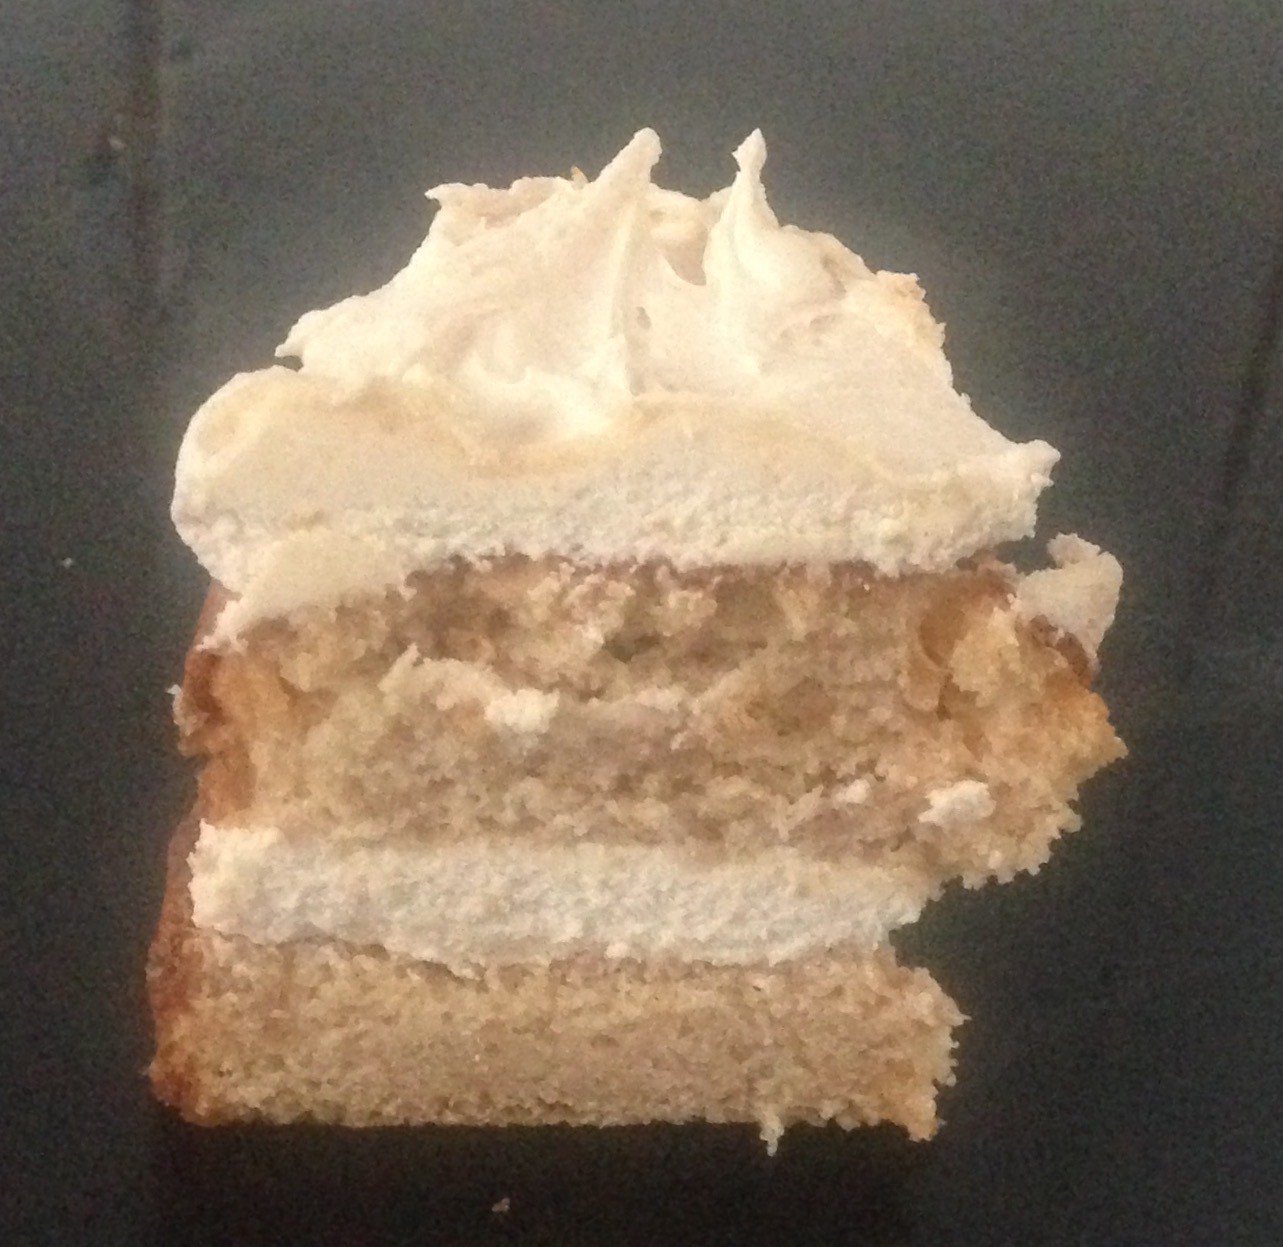
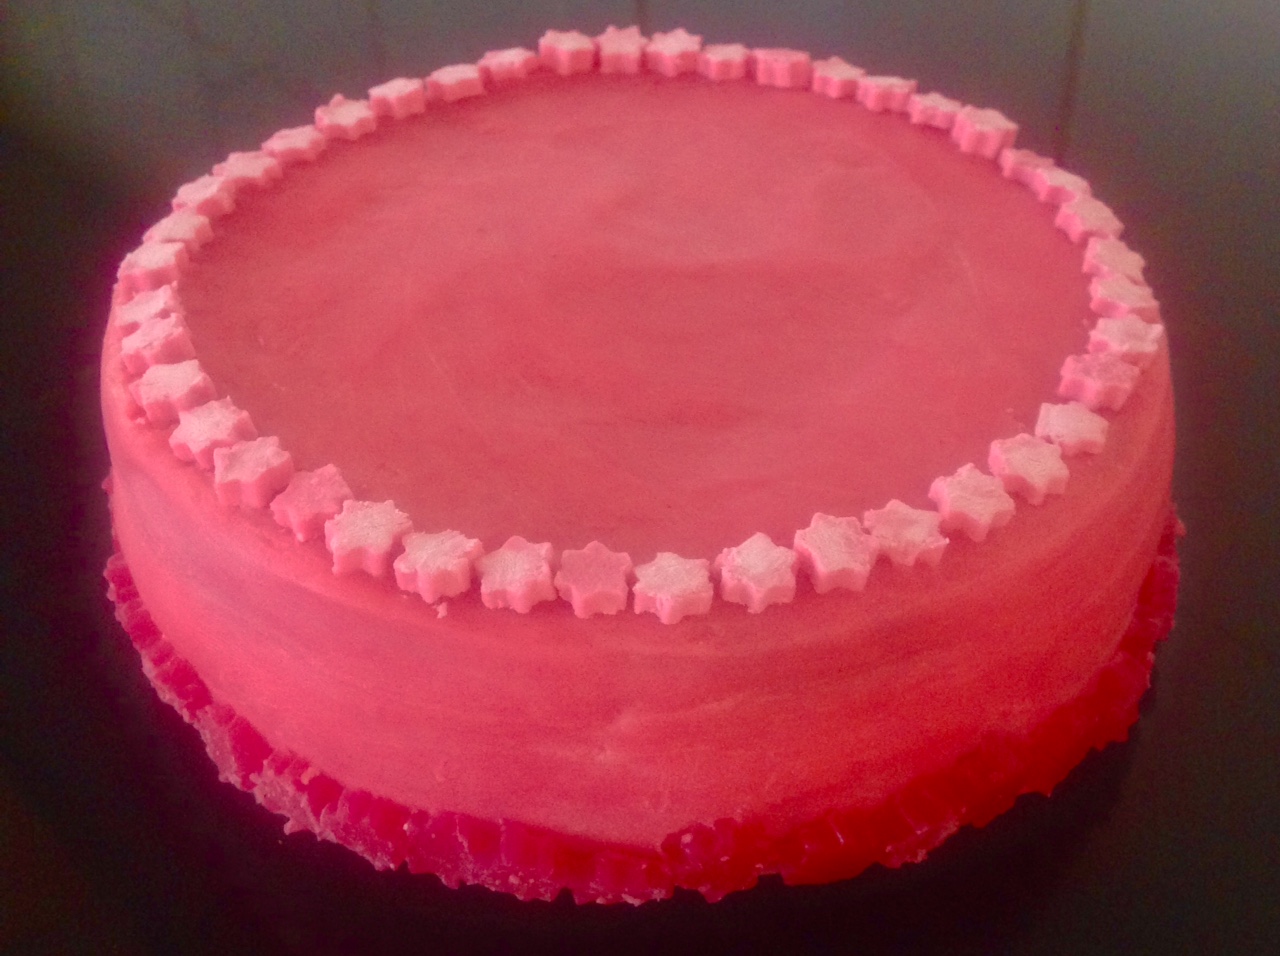
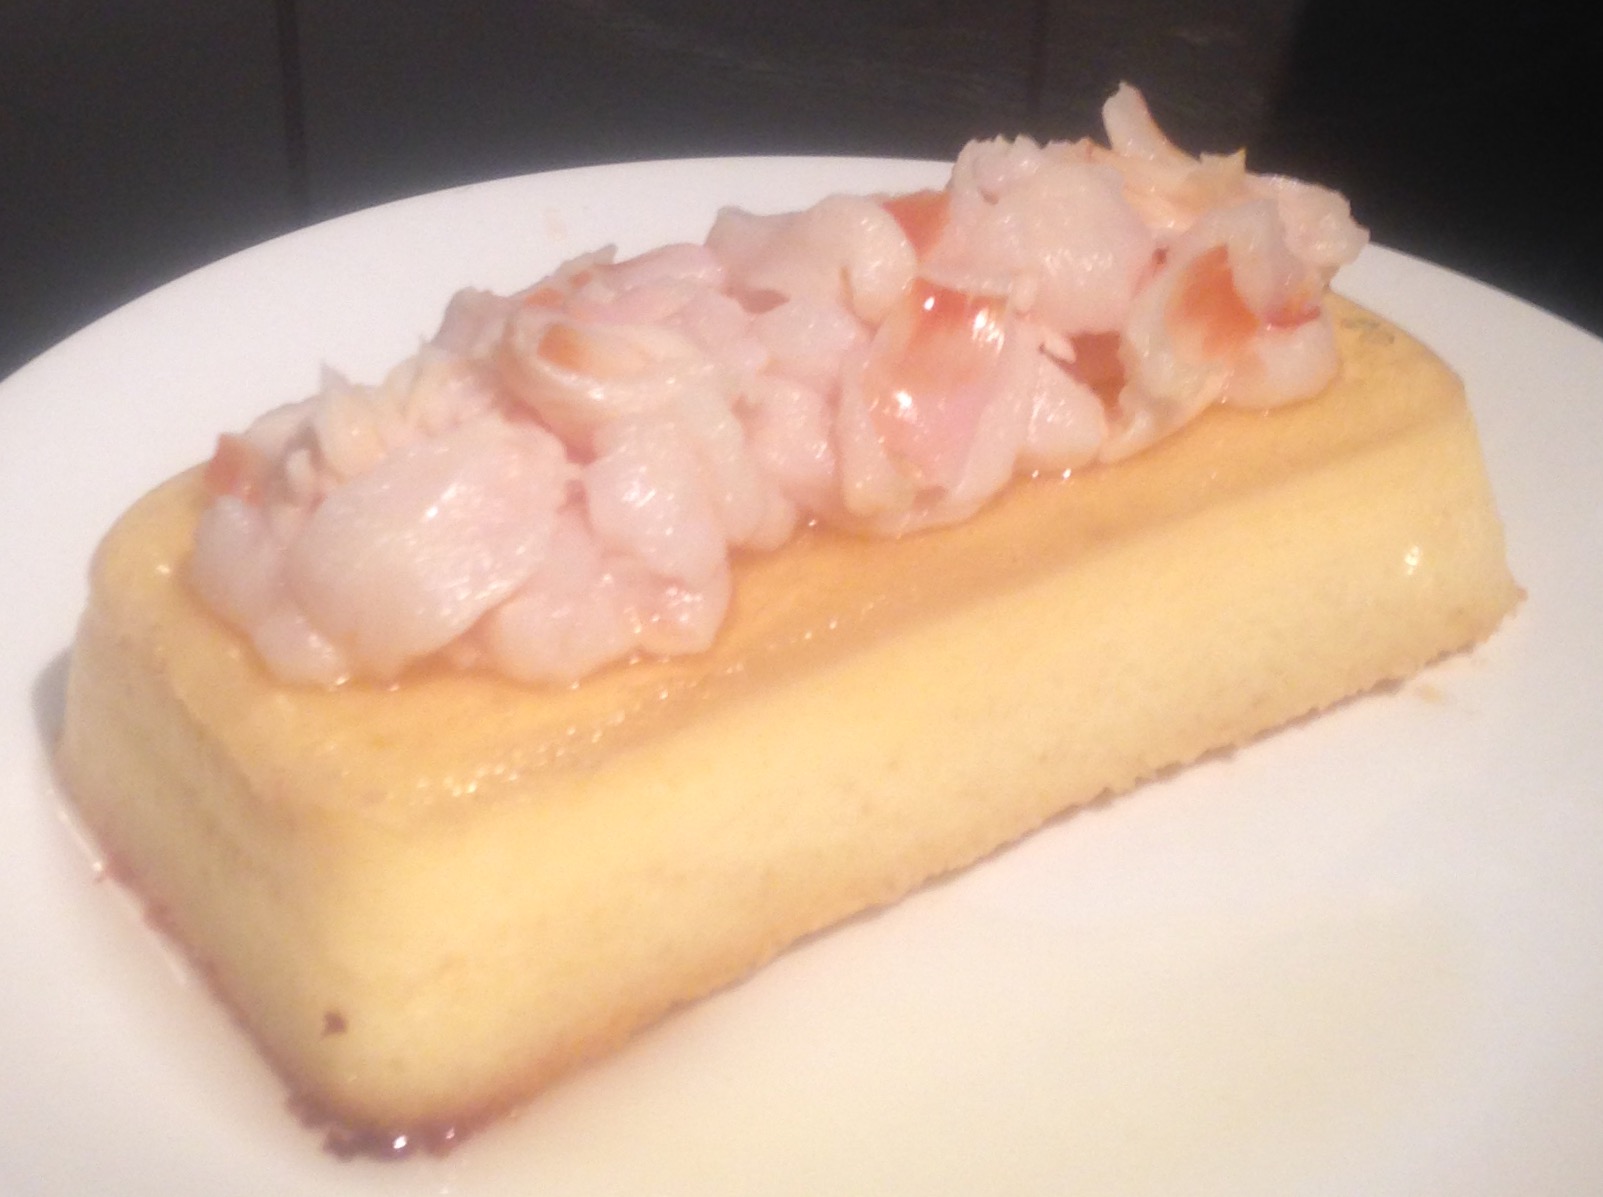
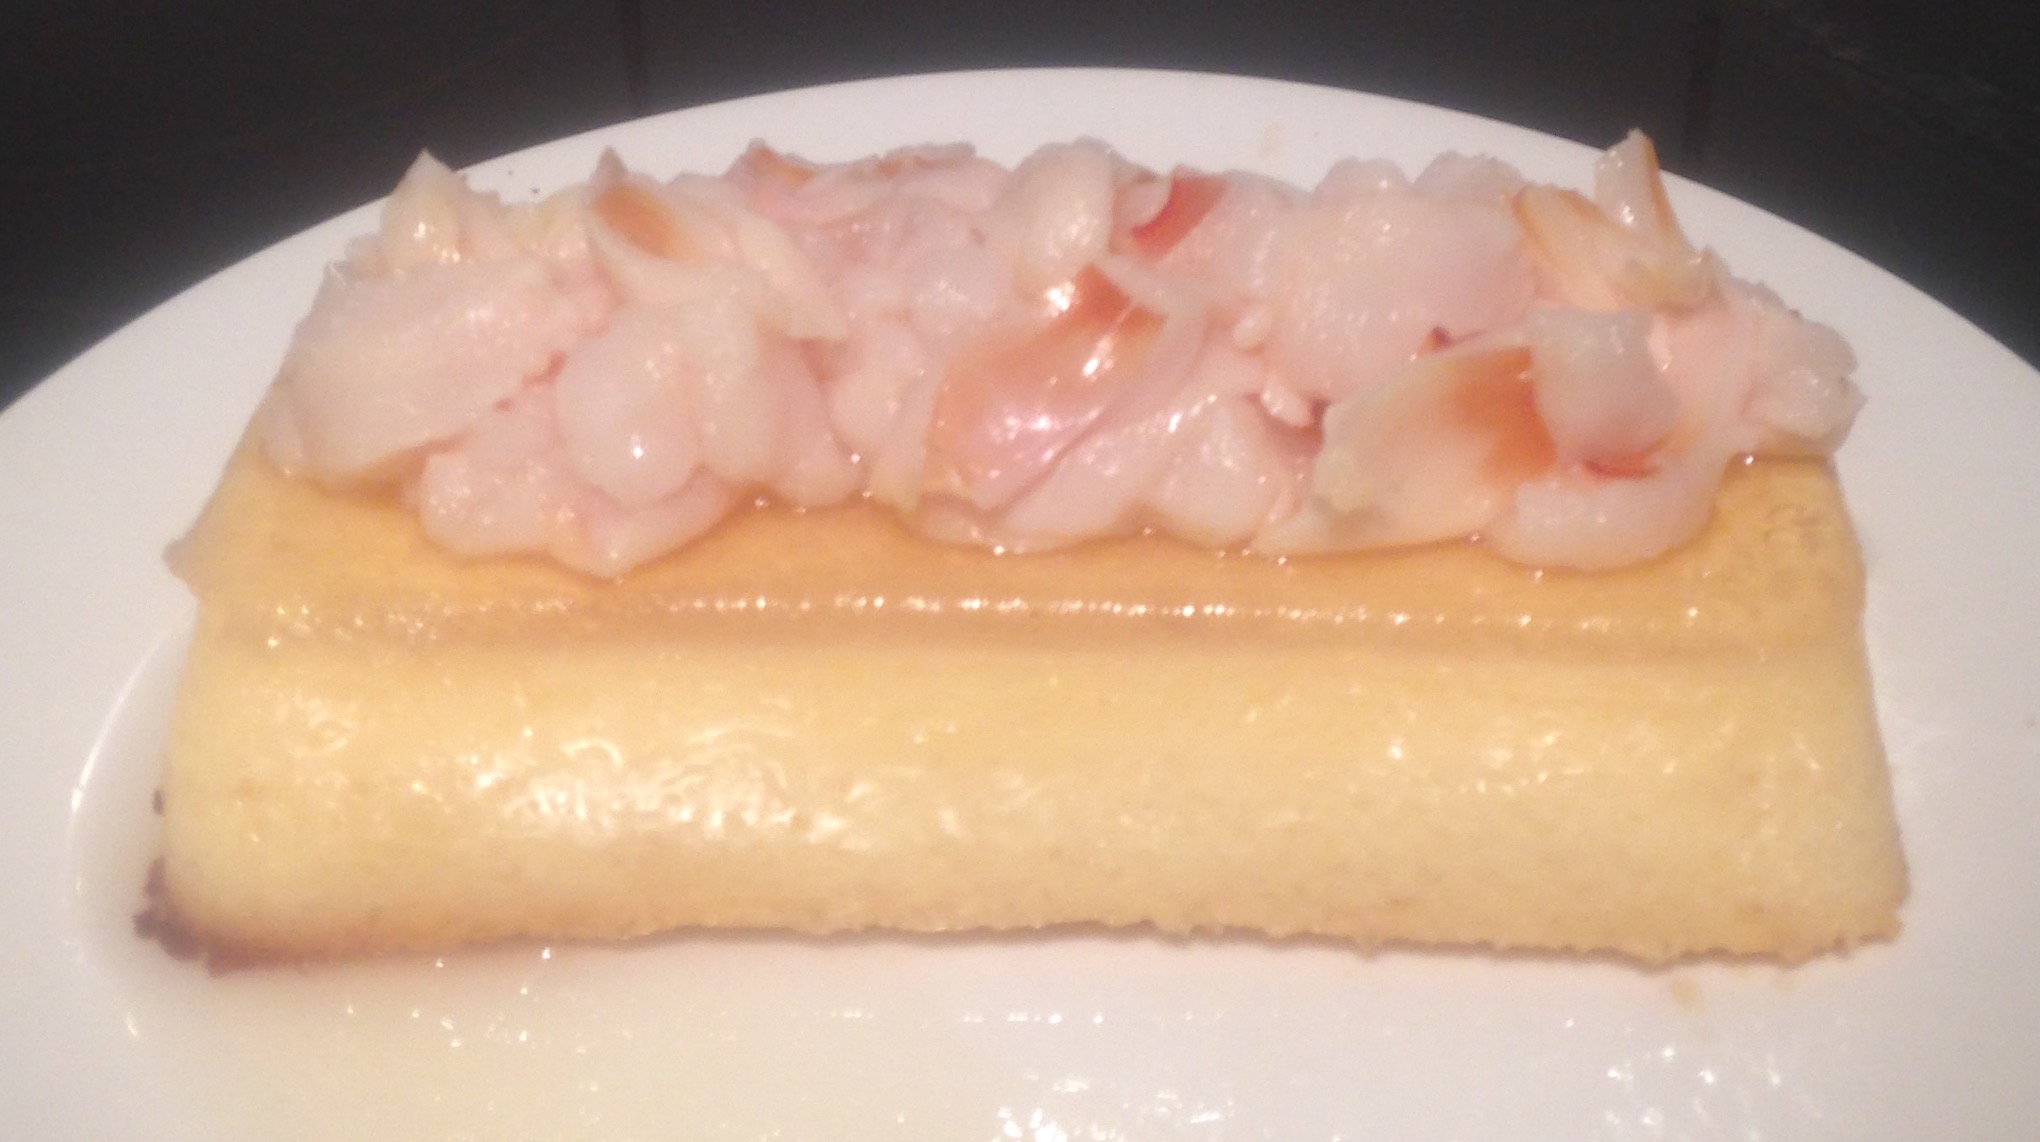
- Slightly dice up 400g of the lychee and place on the top of the flan to serve.
Step 4
Step 5
Step 6
Step 7

Step 10
Check out an impressive Parmesan Cheese Chocolate Slice recipe. Follow the simple baking method to bake a spectacular sweet treat
 Follow